Hello friends, I hope you are very well. Once again participating in the CREATIVE RECYCLING CHALLENGE # 15 at the invitation of my dear friend @jennyzer to carry out this great initiative to raise awareness for recycling. This time the theme is Hallowen, so my participation is about how to make a simple but scary Halloween lamp. It is a melted candle with a hideous face decorated with bats so it also looks like a tree from a dark forest. Everything is made with cardboard. Hope you like.
Hola amigos, espero que se encuentren muy bien. Una vez más participando en el CREATIVE RECYCLING CHALLENGE #15 por invitación de mi querida amiga @jennyzer para llevar a cabo esta gran iniciativa de crear conciencia para reciclar. Esta vez la temática es de Hallowen, así que mi participación trata acerca de como hacer un sencilla pero tenebrosa lámpara de Hallowen. Es una vela derretida con una espantosa cara decorada con unos murciálgos por lo que también parece un arbol de un bosque tenebroso. Todo está hecho con cartón. Espero que les guste.

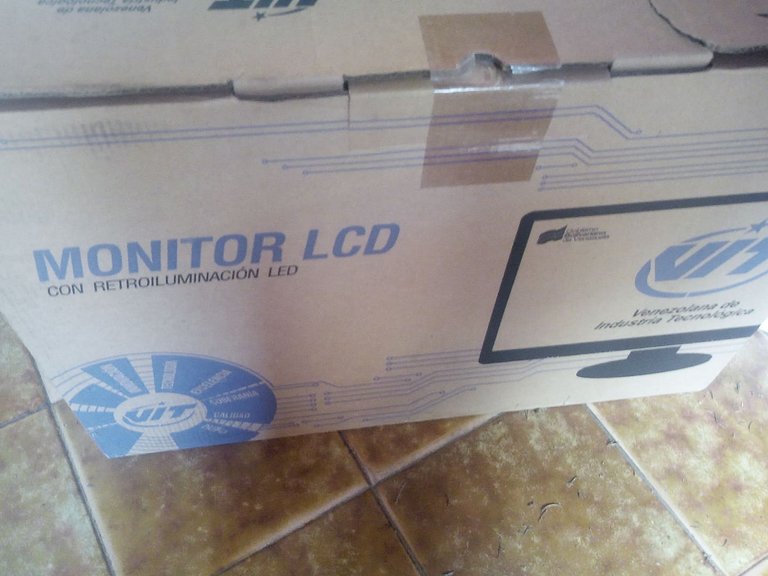
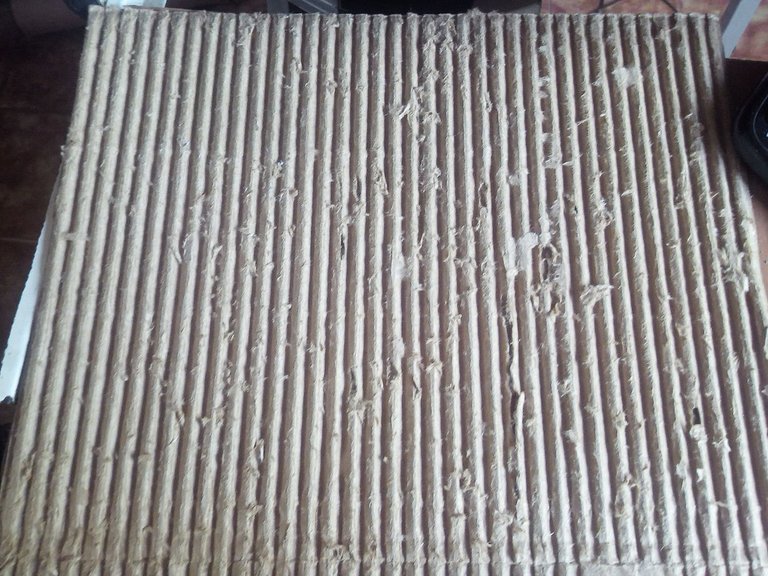
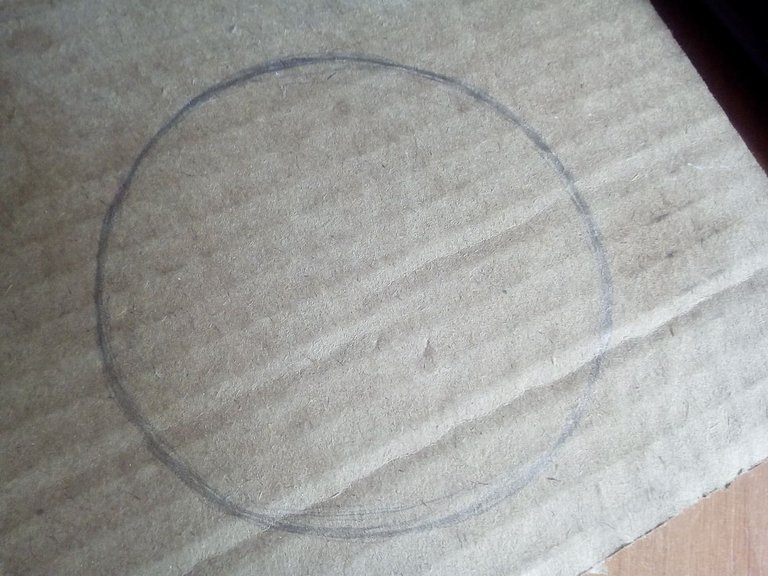
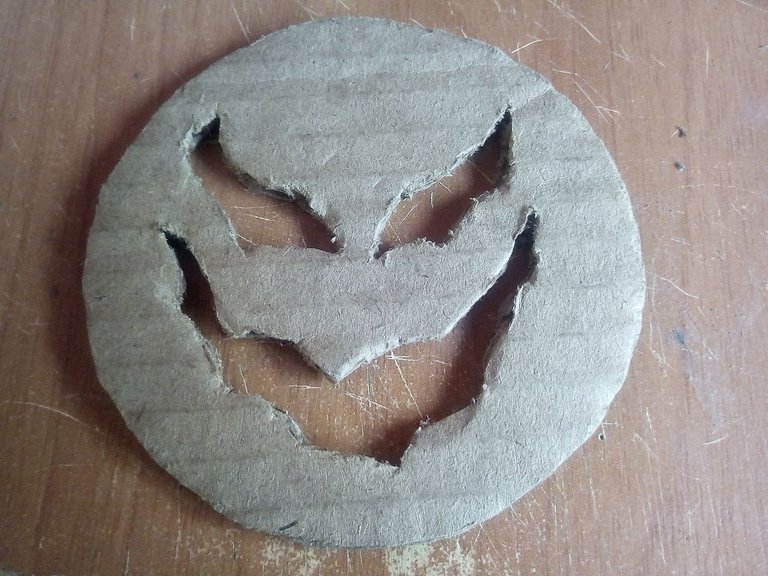
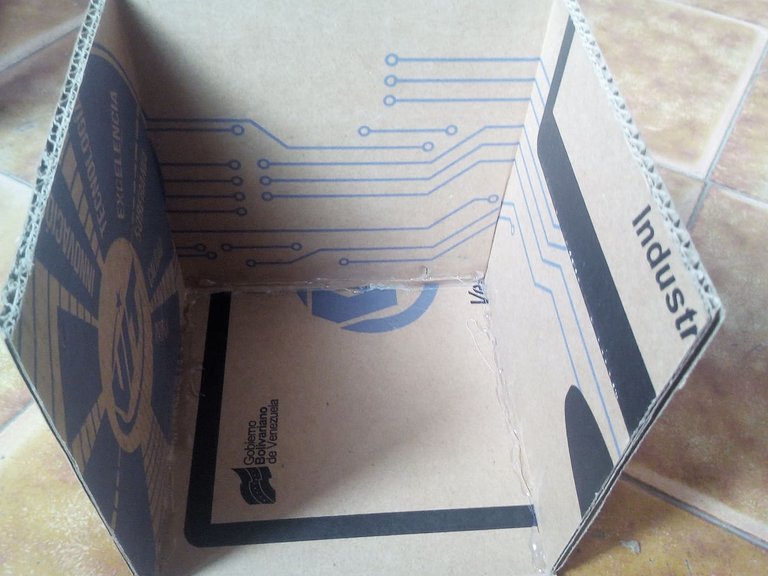
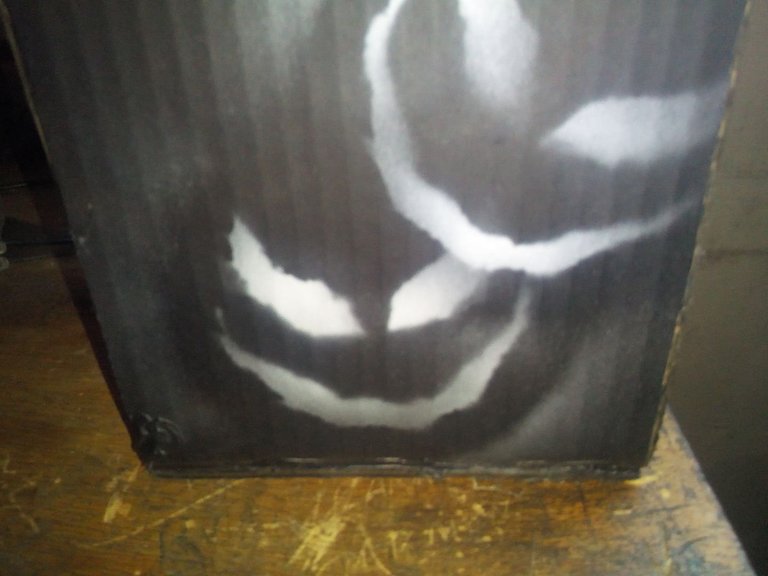
To make this lamp we use any box, I used this one where a PC monitor came. We cut it into several parts and one of them we remove one of the edges so that the part with relief remains uncovered, on the smooth surface we draw a face and then cut with a knife.
Para hacer esta lámpara utilizamos cualquier caja, yo usé esta donde venía un monitor de PC. La cortamos en varias partes y una de ellas le quitamos uno de los bordes para que nos quede la parte con relieve descubierta, por la superficie lisa dibujamos una cara y luego cortamos con una navaja.
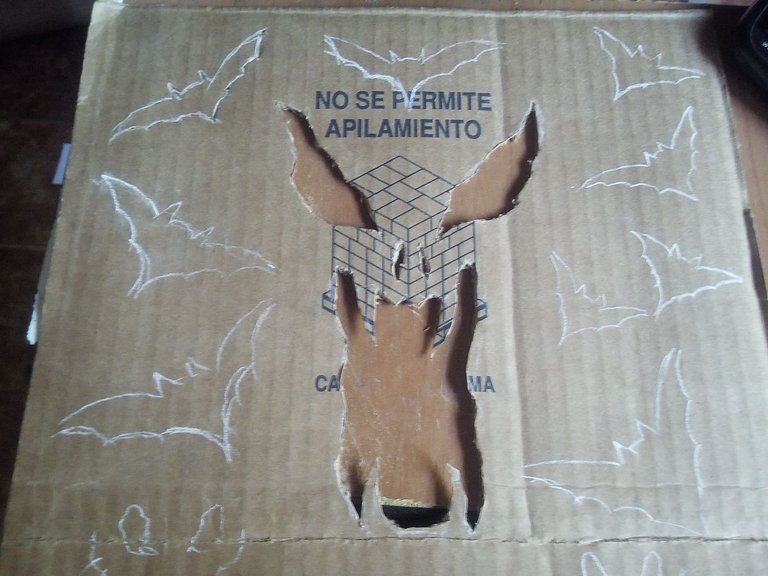
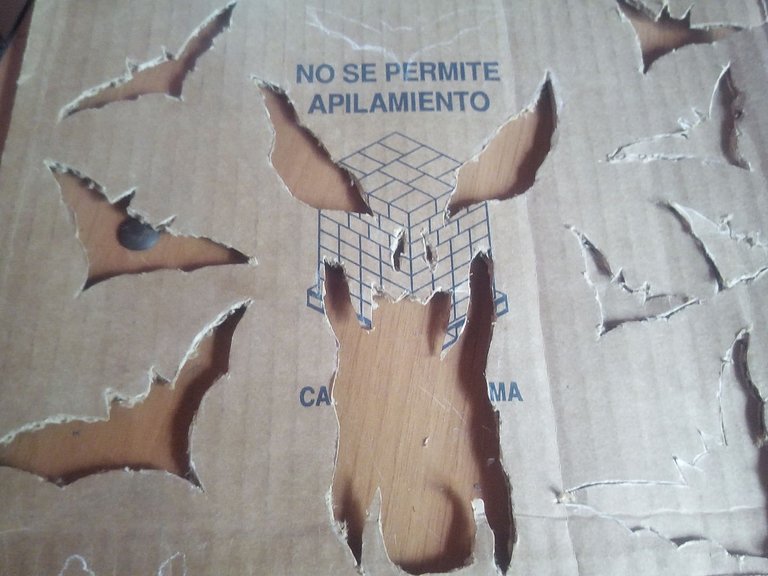
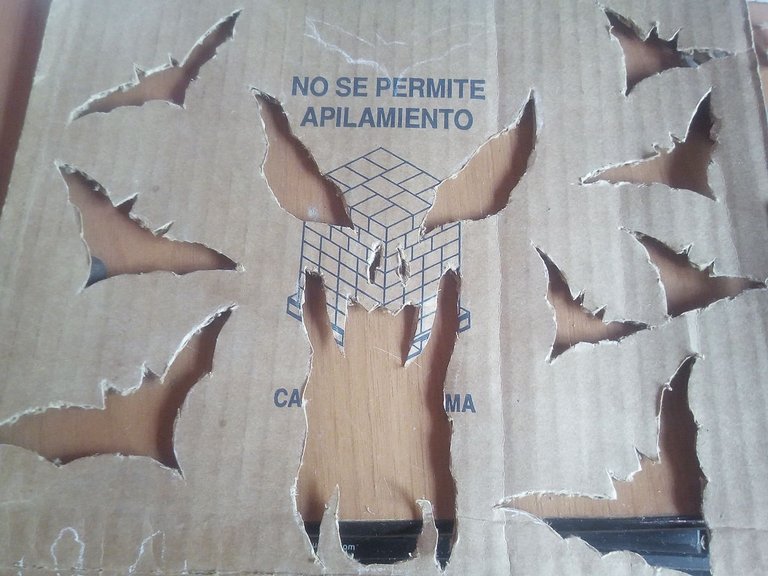

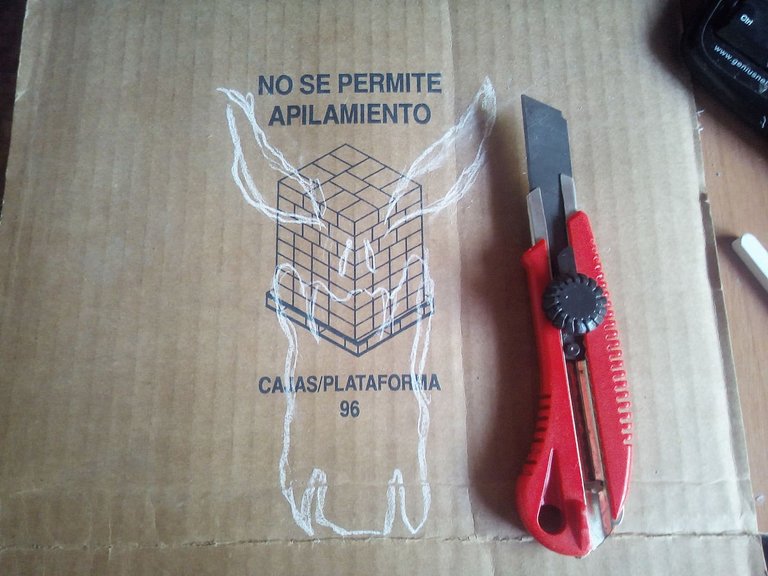
Little by little we are cutting the silhouette that we made with the knife, we must do it carefully so as not to cut our hands and not to damage the cardboard. Then we make more silhouettes on the cardboard, in this case we draw some bats, and in the same way we cut out each one of them.
Poco a poco vamos cortando con la navaja la silueta que hicimos, debemos hacerlo con cuidado para no cortarnos las manos y para no dañar el cartón. Luego hacemos más siluetas en el cartón, en este caso dibujamos unos murciélagos, y de la misma forma vamos recortando cada uno de ellos.

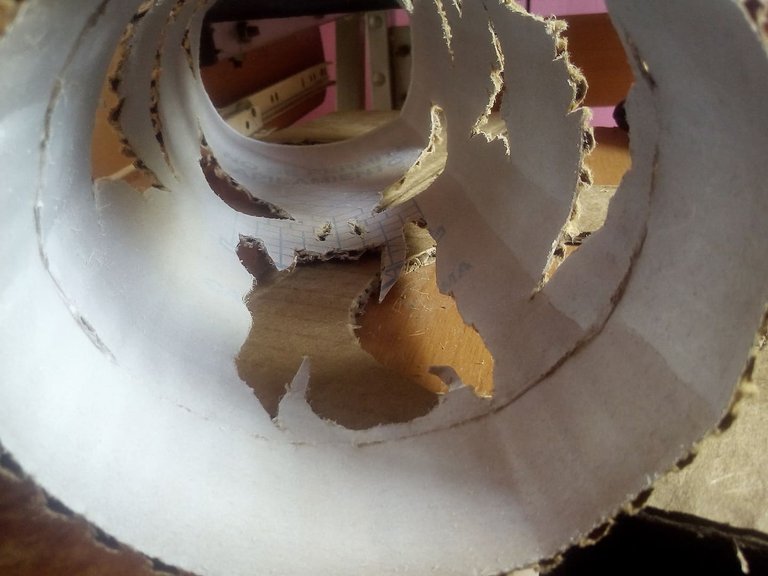
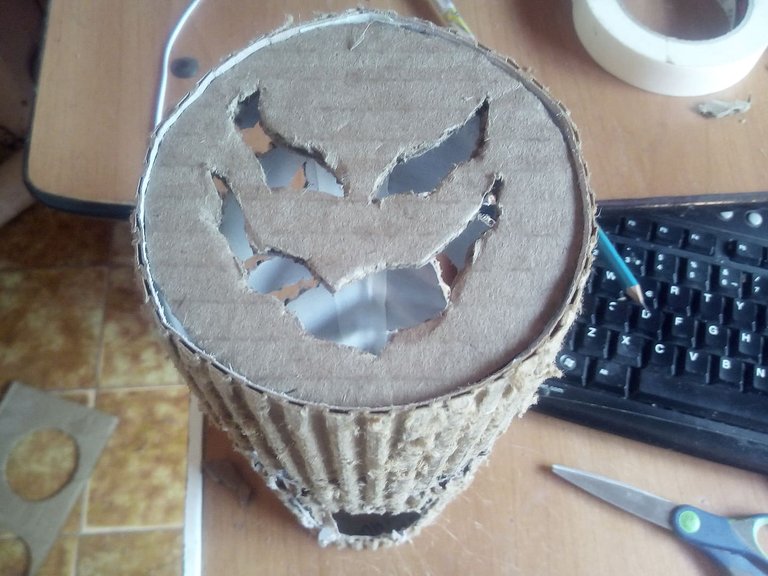
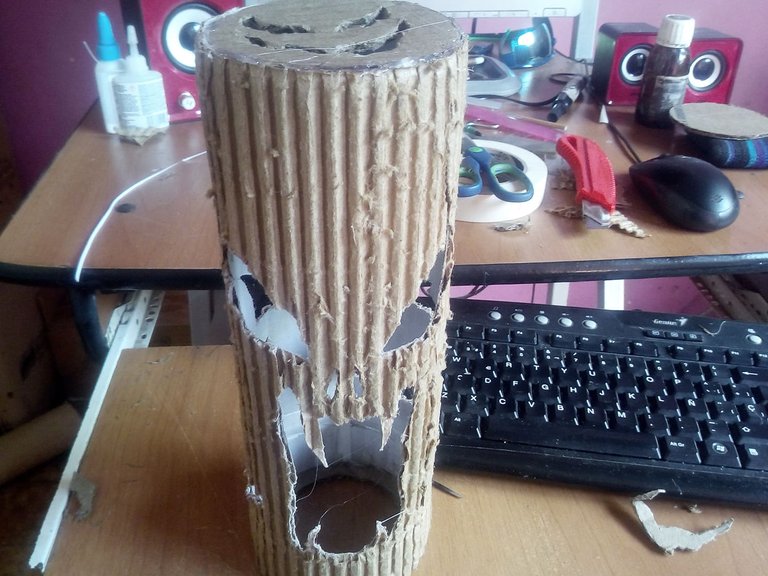
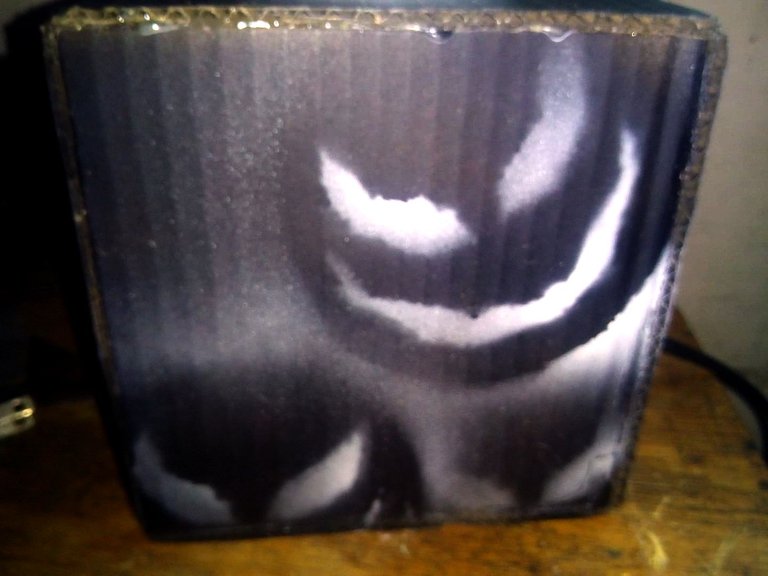
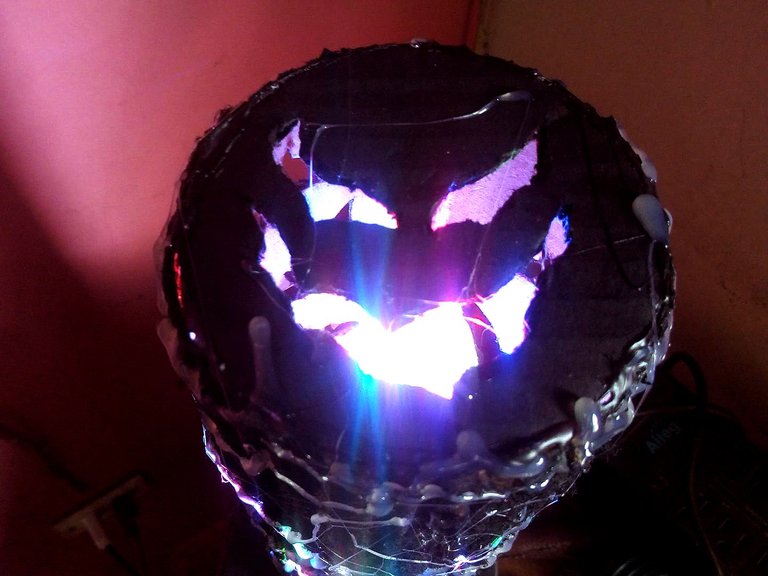
Once we have finished making the face with adhesive tape, we join the two ends and put it in a circular shape. Before doing this procedure we are going to paint the internal part white, we can use spray paint. The objective is that when we turn on the light, the inside can be illuminated better.
Una vez que hayamos terminado de hacer el rostro con cinta adhesiva unimos los dos extremos y lo ponemos en forma circular. Antes de hacer este procedimiento vamos a pintar la parte interna de color blanco, podemos usar pintura en spray. El objetivo es que cuando encendamos la luz, por dentro se pueda iluminar mejor.
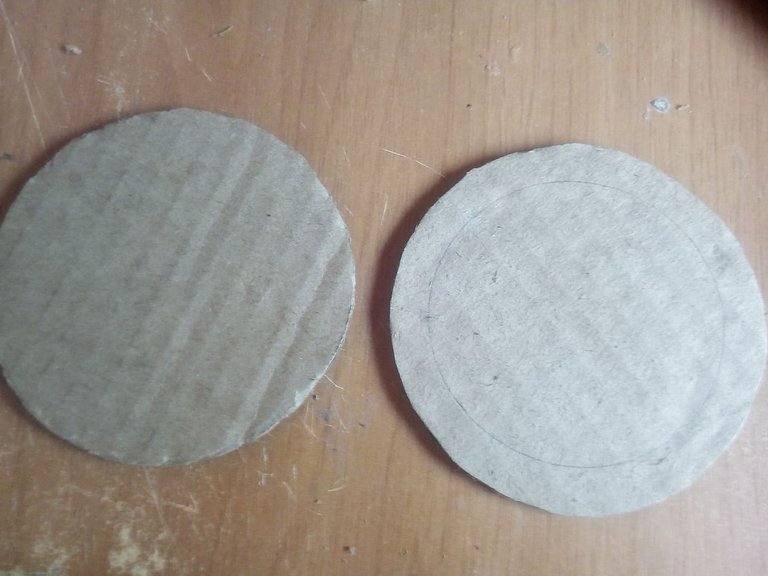
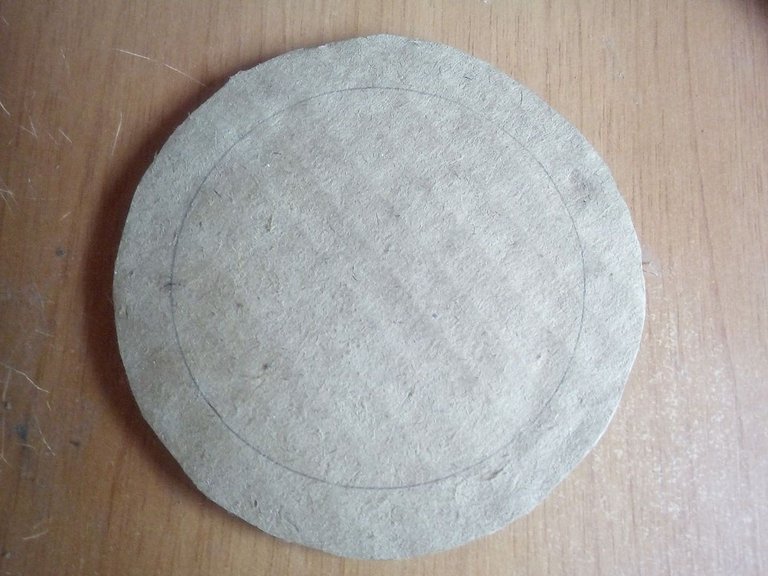
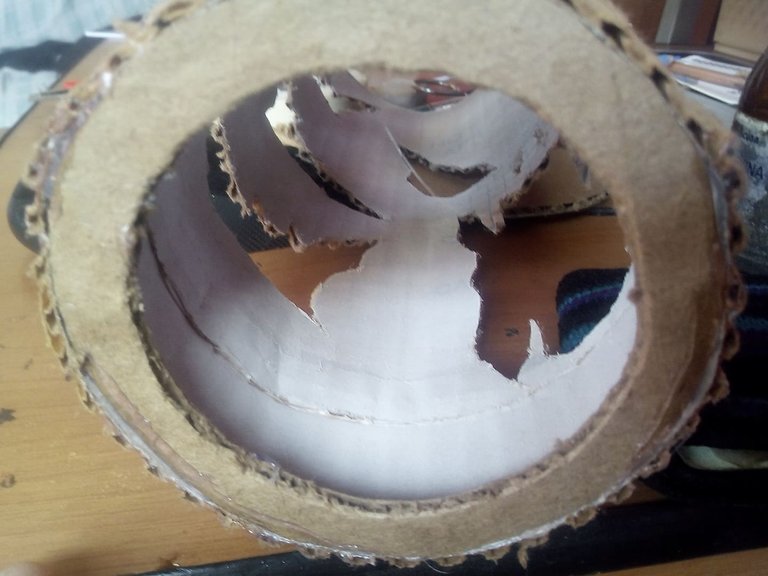

Now we will make the bases for the lamp. We take a cardboard and draw two circles the size of the candle. In one of them we make a smaller circle and cut it with the knife to stick it on the candle. This will go in the lower part and will serve for the light of the lamp. Then in the other circle we draw a scary face and we also cut out with the razor, with silica we paste it on top of the candle and it will be the cover of the lamp.
Ahora haremos las bases para la lámpara. Tomamos un cartón y dibujamos dos círculos del tamaño de la vela. En uno de ellos hacemos un círculo más pequeño y lo recortamos con la navaja para pegarlo en la vela. Esta irá en la parte inferior y servirá para la luz de la lámpara. Luego en el otro círculo dibujamos una cara aterradora y también recortamos con la navaja, con sílicón lo pegamos en la parte superior de la vela y será la tapa de la lámpara.
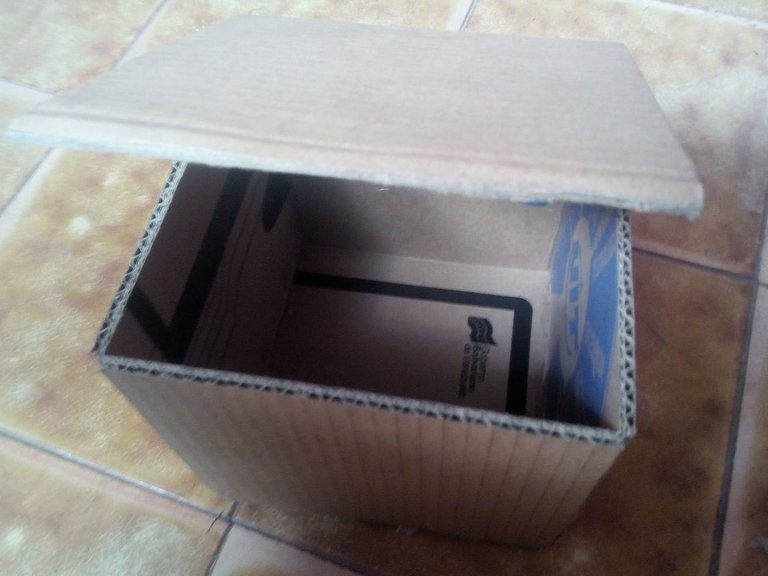
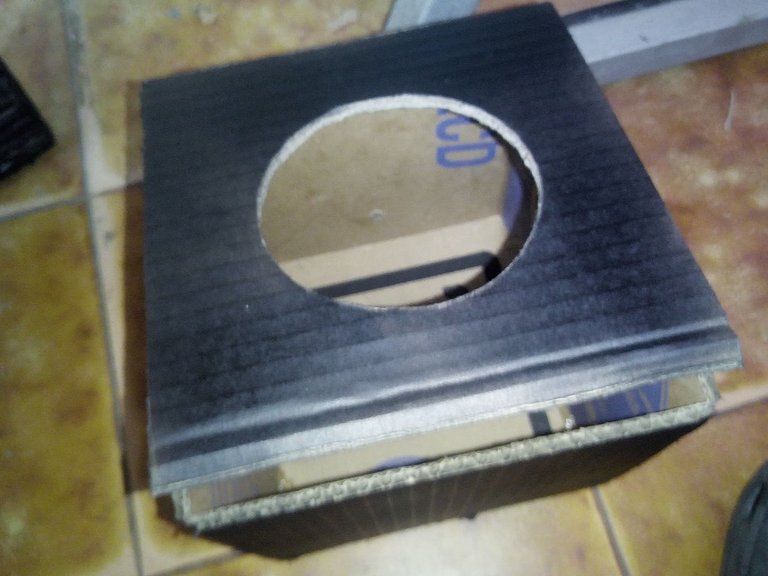
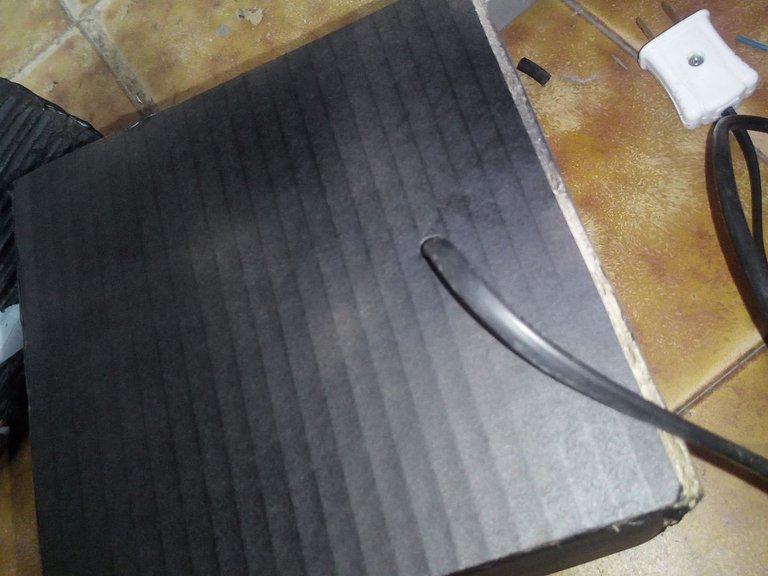
The next step will be to make a box that will serve as a base for the lamp. We cut 6 pieces of cardboard with a measure of 14 centimeters each and glue them, we try to make it as exact as possible so that the box does not move when it holds the lamp. We use hot silicone and we stick one by one. We will make a hole in the upper cover where we are going to insert the lamp bulb.
El siguiente paso será hacer una caja que nos sirva como base para la lámpara. Cortamos 6 piezas de cartón con una medida de 14 centimetros cada una y las pegamos, tratamos de hacerlo lo mas exacto para que la caja no se mueva cuando sostenga la lámpara. Usamos silicón caliente y vamos pegando una a una. La tapa superior haremos un hoyo por donde vamos a introducir el bombillo de la lámpara.
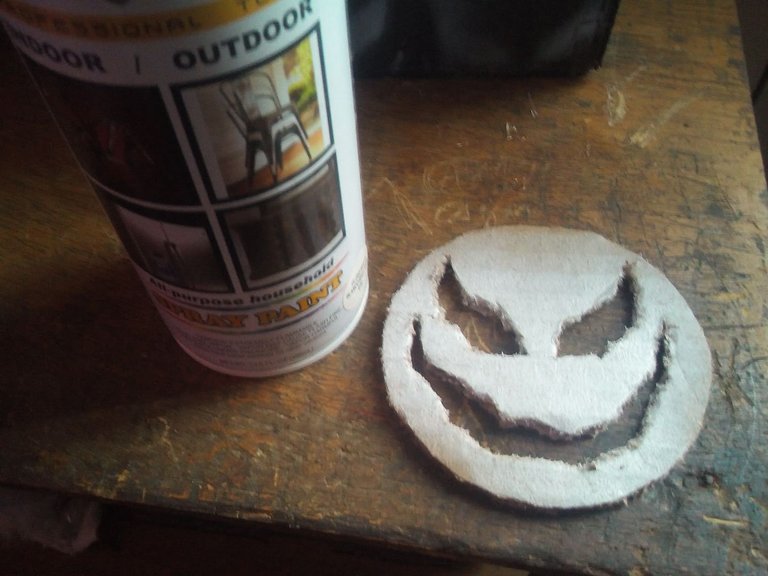
We paint the box black, and with a cardboard we make a circle that contains a terrifying face. We will use it as a template, and with white spray paint we will paint several faces around it to give it that macabre aesthetic.
Pintamos la caja de color negro, y con un cartón hacemos un círculo que contenga una cara aterradora. La utilizaremos como plantilla, y con pintura blanca en spray pintaremos varias caras alrededor para darle esa estética macabra.
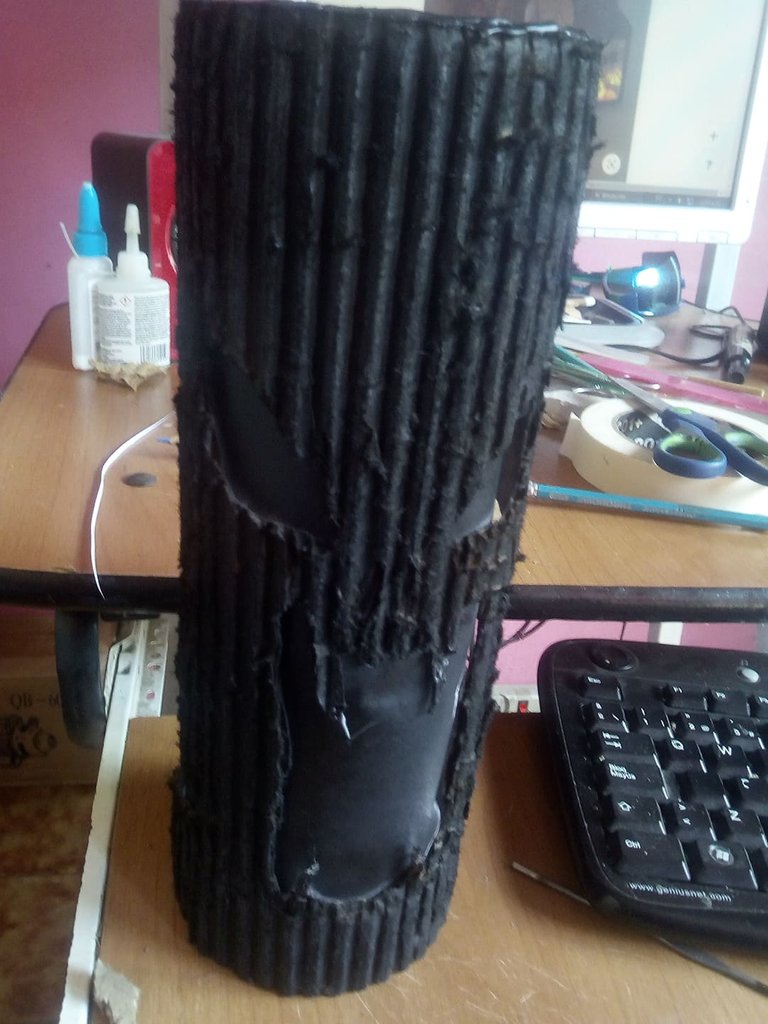

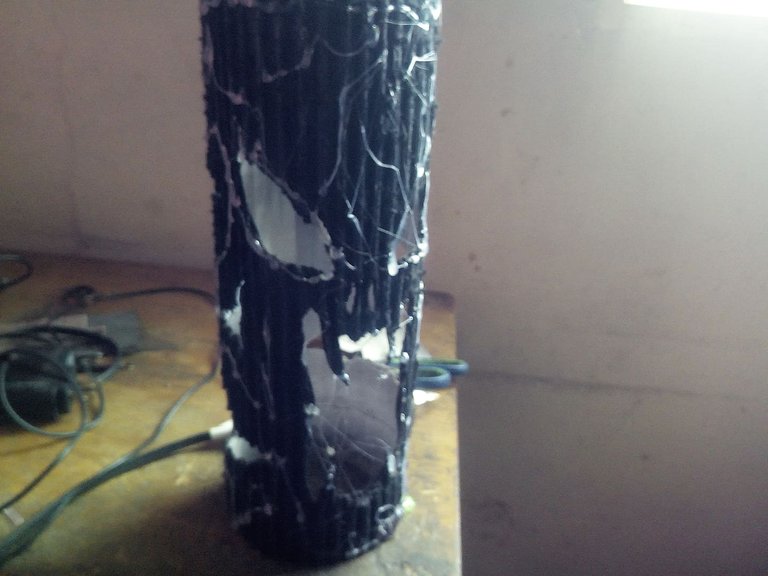
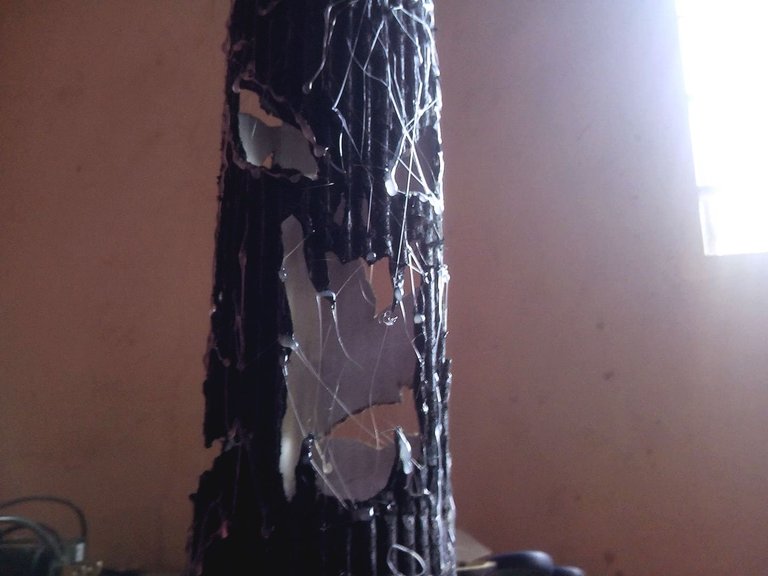

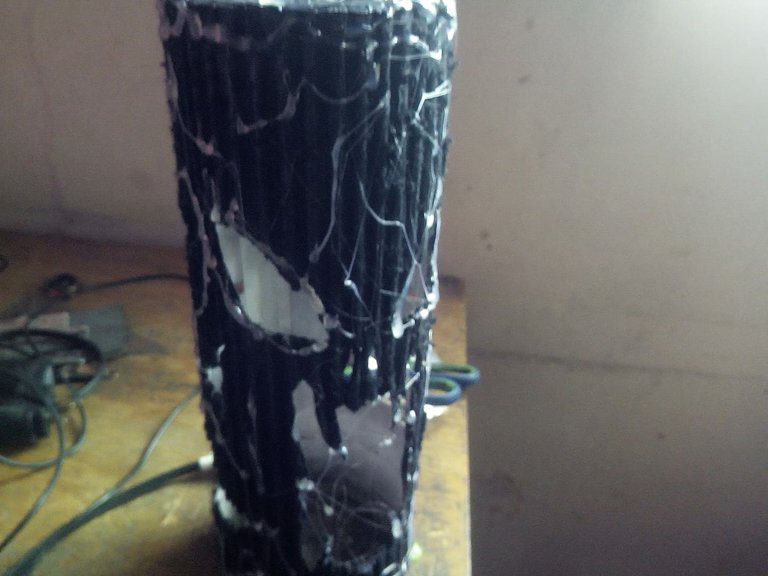
Now with matte black paint we paint the entire body of the candle, cover the inside with a page of paper so that it is not painted inside. Then with a silicone gun we soak the entire body of the candle, the purpose is to make the effect of melting the candle while giving it a more gloomy appearance. We glue the tip of the gun in several parts so that small strips of dry silicone remain around the eyes and mouth and appear cobwebs.
Ahora con pintura negra mate pintamos todo el cuerpo de la vela, cubrimos por dentro con una página de papel para que no se pinte por dentro. Luego con una pistola de silicón empapamos todo el cuerpo de la vela, el propósito es hacer el efecto de derretimiento de la vela a la vez de que damos un aspecto más tenebroso. Pegamos la punta de la pistola en varias partes para que queden pequeñas tiras de silicón seco alrededor de los ojos y boca y parzca telarañas.
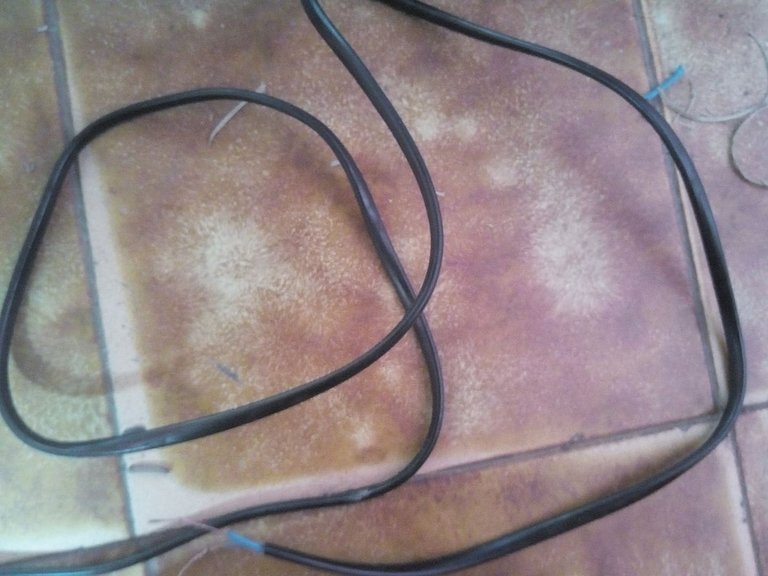
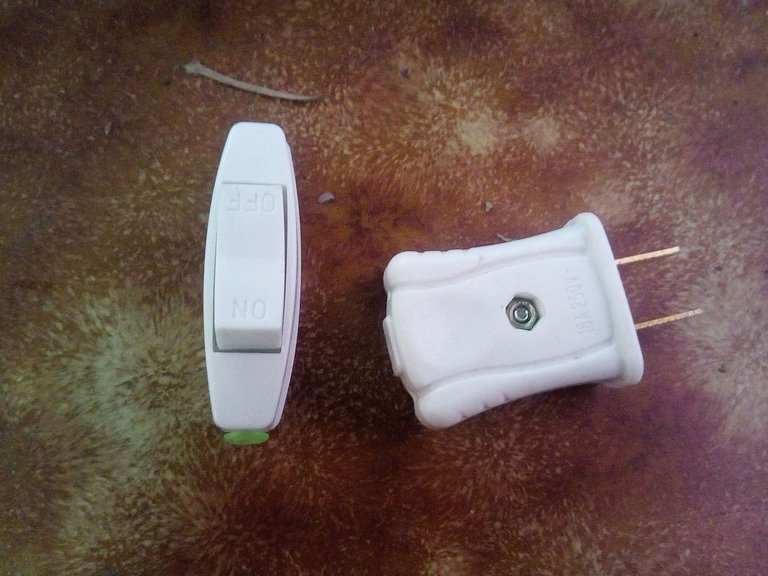
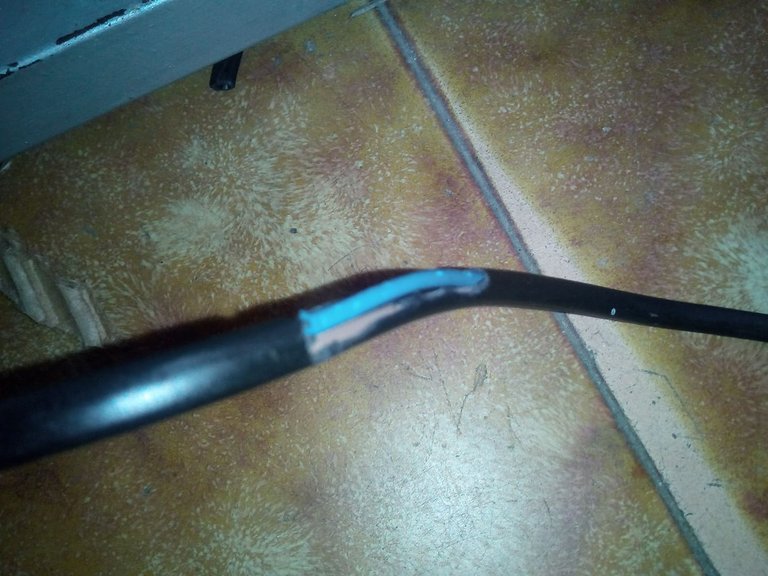
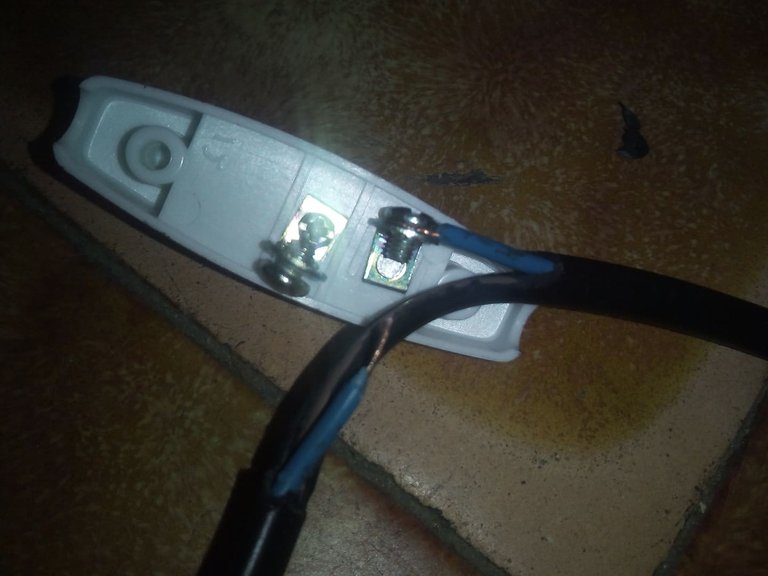
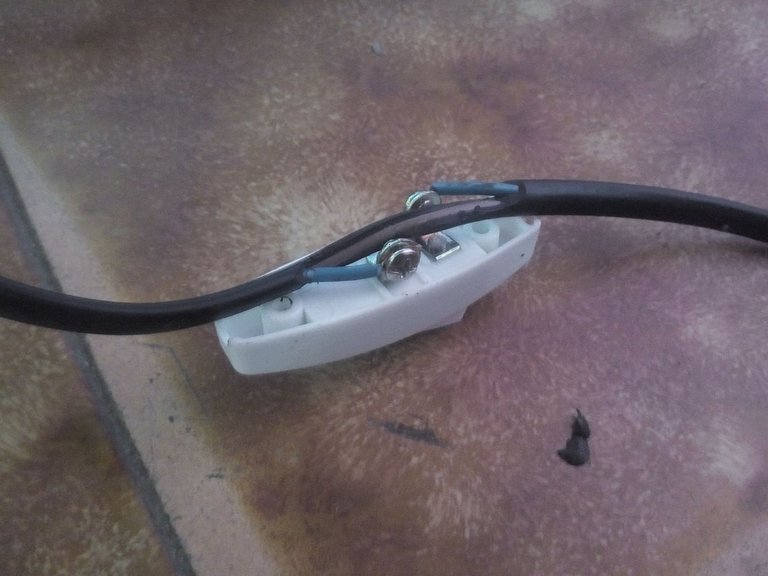
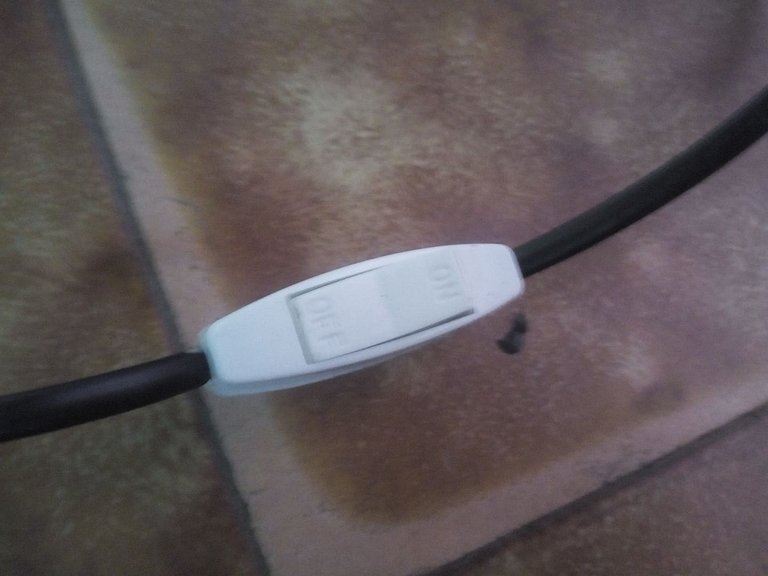
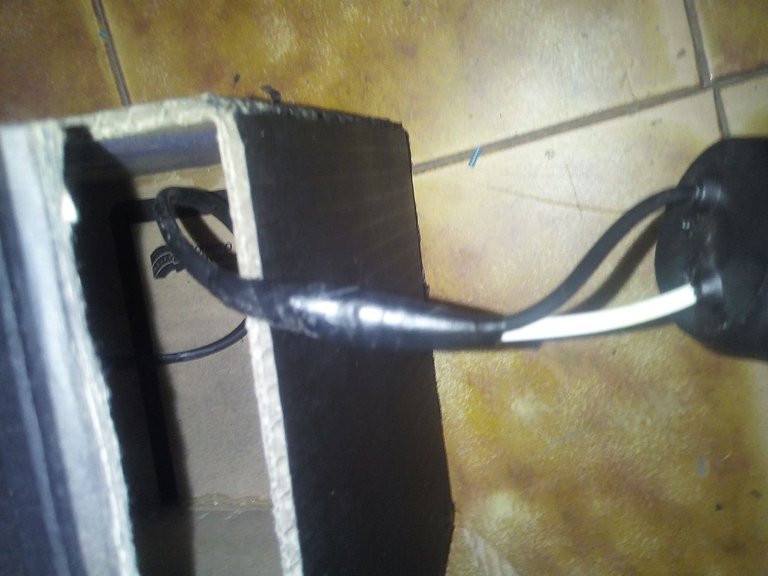
Then we put the lamp on and off system. We can use any cable that is in good condition, plug and also a switch. Placing the switch is very easy, we choose a point on the cable and cut one of its conductors, open the switch and put each part in its place and then close the switch again.
Después colocamos el sistema de encendido y apagado de la lámpara. Podemos utilizar cualquier cable que se encuentre en buen estado, enchufe y también un interruptor. Colocar el interruptor es muy facil, escogemos un punto en el cable y cortamos uno de sus conductores, abrimos el interruptor y ponemos cada parte en su lugar y luego cerramos de nuevo el interruptor.
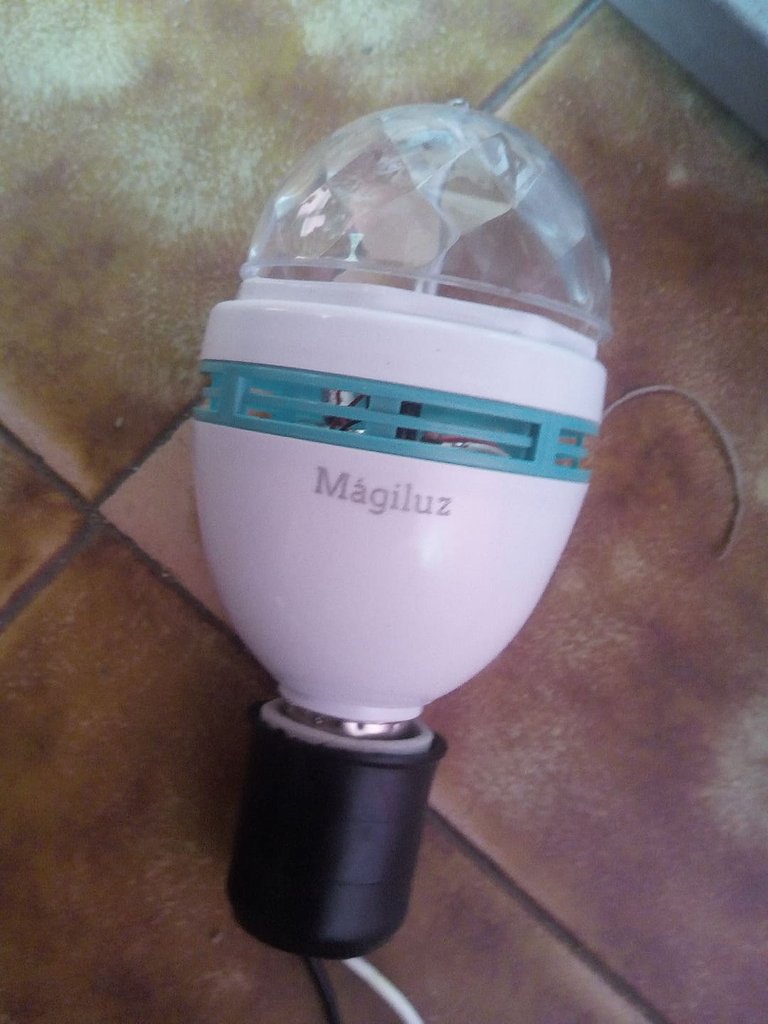
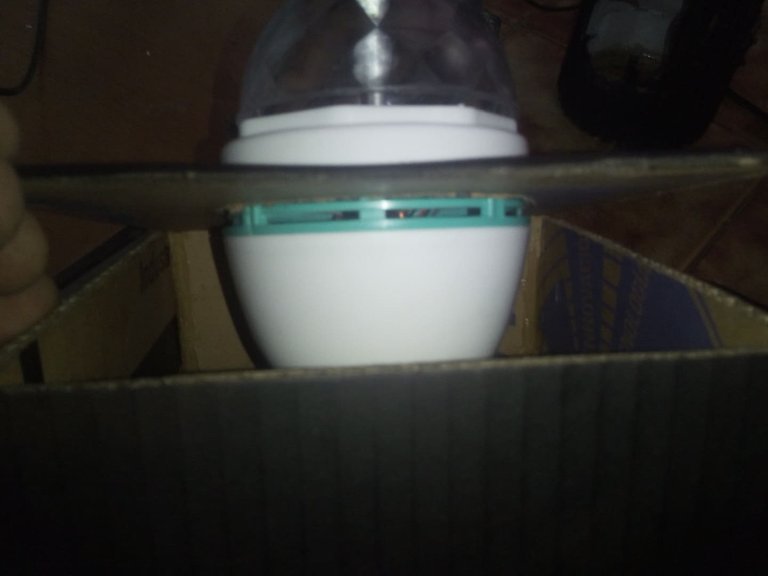

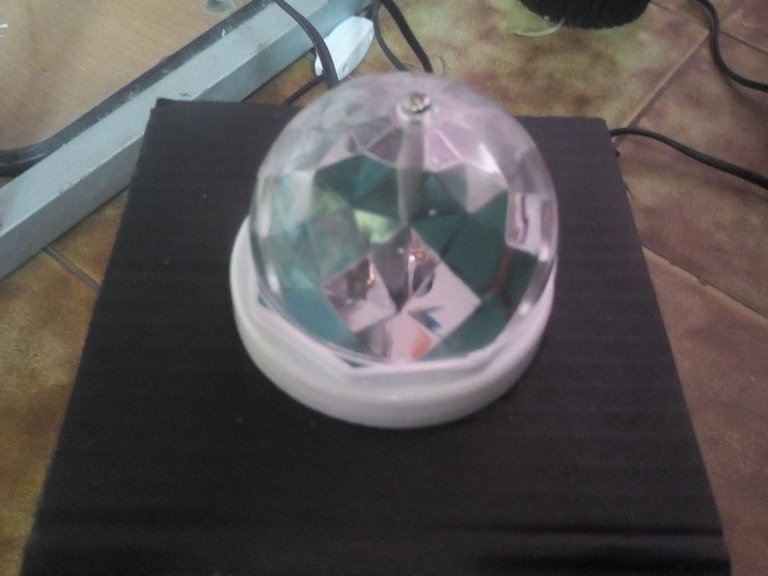
For the light I will use this multicolored bulb that I had saved from a party last year. This is a rotating light so it will give the lamp a party look. We open a small hole and insert the cable, then we make a connection with the socket of the light bulb and we introduce it through the hole in the cleat, we lower the lid and seal with silicone. So we will have finished the base for the lamp.
Para la luz utilizaré este bombillo multicolor que tenía guardado de una fiesta del año pasado. Este es una luz giratoria así que le dará un aspecto fiestero a la lámpara. Abrimos un pequeño agujero e intrudcimos el cable, luego hacemos un empalme con el sócate del bombillo y lo introducimos por el agujero de la cala, bajamos la tapa y sellamos con silicón. Así habremos terminado la base para la lámpara.
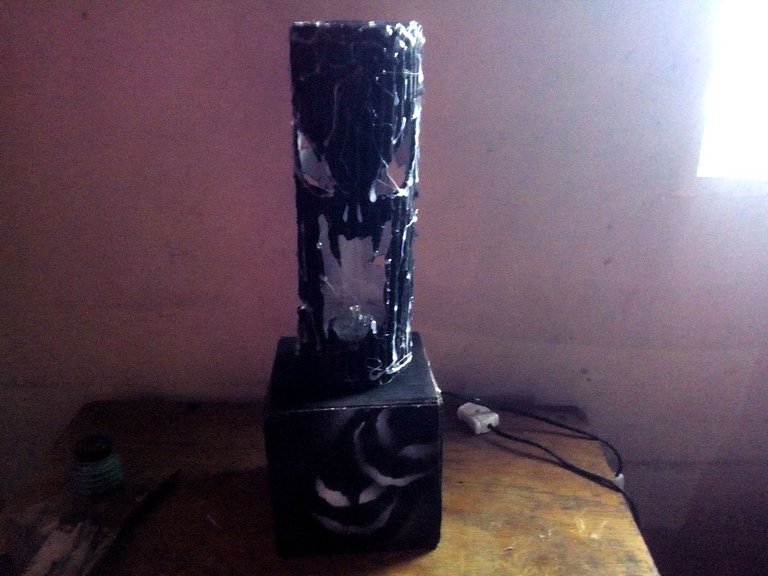
The last step of all to finish our Hallowen lamp is to join the candle with the base and thus we will have finished, we do this by placing the candle on the base by the circle that we leave at the bottom.
El último paso de todos para finalizar nuestra lámpara de Hallowen es unir la vela con la base y así habremos terminado, esto lo hacemos colocando la vela sobre la base por el círculo que dejamos en la parte inferior.
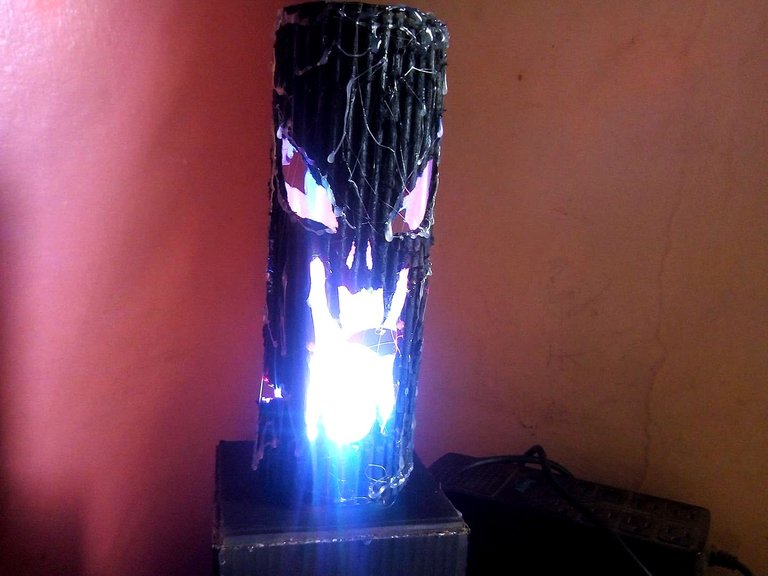

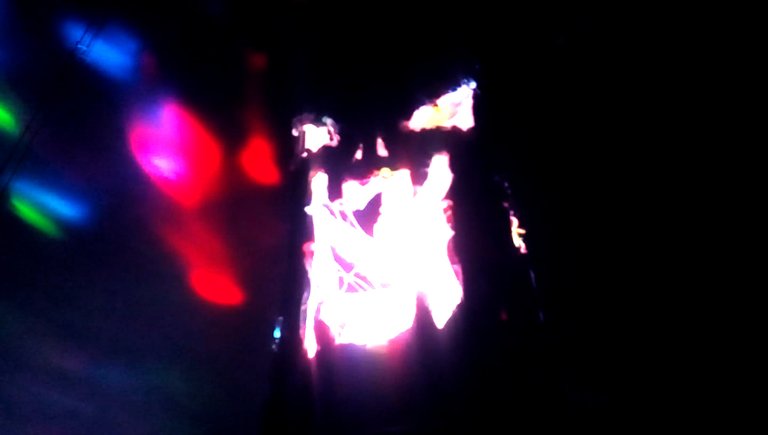
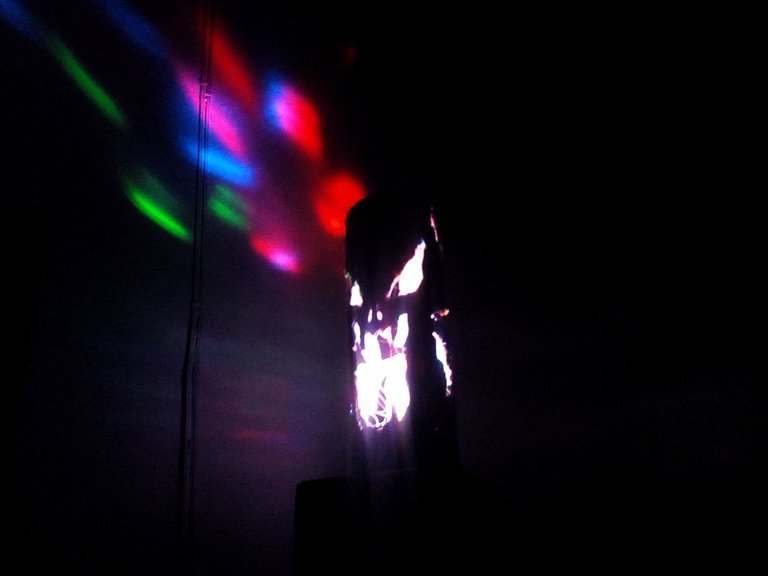

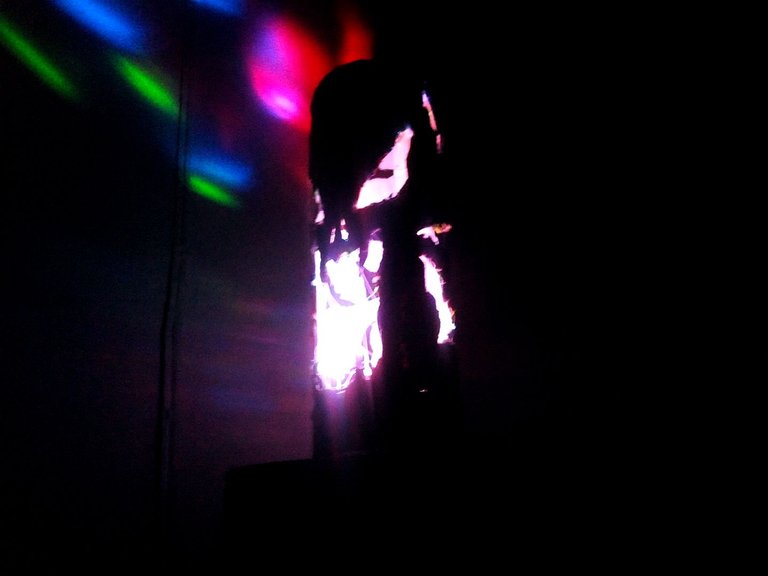

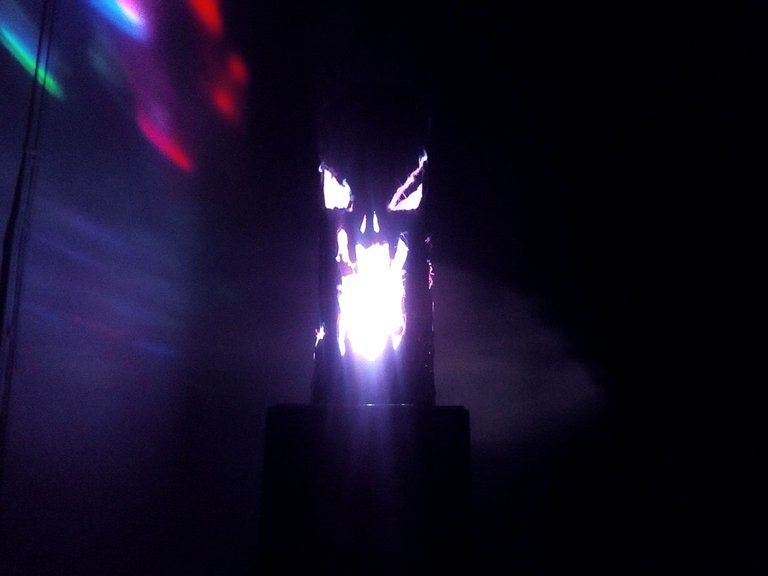
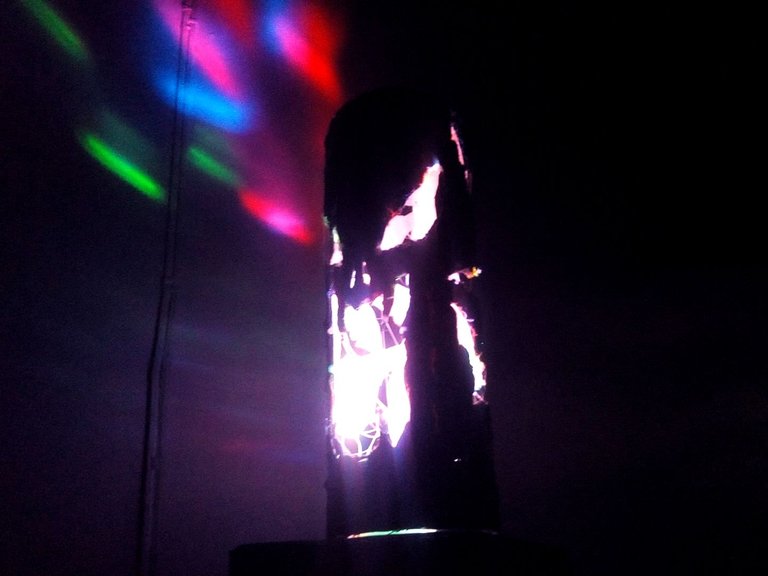
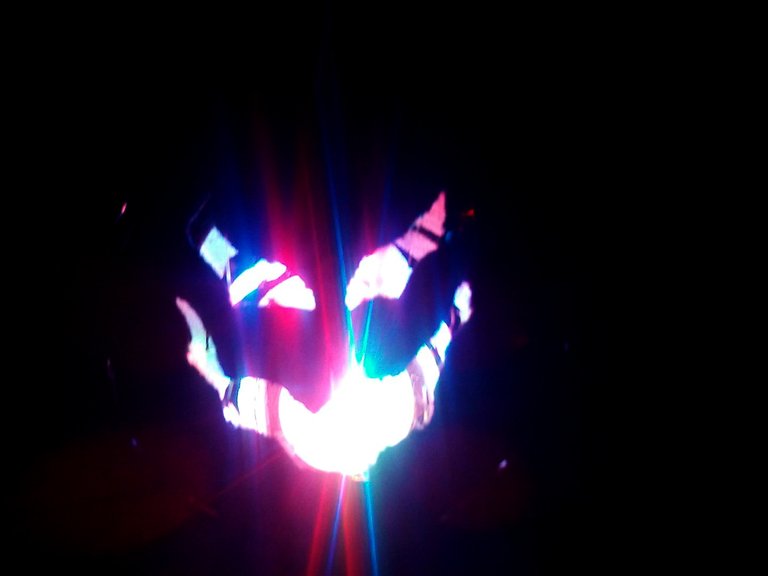
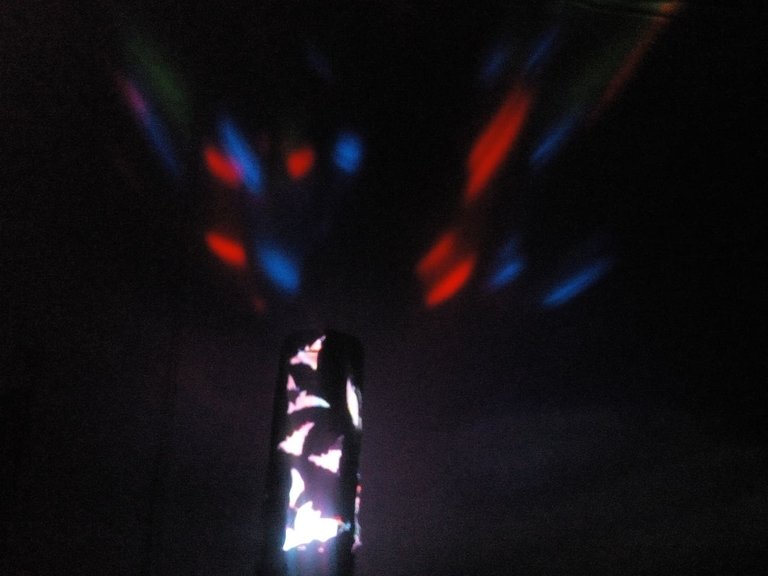
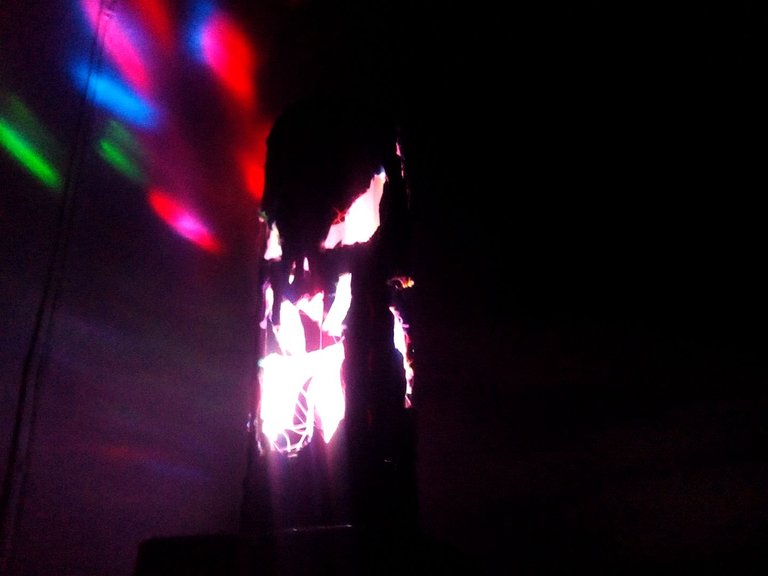
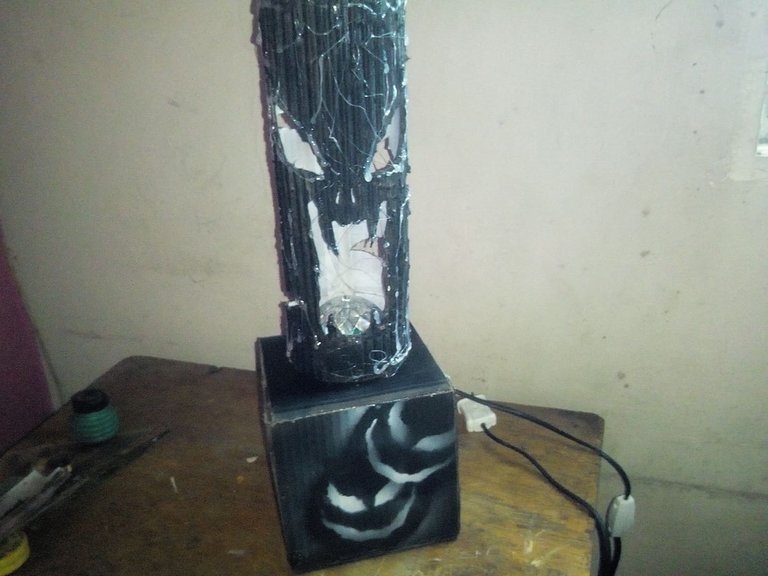
This is how the Hallowen lamp has been, as you can see it not only looks like a candle but also a terrifying tree, although these details go unnoticed when we light the lamp in dark places. So I showed how it looks lit in a light place and what it looks like in a dark place. I recorded a video of how the lights turned, but I couldn't upload it to YouTube because my internet is very slow. This has been my contribution to this Challenge, I hope you like it and it has served you, this model can be used for other types of lamps, such as Christmas.
Así es como ha quedado la lámpara de Hallowen, como pueden ver no solo tiene apariencia de una vela sino de un árbole aterrador, aunque estos detalles pasan desapercibidos cuando encendemos la lámpara en lugares oscuros. Así que mostré como se ve encendida en un lugar iluminado y como se ve en un lugar oscuro. Grabe un video de como giraban las luces, pero no lo pude subir a Youtube porque mi internet es muy lento. Este ha sido mi aporte para este Desafío, espero les guste y les haya servido, este modelo puede usarse para otro tipo de lámparas, como de navidad.
Siempre llevas el reciclaje a otro nivel, aunque no sea halloween usaría esta lampara para decorar mi cuarto, es un honor para mi contar con tu muestra de talento en cada edición. Saludos!
ahora las noches son coloridas y terrorificas en mi habitación jjejeje La iluminación es demasiado genial. Participar siempre me acelera la creatividad, gracias por la invitación a cada evento.
esta perfecto para una reunion de halloween porque da un poquito de miedito el reflejo y las sombras jajajjaja
aprovehco para darle amor a tu post
MALOMI LOVE 💙
esta perfecta para la habitación. jejejeje.. Muy agradecido por el corazón azulito <3
The rewards earned on this comment will go directly to the person sharing the post on Twitter as long as they are registered with @poshtoken. Sign up at https://hiveposh.com.
Muy buen trabajo, bastante creativo. Saludos
gracias amigo, me alegra que te haya gustado como quedó!
Hola @fixie me encanta este arbol tenebroso ideal para el halloween gracias por compartir. Abrazos
que bueno quete gusto, esta bien tenebroso, muy ideal para estas fechas jjejej saludos