Hola amigos de Hive.
A continuación seguiré con el tutorial-3 para la realización de una mascarilla casera reutilizable sin máquina de coser y con material reciclado.
Os pongo enlaces del Tutorial 1 y 2.
https://peakd.com/hive-148441/@garvi/mascarilla-casera-reutilizable-sin-maquina-de-coser-y-con-material-reciclado-1-reusable-homemade-mask-without-sewing-machine-and


Continuamos por el por el siguiente paso y este será el numero 7.
Paso 7/Step
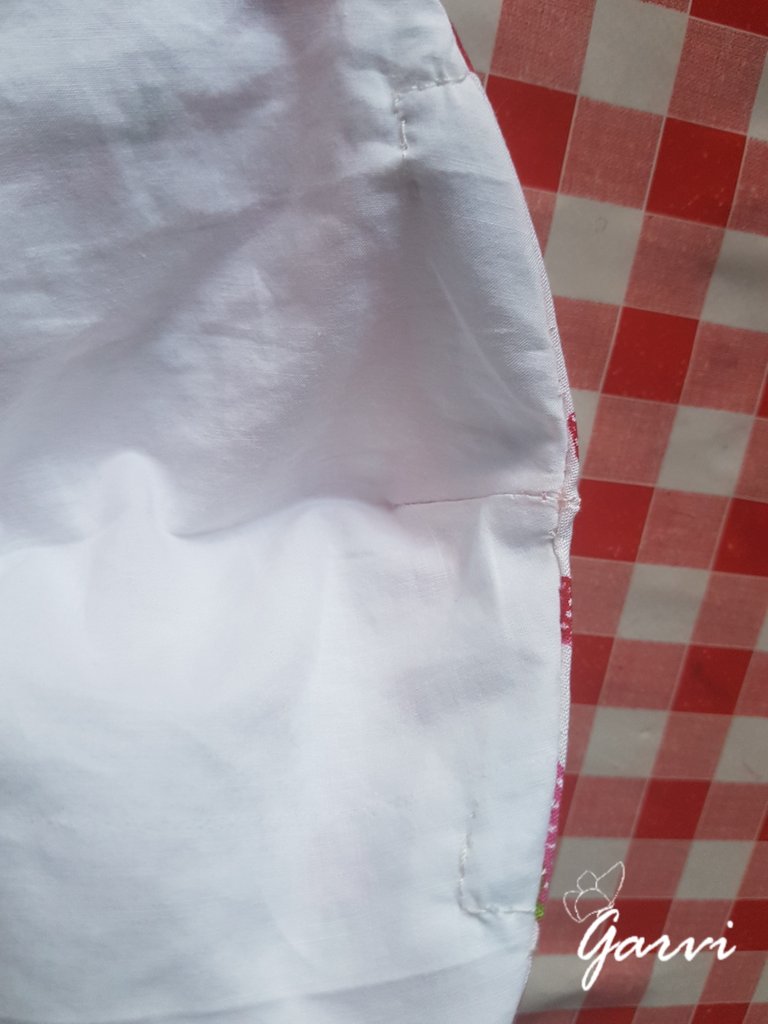
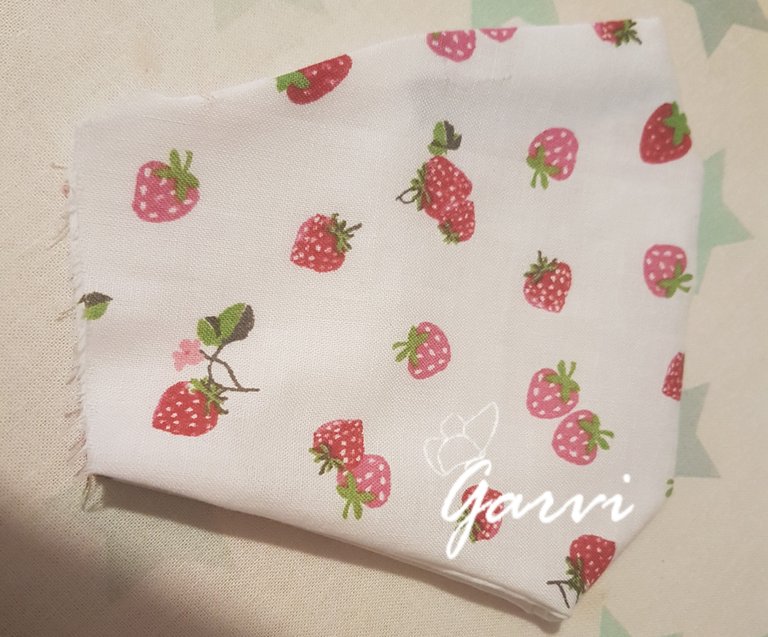
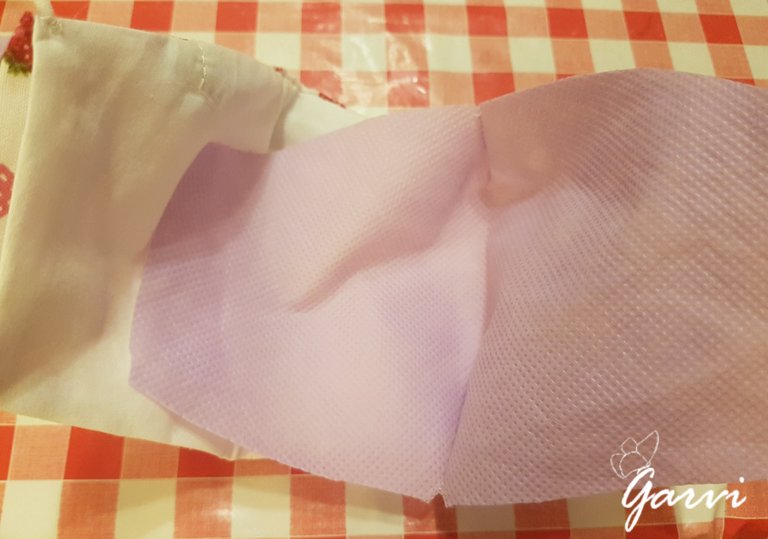
En este paso seguiremos con el proceso de acabado de nuestra mascarilla casera.
Cosiendo y repasando todos los detalles con aguja e hilo.
Damos la vuelta al tejido y repasamos costuras a la Horquilla nasal.
**In this step we will follow the process of finishing our homemade mask. **
**Sewing and reviewing all the details with needle and thread. **
We turn the fabric over and go over the stitching on the Nose Clip.

Paso 8/Step
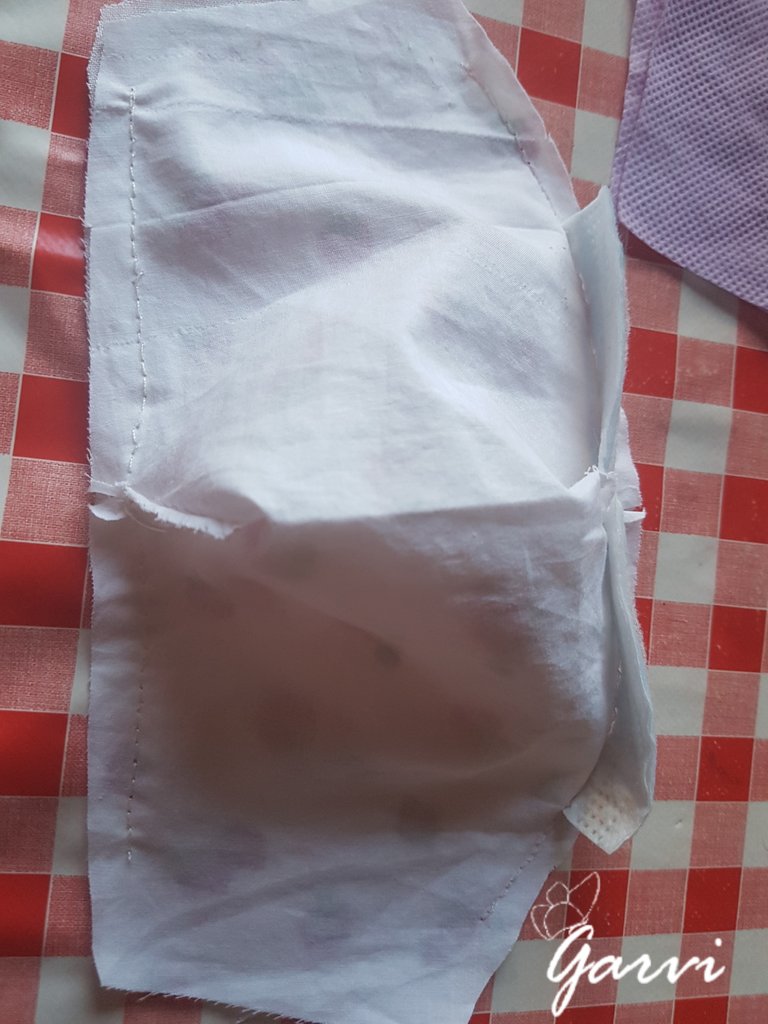
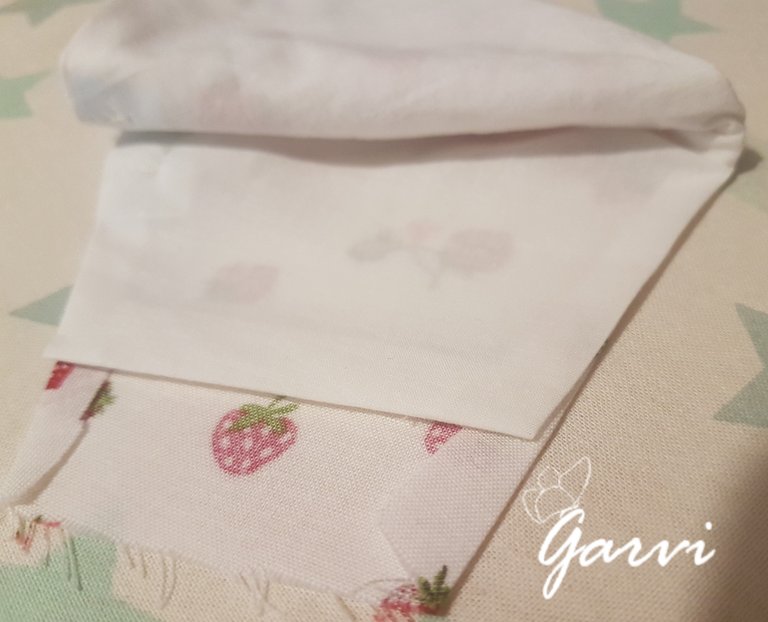
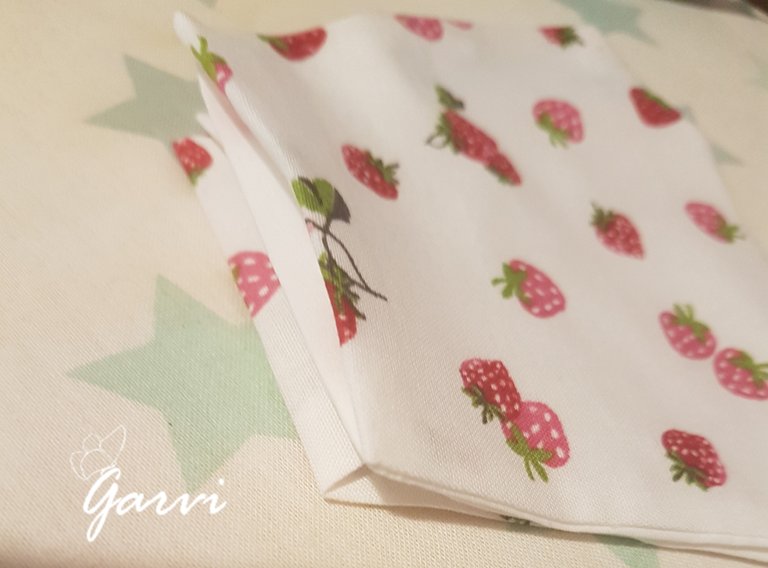
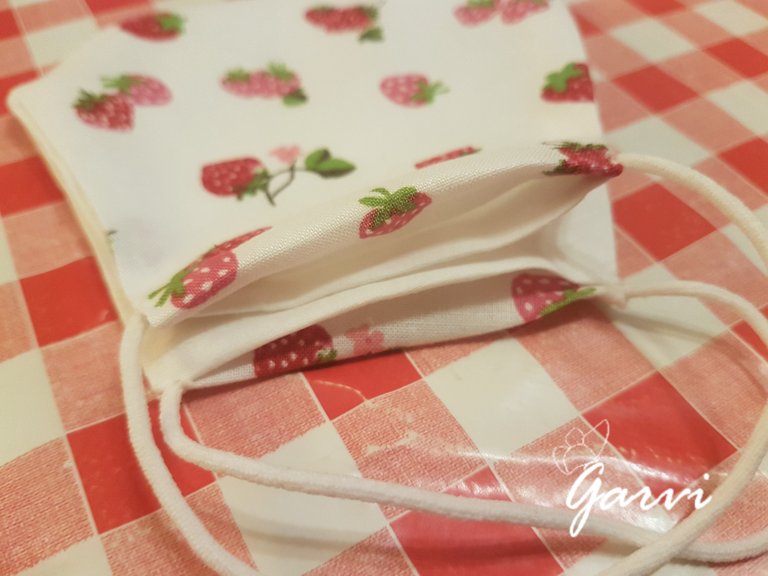
Ahora pasamos a planchar de ese modo se afirman las costuras y la forma de la mascarilla.
Metemos las solapas laterales y las planchamos para posteriormente coser, de este modo quedan perfectamente sin demasiado esfuerzo.
Now we move on to ironing so that the seams and the shape of the mask will be tightened.
We put the side flaps in and iron them and then sew them on, so that they fit perfectly without too much effort.
Paso 9/Step
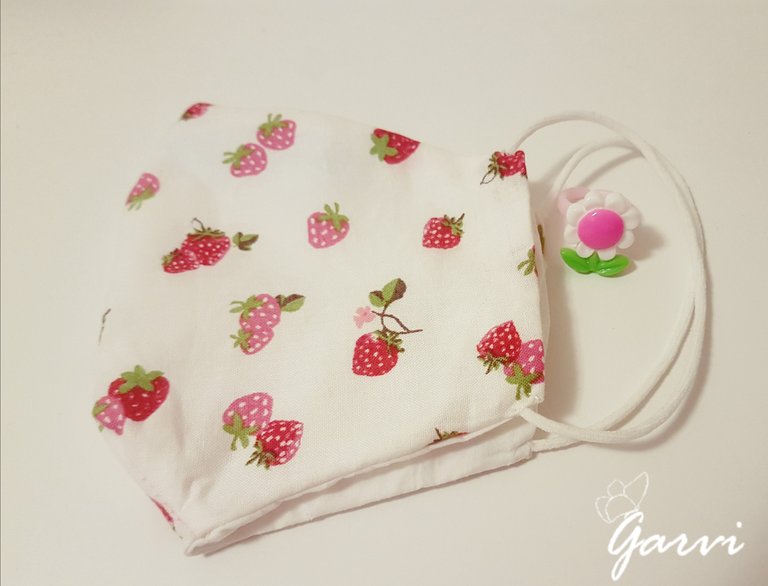
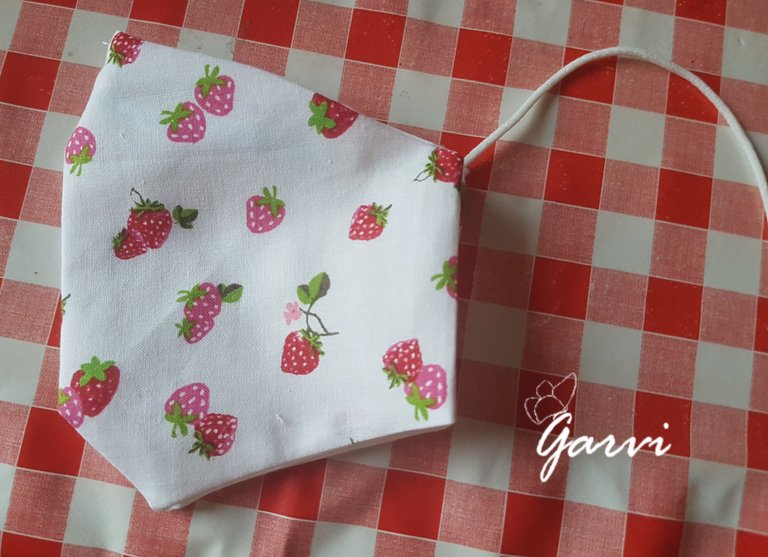
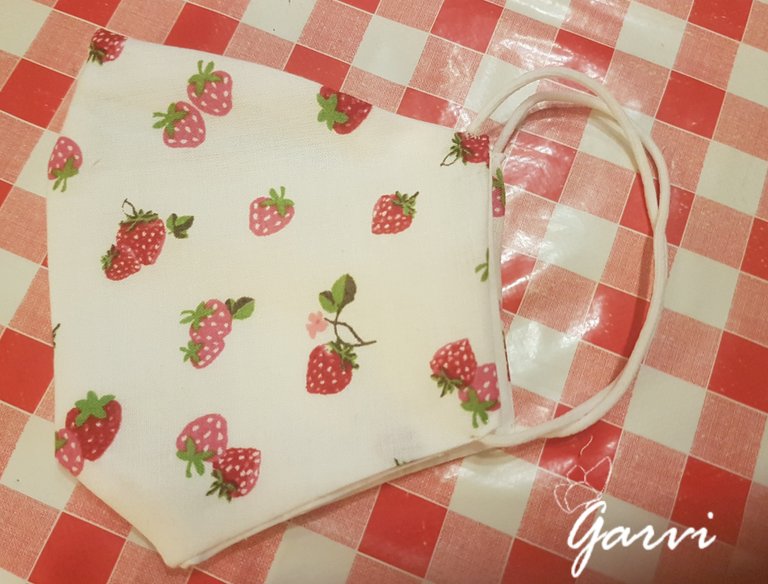
Una vez planchadas las solapas ponemos las gomas recicladas de sujeción para las orejas, cosemos y repasamos las solapas.
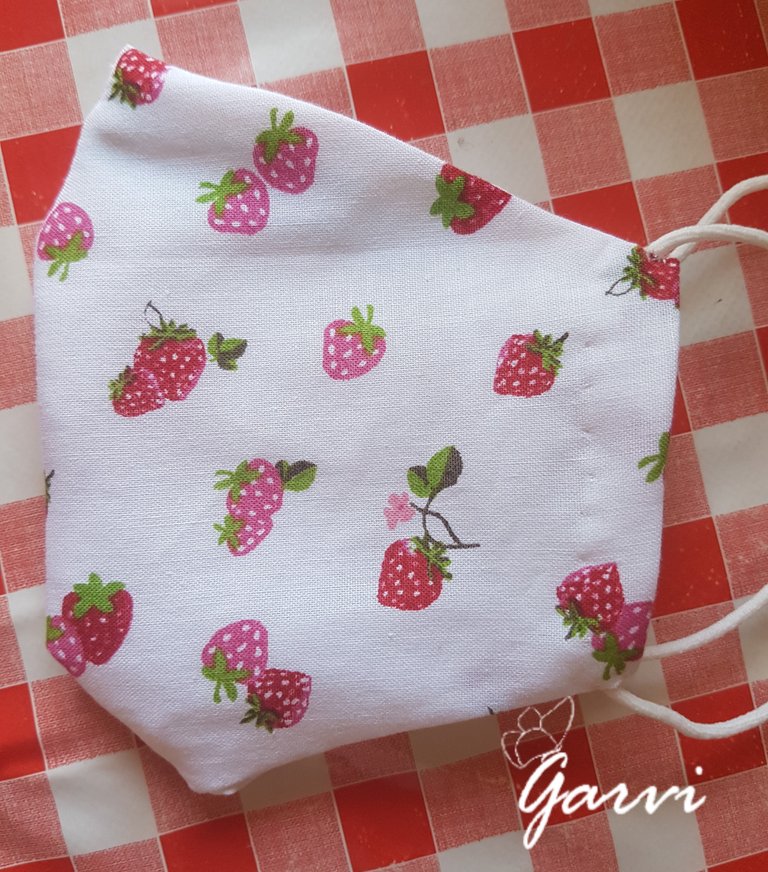
¡Lista para pasear!
Es increíble como han pasado las mascarillas a ser un complemento o accesorio más.
Todas las empresas y fabricantes de moda han pasado a realizar mascarillas.
De este modo nosotros podemos tener varios modelos a juego con nuestros peques, dependiendo del momento, etc
Once the flaps are ironed, we put the recycled rubber ear plugs on, sew and go over the flaps.
Ready to go!
It's amazing how masks have become just another accessory.
All fashion companies and manufacturers have switched to making masks.
In this way we can have several models to match our little ones, depending on the moment...
Imágenes capturadas con / Images captured with Samsung Galaxy S7 Edge.
Todos los derechos / All rights reserved by @Garvi.

Congratulations @garvi! You have completed the following achievement on the Hive blockchain and have been rewarded with new badge(s) :
You can view your badges on your board And compare to others on the Ranking
If you no longer want to receive notifications, reply to this comment with the word
STOPDo not miss the last post from @hivebuzz:
Support the HiveBuzz project. Vote for our proposal!