💕 ¡Hola gente bella!💕
Espero que estén muy bien felices y contentos junto a sus pequeños, disfrutando en esta temporada de vacaciones mis mejores deseos para todos ustedes hermosos padres y madres de la comunidad
en esta oportunidad quiero compartirles una creativa manualidad que realicé con mi hija Esther, como todos saben 😉y no es un secreto para nadie, que las temporadas de vacaciones suelen ser una inmensa tortura,🙈 pero he aprendido a disfrutarlas haciendo este tipo de actividades con mi hija, es un tiempo muy hermoso que pasamos juntas despertando su creatividad y también desarrollando sus habilidades para hacer este tipo de arte, además de crearle conciencia de todas las cosas que se pueden hacer con materiales que pensamos que ya no tienen ninguna oportunidad, los renovamos y les podemos hacer cosas diferentes y darle distintos usos es decir... reciclar ♻️
💕 Hello beautiful people!💕
I hope you are very well happy and content with your little ones, enjoying this vacation season my best wishes to all of you beautiful fathers and mothers of the community.
in this opportunity I want to share with you a creative craft that I made with my daughter Esther, as you all know 😉and it is not a secret to anyone, that the vacation seasons are usually an immense torture,🙈 but I have learned to enjoy them doing this kind of activities with my daughter, it is a very beautiful time that we spend together awakening her creativity and also developing her skills to do this kind of art, besides creating awareness of all the things that can be done with materials that we think that no longer have any chance, we renew them and we can make different things and give them different uses ie. .. recycle ♻️

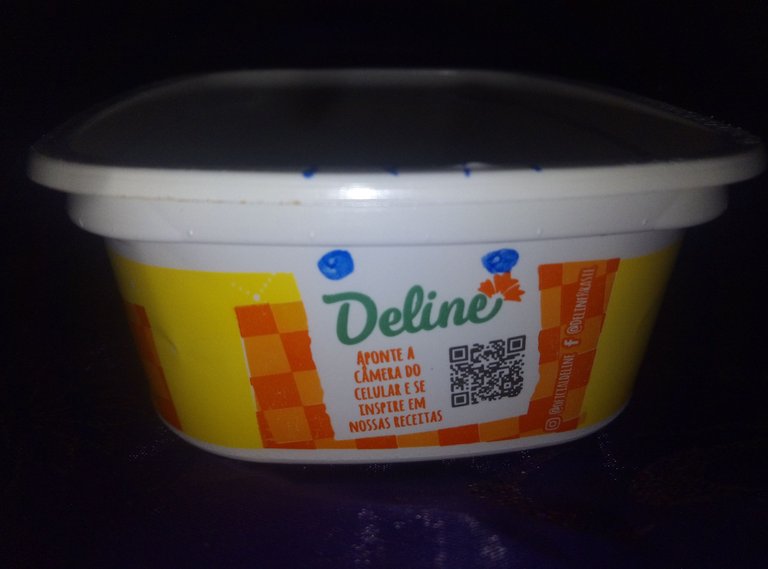
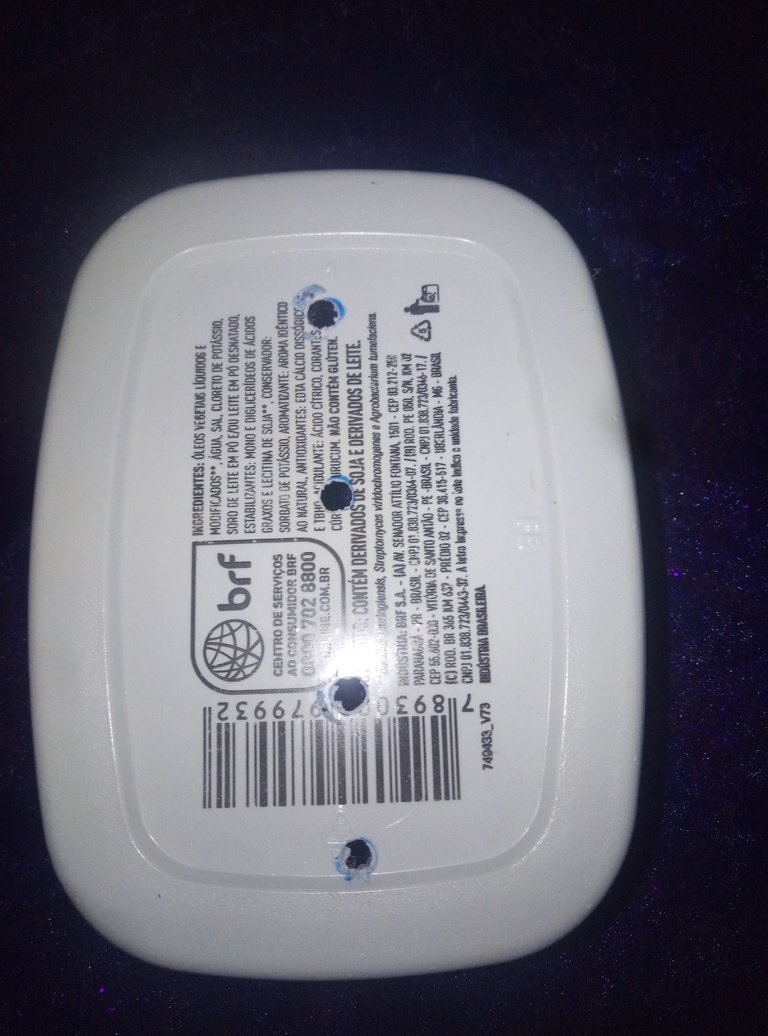
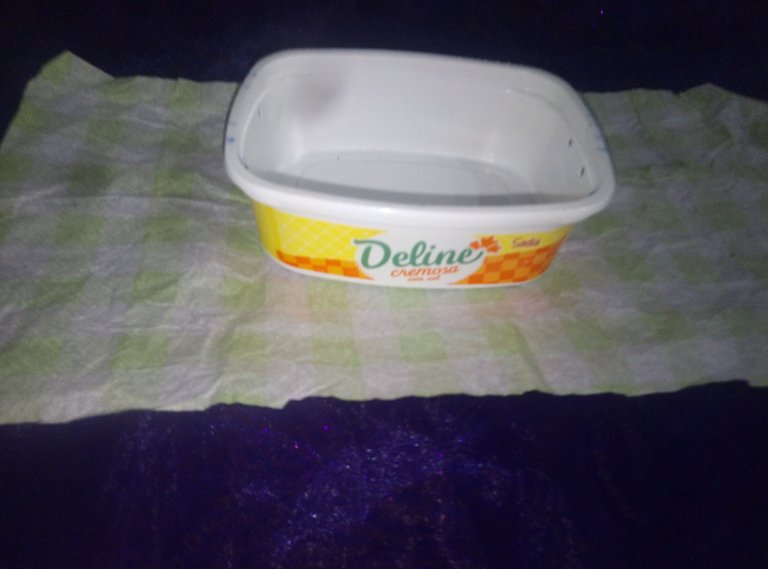
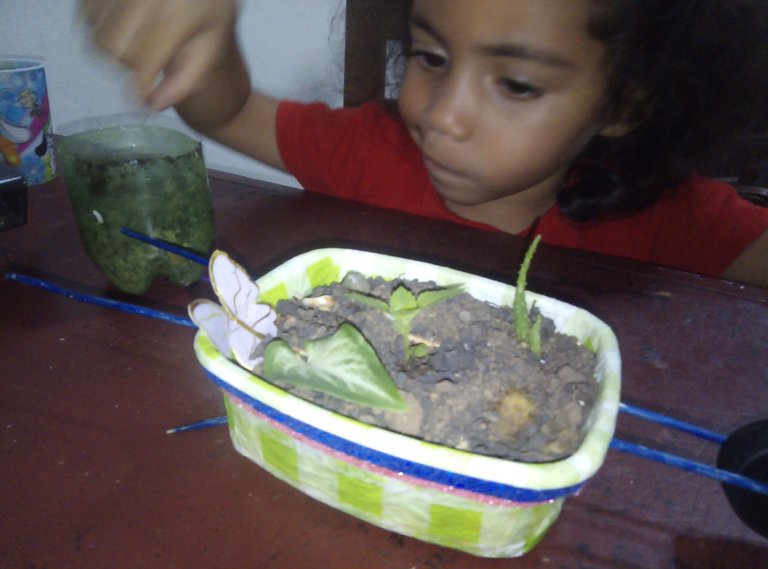
Hoy nos animamos a realizar esta carreta y no me van a creer ... ¡es con un envase desechable de mantequilla! ¿¿¿queeeeé??? 😮 Esos envases que todos tenemos en casa, este que estamos utilizando es el más pequeño que es de 250 gramos el cual queda fenomenal para la idea que estamos buscando realizar 🧐
Y lo importante de todo esto es que es un material que tenemos en casa y que a veces no le prestamos la atención necesaria o no pensamos en cómo darle otro uso distinto al que ya tenemos acostumbrado a veces de guardar algún alimento allí y almacenarlo, pero utilizarlo para hacer una maceta y hacerlo en una especie de carreta parece algo imposible, pero es superfácil y práctico para realizar con nuestros hijos y además compartir con ellos un momento en el que podamos mantenerlos entretenidos, contentos y atentos de todo lo que estamos haciendo 👌🏻
Esto con motivo a la iniciativa #craftyMotherhood, sino te has enterado aún sobre esto, aquí te dejo el enlace para que te sumes a esta bonita iniciativa y nos compartas esos momentos creativos con tus pequeños 🔜
Iniciativa
Today we decided to make this cart and you will not believe me .... it is with a disposable butter container! Whaaaaat?😮 Those containers that we all have at home, this one we are using is the smallest which is 250 grams which is great for the idea that we are looking for 🧐
And the important thing about all this is that it is a material that we have at home and sometimes we do not pay the necessary attention to it or we do not think about how to give it another use other than the one we are already used to sometimes keep some food there and store it, but using it to make a flower pot and make it in a kind of cart seems something impossible, but it is super easy and practical to perform with our children and also share with them a moment in which we can keep them entertained, happy and attentive to everything we are doing 👌🏻
This on the occasion of the #craftyMotherhood initiative, if you haven't heard about this yet, here is the link so you can join this beautiful initiative and share those creative moments with your little ones 🔜 Iniciativa
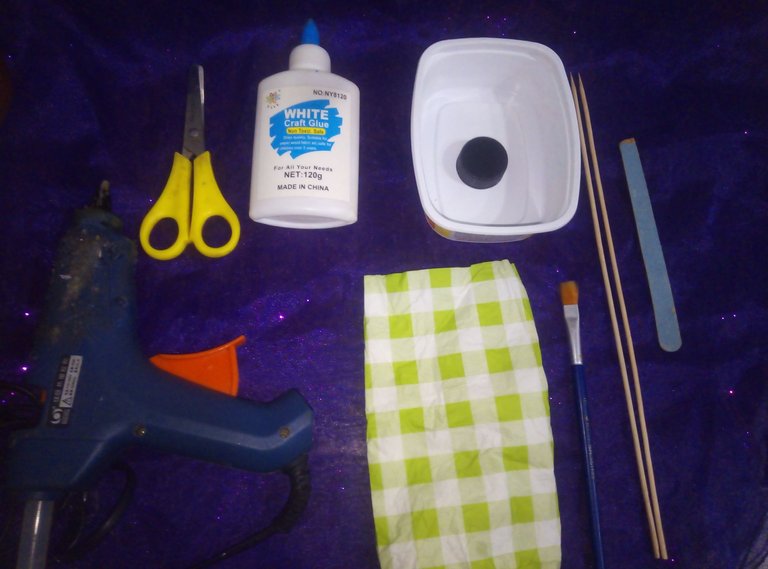
🎗️Los materiales que utilice fueron los siguientes:
✂️ El elemento sorpresa el envase de mantequilla, este es de 250 Gramos
| ✂️silicón caliente | |
|---|---|
| ✂️palitos de altura | |
| ✂️una tapa plástica | |
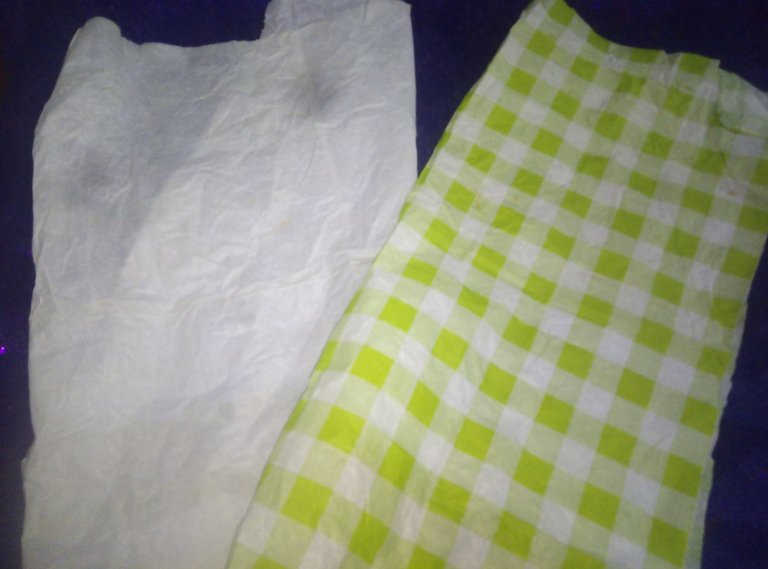
| ✂️Servilletas decoradas | |
| ✂️pega blanca |
🎗️Los materials I used were the following:
✂️ The surprise element is the 250 grams butter container.
| ✂️hot silicone | |
|---|---|
| ✂️height sticks | |
| ✂️a plastic lid | |
| ✂️Decorated napkins | |
| ✂️white glue |
 |  |
|---|
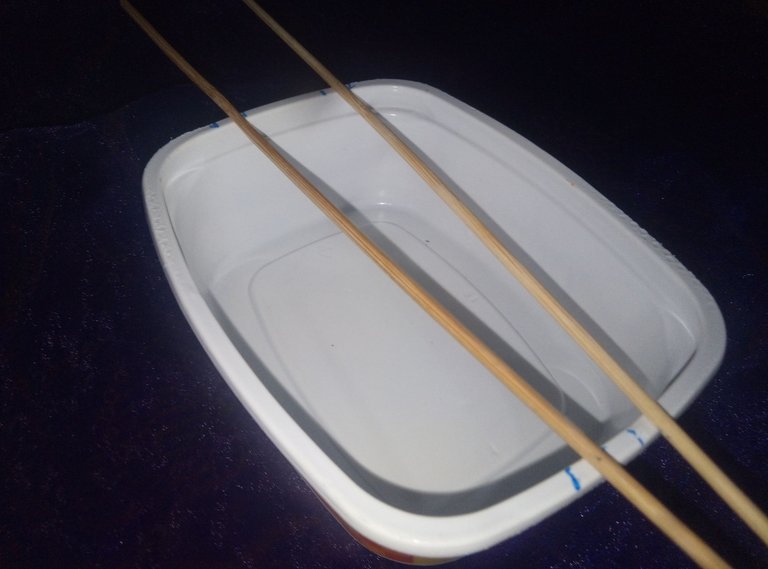
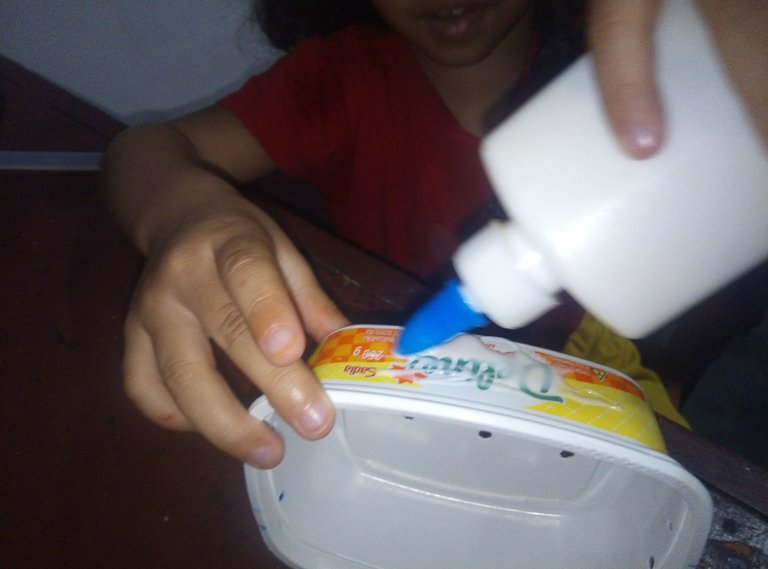
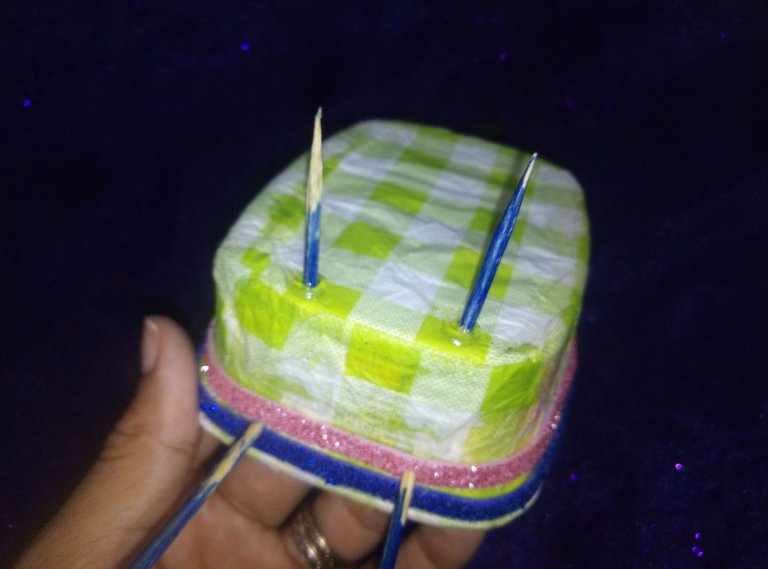
1️⃣ Lo primero que vamos a realizar es definir los agujeros en los que vamos a colocar los palillos de altura, en este paso vamos a definir lo que va a ser la estructura de la carreta, es decir estos palitos los vamos a colocar de forma que vayan a sujetar la tapa plástica que va a ser el caucho.
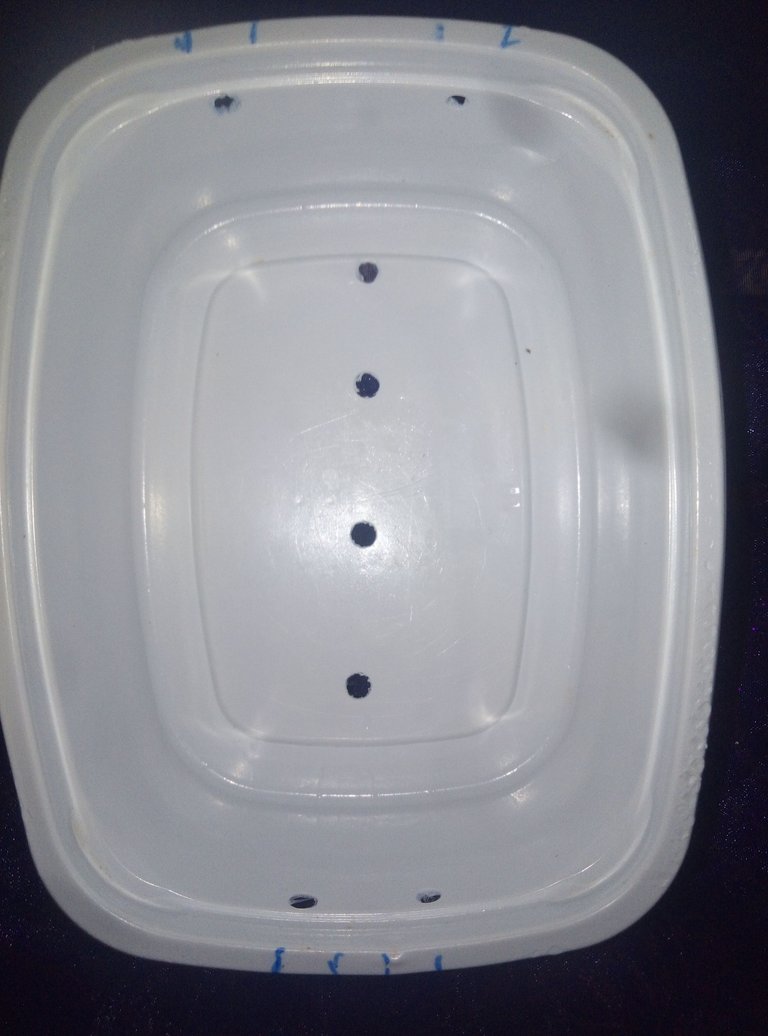
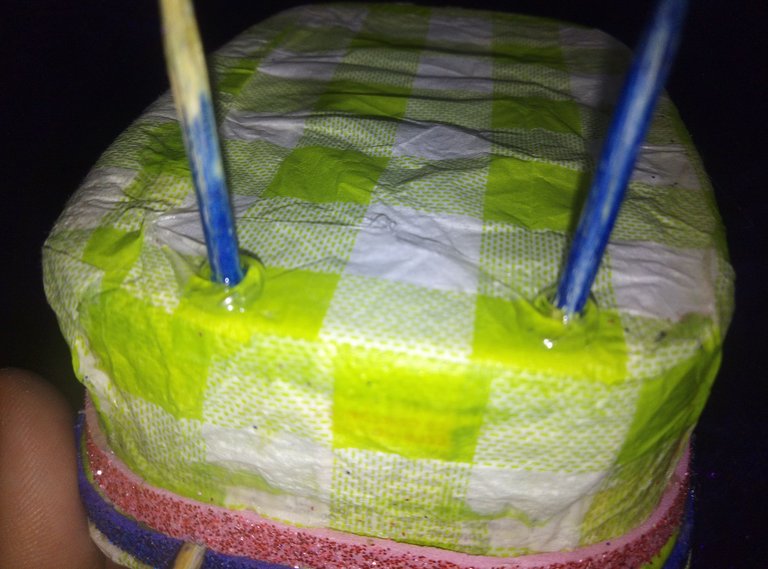
2️⃣ Luego de que hayamos definido dónde van a ir colocados los palitos de altura, marcamos con la ayuda de un marcador, para allí abrir los agujeros, yo me ayudé con un cautín, para tener unos agujeros redondos perfectos, pero también nos podemos ayudar con un clavo caliente, además aproveché e hice unos cuantos agujeros debajo del envase para que sirva como drenaje para que no se vayan a dañar nuestras plantas 😉
1️⃣ The first thing we are going to do is to define the holes where we are going to place the height sticks, in this step we are going to define what is going to be the structure of the cart, that is to say, we are going to place these sticks so that they will hold the plastic cover that is going to be the rubber.
2️⃣ After we have defined where the height sticks will be placed, we mark with the help of a marker, to open the holes, I helped myself with a soldering iron, to have perfect round holes, but we can also help ourselves with a hot nail, I also took advantage and made a few holes under the container to serve as drainage so that our plants will not be damaged 😉
 |  |
|---|
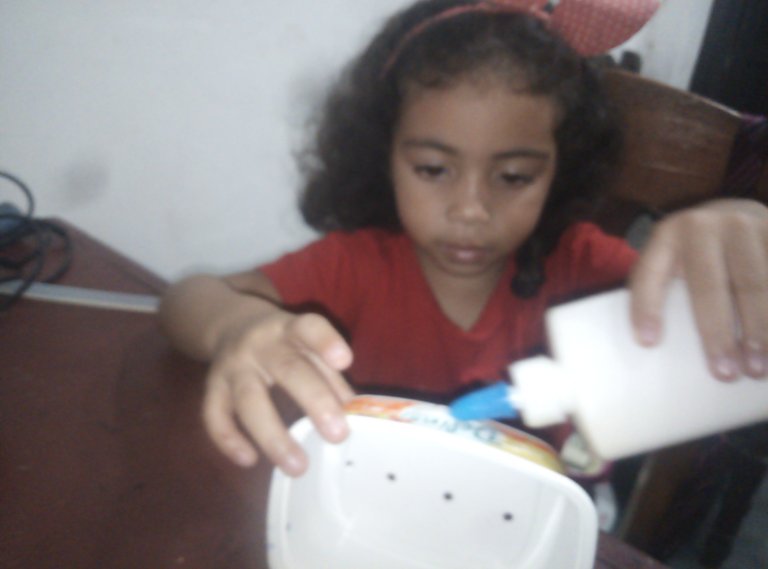
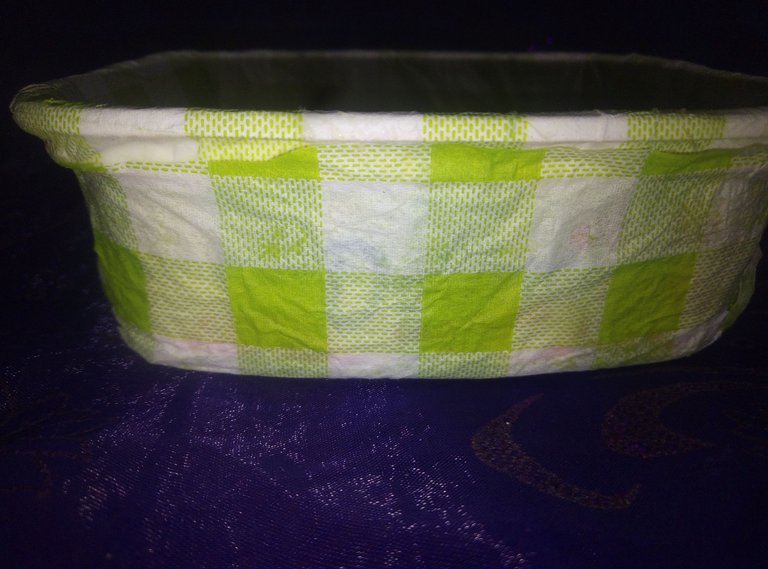
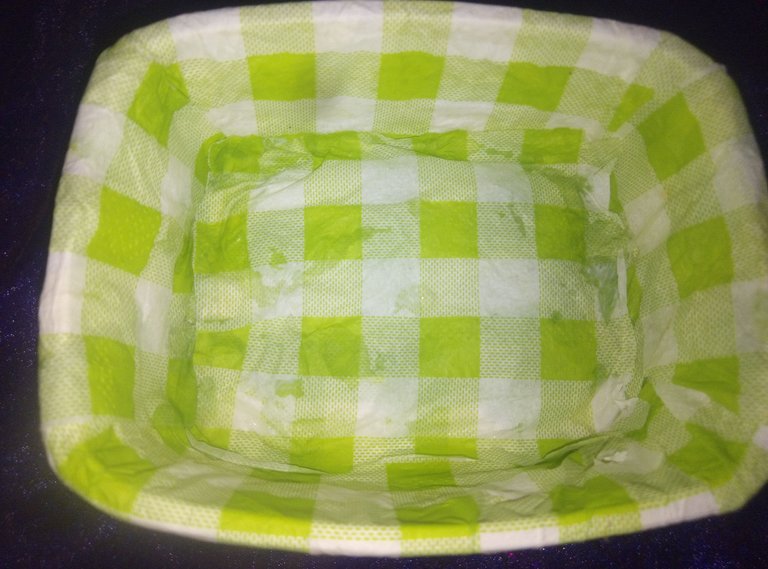
3️⃣ Lo que vamos a hacer ahora es pegar la servilleta decorada al envase, vamos a esparcir un poco de pega blanca por todo el envase y vamos a pegar con mucho cuidado esta servilleta, ella es muy débil por lo delgada que es así que debemos tener mucho cuidado al momento de pegarla que no se nos vaya a doblar ni que queden arrugas, aunque si quedan arrugas no importa✌🏻... de eso se trata y quizás, pues puedan también darle ese efecto rústico mientras van pegando la servilleta con algunas cuantas arrugas.
Esta servilleta tiene dos capas, así que simplemente retire la capa blanca y utilice la parte que tiene la decoración.
Pegamos muy bien nuestra servilleta y vemos si es necesario de colocar una segunda capa porque al ser muy finita puede transparentar y se pueden traspasar las imágenes del envase, algunos pueden si quieren pintar primero el envase con color blanco y luego pegar la servilleta yo quise hacerlo de esta forma directa, porque pienso que también se ve bien y ya veremos el resultado final si queda bien así o si es necesario pintar primero, pero yo lo hice así con la servilleta directamente y por el momento va quedando bien no se nota tanto la marca del envase 👍🏻
3️⃣ What we are going to do now is to glue the decorated napkin to the container, we are going to spread some white glue all over the container and we are going to glue this napkin very carefully, it is very weak because it is so thin so we must be very careful when gluing it so that it does not bend or wrinkles are left, although if there are wrinkles, do not importa✌🏻... that's what it's all about and perhaps, you can also give it that rustic effect while gluing the napkin with a few wrinkles.
This napkin has two layers, so simply remove the white layer and use the part that has the decoration.
We glue our napkin very well and see if it is necessary to place a second layer because being very thin can be transparent and can transfer the images of the container, some can if they want to paint the container first with white color and then paste the napkin I wanted to do it this way directly, because I think it also looks good and we will see the final result if it looks good this way or if it is necessary to paint first, but I did it this way with the napkin directly and for the moment it is looking good, the mark of the package is not so noticeable 👍🏻
 |  |  |
|---|
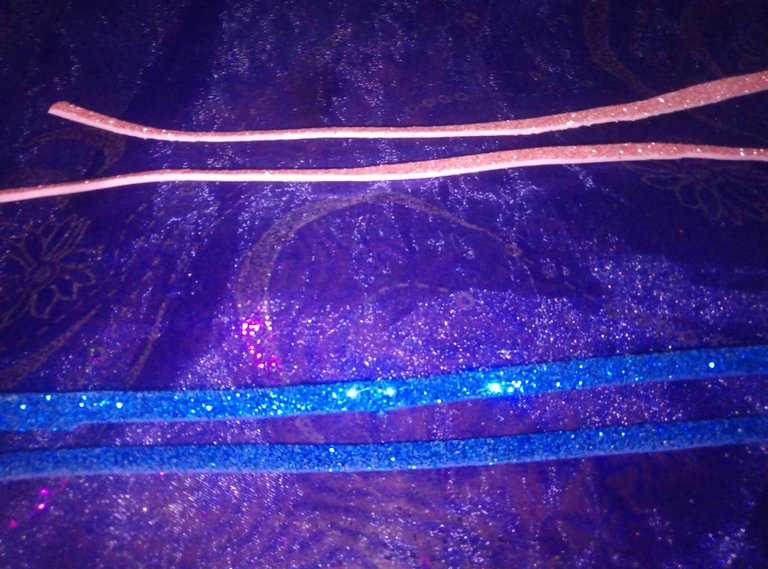
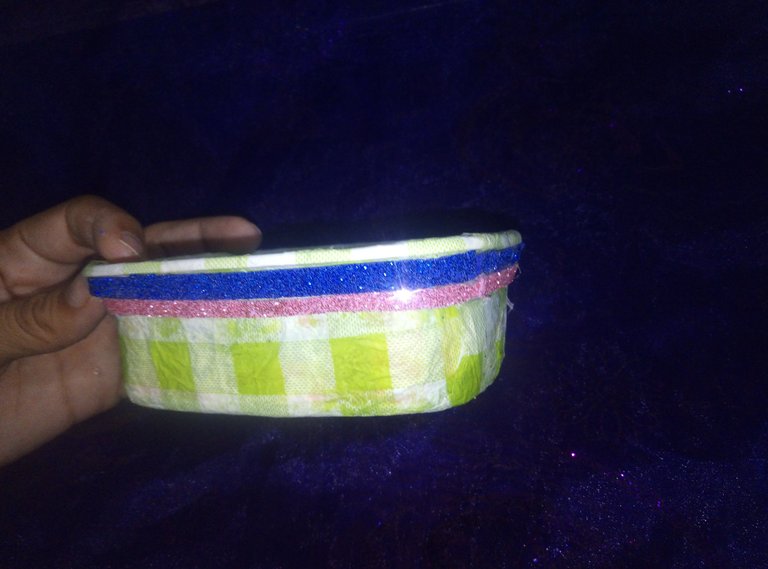
4️⃣ Una vez forrado todo el envase la parte externa y también la interna vamos a cortar unas tiras finitas de foami yo utilicé color rosado y azul marino brillante para definir un poco el borde, recuerden que en este paso ustedes pueden decorar esta carreta de la forma que ustedes deseen con cintas🎀, retazos de tela, algunas flores plásticas,🌺 todo lo que ustedes quieran agregar pueden tener la libertad de hacerlo pueden ser totalmente personalizados a su gusto, en este caso yo voy a utilizar estas tiras de foami que tengo por acá y voy a recubrir todo el borde, esto es como para definirlo un poco.
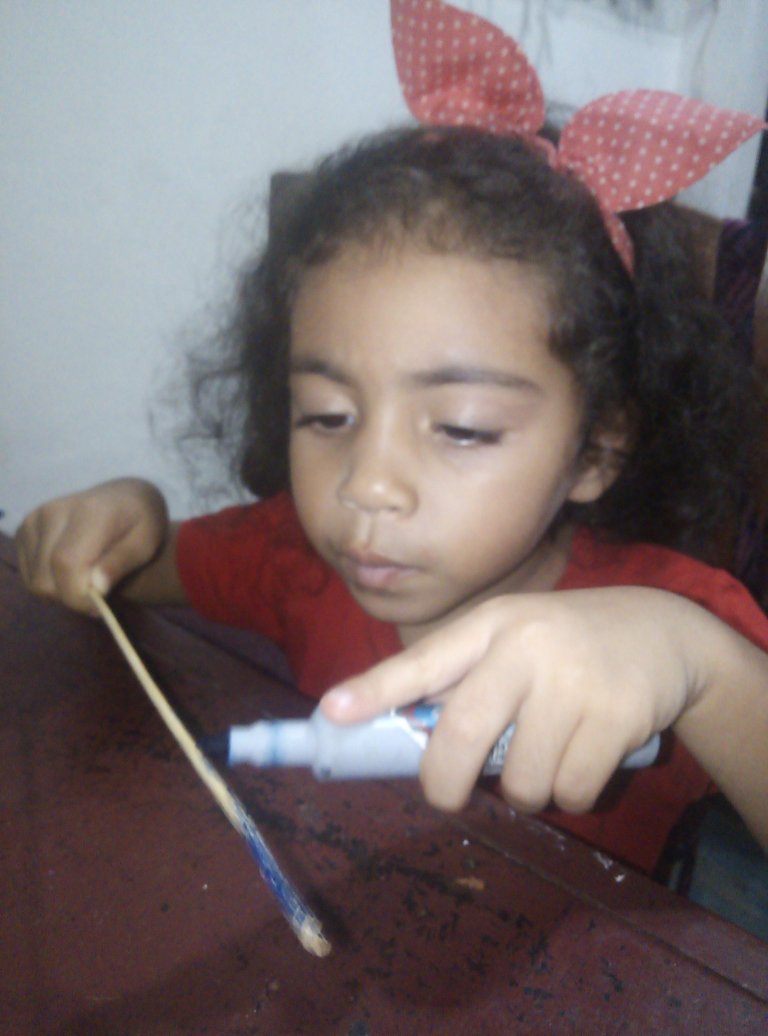
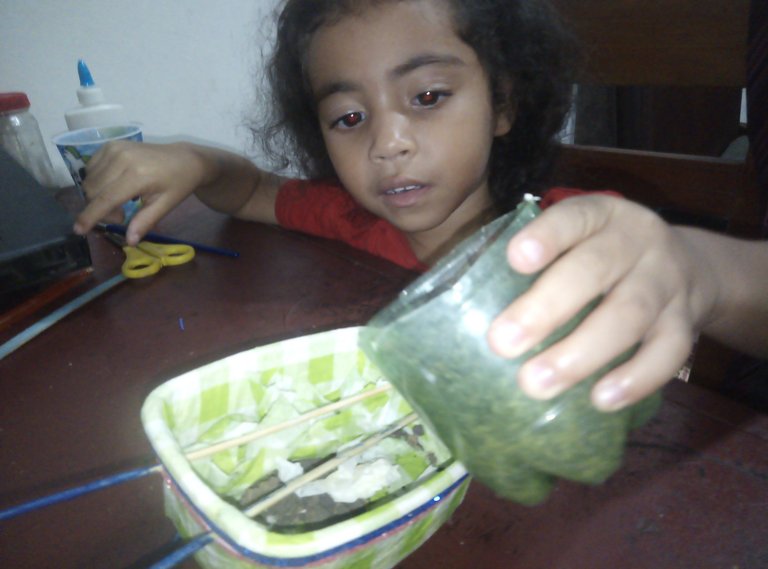
5️⃣ Una vez listo este paso, vamos a insertar estos palitos de altura para armar la estructura, y también vamos a pegar la tapa plástica que será el caucho de la carreta, los palitos de altura los pinto mi hija con el marcador, eso fue como un dardo tranquilizante allí se mantuvo bien entretenida durante un buen rato, lo recomiendo jajajaja.
Allí ustedes van ajustando él largo qué ustedes quieren para su carreta, este es el que nos gustó, y al final de los ajustes termine de rellenar los detalles que faltaron por pintar en los palitos de altura.
Ya va tomando más forma esta linda carreta qué será la portadora de unas bonitas plantas, aunque debo confesar que no tengo muchas para rellenar esta carreta pero lucirán hermosas 💐
4️⃣ Once the entire container is lined the outside and also the inside we are going to cut some thin strips of foami I used pink and bright navy blue to define a little the edge, remember that in this step you can decorate this cart the way you want with ribbons🎀, scraps of fabric, some plastic flowers,🌺 anything you want to add you can have the freedom to do it can be totally customized to your liking, in this case I am going to use these foami strips that I have around here and I am going to cover the whole edge, this is like to define it a little bit.
5️⃣ Once this step is ready, we are going to insert these height sticks to assemble the structure, and we are also going to glue the plastic cover that will be the rubber of the cart, my daughter painted the height sticks with the marker, it was like a tranquilizer dart, she was very entertained for a long time, I recommend it hahahaha.
There you can adjust the length you want for your wagon, this is the one we liked, and at the end of the adjustments finish filling in the details that were missing to paint on the height sticks.
Already taking more shape this nice wagon which will be the carrier of some nice plants, although I must confess that I don't have many to fill this wagon but they will look beautiful 💐
 |  |
|---|
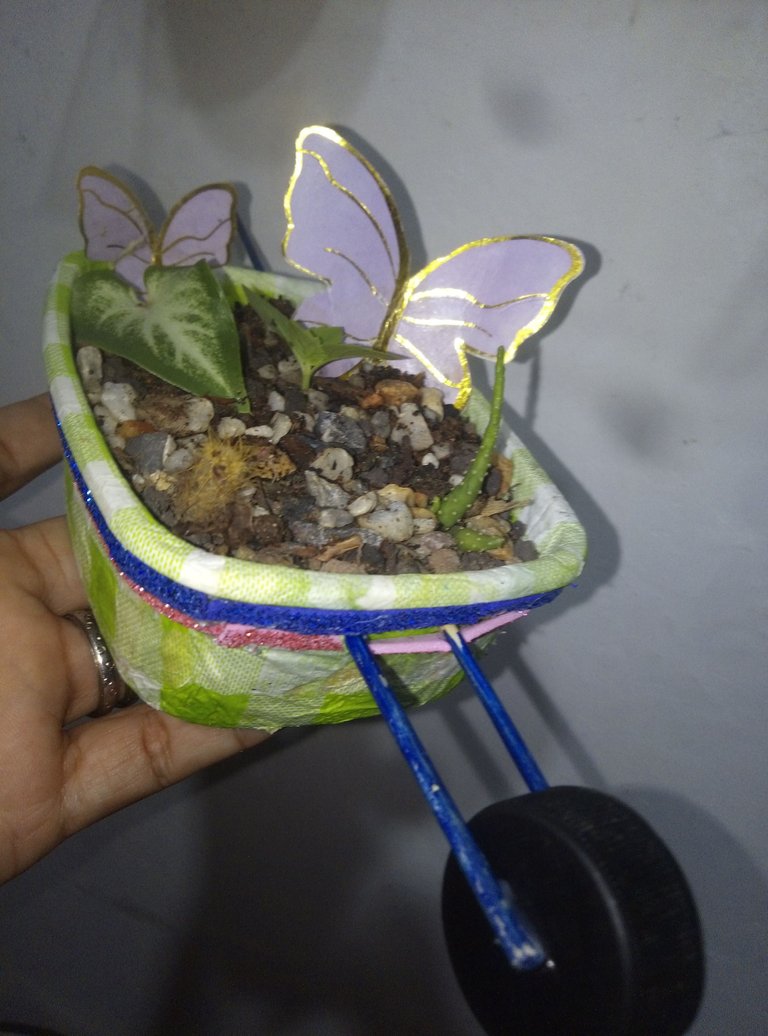
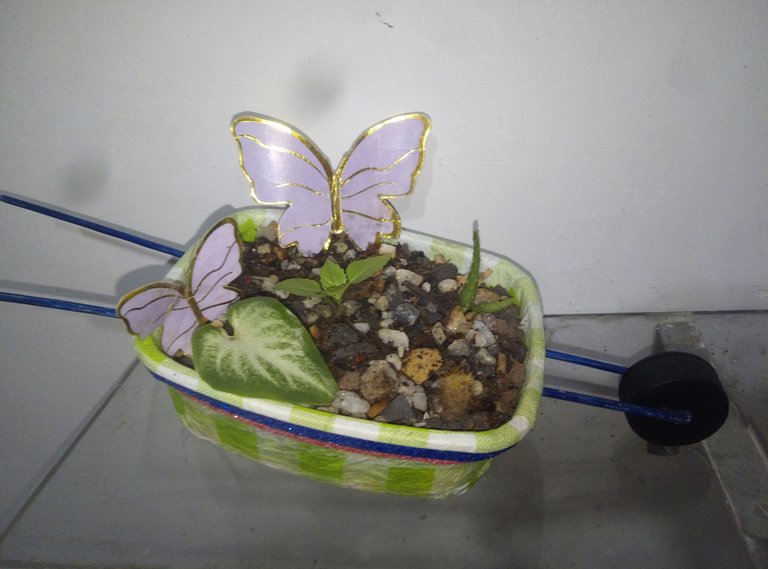
6️⃣ Las puntas de los palitos sobrantes los utilicé como patas soportes de la carreta, así que aquí podemos aprovechar todo el material, aunque les recomiendo usar paletas de helado para hacer este soporte porque es más resistente.
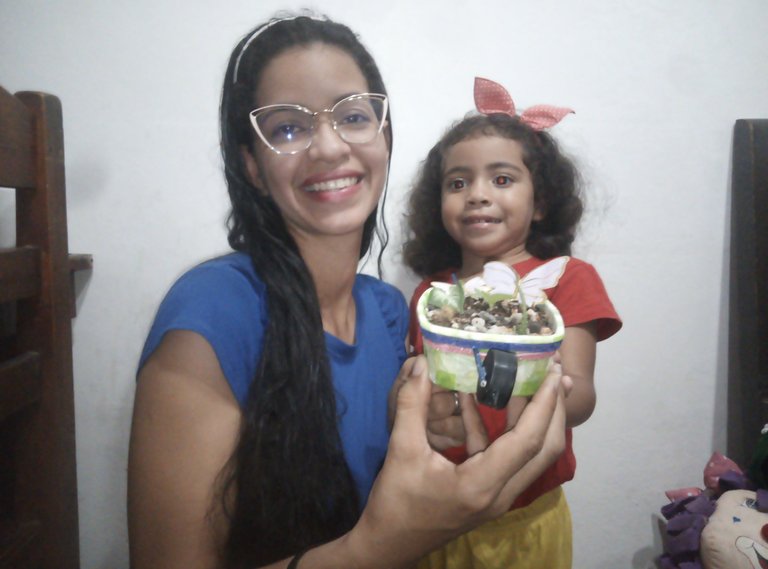
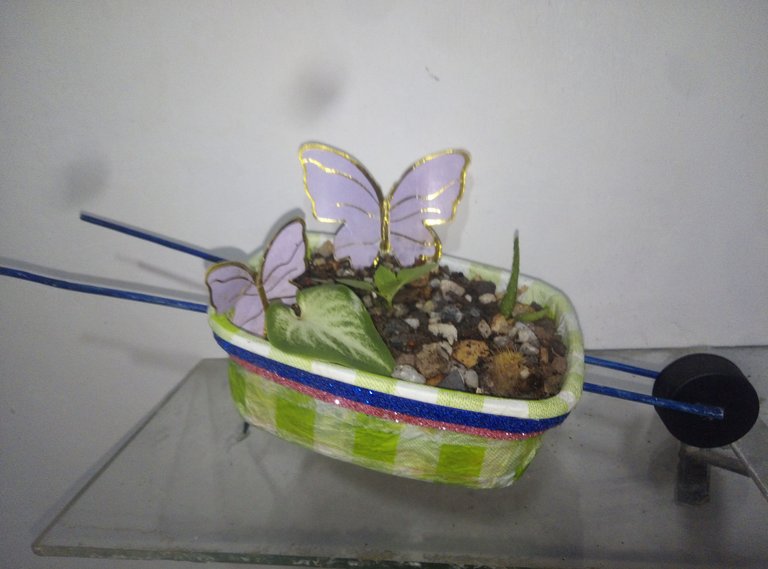
7️⃣ Y así, ¡está terminada esta carreta para cargar las suculentas de nuestro mini jardín! 😍
🌺 Un detalle muy bonito para regalar a esas abuelitas amantes de la jardinería, y también a mami por supuesto 🌺
6️⃣ I used the tips of the leftover sticks as support legs of the cart, so here we can use all the material, although I recommend using popsicle sticks to make this support because it is more resistant.
7️⃣ And so, this cart to carry the succulents in our mini garden is finished! 😍
🌺 A very nice detail to give as a gift to those grandmas who love gardening, and also to mommy of course 🌺
Como iniciativa quiero invitarte a que nos compartas tus momentos de creatividad durante todo el mes de agosto, realizando manualidades con tus hijos en esta temporada vacacional, para ello hemos creado la siguiente etiqueta #CraftyMotherhood que usaremos para clasificar tus post y también pueden compartir en la publicación original su enlace para así leerlos y ubicar su post mucho más fácil.
¡Queremos que compartas con toda la comunidad de #motherhood esas ideas de manualidades con los niños y que sirvan para ayudar a esas madres, que tenemos pequeñines en casa y que buscamos maneras fáciles de mantenerlos entretenidos y sin complicación!
✨ ¡Muchas gracias a cada uno de los que se suman a esta iniciativa, estamos ansiosos por leerles! ✨
ENGLISH
As an initiative I want to invite you to share with us your moments of creativity throughout the month of August, making crafts with your children during this holiday season, for this we have created the following tag #CraftyMotherhood that we will use to classify your posts and you can also share in the original publication your link to read them and locate your post much easier.
We want you to share with the whole #motherhood community these craft ideas with the kids and help those moms, who have little ones at home and are looking for easy ways to keep them entertained and uncomplicated!
✨ Thank you so much to everyone who joins this initiative, we look forward to reading them! ✨
¿Qué les ha parecido esta idea? 🤔 ¡Espero leerles en los comentarios! 💕💕💕
What did you think of this idea? 🤔 I hope to read you in the comments! 💕💕💕

✂️Imagen principal y separadores editados en Canva
📸Las fotografías son propias capturadas con mi teléfono honor 7S
✂️Imagen main and dividers edited in Canva.
📸Photos are my own captured with my honor 7S phone.
Congratulations!
Your post has been manually curated and reblogged.
You can follow our curation trail on Hive.Vote
If you want to support us and the authors we vote for you can upvote this comment or delegate some Hive Power to our account. Thanks!
Propose a worthy post by mentioning us in the post or in a comment.
We reblog curated posts, follow us if you wish to see them in your feed.
que hermosa la maceta, y a demas tu hija se ve muy entretenida en sus manualidades
¡Hola amiga!
A ella le gustó mucho, 😍estuvo bien atenta a cada paso y se entretuvo bastante, eso es un punto adicional para mi 😉
Gracias por tomar tu tiempo para leerme. ♥️💕
Saludos amiga espero estés bien que linda manualidad me encantó porque no solo es decorativa sino también al hacerla enseñamos a nuestros pequeños el cuidado de las plantas y a valorar la naturaleza.
Hola amiga que bueno que te gustó.
Y es así, la idea no es solo mantenerlos entretenidos sino que también podamos enseñarles el cuidado y preservación de las plantas y nuestro ambiente.
Saludos mamita, gracias por leer...
Wow, what an interesting activity to do with the kids. How good it is to see that you take your time to play and educate your daughter. Make the most of your time with the people you love the most, every moment is unique and should be enjoyed very well. Thank you for sharing this sweet moment with us ❤️
thank you very much, it is the best investment of time.
I hope you will share your creations with us soon.