Saludos amigos de esta gran Comunidad
Greetings friends of this great Community
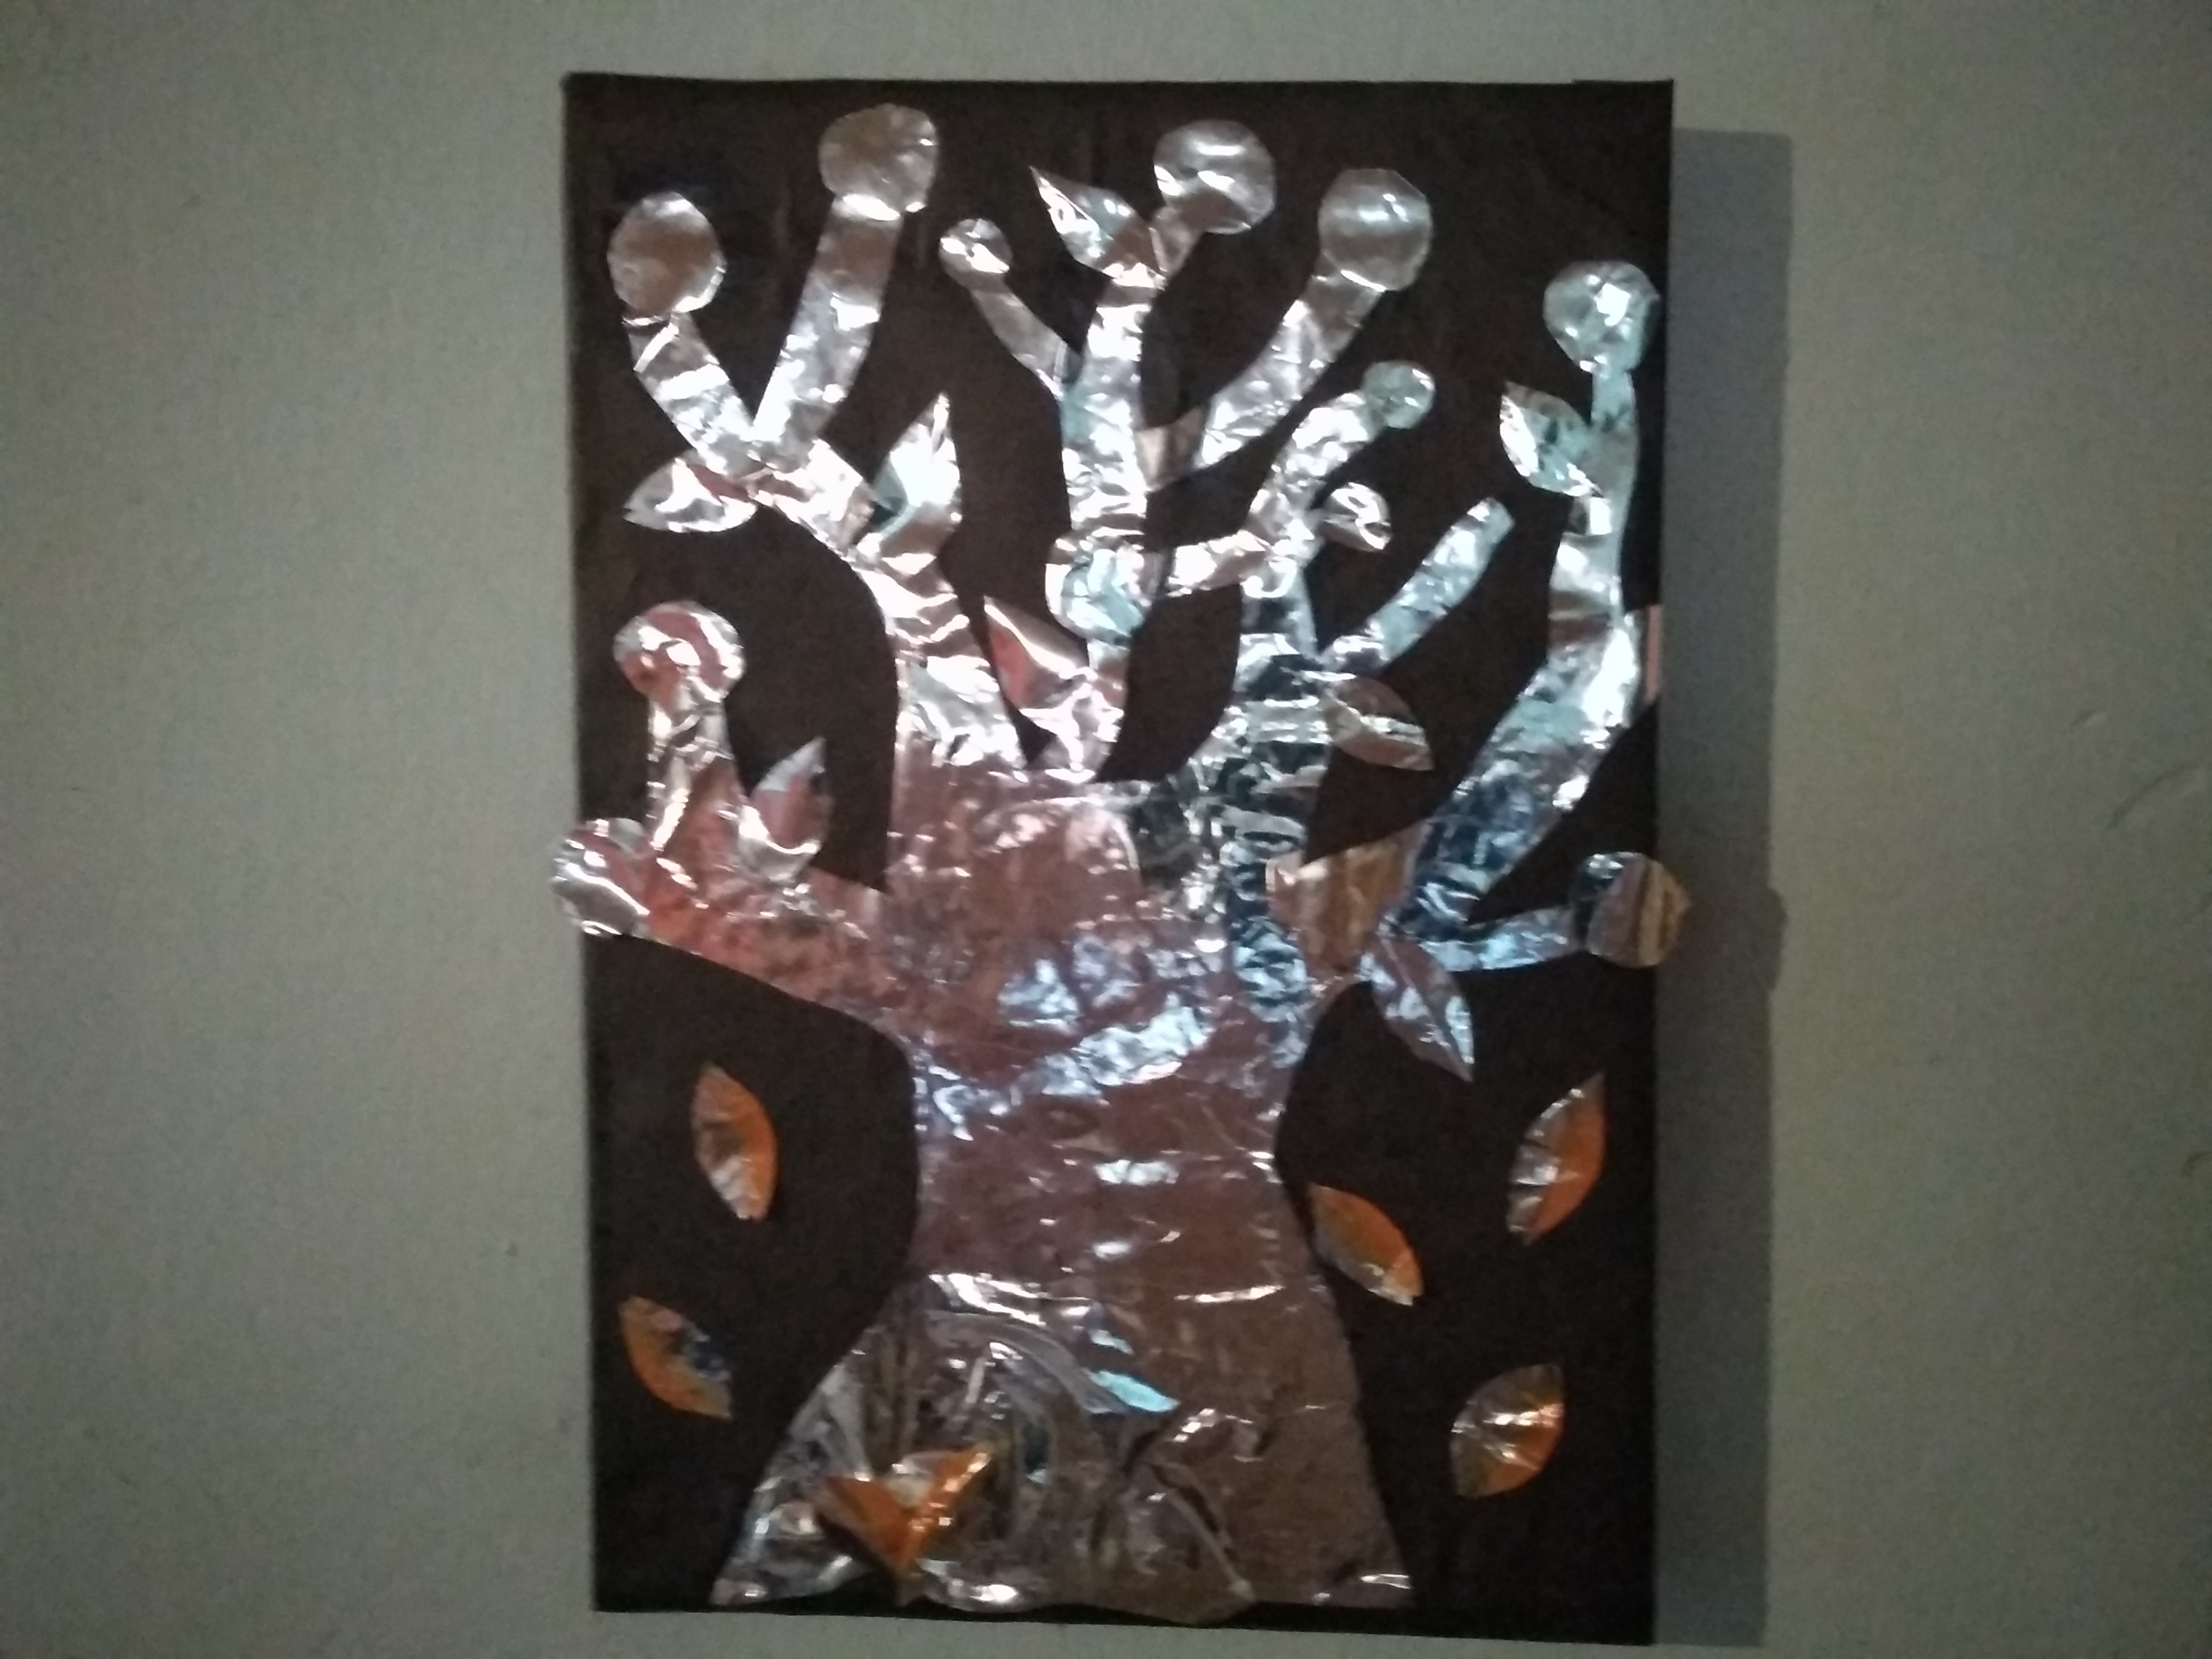
Today I bring you how to make a box with reusable material, cardboard and candy paper. This was transformed into a picture of a metallic tree.
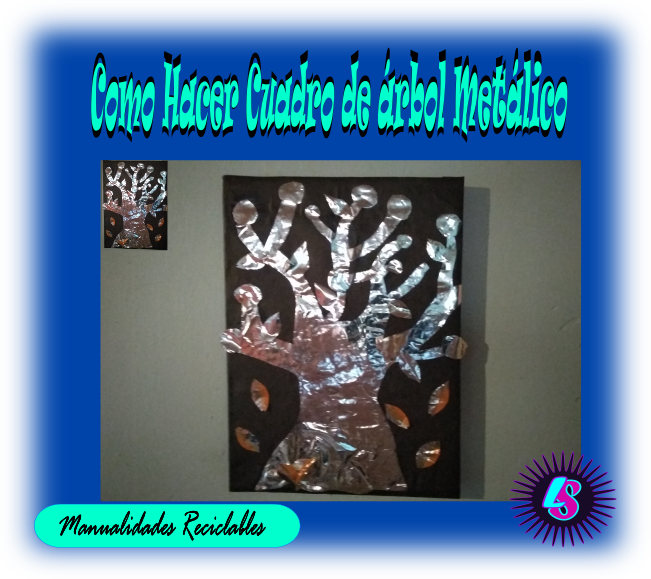
Muchas veces en los hogares compramos golosinas, más si hay niño; y acostumbramos desechar estos envoltorios. En mi caso había comprado un chagüi y galletas y como por el lado de adentro es de color metálico, se e ocurrió guardarlo para realizar alguna manualidad. Y hoy les muestro como transforme un cartón, papel de golosinas en un lindo cuadro de árbol metálico.
Many times at homes we buy sweets, more if there is a child; and we are used to throwing away these wrappers. In my case, I had bought a chagüi and cookies and since the inside is metallic in color, it occurred to save it to make some crafts. And today I show you how to transform a cardboard, candy paper into a nice metallic tree box.

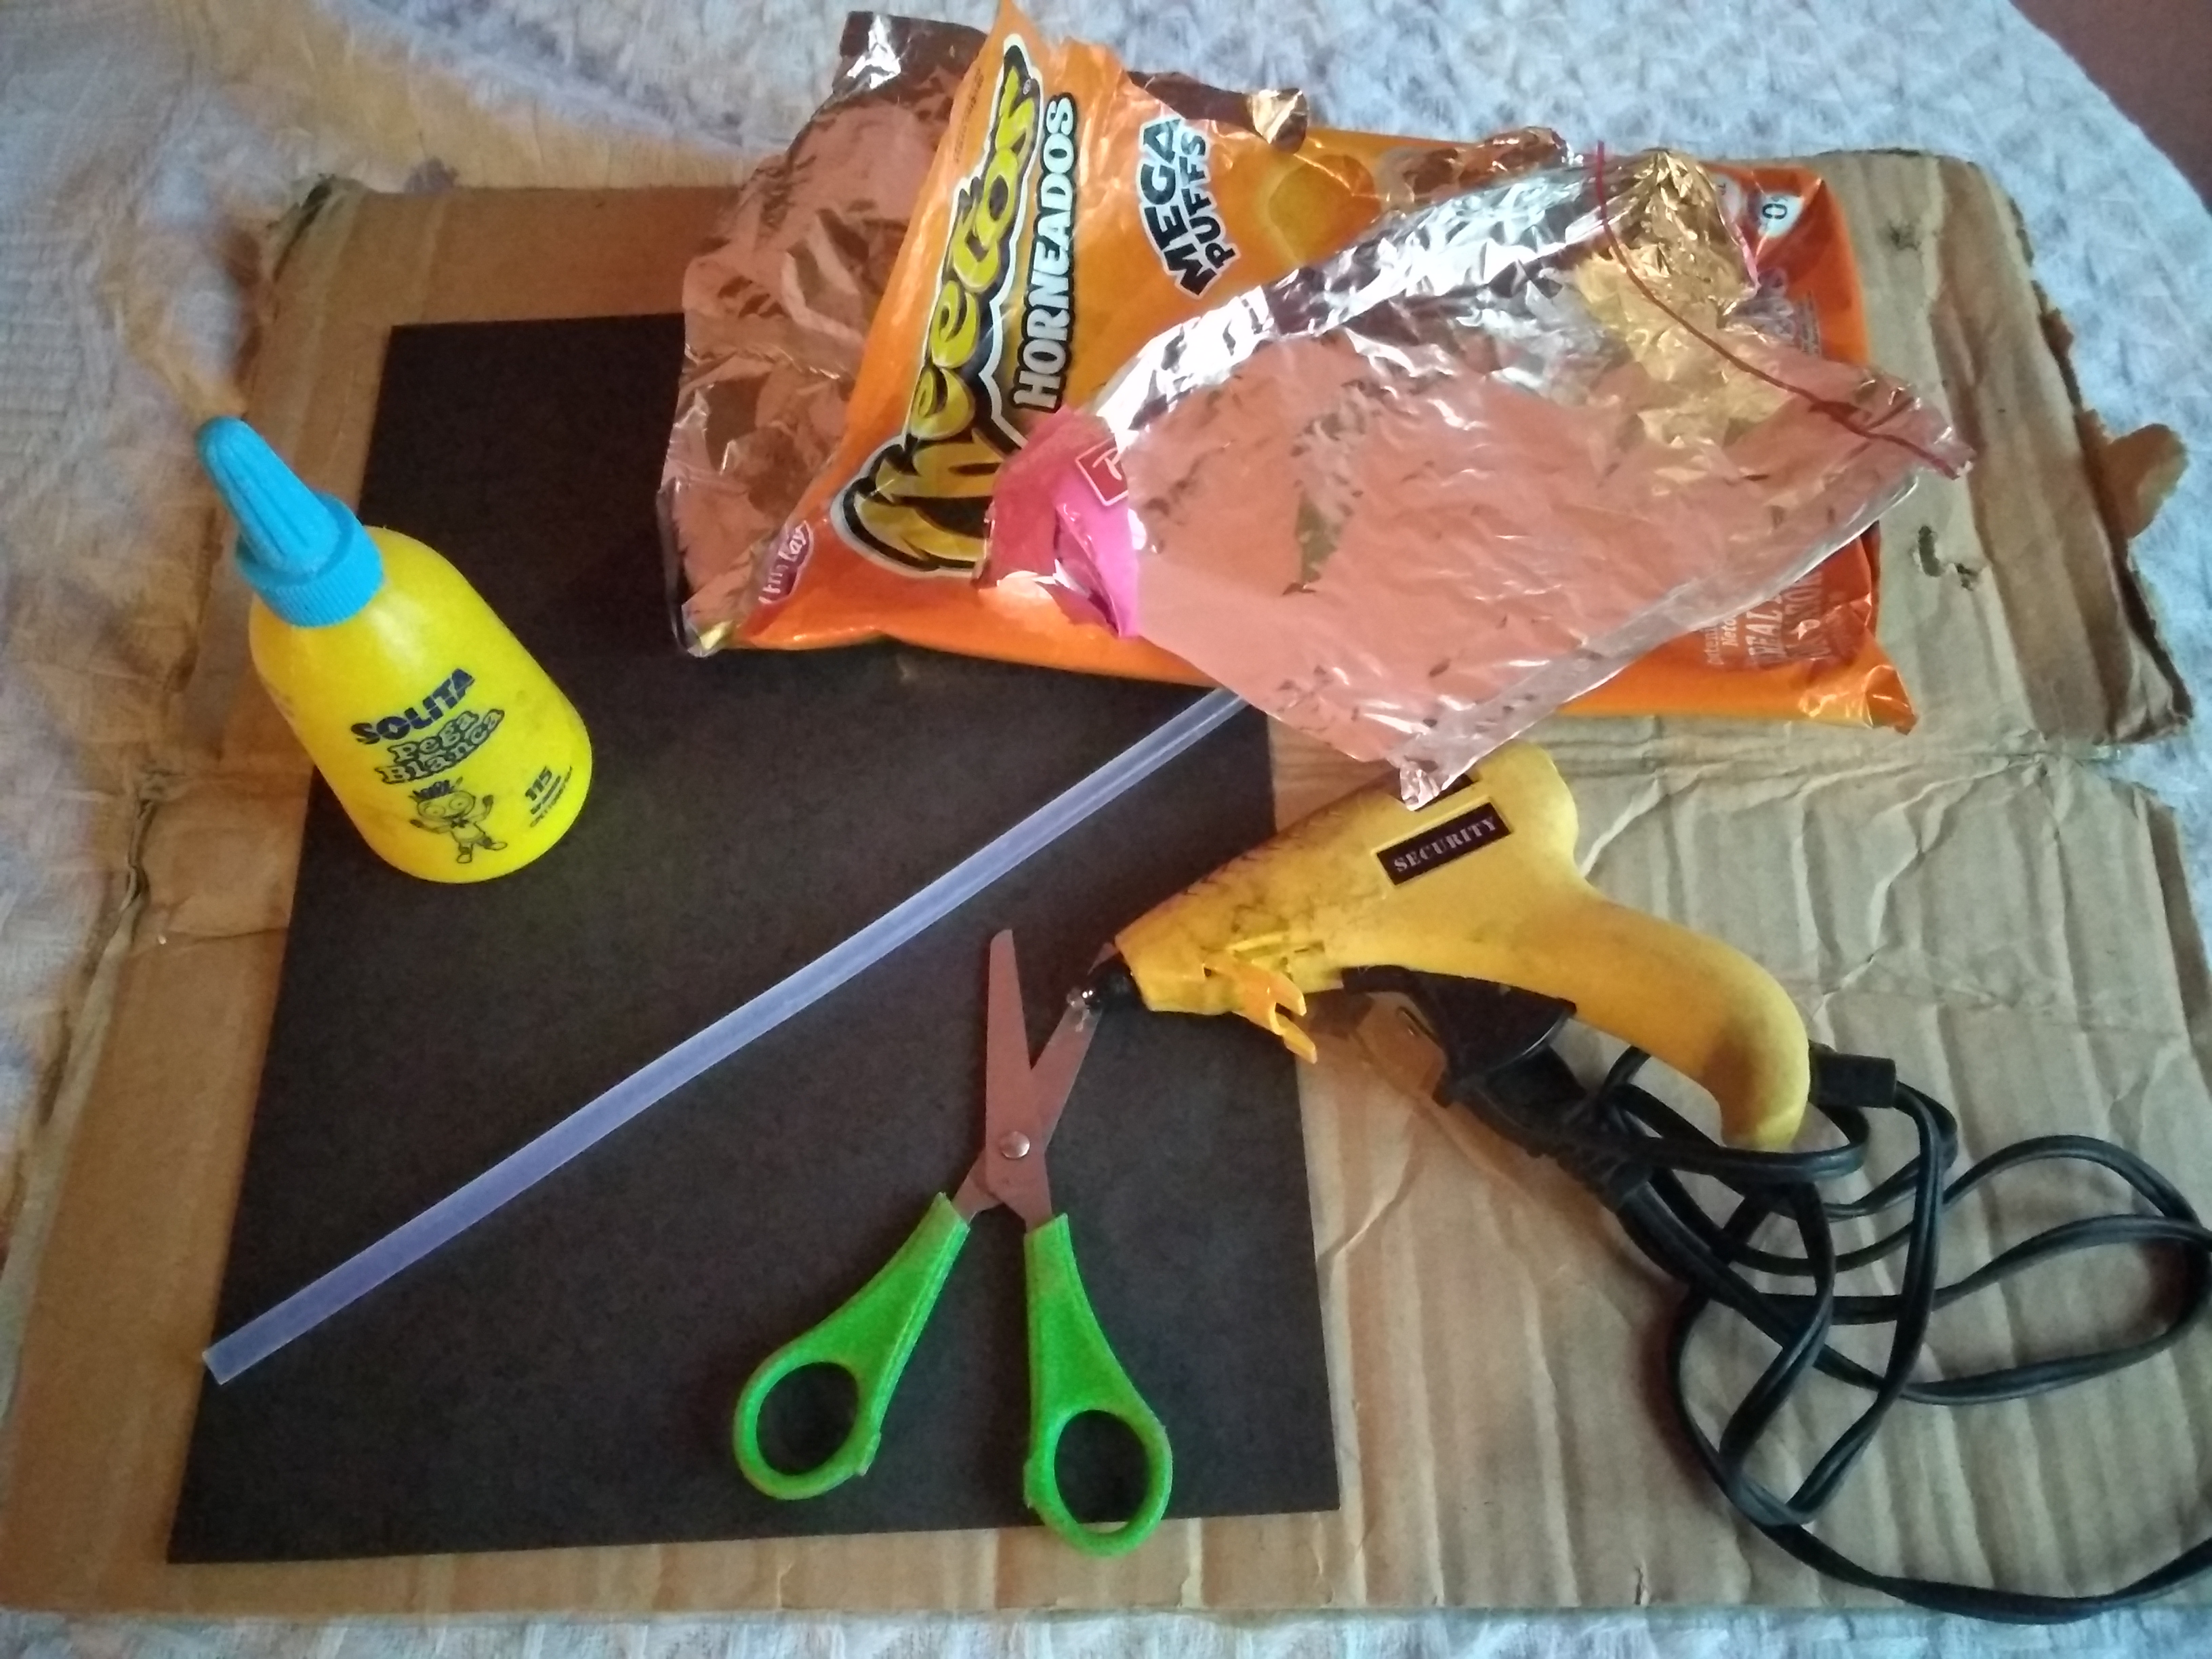
Los materiales que utilizaremos.
The materials we will use
Materiales
- Cartulina de construcción negra
- Cartón
- Pega
- Bolsa de Golosinas
- Tijera
- Hoja Blanca
- Pistola de silicón
materials
- Black construction cardstock
- Paperboard
- Job
- Bag of Goodies
- Scissors
- White Sheet
- Silicone gun
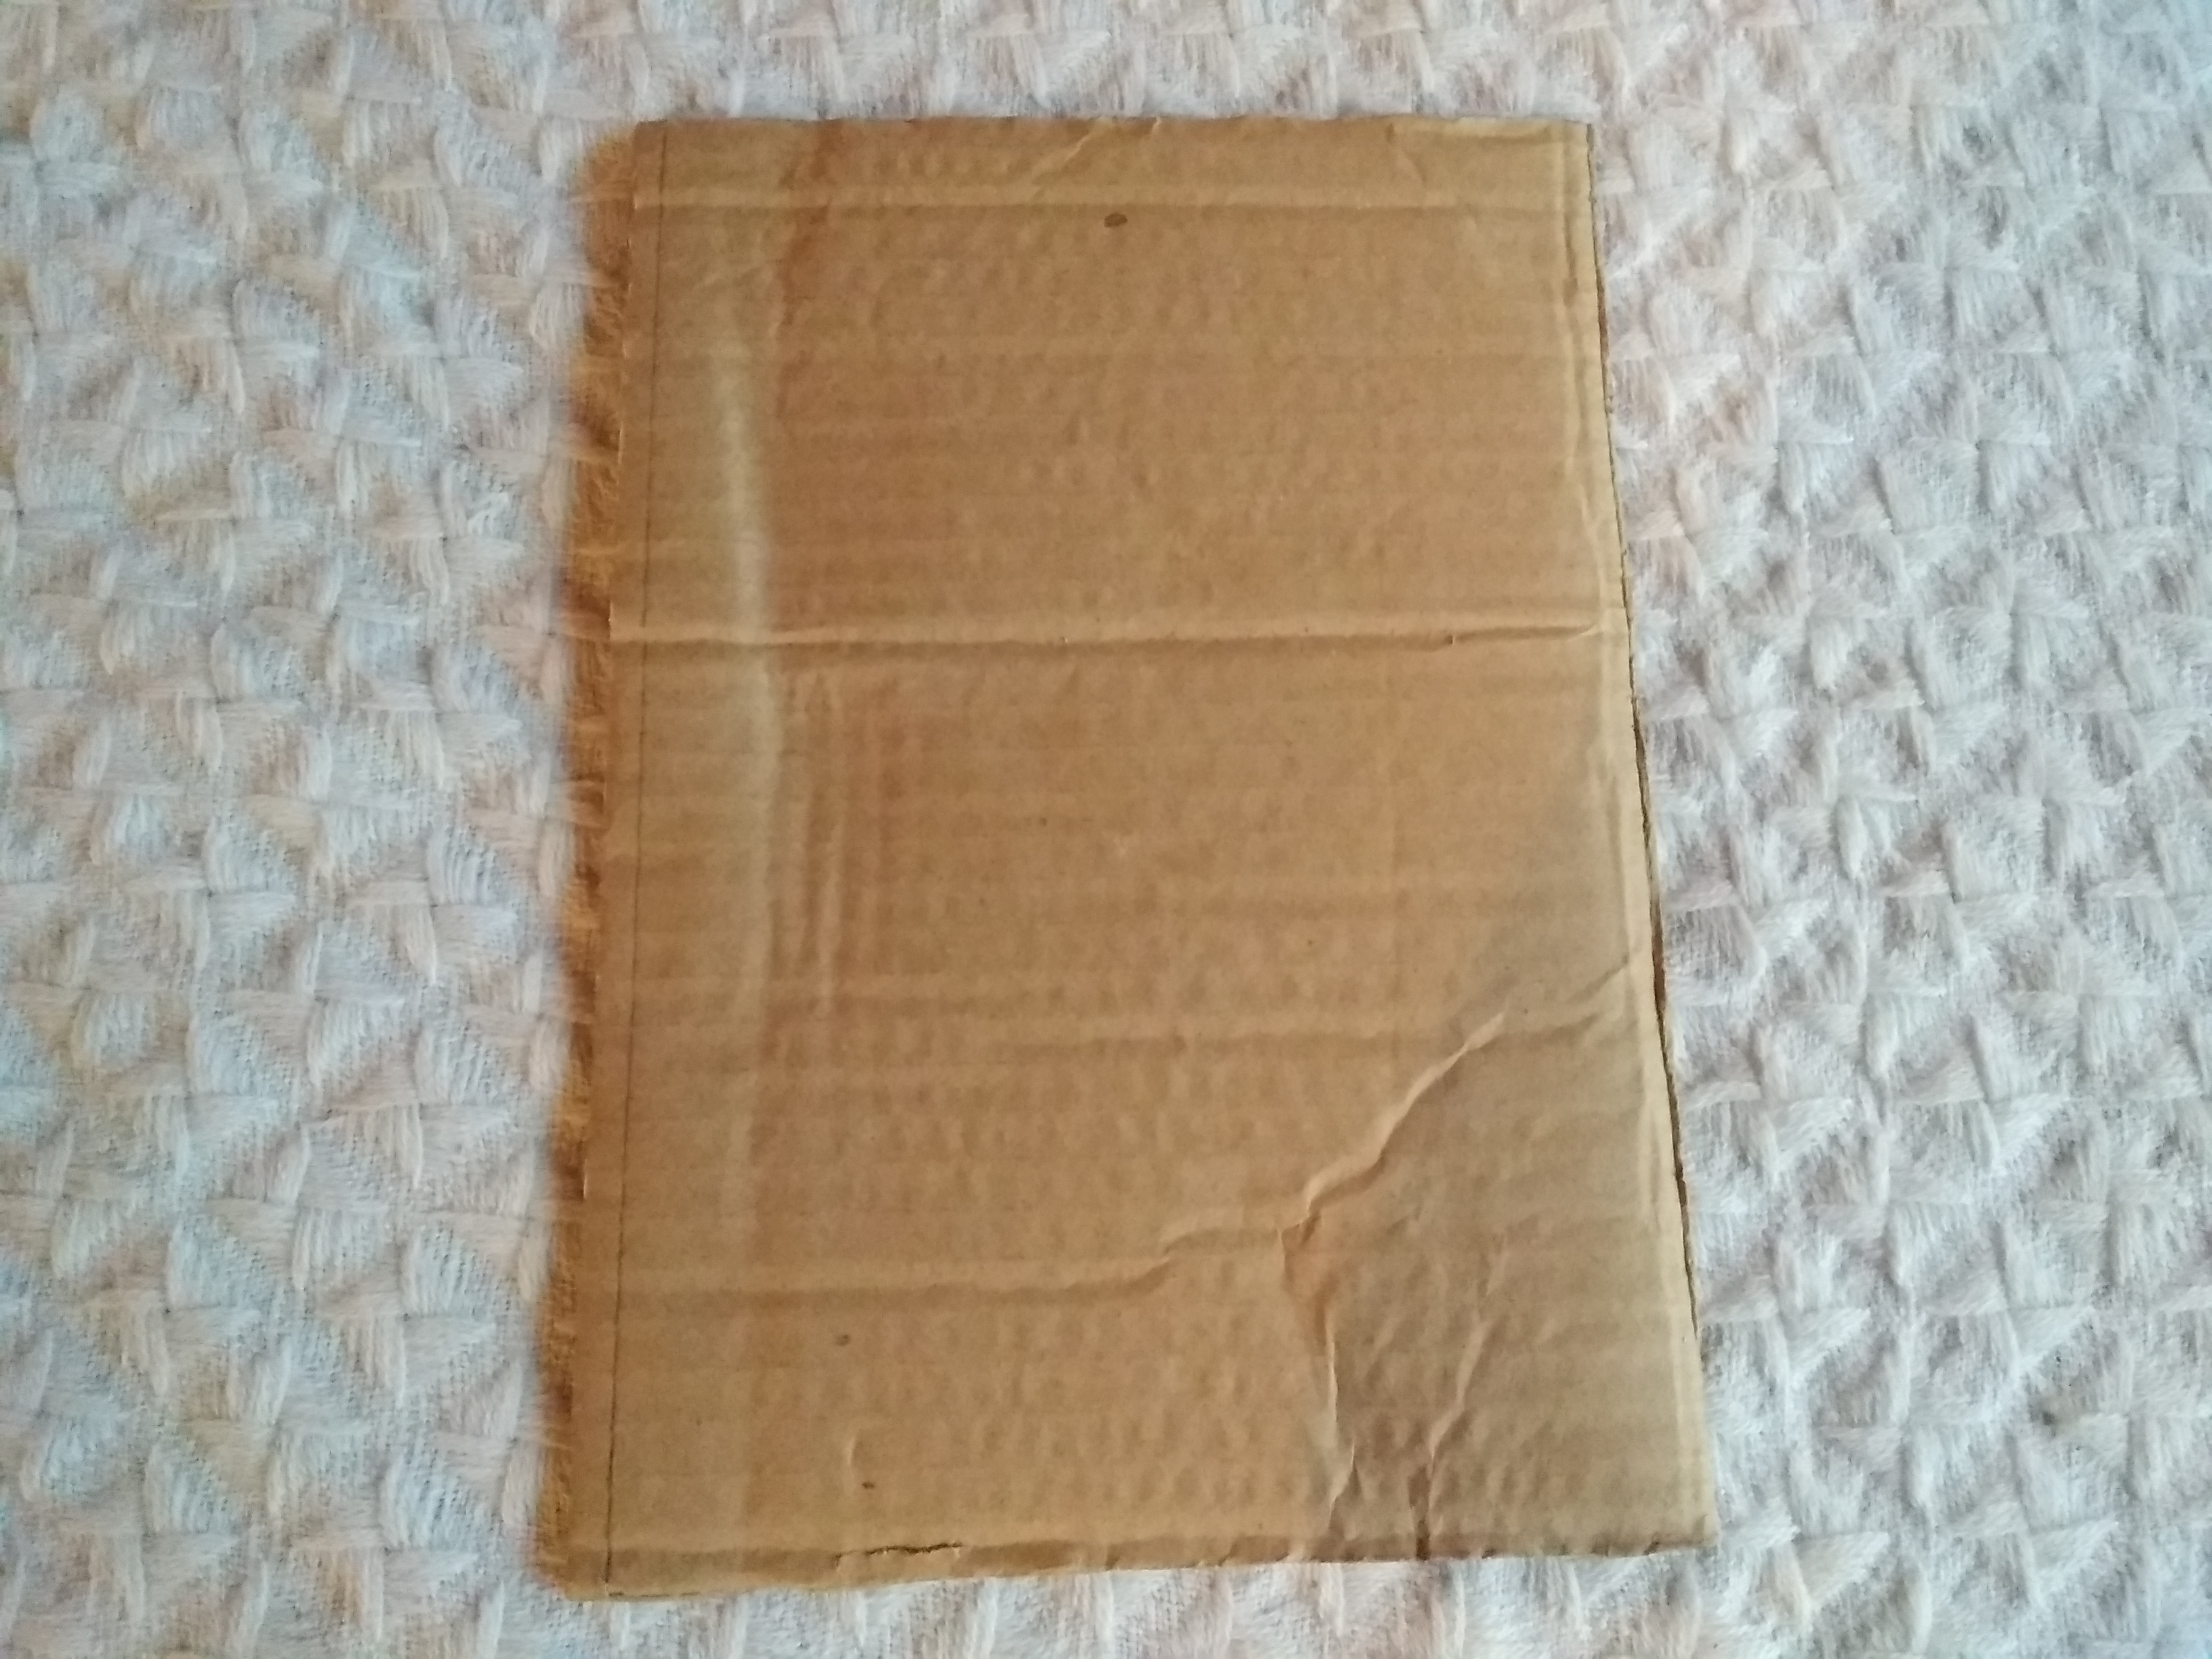
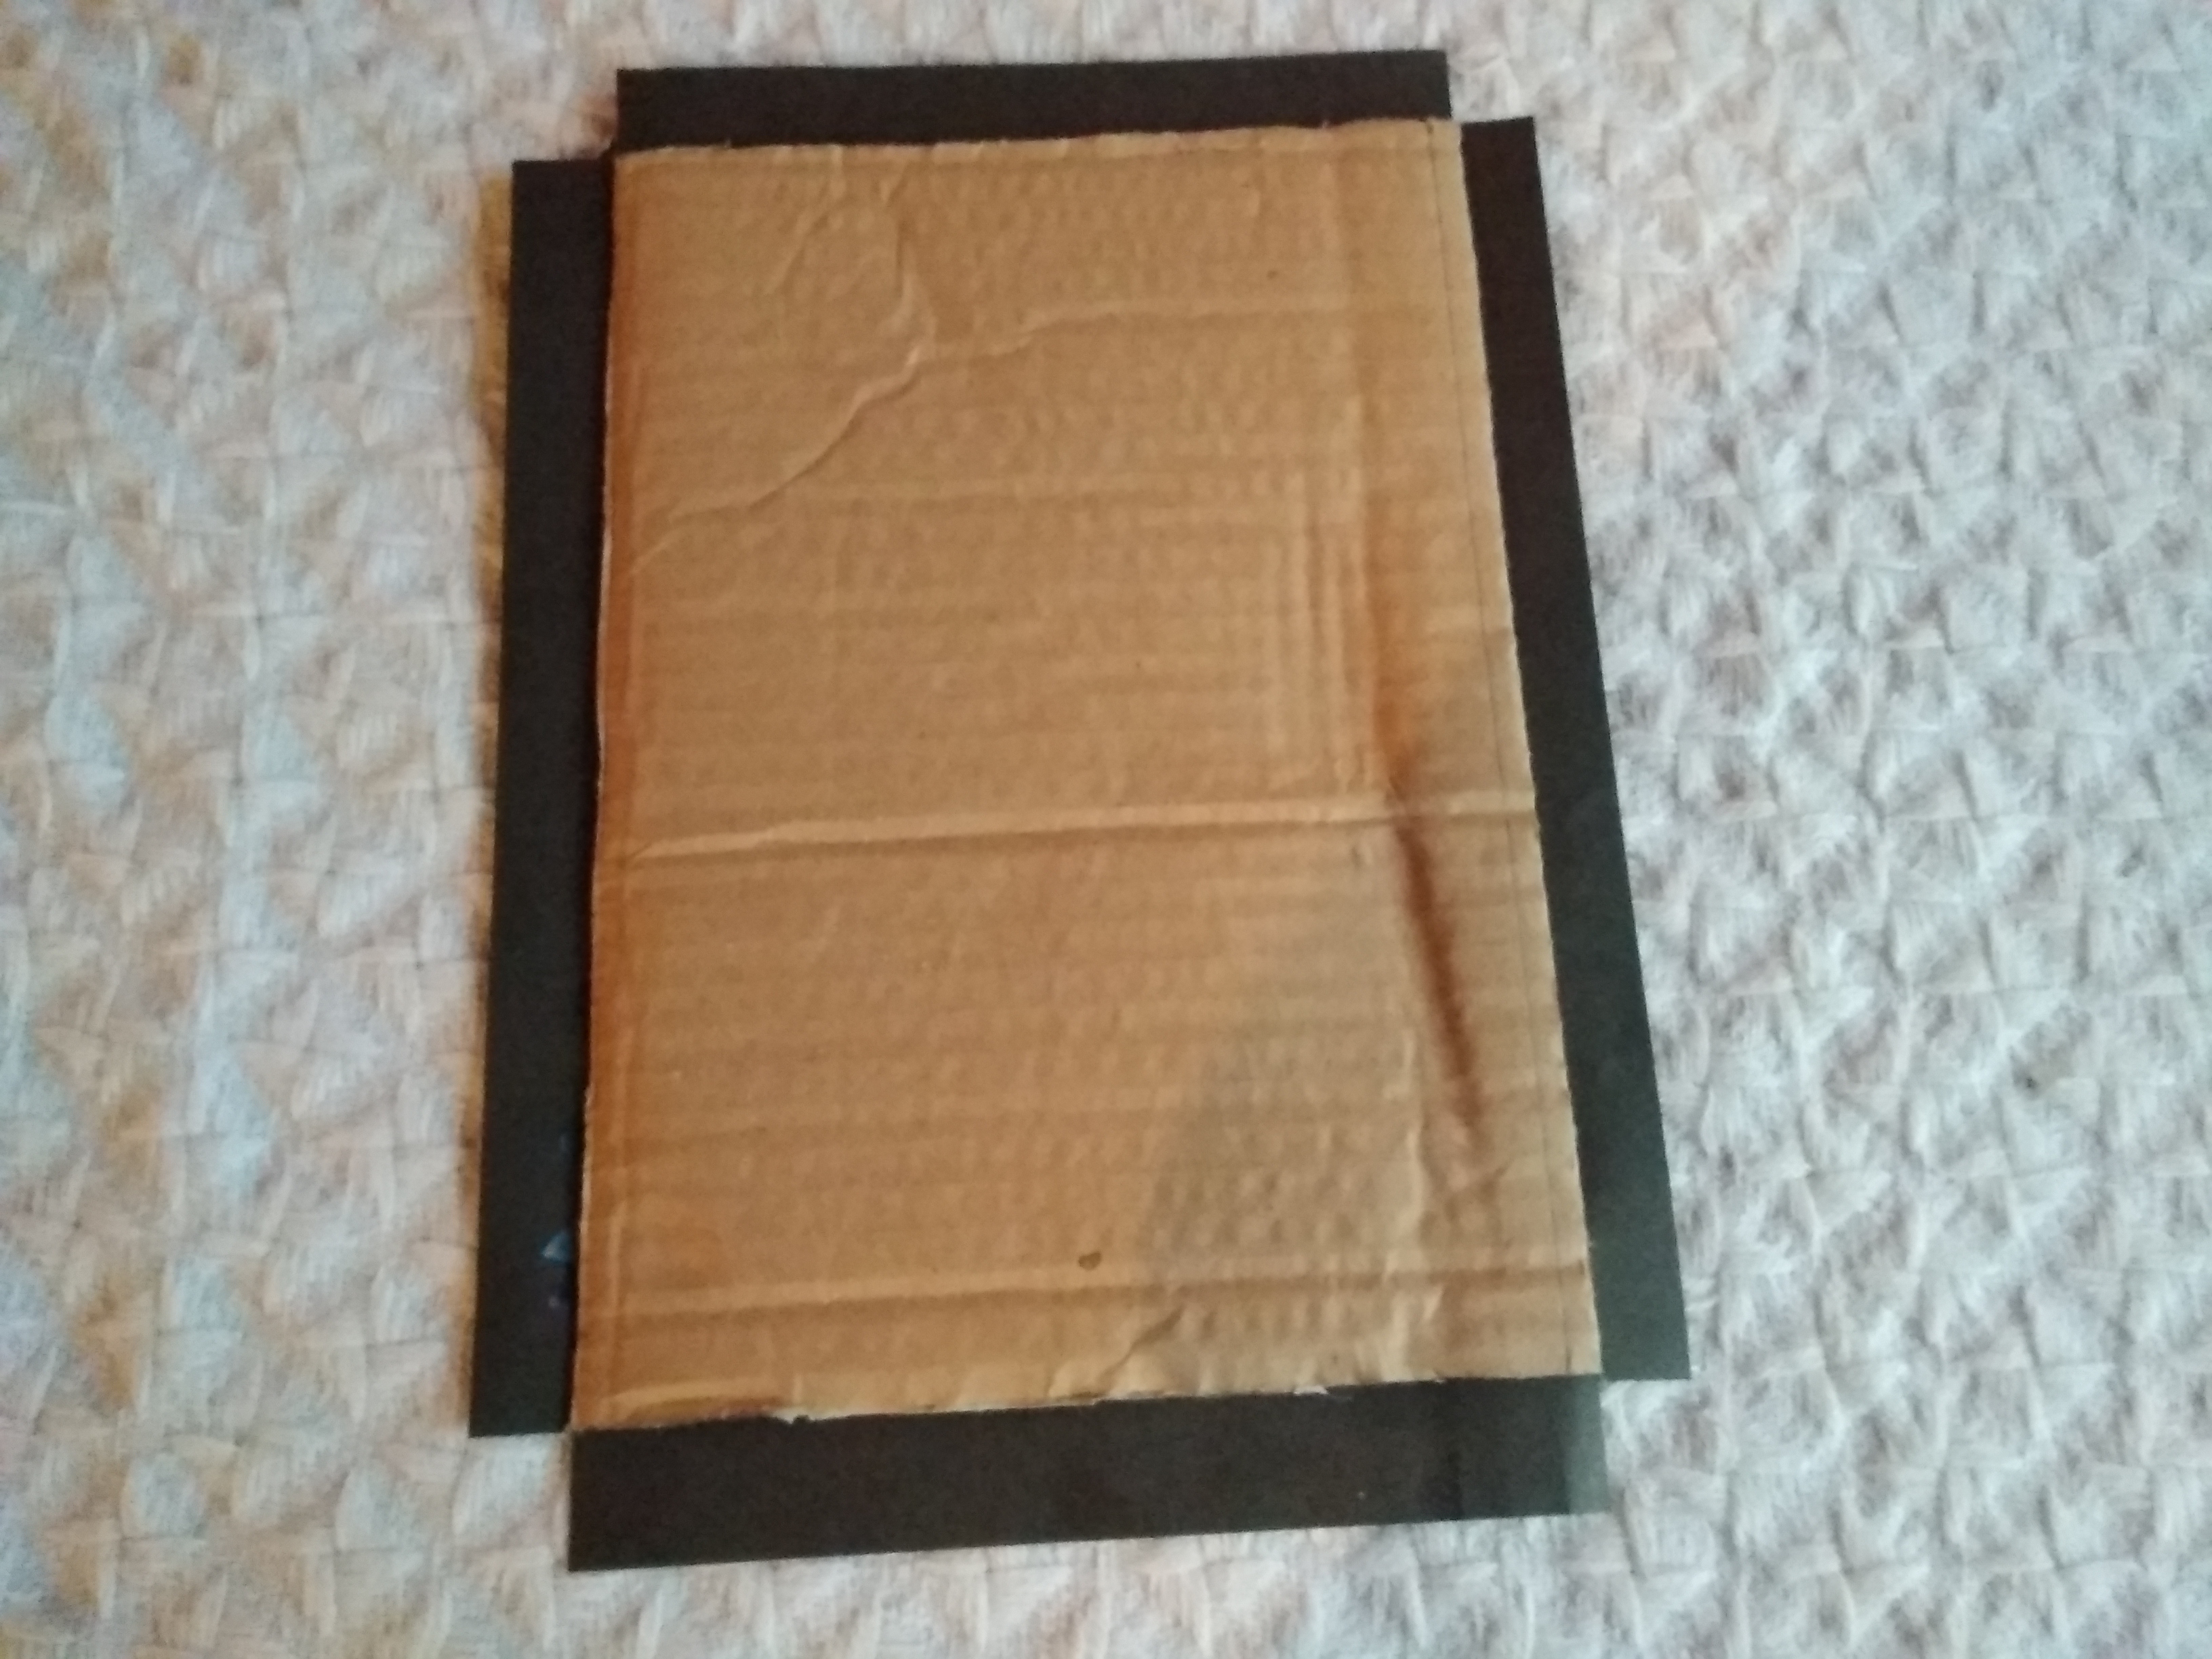
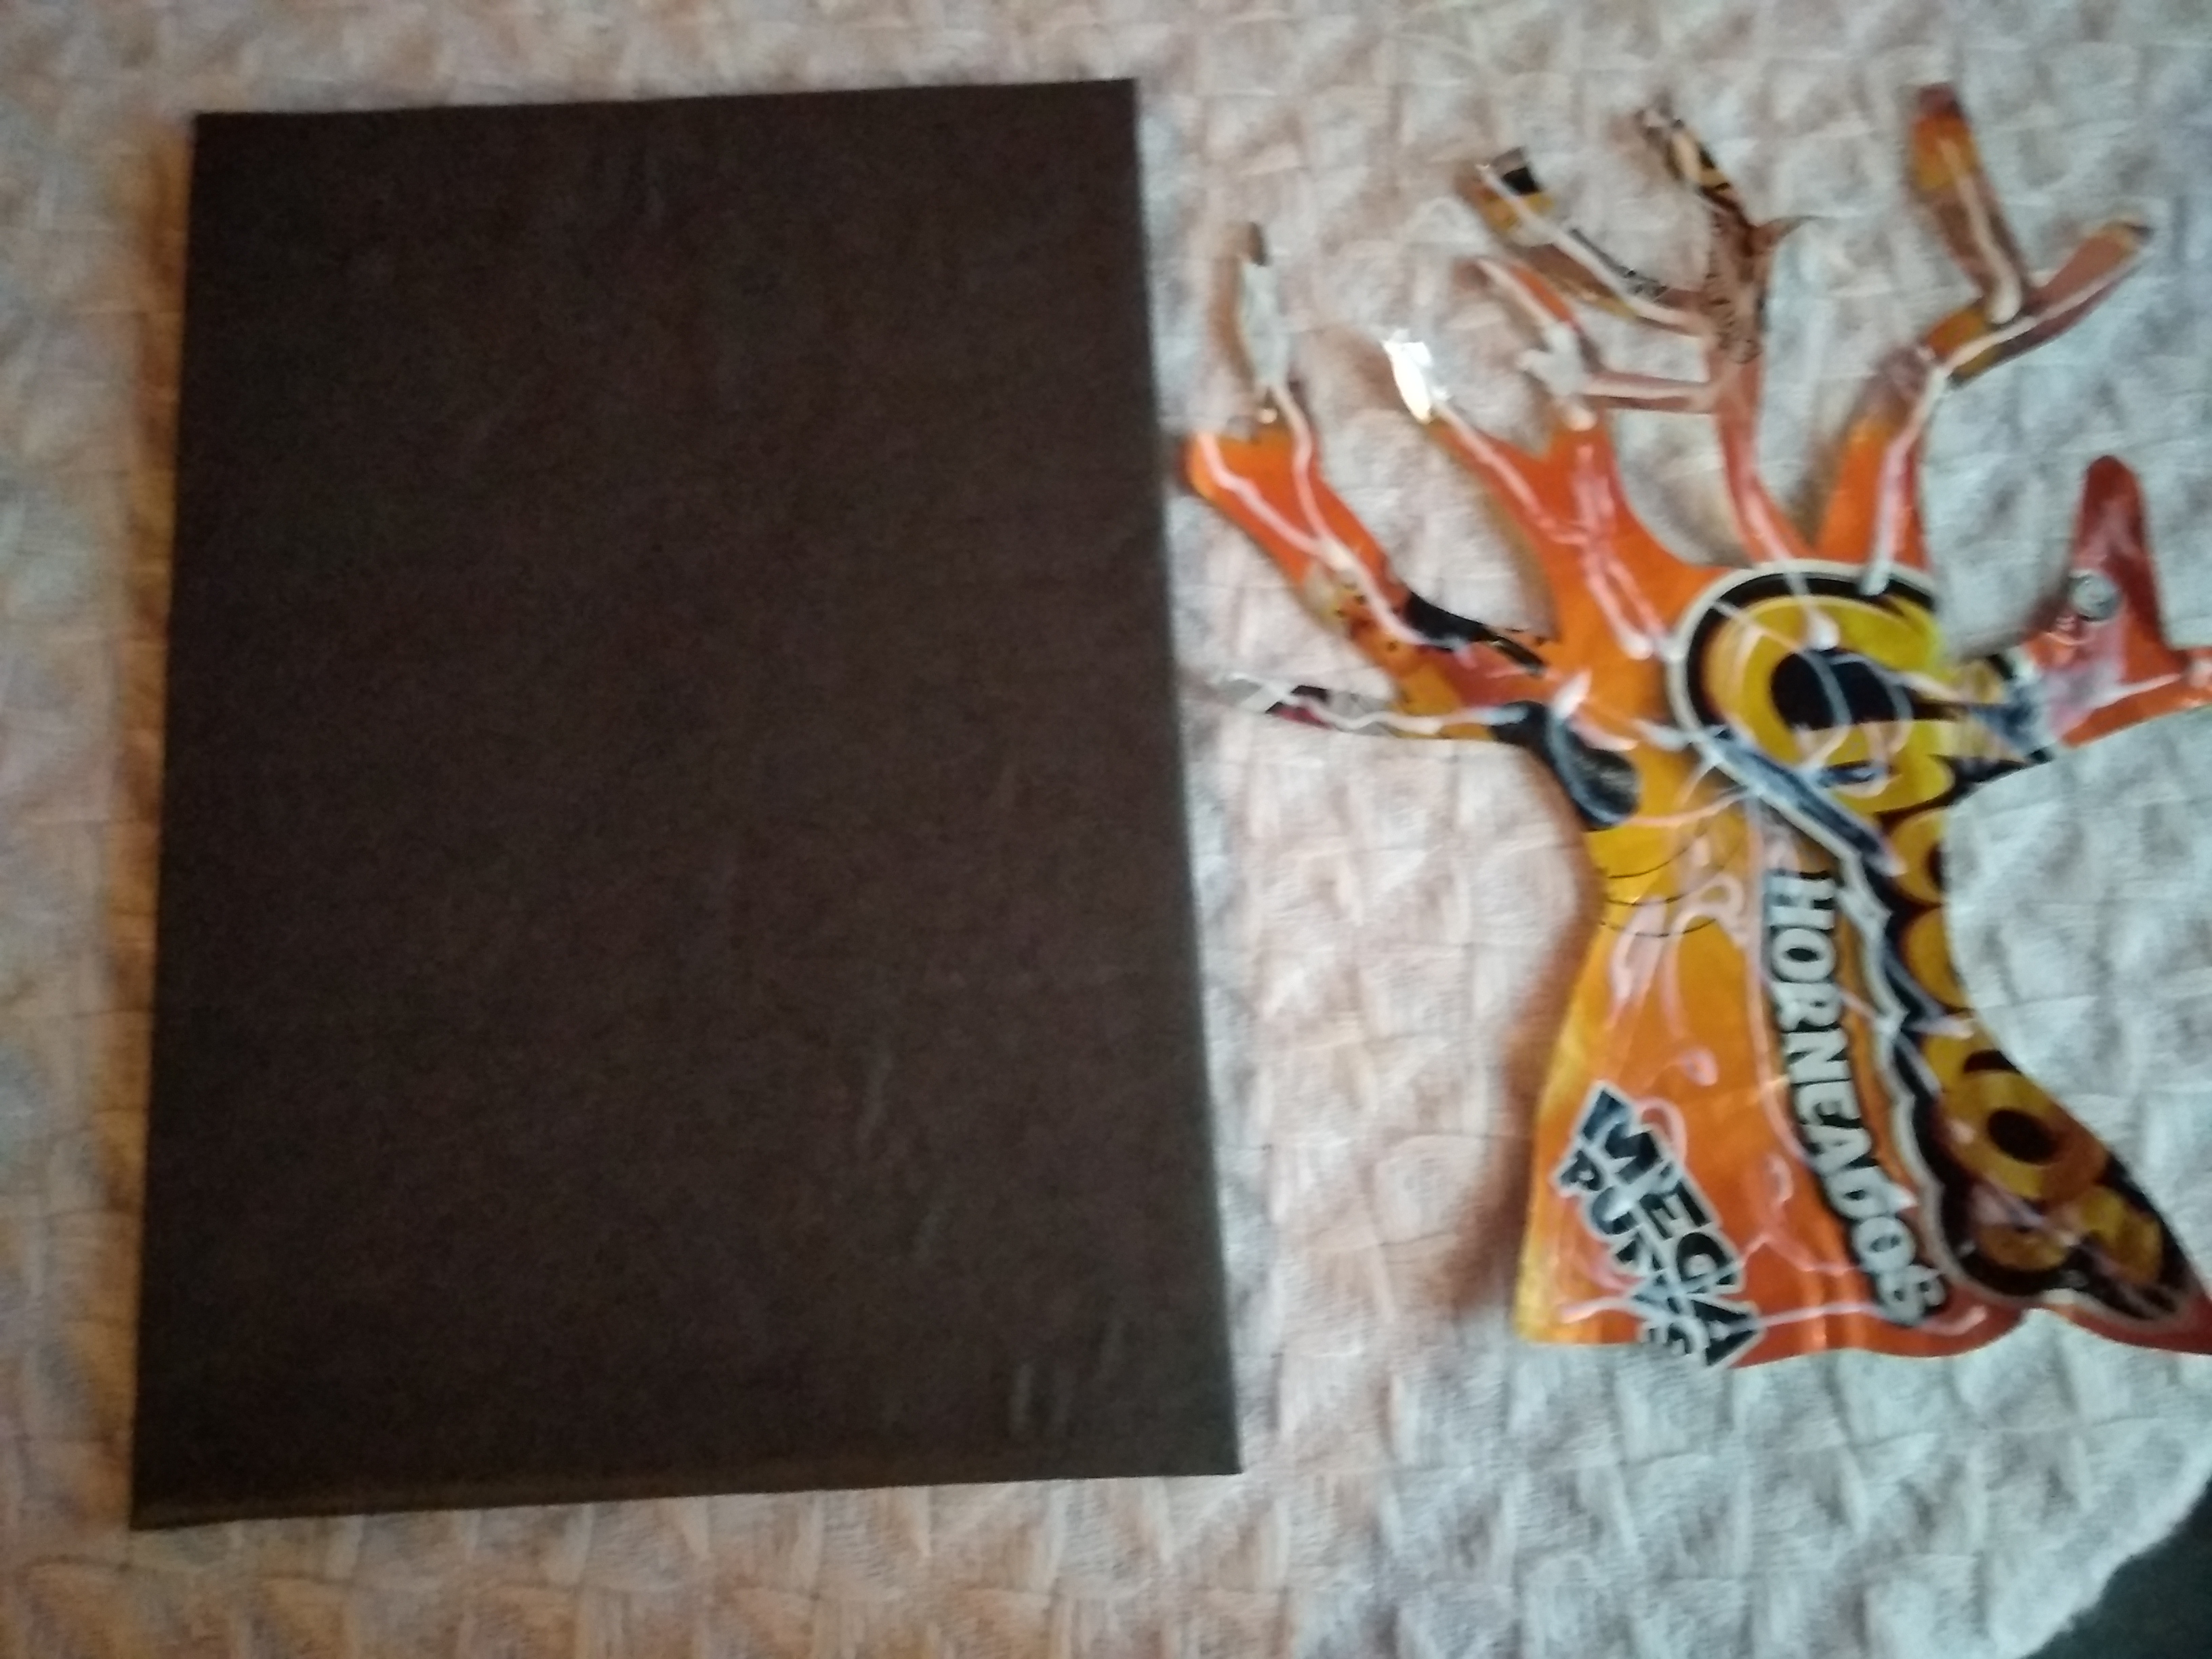
- Lo primero que realice fue cortar el cartón con las medidas de 18cm de ancho y 26cm de largo
The first thing I did was cut the cardboard with the measures 18cm wide and 26cm long
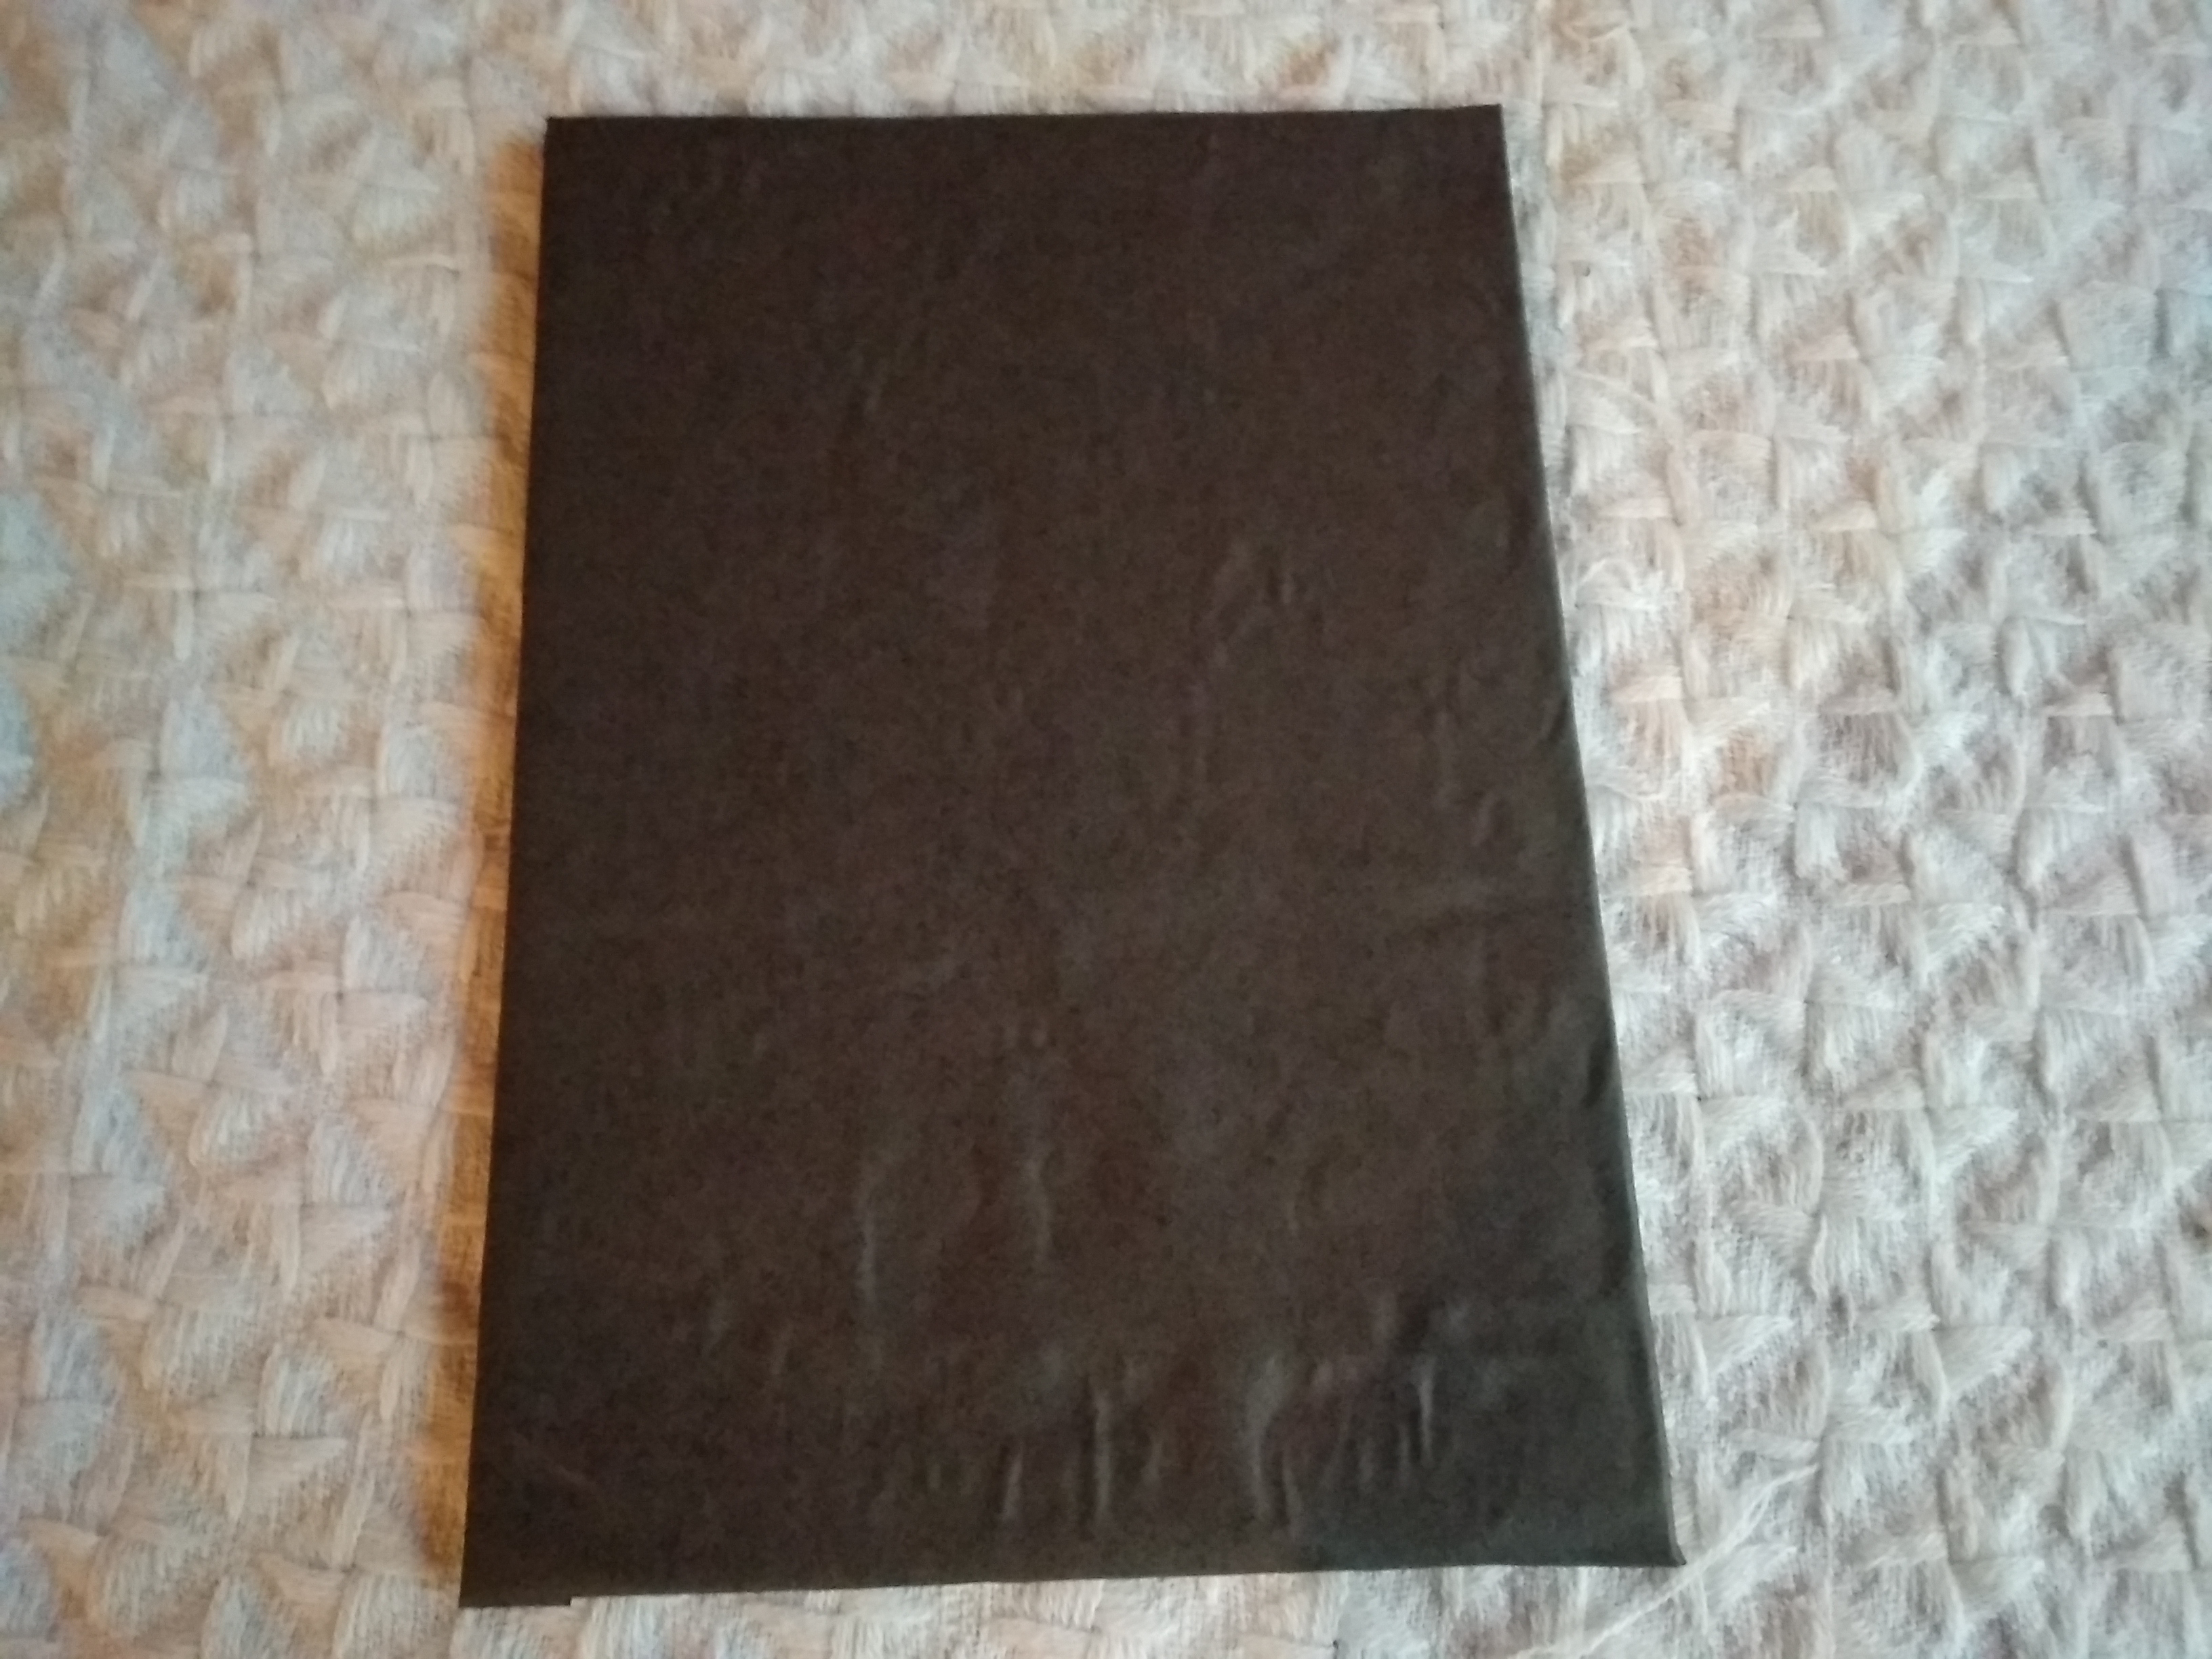
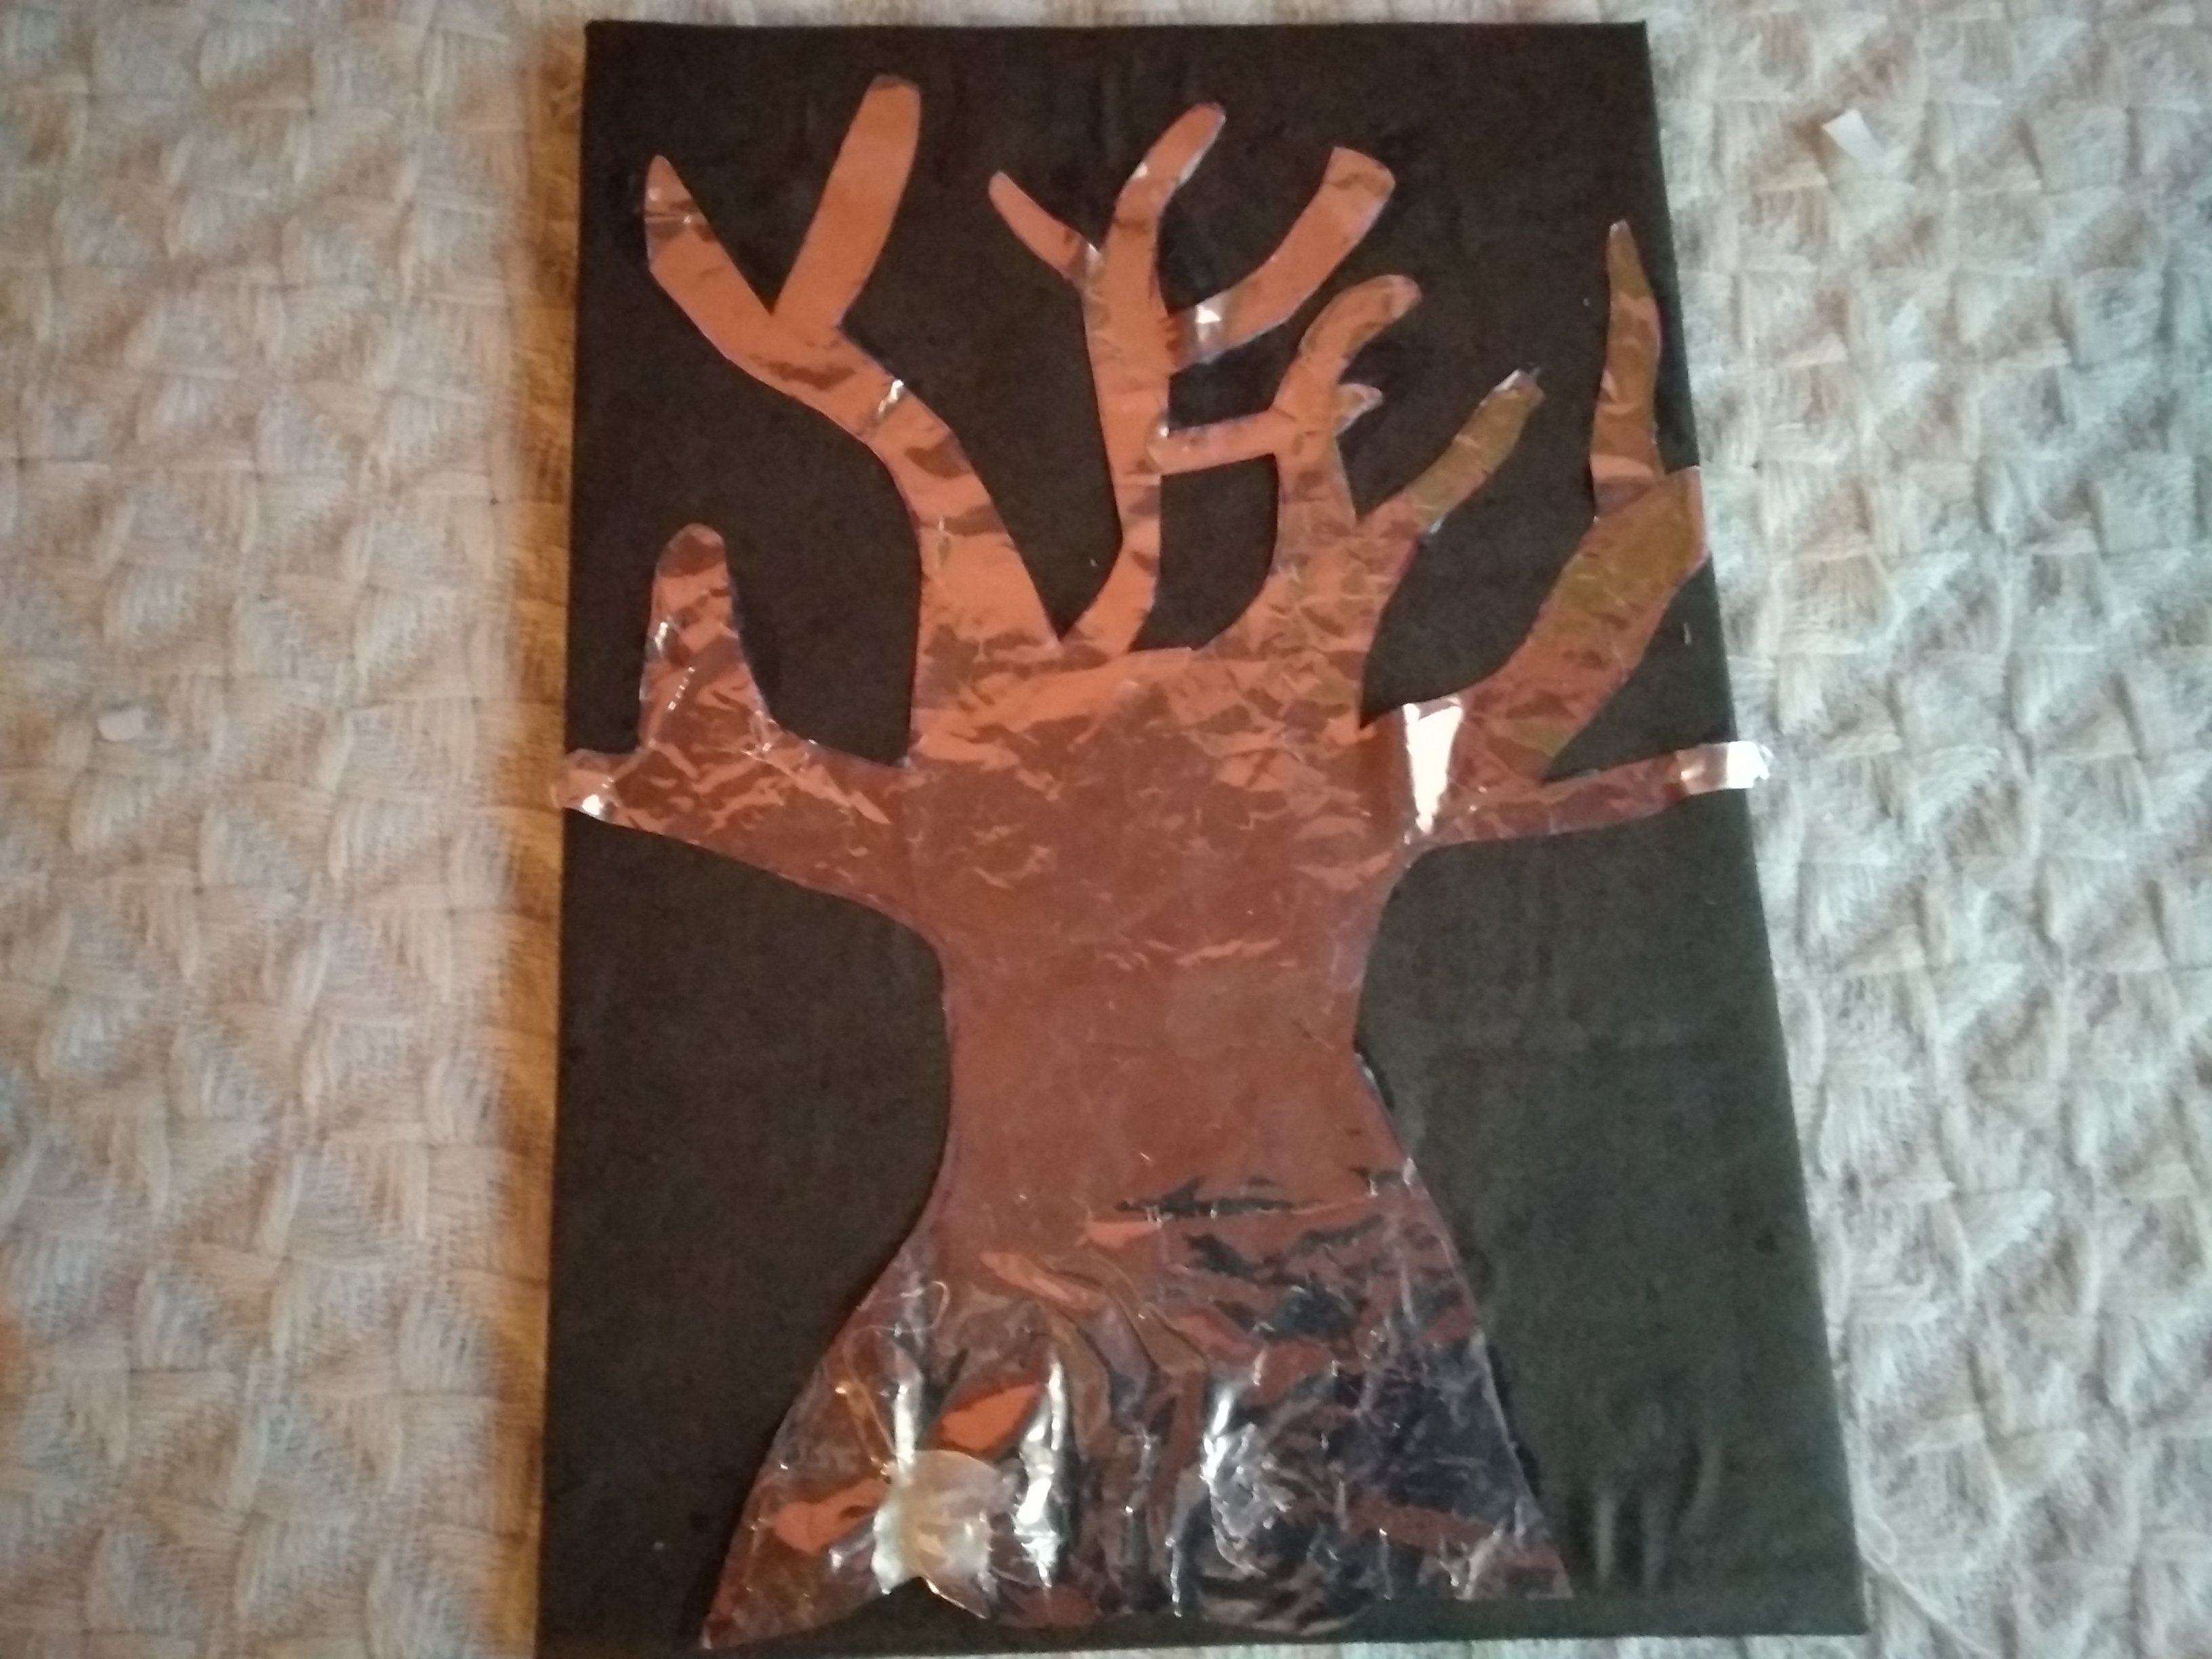
- Luego le coloque pega, para posteriormente transferir la cartulina negra encima y forrar.
Then I put glue on it, to later transfer the black cardboard on top and cover.
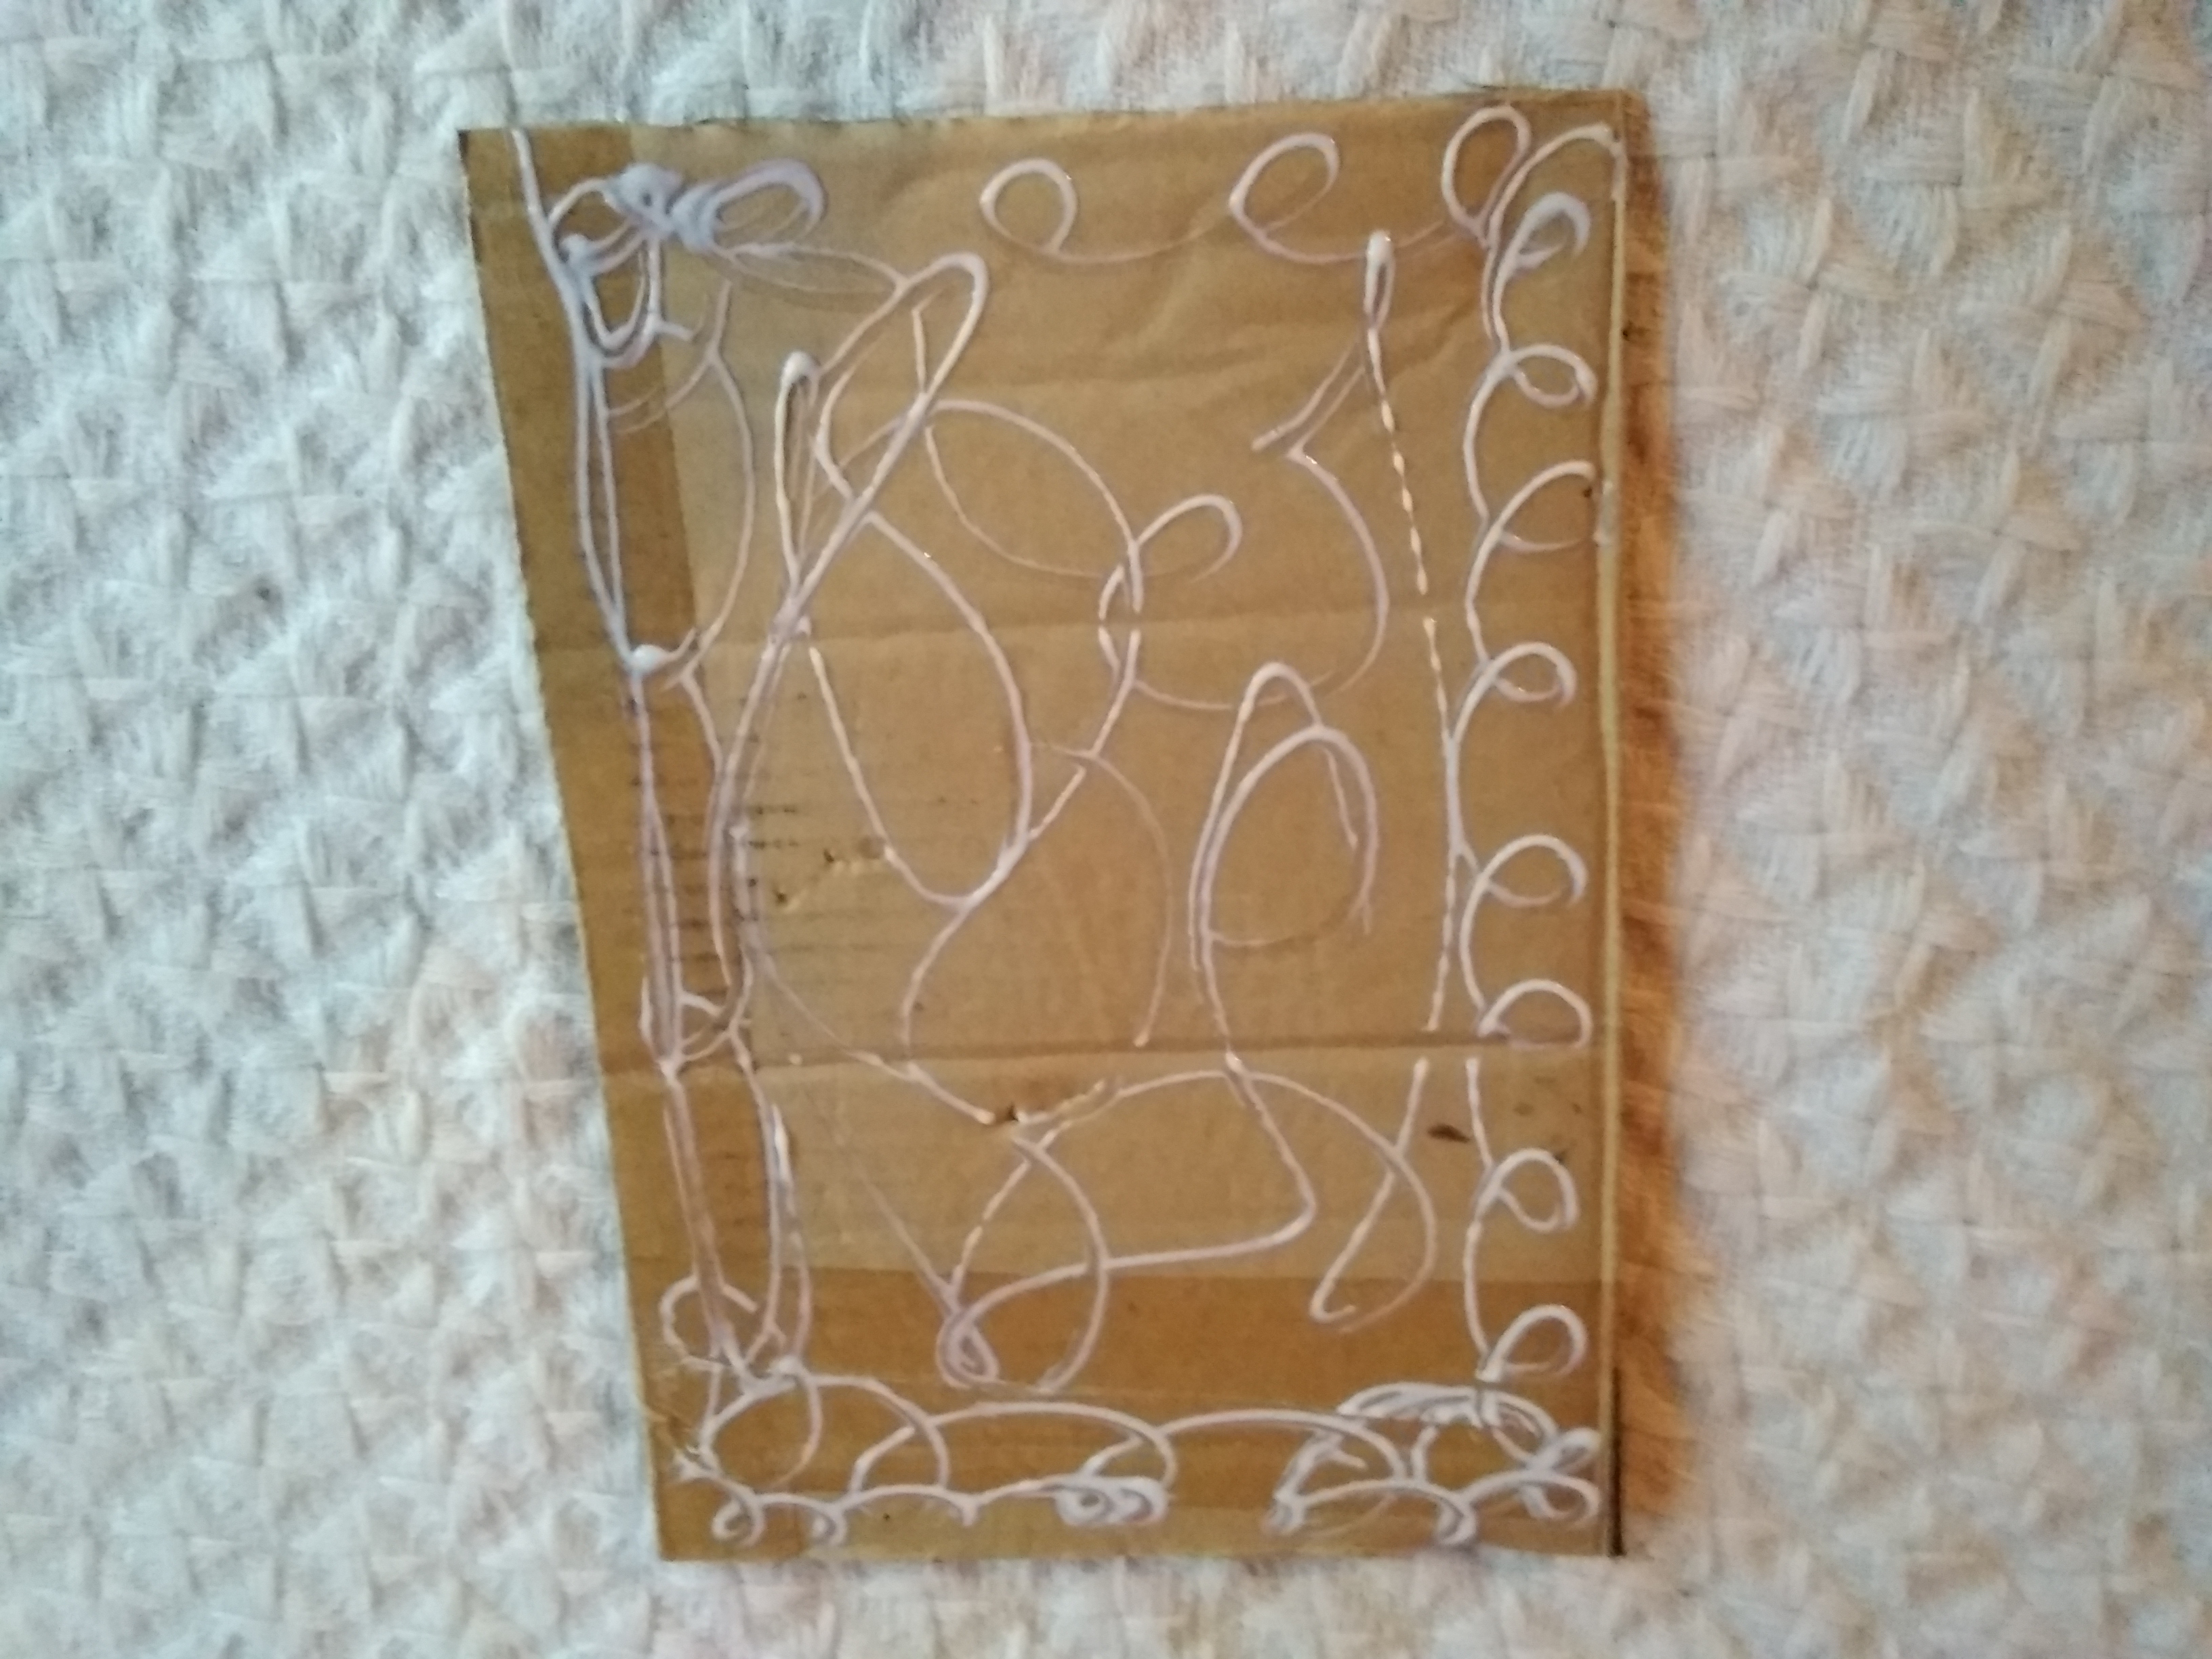
- Recortamos las puntas como lo muestra la fotografía y colocamos pega, así obtenemos ya la base del cuadro.
We cut the tips as shown in the photograph and place glue, thus we obtain the base of the painting
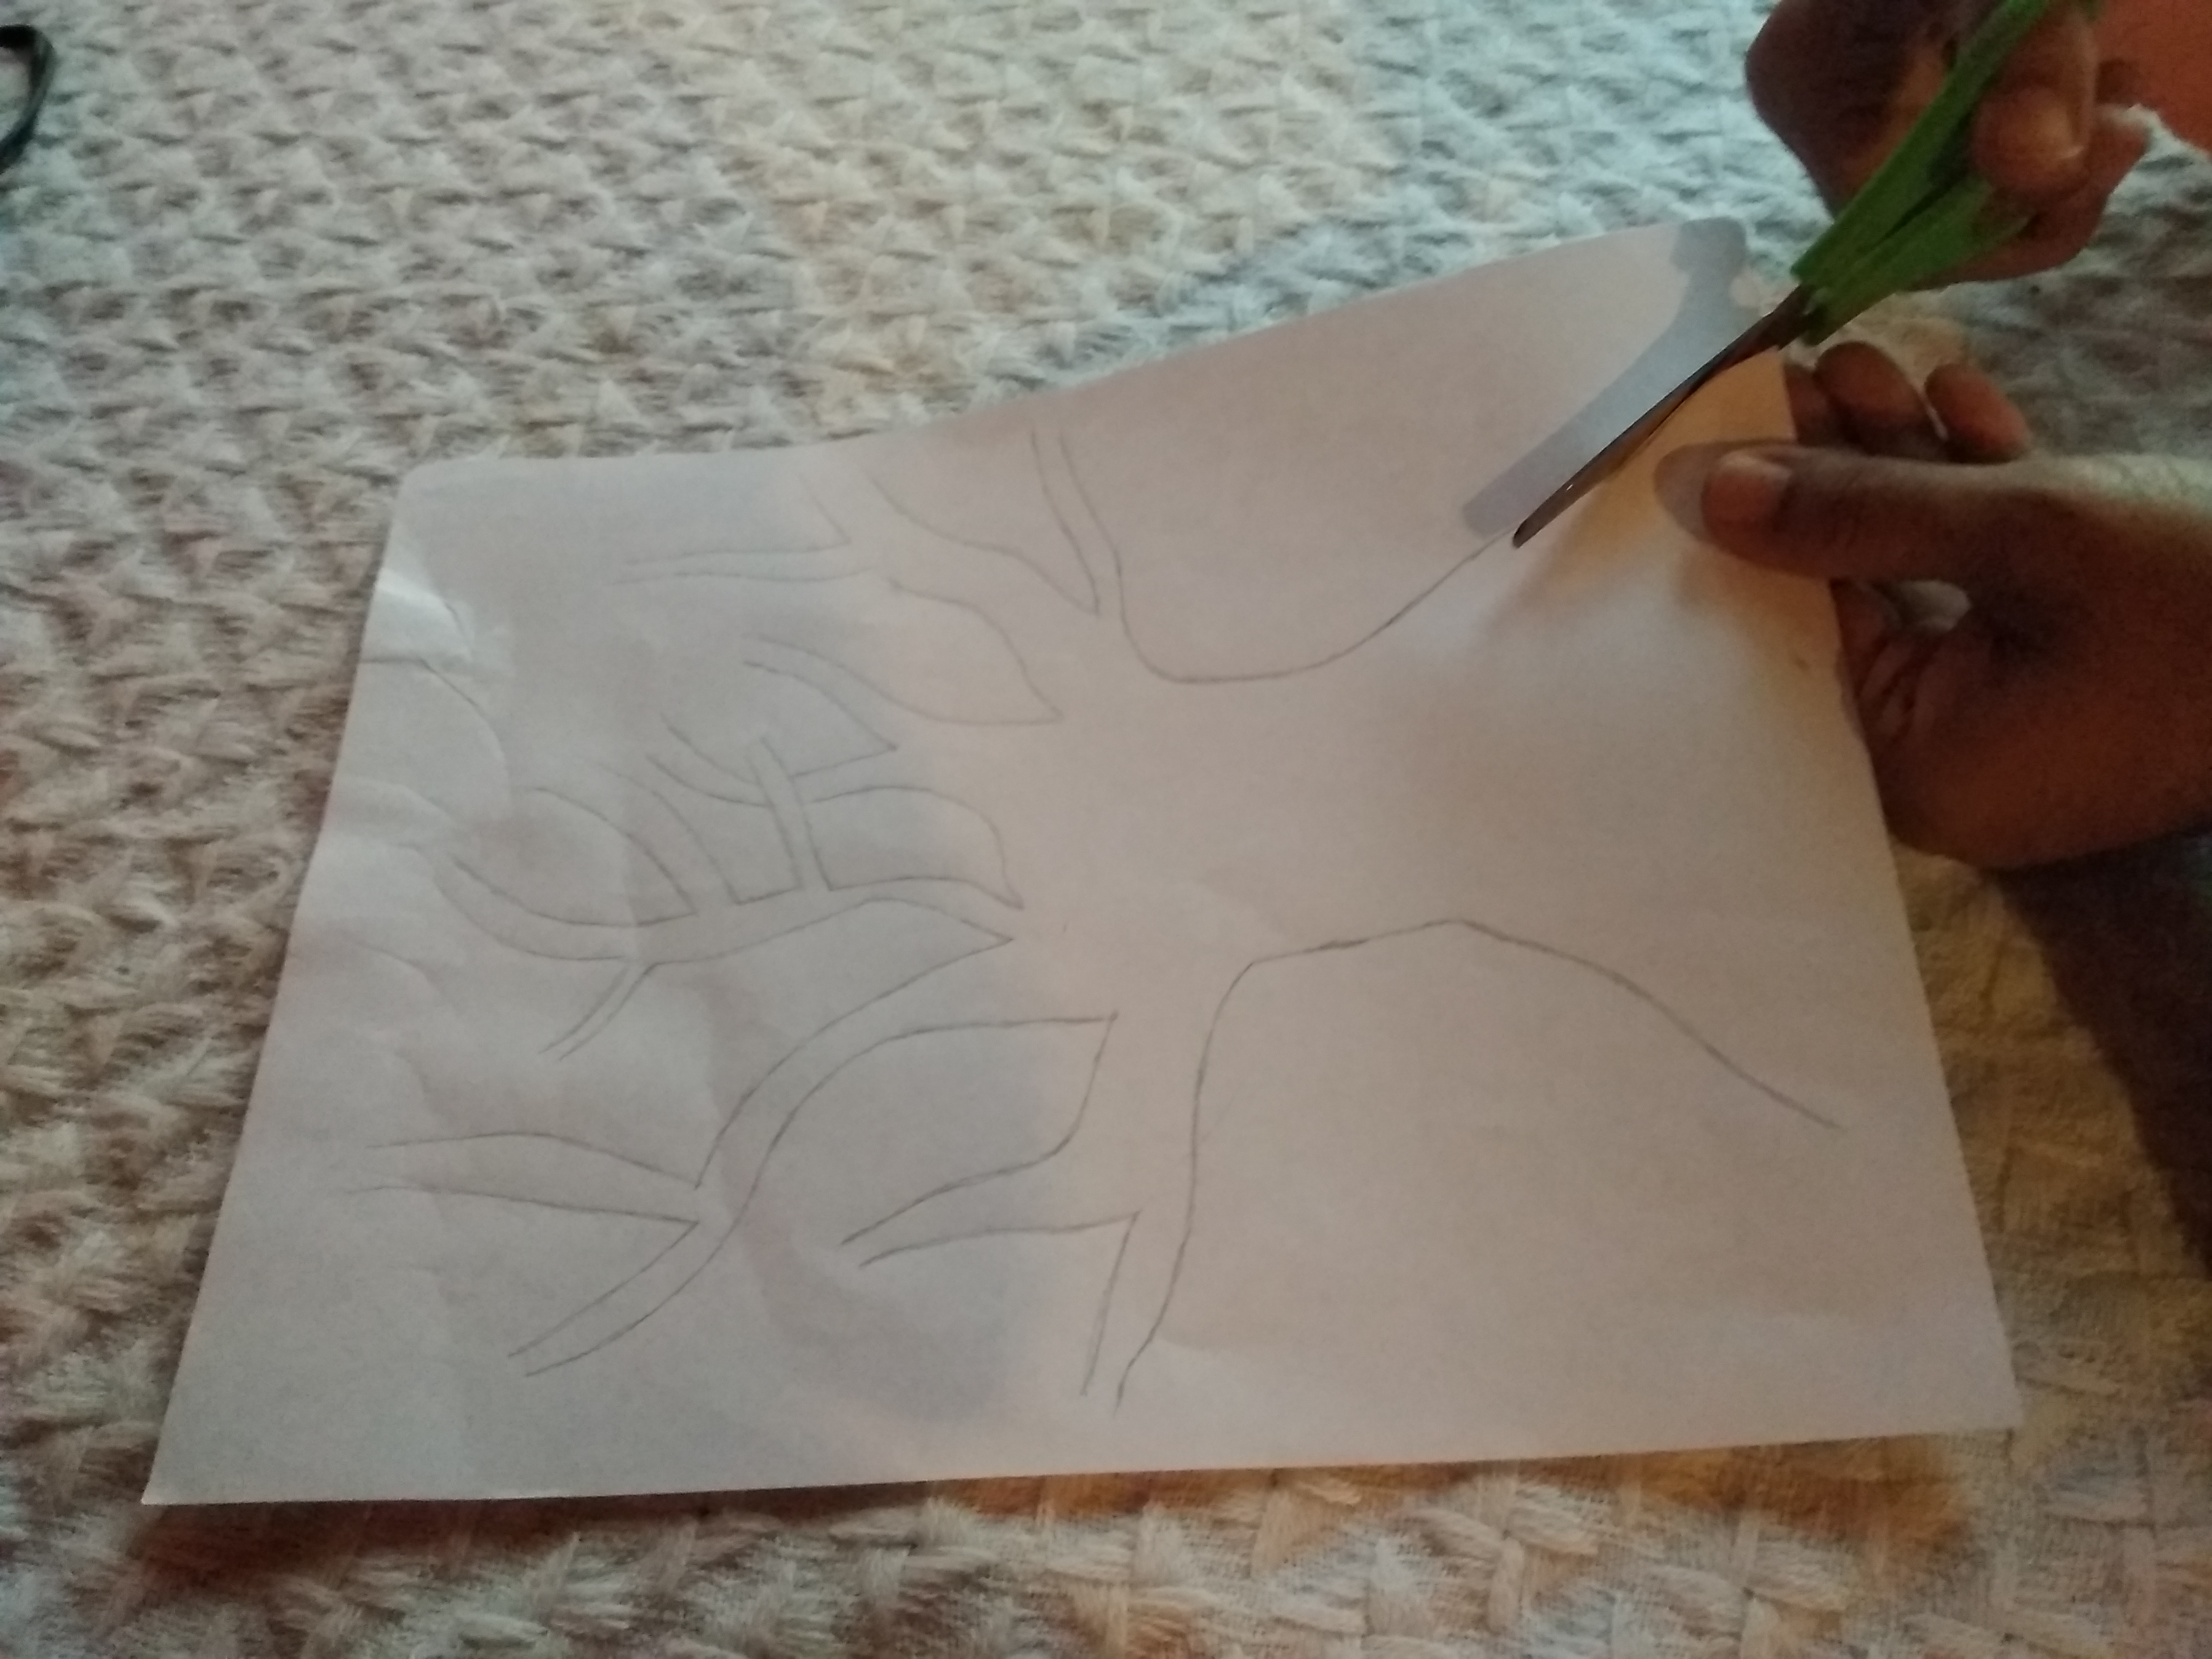
- Realice un boceto en hoja blanca del árbol que quería, luego recorte para tener el patrón
Make a sketch on white sheet of the tree you wanted, then cut out to have the pattern

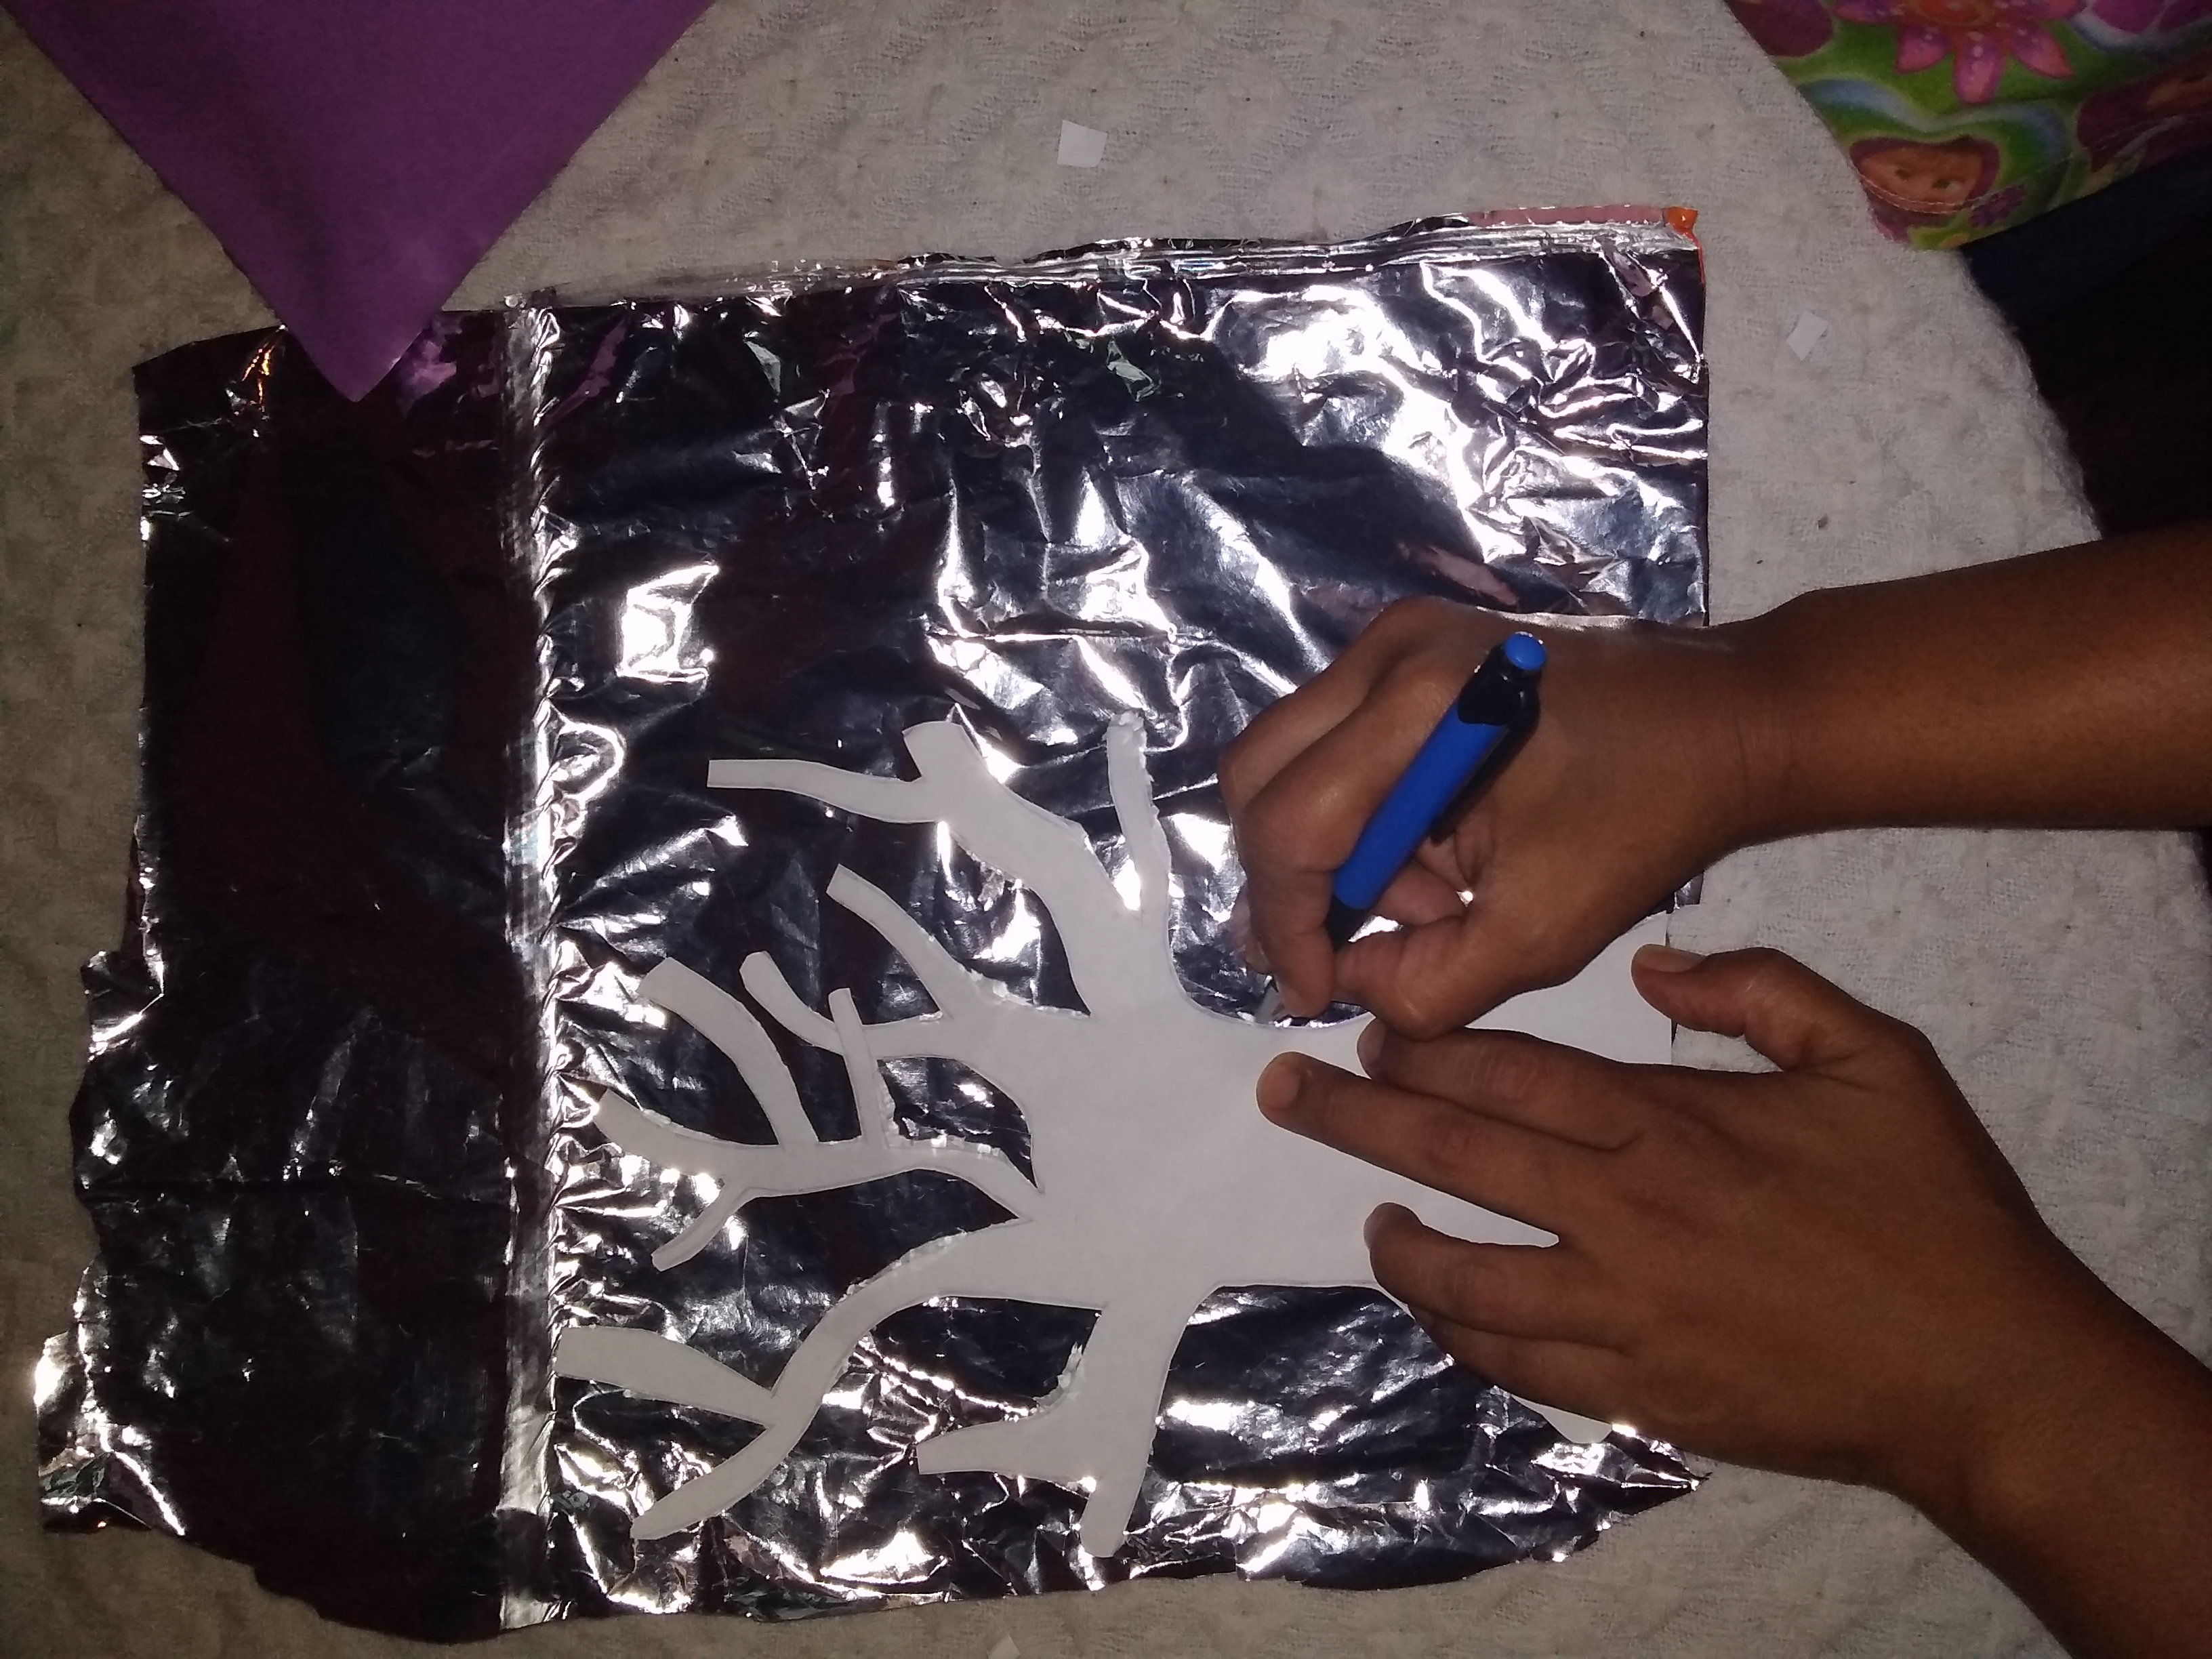
- Tome la bolsa de chogüi y la coloque por el lado plateado y transferí el patrón en este material y procedí a cortar.
I took the chogüi bag and placed it on the silver side and transferred the pattern on this material and proceeded to cut.
- Coloque la pega y transferí a la base del cuadro. En un principio quise utilizar silicón, pero por ser muy caliente el papel de chogui se lo consume, por eso termine usando solo pega.
Place the glue and transferred to the base of the painting. At first I wanted to use silicone, but because the chogui paper is very hot it consumes it, so I ended up using only glue.
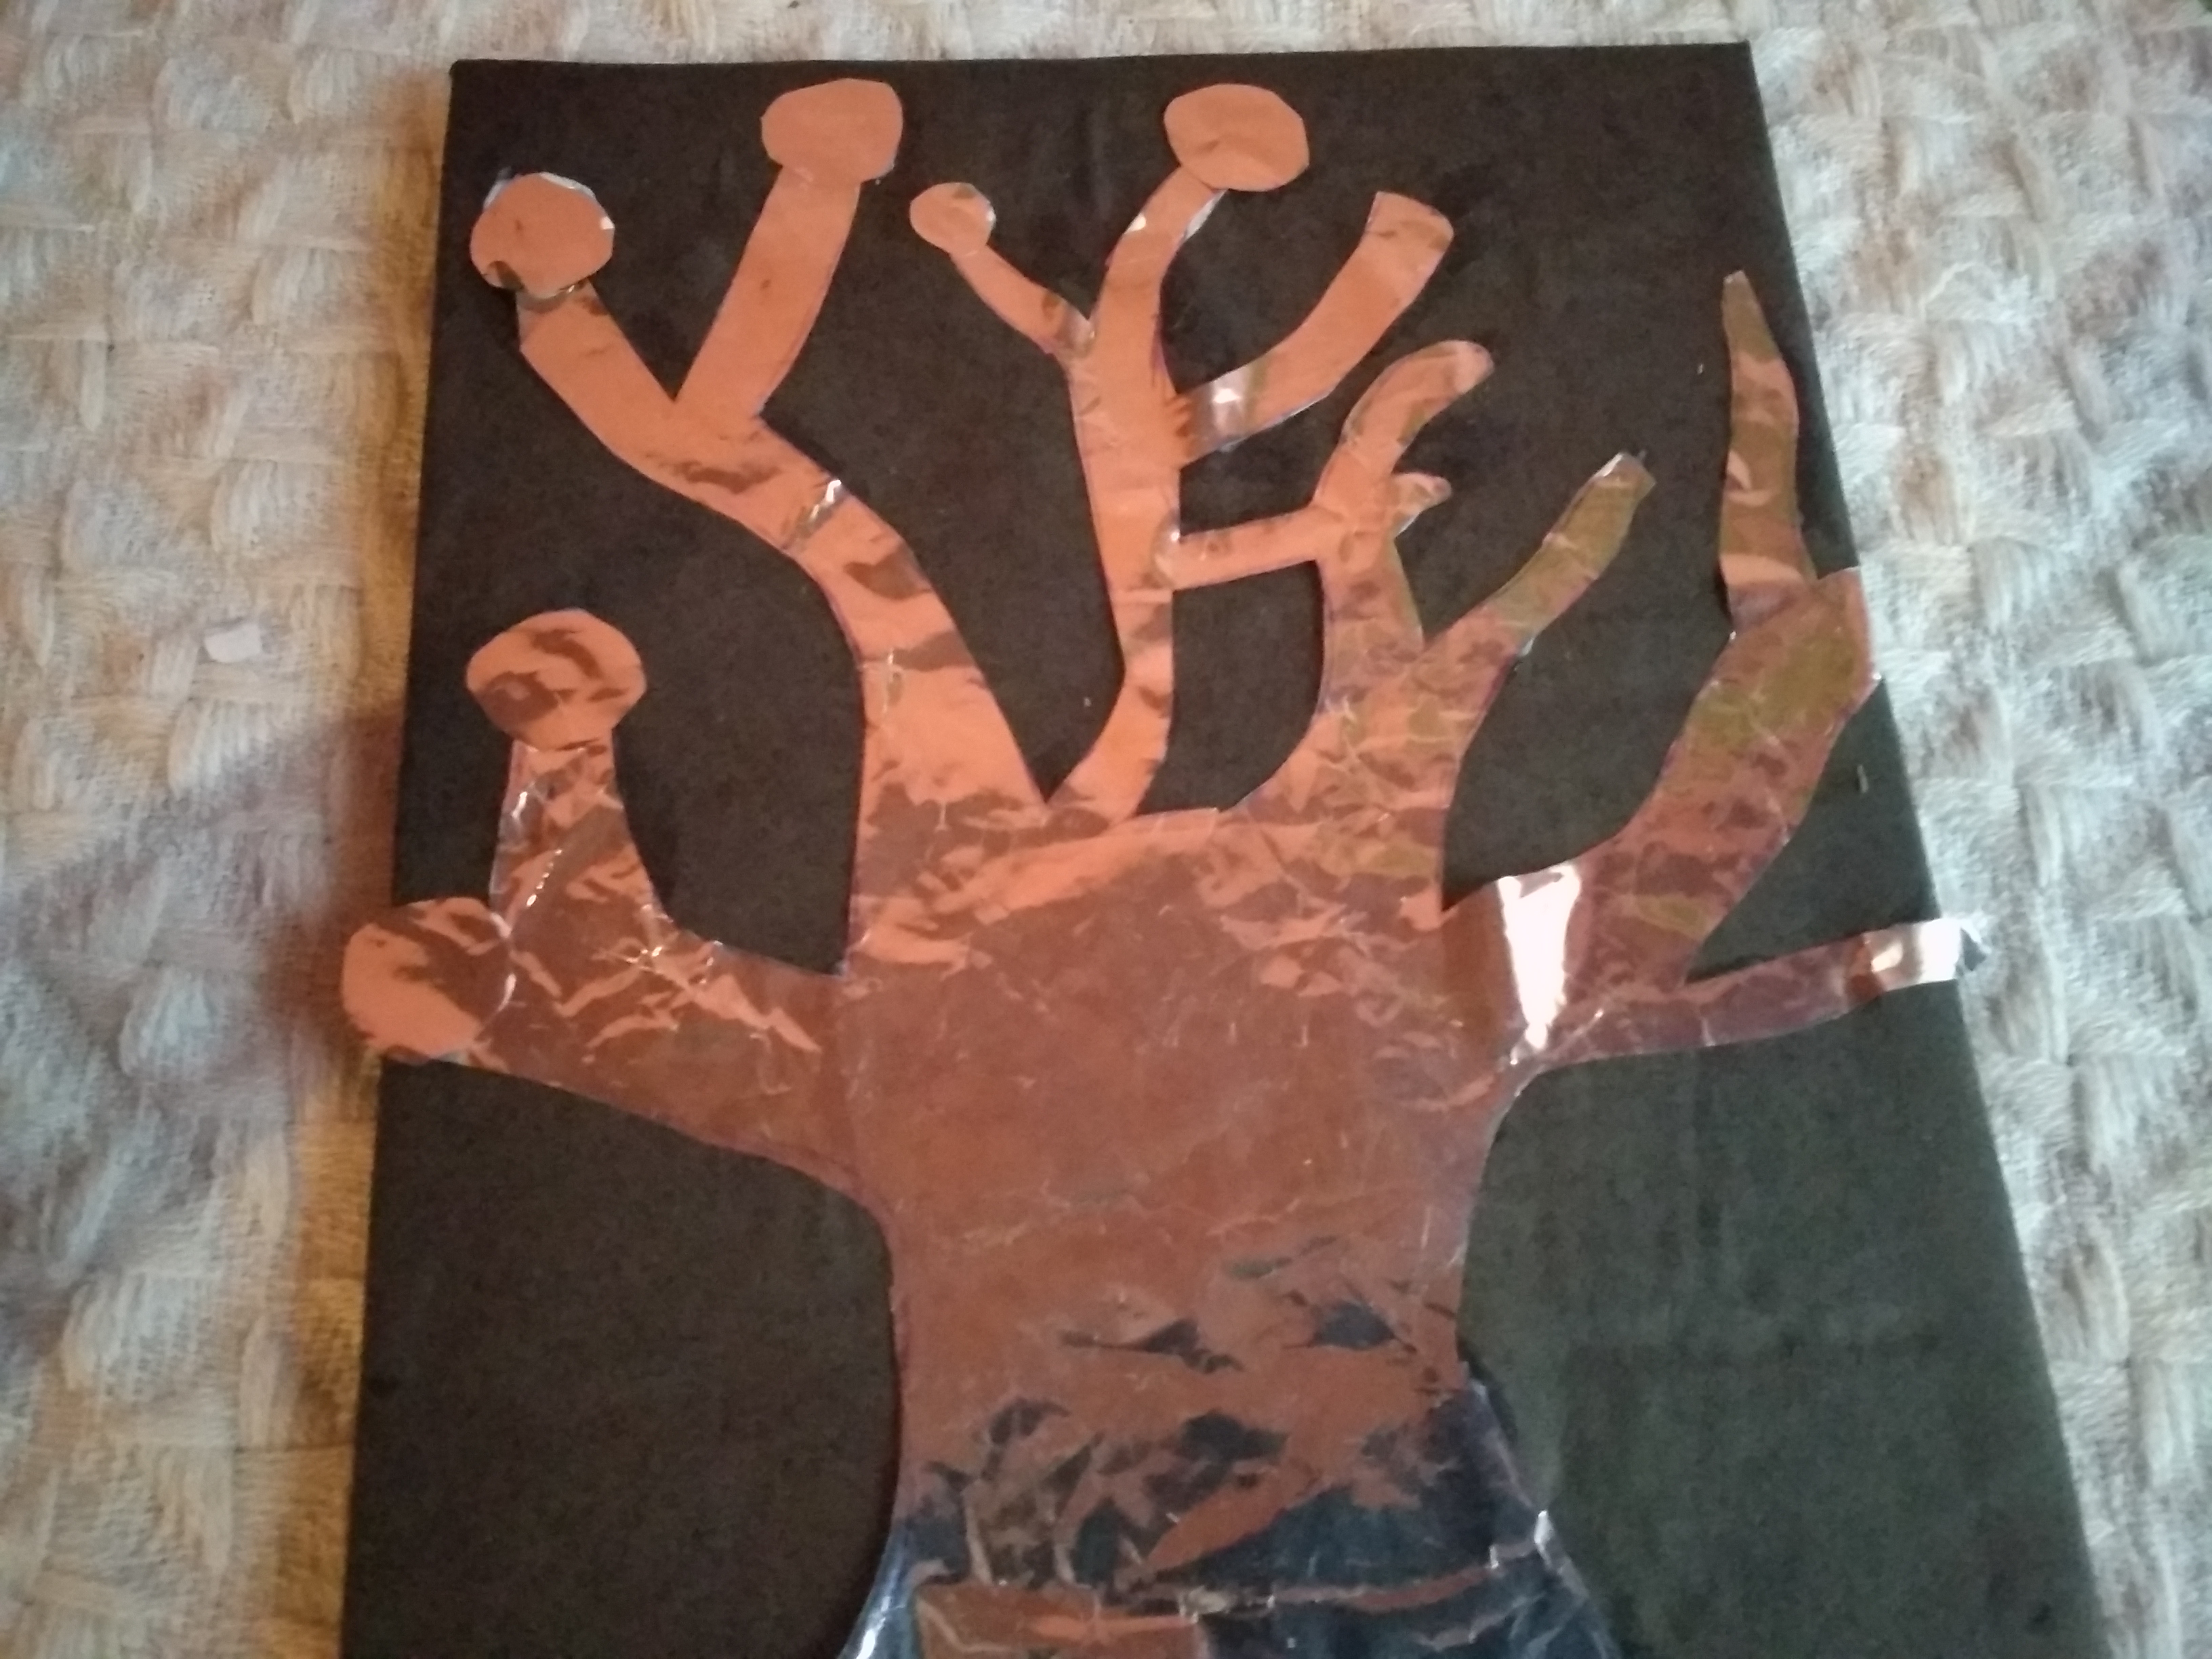
- Realice círculos y hojas para adornar el árbol, y fue agregando con pega.
Make circles and leaves to decorate the tree, and was adding with glue.
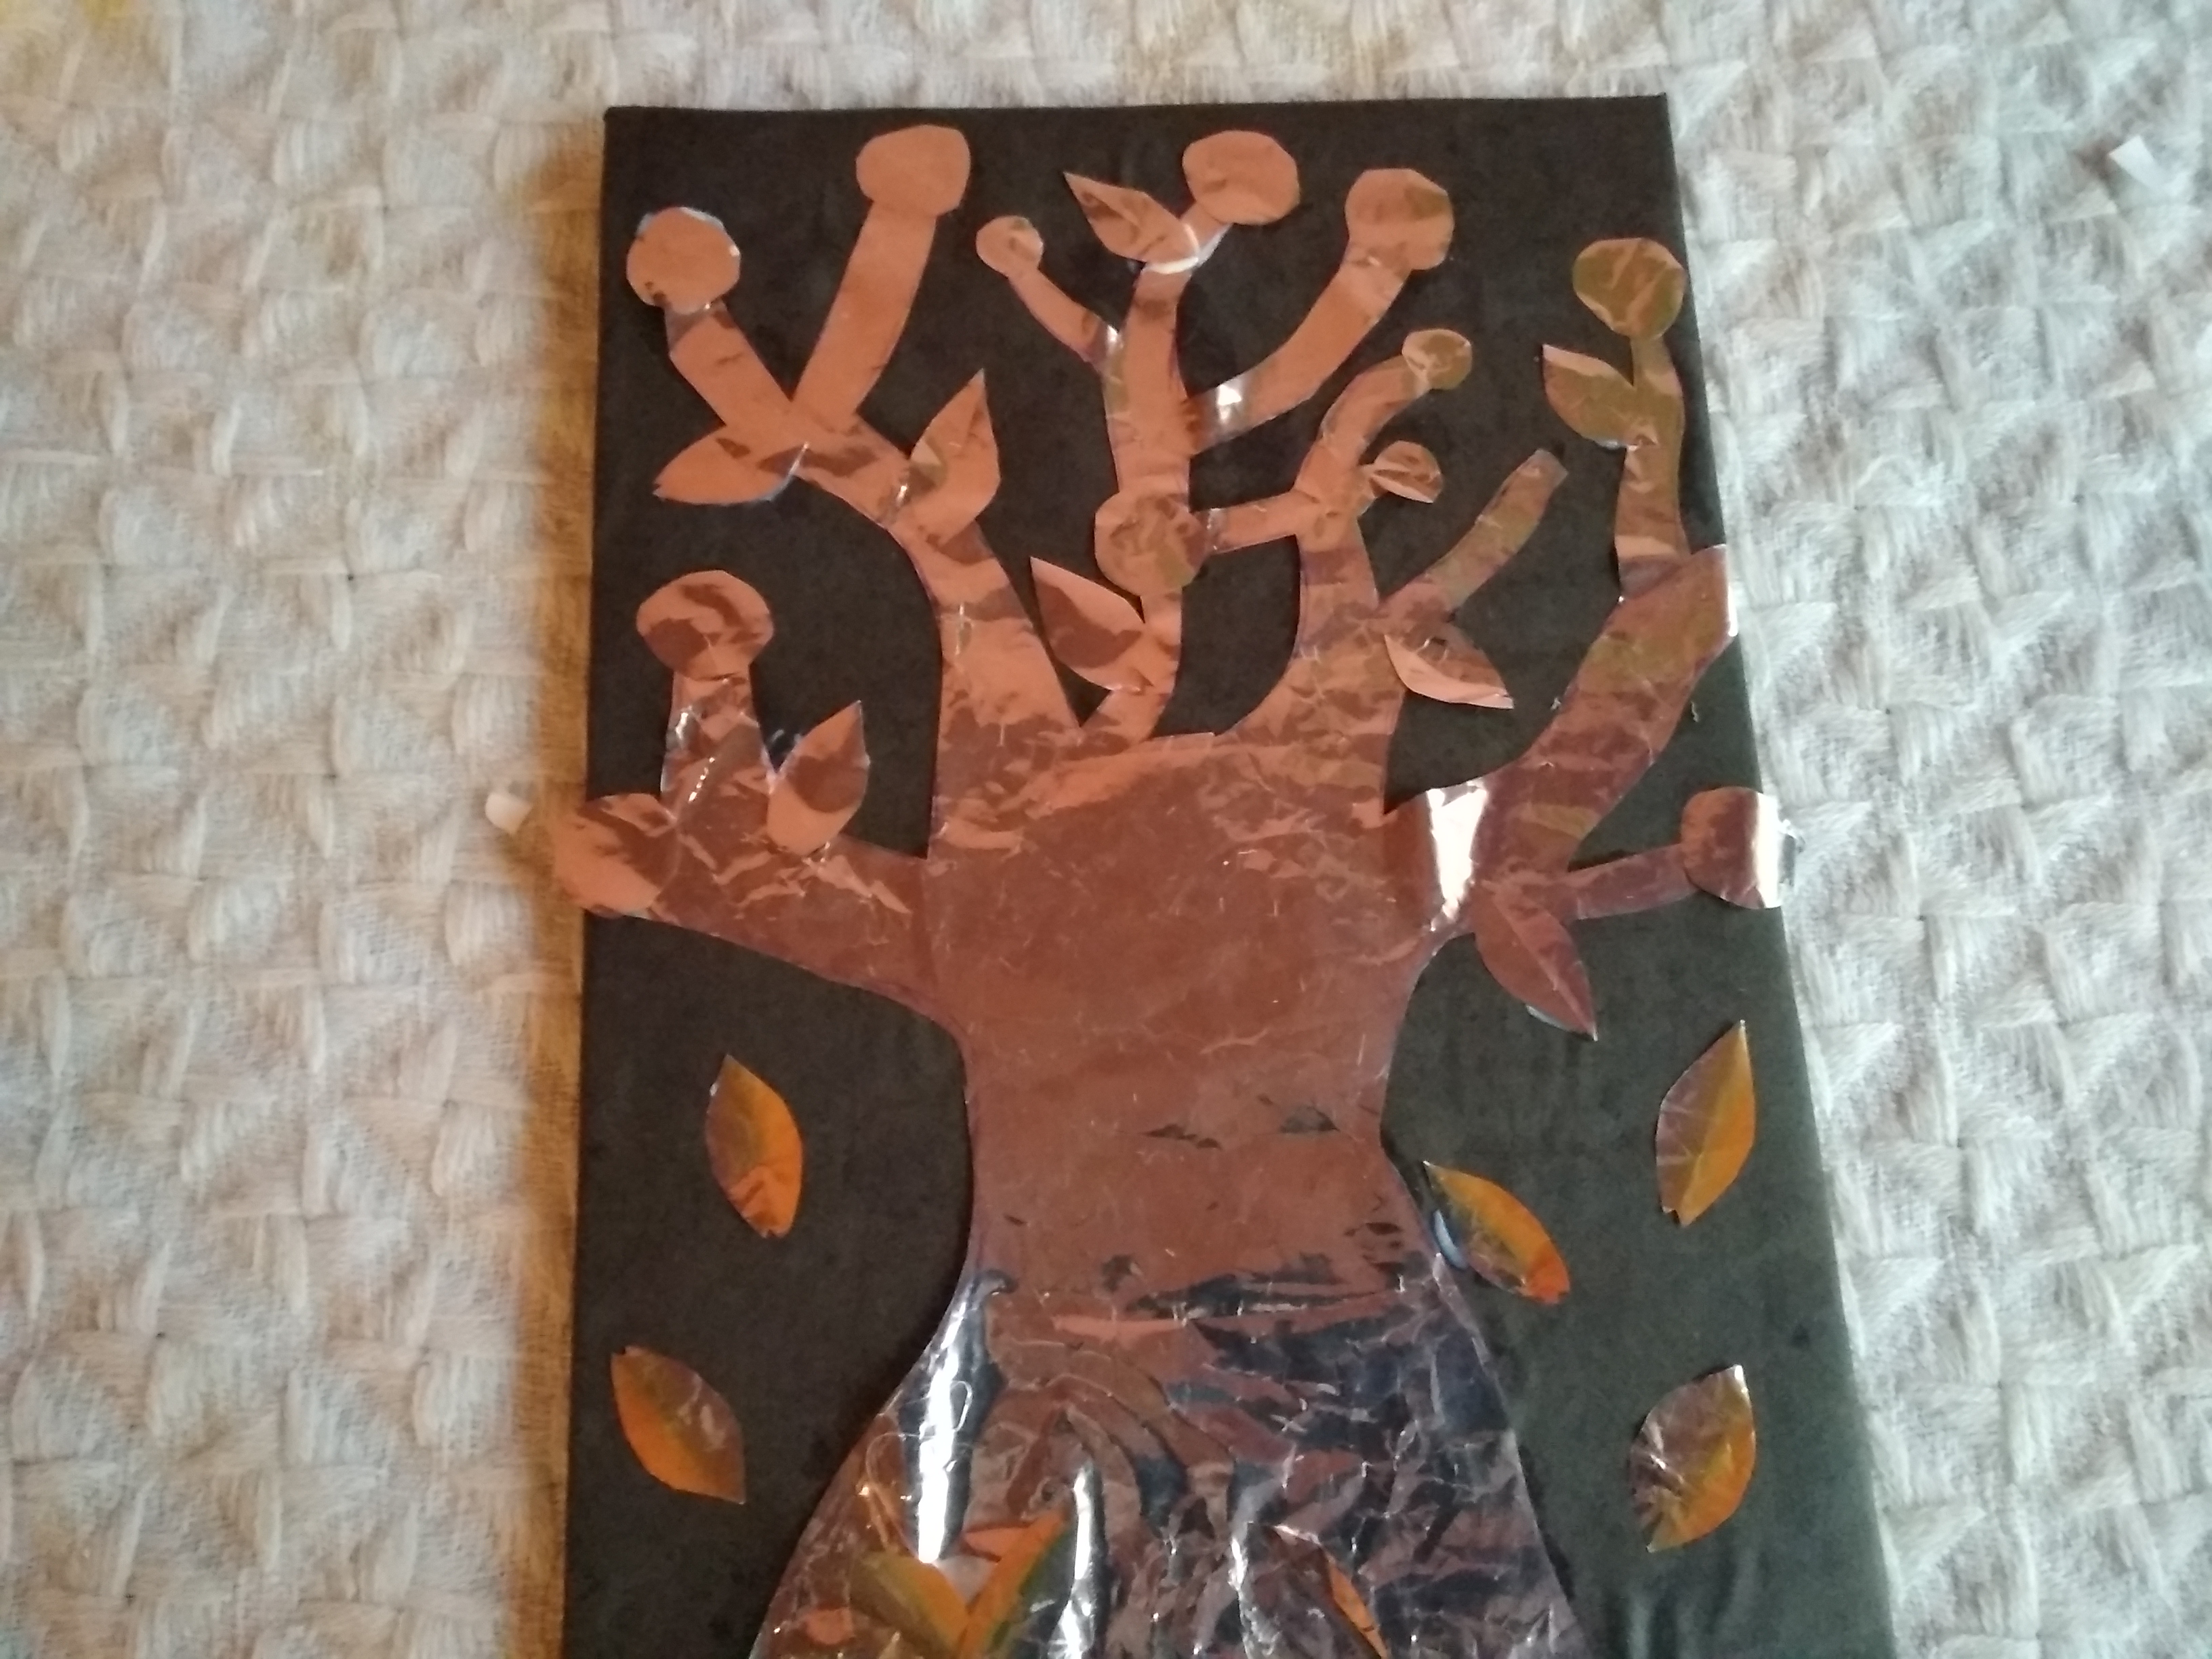
- De esta manera obtuve el Cuadro de árbol metálico con papel de Golosina.
In this way I obtained the Metallic Tree Painting with Candy Paper.
Cuadro de Árbol metálico
Metallic Tree Painting
Espero les guste
Fotografías tomadas desde mi Teléfono RedmiGo Xiaomi.
Gracias por Leerme
I hope you like it
Photographs taken from my RedmiGo Xiaomi Phone.
Thanks for reading me
Muy pocas veces tomamos en cuenta los envoltorios de golosina a la hora de reciclar y me encanta la manera que lo haz logrado hacer. Excelente trabajo♡
Gracias por comentar y por valorar mi publicación. Saludos @mavis16
Estoy sorprendida esta es una forma muy creativa de reutilizar materiales. ¡Gracias por participar!
Muy creativo me encanto como te quedo ❤ felicidades
Gracias yolimarag por comentar