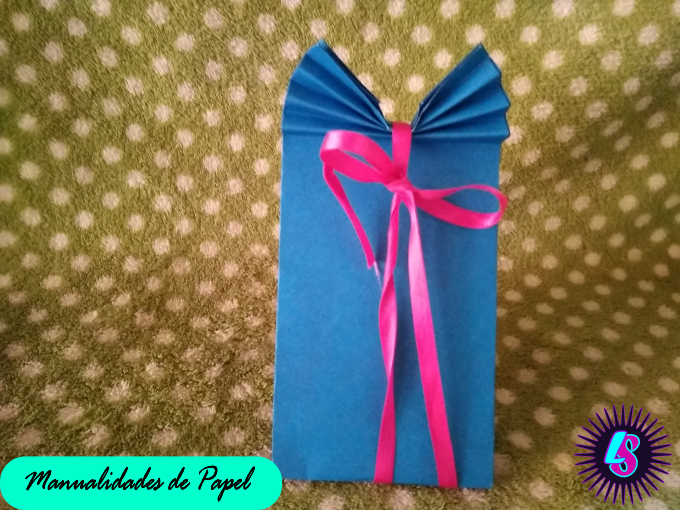
Greetings friends of this great community today in my blog I will share with you how to make a paper bag with an ideal zigzag ornament to make a gift, and the most important thing is that you can make it yourself with any paper you have at home.
Con tan solo materiales armaremos esta linda bolsa de regalo aquí te indico los materiales
With only materials we will assemble this beautiful gift bag here I indicate the materials

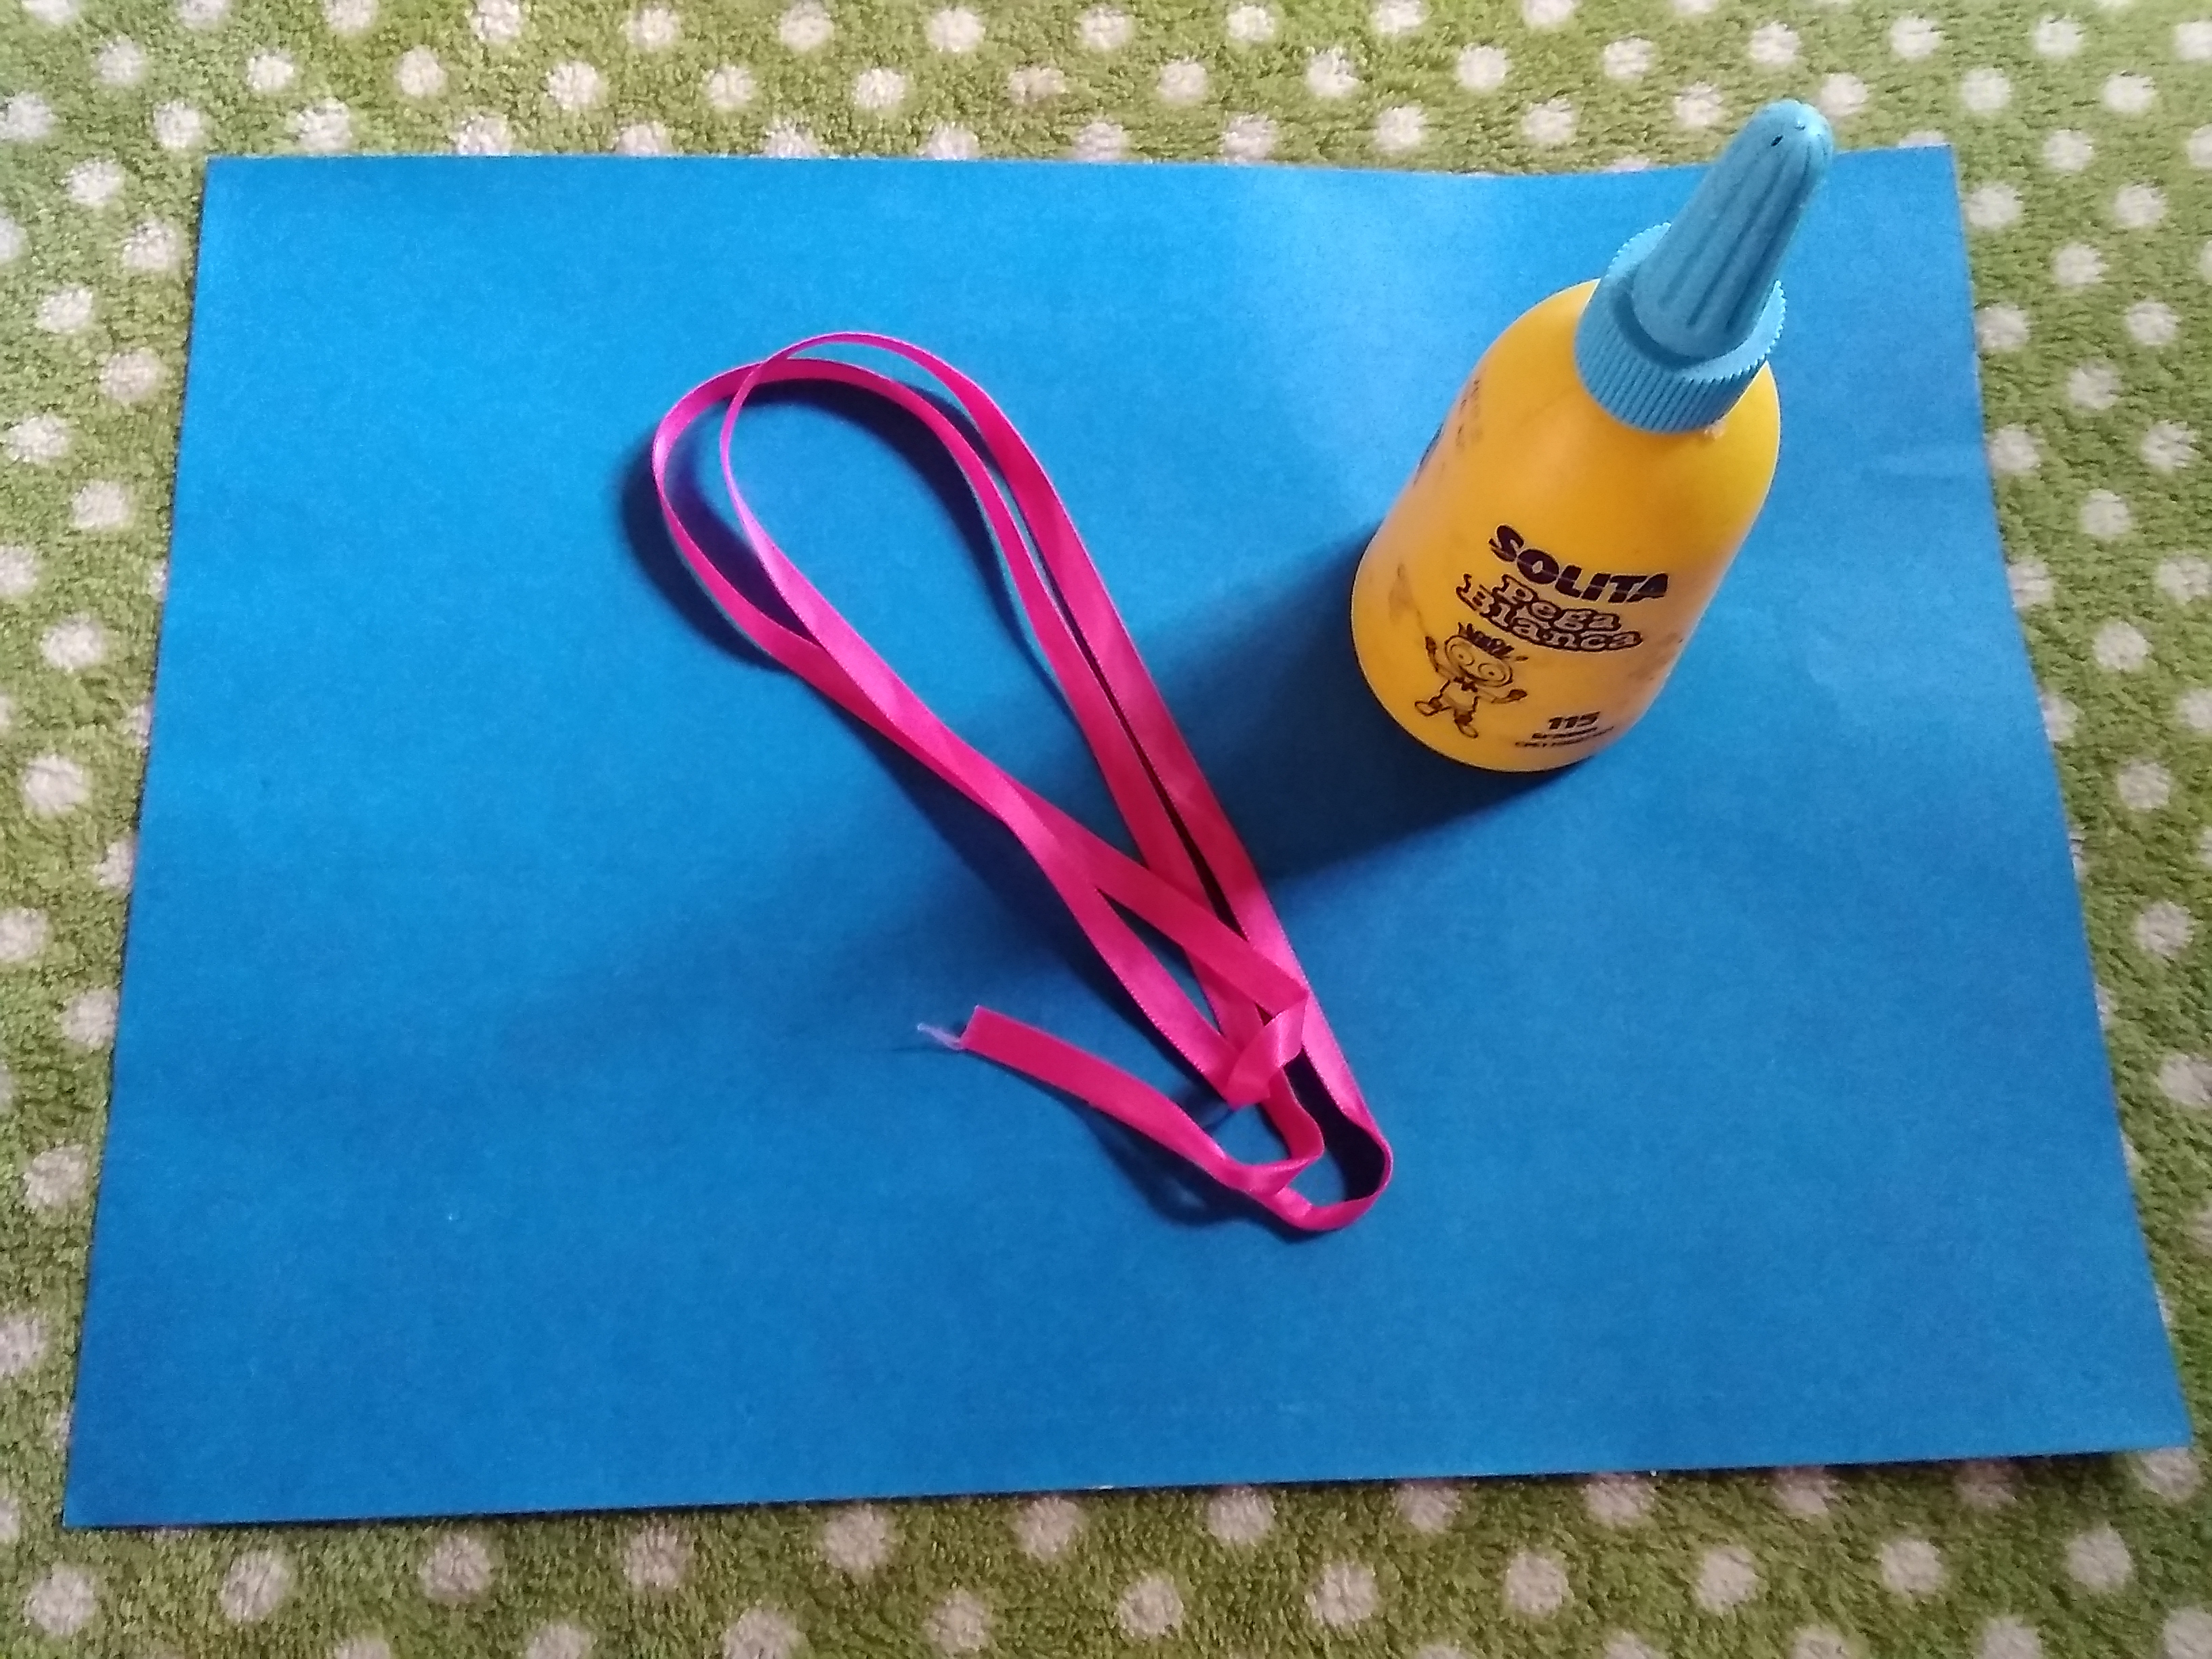
materiales
- Cartulina de construcción de color
- Pega
- Cinta decorativa
materials
- Color construction cardstock
- Job
- Decorative tape
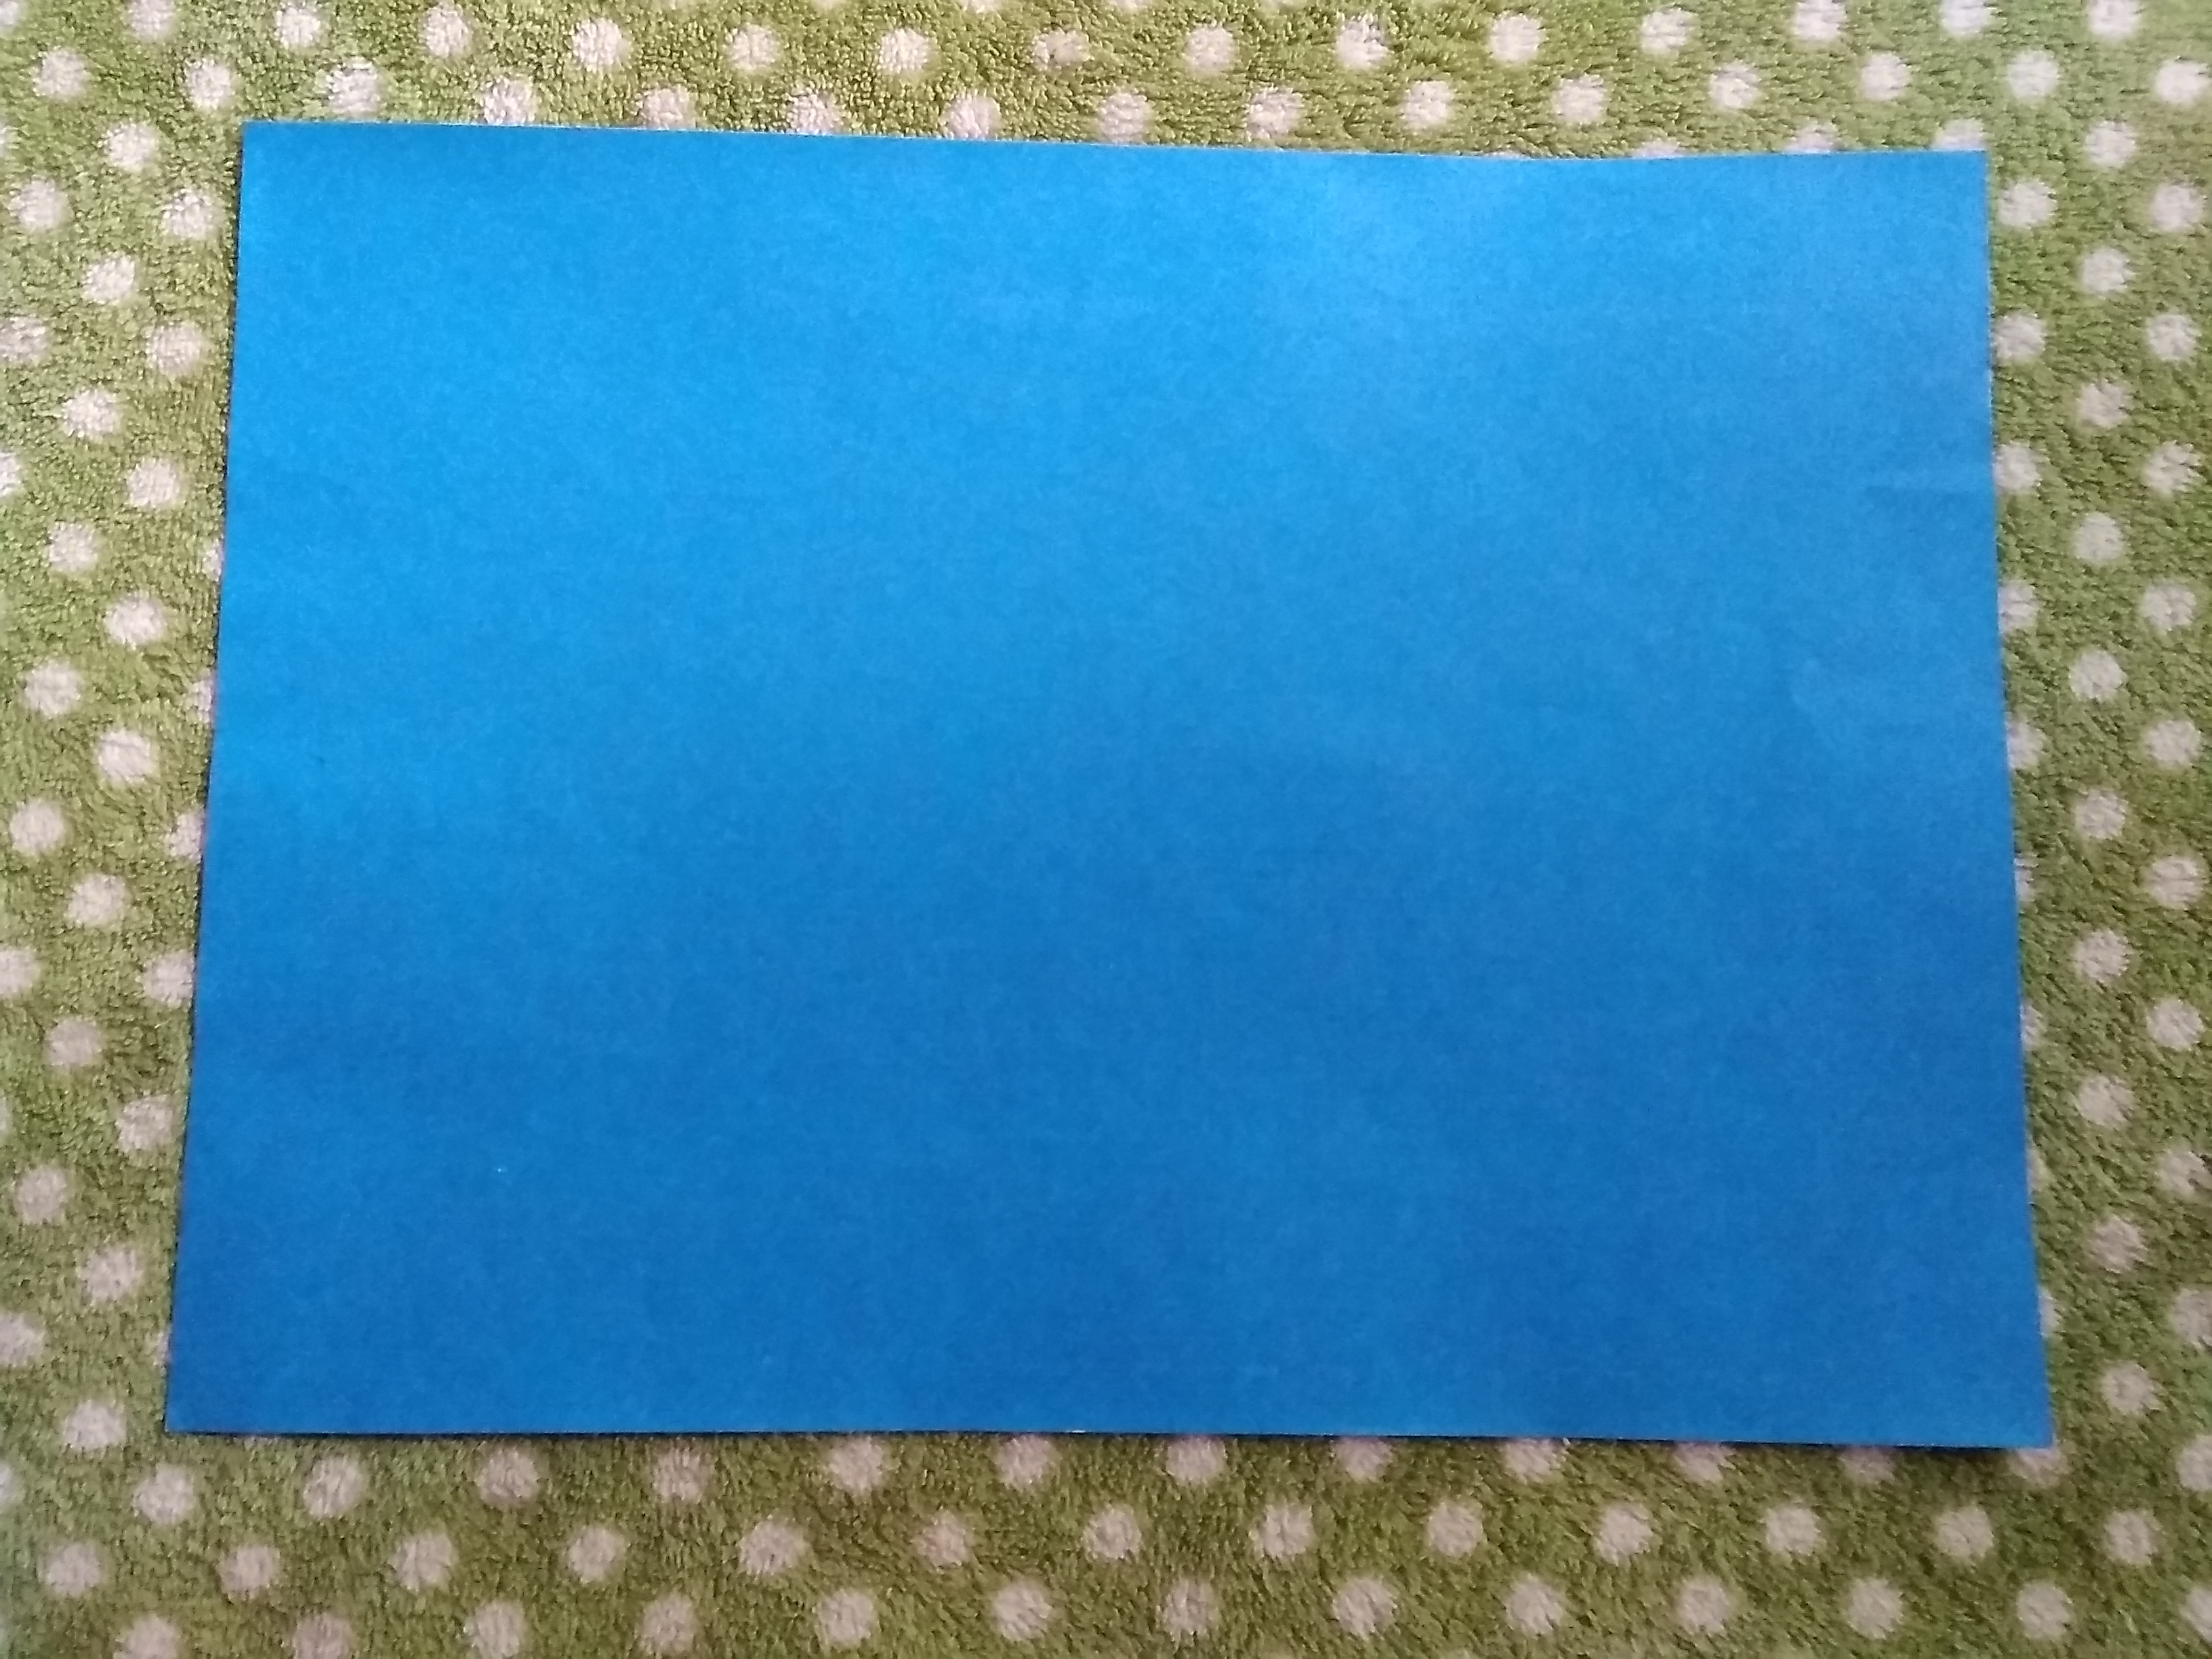
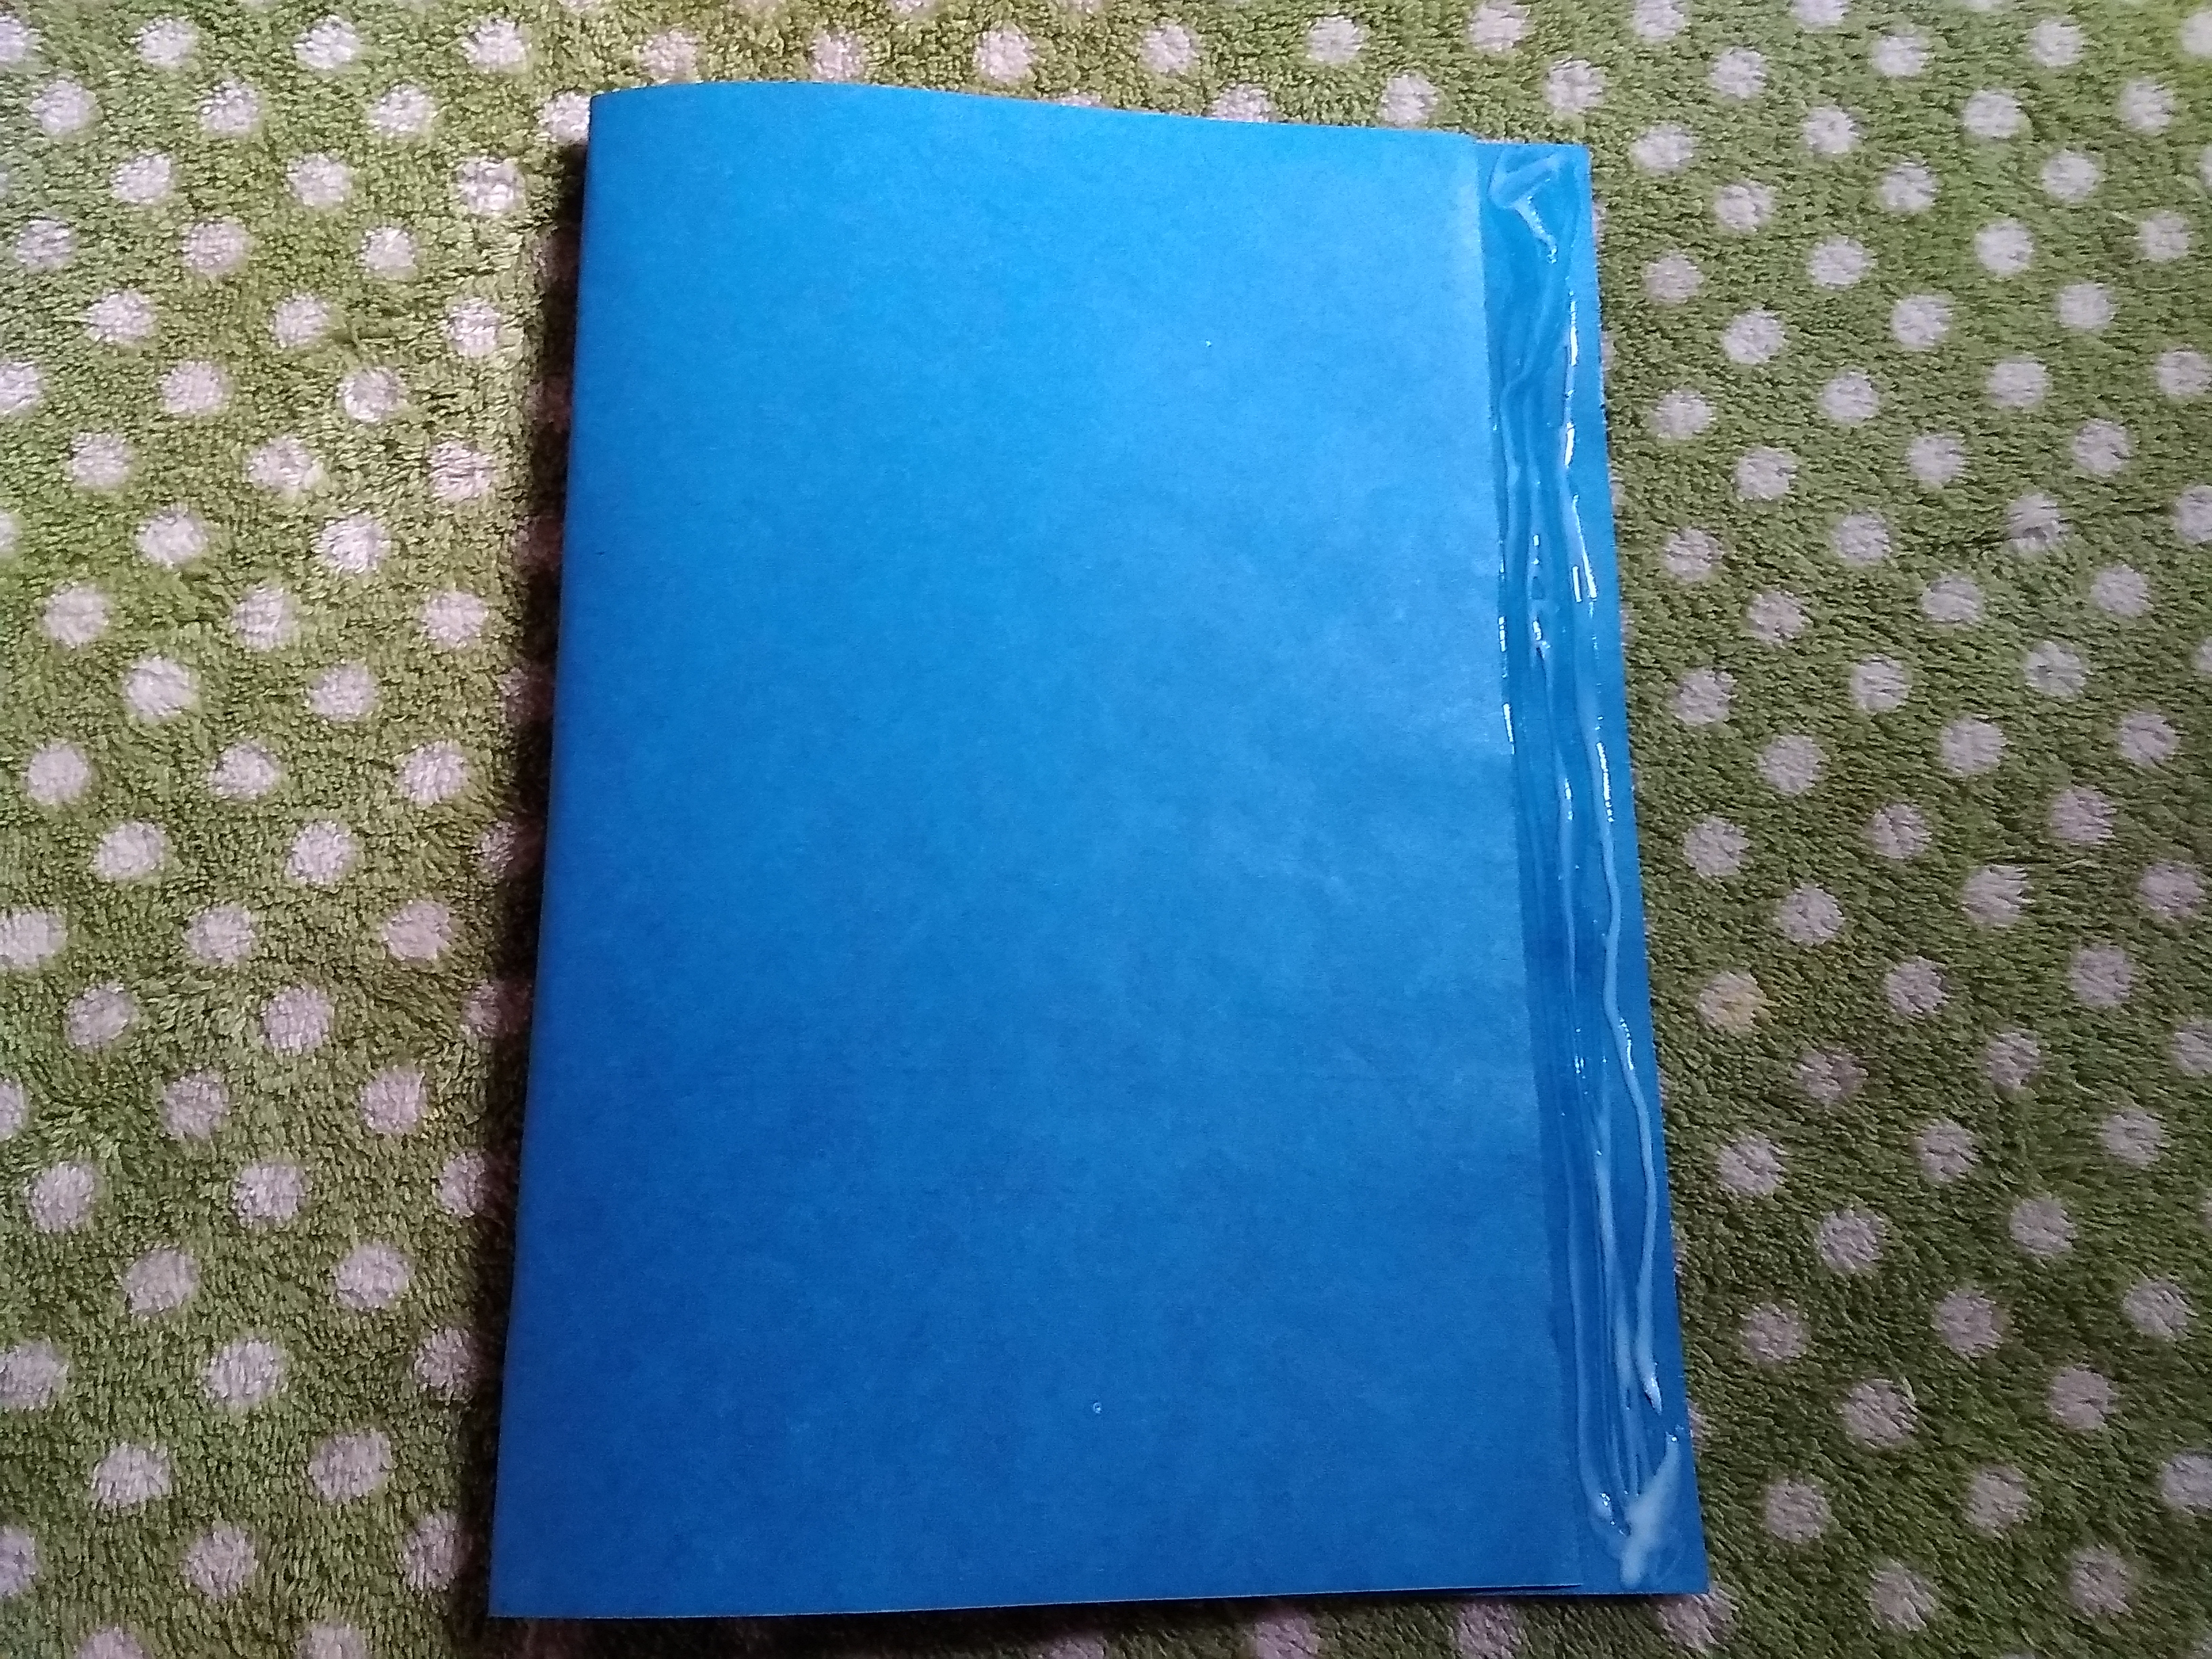
- Lo primero que realizaremos es tomar nuestra cartulina y la doblamos dejando una arista como lo muestra la fotografía.
The first thing we will do is take our cardboard and fold it, leaving an edge as shown in the photograph.
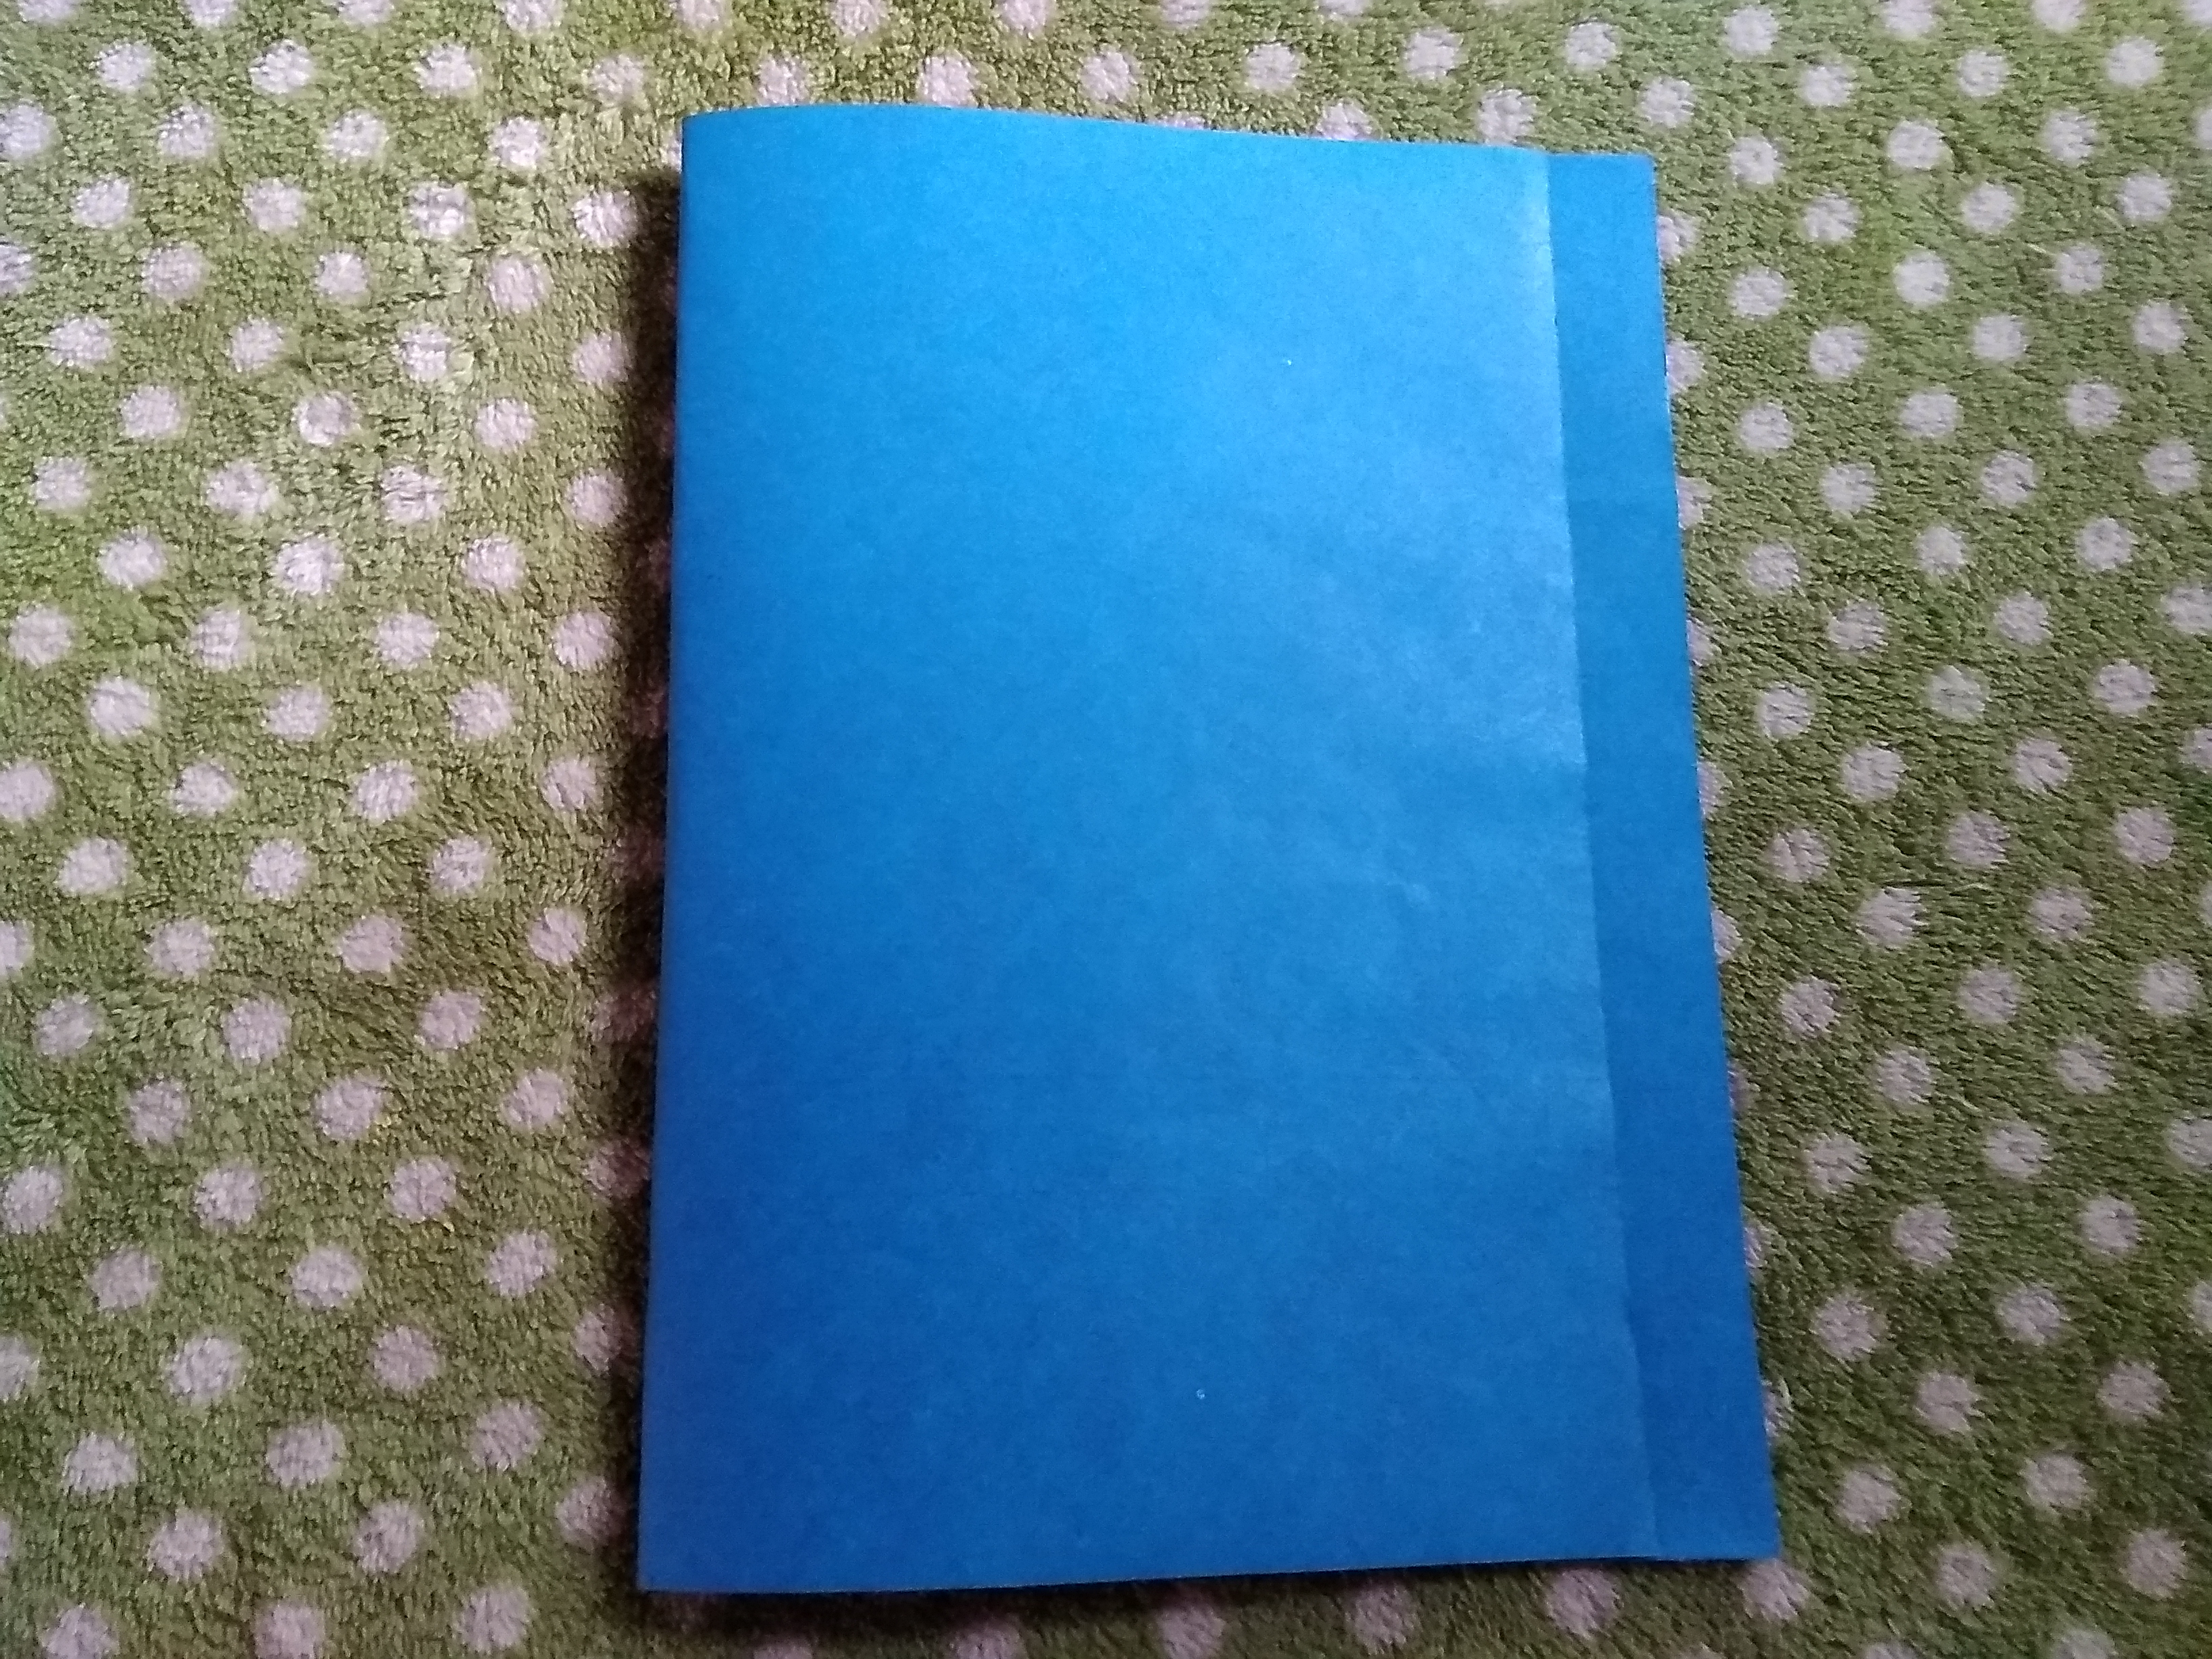
- Luego colocamos pega y sellamos
Then we put glue and seal
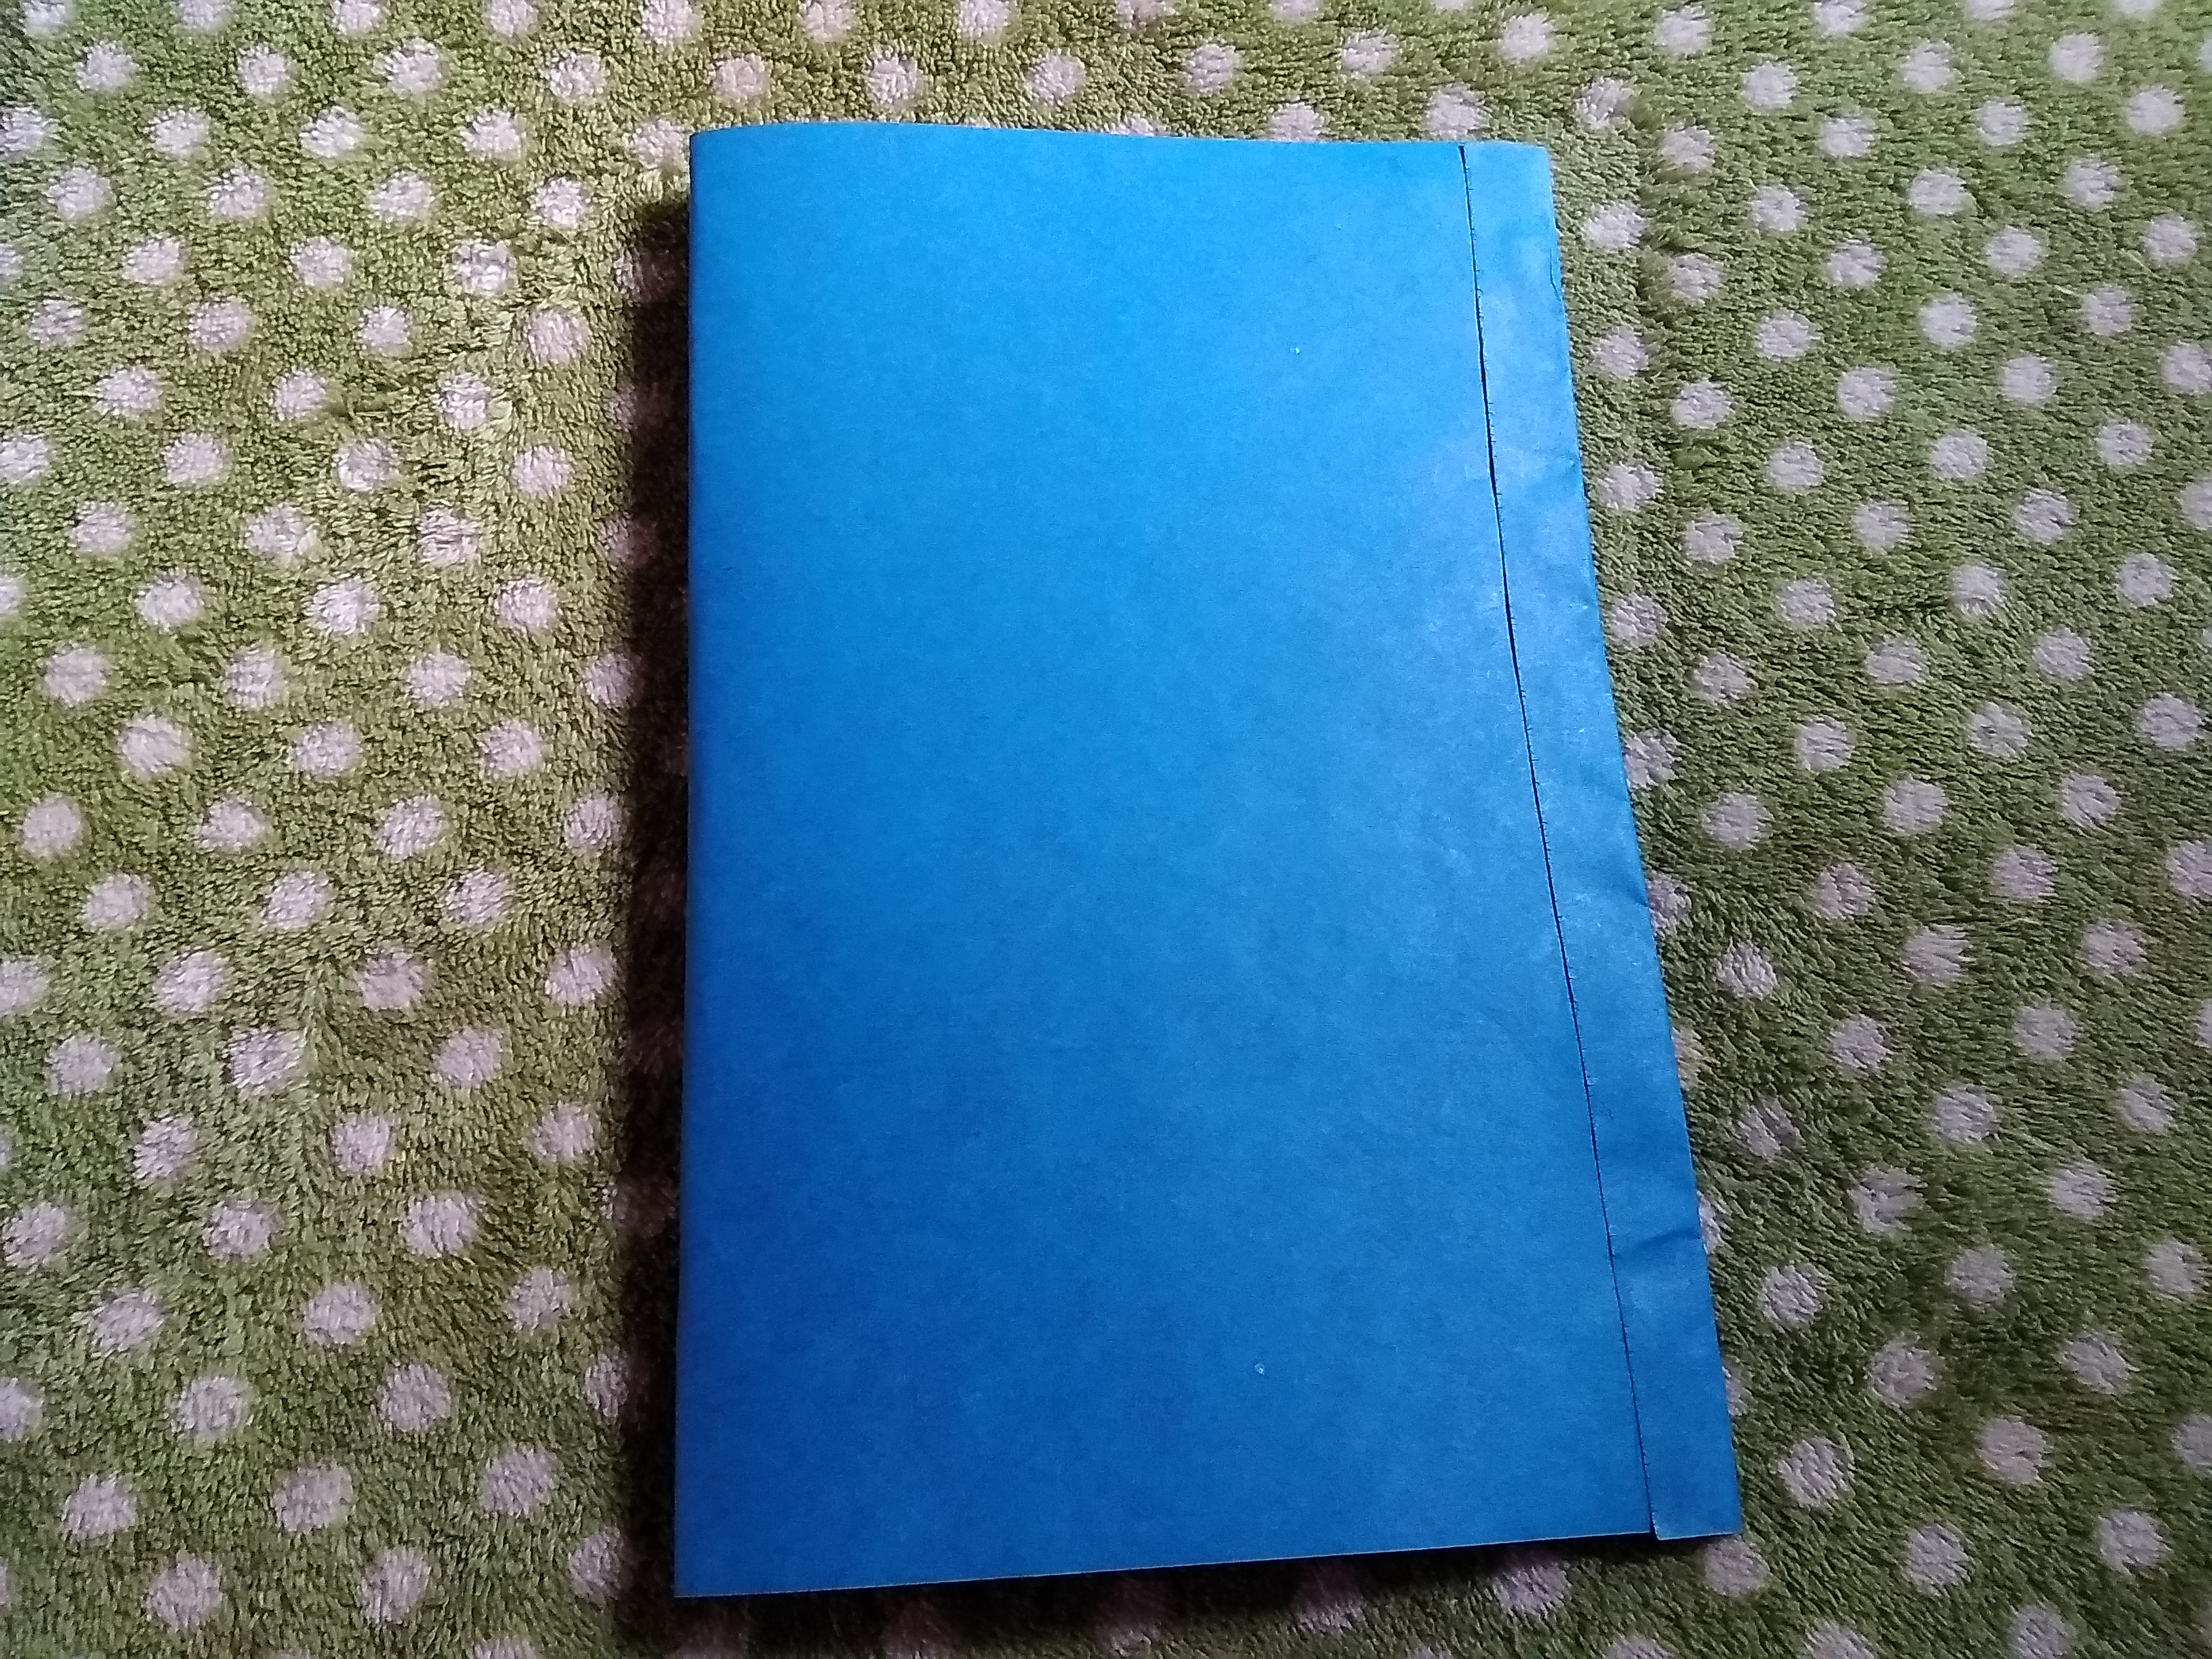
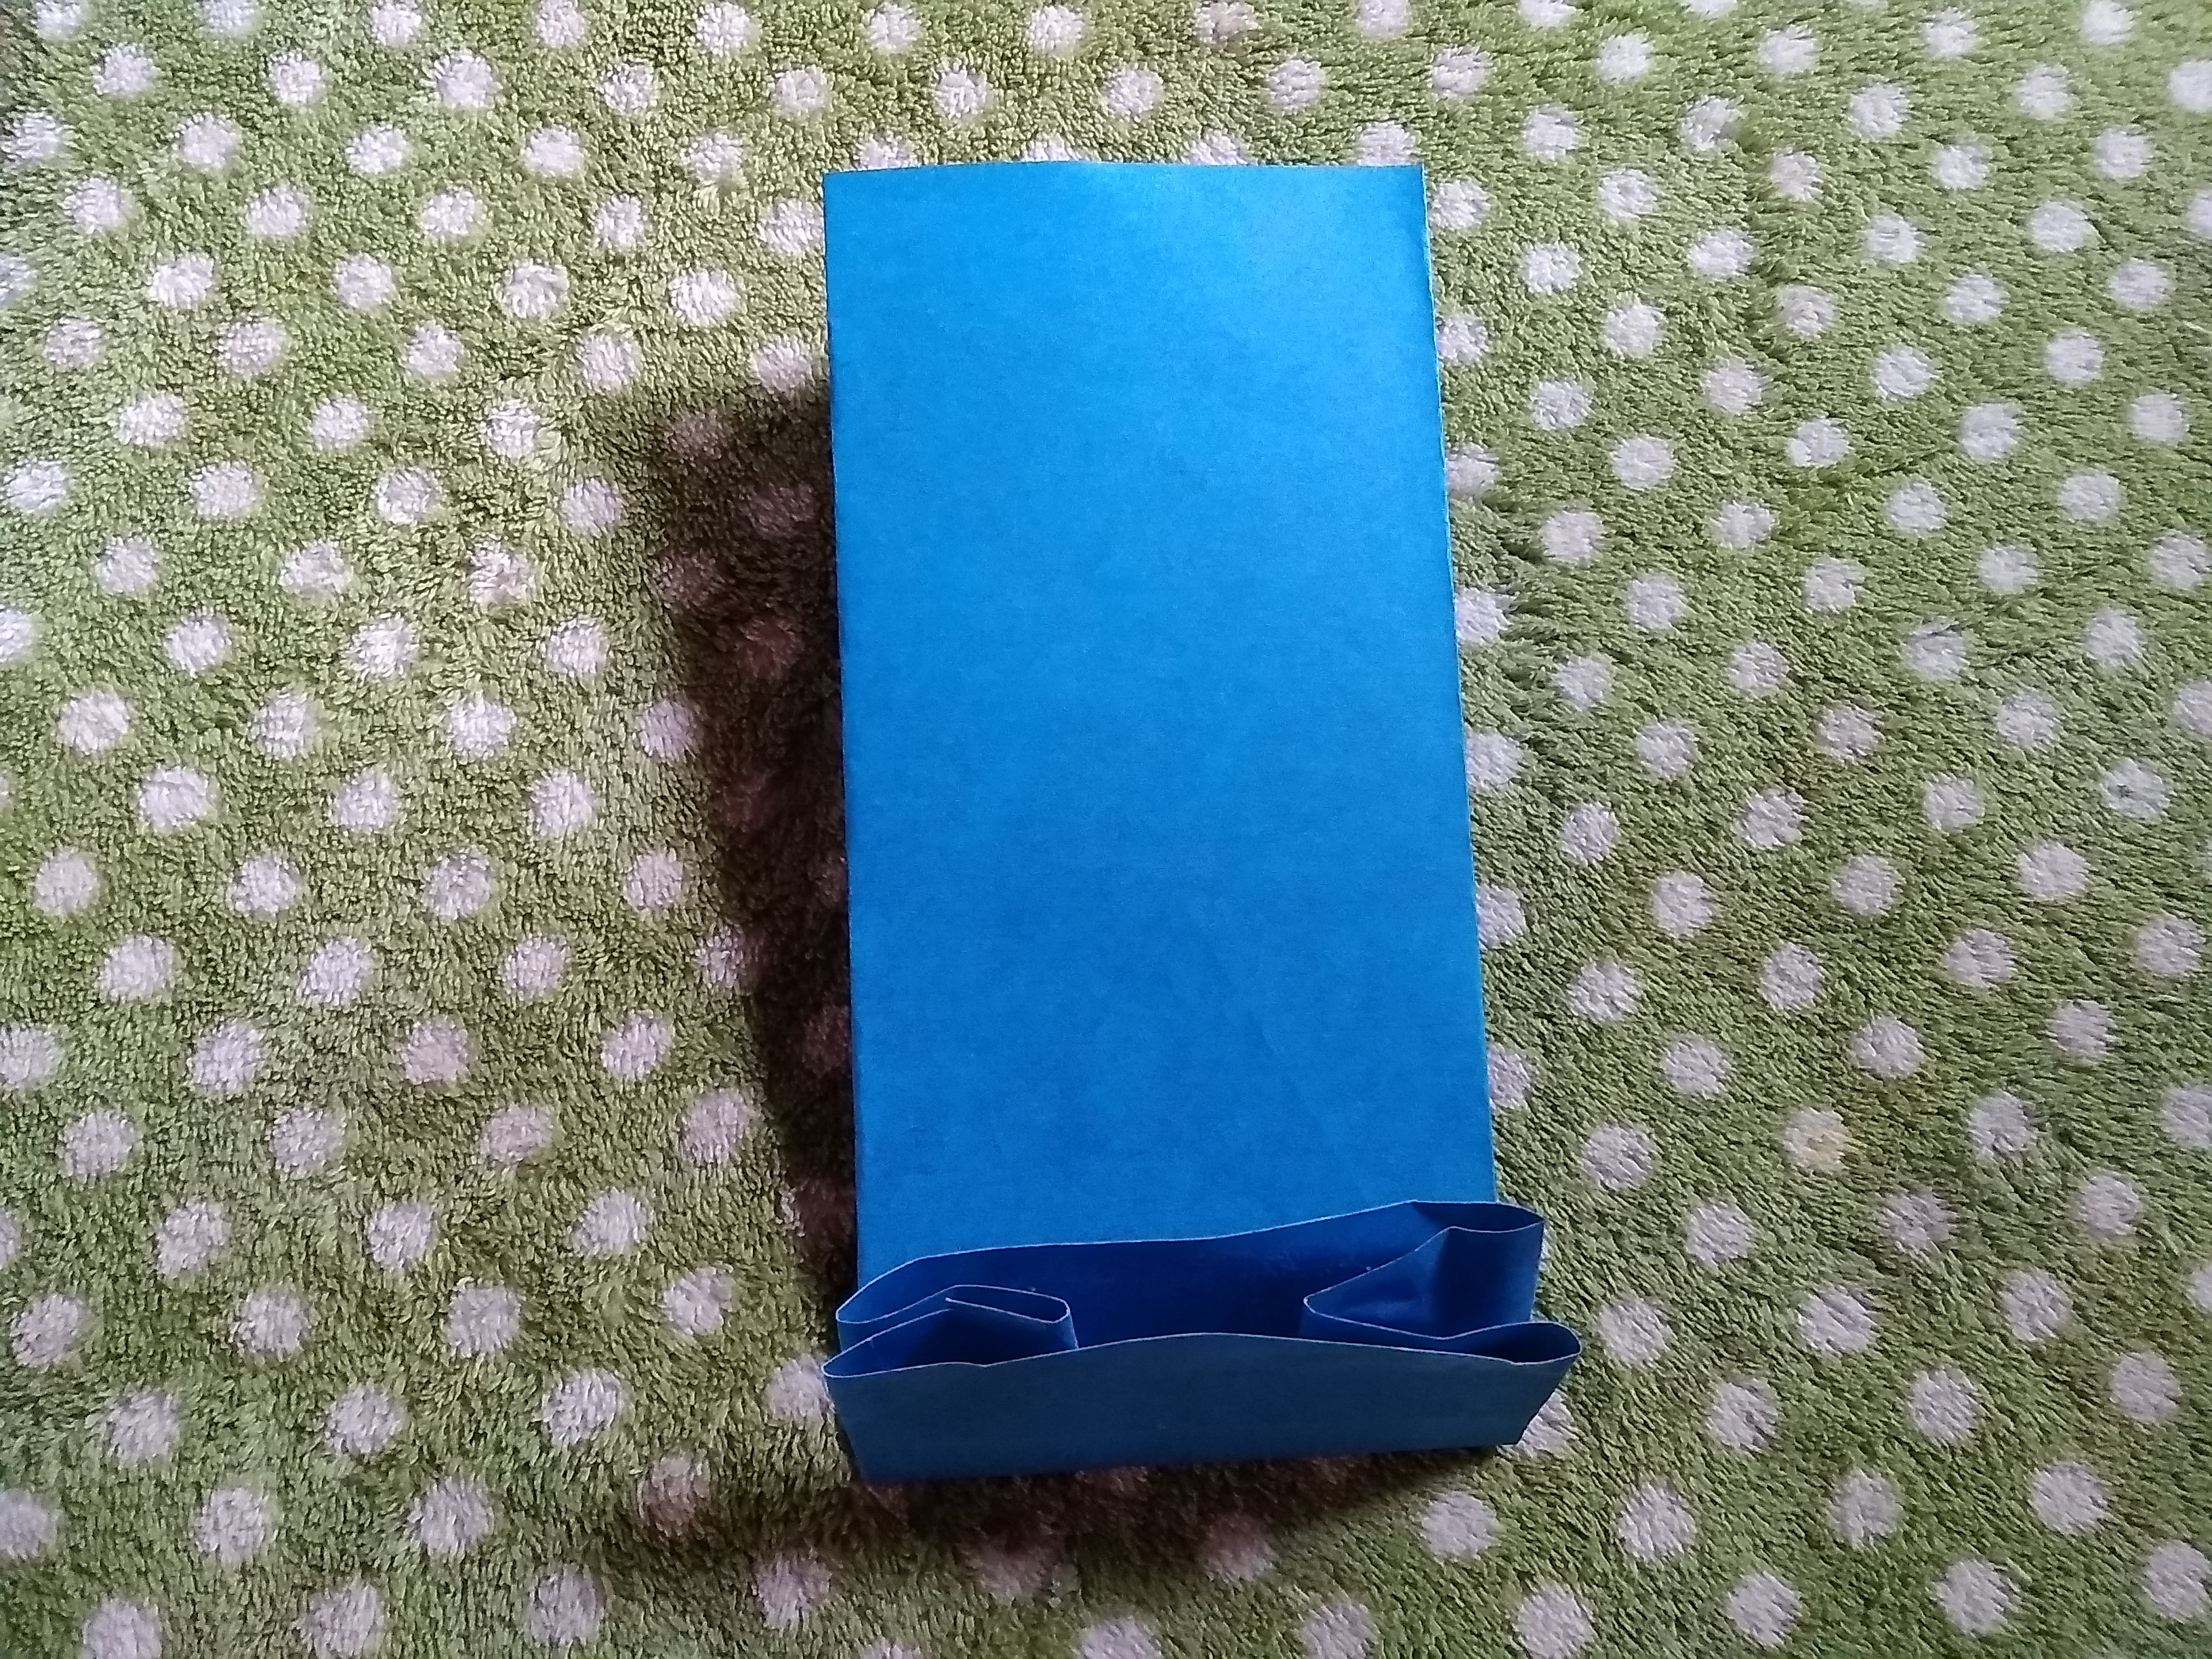
- Posteriormente realizamos unos dobles en ambos lados como ven en la fotografía.
Later we make some doubles on both sides as you can see in the photograph.
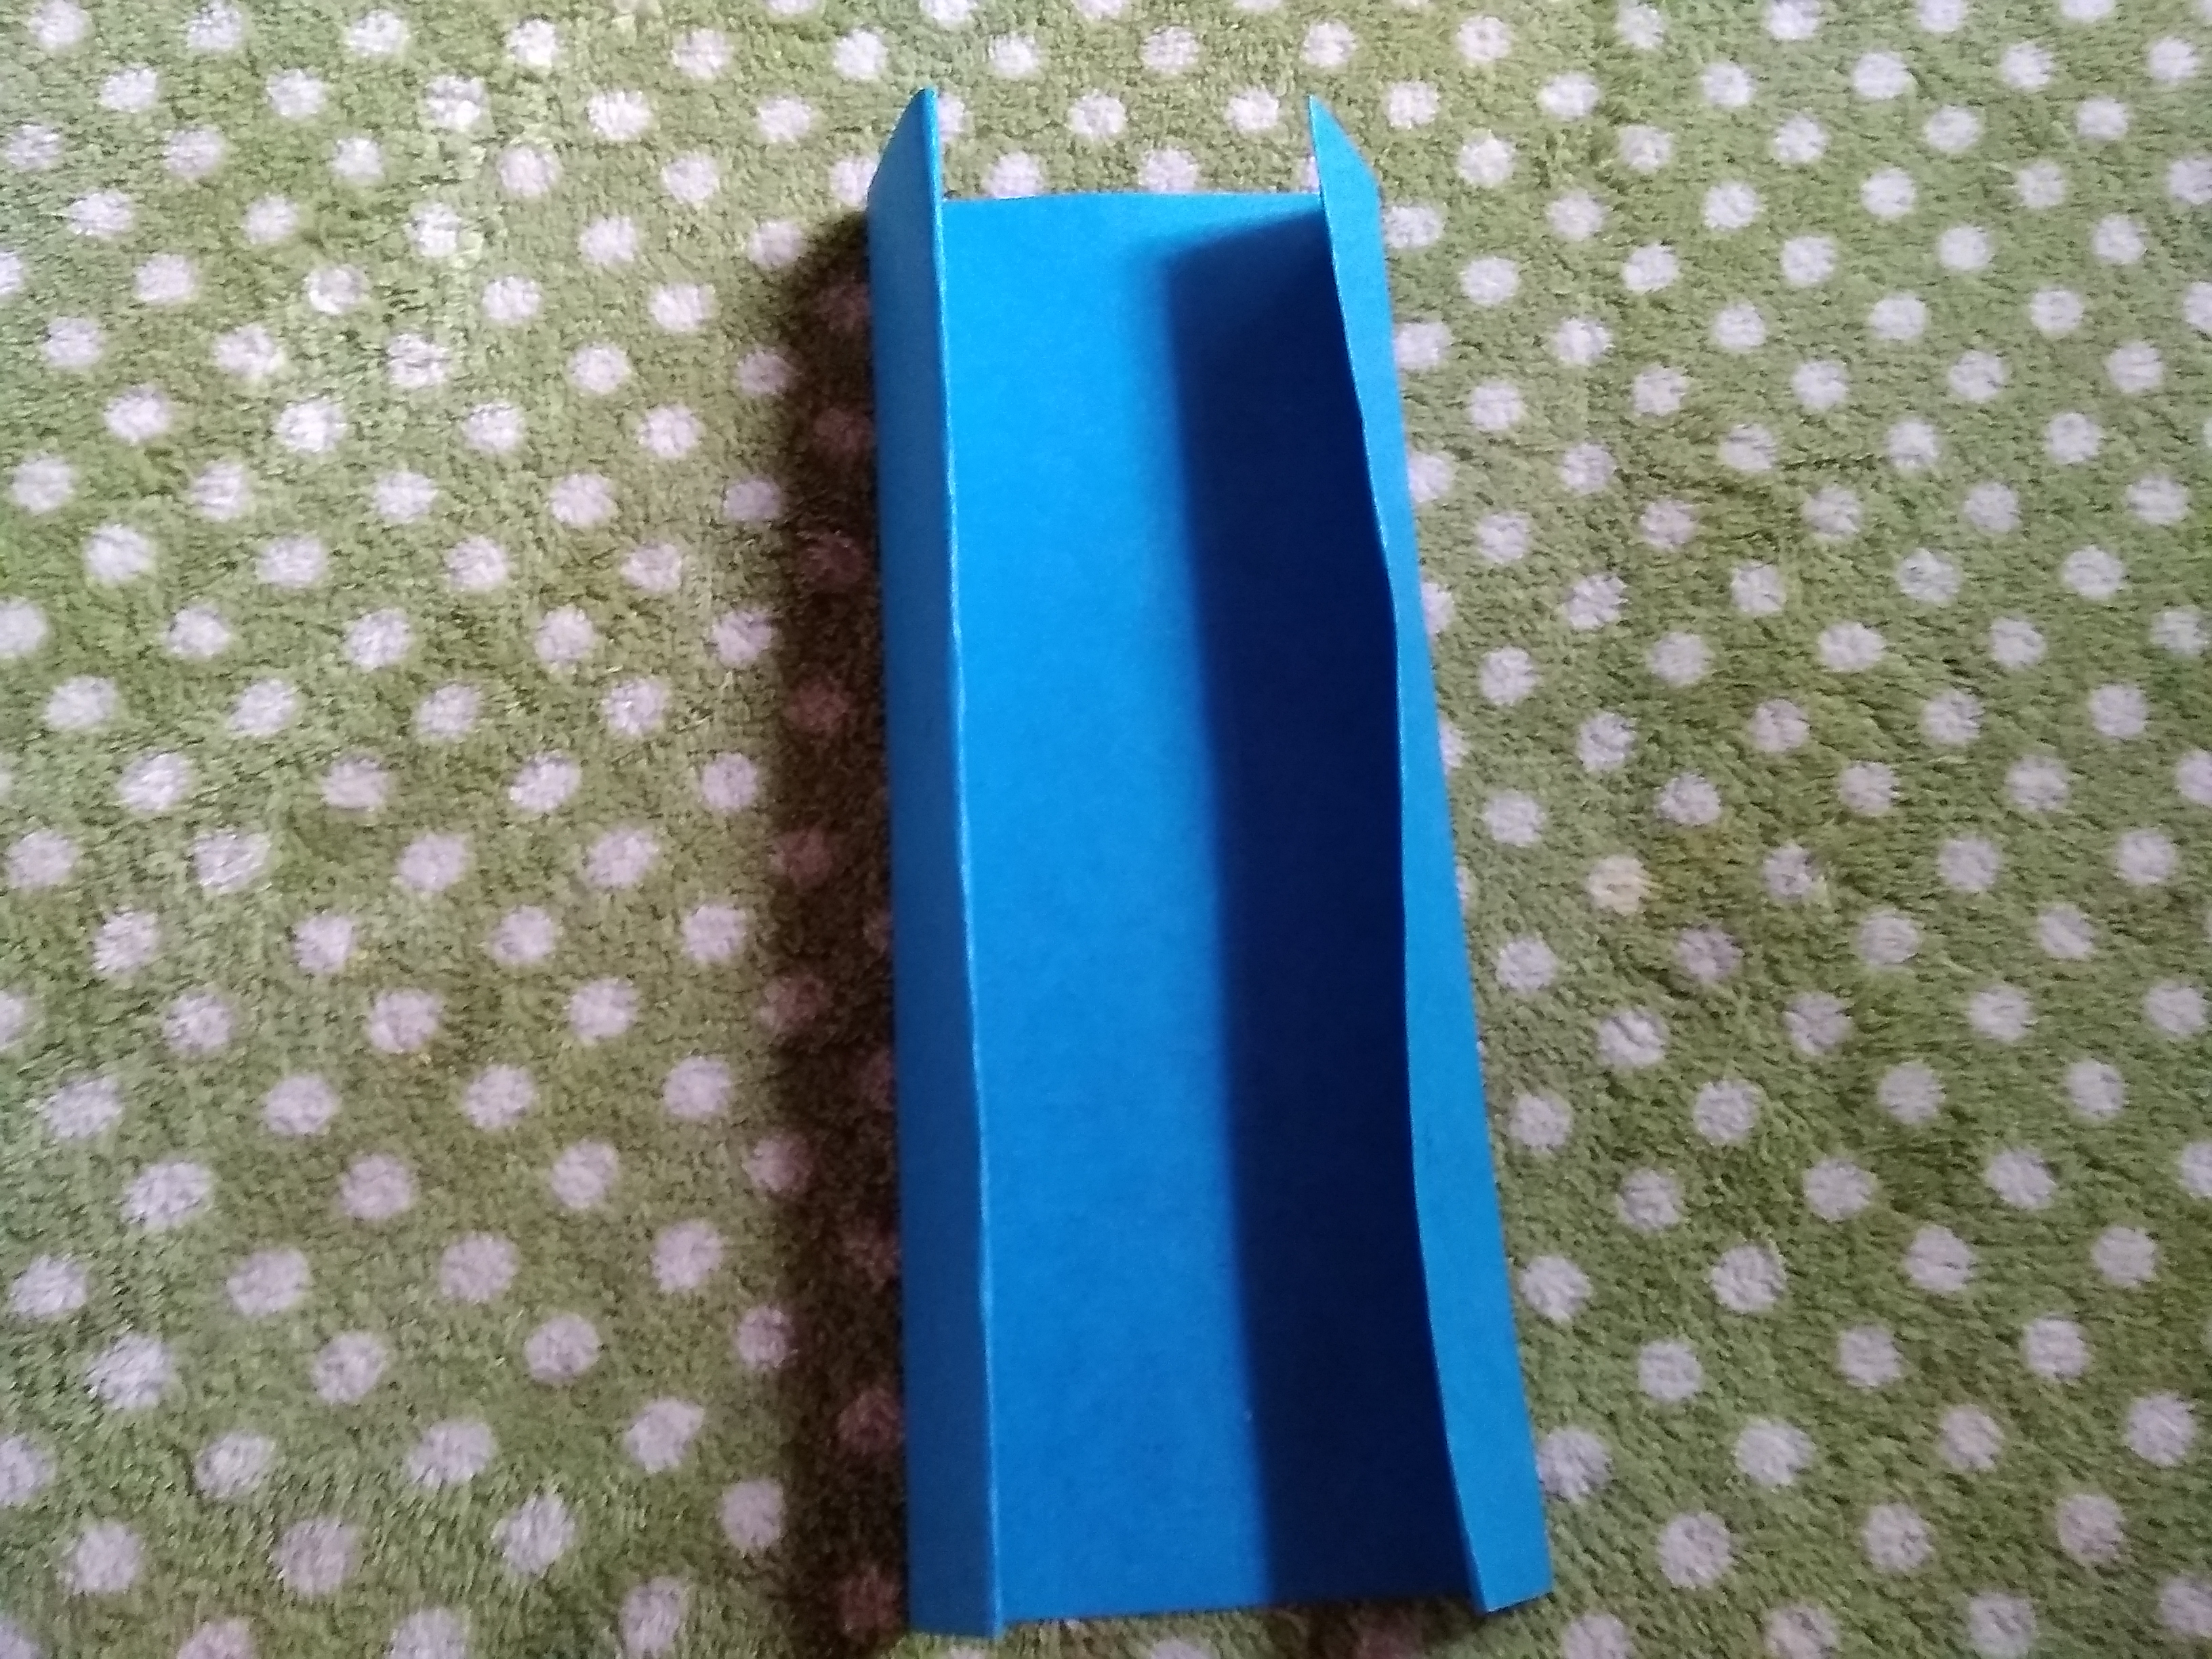
- Desdoblamos los dobles y los colocamos hacia adentro, estas serán los laterales de la bolsa de regalo.
Unfold the doubles and place them inside, these will be the sides of the gift bag.
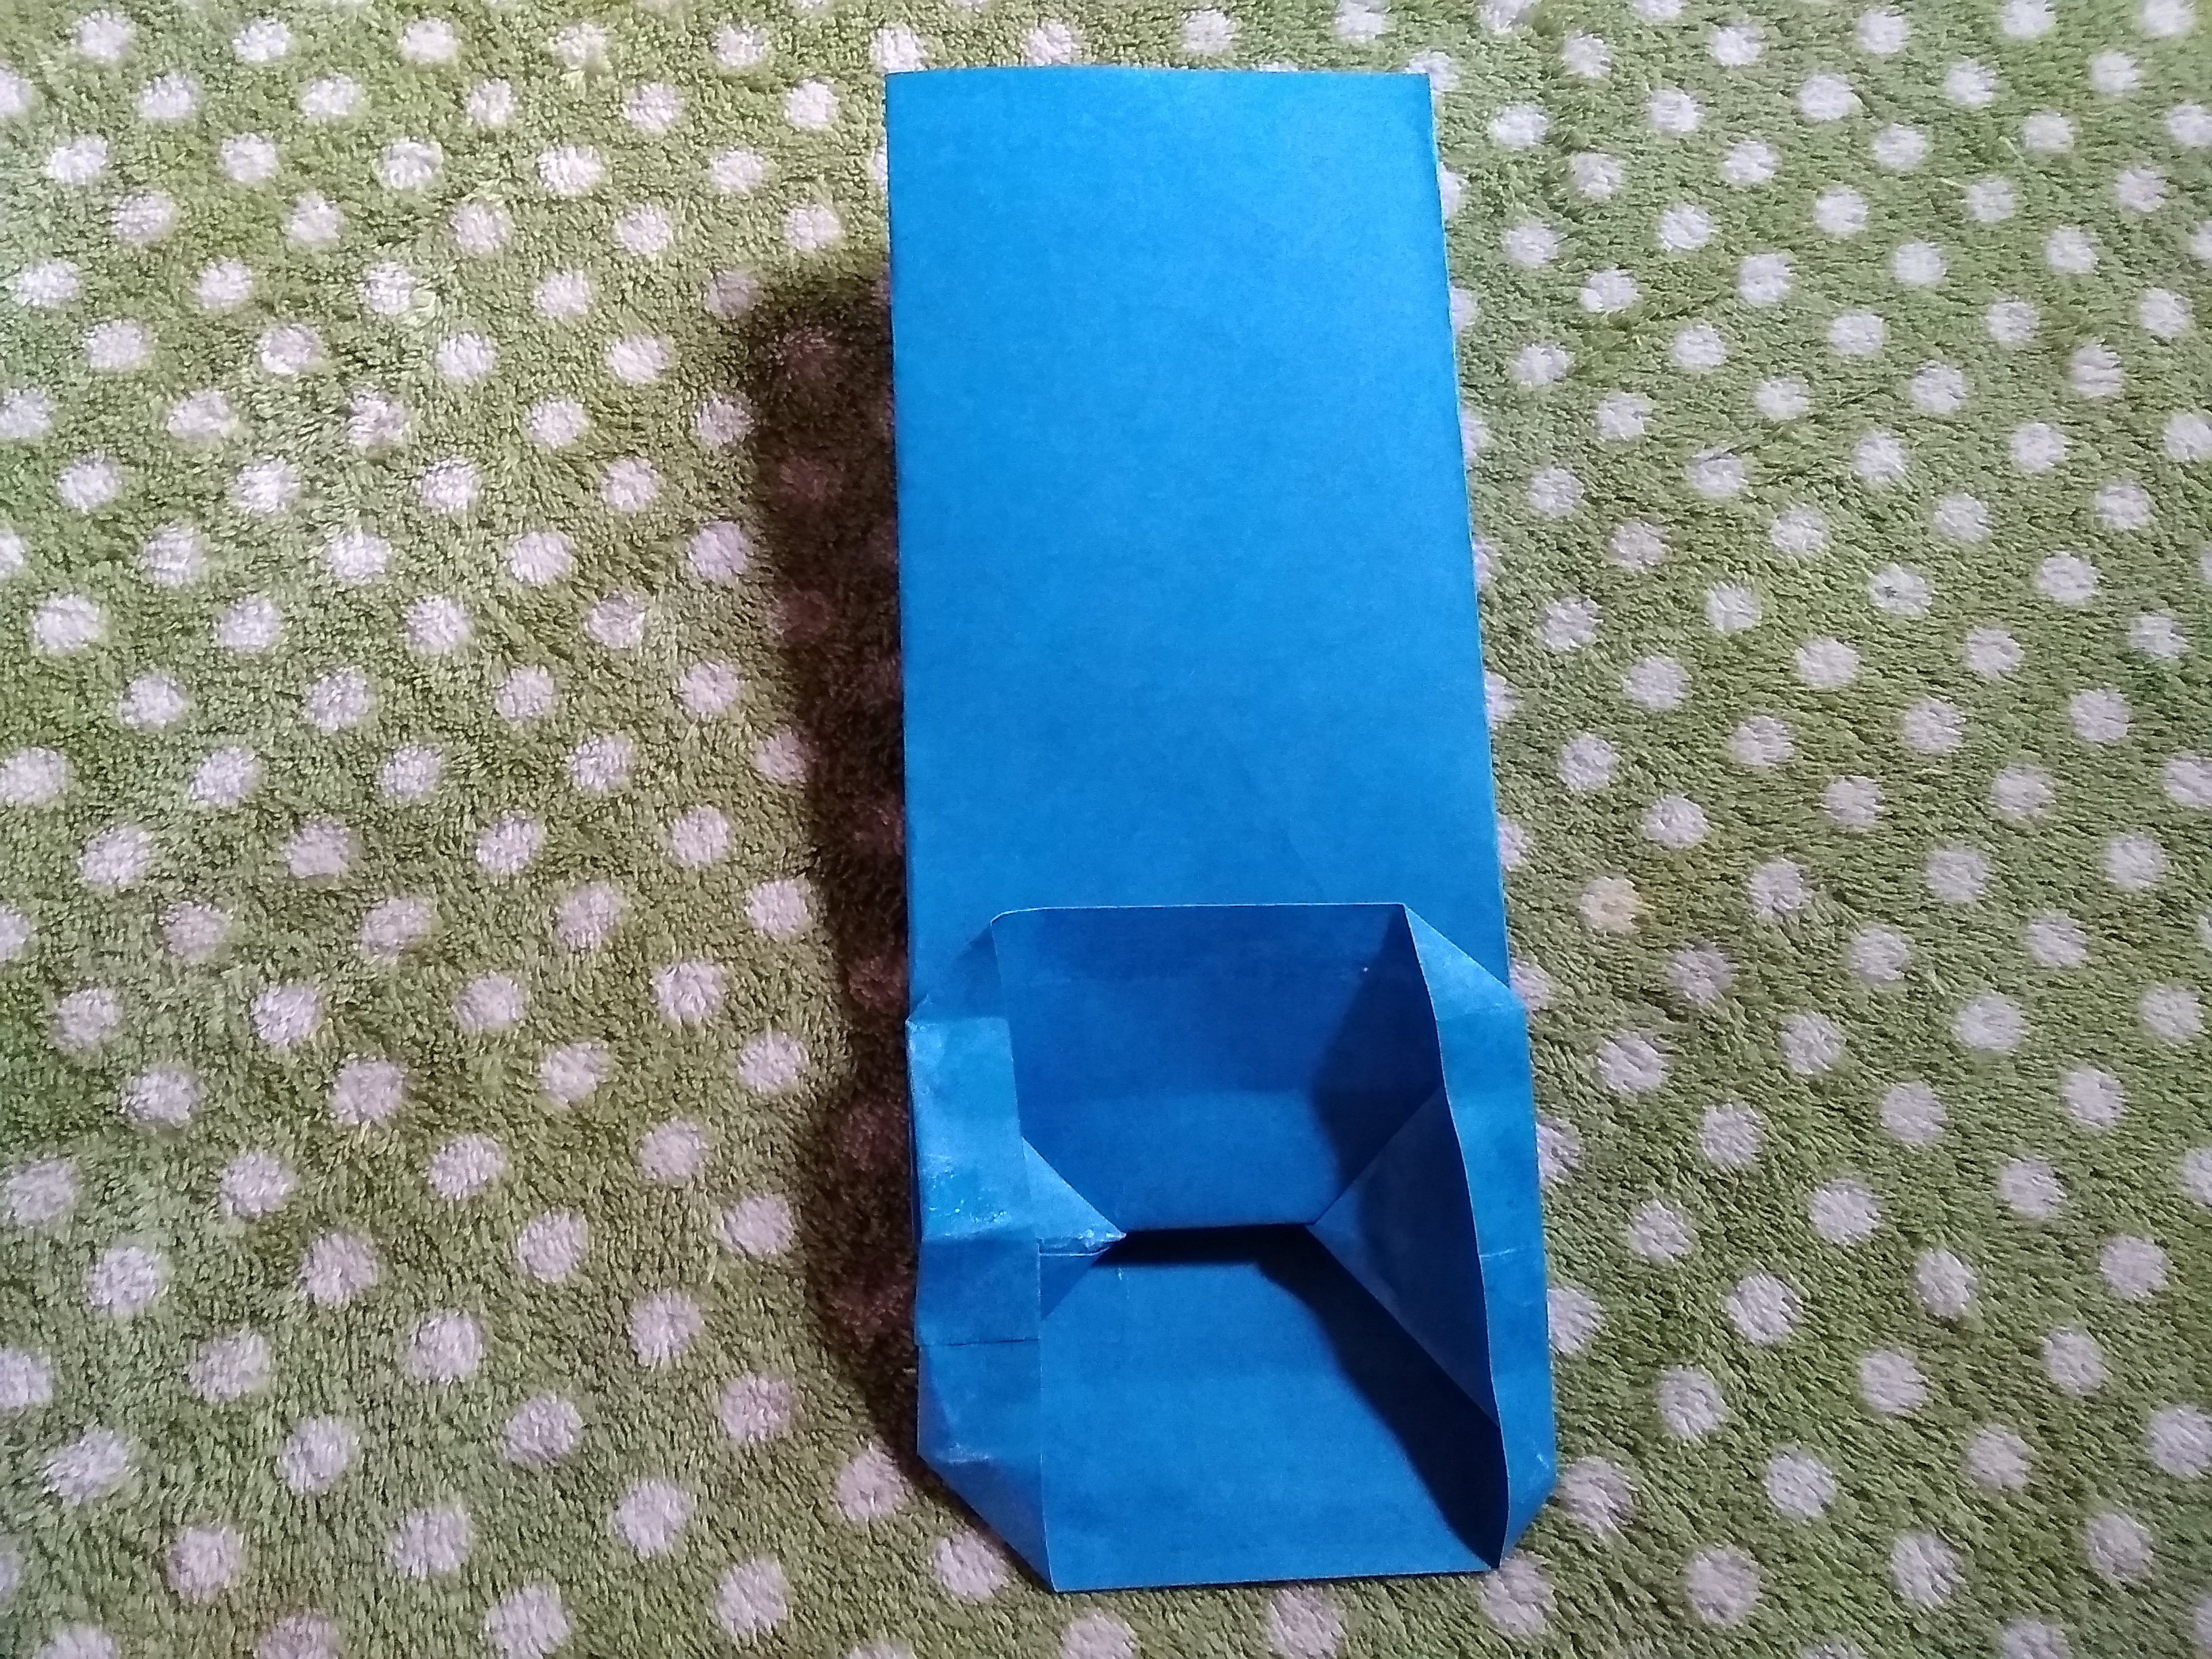
- Ahora realizamos un doble en la parte de abajo que servirá de soporte a la bolsa.
Now we make a double at the bottom that will serve as a support for the bag.
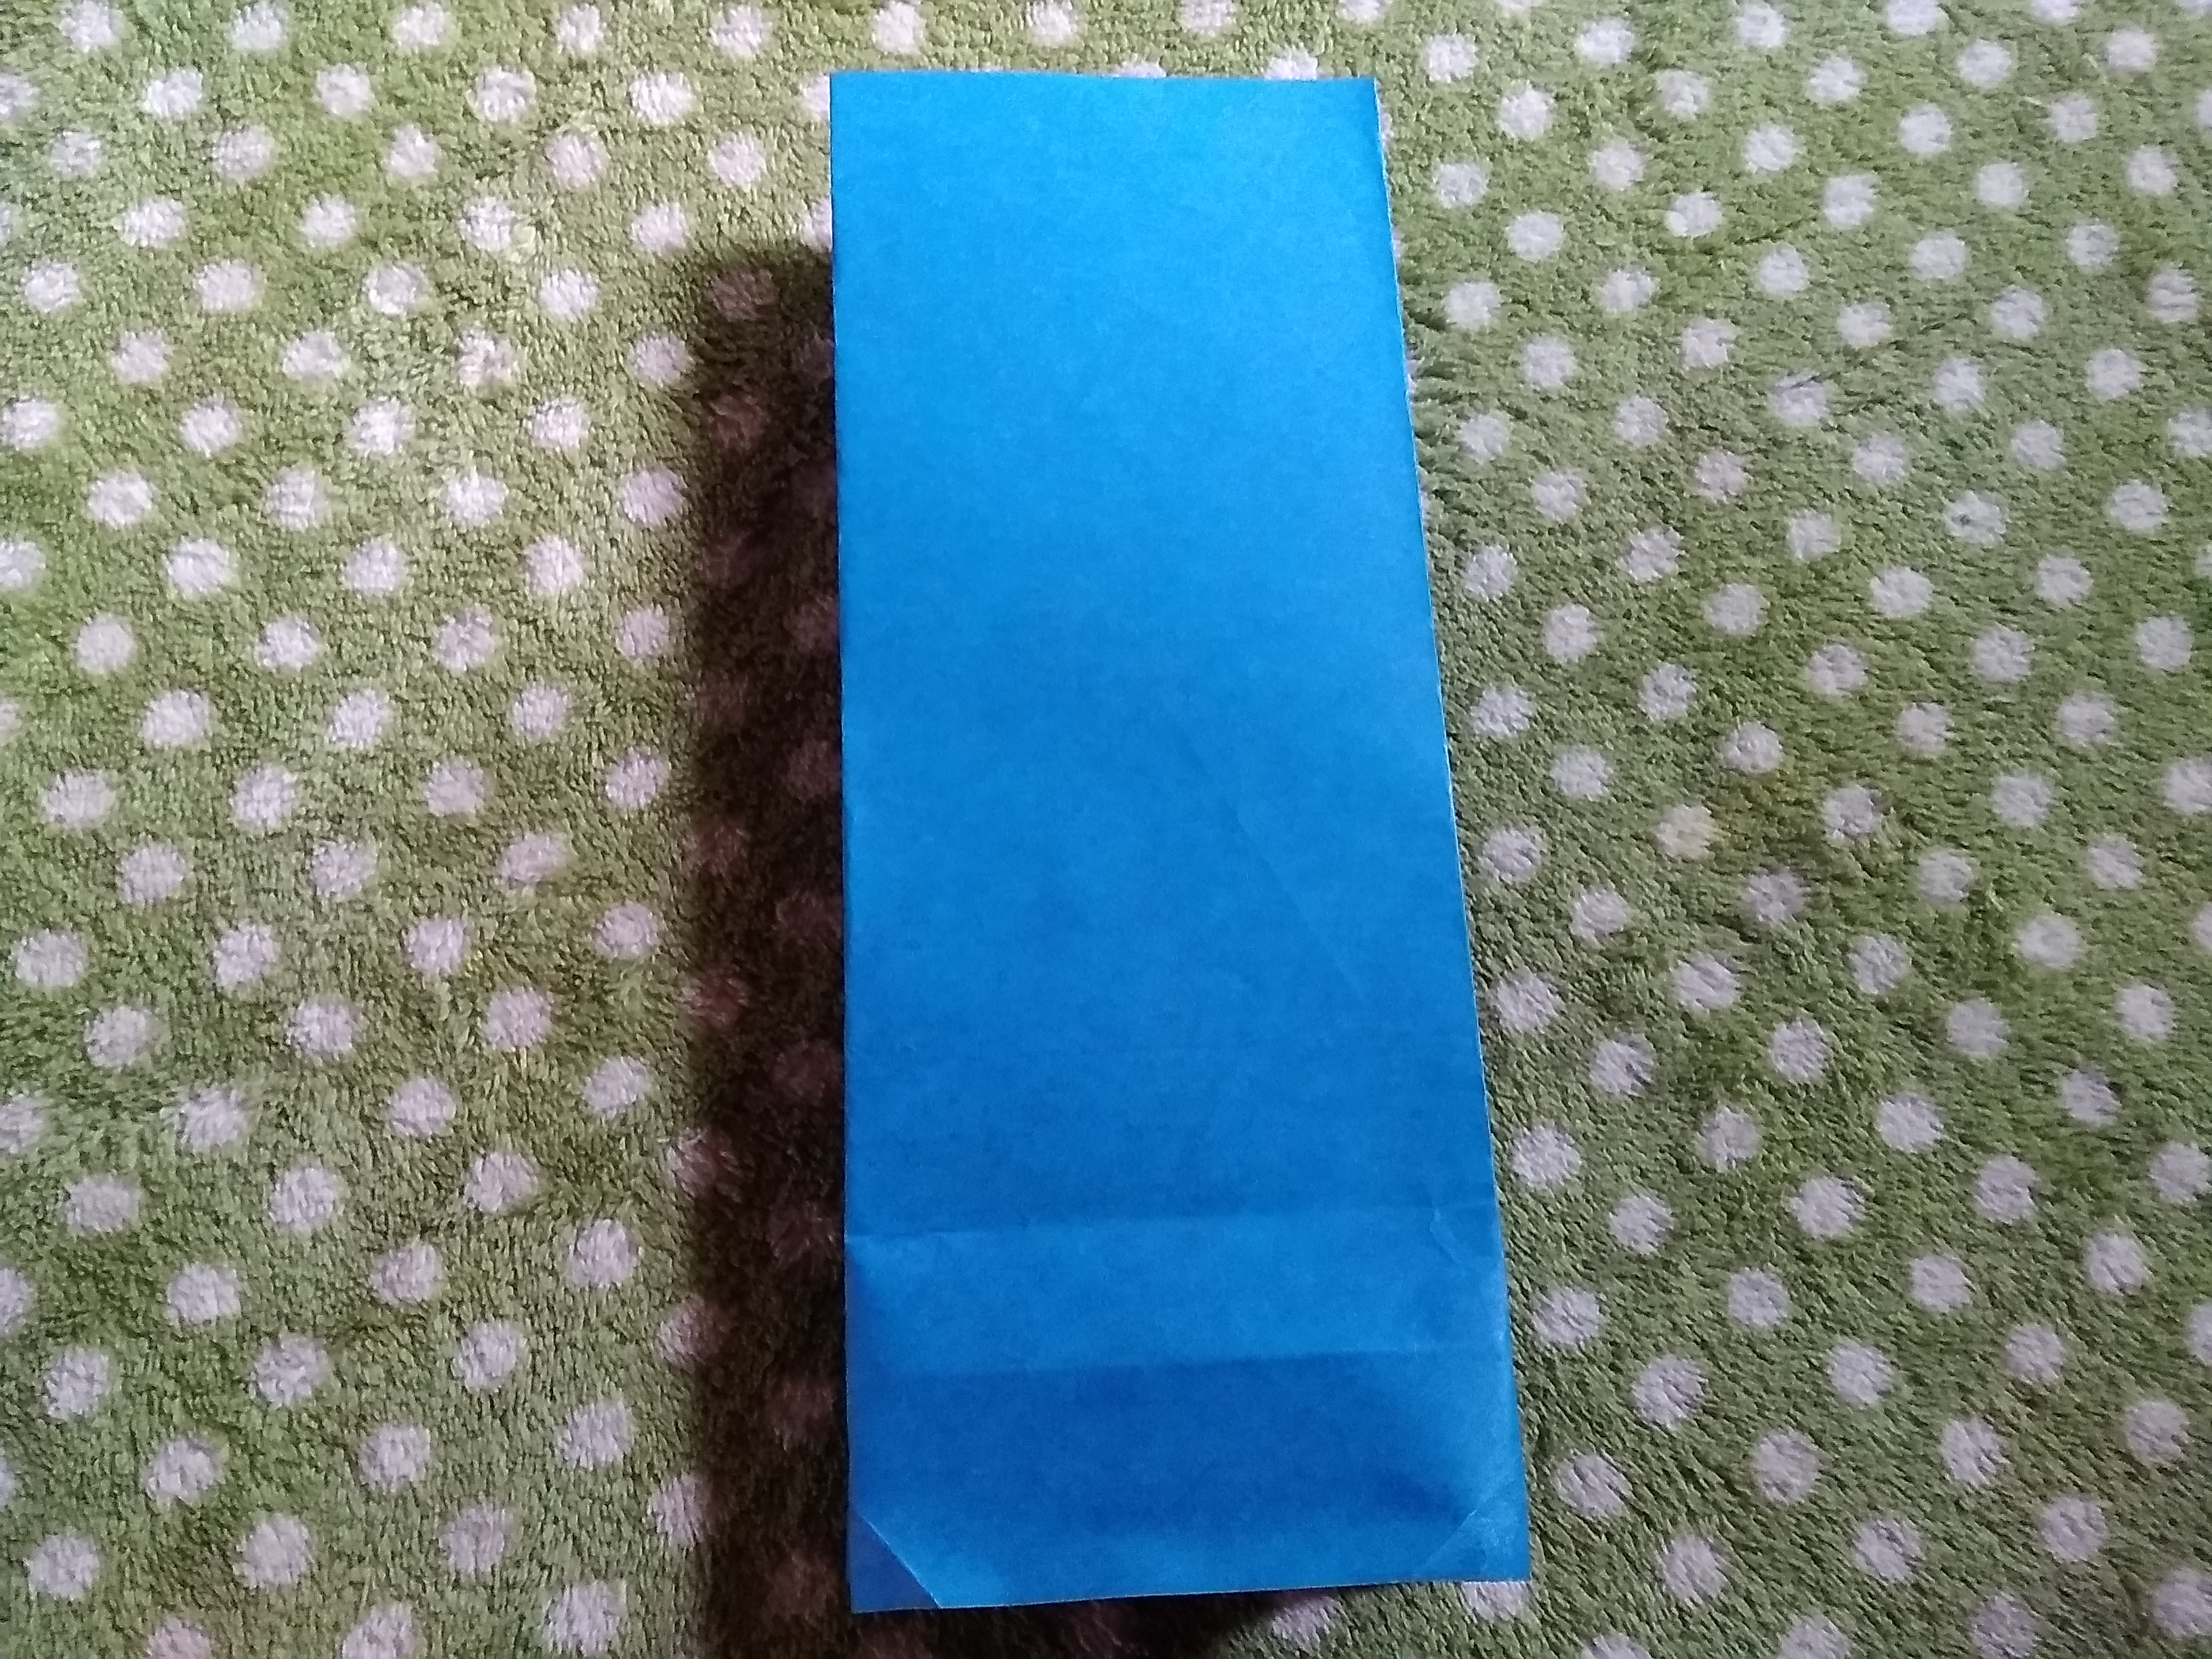
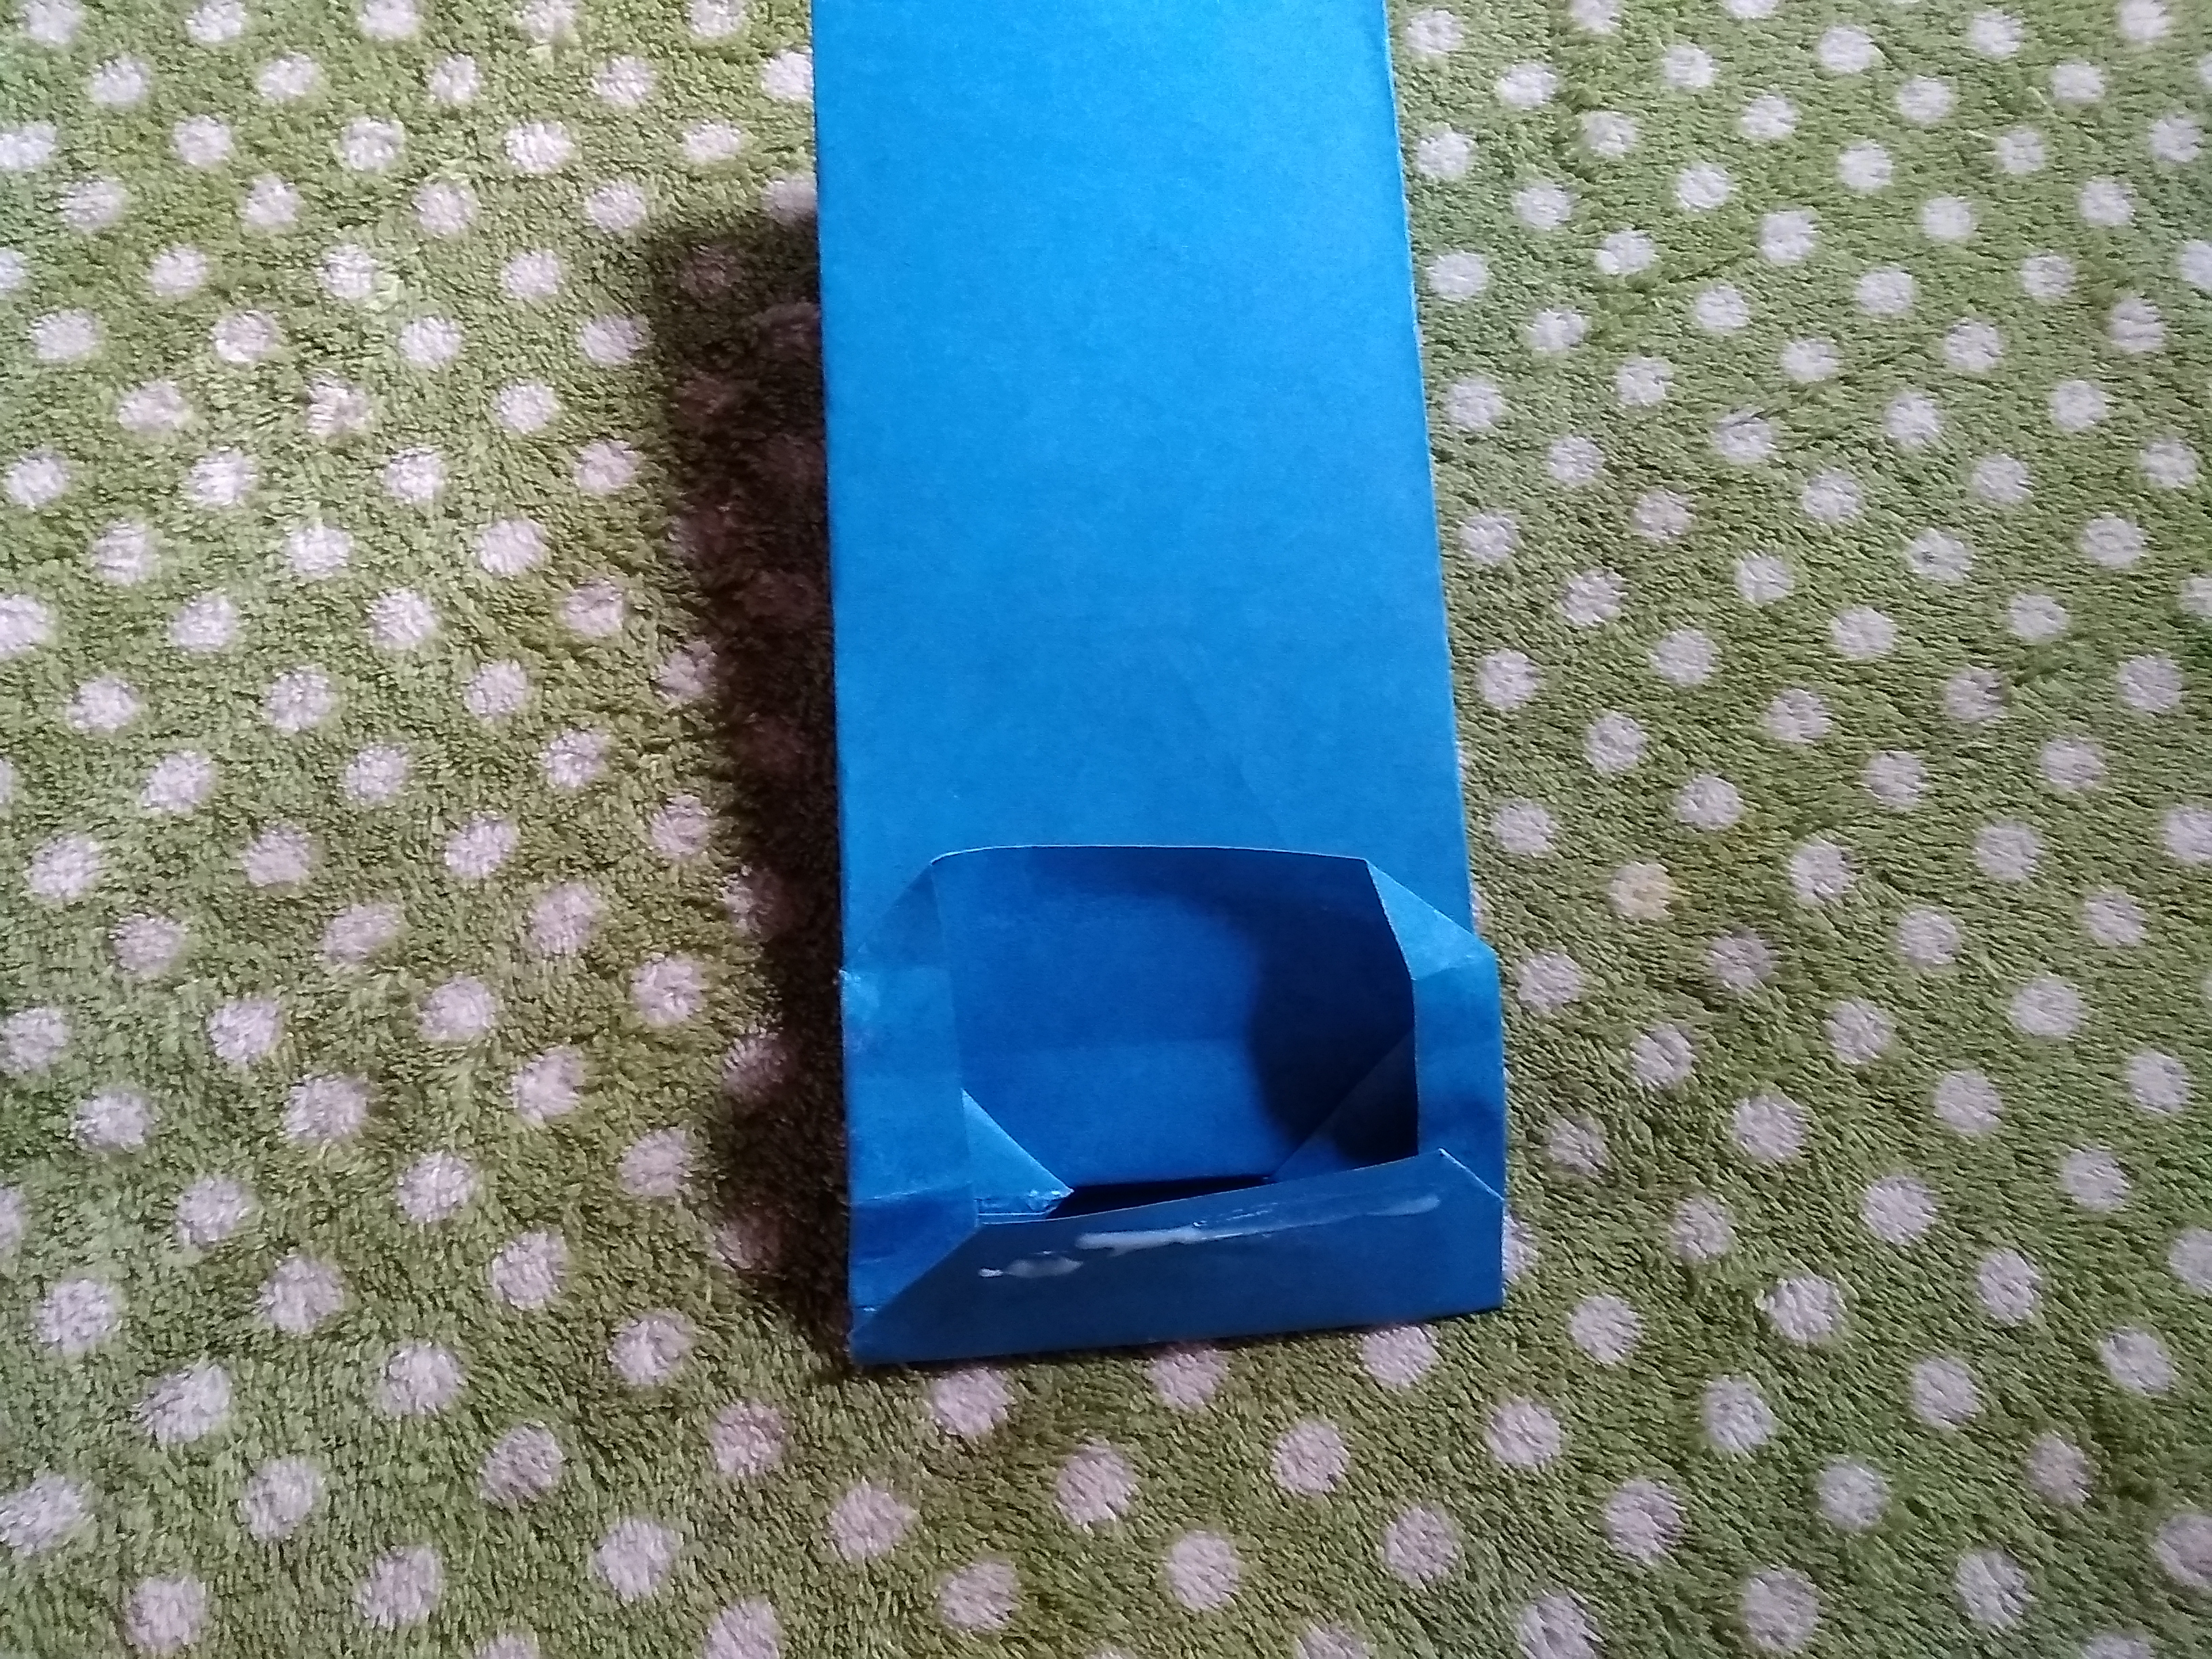
- Abrimos el dobles y debe quedar como muestra la fotografía
We open the double and it should be as shown in the photograph
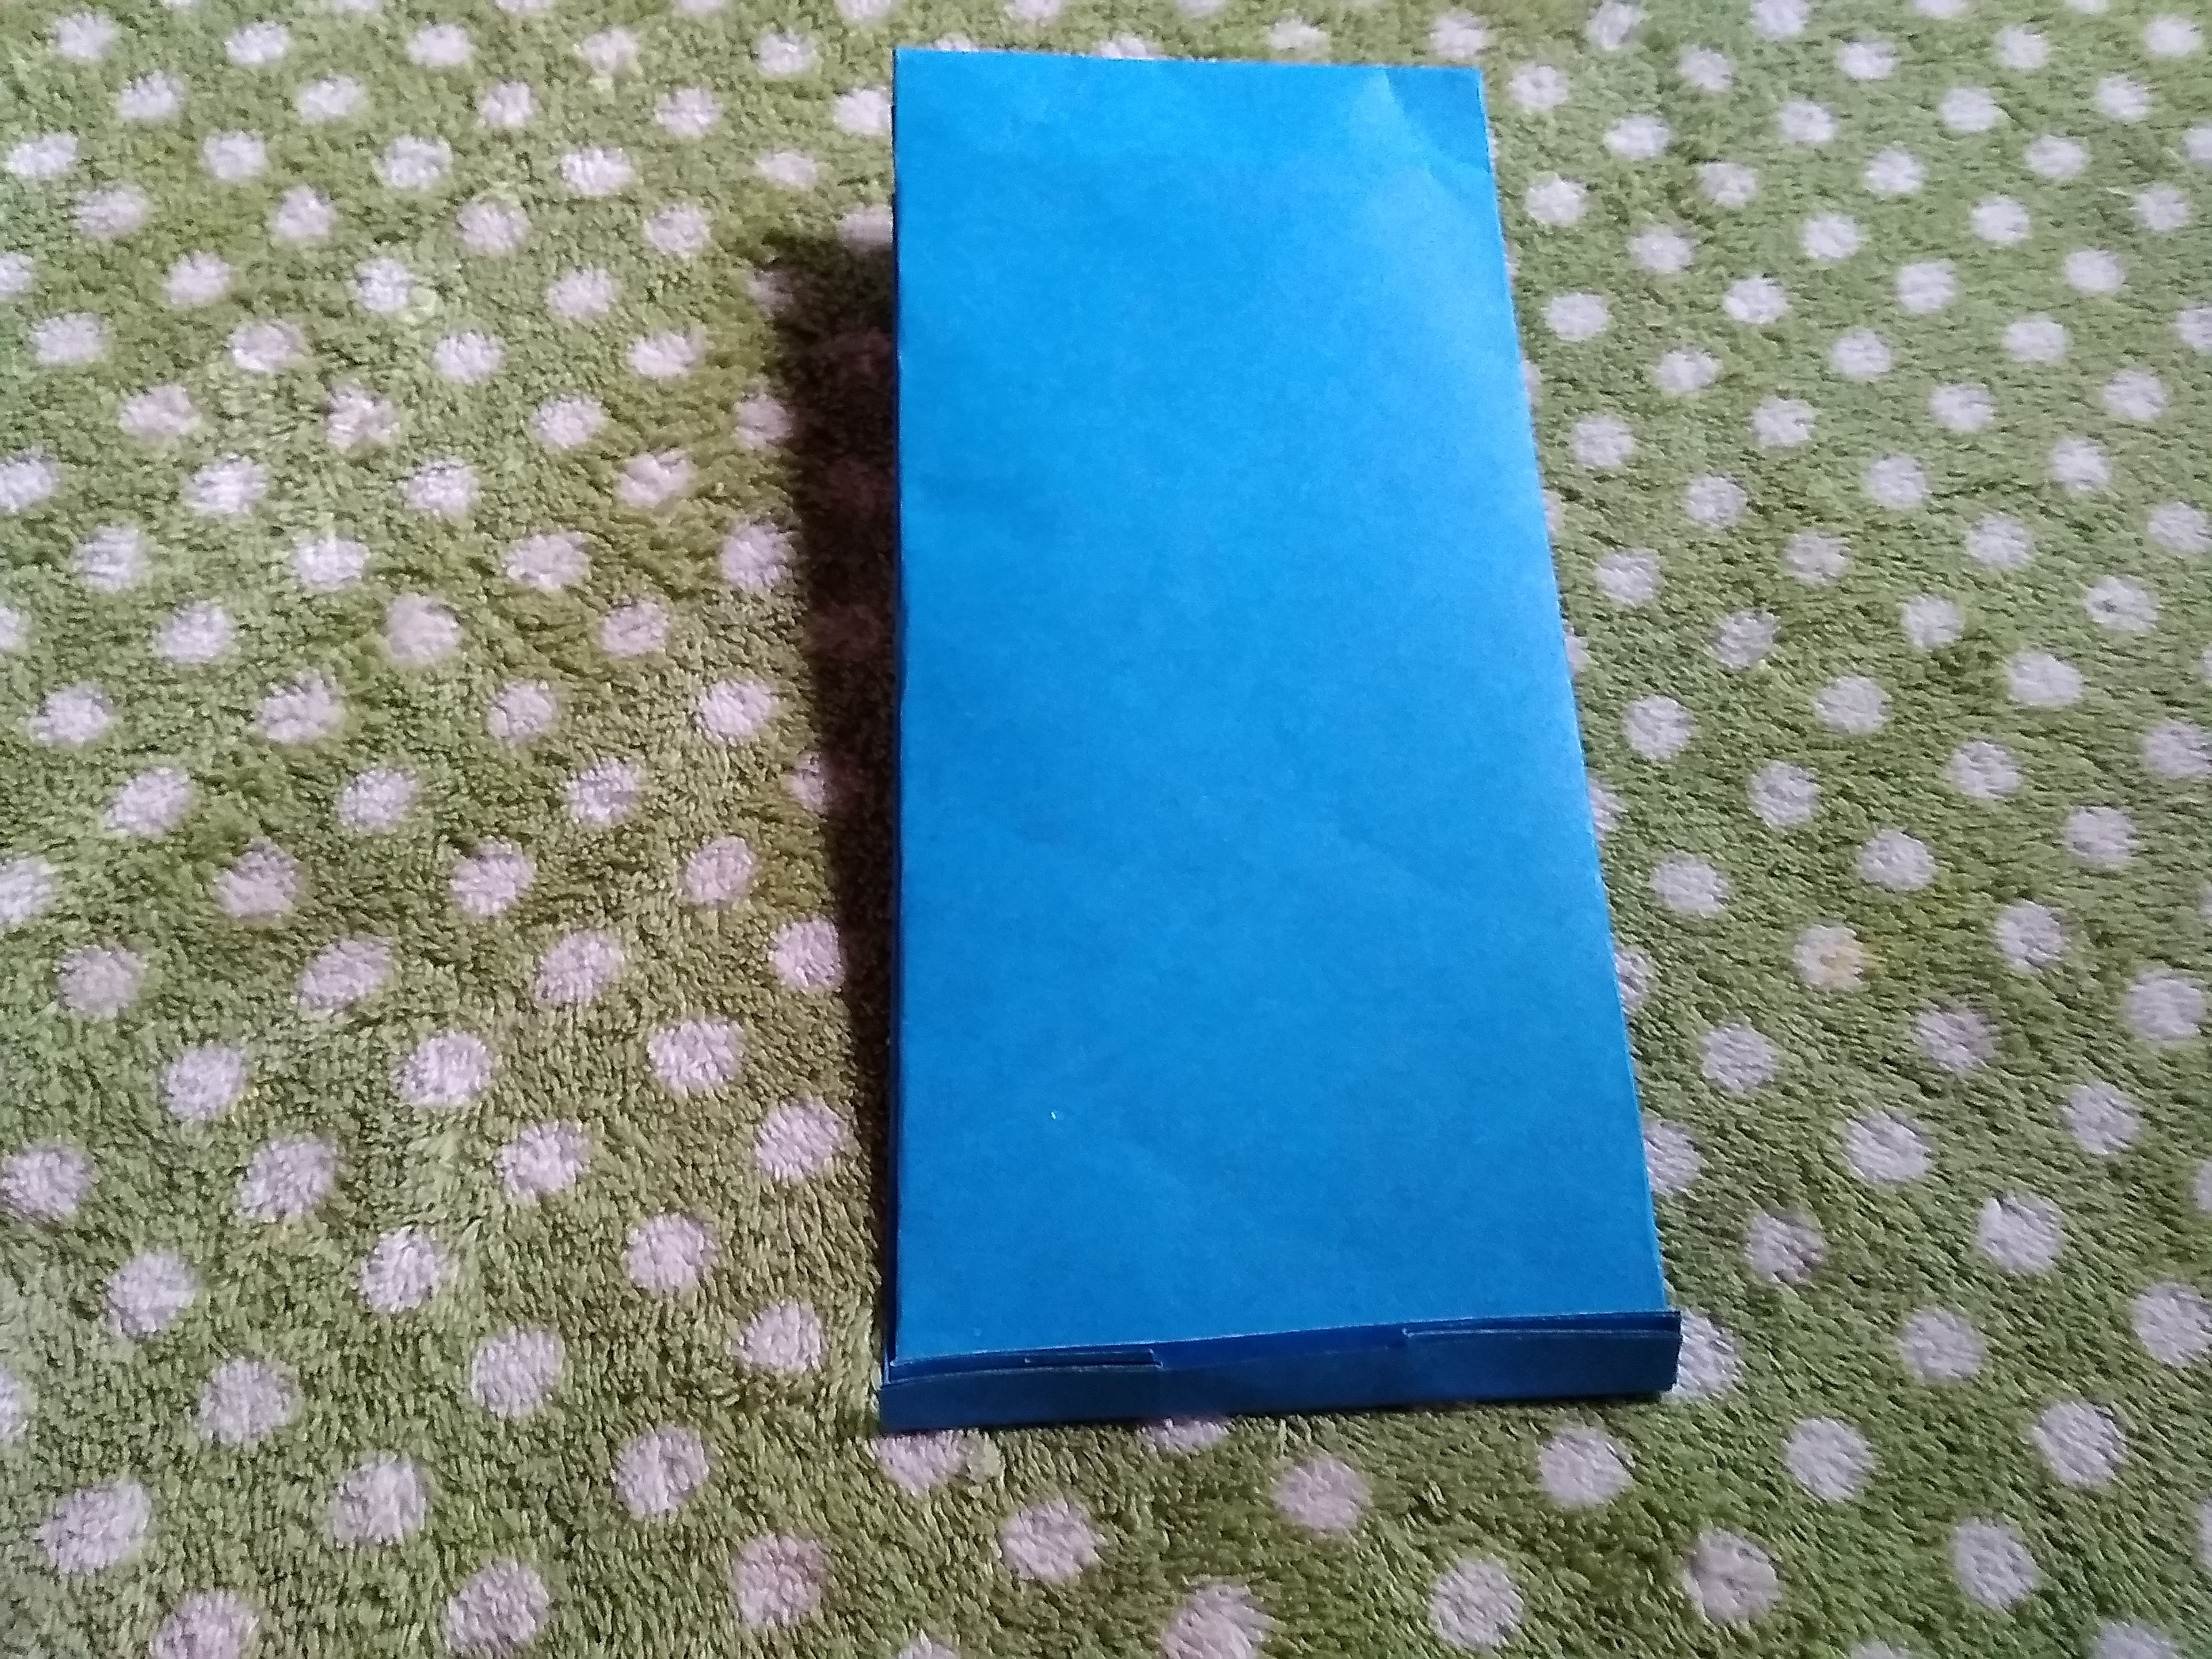
- Colocamos pega y sellamos la base.
We put glue and seal the base.


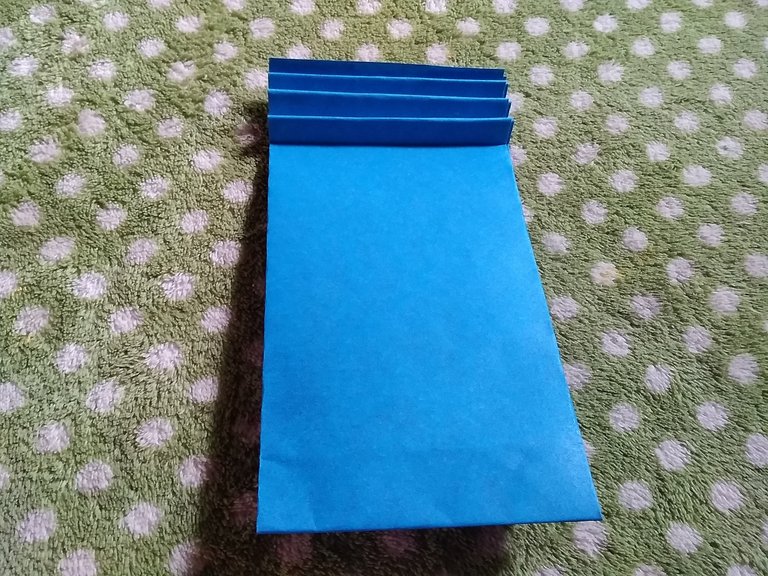
- En la parte de arriba comenzamos a realizar zigzag, que lo conseguimos doblando varias veces en sentido contrario para poder ver el adorno.
At the top we begin to make zigzag, which we achieve by folding several times in the opposite direction to be able to see the ornament.
- Por ultimo tomamos la cinta decorativa y colocamos por el medio realizando un lazo y uiendo el zigzag, y así nos dará la bolsa de regalo.
Finally we take the decorative ribbon and place it in the middle making a loop and using the zigzag, and thus it will give us the gift bag.

Espero les sirva de gran utilidad por si desean pone en práctica.

thanks for rating my post @qurator
Muy practica y fácil de hacer, gracias por compartir.
si es muy práctica ideal para regalar. gracias a ti por comentar saludos @jayoxaju