Hola amigos de hive ¿Cómo se encuentran ustedes?
Hello hive friends, how are you?
Esta semana he aprendido como hacer shorts y quería mostrarles cómo se cosen ya que a mí me costó un poco entender la primera vez que hice uno y bueno quiero que ustedes puedan aprender un poco conmigo.
This week I have learned how to make shorts and I wanted to show you how they are sewn since it took me a bit to understand the first time I made one and well I want you to learn a little with me.
.png)
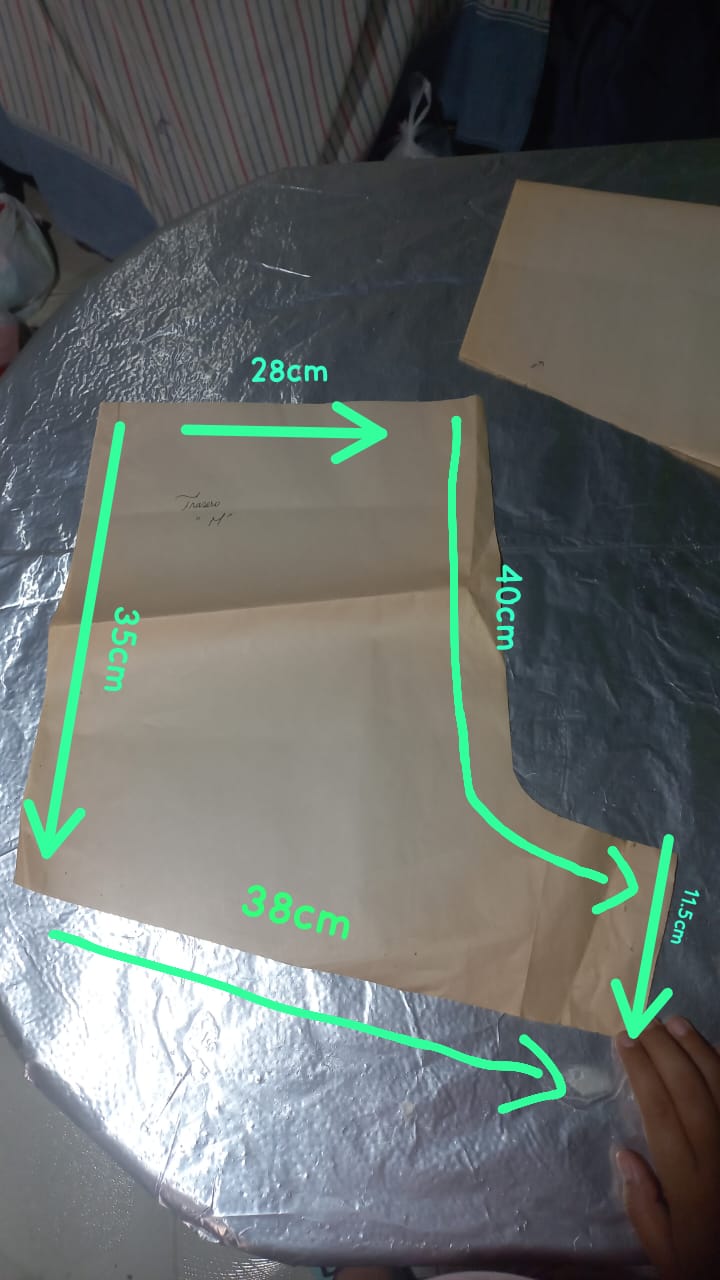
Con respecto a los patrones les tome una foto y le coloque las medidas a un lado para que así puedan usarlos en este caso yo trabaje con la talla M que funciona bien como medida estándar desde mi punto de vista.
Regarding the patterns, I took a photo of them and put the measurements aside so that they can be used. In this case, I worked with size M, which works well as a standard measurement from my point of view.
-Patrón delantero/front pattern.

-Patrón trasero/back pattern.
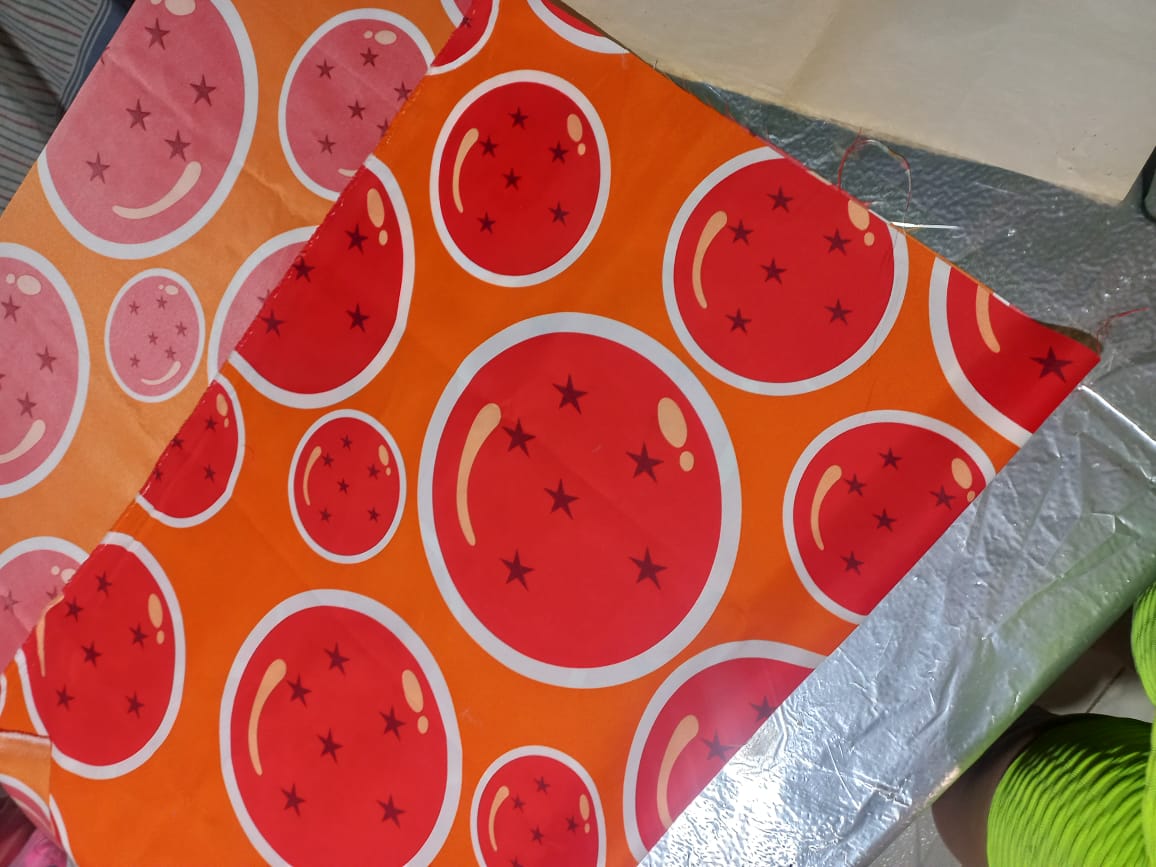
Para comenzar tenemos que tener en cuenta que tenemos dos patrones el delantero y el trasero, yo utilice una tela llamada choroni es como para un short playero me costó aproximadamente 1.90$.
To begin we have to take into account that we have two patterns, the front and the back, I used a fabric called choroni, it cost me approximately $1.90 for a beach short.

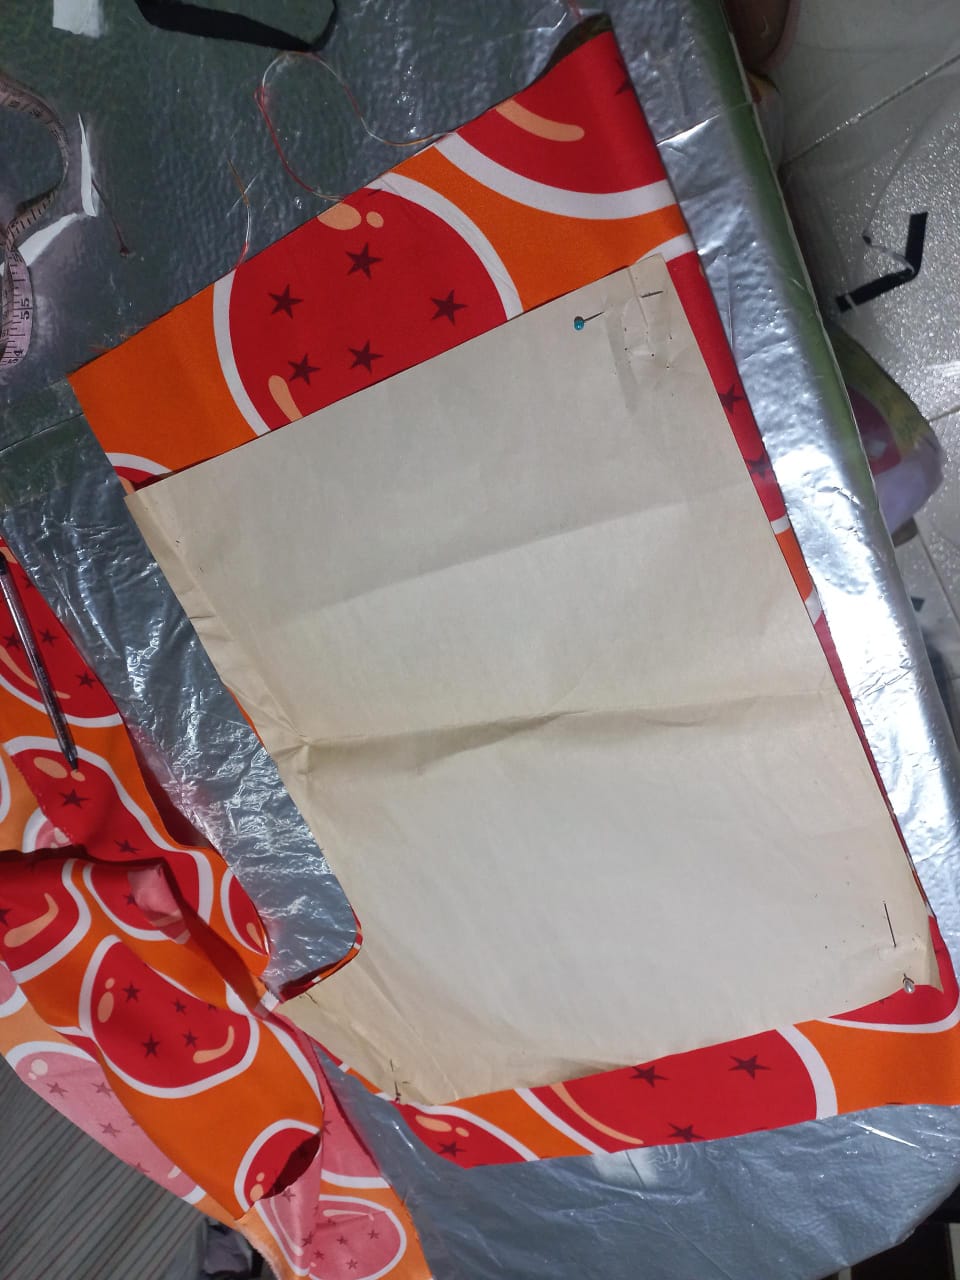
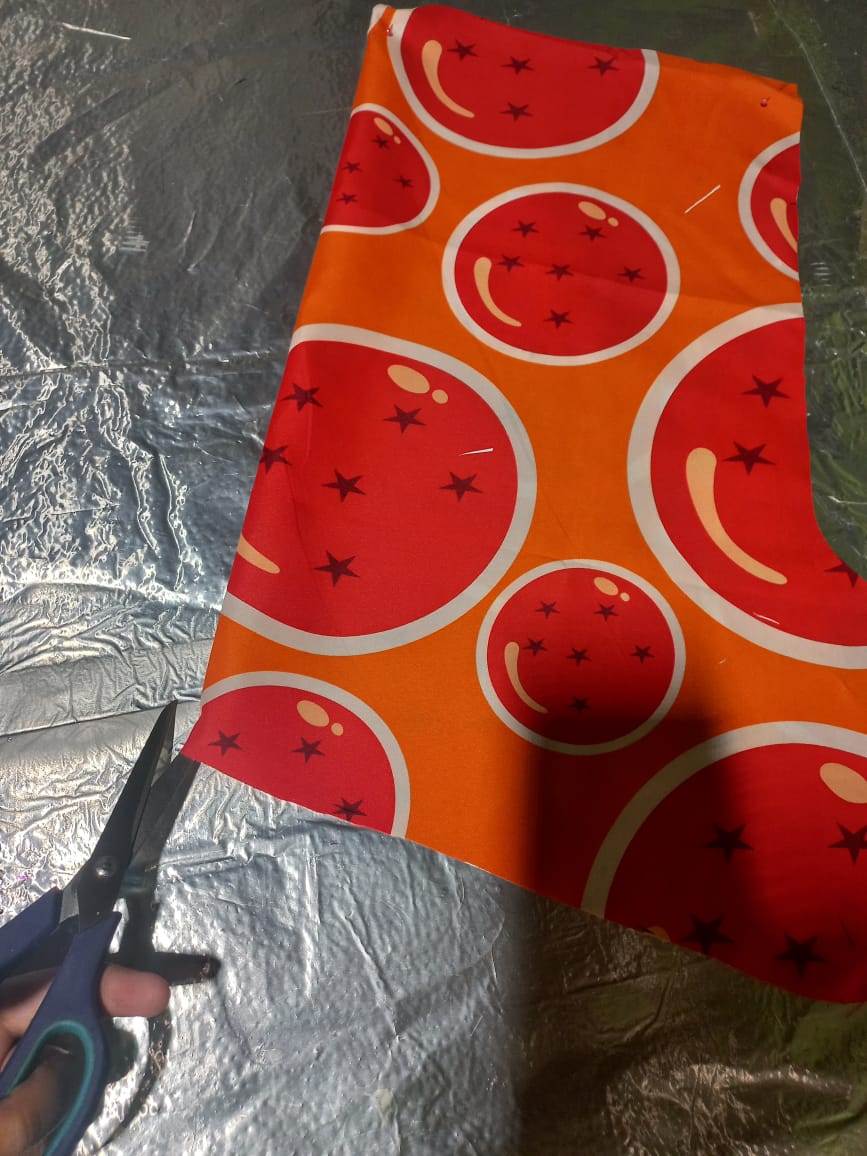
1.Paso 1: Tenemos que doblar la tela hasta donde nos abarque el patrón, en este caso lo que diferencia el patrón delantero del trasero es que en la parte del fundillo es un poco más alargado, al doblar la tela, colocamos el patrón encima y cortamos dejando en la parte de arriba 6 cm hacia arriba para la goma esto porque mi goma mide 3 cm, y en la parte inferior deje 4 cm más 2 cm de costura.
1.Step 1: We have to fold the fabric as far as the pattern covers us, in this case what differentiates the front pattern from the rear is that it is a little longer in the part of the hem, when folding the fabric, we place the pattern on top and we cut leaving 6 cm at the top for the rubber because my rubber measures 3 cm, and at the bottom I left 4 cm plus 2 cm of seam.
.jpeg)
.jpeg)
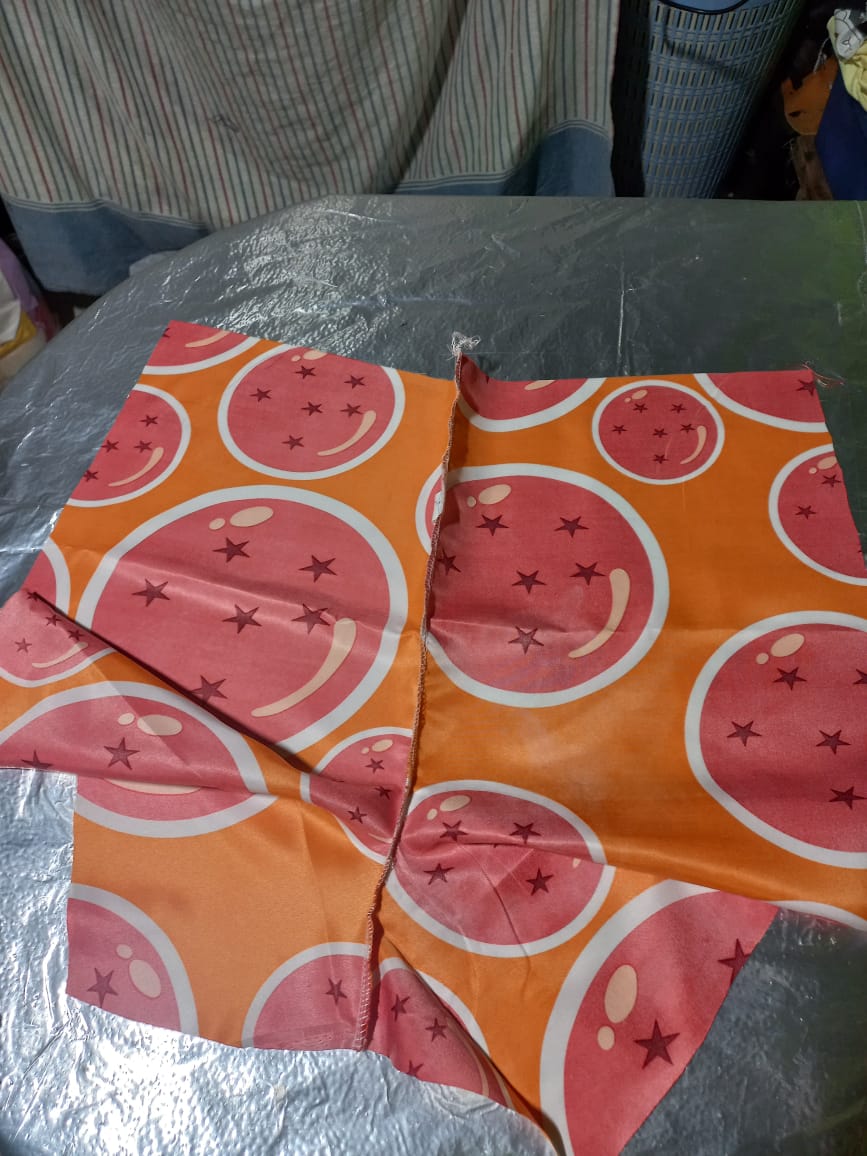
2.Paso 2: Como podemos ver nos quedaran dos cortes, cada corte lo cortaremos a la mitad por el doblez de cada uno.
2. Step 2: As we can see, we will have two cuts left, each cut will be cut in half by the fold of each one.
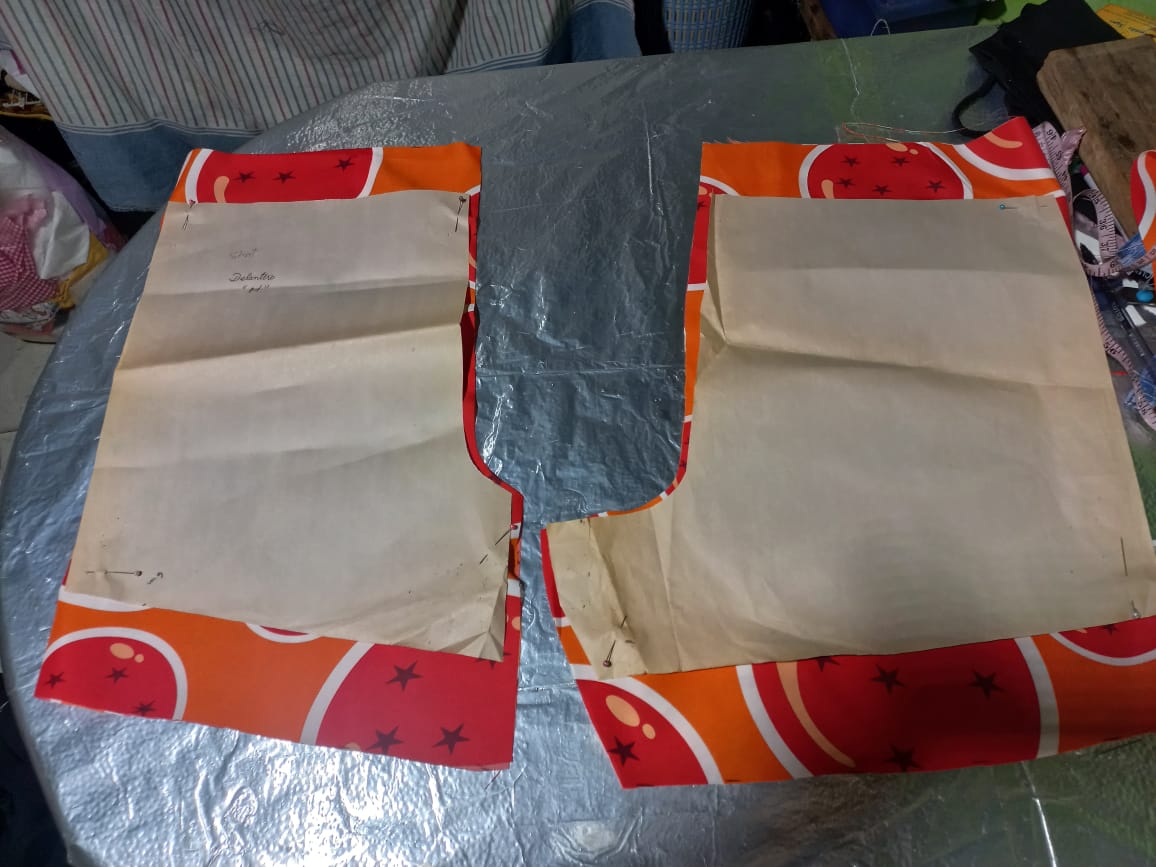
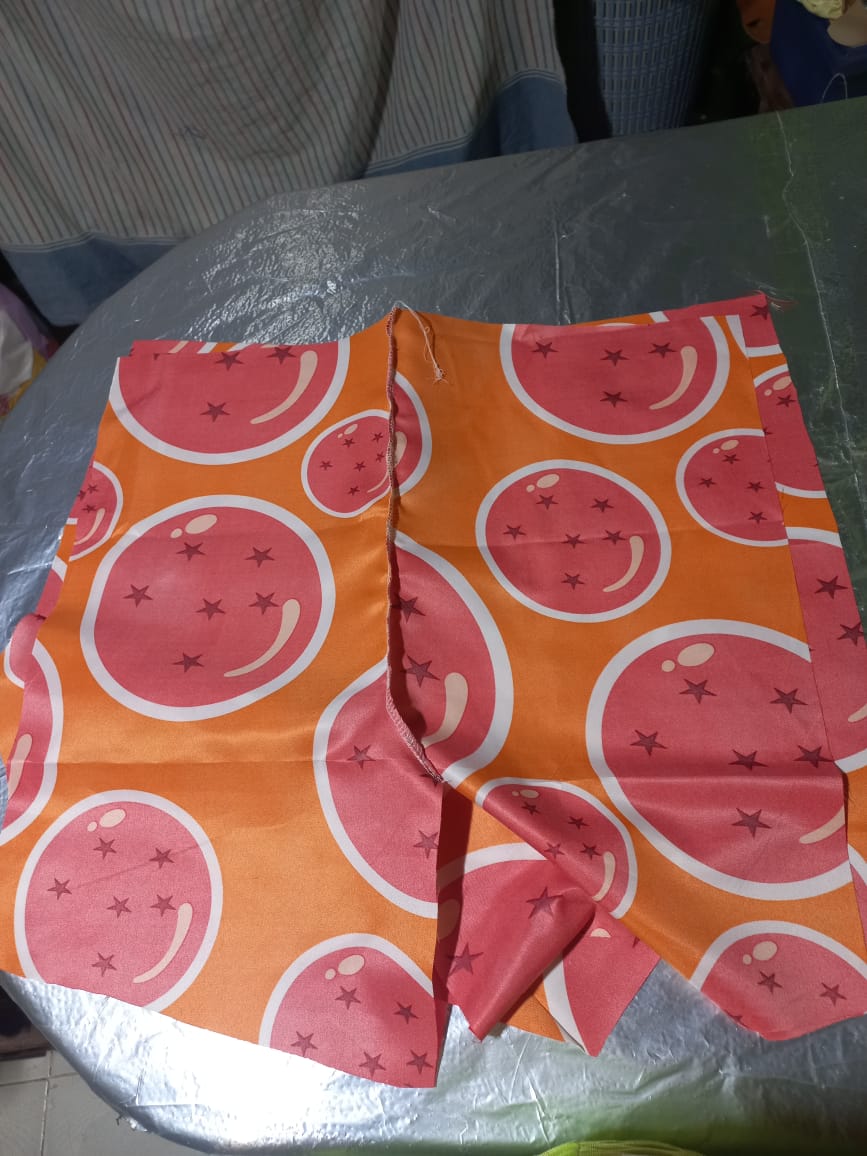
3.Paso 3: Como podemos notar nos quedaran 4 cortes, bueno aquí lo que haremos es que coseremos los dos cortes delanteros entre ellos, y lo mismo con los dos cortes traseros.
3. Step 3: As we can see, we will have 4 cuts left, well, what we will do here is that we will sew the two front cuts between them, and the same with the two rear cuts. )
)
Dejando sin coser la parte de abajo como lo mostré en la imagen.
Leaving the bottom part unsewed as shown in the image.
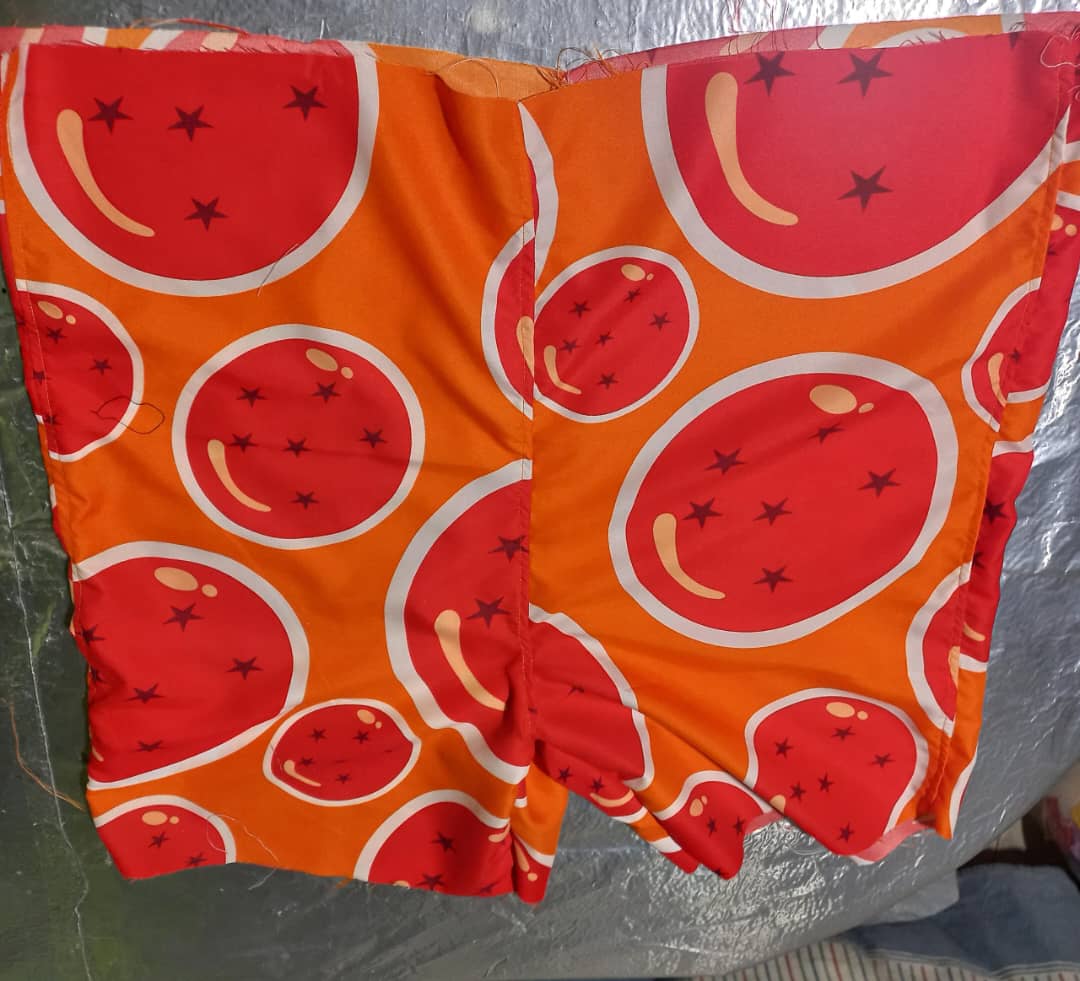
4 Paso 4: Luego de obtener la unión los cortes anteriores, vamos a unir el delantero con el trasero, y eso será por los costados.
4 Step 4: After obtaining the union of the previous cuts, we are going to join the front with the rear, and that will be on the sides.
.jpeg)
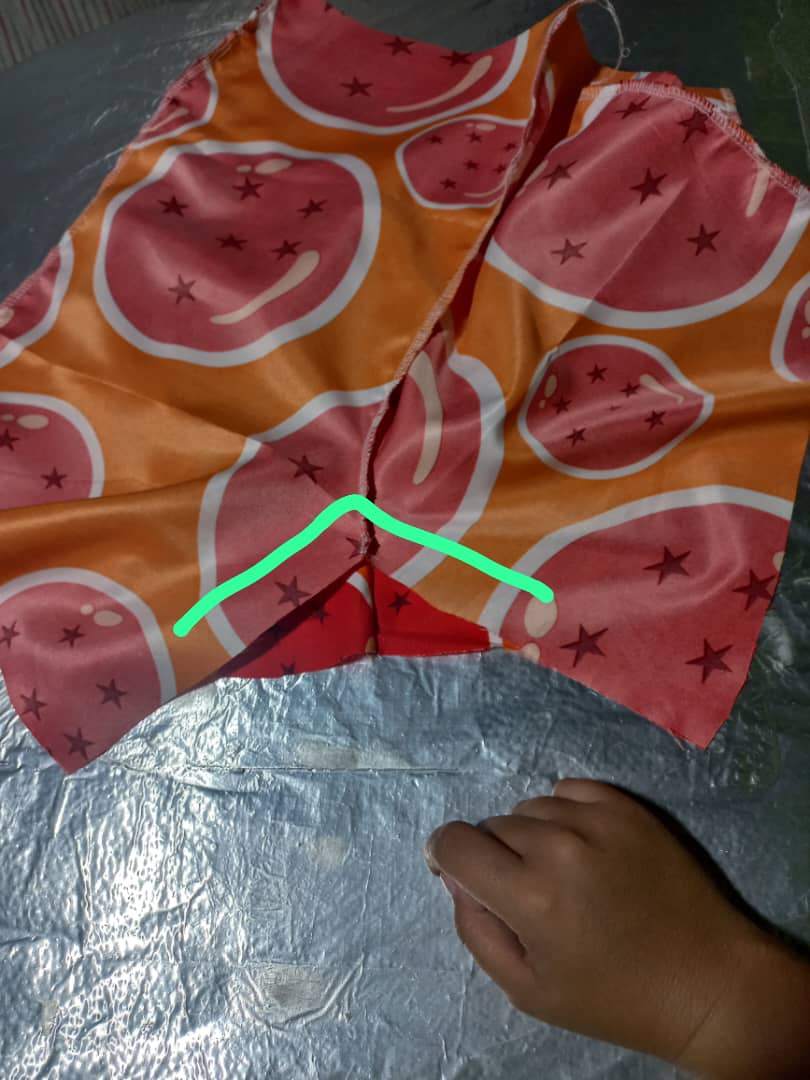
5.Paso 5: Luego coseremos el fundillo de nuestras dos partes, ven como se hace una A bueno por ahí es donde coseremos.
5. Step 5: Then we will sew the bottom of our two parts, see how an A is made, well that is where we will sew.
.jpeg)
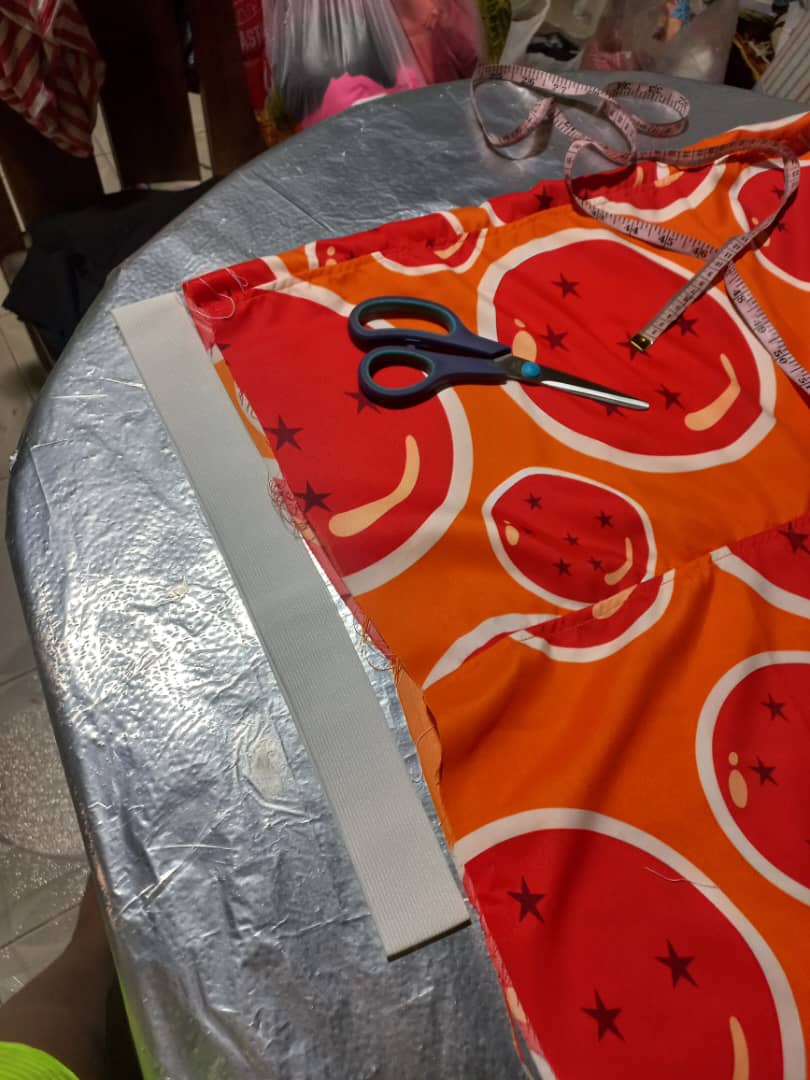
6.Paso 6: Para colocar la goma primero pondremos nuestro short en una mesa y colocaremos la goma y le quitaremos la 4ta parte creo que así se dice como esta en la imagen que les dejare aquí abajo:
6. Step 6: To place the rubber, first we will put our short on a table and we will place the rubber and we will remove the 4th part. I think that is how it is said in the image that I will leave here below:
.jpeg)
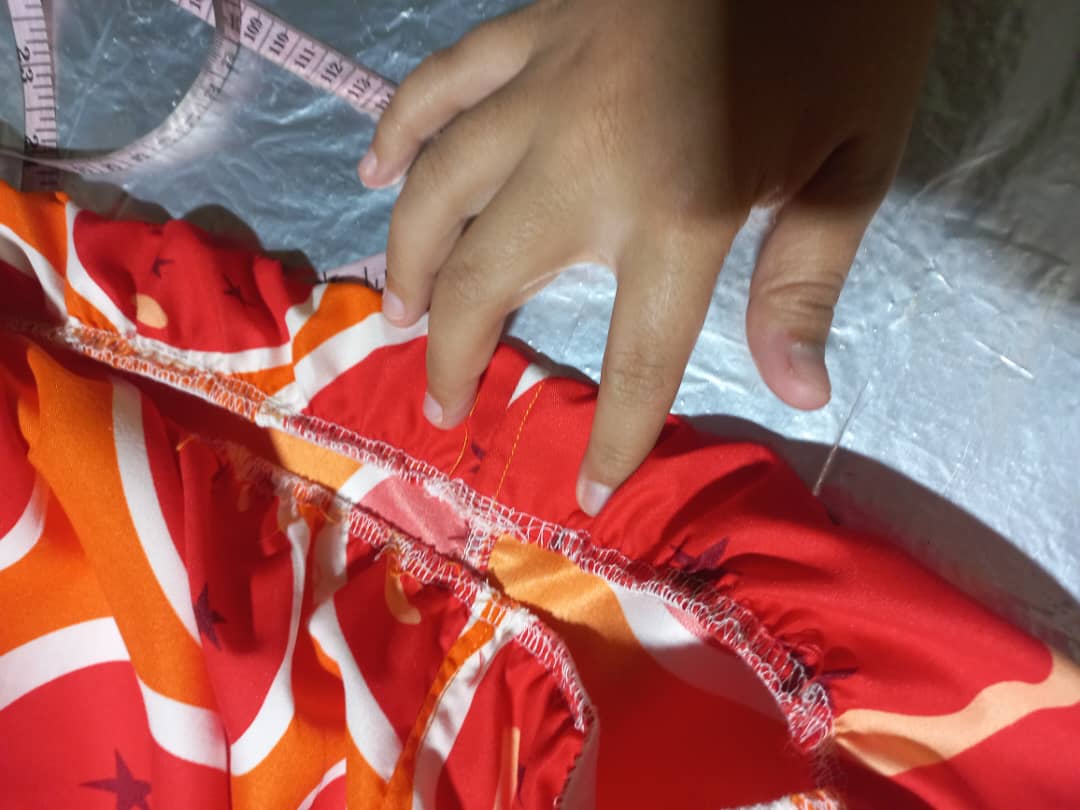
Después cosemos la goma para montarla en nuestro short ¿Cómo lo haremos? bueno vamos a coserla por toda la orilla de nuestro short por dentro de esta forma:
Then we sew the rubber to mount it on our short. How will we do it? Well, we are going to sew it all over the edge of our shorts on the inside in this way:
Siempre estirando para que nos abarque todo el contorno de nuestro short.
Always stretching so that it covers the entire contour of our short.

.jpeg)
.jpeg)

.jpeg)
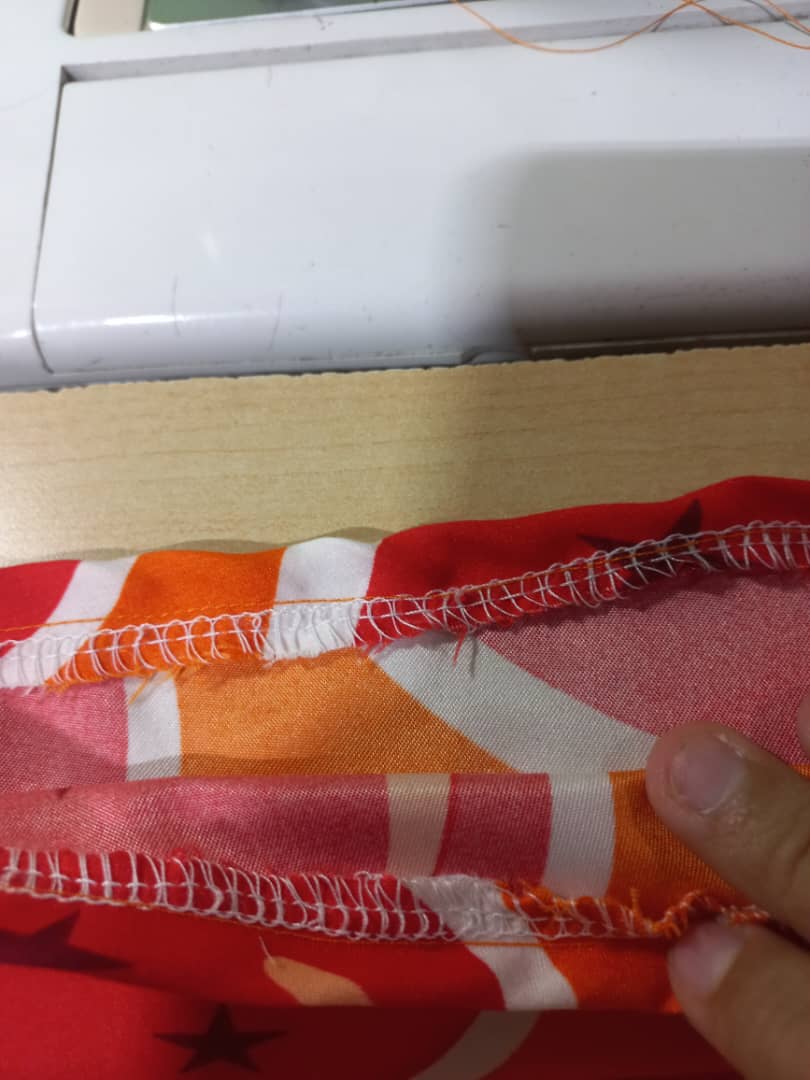
7.Paso 7: Después de coser con overlock nuestra goma al short en este paso lo que haremos es doblar hacia dentro y coser con costura sencilla por toda la orilla de esa costura que hicimos con overlock siempre estirando un poco.
7. Step 7: After overlocking our elastic band to the short in this step, what we will do is fold inwards and sew with a simple seam along the entire edge of that seam that we made with overlock, always stretching a little.
- Paso 8: Por ultimo le haremos una costura sencilla en la de abajo de nuestro short y listo.
8. Step 8: Finally we will make a simple seam on the bottom of our short and that's it.
.jpeg)
.jpeg)
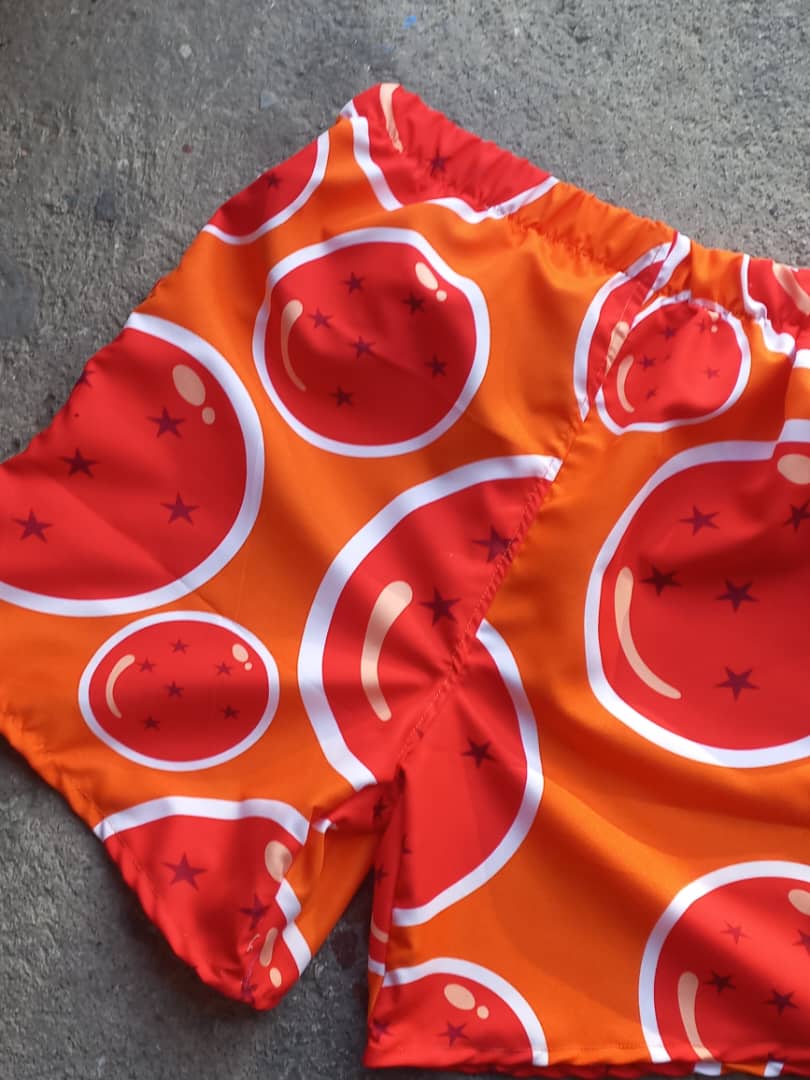
Hice varios modelos para mi novio y este que les estoy enseñando era el ultimo los otros dos fueron más que todo de ensayo y error, pero igual quedaron muy bien. Espero puedan ustedes también hacer su propio short y disfruten de este proceso tan lindo y fácil.
I made several models for my boyfriend and this one that I am showing you was the last one, the other two were mostly trial and error, but they still turned out very well. I hope you can also make your own short and enjoy this beautiful and easy process.
.jpeg)

.jpeg)
Con esto me despido amigos míos espero les guste y lo puedan poner en practica si tienen algún tips para mejorar no duden en decírmelo un beso a todos y un abrazo desde la distancia
With this I say goodbye my friends I hope you like it and can put it into practice if you have any tips to improve do not hesitate to tell me a kiss to everyone and a hug from a distance
.png)
Amiga te quedaron bellos 🤩 Aprendiste muy bien. De verdad que entender la costura de cada prenda al principio no es fácil, pero después uno le va agarrando la técnica. Como dices, ensayo y error. Las telas me encantan 💟
Amigaa aquí muestro lo bonito jajajajsaj pero cuando ya tenia cortado todo no le encontraba lógica lo que estaba haciendo y cosí varias veces mal, hasta que vi un tutorial y lo lo logre es por eso que hice este blog para que los demás puedan guiarse. Aquí en mi ciudad en donde compro hay demasiadas telas de esas y son bellas me alegra que te guste un saludo.
Hola!!🌸 Te quedaron muy bonitos, también me gustan mucho los estampados de las las telas que escogiste. A mi me encantaría comenzar a aprender costura algún día para realizar trabajos como este!! Saludos🌷
Atrévete es un mundo muy lindo te lo recomiendo. Gracias por estar aquí un saludo y abrazos.
I so much love this different skills are much in here keep up the good work boss
Hey thanks ✨🧡
quedaron bien chevere tus shores , el paso a paso bien explicado, gracias por compartir.