Feliz día amigos! Bendiciones para todos! Bienvenidos a mi blog.
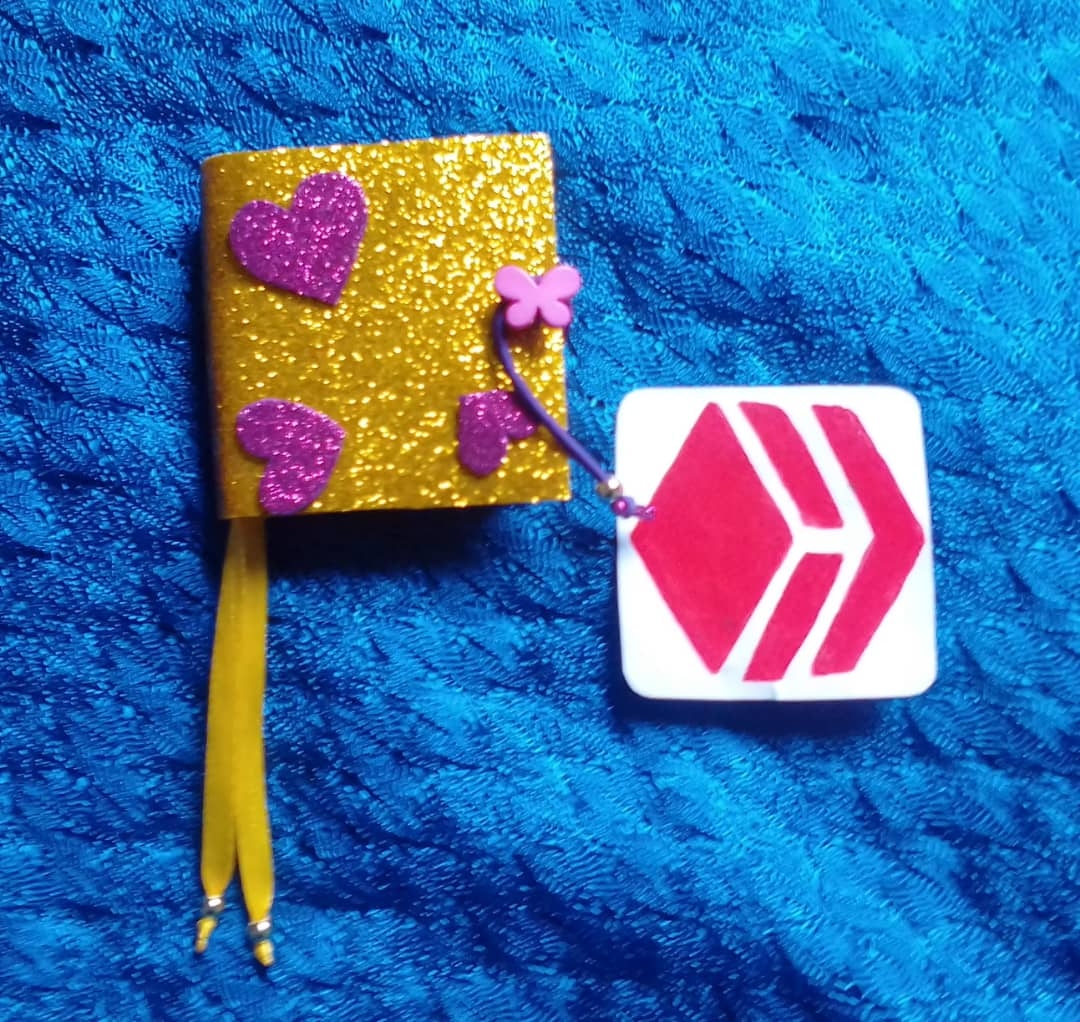
Hoy les traigo un proyecto muy hermoso, fácil y útil para los escribientes. Hoy realizaremos una Mini Libreta.
Happy day friends! Blessings for all! Welcome to my blog.
Today I bring you a very beautiful, easy and useful project for scribes. Today we will make a Mini Notebook.
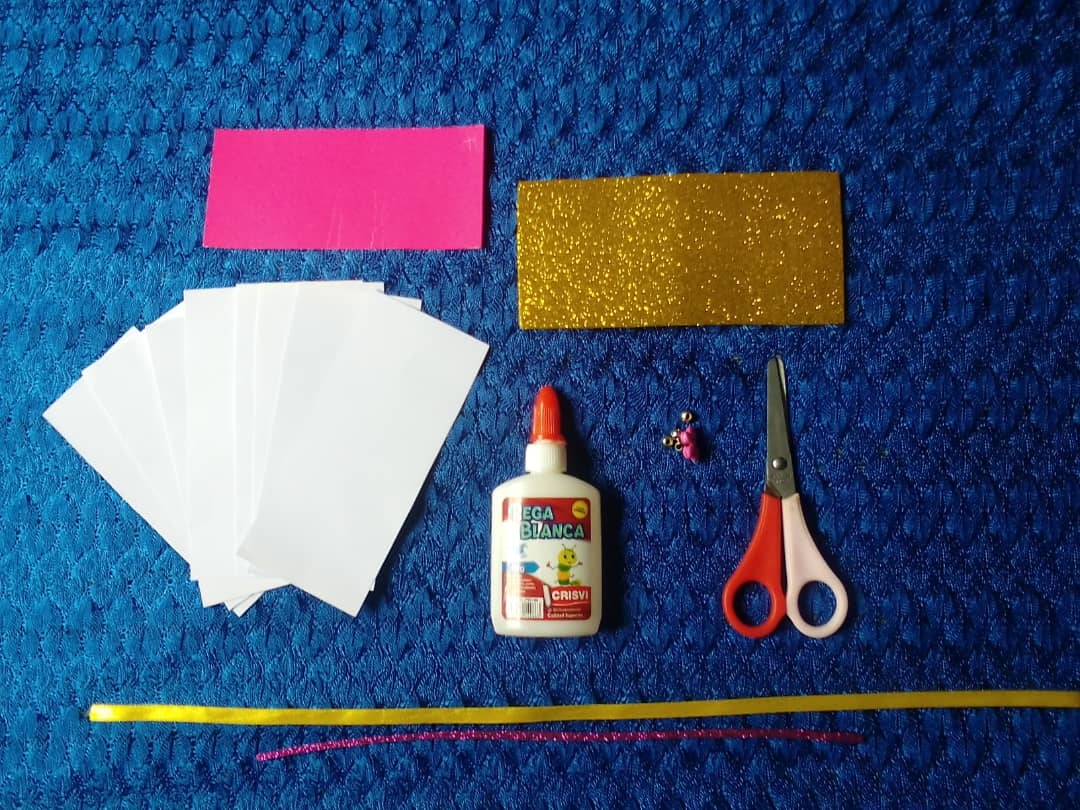
MATERIALES // MATERIALS
- Foami escarchado (Rosado y Dorado)
- Cartulina
- Papel
- Pega
- Tijeras
- Cinta amarilla
- Materiales de bisutería (pelotitas y una mariposa)
- Aguja
- Hilo
- Frosted Foami (Pink and Gold)
- Cardboard
- Paper
- Job
- Pair of scissors
- Yellow tape
- Jewelry materials (balls and a butterfly)
- Needle
- Thread
PASO A PASO // STEP BY STEP
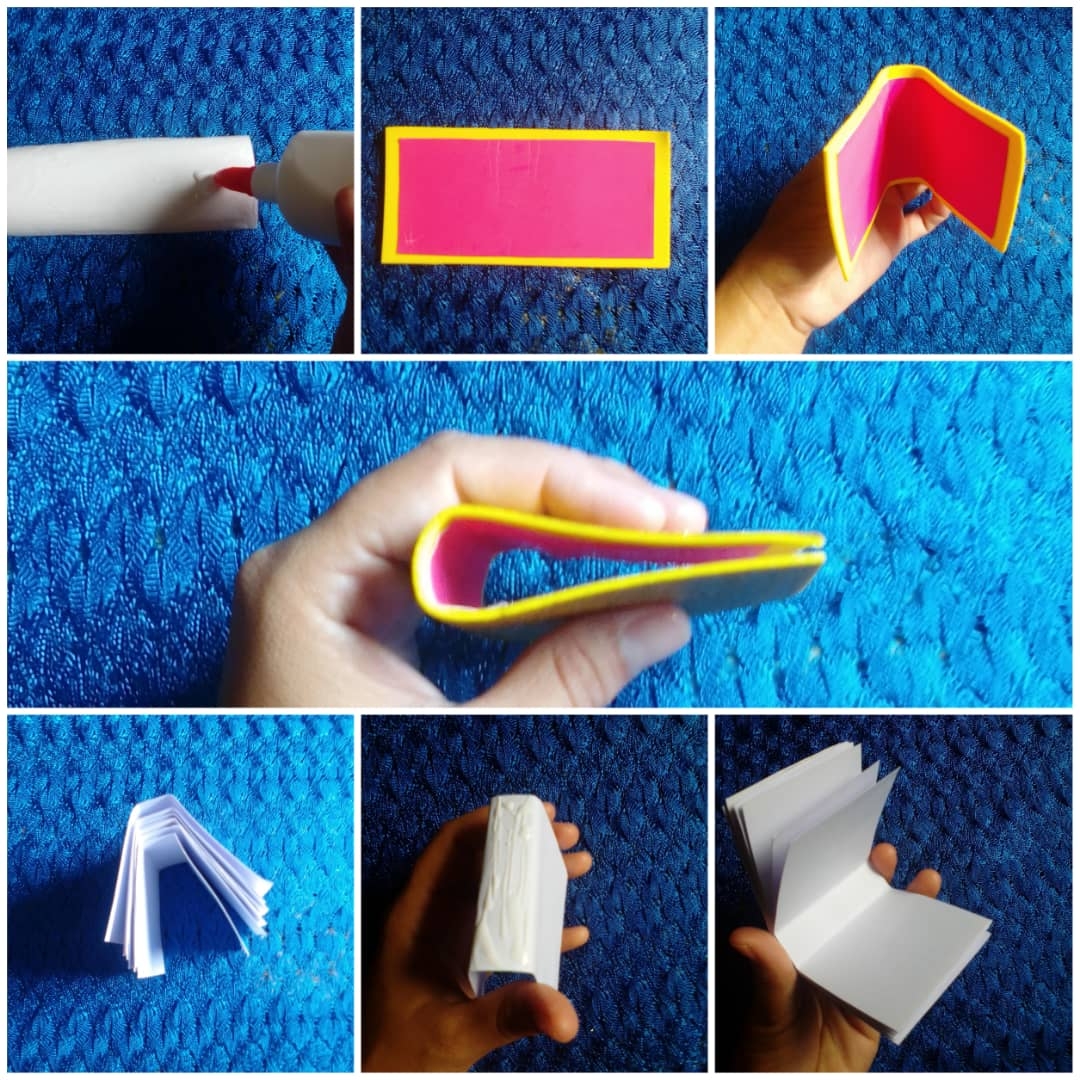
Con la tijeras cortarás la cartulina y las hojas en forma rectangular. También cortarás el foami de la misma forma pero tiene que quedar unos centímetros más grande (ancho y largo) que la cartulina y las hojas.
El próximo paso que harás, será colocar pega en la cartulina y pegarás en el foami, doblaras lo que ya hemos realizado casi en el centro (Nos debe quedar como 3 o 4 centímetros de distancia, lo mismo harás con las hojas de papel.
With the scissors you will cut the cardboard and the leaves in a rectangular shape. You will also cut the foam in the same way but it has to be a few centimeters larger (width and length) than the cardboard and the leaves. The next step you will do, will be to place glue on the cardboard and you will paste on the foami, you will fold what we have already done almost in the center (It should be about 3 or 4 centimeters apart, you will do the same with the sheets of paper.
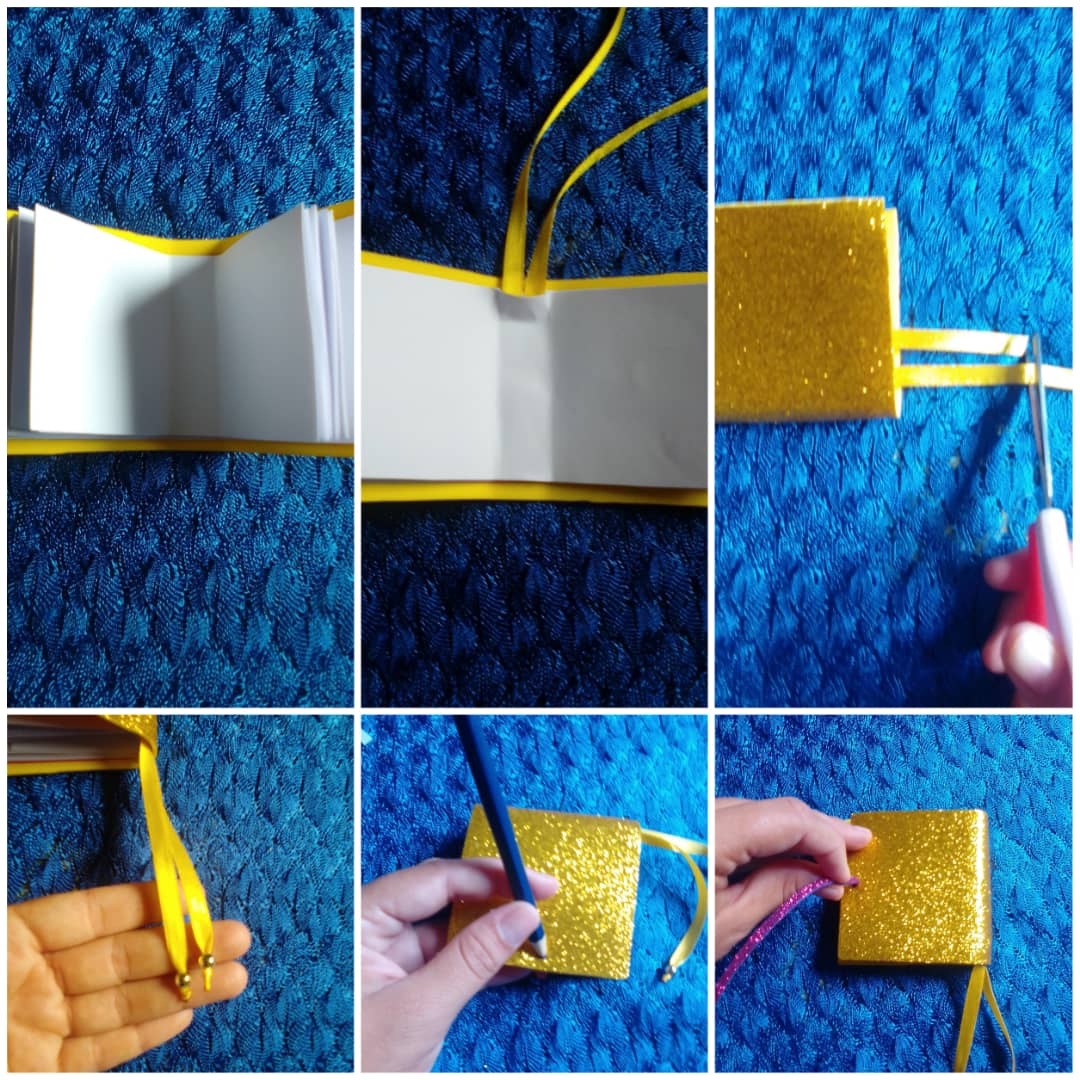
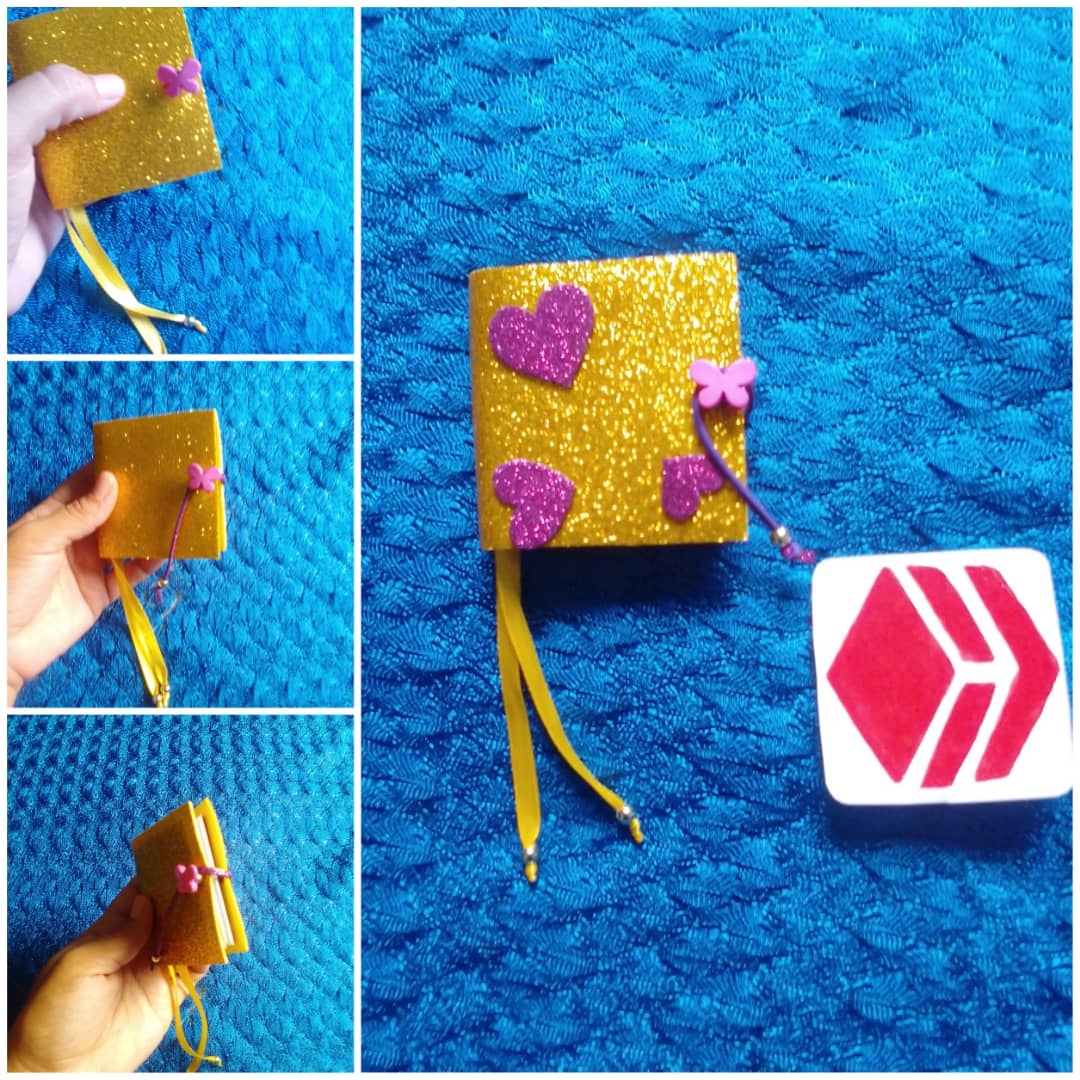
Al tenerlas listas las pegaremos una debajo de otra y procedemos a pegarlas a la cartulina rosa como verán en la imagen.
Tambien pegaremos la cinta amarilla dentro de las hojas de la libreta, ambas las cortaremos de la misma medida, al estar lista tomaremos las pelotitas de bisutería y meteremos las cintas por ellas, para que no se nos salgan haremos un nudo y con la ayuda de un encendedor quemaremos las puntitas d las cintas.
En la la parte de atrás del foami haremos un pequeño hueco y por allí meteremos una tira de foami rosa y le colocaremos una pelotita de bisutería y haremos el nudo.
When we have them ready, we will glue them one under the other and proceed to glue them to the pink cardboard as you will see in the image. We will also glue the yellow tape inside the notebook sheets, we will both cut them the same size, when we are ready we will take the jewelry balls and put the ribbons through them, so that they do not come off we will make a knot and with the help of a lighter will burn the tips of the ribbons. In the back of the foam we will make a small hole and there we will put a strip of pink foam and we will place a jewelery ball and we will tie the knot.
En el frente (Carátula) de nuestra libreta
Coseremos la mariposa, lo haremos con la ayuda de un hilo y una aguja. Para la decoración pegaremos corazones de foami rosa.
On the front (Cover) of our notebook We will sew the butterfly, we will do it with the help of a thread and a needle. For the decoration we will glue pink foami hearts.
Listo!!! Éste fué nuestro proyecto del día! Espero les haya gustado mi trabajo.
Clever!!! This was our project of the day! I hope you liked my work.
Gracias por visitar mi publicación! Dios te bendiga! Un fuerte abrazo!
Thanks for visiting my publication! God bless you! A hug!
