Few weeks ago, my car ignition was starting to play up, sometimes I would not be able to insert the key and once inserted, I might not be able to turn it. It happened regularly but after few attempts the key would eventually turn and start the car.
However, last Wednesday evening, as I got back to the train station, the same thing happened again but this time after 30 minutes, I gave up and walked back home. I went searching for some solutions and found some videos on Youtube showing how to extract the ignition cylinder / barrel and fix it. After watching a few of the videos, I compiled few ideas to match my car model.
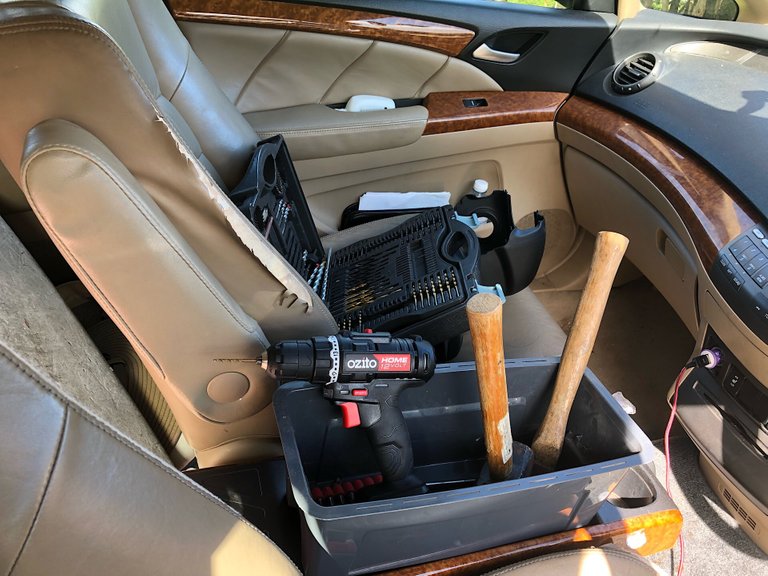
The next morning, I took my tools and went back to the station and tried to disassemble the steering wheel box and extract the ignition cylinder.
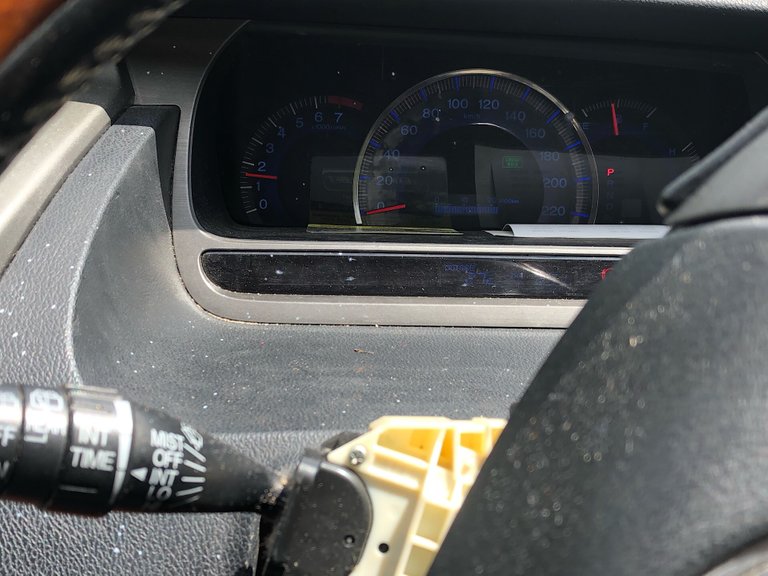
I missed taking a photo of that but under the steering wheels, the box is kept closed by three little screws. All I needed is unscrew them and remove the plastic covers.
From the videos, the next thing to do is remove those shear head bolts from the top side.
Shear head bolts are bolts that are totally round and flat so you can't use a screw driver or pliers to remove them. Usually DIYers would use a string screwdriver and a hammer and forces it to turn by hammering the screwdriver against the bolt. I tried but failed. But looking around, I noticed that even if I succeeded, I would have to remove two screws that are hidden behind the steering wheels so I would have to remove the wheel too!
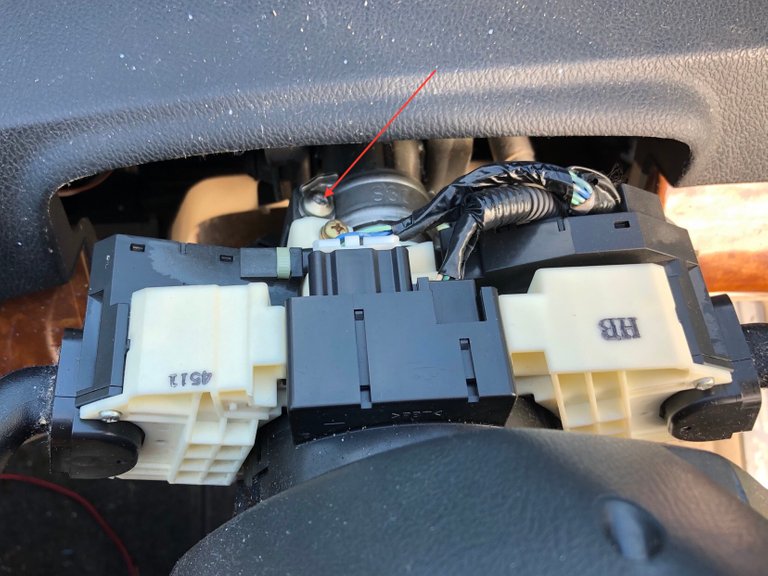
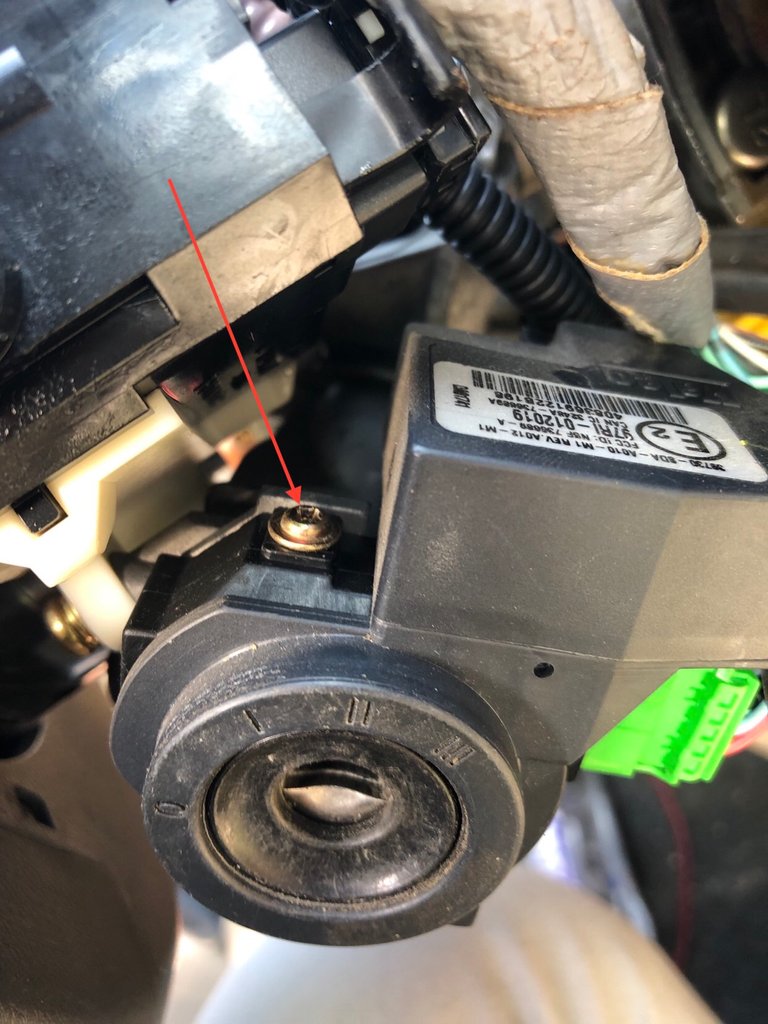
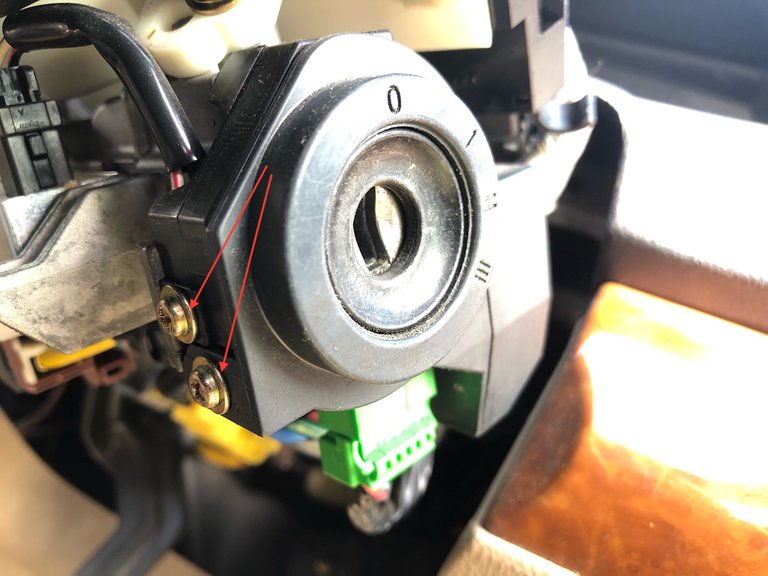
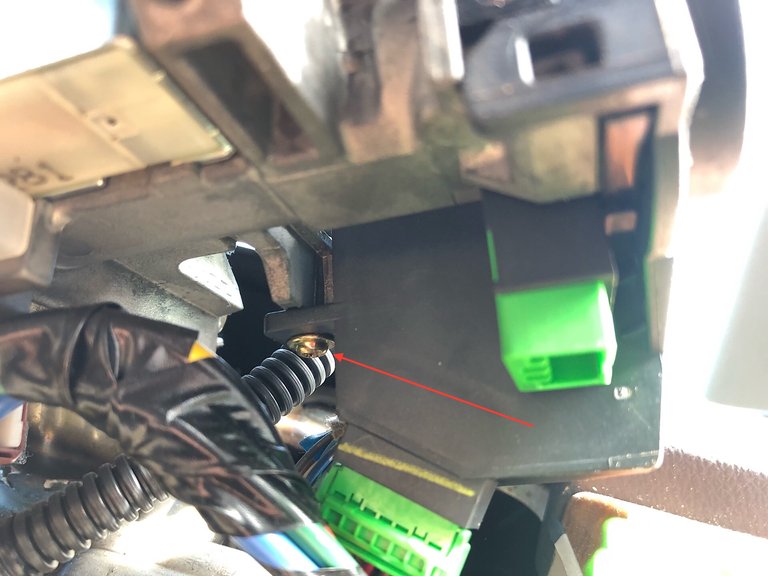
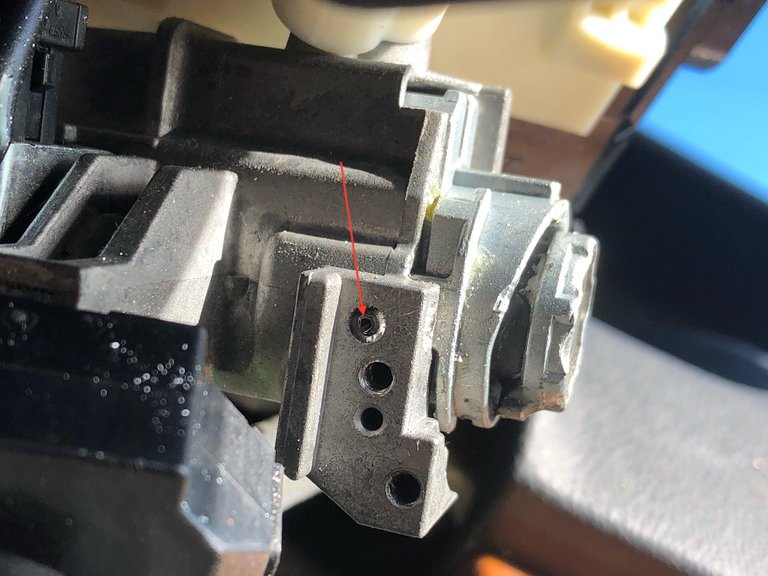
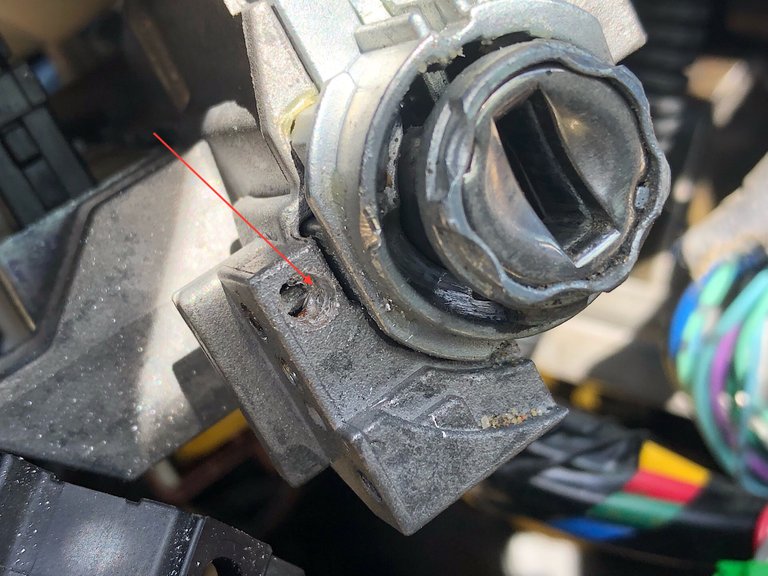
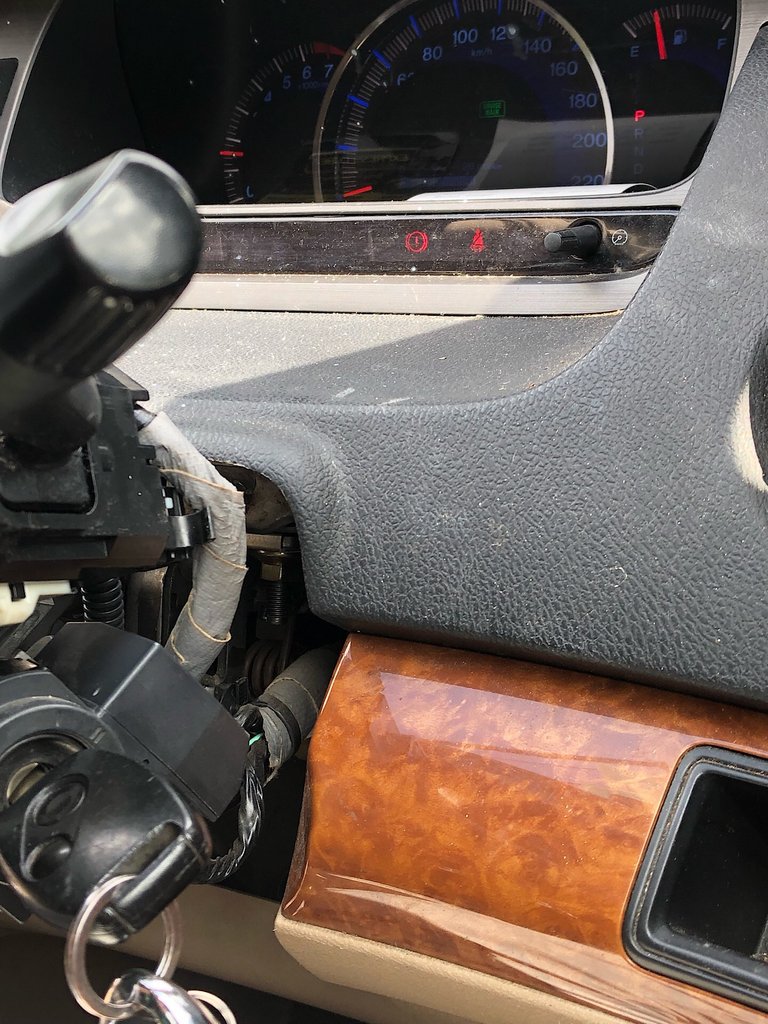
After checking around the system, I noticed that the screws that hold the plastic immobiliser were accessible without having to remove the whole block. So I continued to work and successfully disassembled the immobiliser. Here are the locations of the immobiliser screws:
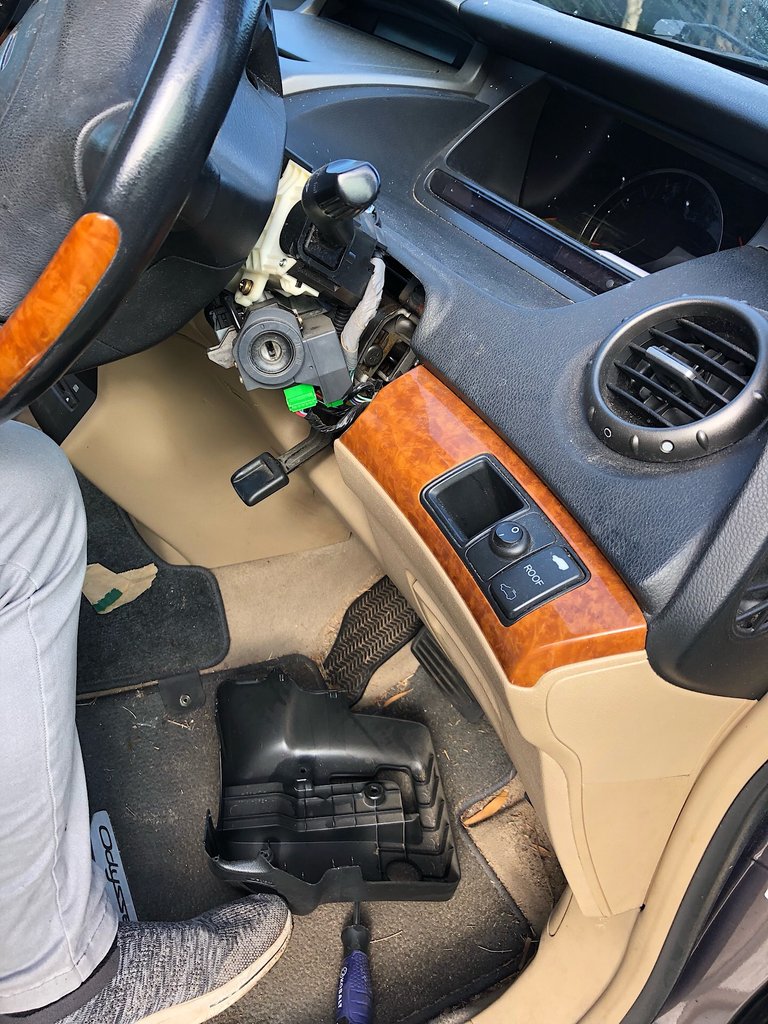
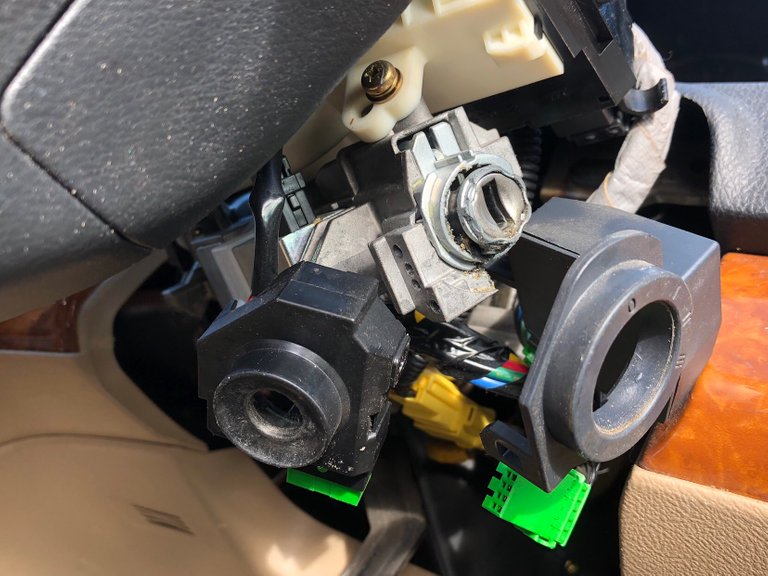
And this is showing the immobiliser removed, revealing the tip of the ignition cylinder.
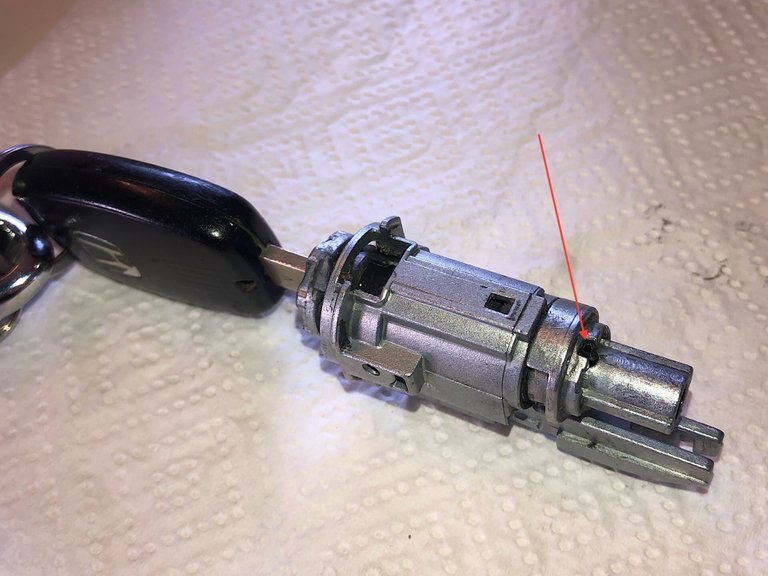
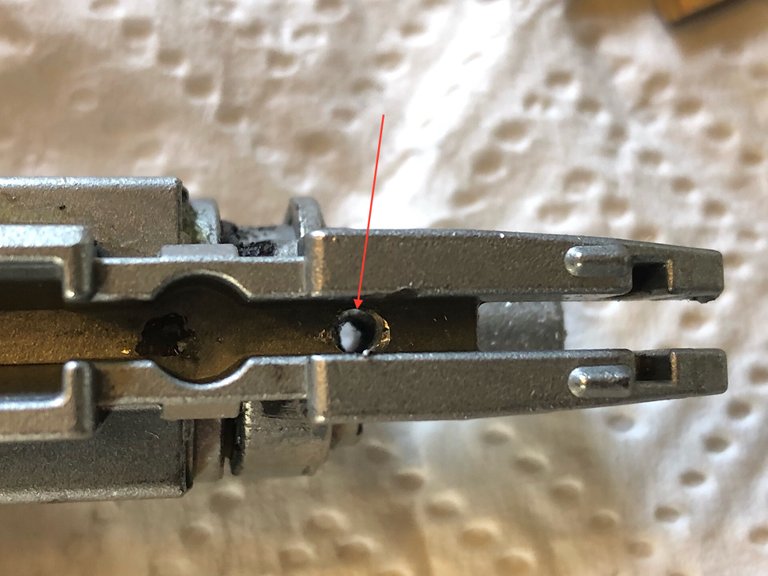
Now, this is the next pain point. The cylinder is hold in place against the frame by a little set pin that is inside a small hole making it impossible to remove without the appropriate tool.
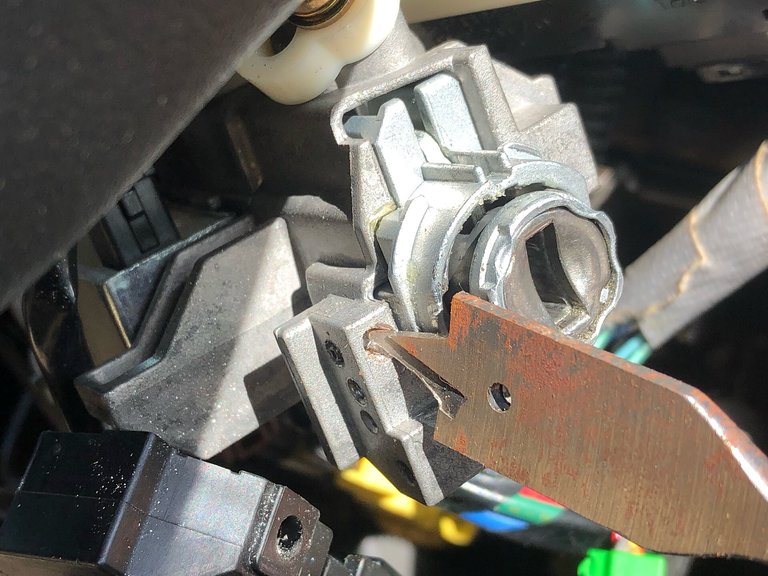
So I decided to drill a whole in the frame on the outside:
That allowed me to use the pointy bit of a boring bit to pushes the pin out:
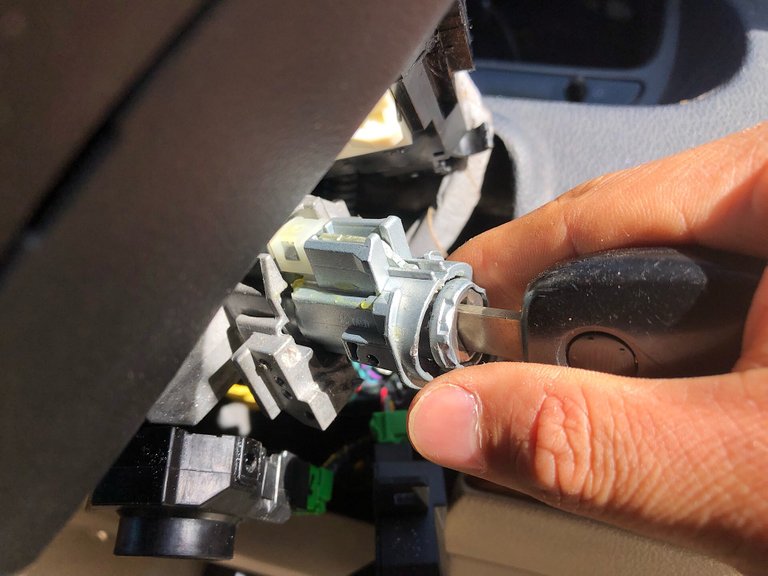
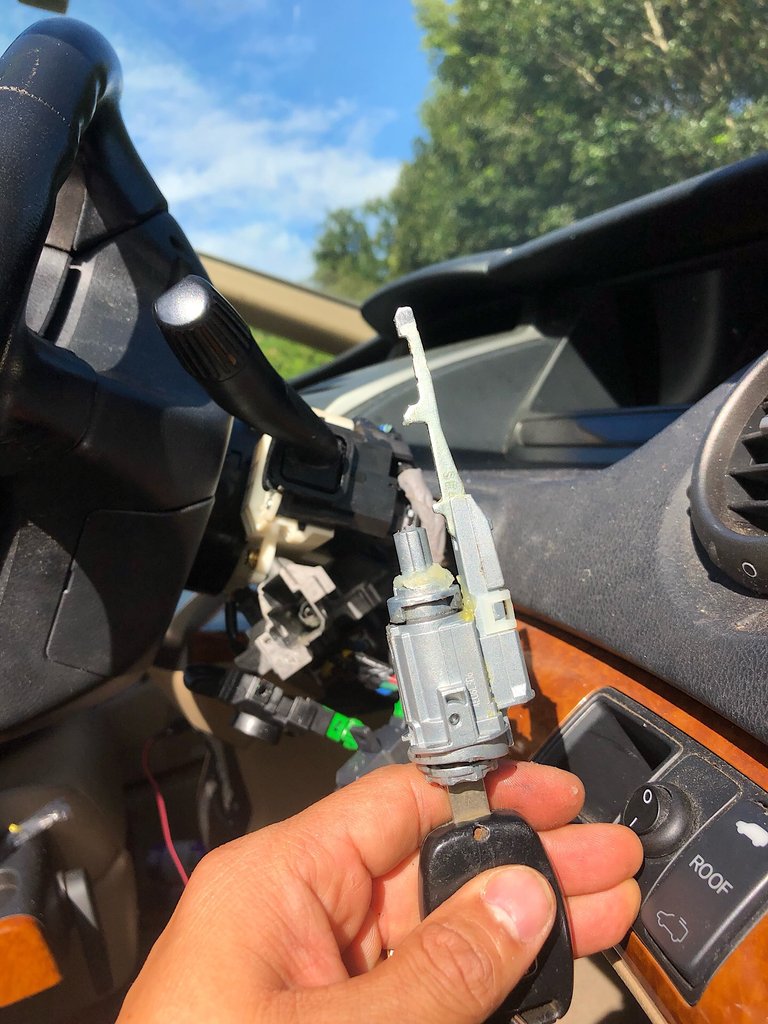
Now the pin is taken out, the cylinder is now free to be removed but you need to re-insert the key in order to do it as there is a little lock controlled by the key.
With the cylinder out, I went back home to continue the work. As I got home, I got a call from the police asking me if I'm the owner of the Honda Odyssey parked at Narara station 😨. Apparently someone though I was suspicious enough and reported that I was trying to break into a car at the station hahahaha. I had a good laugh explaining the situation to the friendly officer. It's cool to know that people are looking out in the neighbourhood.
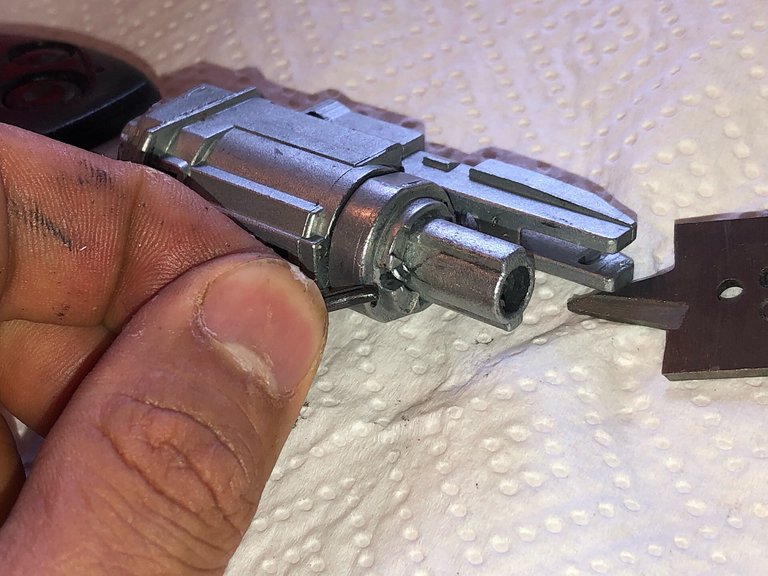
Now the barrel in side the cylinder is also held in place by a set pin.
To remove it, I drilled another hole on the top side of the cylinder.
The pin is then easily pushed out through the hole using a nail.
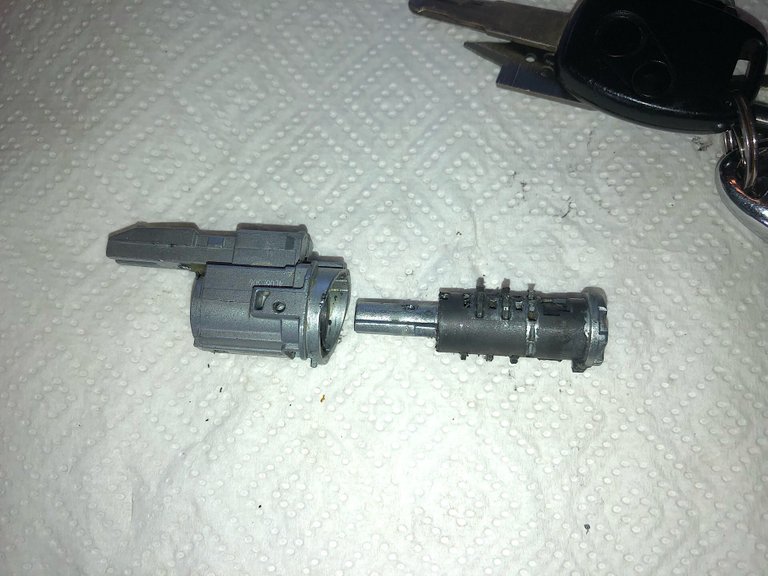
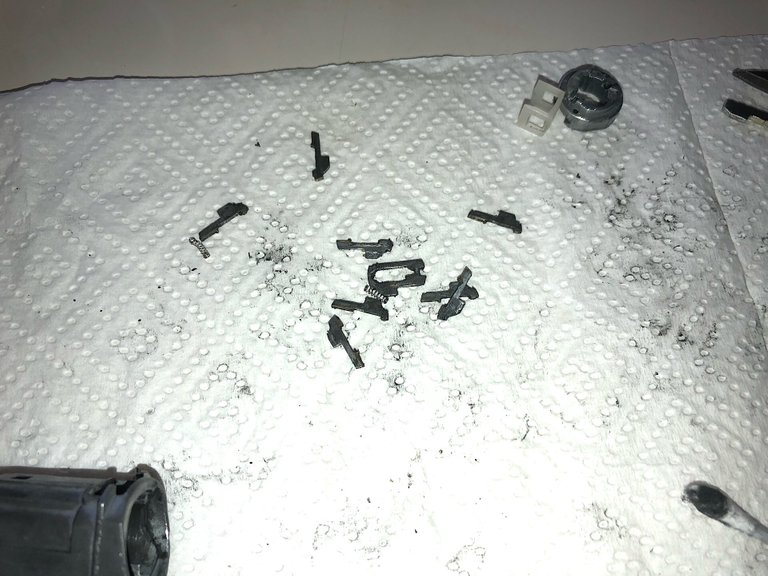
Here is the barrel out, you can see the lock pins pointing out. They were covered in grease but what seems to make them stick was sand. Probably because my car key was dirty with sand from fishing and beach session.
At that point, my head was a bit messed up due to the bad night sleep and I decided to remove all the pins and springs and keep them in a sealed plastic bag.
Now, the key can be inserted into the barrel without resistance, you cannot feel the pins as you slide the key in because there are no more pins inside hahaha. Any key can turn the barrel!
After lunch, I went back to the car to reassemble the system and test the fix. As expected, my wife's car key could turn the ignition barrel of my car but the immobiliser would prevent the ignition. I tried my key and... suspens... it worked!
Right, so this is probably not clean DIY repair but it worked! Saved me few hundred bucks on parts and labor from an mechanic and for this 14 year old car, I really don't mind having a pinless ignition barrel. It just feels weird to not have any resistance or not feeling the vibration of the pins as you insert the key and while I drive, I can even remove the key from the keyhole as there are no more pins holding the key in place anymore but that does not stop the car engine.
Here are some of the videos that were very helpful with this repair. There are more out there and I recommend you watch them before performing this DIY work on your car.
Previously on my blog:
- DIY Hobie Sail Rudder and Turbo ST Fins upgrade
- Follow up on the welding repair on the Hobie Revolution 11 Kayak, did it work?
- DIY Hobie Sail Rudder and Turbo ST Fins upgrade
Vote for my witness
On Steem, Witnesses are playing the important role of providing a performant and safe network for all of us. You have the power to choose 30 trusty witnesses to package transactions and sign the blocks that will go in the Steem blockchain. Vote for me via SteemConnect to help me do more useful projects for the communities.
Credits
- The image at the top has been generated with the Canva app using my own photo.

Banner by @josephlacsamana
Protect your money against Phishing Scam!
Cryptos accounts are the target of international scammers because they want your hard earned money!
Those people are very clever and in a moment of inattention, you've given them your login and password!
I've created a Chrome extension that can help you detecting scam links!
Install Steemed Phish Chrome desktop browser extension now!
Password and Private Keys security
You all know that your Steem password is the access to all your STEEM, SBD, posting, transferring, everything... right?
So, please, follow these simple steps and keep yourself safe:
- Apart from the initial setup of your account, NEVER use your password ANYWHERE, if stolen, it will give full control to your Steem account.
- Backup your password and keep it somewhere safe. Use a password manager like Lastpass, print it on paper and put it in a safe (no kidding). If you forget your password, no one can help you out.
- To login for creating content and curating, use your Private Posting Key
- To make transfers and account operations, use your Private Active Key
- To encrypt and decrypt memos, use your Private Memo Key


A tricky job well done :)
Posted using Partiko Android
Cheers mate. Was a bit scared of doing it but ended up working so all good
Posted using Partiko iOS
It's hilarious and cool that someone reported you, good that people are keeping an eye out just in case you were stealing/vandalising a car XD
Hahaha yeah. I guess they were worried about their car too as they were parked there. I actually saw the lady who reported me, she stopped her car in front of mine and took her mobile phone out to take a photo.
Posted using Partiko iOS
Hi, @quochuy!
You just got a 0.15% upvote from SteemPlus!
To get higher upvotes, earn more SteemPlus Points (SPP). On your Steemit wallet, check your SPP balance and click on "How to earn SPP?" to find out all the ways to earn.
If you're not using SteemPlus yet, please check our last posts in here to see the many ways in which SteemPlus can improve your Steem experience on Steemit and Busy.
Hello!
This post has been manually curated, resteemed
and gifted with some virtually delicious cake
from the @helpiecake curation team!
Much love to you from all of us at @helpie!
Keep up the great work!
Manually curated by @eonwarped.