Sculpting koopa troopa in plasticine.
Esculpiendo a koopa troopa en plastilina.
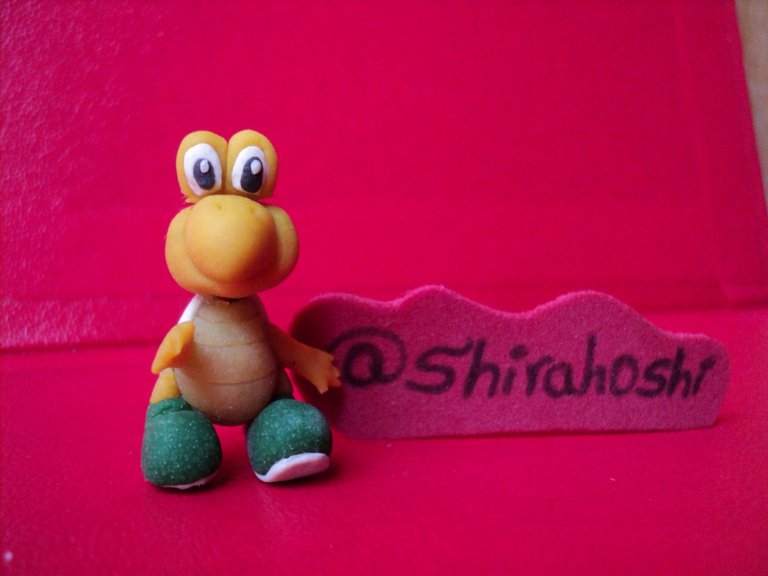
Hello my dear reader friends, as you know I am very fond of crafts and video games, so I wanted to combine these two aspects and the result was this mini sculpture of a koopa troopa.
Hola mis queridos amigos lectores, como ya sabrán soy muy amante de la manualidades y video juegos, así que quise combinar estos dos aspectos y el resultado fue esta mini escultura de un koopa troopa.

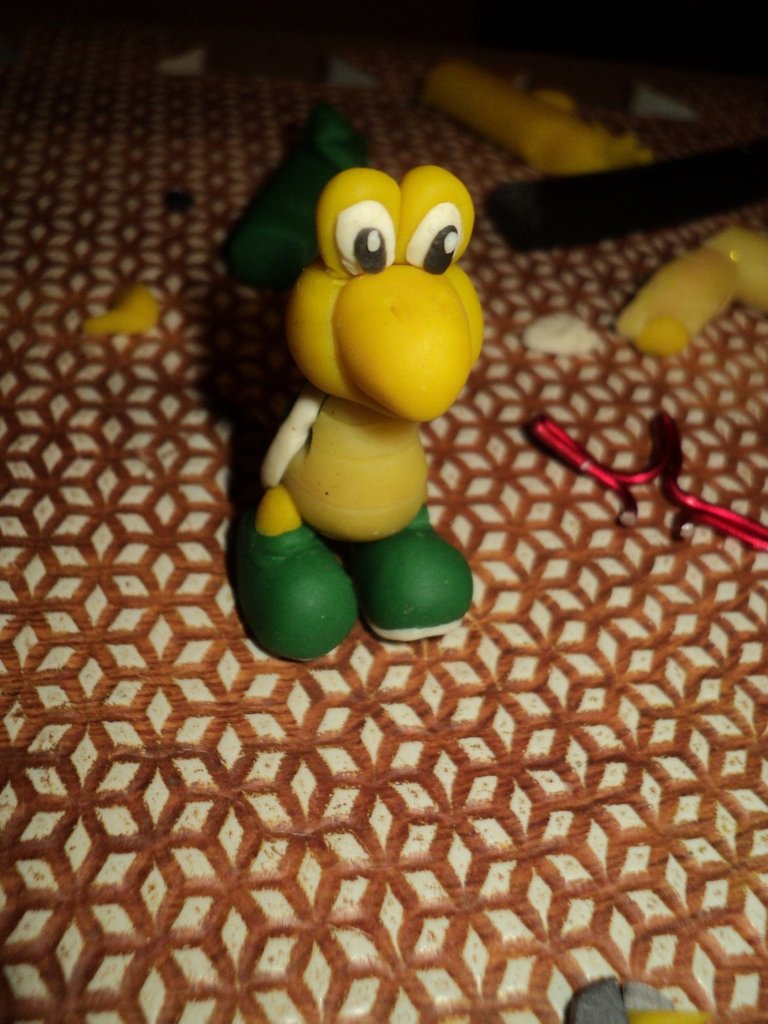
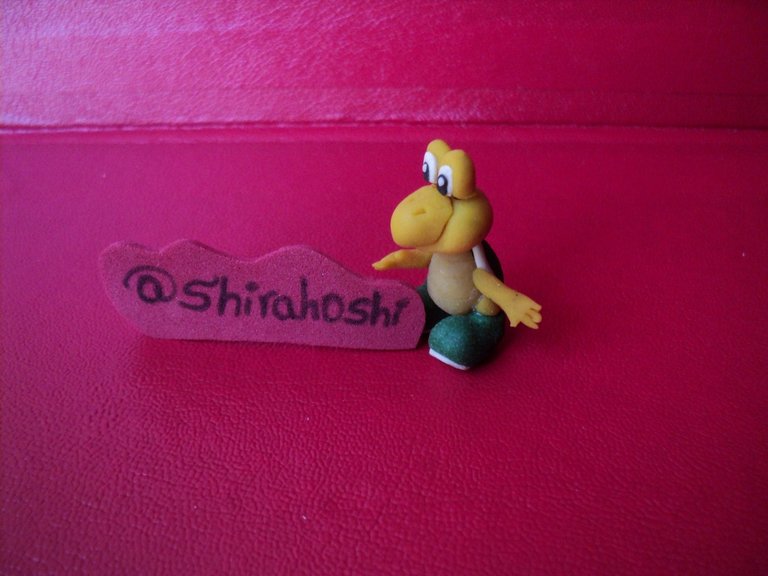
Koopa Troopa is a common enemy in Mario's universe, her appearance is like that of a tender little turtle and she works for the well-known Bowser.
koopa troopa es un enemigo común en el universo de Mario, su aspecto es como el de una tierna tortuguita y trabaja para el conocido Bowser.
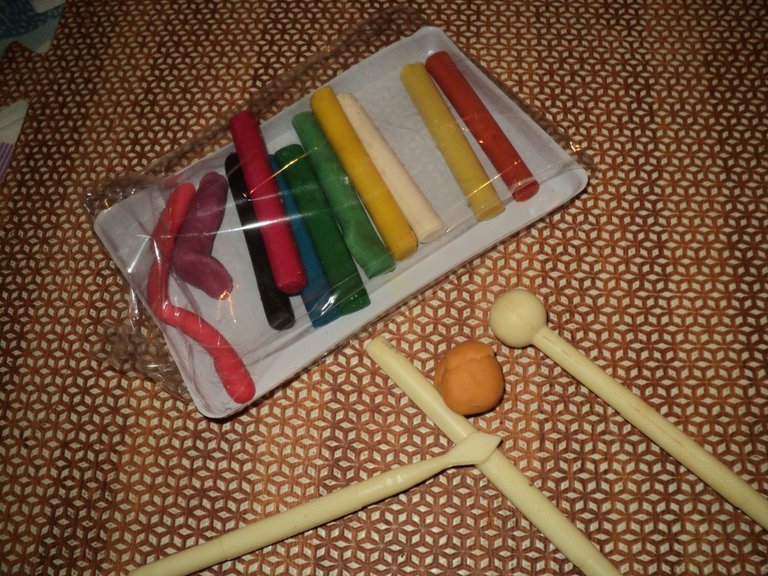
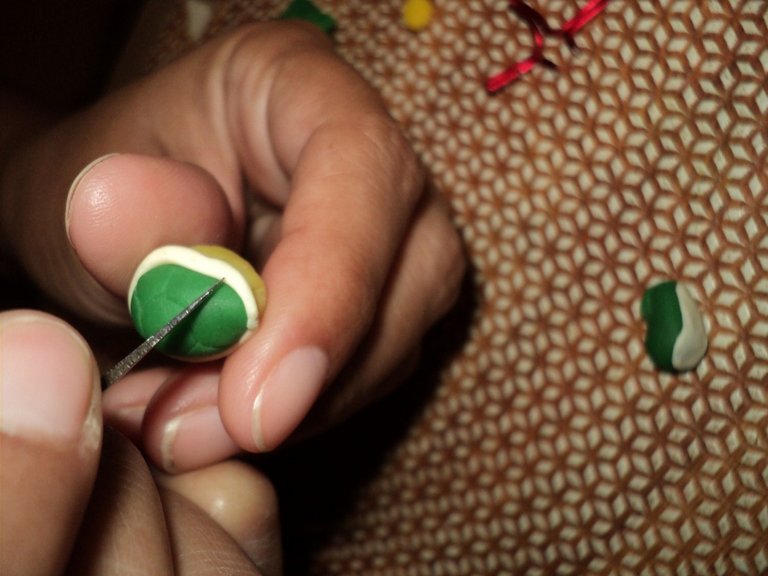
The materials to enhance this koopa: use simple school plasticine and some flexible wire. And as tools use a small knife, and some modeling sticks I had in store.
Los materiales para realzar este koopa: utilice plastilina escolar simple y un poco de alambre flexible. Y como herramientas utilice una navaja pequeña, y unos palos para modelar que tenía guardados.
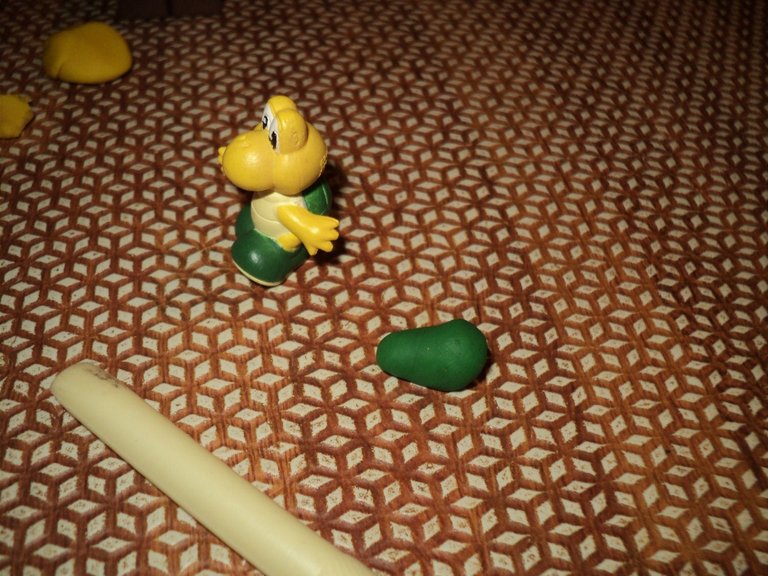
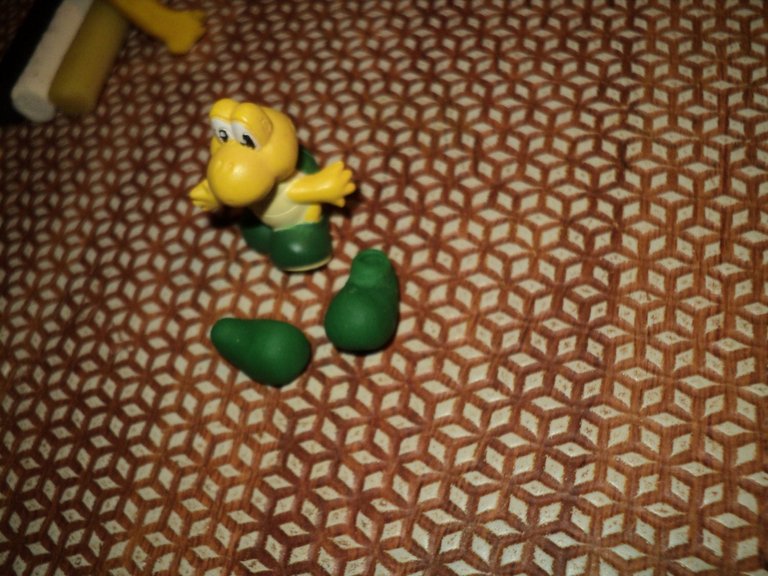
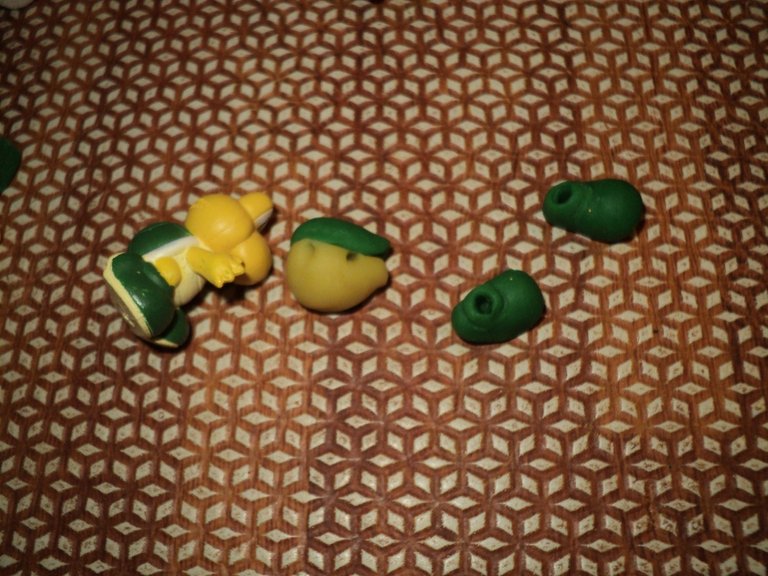
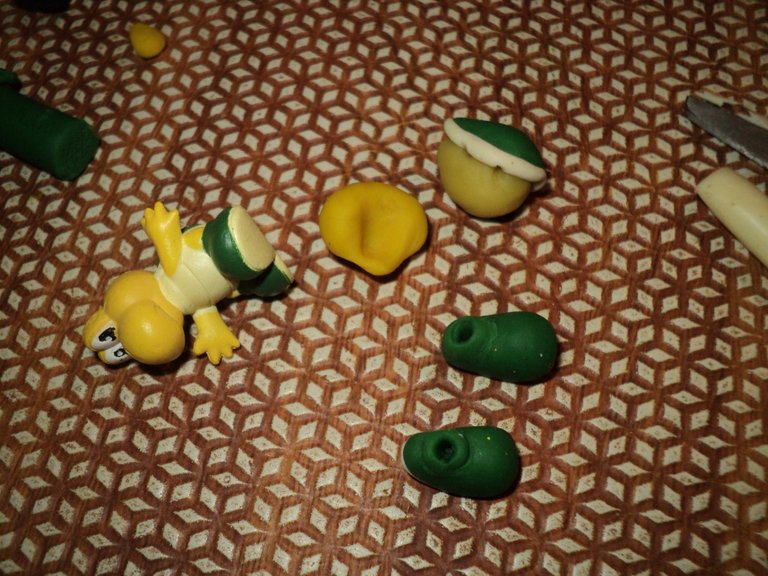
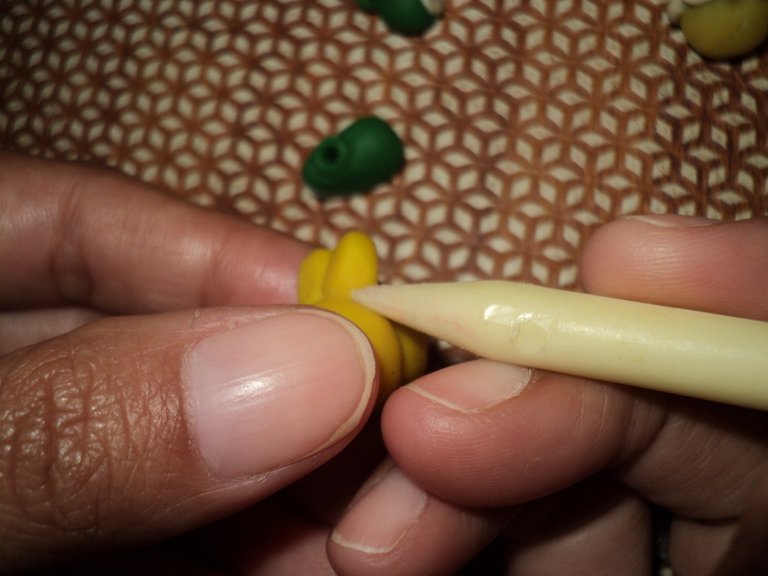
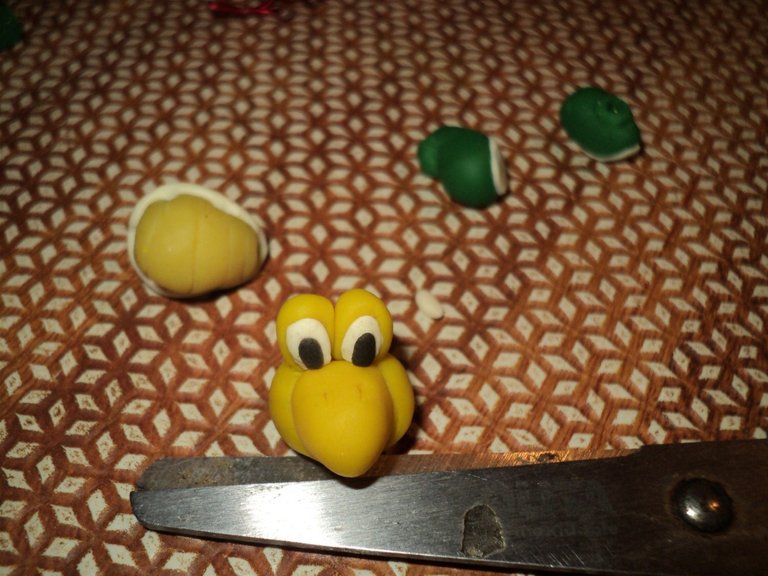
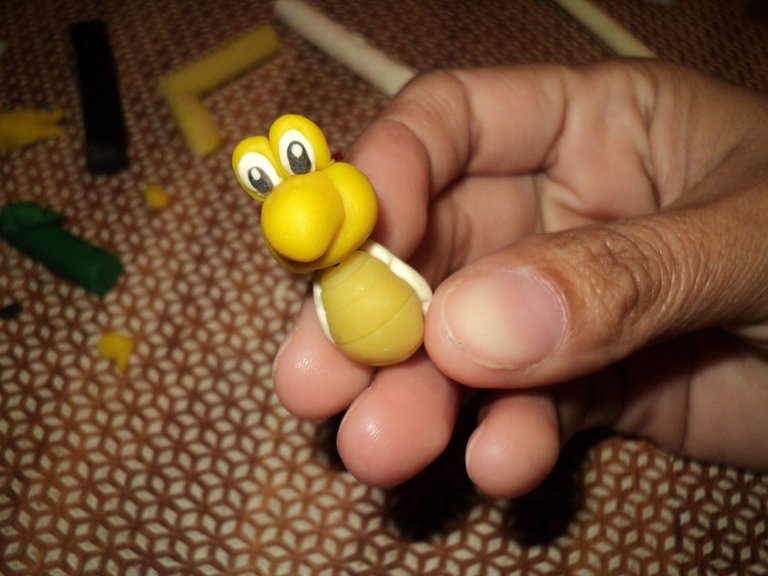
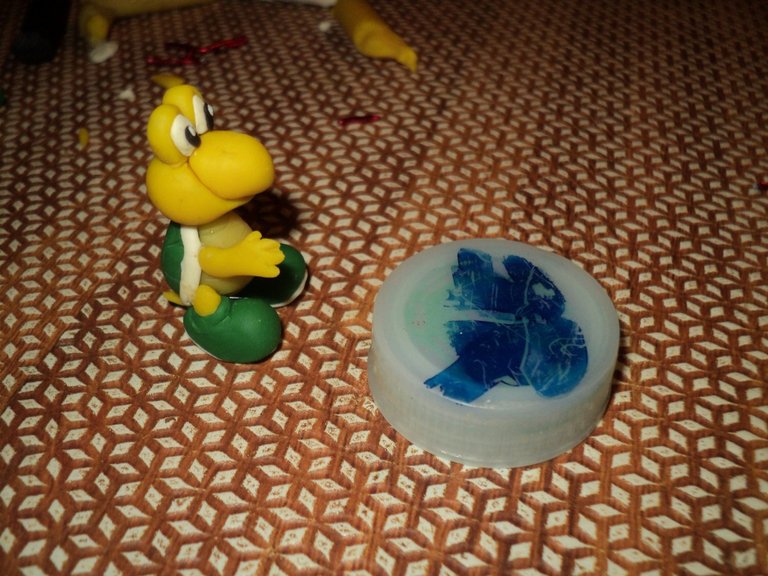
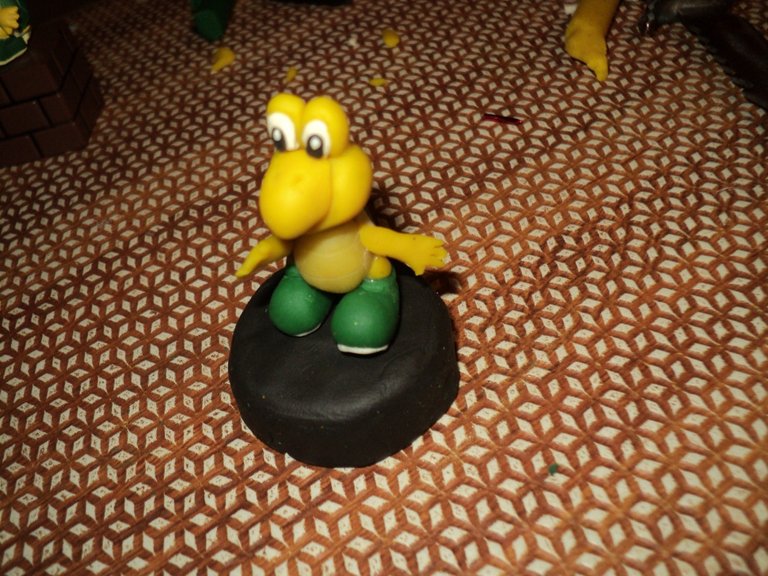
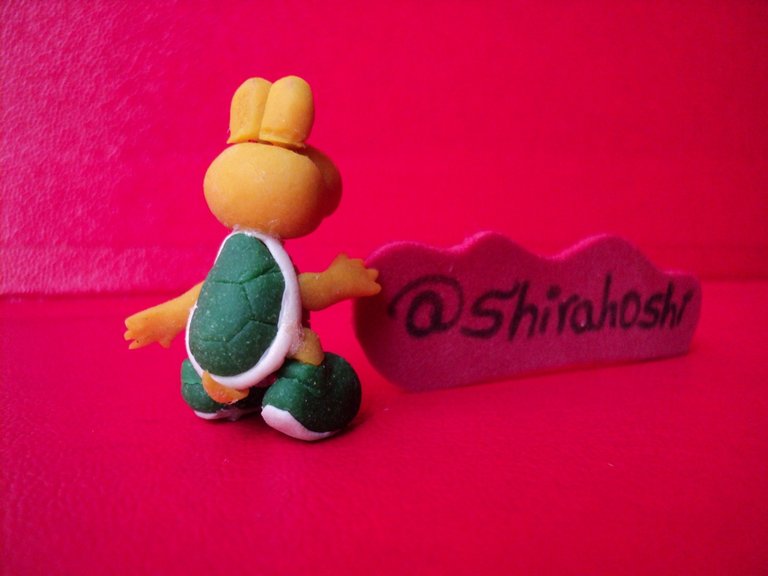
Without many words I will leave you as I realize step by step this tender plasticine sculpture of a koopa.
Sin muchas palabras les dejare como realice paso a paso esta tierna escultura de plastilina de un koopa.

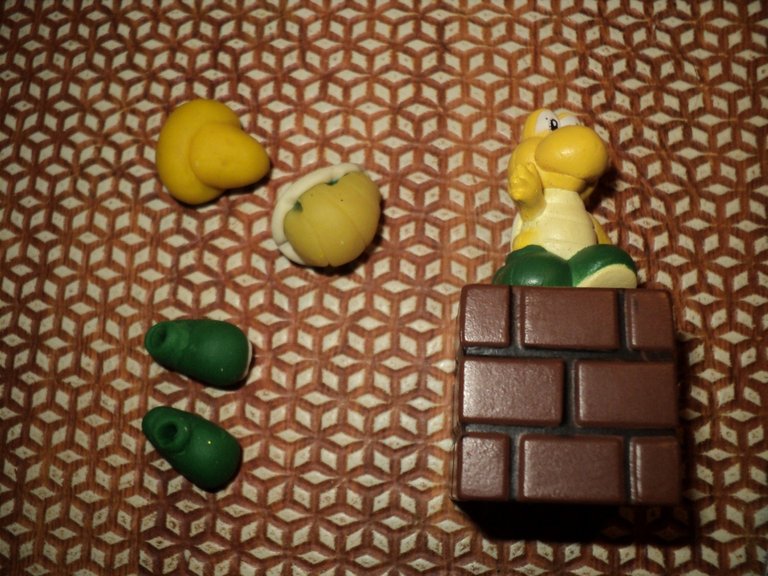
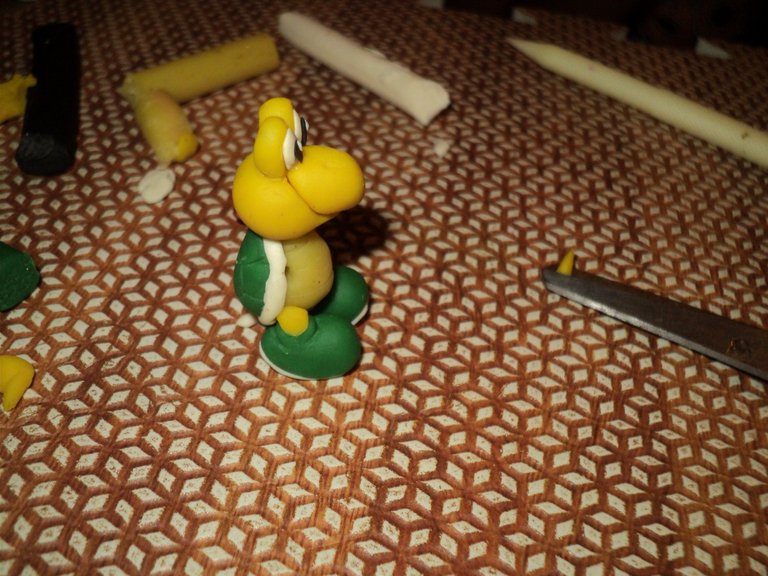

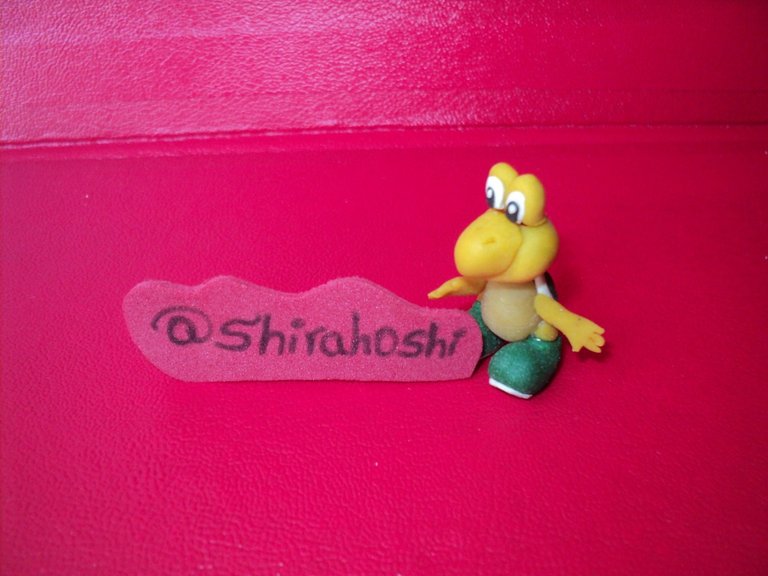
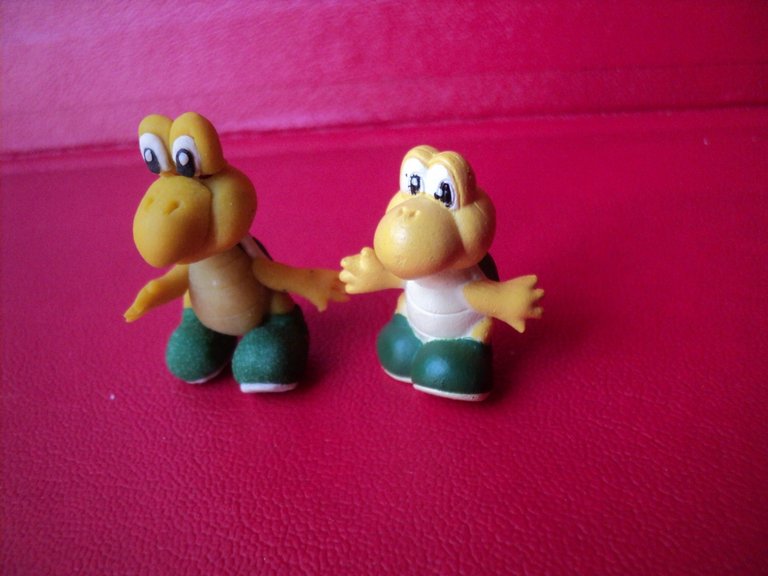
I hope that you liked this plasticine sculpture and that you enjoyed watching it step by step, I hope in my next post I want you @shirahoshi.
Espero que fuera de su agrado esta escultura de plastilina y que disfrutaran viendo el paso a paso, los espero en mis próximos post los quiere @shirahoshi.
The photographs are my own and were taken by me with a sony cybershot DSC-S2000 and were edited in powerpoint.
Las fotografías son de mi autoría y fueron tomadas por mí con una camara sony cybershot DSC-S2000 y se editaron en powerpoint.
The Step by Step Gif was made by me in AdobePhotoshop CC2014.
El Gif de Paso a Paso fue realizado por mi en AdobePhotoshop CC2014.
The image of HIVE used on the cover (initial image) was taken from here:
La imagen de HIVE usada en la portada (imagen inicial) fue tomada de acá:

Que gran trabajo has hecho, te quedo espectacular! te felicito @shirahoshi. Saludos
Me encanta que te gustara @kadoshmenorah, Gracias por visitar mi post!
Hola, me acabo de encontrar con tu blog. Veo que lo estás haciendo bien aquí en Hive. Debería probar nuestro servicio Upvote, acabamos de abrir para registrarse. Echa un vistazo a nuestra última publicación. Necesitamos más miembros. 😉
#posh