¡Saludos! Estoy muy contenta porque esta vez volví a retomar el retrato para entrar en el concurso propuesto por @luisdraw a quien agradezco por promover el dibujo de retrato, admito que me fue un poco difícil volver a retomar esta práctica, pero logre terminarlo a tiempo después de uno o dos intentos fallidos ¡jajajaj!
Mi elección a retratar fue al actor danés Mads Mikkelsen, quien ha interpretado papeles como el de Hannibal en la serie de mismo nombre y a Kaecilius en la película del Dr Strange el hechicero supremo del UCM, siempre había querido retratarlo así que aquí esta, les mostrare como fue mi proceso espero que sea de su agrado.
Greetings! I am very happy because this time I took up portrait drawing again to enter the contest proposed by @luisdraw whom I thank for promoting portrait drawing, I admit that it was a bit difficult to take up this practice again, but I managed to finish it in time after one or two failed attempts hahahahahah!
My choice to portray was the Danish actor Mads Mikkelsen, who has played roles like Hannibal in the series of the same name and Kaecilius in the movie of Dr Strange the sorcerer supreme of the MCU, I had always wanted to portray him so here it is, I will show you how was my process I hope you like it.
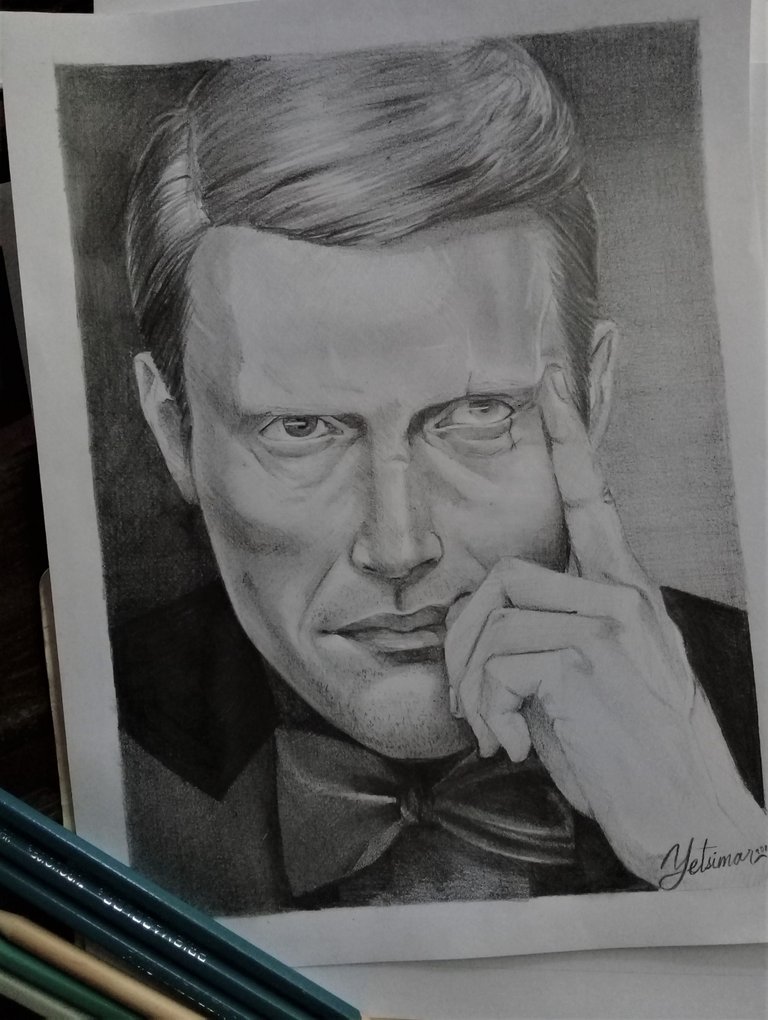
imagen de referencia
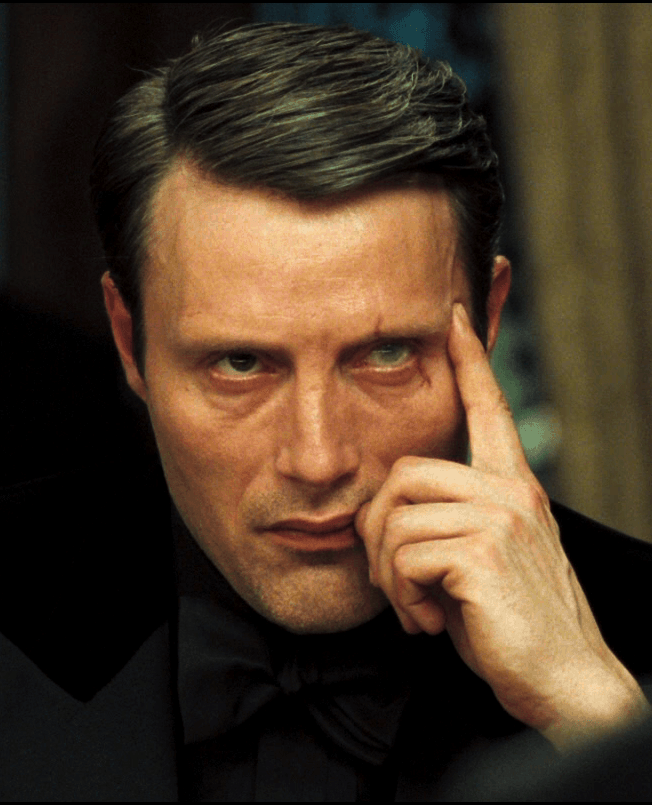
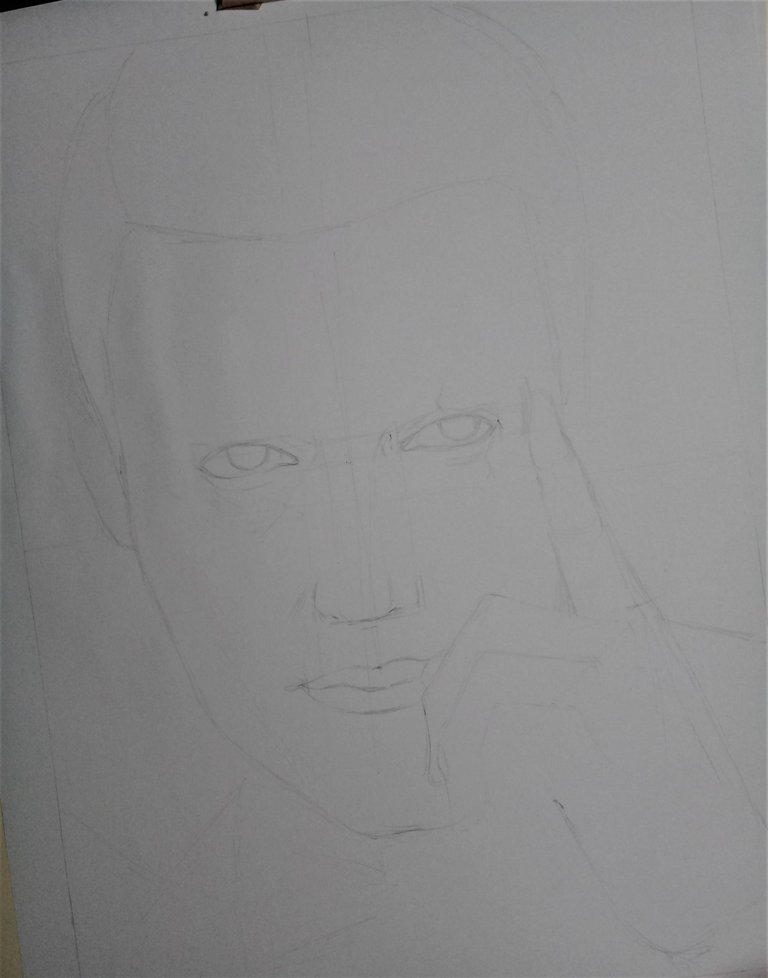
Una vez que decidí a quien retrataría comencé por realizar el dibujo lineal, para ello fue necesario tomar adecuadamente las medidas de la imagen de la referencia y trazar las líneas guías para que el rostro quedase lo más centrado posible en el formato.
Once I decided who I would portray, I began by making the line drawing, for this it was necessary to properly take the measurements of the reference image and draw the guide lines so that the face would be as centered as possible in the format.
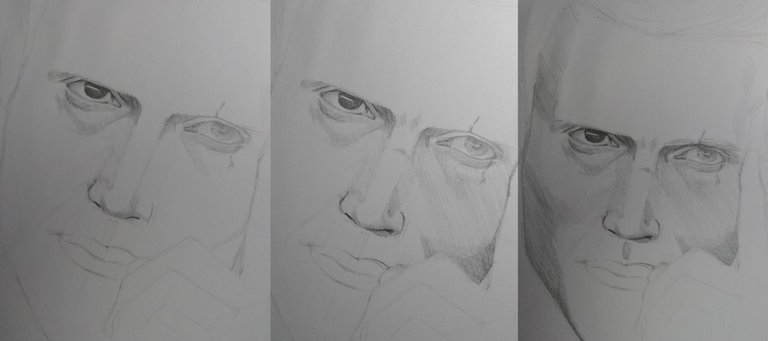
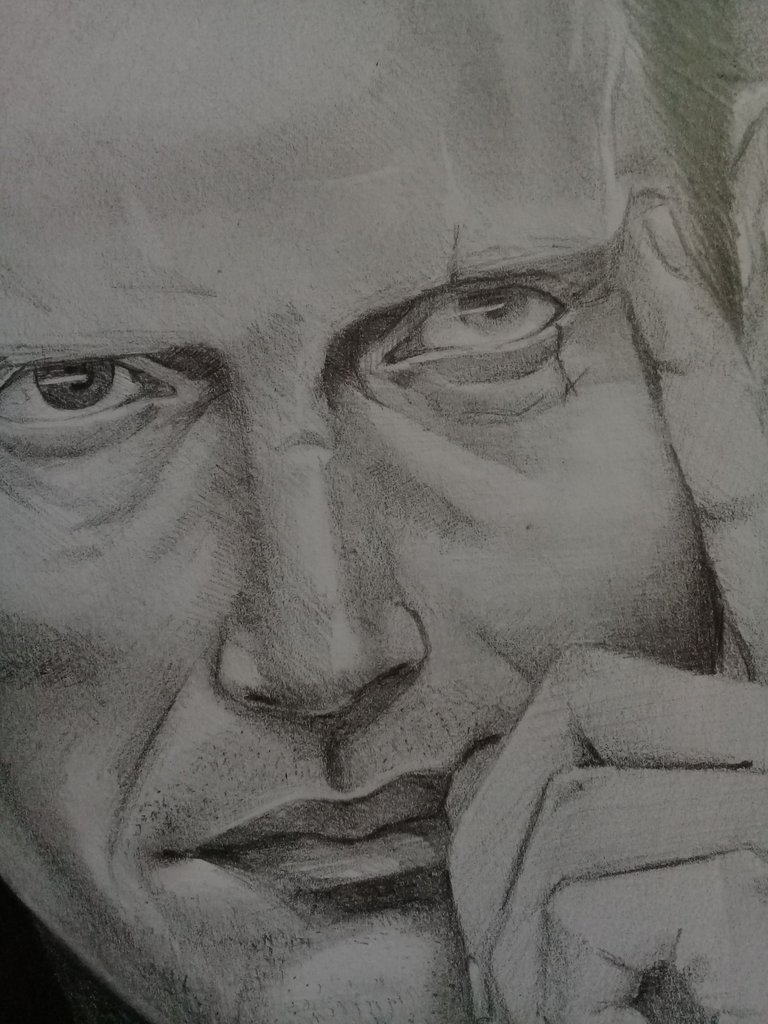
Luego con el dibujo lineal finalizado, comencé a realizar la valoración tonal comenzando desde el área del ojo derecho, la técnica que uso y con la que me siento más cómoda en con la trama la cual consiste en realizar líneas muy juntas entre ellas para crear una especia de malla.
Then with the line drawing finished, I began to make the tonal assessment starting from the right eye area, the technique I use and with which I feel more comfortable in with the weft which consists of making lines very close together to create a kind of mesh.
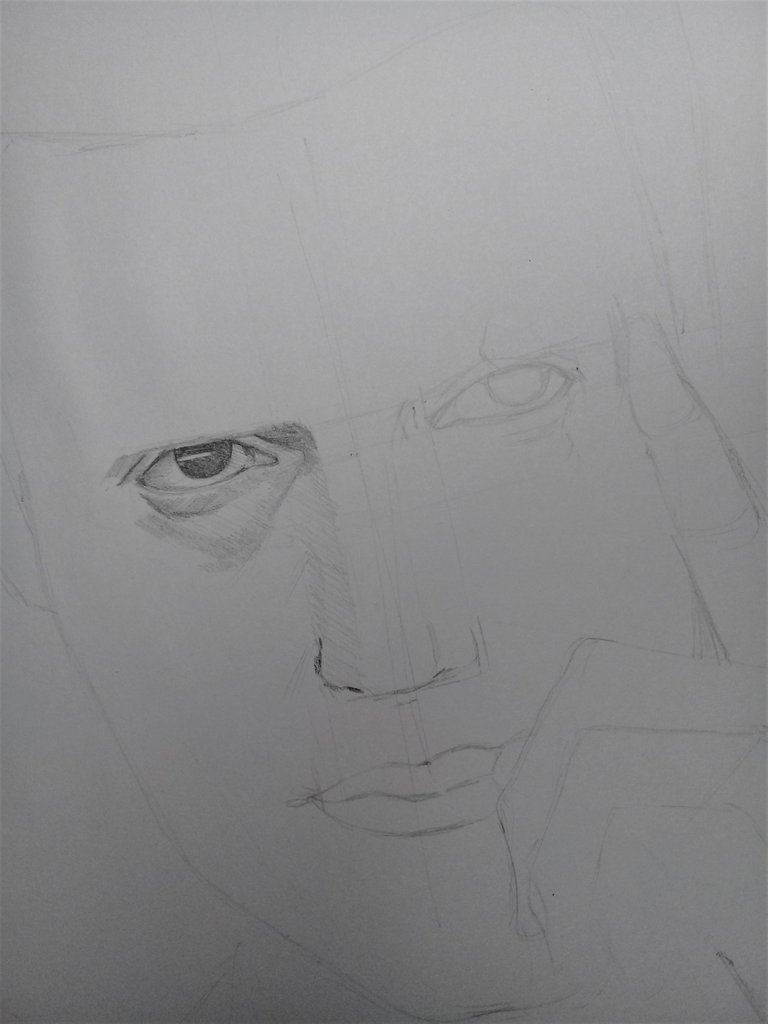
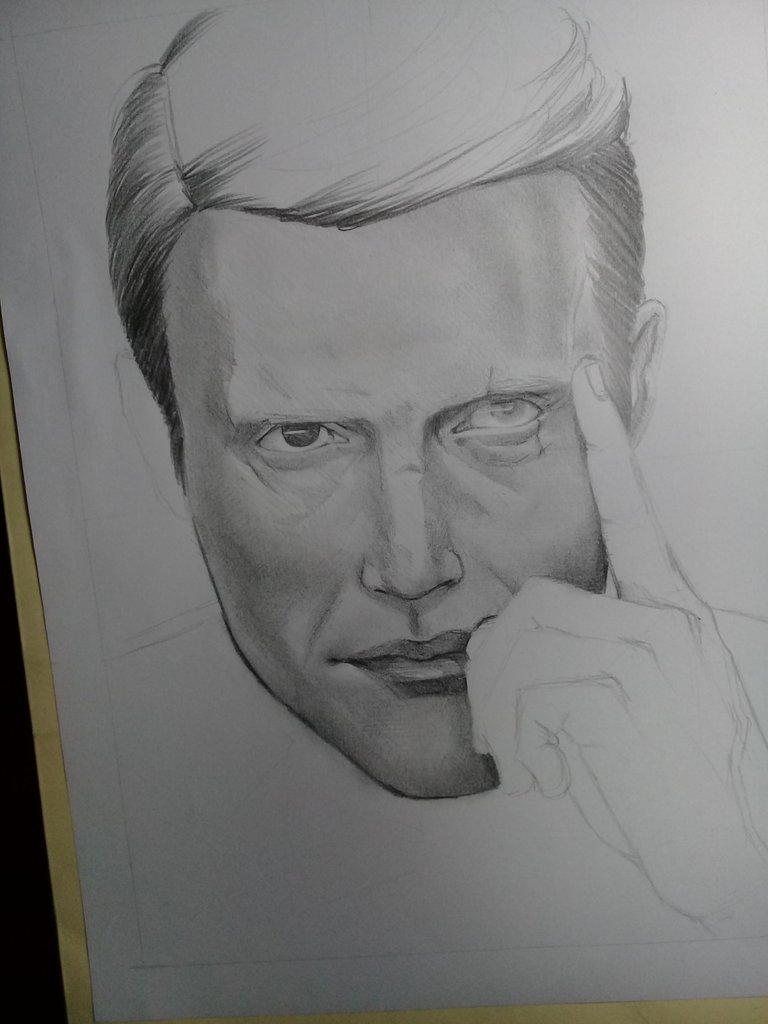
Desde este punto continúe realizando tramas progresivamente en todo el rostro, para controlar los diferentes tonos presentes en el rostro se logra mediante la intensidad del trazo y la cantidad de tramas presentes, en las áreas más oscuras la cantidad e intensidad del trazo debe ser mayor, también debe usarse un lápiz de trazo más oscuro de la gama de los B.
From this point on, continue to progressively apply the wefts all over the face, to control the different tones present on the face this is achieved by the intensity of the stroke and the amount of wefts present, in the darker areas the amount and intensity of the stroke should be greater, also a darker stroke pencil from the B range should be used.
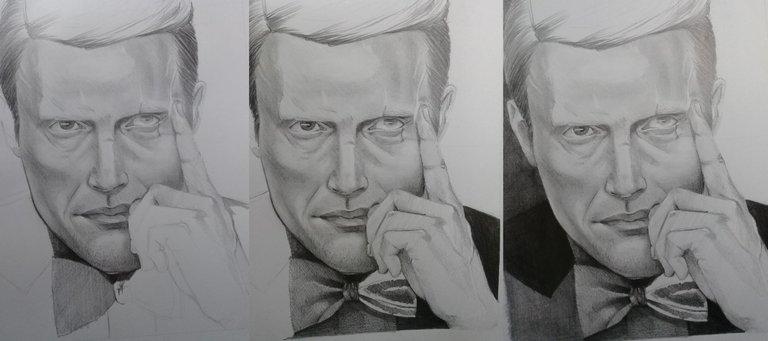
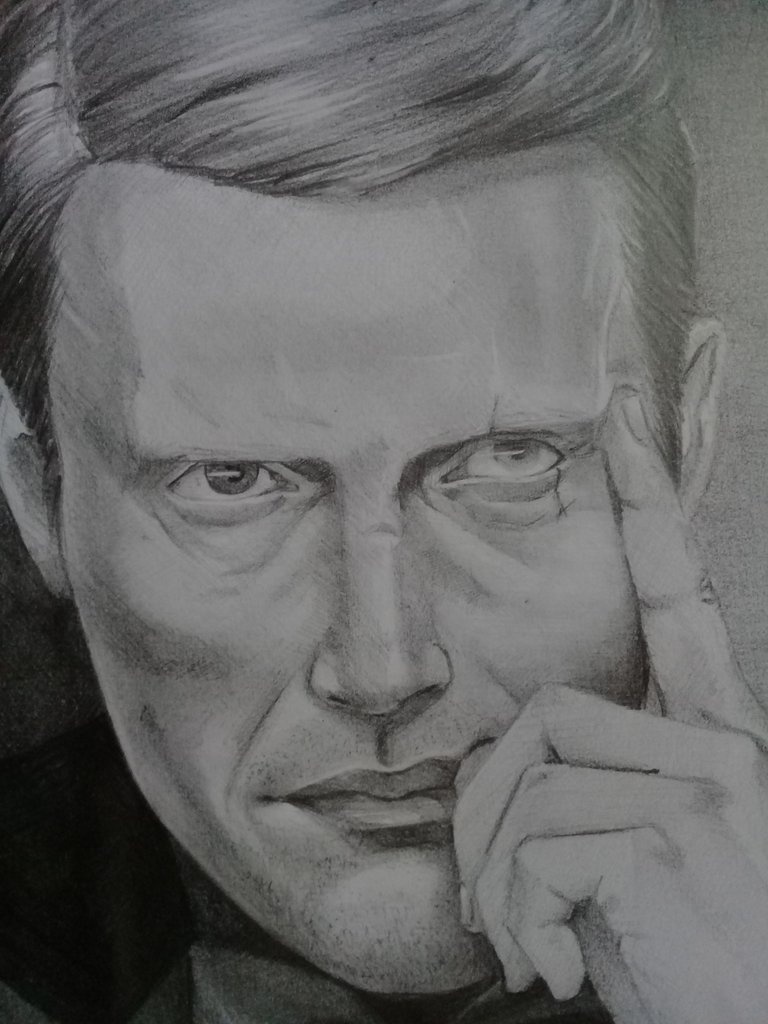
Una vez que termine la valoración inicial del rostro comencé a hacer lo mismo en el traje para esta área use casi exclusivamente el lápiz 6B, dejando áreas ligeramente mas claras
Once I finished the initial assessment of the face I began to do the same on the suit, for this area I used almost exclusively the 6B pencil, leaving slightly lighter areas.
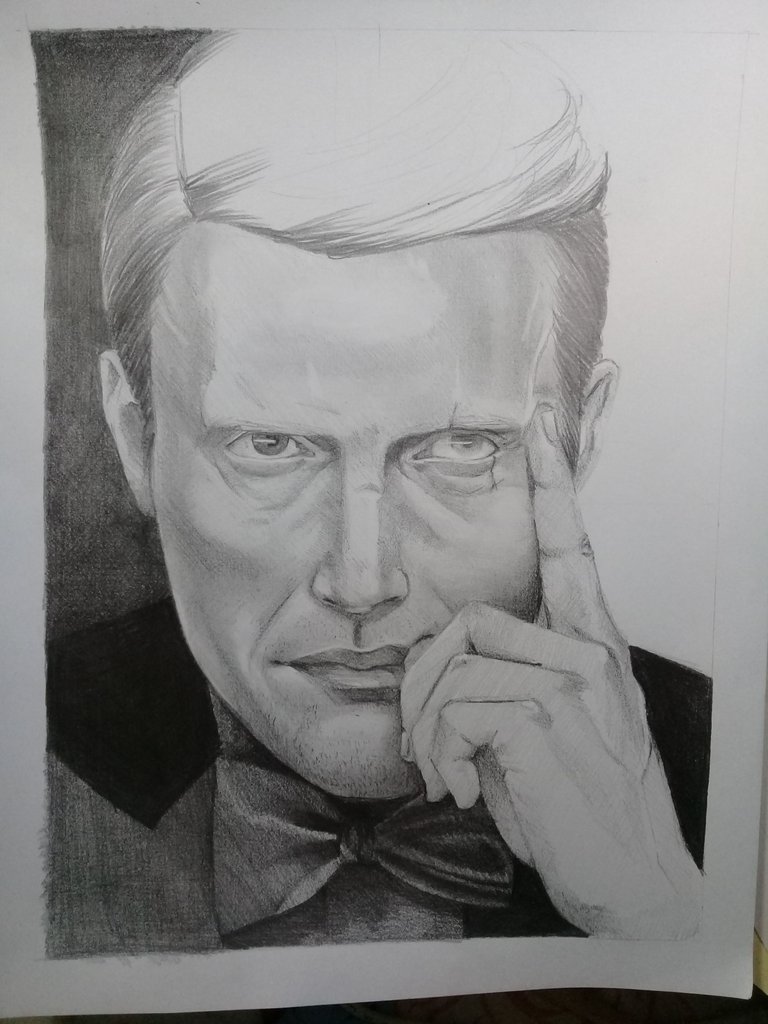
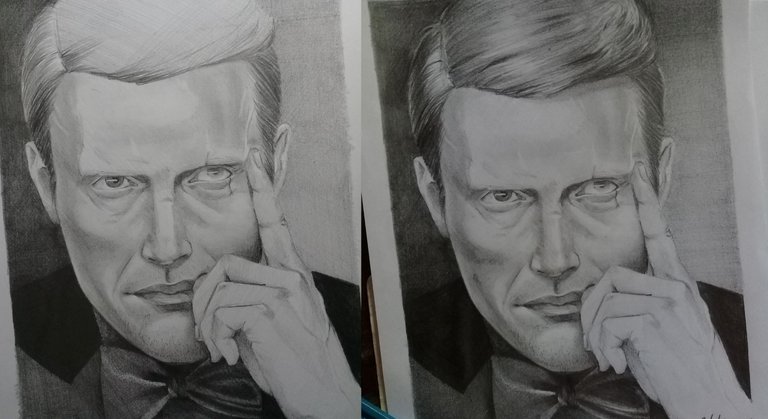
Por último, realice la valoración del cabello para lo cual primero realice tramas en varios sentidos hasta obtener el tono deseado y luego comencé a realizar trazos en dirección de los cabellos, y luego con un borrador comencé a iluminar algunas áreas, mismo proceso fue realizado igualmente en el rostro y la ropa.
Finally, I made the hair assessment for which I first made wefts in several directions until I obtained the desired tone and then I began to make strokes in the direction of the hair, and then with an eraser I began to illuminate some areas, the same process was also done on the face and clothes.
¡Espero que les haya gustado esta publicación!
¡Muchas gracias por leer, hasta la próxima!
Hoping you liked this post!
Thank you very much for reading, see you next time!
Excelente, parece fácil pero no es hacer retratos lleva muchas horas de trabajo, paciencia para ir percibiendo la escala de grises que a simple vista parecen iguales pero no lo son.
Gracias! es cierto a vece es dificil distiguir los diferentes cambios sutiles en el tono.
Wow está increíblemente bueno, me encantó, eres todo un talento <3
Ainsss, Gracias Irene <3
Wow, Te quedó demasiado increíble, tienes un talento espectacular! Saludos.
Muchas gracias @gigi8 😁