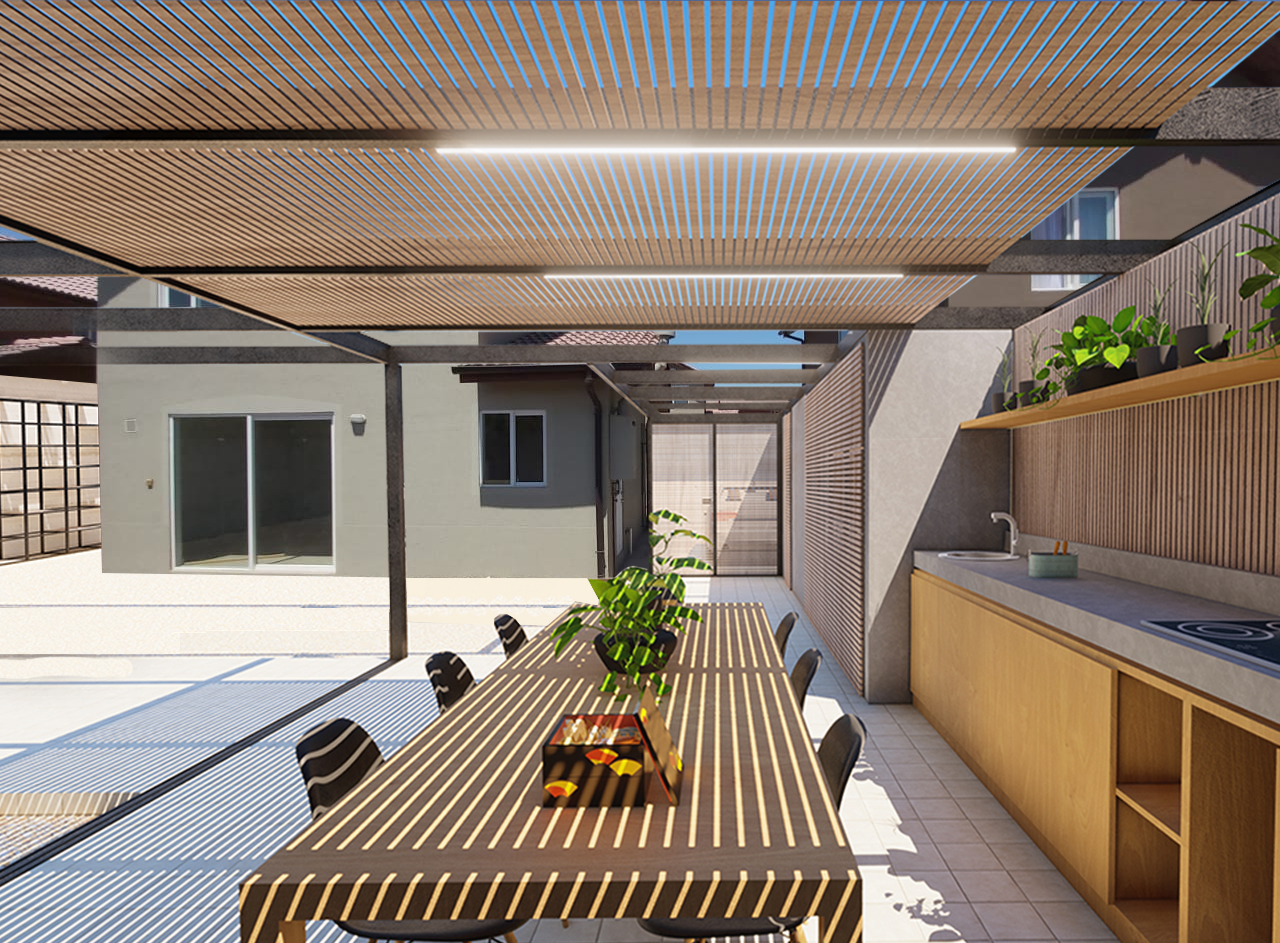
Saludos comunidad de Hive, hoy vengo a enseñarles y mostrarles de inicio a fin estos fotos montajes que me pidieron los jefes el día de hoy. La cosa trata de que me pasan fotos de la casa y contexto existente y con otras imagenes de visualizaciones 3D(render) que son la propuesta arquitectónica del trabajo, debo intercalarlos ne la foto original de manera que se puede visualizar cómo quedarian ya construidos. La foto de aquí abajo es el resultado final.
Empecemos!
Uso el programa de Photoshop para los próximos foto montajes, así que iniciamos paso a paso. Cabe destacar que estos foto montajes el requerimiento es sólo lograr la visualización, no se pide un grado de exactitud, realismo o edición excepcional, por lo tanto se deben hacer rápido para seguir con más trabajos. Ahora, iniciamos desde el inicio:
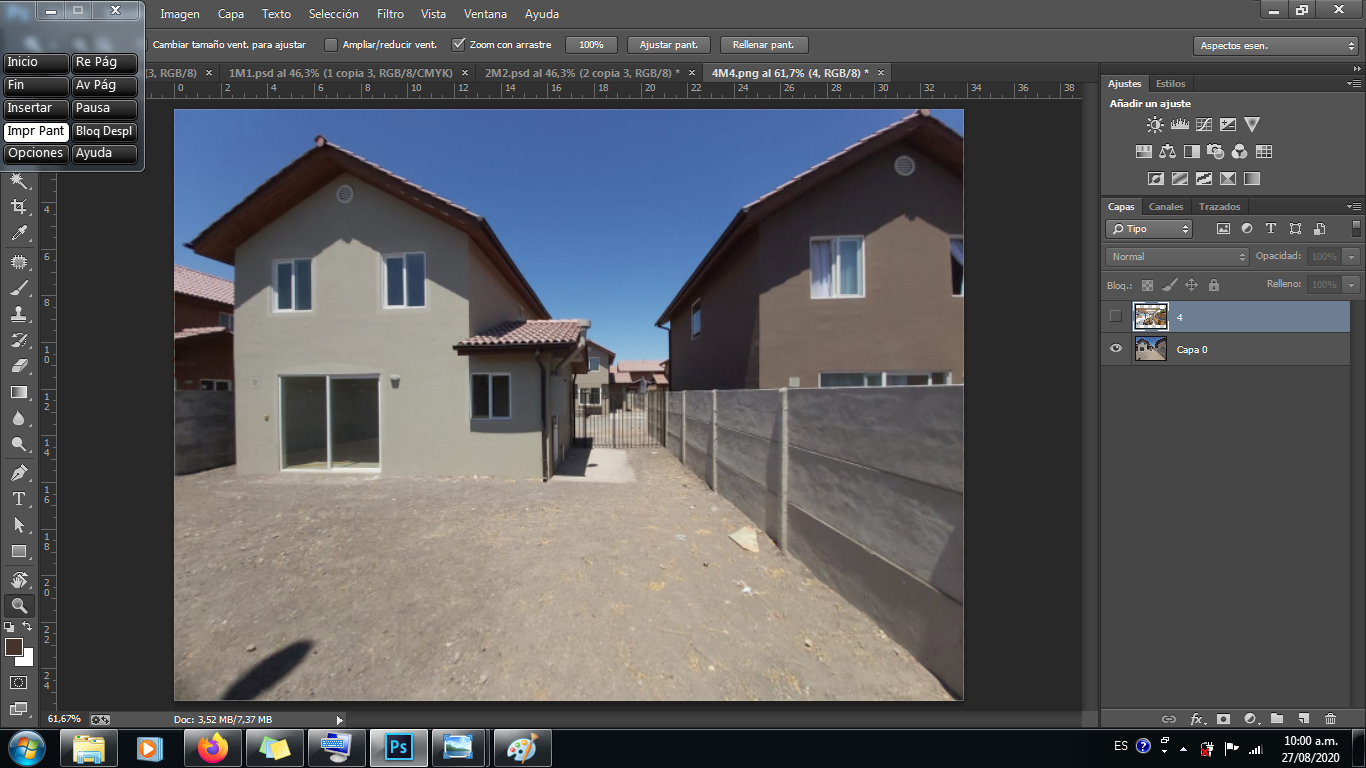
- Fotografía original de lo existente.
Inserté imagen del render (la propuesta) y empiezo a borrar los vacios entre las vigas y entre otras cosas para que se vea el fondo existente.
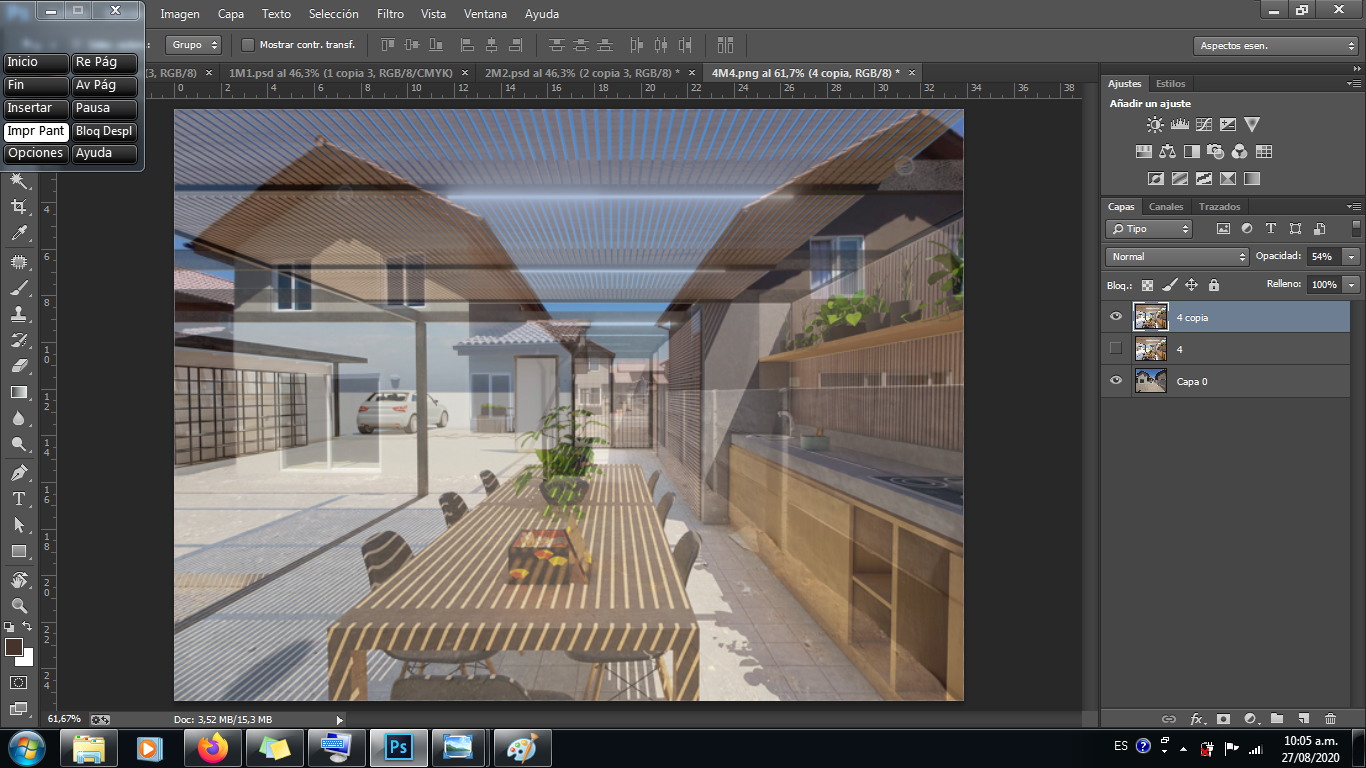
Es fundamental que las líneas de la perspectiva coincidan con la fotografía original, por lo tanto reduzco un poco la opacidad para comparar y además precisar el render en el lugar exacto.
Así va quedando, si lo notan, del lado izquierdo tengo un problema con el suelo y tuve que borrar el mobiliario del render, para copiar este mobiliario e individualmente acomodarlo en su ubicacion posteriormente.
- Avance del lado izquierdo e inserté el mobiliario que les mencioné, ya agarrando más forma.
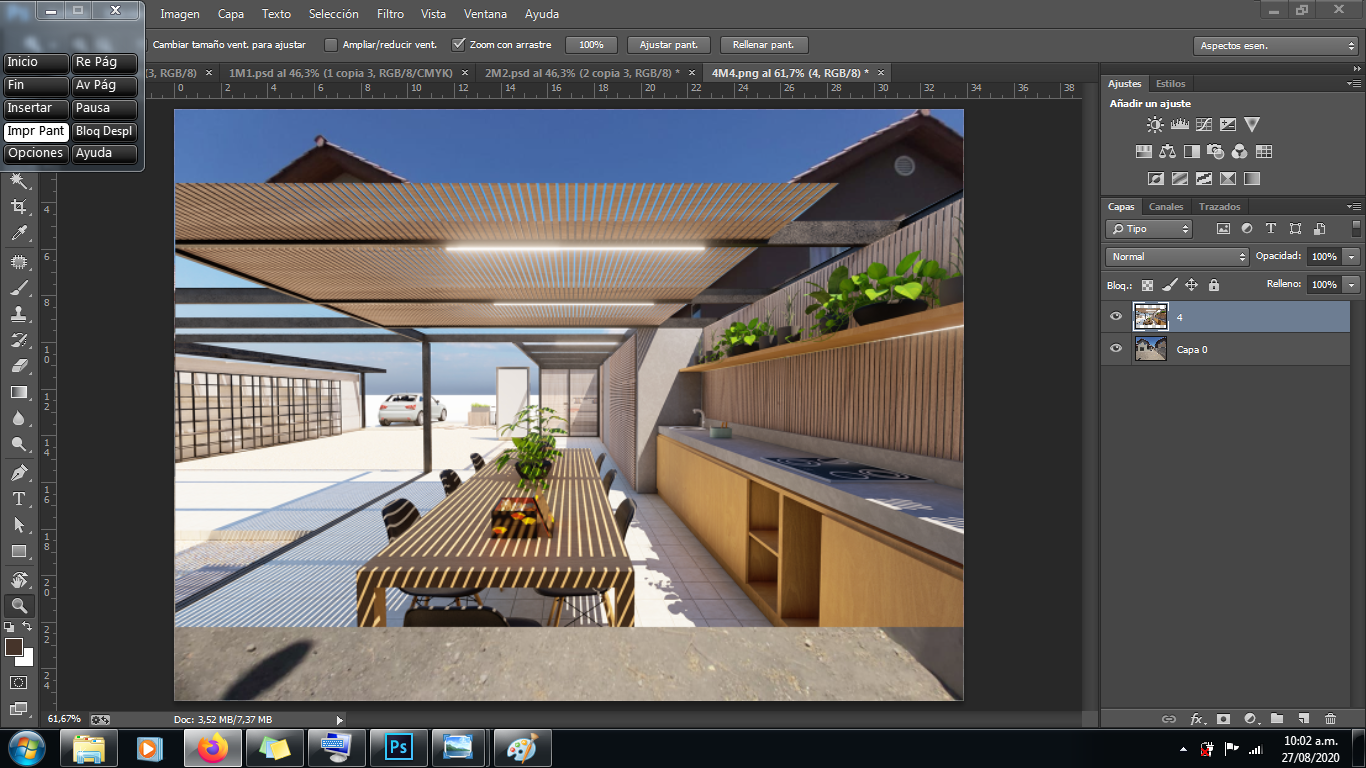
- Final!, terminamos y esta es la imagen inicial culminada, no olviden guardar su archivo del proceso por si acaso y luego exportan la nueva imagen del foto montaje.

Continuamos con otro foto montaje...
- Foto de lo existente.
Insertamos el Render de la propuesta y borramos detalles que no van con la propuesta.
- Borramos otros elementos para que se vea la foto existente.
- Acomodamos algunas líneas deformando un poco la imagen, reencuadramos y listo!
- Ni tan listo, al enseñarlo, el jefe me dice que prueba copiando y pegando las puertas nada más, así que eso fue lo que hice, con la herramiente de selección copie la puerta de la derecha en otra capa, limpie la pared que la rodea y luego entre reencuadrando y moviendo sus aristas le hice la nueva ubicación; ya decida esa ubicación me tocó tambien limpiar la foto original ya que se visualizaba un tubo (y eso ensuciaba totalmente la imagen, primero porque ahí no baja esa tuberia en la propuesta y segundo cuando esel foto montaje de la propuesta desde afuera). Sin duda se ve mucho mejor ya que el render de la sparte que borré no tenían el color exacto de lo existente, pero no importa, resolvimos de otra manera.
Terminamos, espero que les gustara este nuevo post de explicar un procedimiento de foto montaje y compartir mi mañana de trabajo. Saludos a todos.
POST IN THE SPEAK ENGLISH
Greetings Hive community, today I come to show you and show you from beginning to end these montage photos that the bosses asked me today. The thing is that they pass me photos of the house and existing context and with other images of 3D visualizations (render) that are the architectural proposal of the work, I must insert them in the original photo so that you can see how they would be already built. The photo below is the final result.
! [4M4.jpg] ()
Let us begin!
I use Photoshop for the next photo montages, so we started step by step. It should be noted that these photo montages the requirement is only to achieve visualization, a degree of accuracy, realism or exceptional editing is not required, therefore they must be done quickly to continue with more work. Now, we start from the beginning:
- Original photograph of what exists.
! [image.png] ()
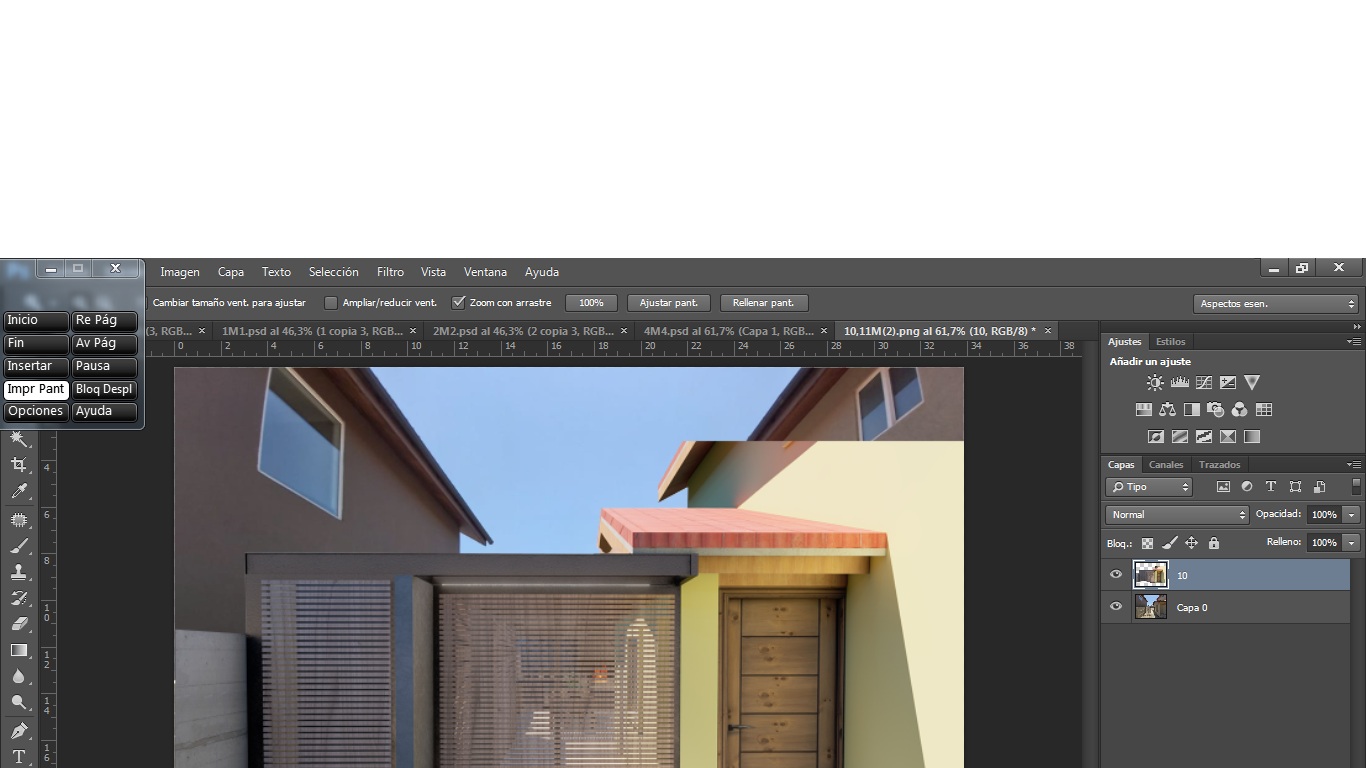
I inserted an image of the render (the proposal) and I begin to erase the voids between the beams and among other things so that the existing background can be seen.
! [image.png] ()It is essential that the perspective lines coincide with the original photograph, therefore I reduce the opacity a bit to compare and also specify the render in the exact place.
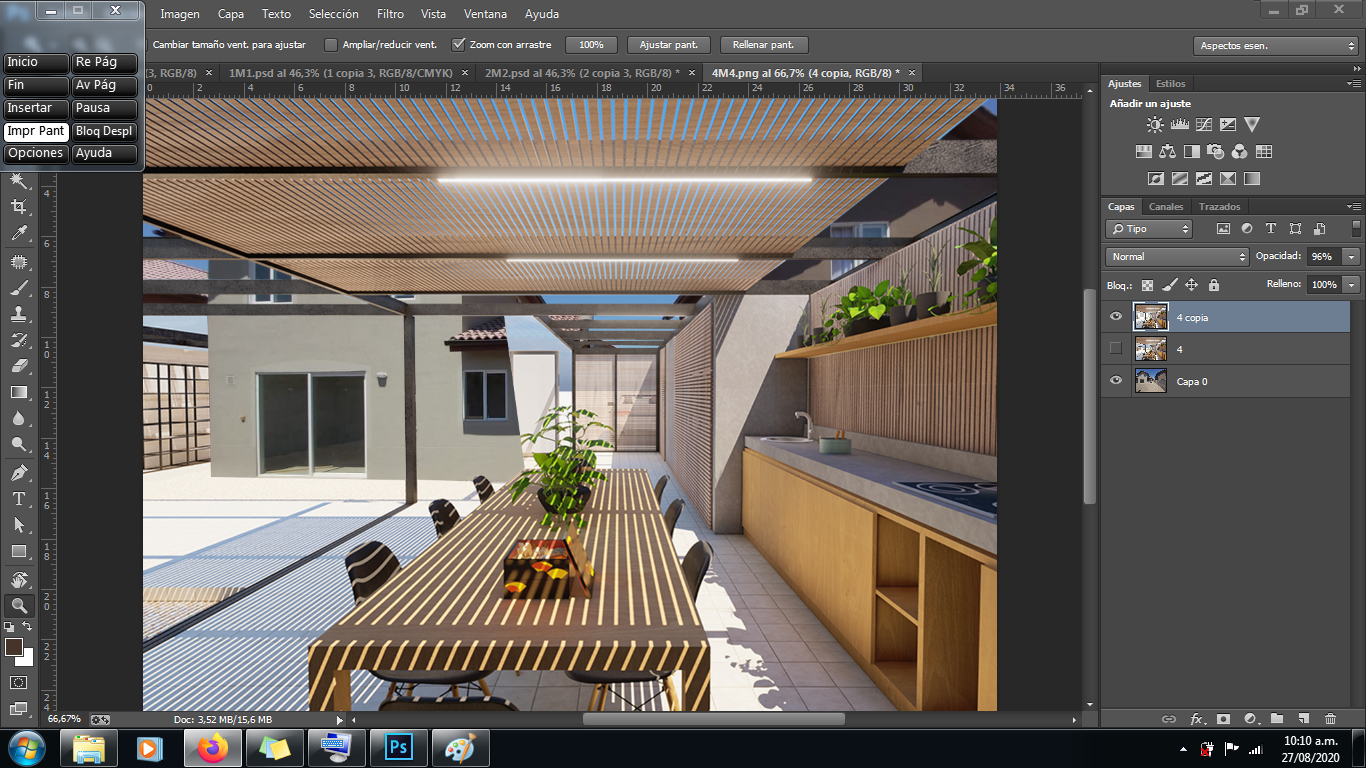
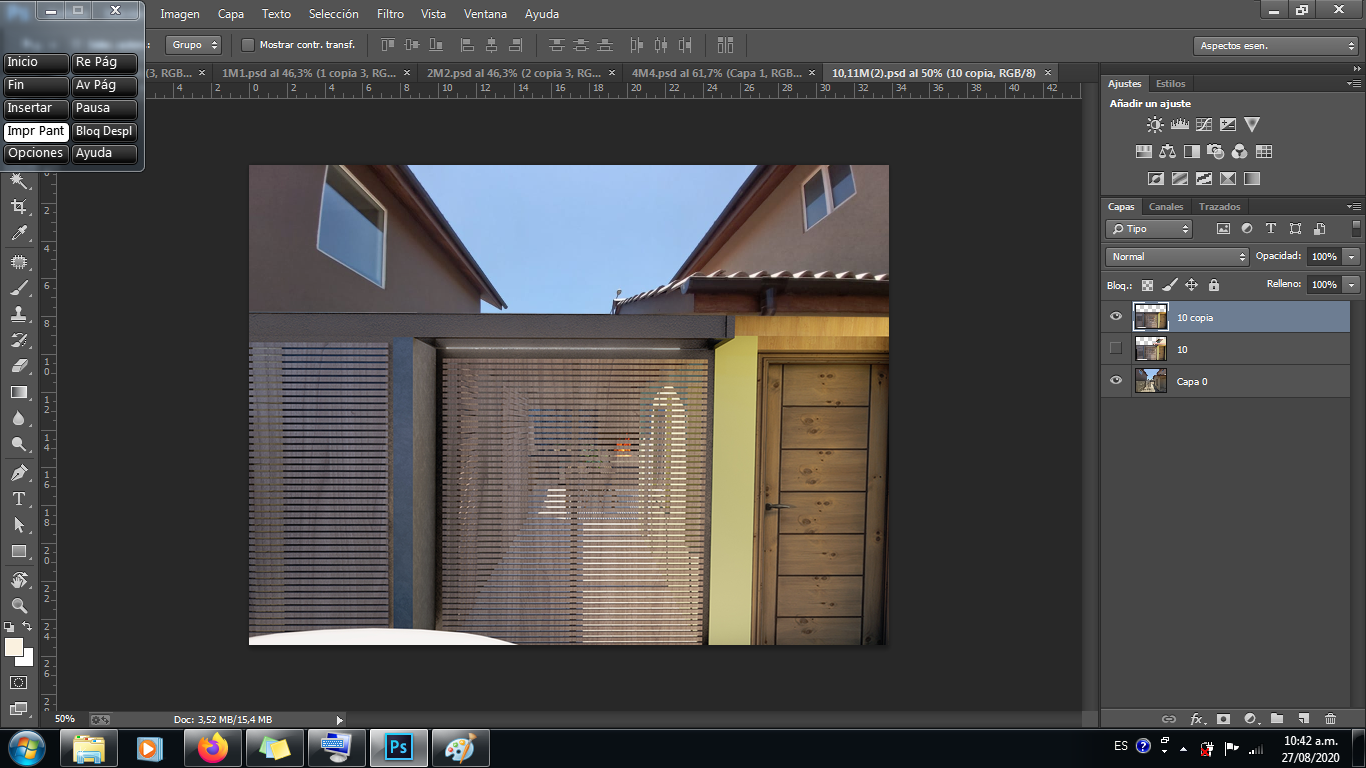
! [image.png] ()This is how it remains, if you notice, on the left side I have a problem with the floor and I had to erase the furniture from the render, to copy this furniture and individually accommodate it in its location later.
! [image.png] ()
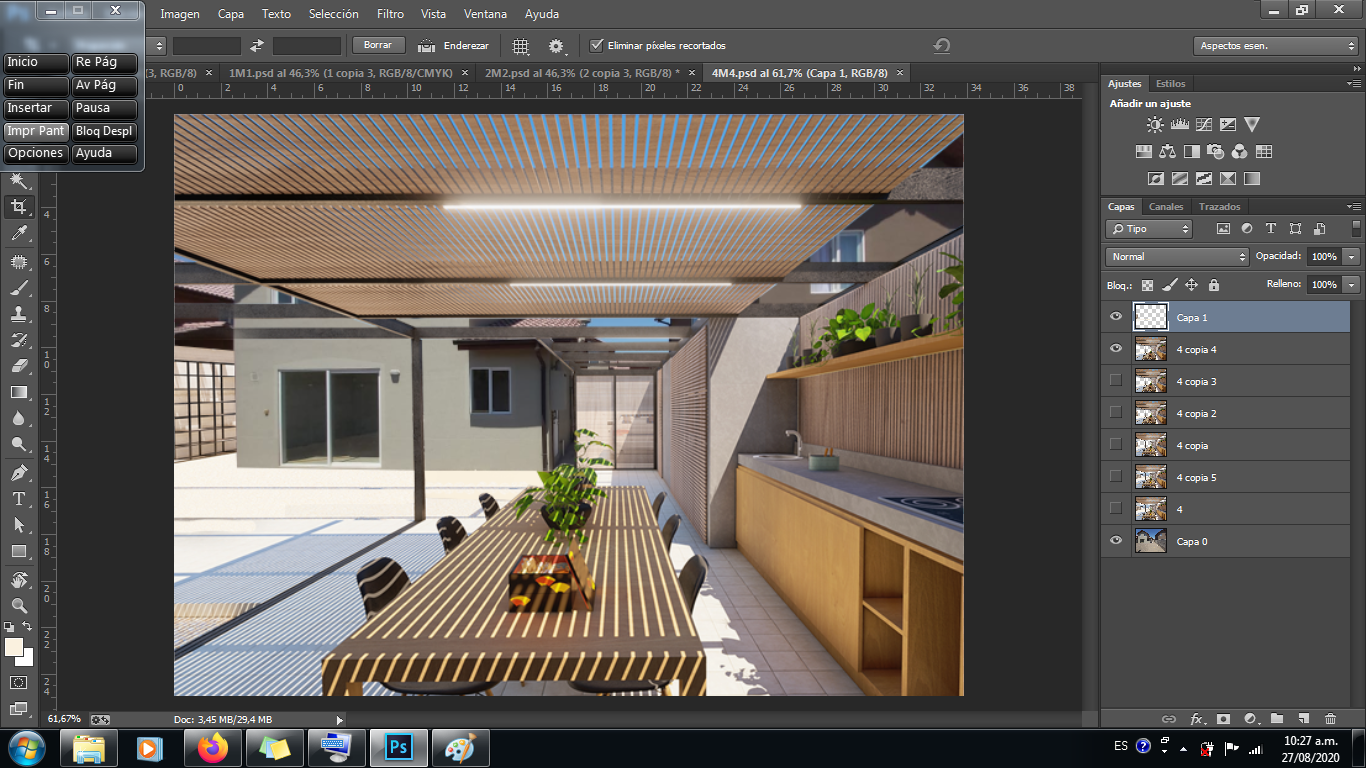
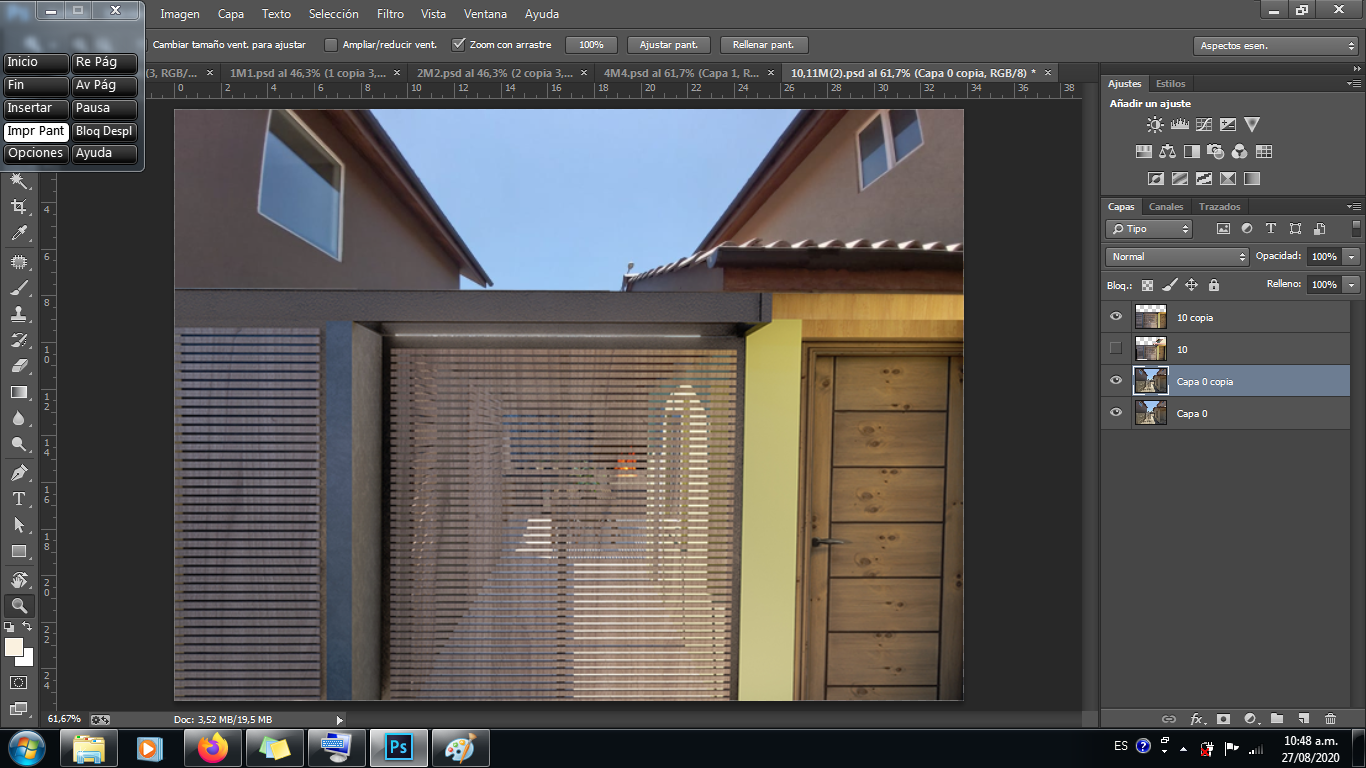
- Advance on the left side and insert the furniture that I mentioned, already taking more shape.
! [image.png] ()
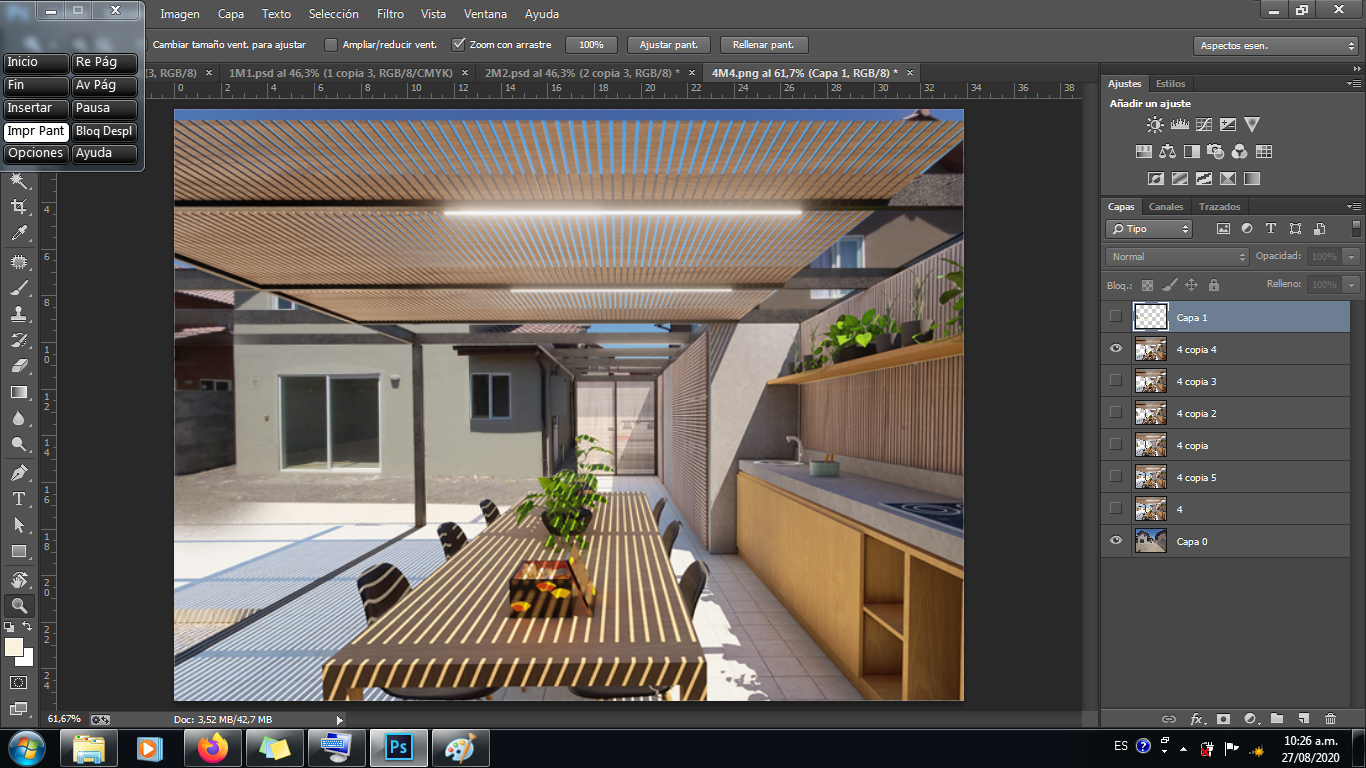
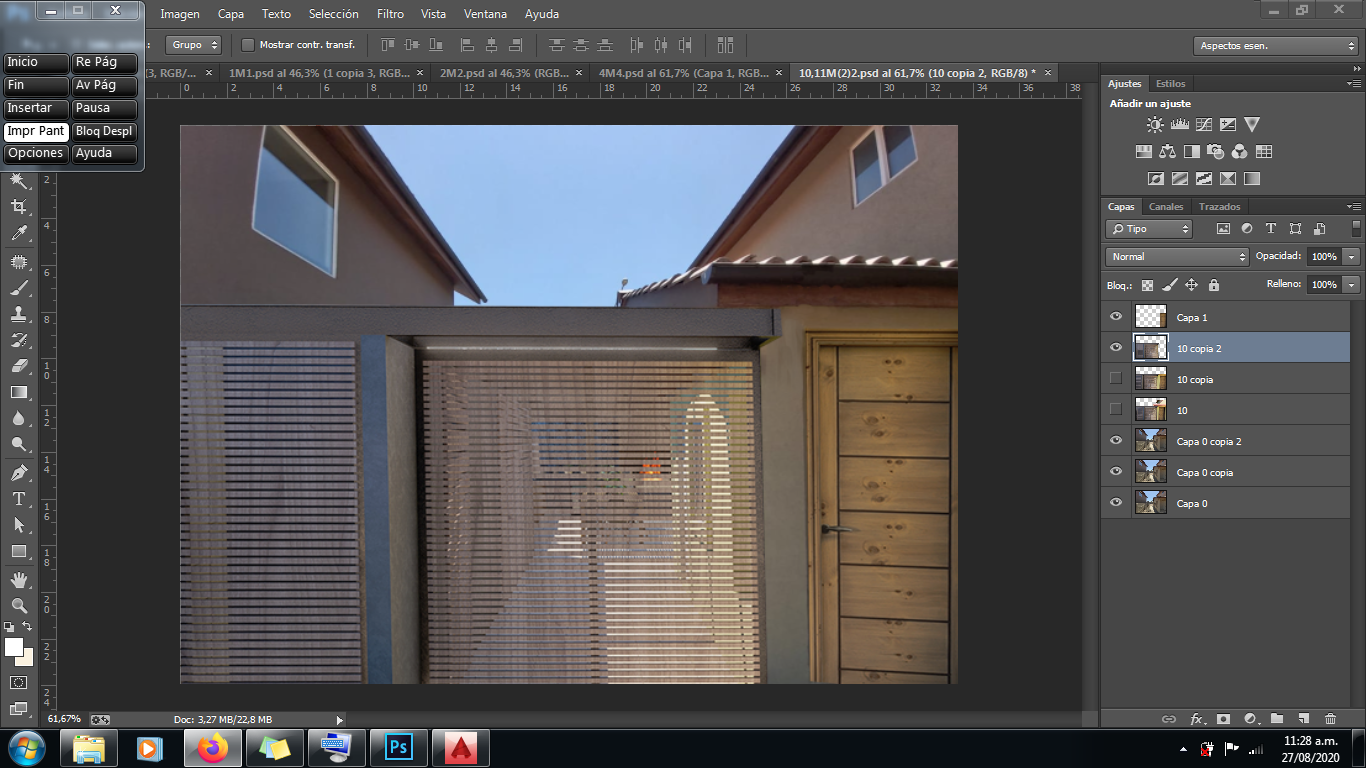
- Final !, we finished and this is the initial image finished, do not forget to save your file of the process just in case and then export the new image of the photo montage.
! [image.png] ()
! [P5.png] ()
We continue with another photo montage ...
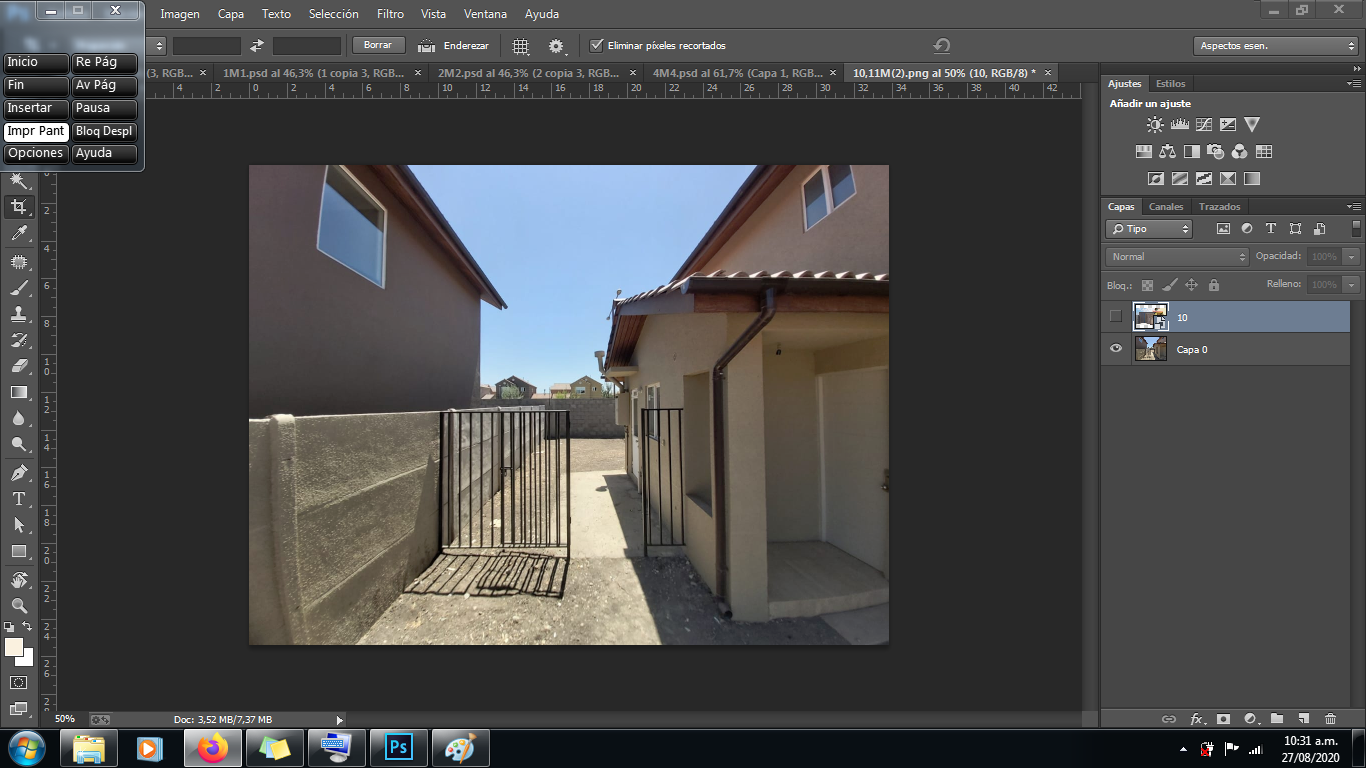
- Photo of what exists.
! [image.png] ()
We insert the Render of the proposal and delete details that do not go with the proposal.
! [a.jpg] ()
- We delete other elements so that the existing photo can be seen.
! [image.png] ()
- We arrange some lines by deforming the image a bit, reframe and voila!
! [image.png] ()
- Not so smart, when teaching it, the boss tells me that he tries to copy and paste the doors, so that's what I did, with the selection tool I copied the door on the right in another layer, clean the wall that surrounds and then between reframing and moving its edges I made the new location; Once I decided that location, I also had to clean the original photo since a tube was displayed (and that totally messed up the image, first because that pipe does not go down there in the proposal and second when it is the photo montage of the proposal from the outside). It certainly looks much better since the render of the sparte that I deleted did not have the exact color of the existing one, but it does not matter, we solved in another way.
! [image.png] ()
We finished, I hope you like this new post to explain a photo montage procedure and share my morning at work. Greetings to all.
! [P5.png] ()