Hello!! I hope you are very well, I have been a little away from the community for personal reasons, but today I bring you something super cool, those who had the opportunity to read my previous publication I told you that I had met a painting technique called sgraffito or ripped oil, this technique is to paint two thin layers of light paint, wait for these to dry and then apply a darker tone to finally with a toothpick or toothpick, tear the dark paint and the light paint is uncovered making the drawing or figure that you like, as I said this technique is fun for young and old so I will tell you how to do it at home.
Para realizar esta técnica los materiales que utilizaremos son:
- Papel u Hoja de cartulina
- Creyones de cera
- Tempera negra o tinta china
- Pincel
- Polvos de talco, maicena o harina de trigo
- Mondadientes o algo afilado
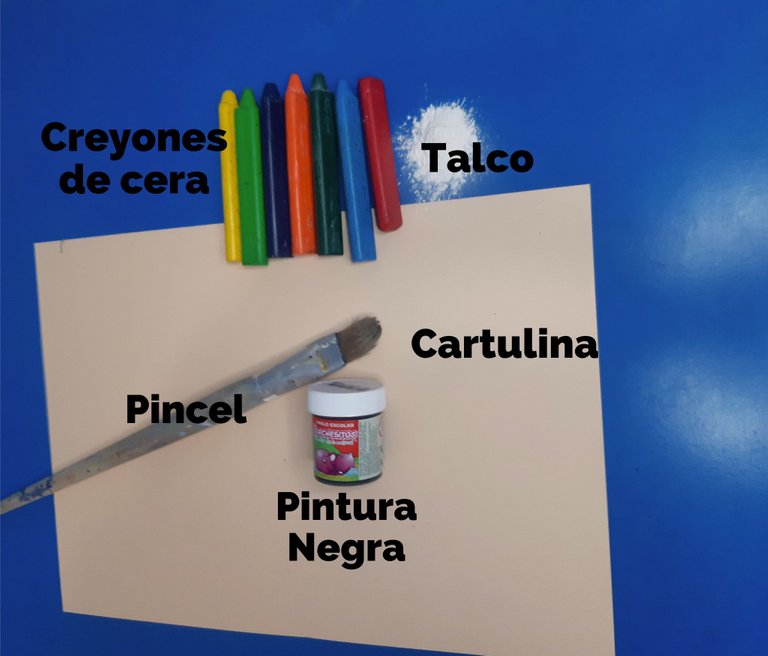
To perform this technique, the materials we will use are:
- Paper or cardboard sheet
- Wax crayons
- Black tempera or India ink
- Brush
- Talcum powder, cornstarch or wheat flour
- Toothpicks or something sharp
1. Pinta el diseño sobre tu papel
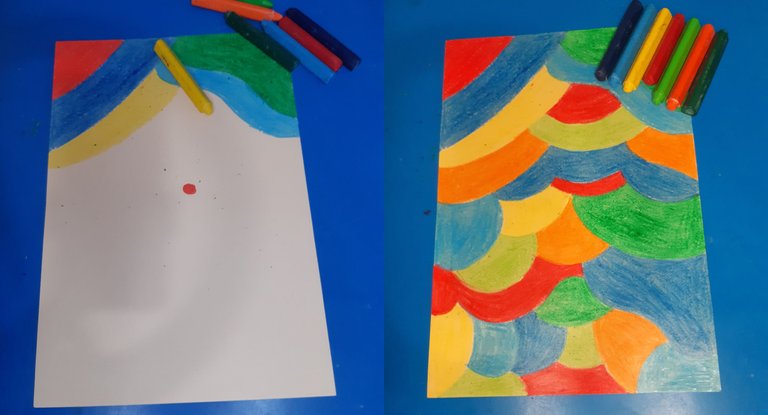
To make this sgraffito technique you only have to follow a few simple steps:
1. Paint the design on your paper:
The first step is to paint on the cardboard with the wax crayons, the design or figures that you want, ideally paint the entire sheet to get stunning results, you can make the combination of colors that you like.
2. Pasa un poco de talco o harina sobre tu diseño
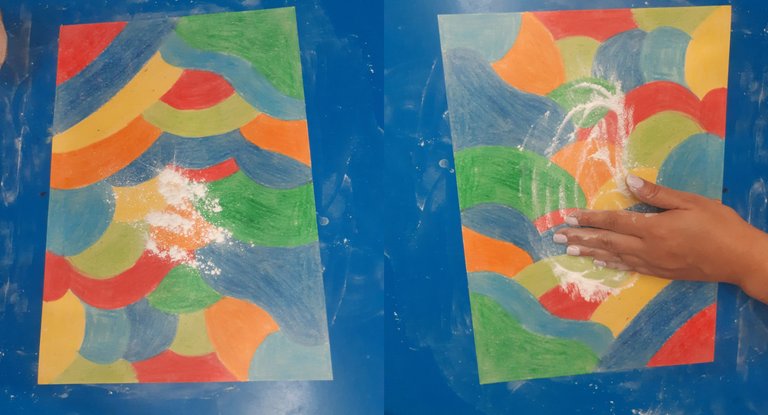
2.- Pass some talcum powder or flour over your design:
This will serve to remove excess grease from the waxes, so we will use a small layer of talcum powder, you can also do it with flour. To do this just dust all over the cardboard a little powder, you can spread it with a soft brush in my case I used my hands, remember to do it very carefully so that your colors do not mix.
3. Pinta encima de la cartulina con pintura negro o tinta china
3. Paint over the cardboard with black paint or India ink
After applying the talcum powder, it is time to cover the design. To do this you will use black paint or Chinese ink, with the brush smeared with paint spread it well throughout the work, this should be done carefully because for the result to be correct there should not be any unpainted side, so take your time and once you have covered it let it dry.

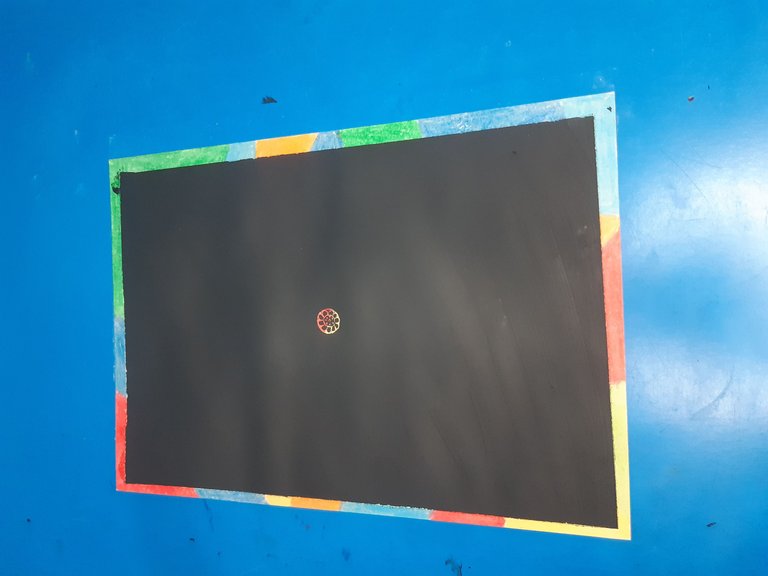
4. ¡Y Listo!
4. And that's it!
Once the black paint is dry, use any sharp tool and start scraping, I recommend a toothpick, and let your imagination fly and make the drawing you like the most.
Pablo Picasso Pablo Picasso Espero que esta publicación haya sido de tu agrado I hope this publication was to your liking Nos vemos en una próxima publicación. See you in a future post. Traduccion realizada en DeepL