Part Four
The handle needs to be wrapped and set.
(Look here for the previous part to this build)

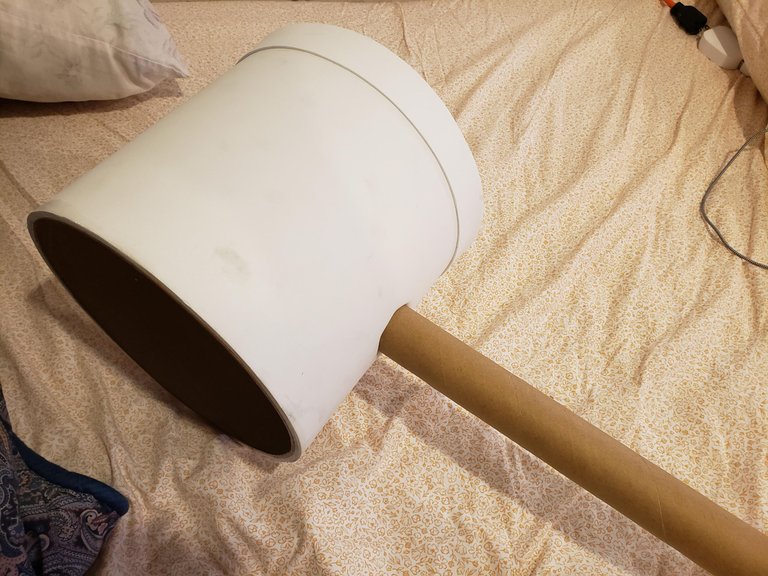
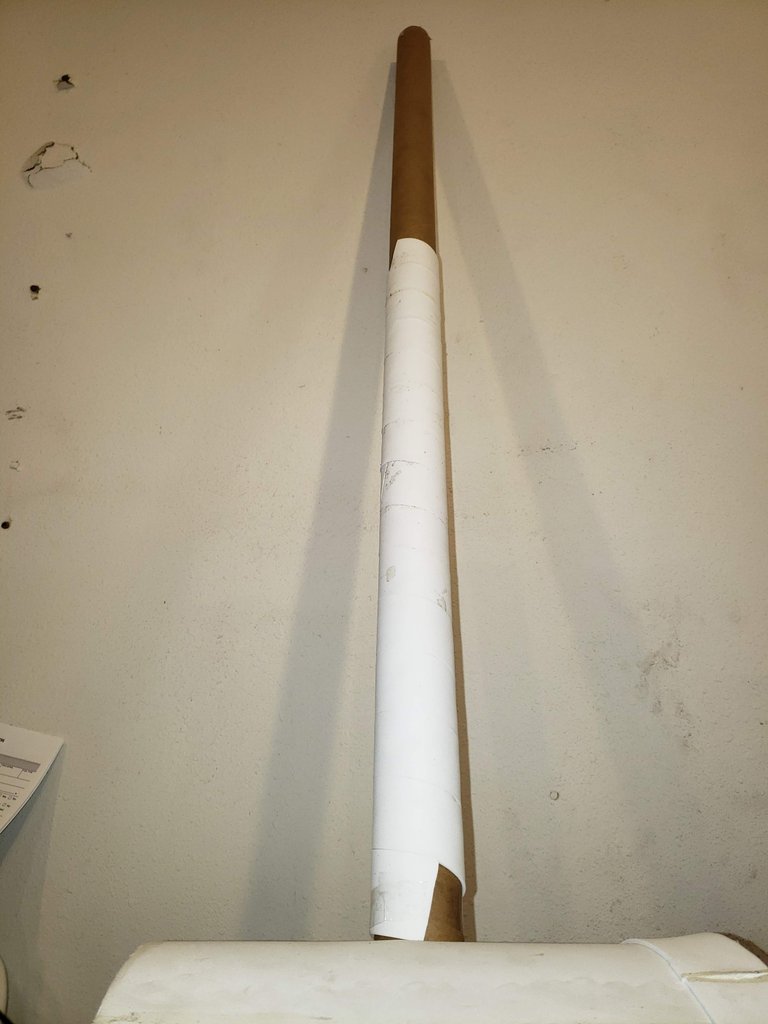
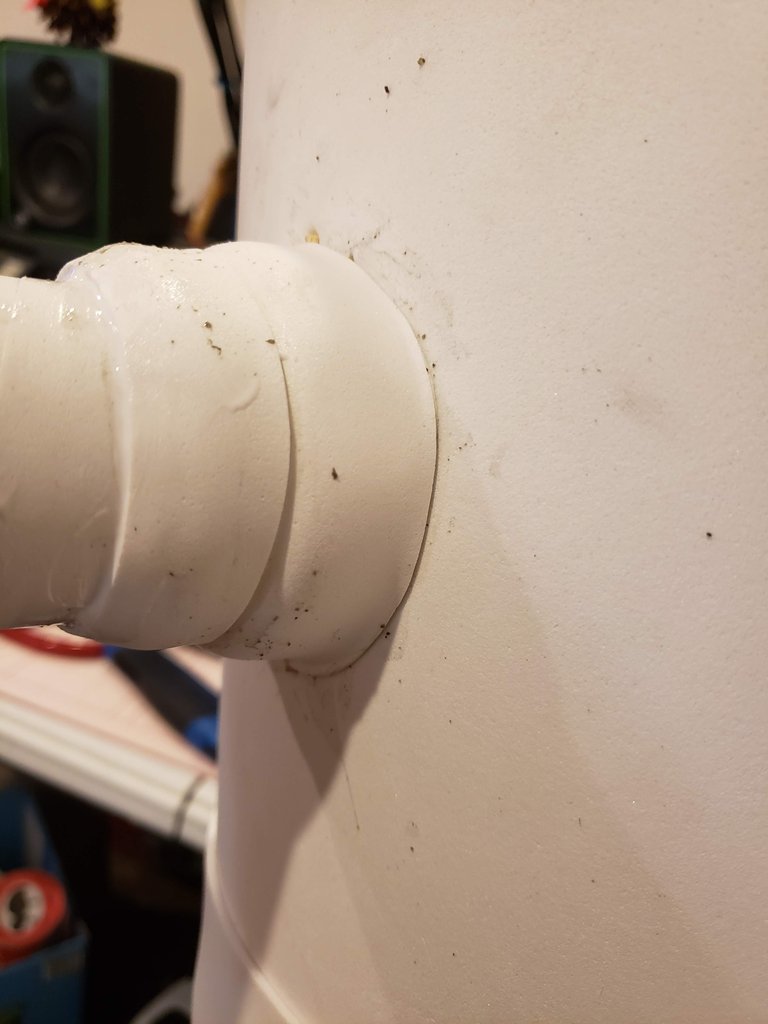
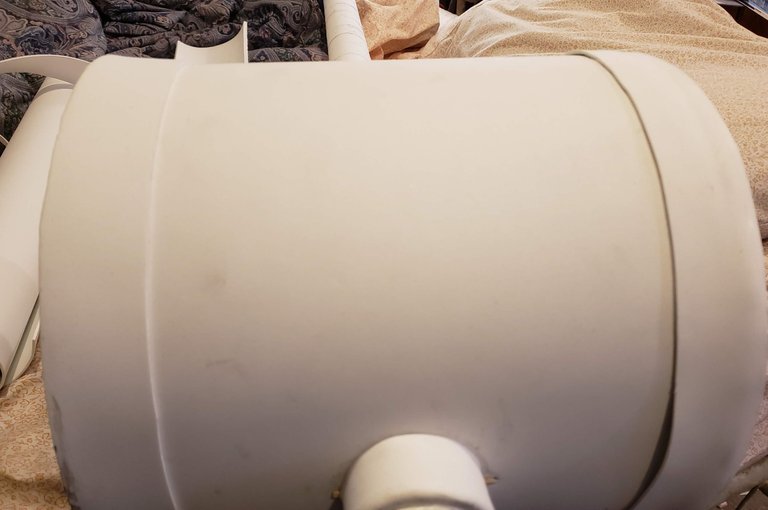
This is where I left off from before.
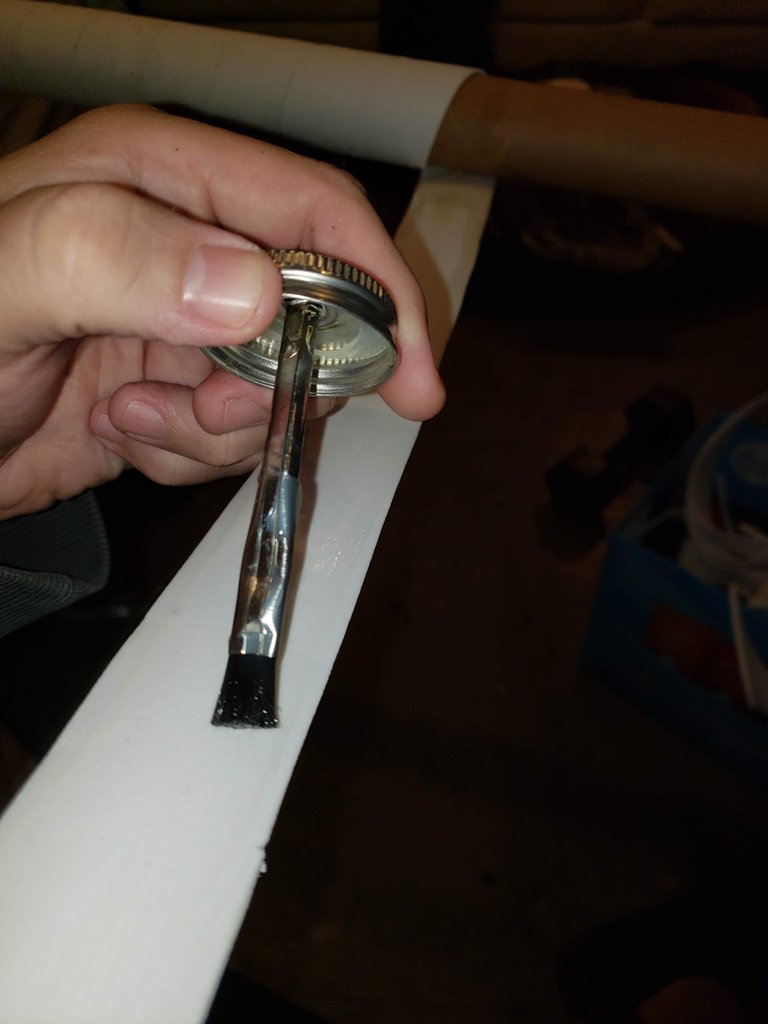
I want to put a cap end on the top of the handle, so I grabbed this scrap that came from drilling the holes into the mallet head.
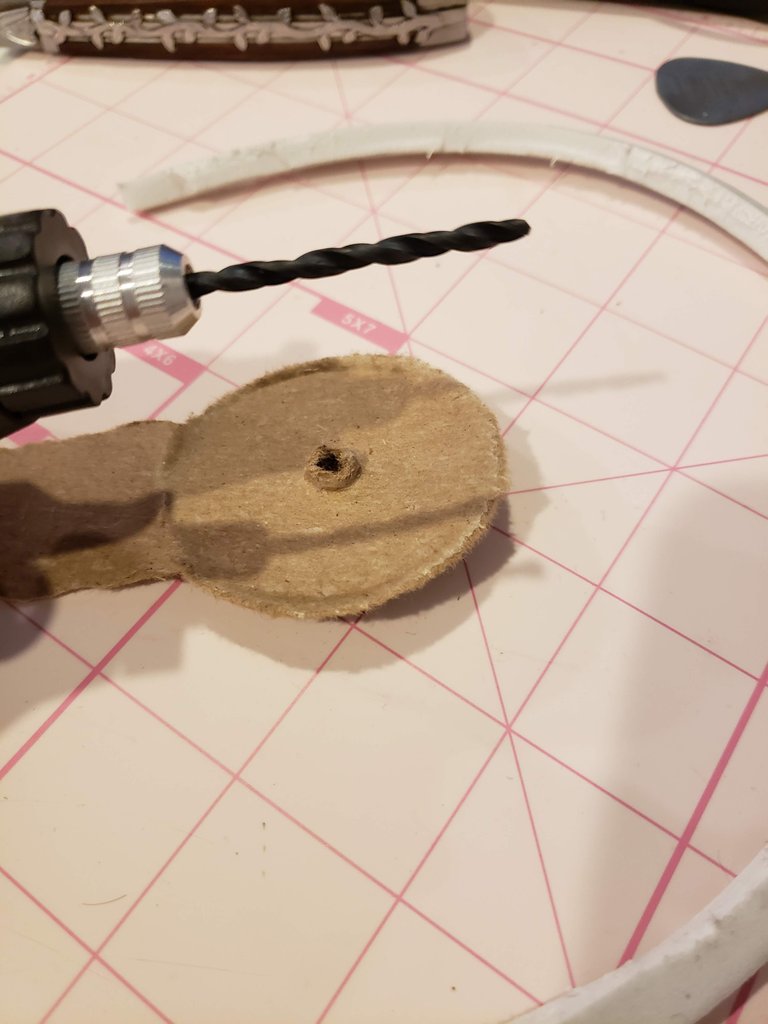
It will fit on top of there!

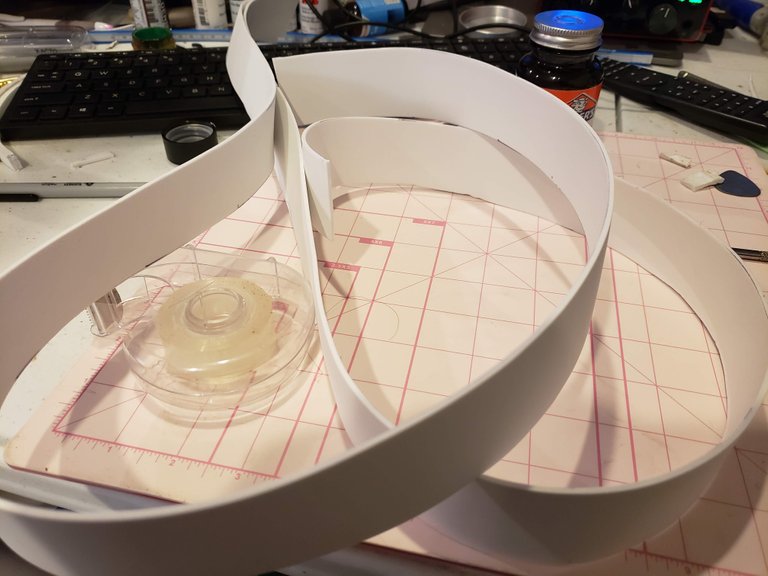
I cut more strips from the thinner EVA foam.
I began to wrap the handle at an angle.
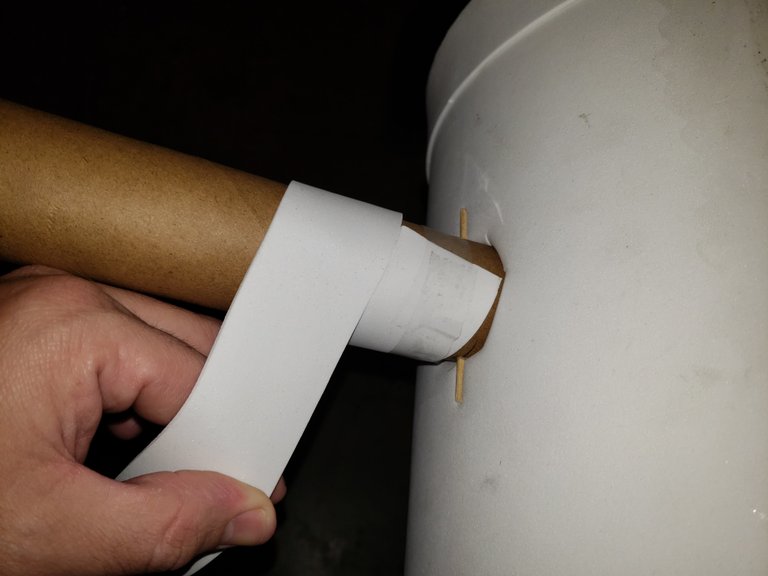
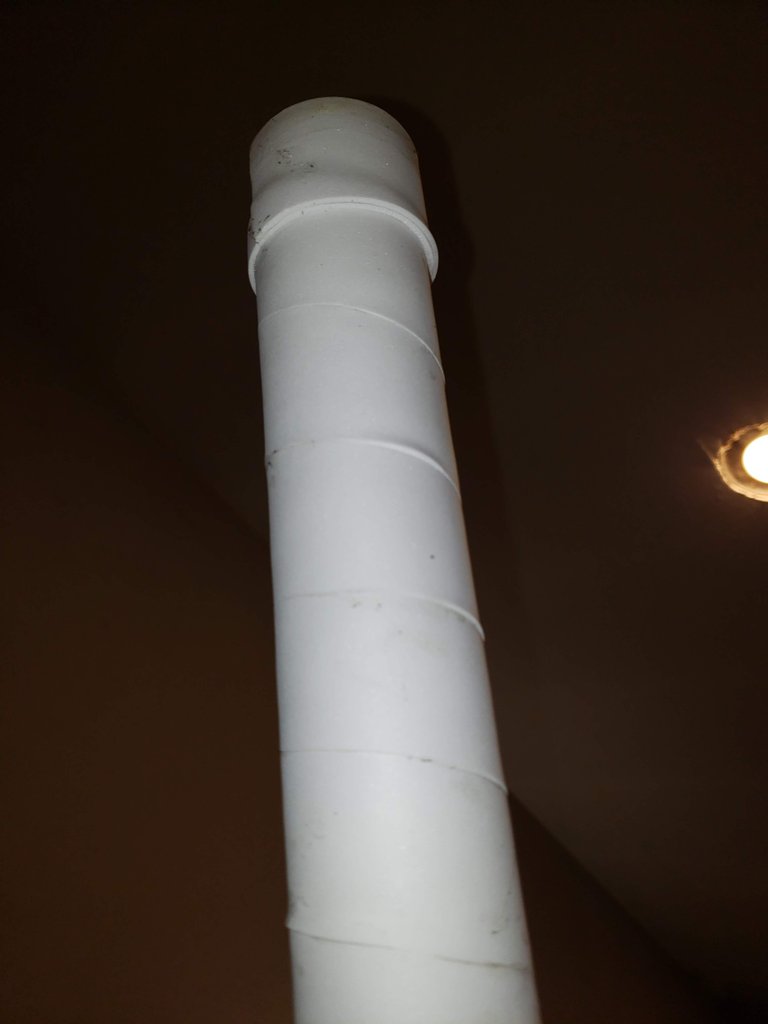
Rubber cement all the way down.
I easily ran out of strips.
So I made many more!

I had enough to finish the pole length and some double and triple wrapping on the ends!
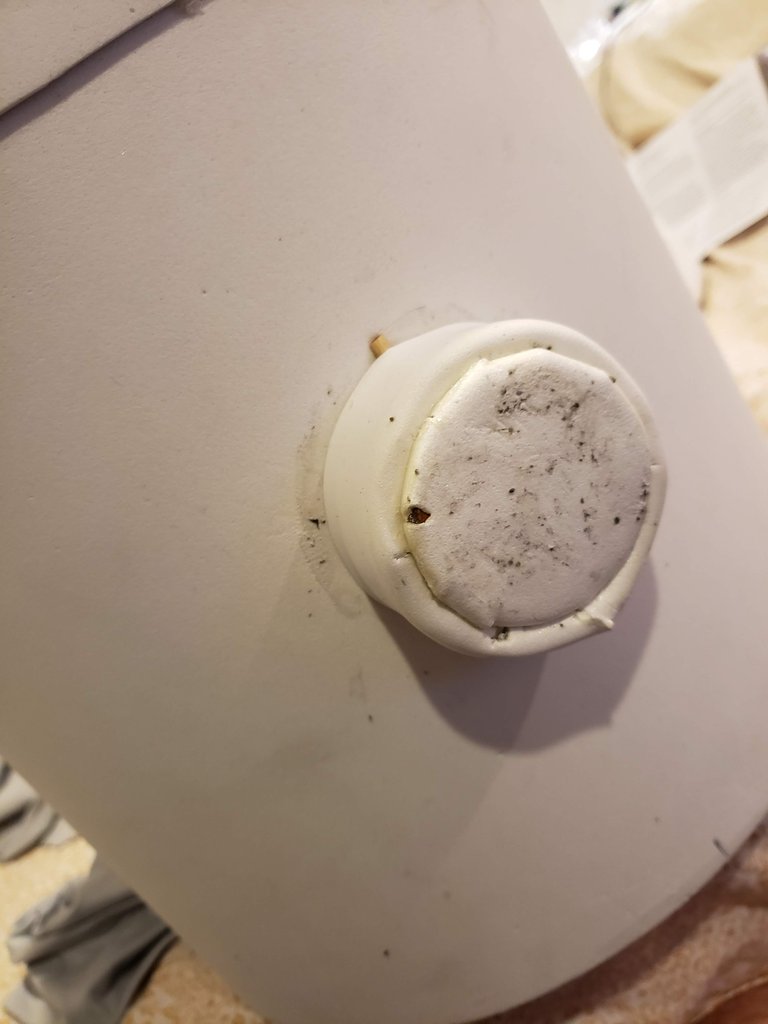
There, I got that top cap padded too
LOL
I was even able to make a sort of beveled-looking bit here just under the mallet head.
I think it looks like a big hammer now.
This concludes part four. In the next one, I'll show you the inside of the prop as I start turning it into a hidden storage area.
Come back for part five!

@SaintChristopher
[howz about a follow, toots?]
See The Whole Process
Part 1: Mallet Head & Handle
Part 2: Foam Application to Head
Part 3: Setting the Handle into the Mallet Head
Previous Prop Builds
HEY Y'ALL! My Second Build is Miss Minutes from Marvel's Loki
I Tried My Hand At Prop Making.