I meant to post this last night, but I got invited to dinner with some friends and didn't get home until 22:30. I usually stay up well past midnight in order to finish a project, but I was a bit too tired for that. Therefore, the work you're currently looking at was done the day before yesterday. You can see the full process here: https://www.bitchute.com/video/o4sRZlcXXwEt/
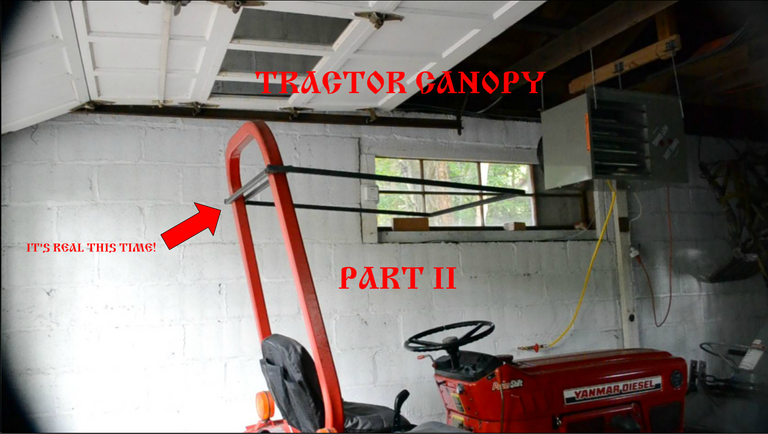
I put "it's real this time" in the thumbnail, because the thumbnail for the previous video showed a drawing on top of a photograph, showing what the final product is supposed to look like.
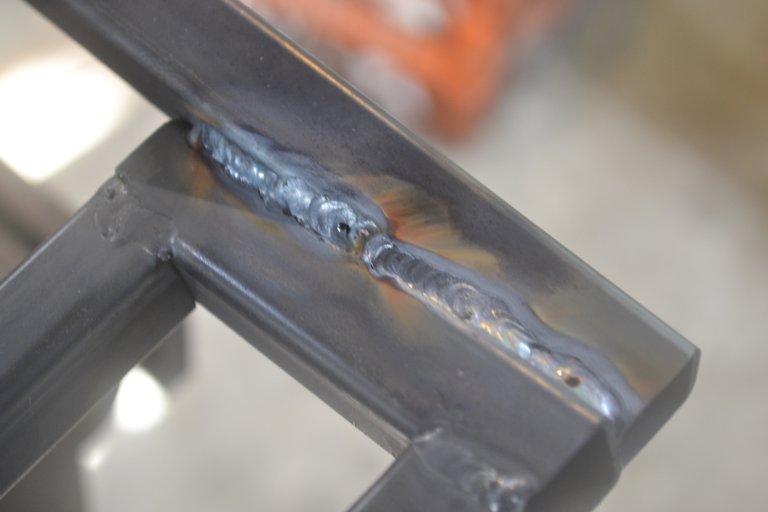
After welding the two sub-assemblies together, but before doing anything else, I tested the fit by clamping them together and using a wire to position the frame:
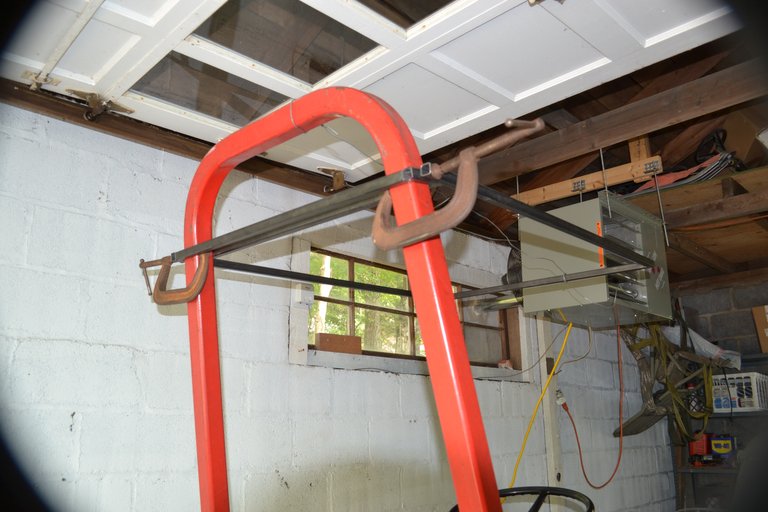
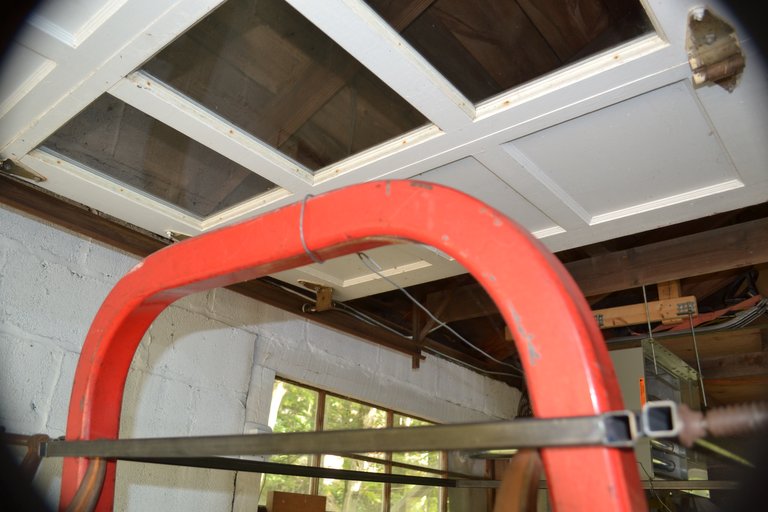
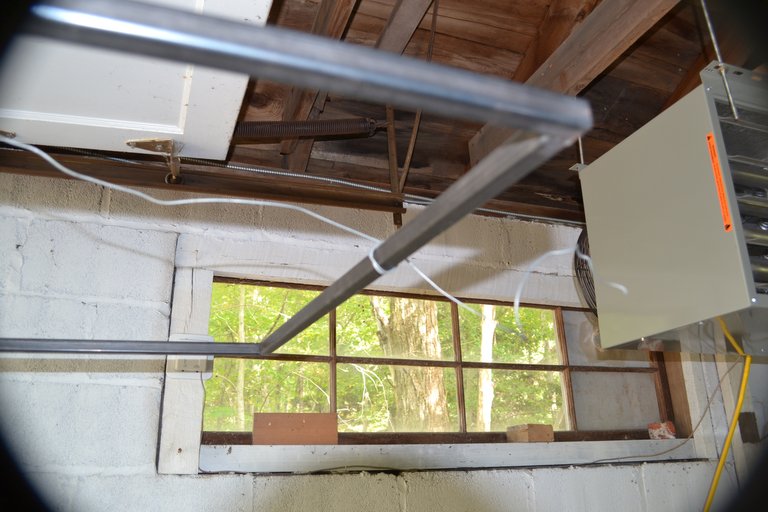
There were two reasons to do this: first, the tubes would not stay in place, they just flopped down because most of the weight was so far from the clamps. The second reason was to see if the 12 degree difference between the two sub-assemblies (in order to make the canopy frame level) was going to obstruct my view. I ended up adjusting it to 10 degrees, which may not seem like a big difference, but at 40 inches (101,6 centimetres), moving the end up two degrees helps quite a bit. Of course, the frame wiggles enough that I'll need to use a string to position it when I go to take measurements for the canvas. You'll see that part in the video, if you haven't watched it already.
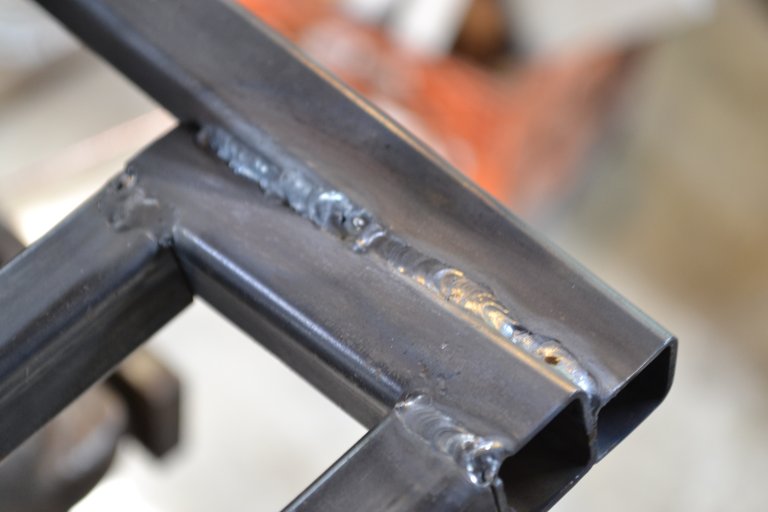
After figuring out exactly how to position the two sub-assemblies relative to each other, I clamped one end with a special pair of welder's locking pliers, the other end with a c-clamp, and made three tack welds on each side of each joint, for a total of 12 tack welds. My intent was to run four full beads, which would be divided in half because of the odd position, but I noticed a significant pressure drop after completing the first two: I ran out of gas again! No matter, two full beads is more than strong enough to hold everything together. I will still put those last two beads in, but it's not a priority.
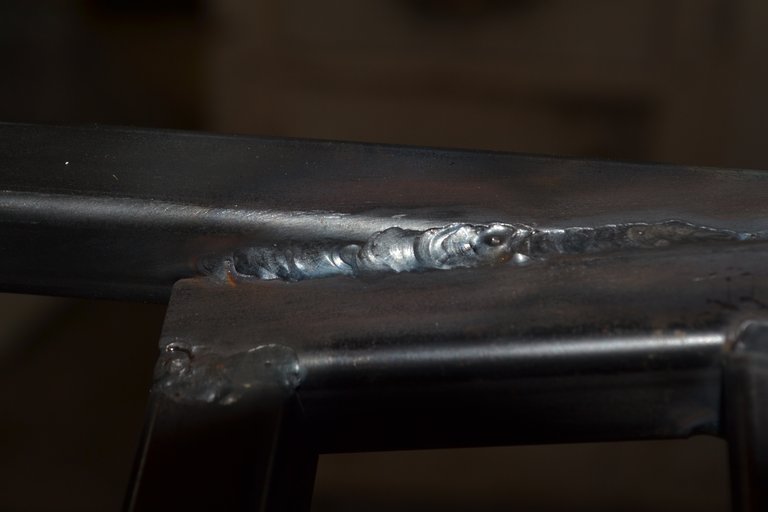
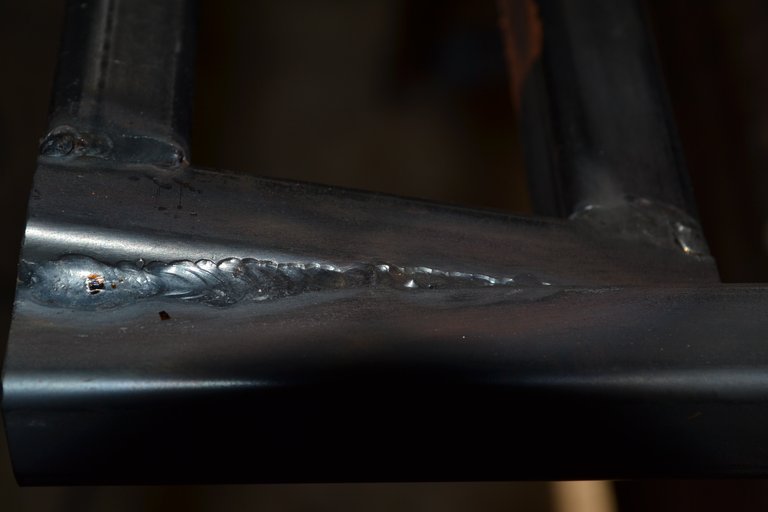
One of the two full beads. If you know what to look for, you can clearly see that this was done in two parts:
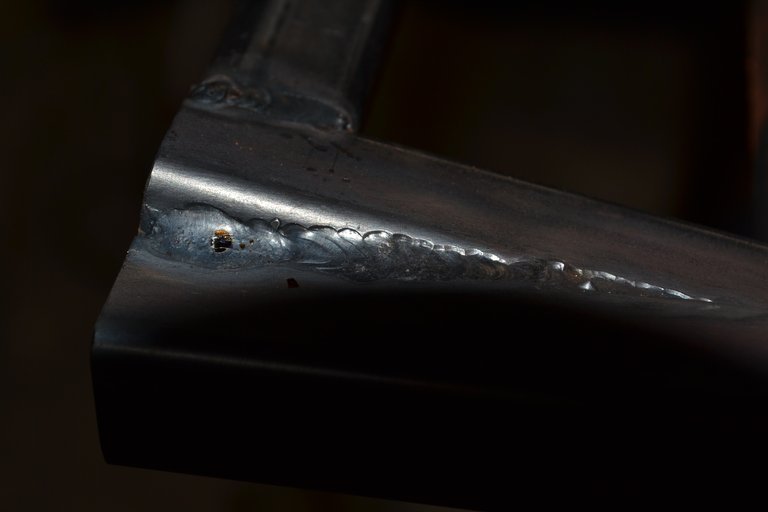
The same bead after clean-up:
Shameless self-promotion:
Shapeways:
https://www.shapeways.com/designer/steampunkkaja
WordPress:
https://kjworldsong.wordpress.com/
Hi steampunkkaja,
Visit curiesteem.com or join the Curie Discord community to learn more.
Congratulations @steampunkkaja! You have completed the following achievement on the Steem blockchain and have been rewarded with new badge(s) :
You can view your badges on your Steem Board and compare to others on the Steem Ranking
If you no longer want to receive notifications, reply to this comment with the word
STOPVote for @Steemitboard as a witness to get one more award and increased upvotes!
What a talent hahaha, I don't even hammer or something! I think your tractor idea is cool, you will have many benefits♡♡