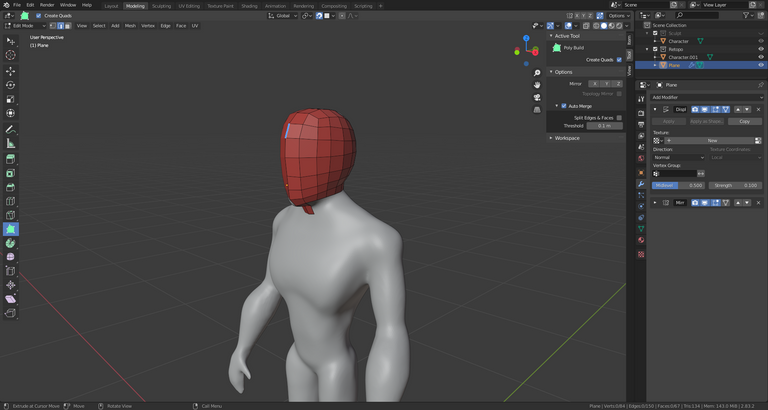
In the second step, I start doing the retopology.
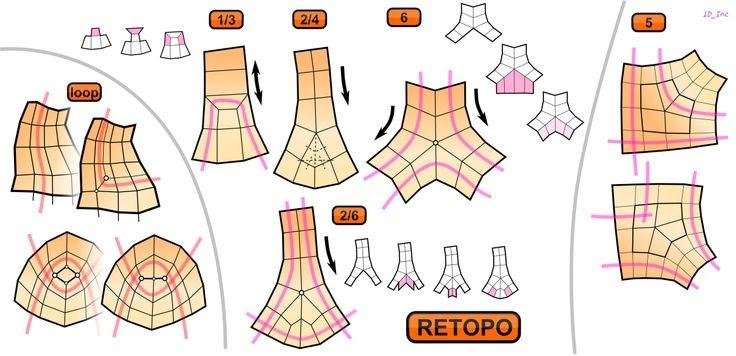
I had no good experience with creating character topology for animation. Therefore, first I studied the information on what I should pay attention to so as not to make serious mistakes. I made mistakes anyway, but that's good. And the most useful thing I found from the information is the cheat sheet image you see below. She helped me a lot. And I also realized that it is important to use links to a ready-made topology. Otherwise, our brain will think for a long time! :)
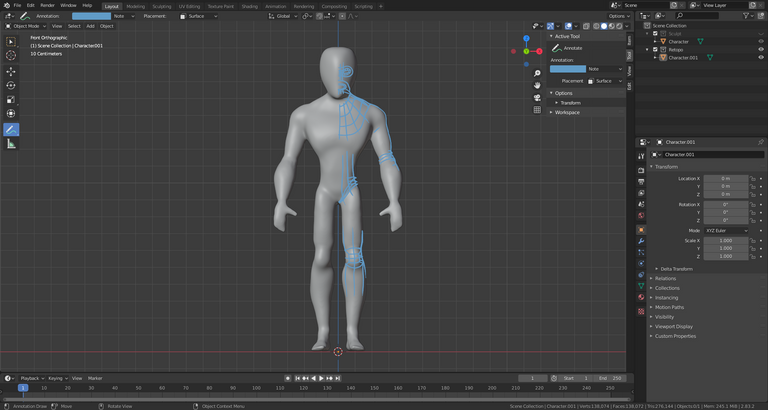
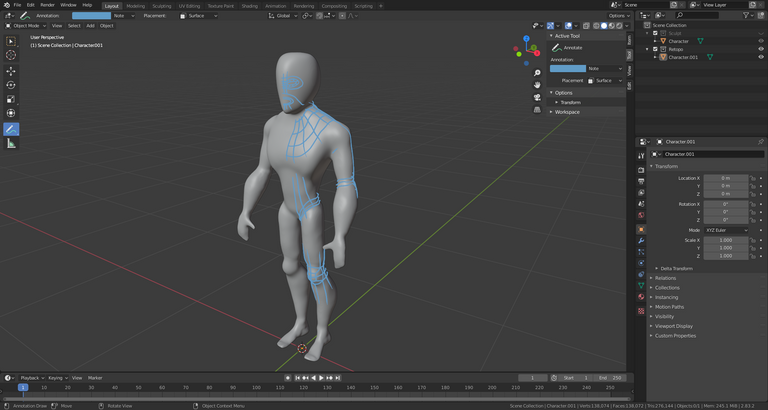
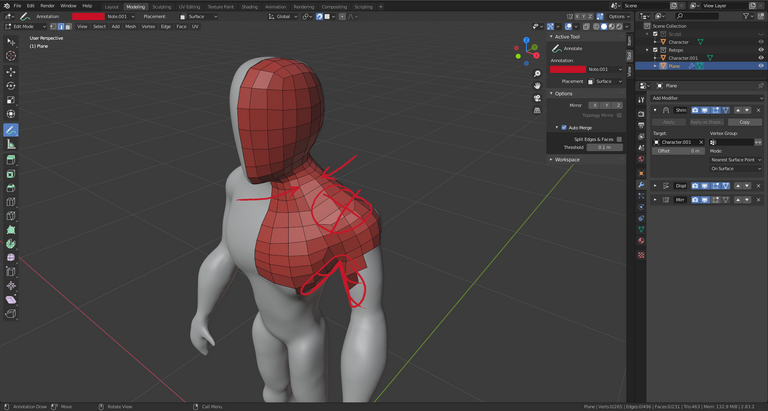
I drew a rough outline of the topology in difficult places using the Annotate tool. I thought about which parts of the body would be animated. Although later I realized that this was not enough. I needed to spend more time on this.
 |  |
|---|
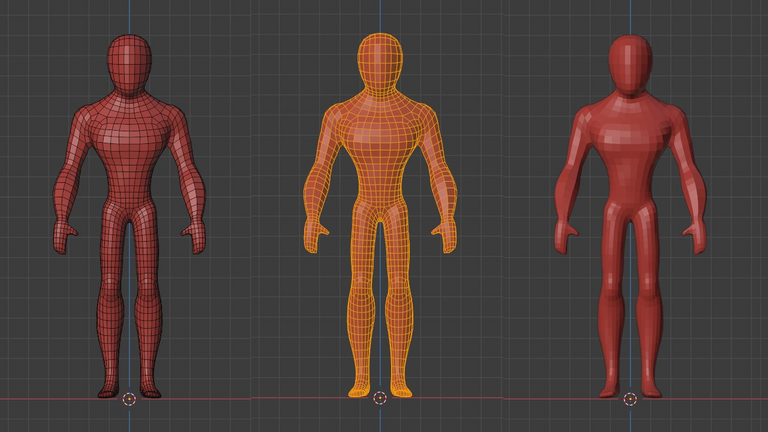
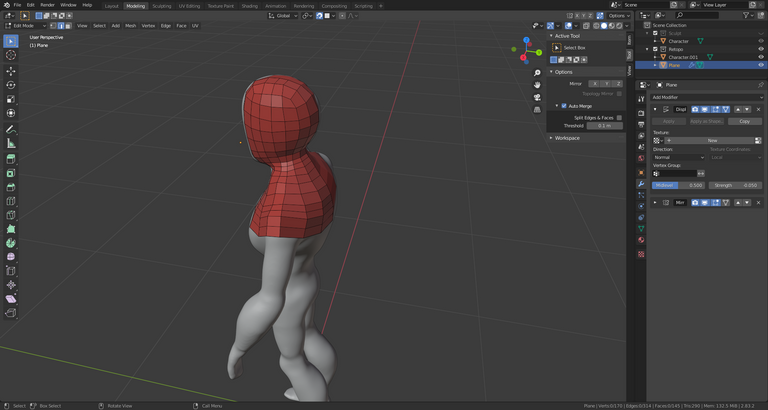
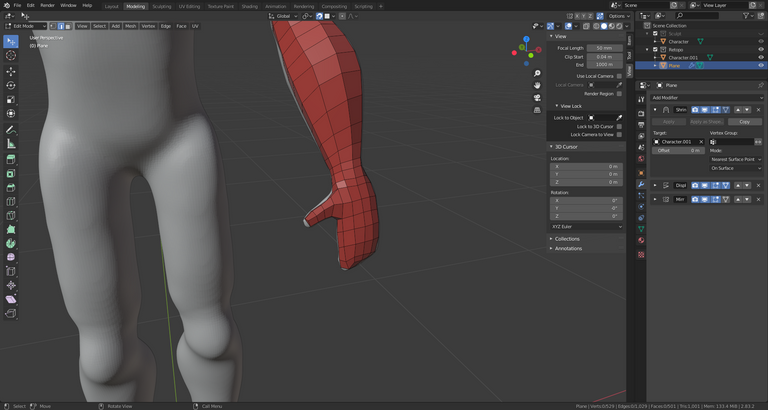
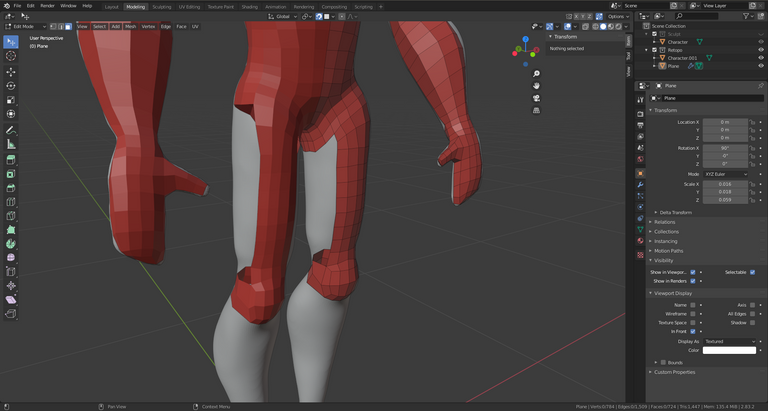
Then I started retopology. I started with the head. Then I moved to the neck, creating polygons around the neck, going down to the shoulders. I wasted a lot of time and felt my mistakes. Understood the information I heard earlier. No need to waste time with polygons. It is necessary to immediately mark all the key bends of the body with large polygons. I am glad that I went this way. I am glad that I will go even better the next way. :) Nevertheless, I got a completely working model, with which I will work further.
 |  |  |
|---|---|---|
 |  |  |
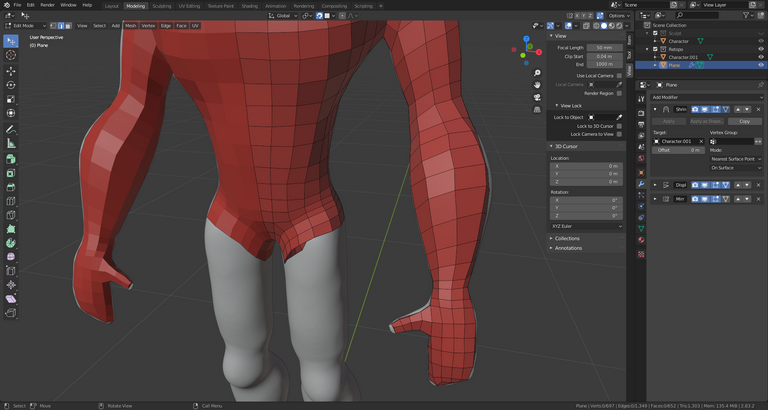 |  |  |
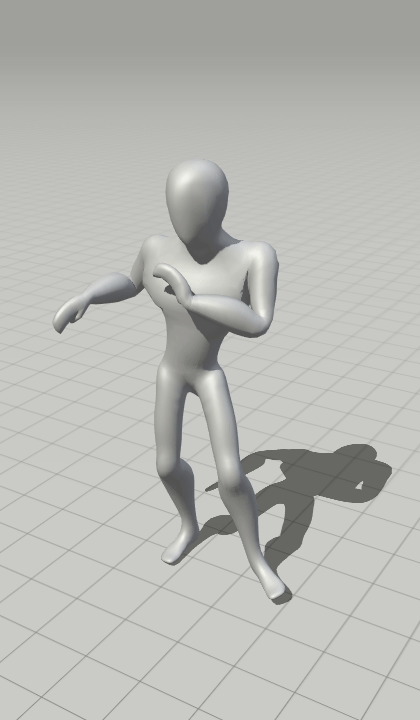
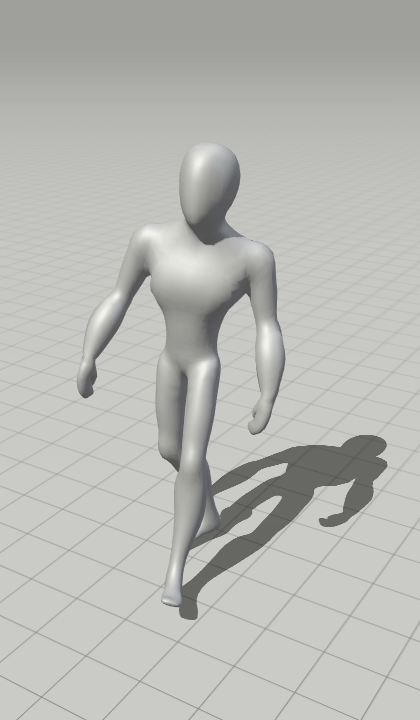
If we don't have ready-made animations yet, we can check the mesh using the Mixamo service. It will show topology errors. I didn't like the look of the character's chest and the mesh for the transition to the arms. In the next models I will definitely do better.
 |  |  |
|---|
Next, I plan to carry out the next step. I'll create a material in "toon shading" style and see how it looks.
If I will satisfied with the result at this stage, I will proceed with rigging and animation. If not, I'll go through the character creation first stage again from the beginning to solidify the experience. This is most likely what I will do before starting the animation. Because in the future it will take a lot of time to animate and use the character in the game engine. During this time, I may lose my acquired experience in sculpting and retopology. Therefore, it is advisable to repeat everything that has been done and create an even better model.
Thanks for your attention! Let's keep working on ourselves! Stay motivated! Good luck to all!
Link to posts in the character creation series:
Sculpting
Retopology (current)
Useful links:
Modeling for Animation
Change Your Understanding of Topology In Six Minutes
The basics of hand retopology
I still find getting the loops right around the hips and shoulders to be "tricky" XD (I'm actually going to be redoing the hips around one of my models as soon as I'm done fixing the one I'm currently working on up). I also try really hard to avoid stars (what happens when more than four edges are coming off one vertex) as I can never seen to put them in the right place (they make deforms go weird).
There's only a certain amount of "right" about this type of thing, basically if it's deforming the way you want when you animate then it's right XD
I need to practice this more often! :)