Hello everyone!
So today I decided to upgrade my computer but only a slight upgrade. I still wanted to upgrade my motherboard and CPU but I found instead of spending over $2500 to upgrade everything that I would need I thought I would start with just things that I could take to a later computer. My current computer only have 32 gigs of RAM and a silencer air cooler. Even though this would be good for gaming and other computer activities, it seem to struggle for me when I needed to edit my videos especially when dealing with 4K footage. I do have a 2080 graphics card with RTX, and an Intel I seven 7800 X, but I still found myself being bottlenecked at some point.
Upgrages
I will be upgrading just my ram and CPU cooler today. The reason I needed to upgrade my CPU cooler is because I will also overclock my standard CPU.
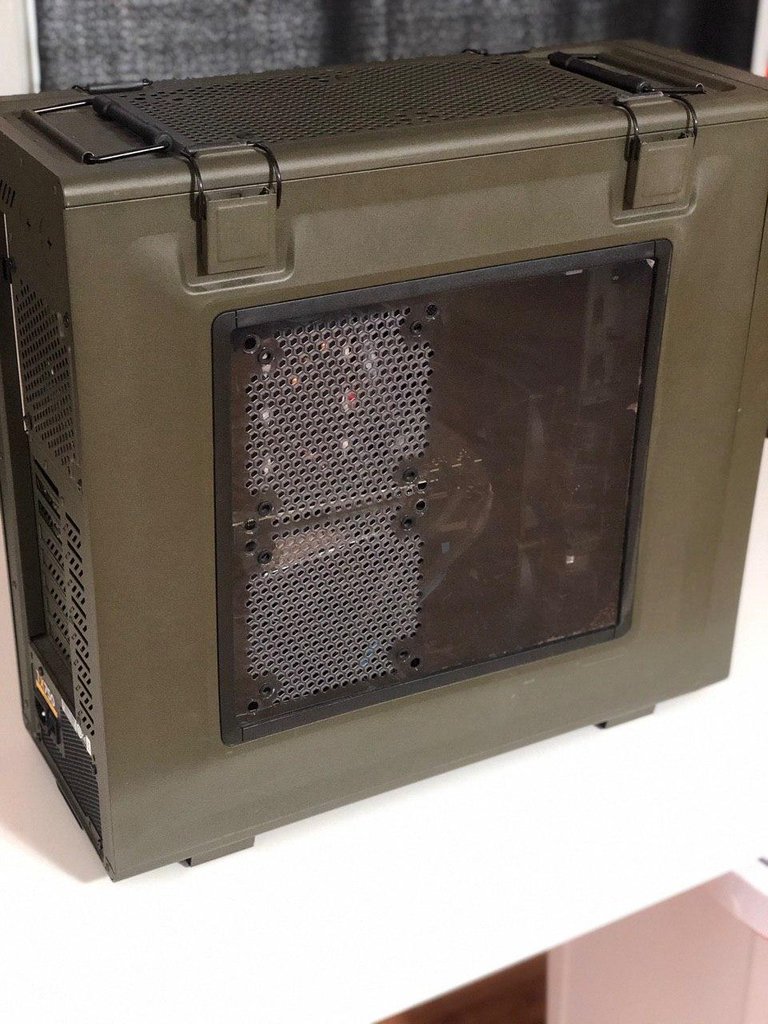
Before
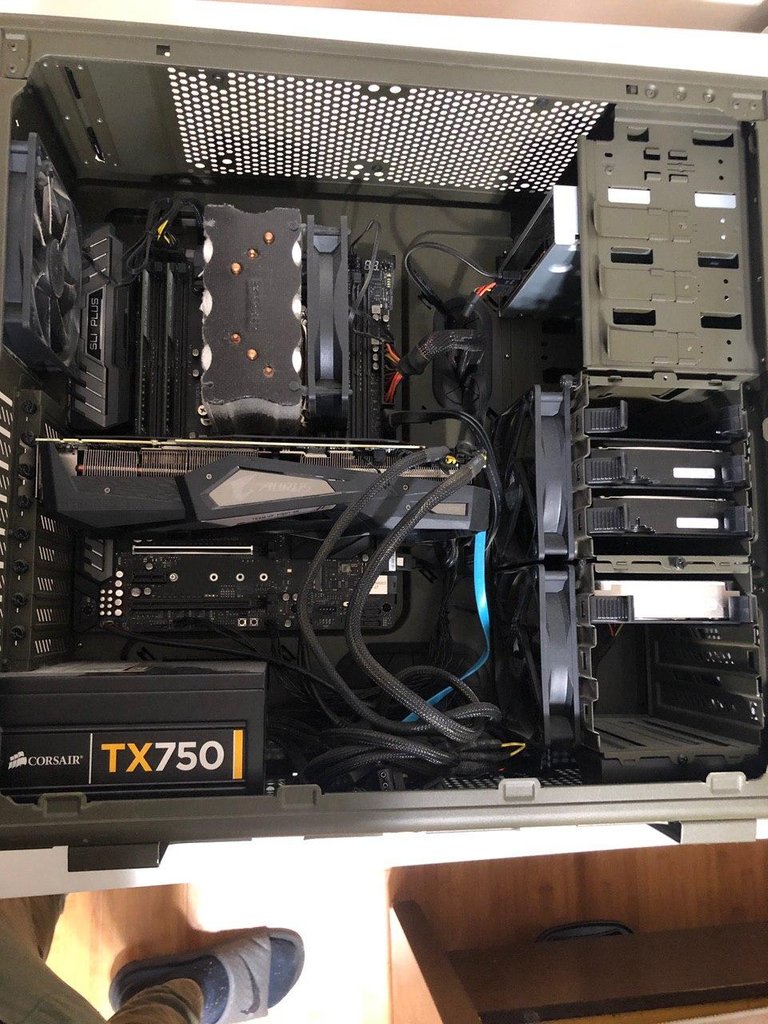
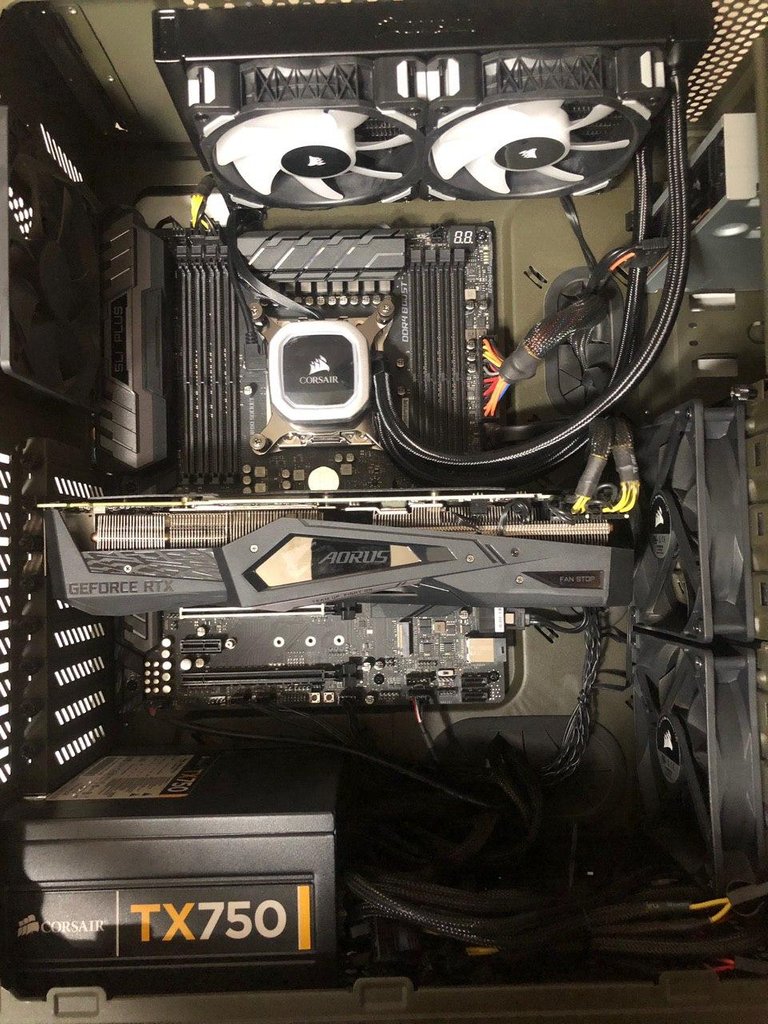
So here we have my computer as is I haven’t dusted or air compressor blown out the dust in quite some time as you can see.
After using my air compressor and blowing out all of the unnecessary dust that it has gathered it does look a lot cleaner but cleanliness will only speed up my computer at a very marginal percent and I need extra RAM and a faster CPU to achieve better editing and visual effects especially when dealing with the 4K footage that I have been dealing with recently.
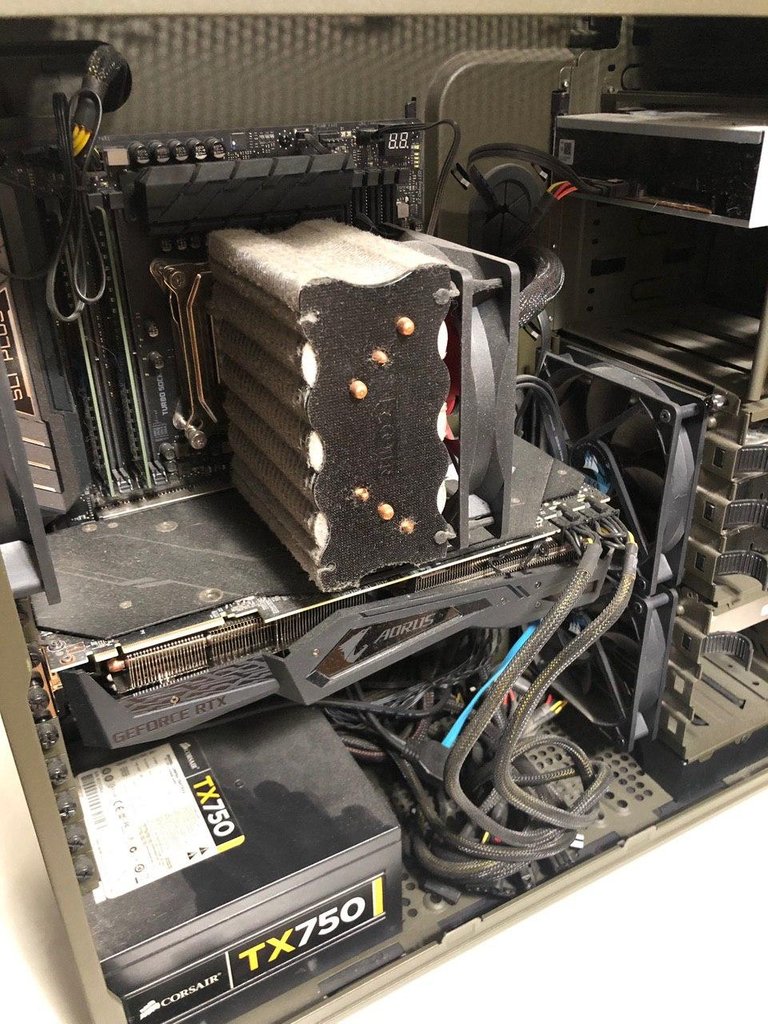
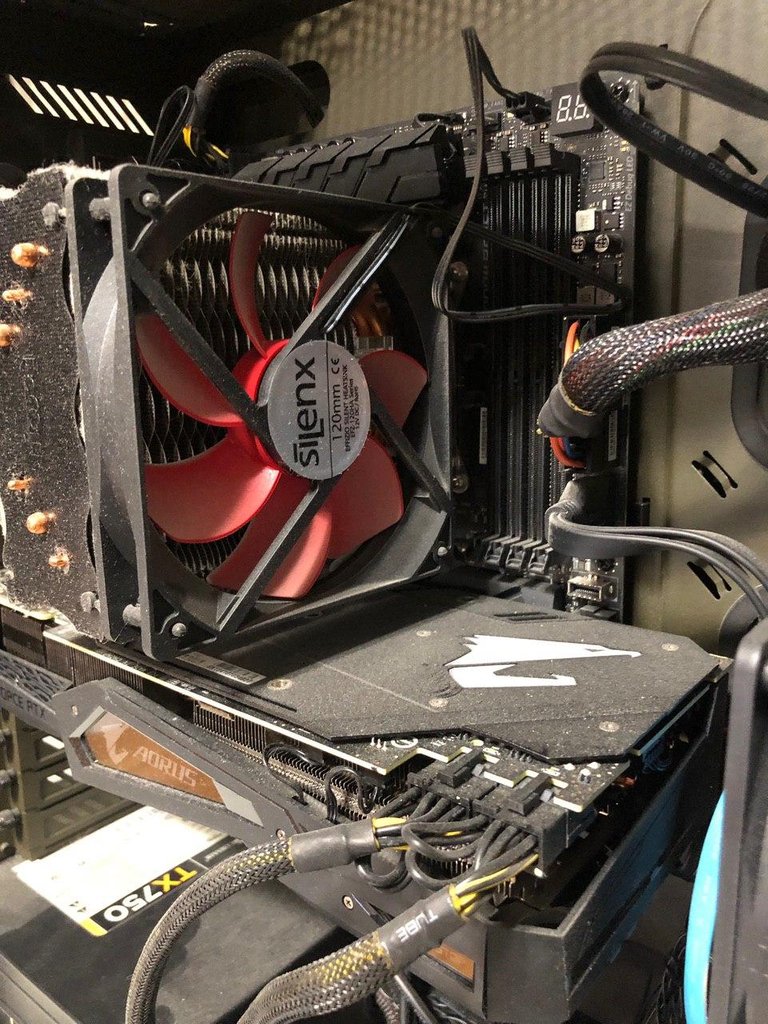
Taking out the CUP cooler
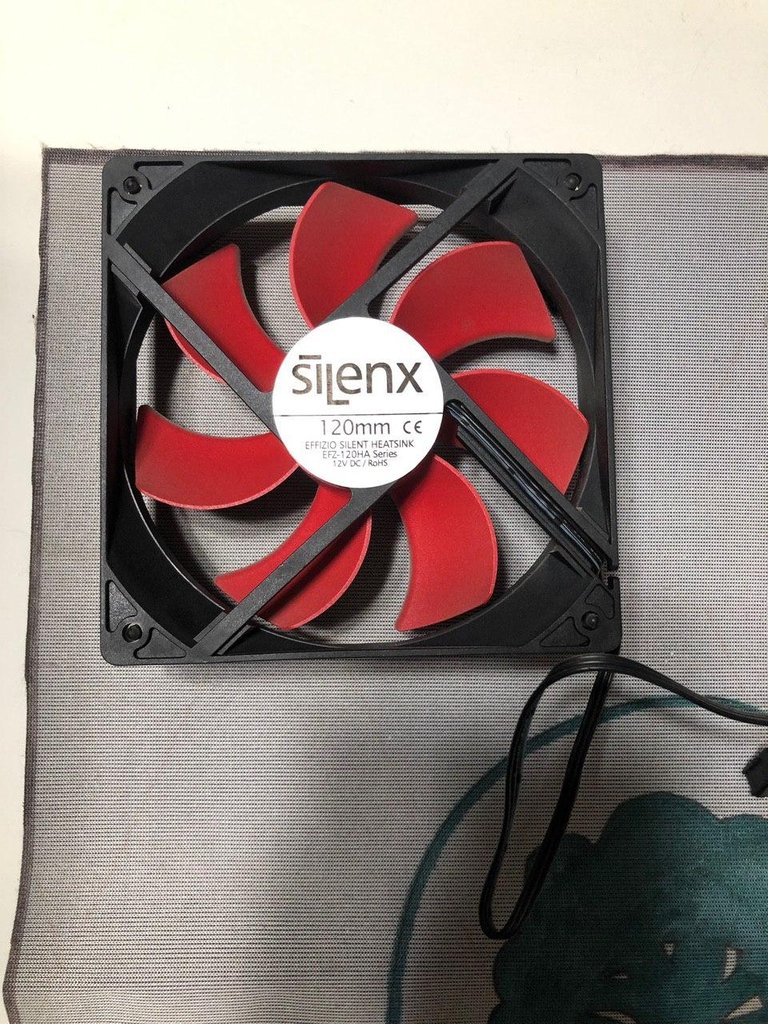
The first stuff I did was remove the CPU cooler it’s a stock silencer cooler with just a fan and a radiator.

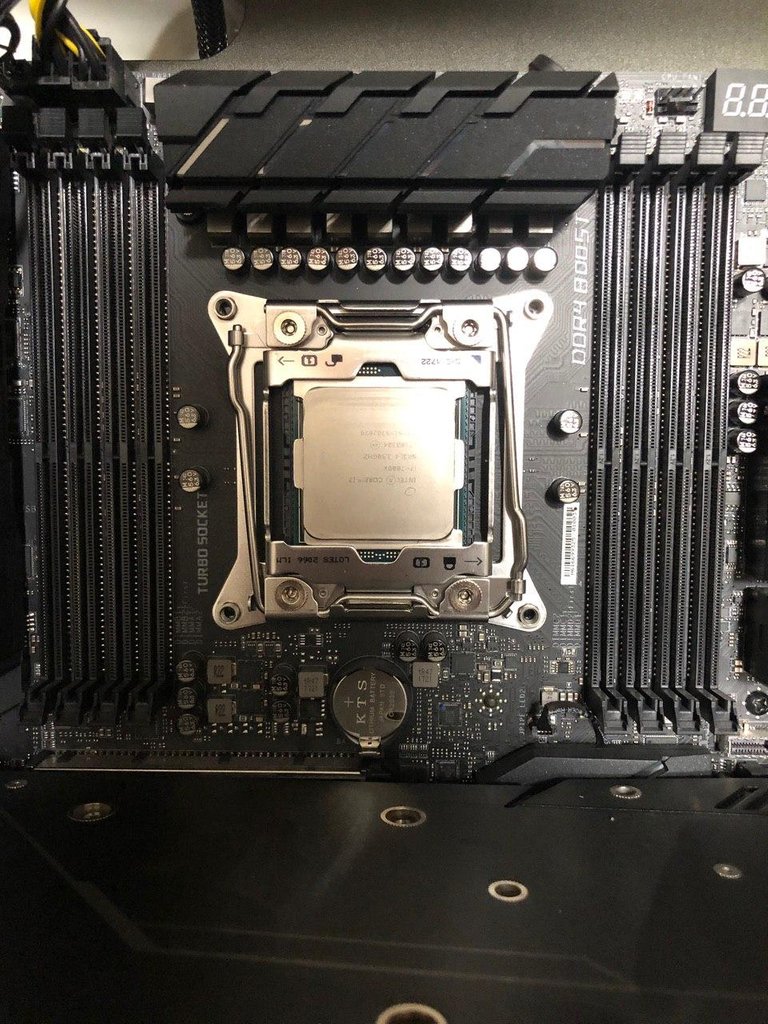
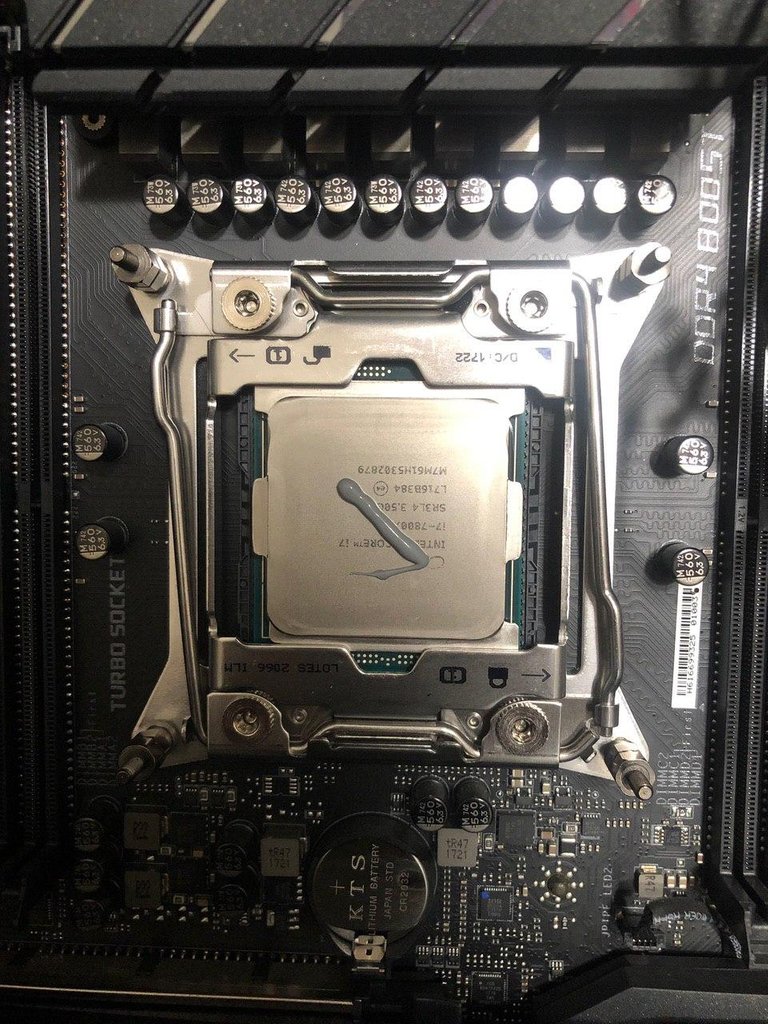
Wipe off Thermal Paste
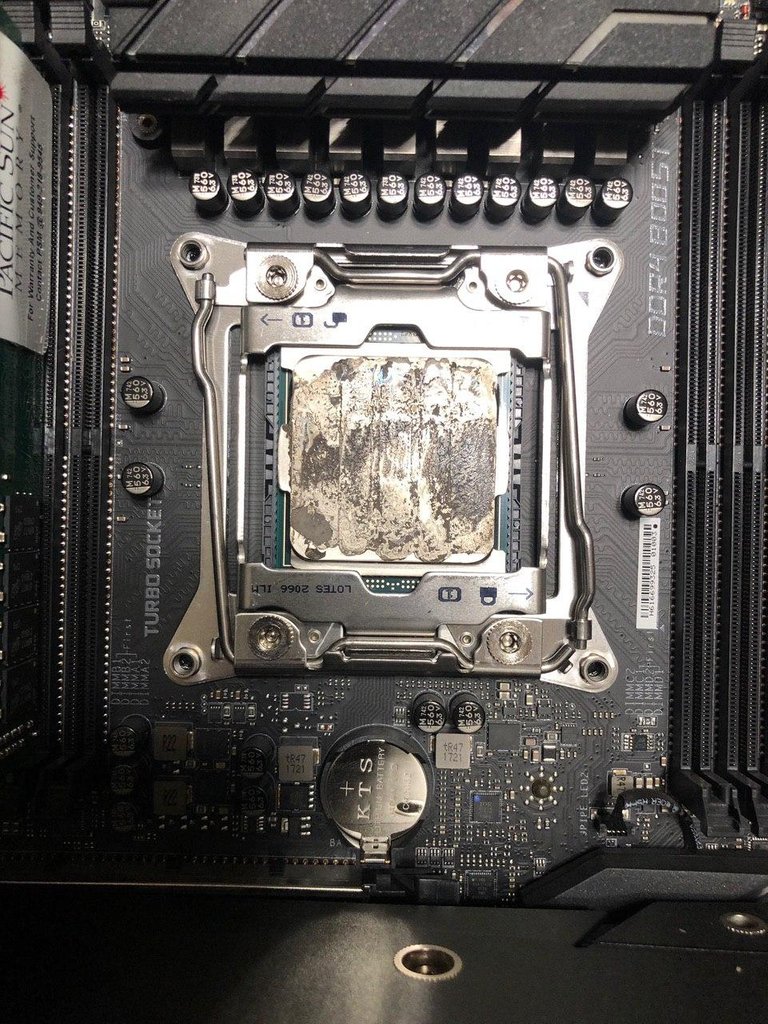
Next as you can see the CPU had the leftover thermal paste that I needed to clean off or you some Rubbing alcohol and paper towel while holding the side of my computer as to make sure I don’t have any static electricity before I touch my CPU. I made a drive past first before I added the rubbing alcohol to the paper towel to clean off all the unnecessary left over thermal paste and then I went at it with some dabbed on rubbing alcohol.
Replace The Ram
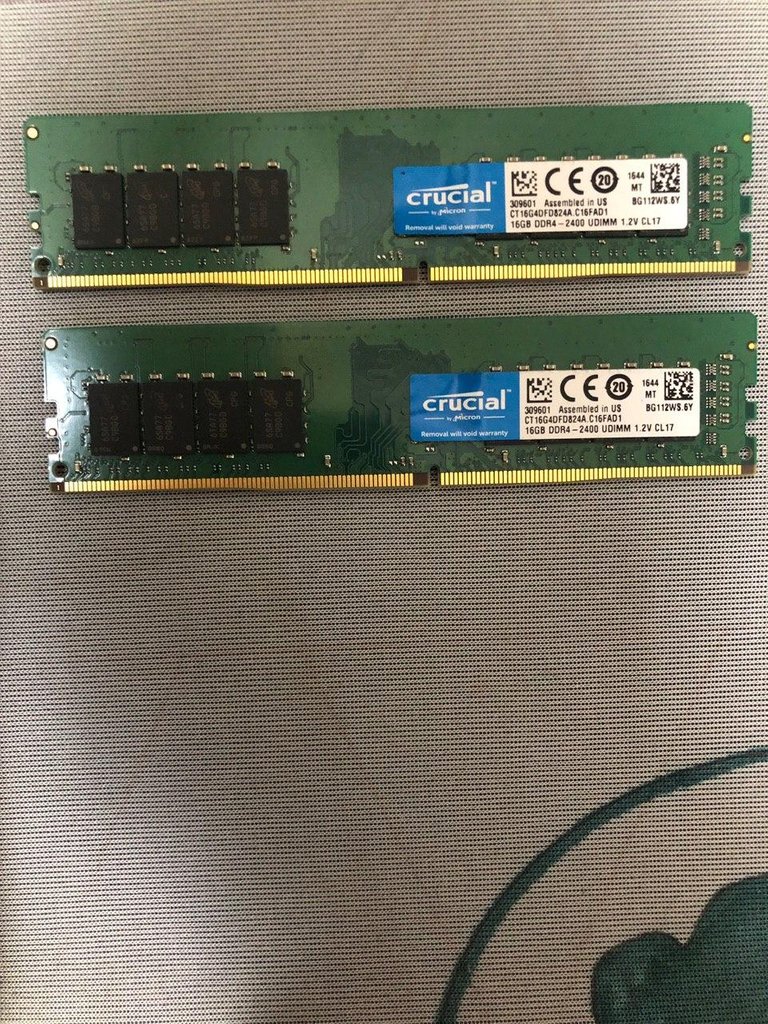
Next I decided to remove the ram this is two sticks of 16 GB corsair ram only rated at 2133. Again this is good for video games and I never had any issues while playing any video games that I would play but it just didn’t meet my needs as a video editor.
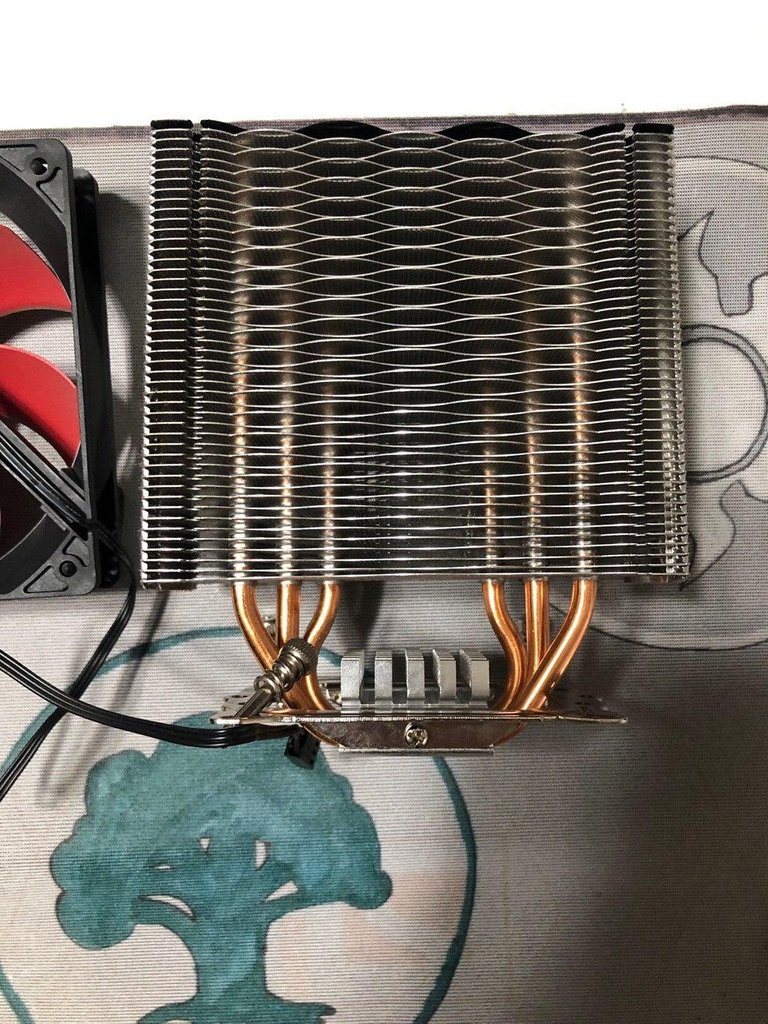
After removing my previous ram it was time to install my new CPU cooler.
PRO TIP:
Make sure you double and triple check to see if your CPU cooler comes with thermal paste I made the mistake of thinking that it did and ended up having to place an order at a local computer store and pick up thermal paste that same day which wasted about an hour and a half time from the time I ordered to the time I got back home.

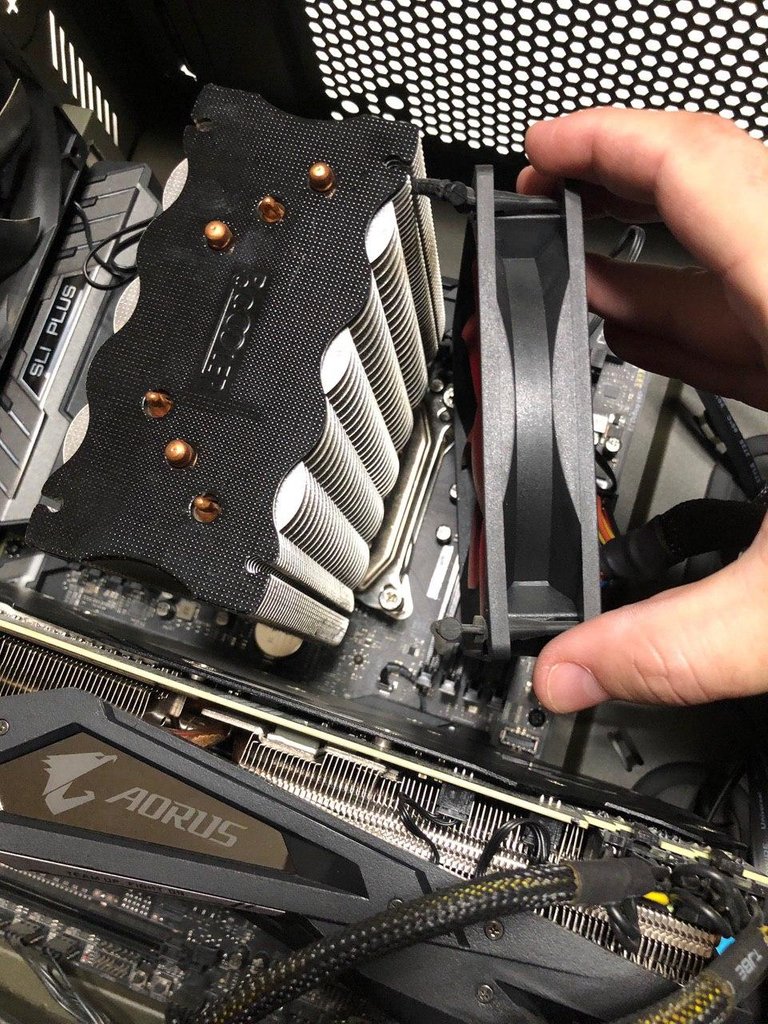
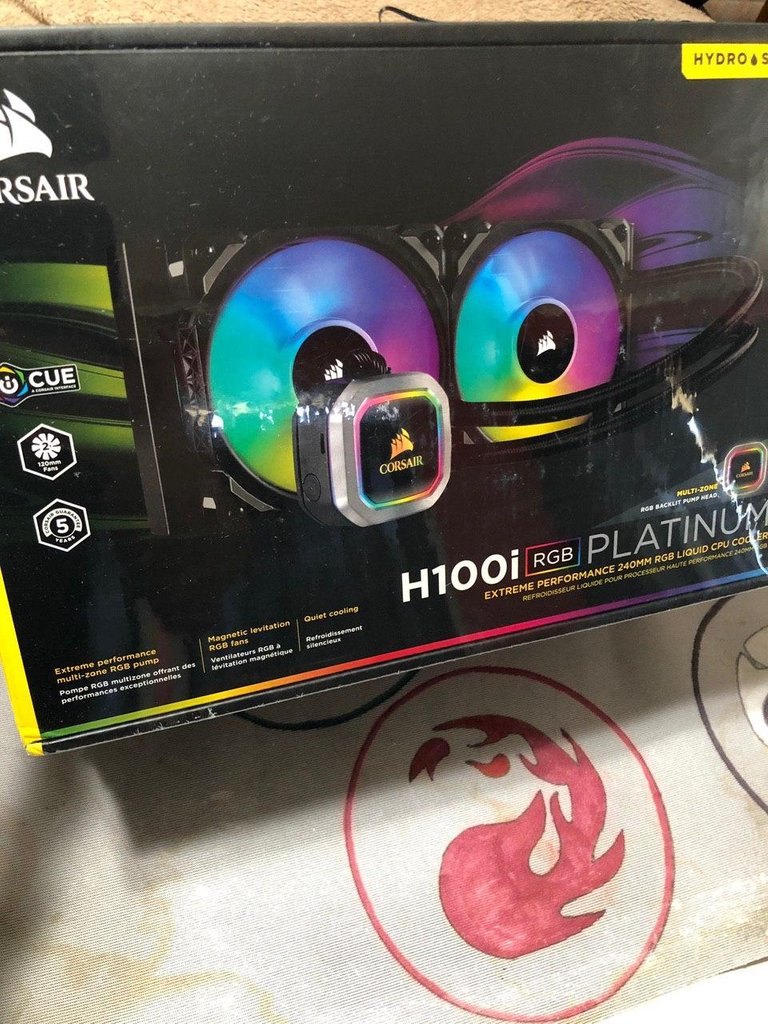
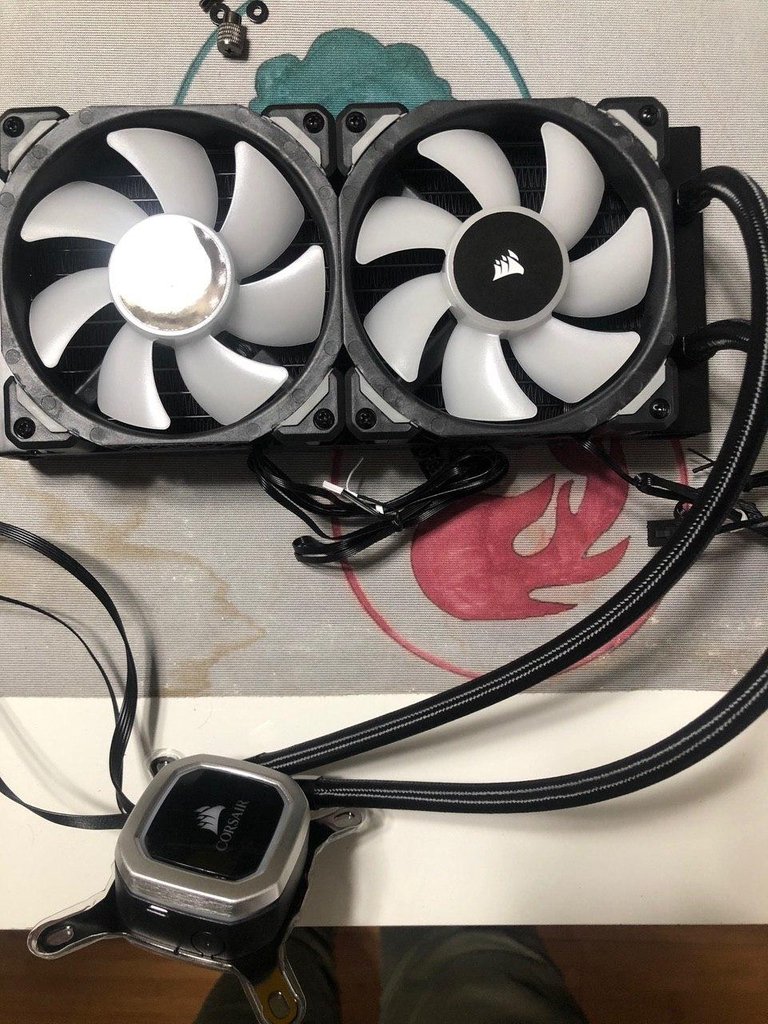
Attaching the New CPU Cooler and Fans
Attaching the radiator and fans was simple enough but finding the correct placement for the radiator on the top part of my keys prove to be a little bit of a challenge lucky enough for me it was a cheese grater style top with many holes so I could eventually line it up and screw in the radiator to the top of the case.
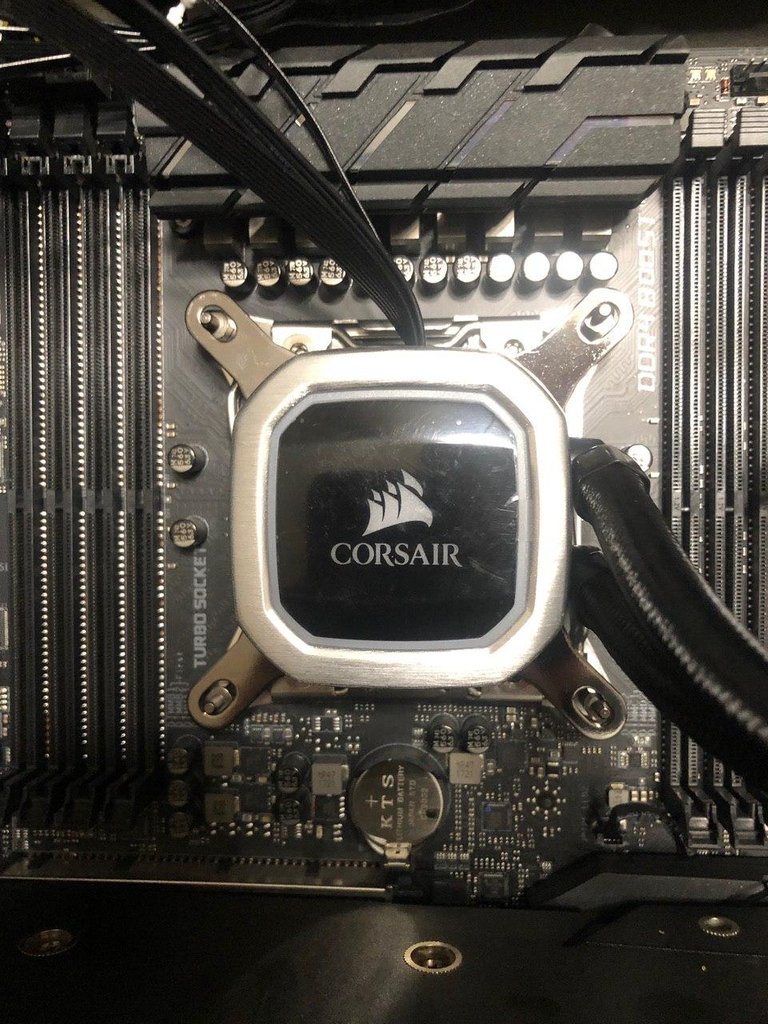
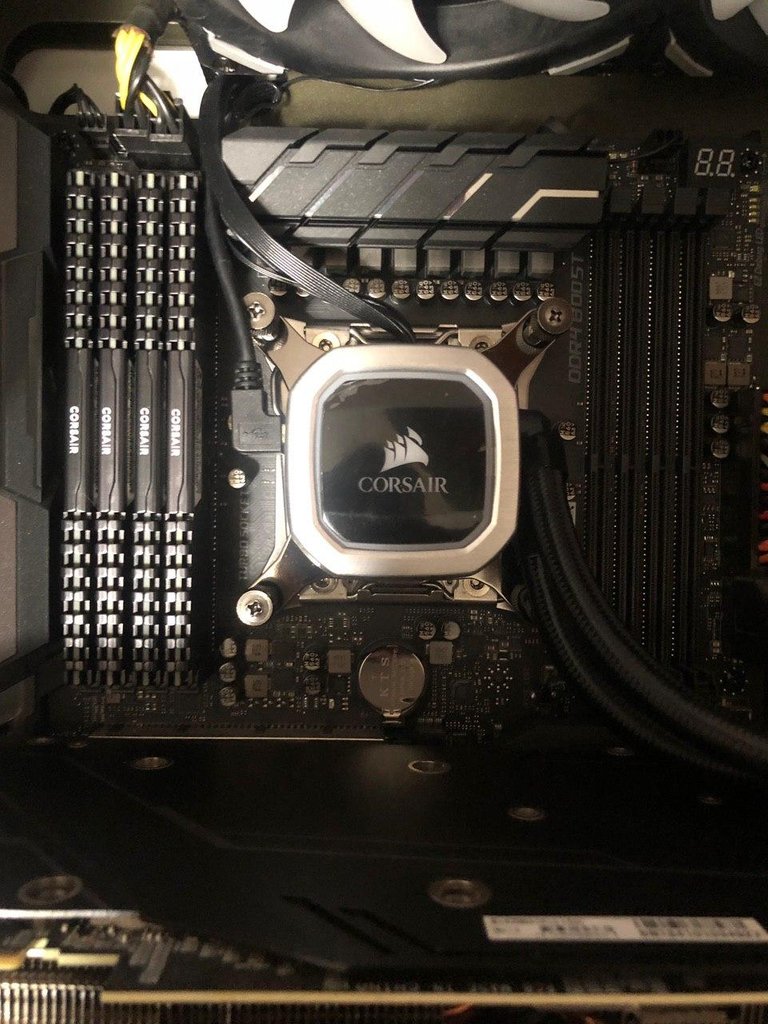
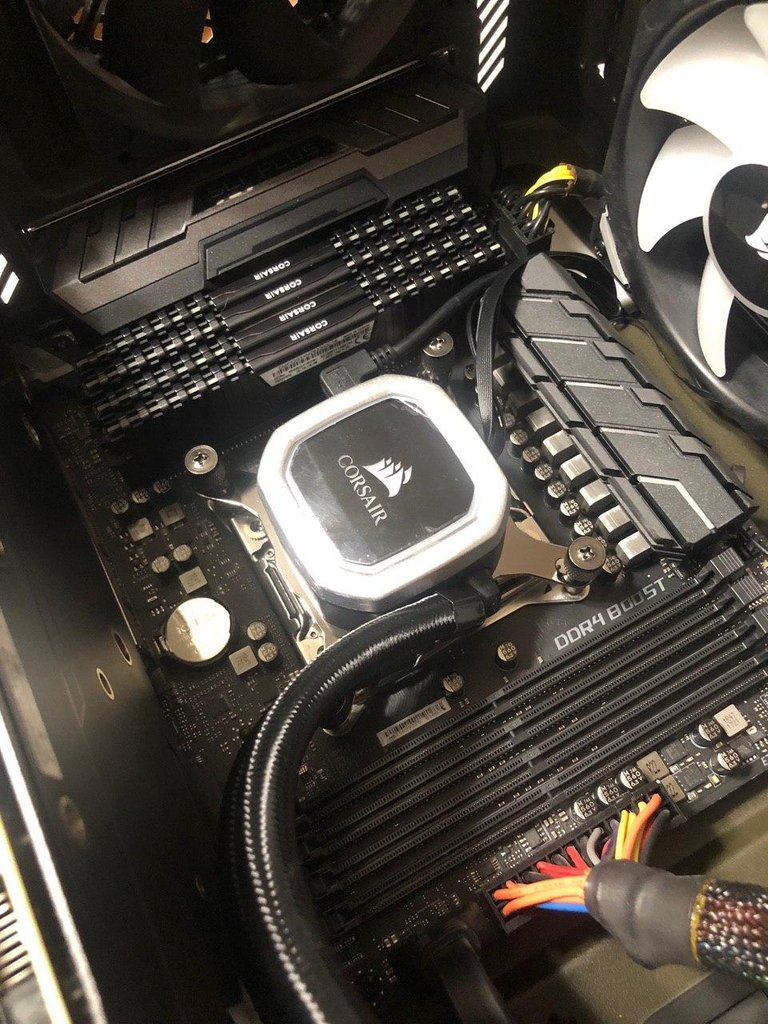
Adding Thermal Paste/ CPU Cooler
Next I added my thermal paste and I put on what seemed like a little but I guess I could have added a little less because it was pushed out a to the edges so you don’t need to overdo it for a standard size CPU in my opinion. I attach the CPU cooler via the mounting plate and thumbscrews.
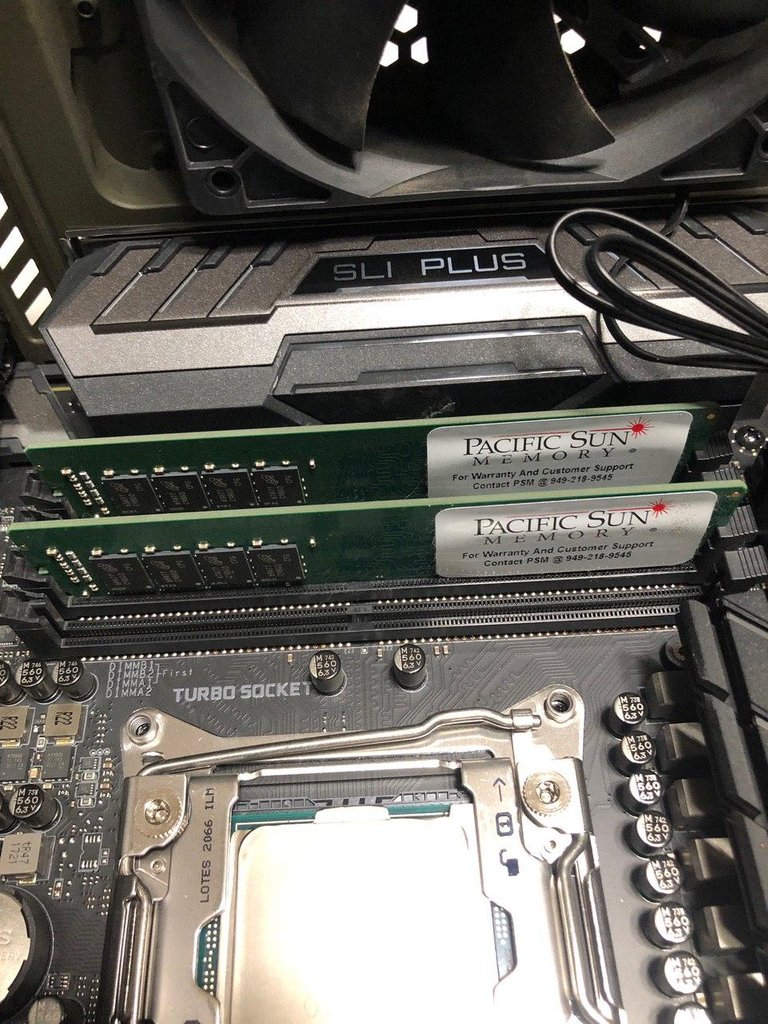
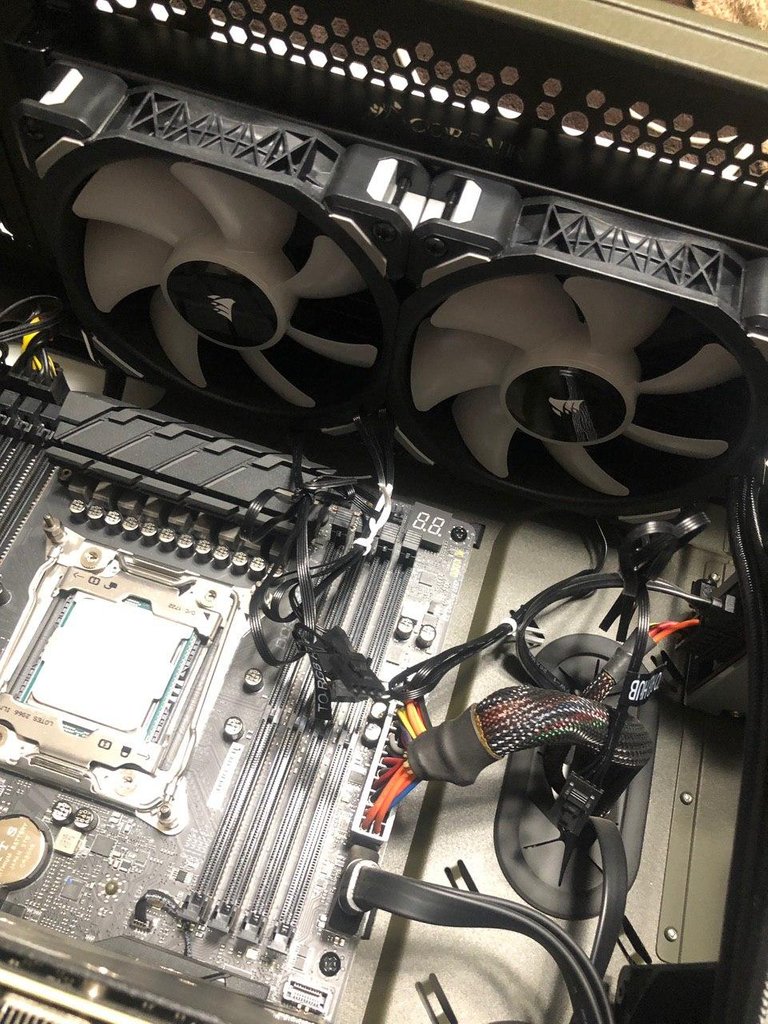
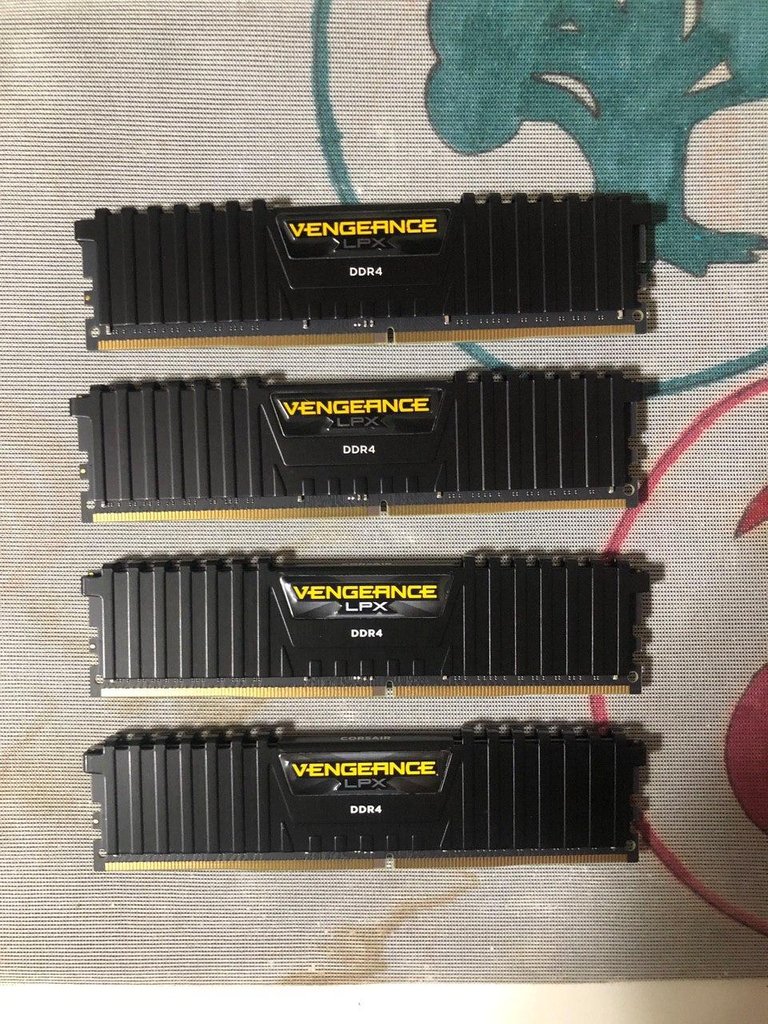
Adding the new RAM
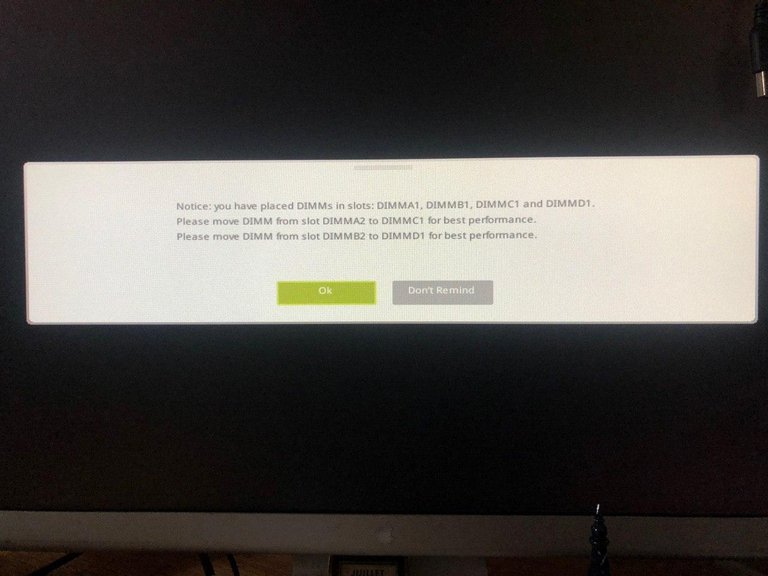
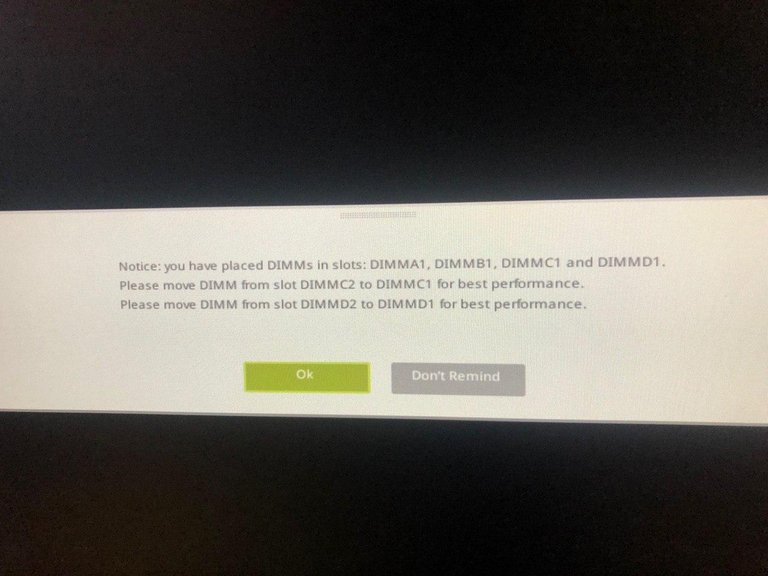
Next was the ram. I went with The corsair vengeance DDR4 3200 MHz RAM. I thought doubling my ram would be a good way for me to increase the ability of my processor since I’ll be over clocking it to utilize more ram. Installing the ram is easy enough as long as you line up the tabs with the motherboard but what I didn’t know was that you have to have them in a certain configuration in order to make the “best performance”, and by best for performance what the error code that I’m showing you really means is the ability to use all of the sticks of ram that you have installed.After many attempts in the system bios and figuring out where the ram should actually go I came up with the correct configuration and finally was able to see all 64 GB of RAM installed on my system.

I didn’t take any pictures of the bios or how I overclocked my CPU. This was such a lengthy and time-consuming process.
With over 50 restarts to my computer and probably a couple years of my life lost to the stress of being able to figure out if my computer would even start after many many many attempts. I was finally able to get my CPU overclocked correct ram configuration and my PC to finally post to windows.
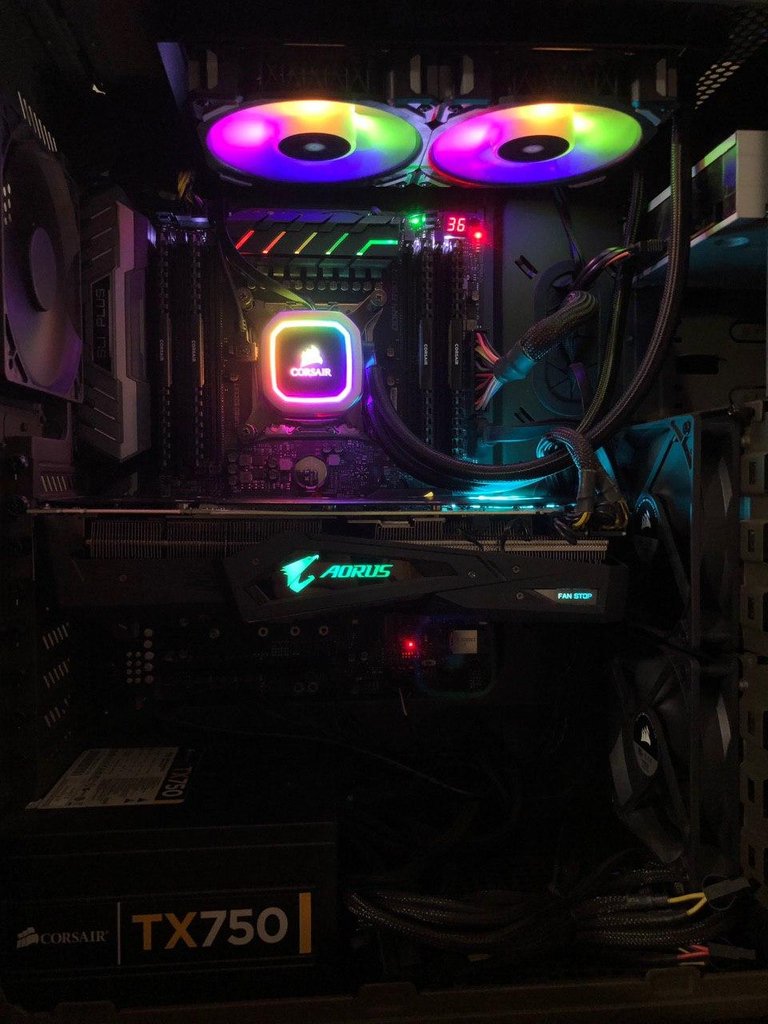
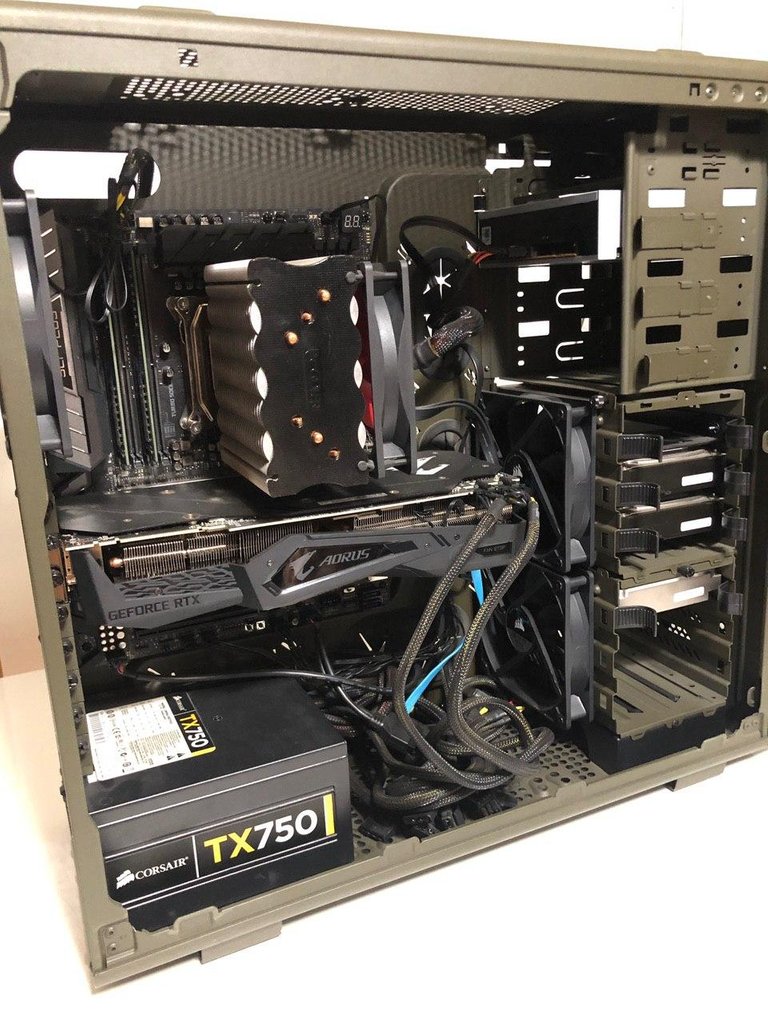
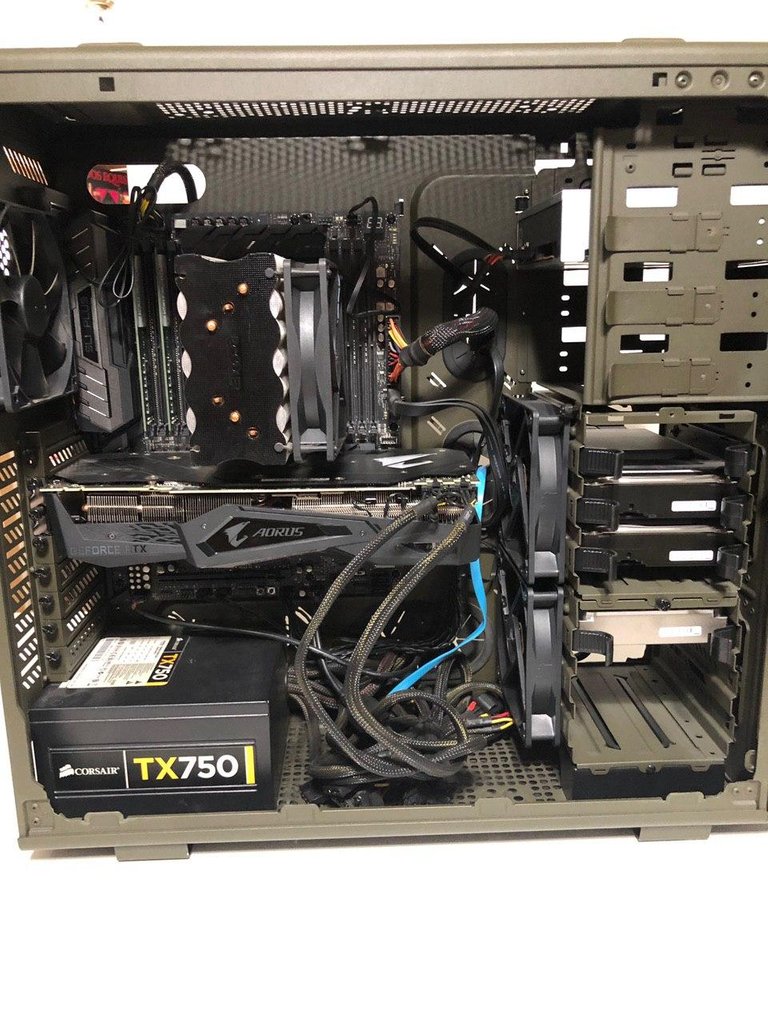
After
This is how my computer looks after cable managing, and turned on ready to go! I like the new RGB that came with the CPU cooler and fan radiator combo. Which was a bit confusing to set up, but the instruction (which I almost never read) were really straight forward.
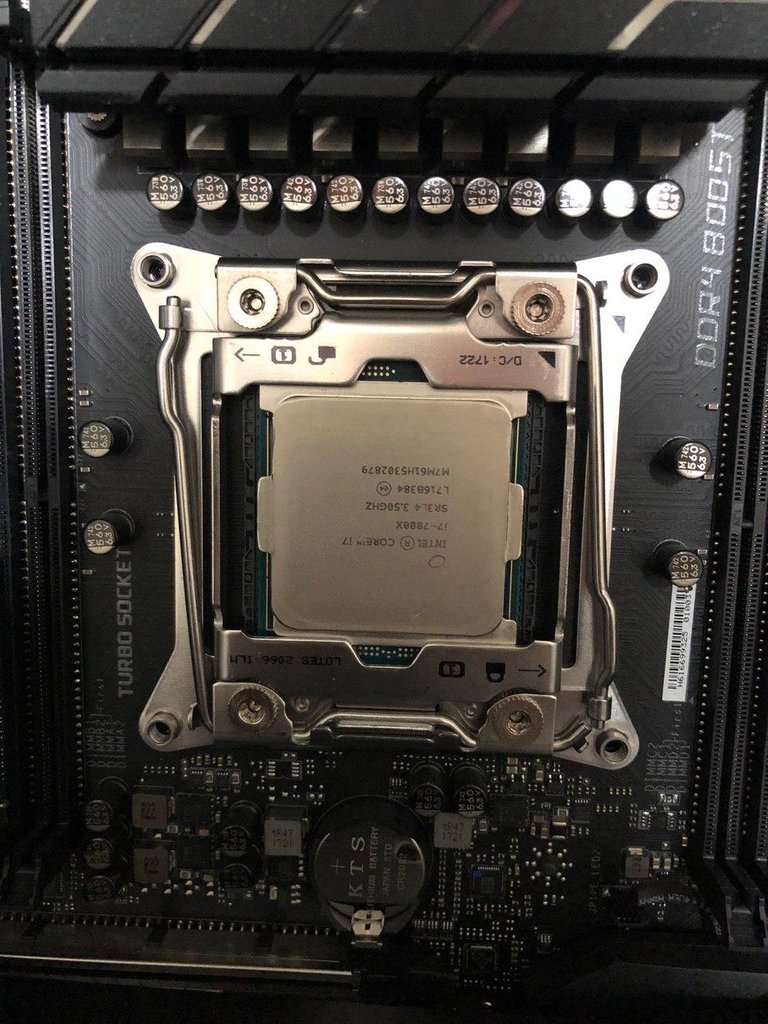
The stock CPU came at 3.5 GHz it’s a six core processor and I was able to overclock it to 4.4 GHz.
Are used Cinebench 20 to benchmark my system before and after. Before I overclocked my CPU and increased my ram my cinebench score was 2273. After I overclocked my CPU and installed my ram my Cinnabon score shot up over 1000 points! I’m now at 3684!

Conclusion
And just so you know yes I can finally edit manipulate scrub do motion graphics and visual effects with 4K footage with little to no stuttering or lag between play and stop time. I was going to buy a new Motherboard and New AMD Threadripper CPU and power supply. (The RAM and CPU cooler I can migrate to a new PC if I feel like this isn't cutting it for me anymore. ) All of that was going to take my new PC to about 2800$, but instead, i only spent about 600$ and upgraded my PC to a much more powerful and clean looking workstation!
Thank you all for a reading and seeing how I upgraded my PC.
wow!
Thank you :)
it looks like you put A lot of effort into this post and building this computer! that is soo cool!
From start to finish, it was about 10 hours!
This reminds me that my computer sucks, lol
If you need help upgrading, let me know!
Congratulations @activeblog! You have completed the following achievement on the Hive blockchain and have been rewarded with new badge(s) :
You can view your badges on your board And compare to others on the Ranking
If you no longer want to receive notifications, reply to this comment with the word
STOPSupport the HiveBuzz project. Vote for our proposal!