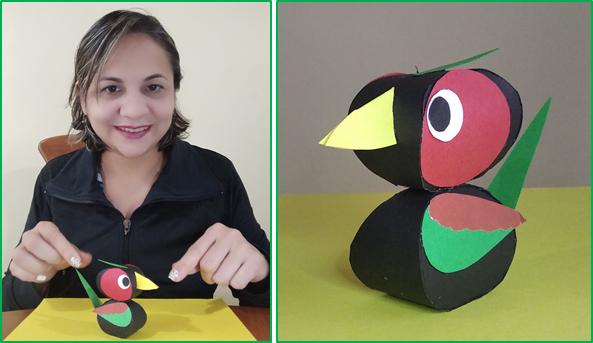
Saludos amigos de #hive. Mi proyecto de hoy esta elaborado con cartulina de colores, en este paso a paso te mostrare Cómo hacer un faisán con cartulina de colores. Es muy fácil, rápido y sencillo de hacer.
Greetings #hive friends. My project today is made with colored cardboard, in this step by step I will show you how to make a pheasant with colored cardboard. It is very easy, fast and simple to do.
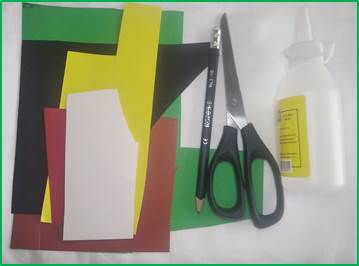
Materiales:
- Cartulina de colores
- Tijeras
- Silicón
- Lápiz
Materials:
- Colour cardboard
- Pair of scissors
- Silicone
- Pencil
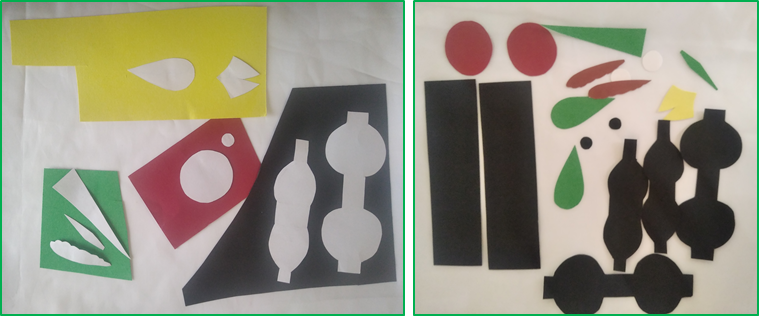
Paso a paso:
Dibujamos y cortamos cada una de las piezas que conforman el faisán ubicándolas en el color de la cartulina que le corresponden.
We draw and cut each of the pieces that make up the pheasant, placing them in the color of the cardboard that they correspond to.
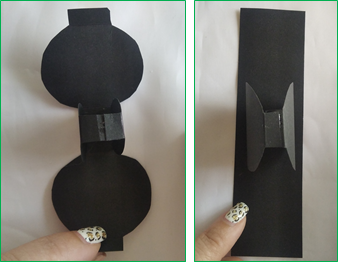
Para hacer la cabeza y el cuerpo utilizamos el mismo procedimiento, unimos con el silicón las dos cubiertas negras en forma de cruz.
To make the head and the body we use the same procedure, we join the two black covers in the shape of a cross with the silicone.
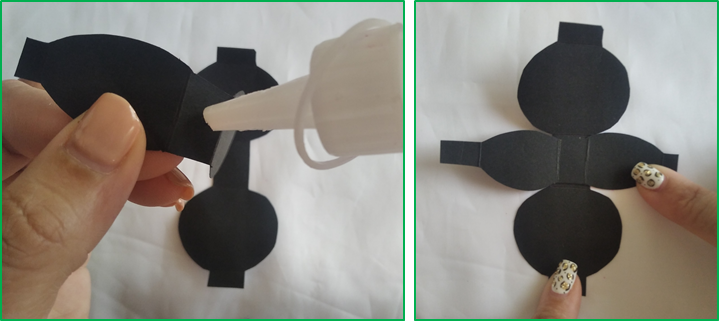
Con silicón pegamos las pestaña de los extremos en la parte superior y fijamos en la cubierta del mismo color tal como lo indica la figura.
With silicone we glue the tabs of the ends in the upper part and fix on the cover of the same color as indicated in the figure.
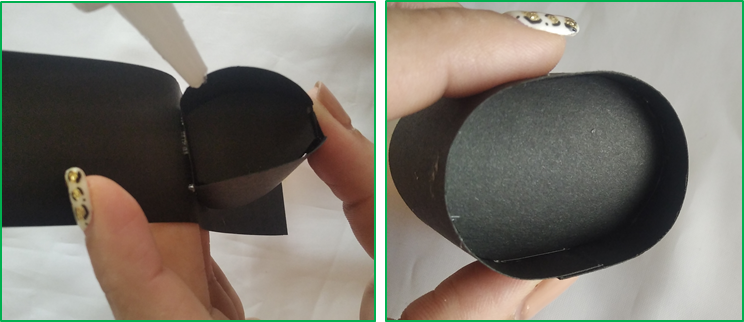
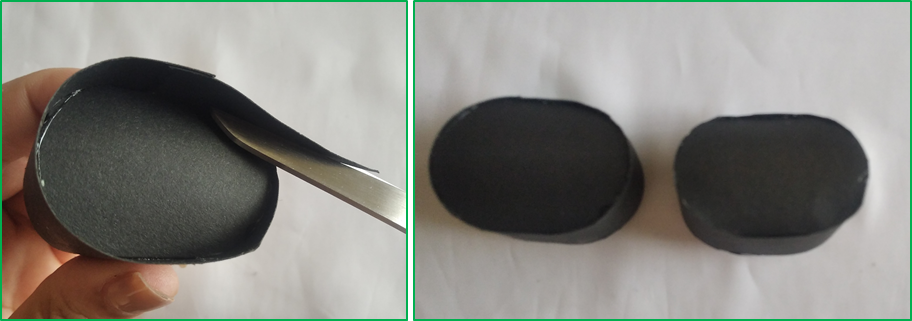
En este paso aplicamos el silicón por todo el borde y pegamos la cubierta esperamos que este bien seco y luego recortamos lo que resta de la cartulina. De esta manera tenemos el cuerpo y la cabeza lista.
In this step we apply the silicone all over the edge and glue the cover, we hope it is dry and then we cut the rest of the cardboard. In this way we have the body and the head ready.
Luego pegamos ambas partes una sobre de otra y empezamos a pegar las alas y los laterales.
Then we glue both parts one on top of the other and we begin to glue the wings and the sides.
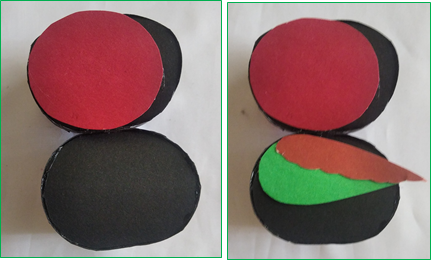
Por último pegamos los ojos, el pico, la cola y el copete.
Finally we glue the eyes, the beak, the tail and the pompadour.
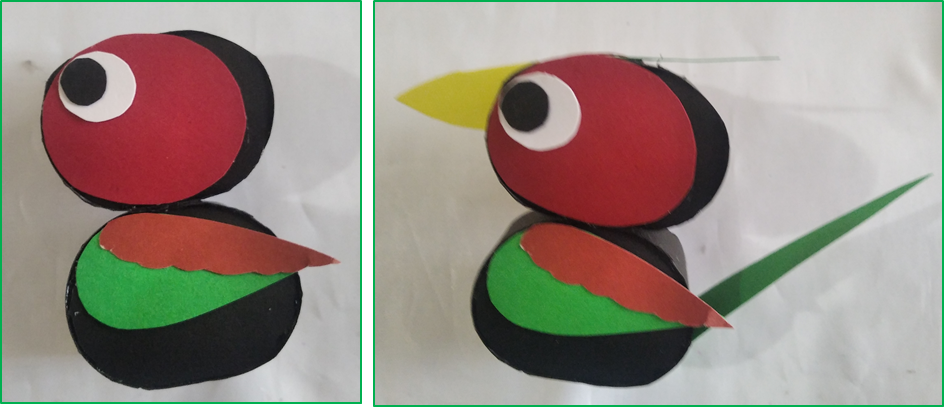
Hermosa y colorida ave