Hello Hive, I hope happiness is happening for you! Welcome to the formal conclusion of my Rocket Stove series! There is still some more work to do before this build is completely finished, but I've already begun straying a bit from the pure rocket stove path with the last post in this series. This one is also more about heat exchange and old refrigerators than rocket stoves specifically, so if you came here for the 'dragon' fire, I'm afraid this post will be a bit disappointing.
Since it's a formal conclusion, I'll take some time now to recap the history. If you just want to see the build, skip ahead to the pictures. For the rest of you...
Our journey began with my first cob rocket stove build, which was a proof-of-concept style test build I made for gathering information before I started building fires in my basement. It succeeded in its main function, giving me the information I needed to move forward with a larger build. It also sparked an idea for a more portable, room-sized rocket stove heater, that hopefully I will have time to tinker with over the next few winters.
In the second post in the series, I tried to walk you through the test build for my home heating rocket stove, which I did not have many photographs of. That was a pretty successful test, and saved me hundreds of dollars on kerosene that winter.
Part 3 is where I actually begin showing the build process for my finished home heating rocket stove. I talk a lot about mixing and working with clay in this build, and some about the 'experiments' I'm still running.
In part 4 of the series, I finish up the actual rocket stove portion of this build. If I had been building this indoors, that would have been the end of it. Since my house is multi-level, the 'stack effect' created some significant barriers to building this inside of my basement, and the rest of the series is about moving the heat from the stove indoors.
The link to part 5 is in the first paragraph of this post. That one details some light metal work I did to build a heat collector around the 'hopper' of my stove. This will eventually be a big part of hooking this build into my existing ductwork.
Here in the finale, we'll be playing with old refrigerators and freezers, and using them as insulated panels to build a large heat collector around the rest of the rocket stove.
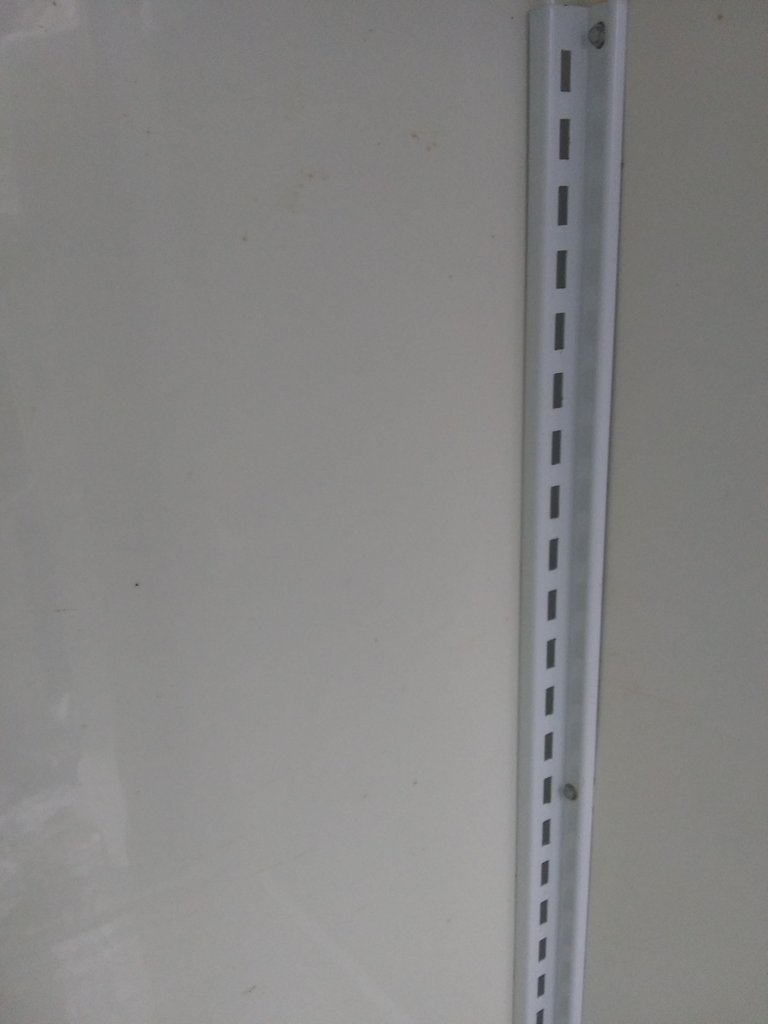
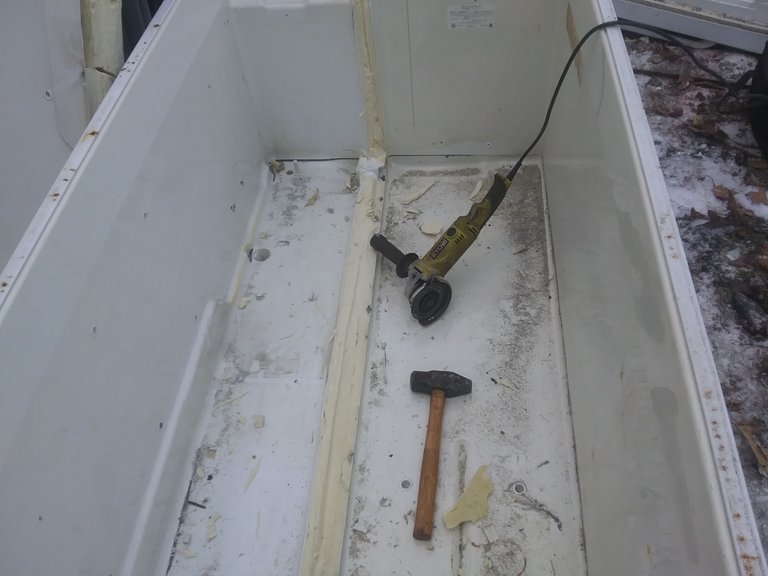
For the first part of this post, I'll be dismantling a refrigerator that has outlived its original use. This one failed because one of the freon lines corroded through and broke, so there is no freon to drain from this system. Freon gas is something that most environmental agencies frown on having released into the atmosphere, so I DO NOT recommend that you go around just cutting up old refrigerators. Where I live there can be pretty heavy fines for freon leaks, but it doesn't seem to be enforced. If you have a refrigerator that doesn't work but still needs freon drained, you can often find a local HVAC guy who will do it for free, or for very little money. For larger systems like central AC and walk in freezers, they may even pay you for it. I'd like to get my own refrigerant collection and recycling system some day, but that'll probably be a project for after I retire. For now, I only scrap refrigerators and freezers if the freon has already been vented for some reason... most other problems I can fix. Refrigerators are full of useful parts, like the shelving system. These are remarkably sturdy, and still in pretty good shape, so I think they'll be a nice addition to my shop space.
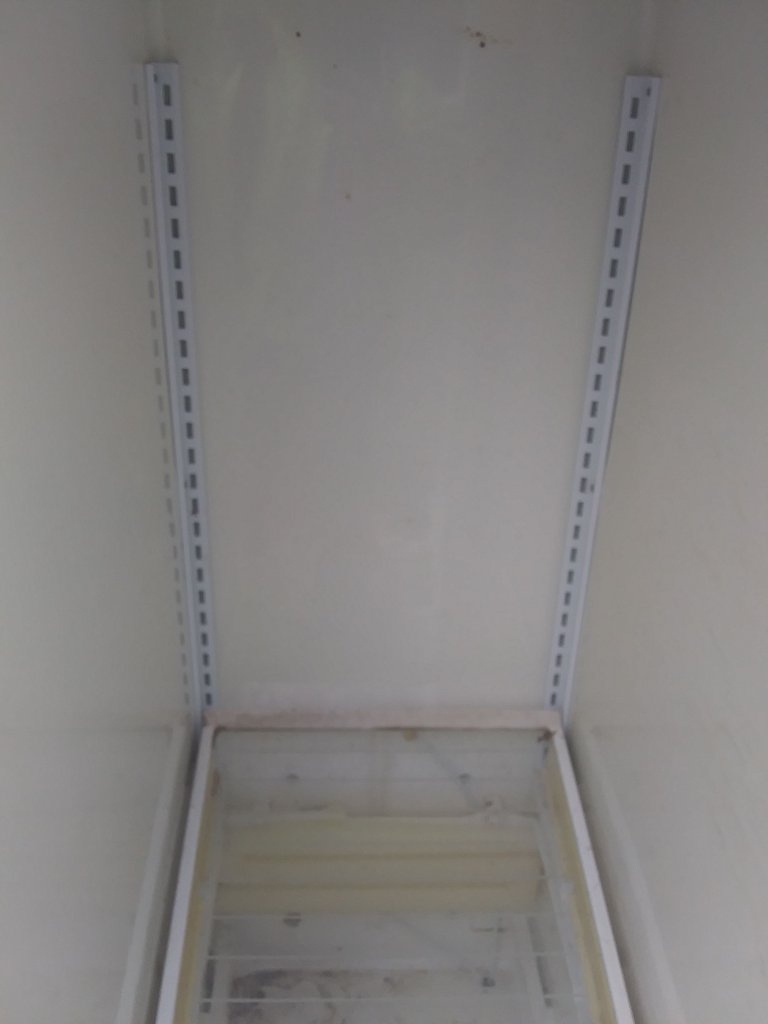
They're held in simply with these hex head screws, which came out really easy. I forgot to take a measurement of the width before dismantling everything, so I'll have to figure that out when I reinstall them. Hopefully I'll remember to take pictures so I can do a post about that later. Along with the shelving, you'll want to remove as much stuff from the interior and exterior as you can before cutting your old icebox up.
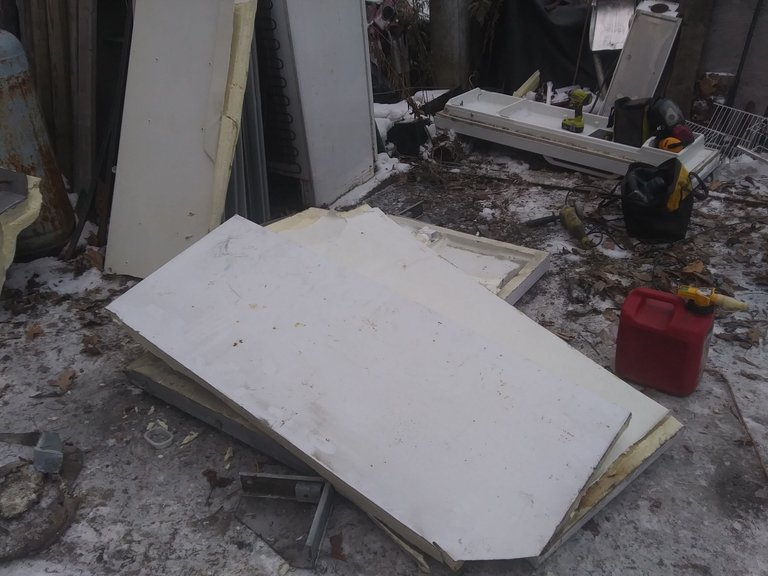
I measured the inside depth, and marked that same measurement around the outside, so I could cut the back off as one large panel. My plan is to use these insulated panels to build a heat collection room around the 'bell' of my rocket stove. This will allow me to direct almost all of the heat from my stove into the house through a basement window. I was fortunate to have the cutoff saw for this work, but it can also be done with a reciprocating saw and bi-metal blades. A circular saw with a metal cutting blade could be used, but on many units it won't cut deep enough to get all the way through.
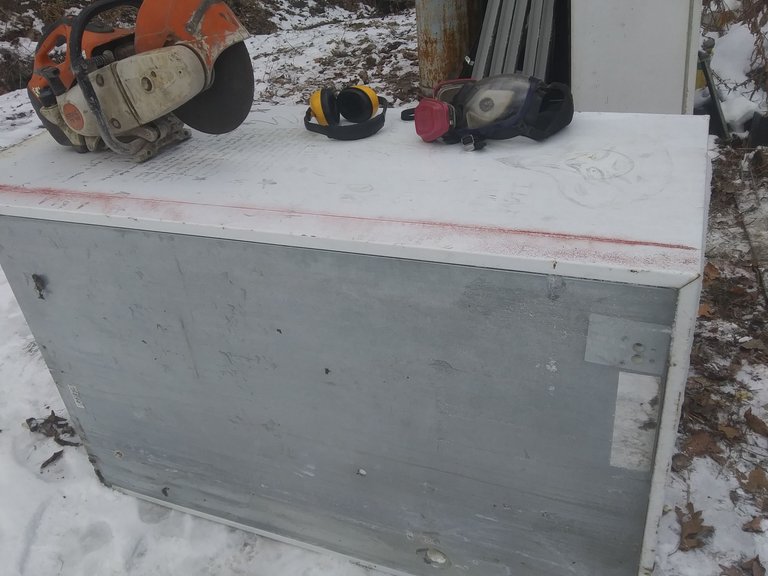
Demolition cuts like this can be very difficult to keep square, so I recommend checking your cut frequently. If you're using a reciprocating saw, sometimes the blade will bend in the cuts too much to stay square, and you'll just have to make due. Cutting up refrigerators, or any appliances for that matter, is almost never pretty business.
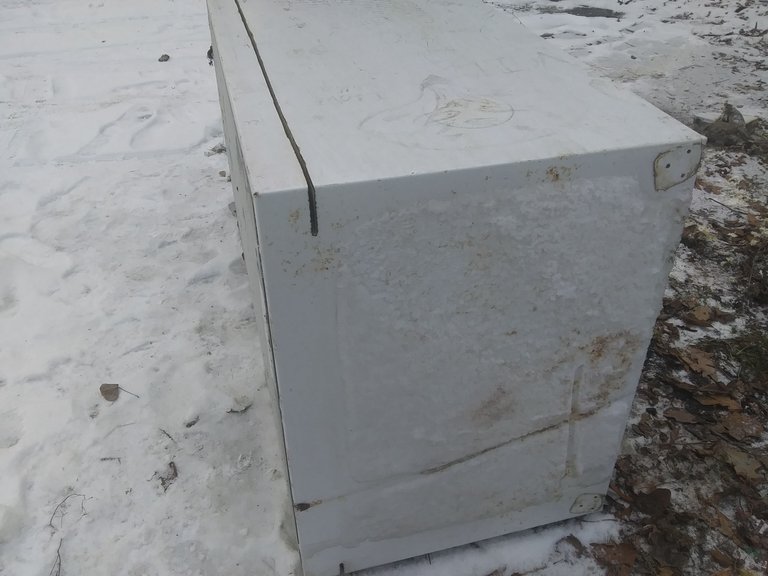
As you can see here, there were many spots that even the cutoff saw couldn't quite get to. Most refrigerators will also have a divide between the refrigerator and freezer sections that will need to be cut out with a grinder. Diamond tooth cutoff wheels work the best for this. If you have to use normal abrasive cutoff wheels, the plastic will sometimes build up on them, reducing their effectiveness. You can use a brick, or cinder block, or even old stone to clean this off. I highly recommend wearing a full face mask, or mask and goggles, for this kind of work.
Once the back panel is off, cutting up the rest is usually pretty easy. Most freezers are simpler to deal with, since they tend to be fairly simple boxes to begin with. I'll do a more detailed post about the other parts later, but most refrigerators and freezers will have at least one heavy duty fan, a high pressure compressor, lots of wire, at least one switch, and usually at least one light fixture. This unit had a fan and a heat exchanger that may get added to the build later, but for now we're just after these panels.
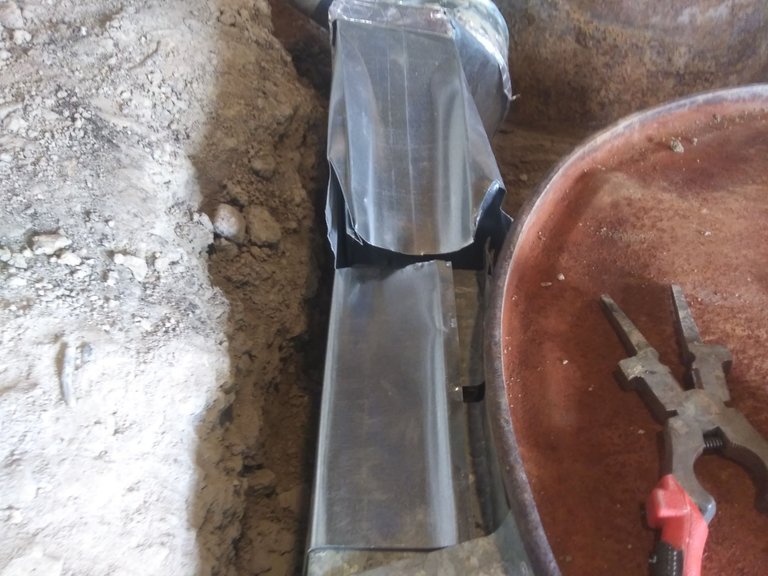
I needed to extend the heat collector around the hopper on the intake side, so I cut some of the cheap ductwork I found to suit my needs. The end of this has a round 6" elbow on it, which I can later connect to the cold air intake when I make this a forced-air system.
I tried using my standard stiff clay mix to cover all this ductwork and seal around the bottom of the panels, but it was too cold the day I was working on this and that whole endeavor turned into a disaster that I discussed in the previous post of this series. In the end, I had to use some portland cement in my mix to get things to set in a timely fashion, but even that didn't last very long. I may have to redesign the heat collector around the hopper, it gets much warmer than I thought it would, and I'm probably going to have to make it smaller so I can put a thicker layer of clay around it.
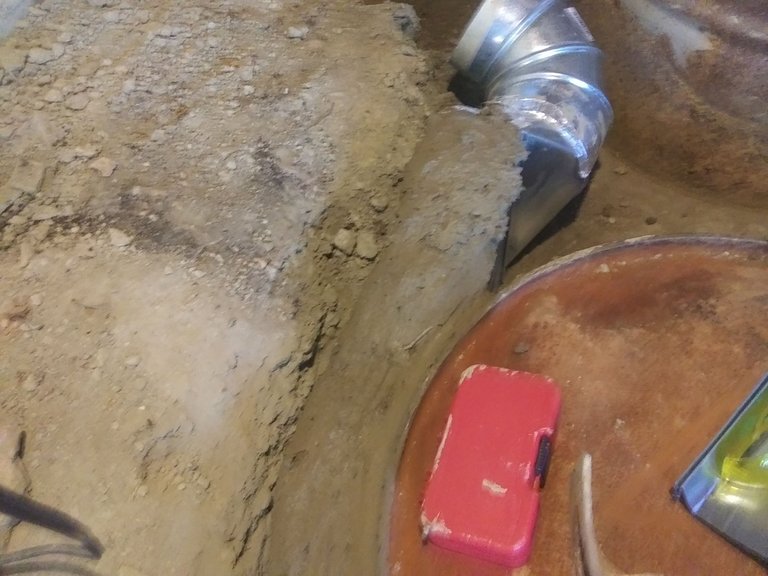
For filling in between the hopper and the native soil, I once again used a wetter mix, and poked it in as solid as I could with the stove poker. This was the only part of all this clay work that ended up going exactly as I had hoped.
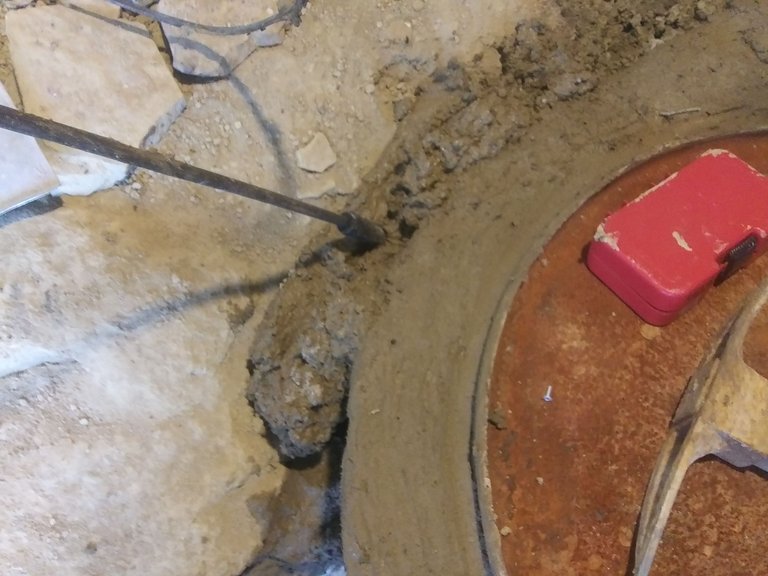
With the area around the hopper filled in, I was able to start putting up the panels. This is where I used the clay that I thought was mixed stiff, but turned out to be frozen. Later in the evening, while I was running the stove, that clay thawed out and sagged, leaving a gaping hole under the panels that drew in all the smoke escaping from around the hopper. All of the wet clay you see in these pictures ended up being replaced with the mix containing portland cement.
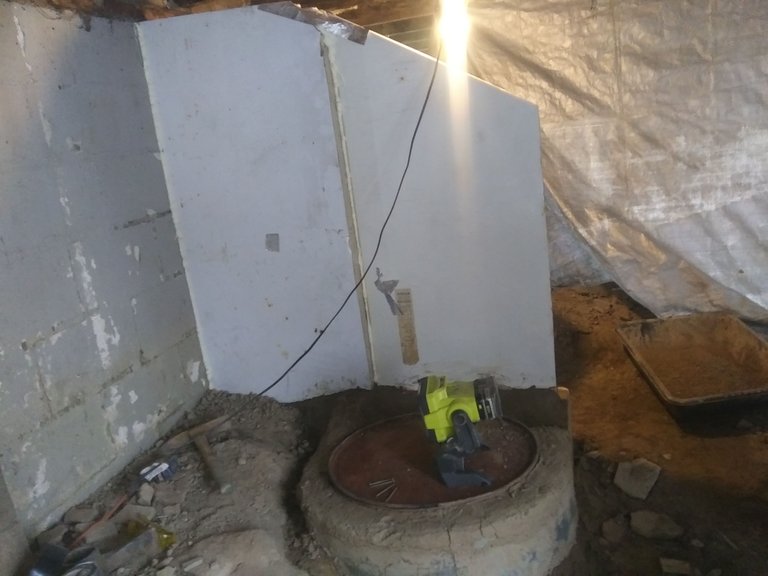
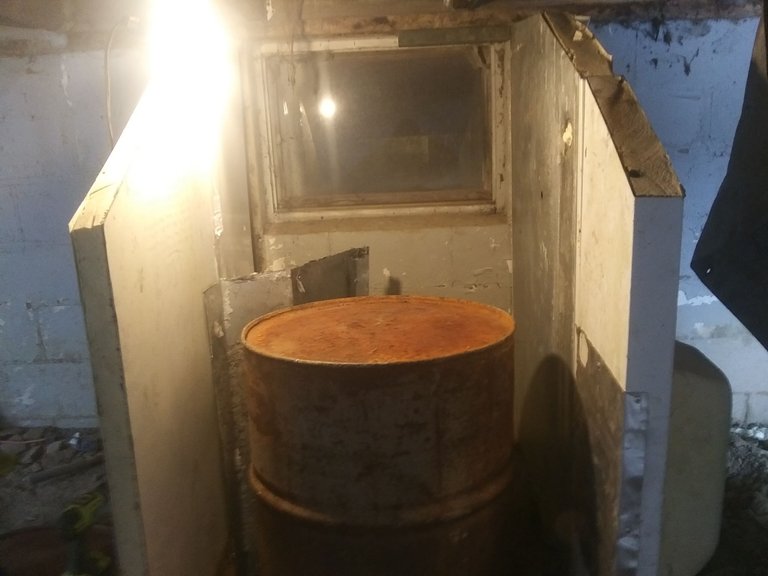
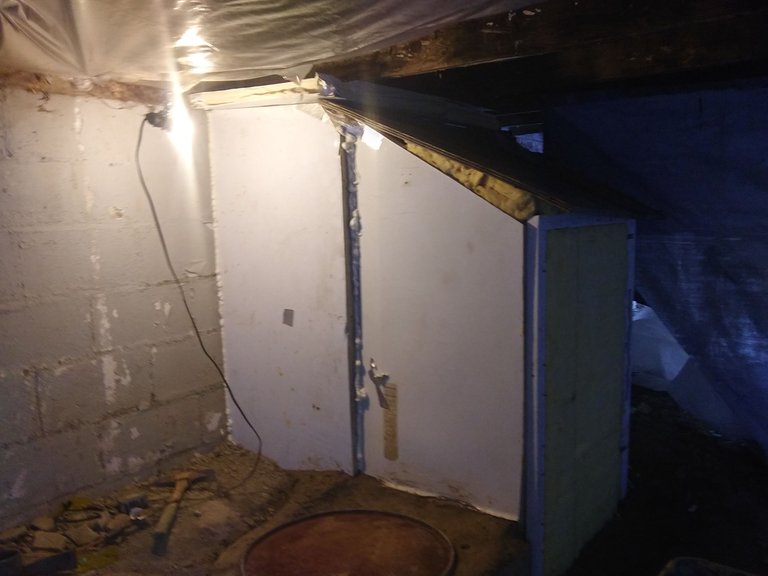
In the picture below, you get a really good view of how all this work directs the heat into my home. When the heat collection room is all built, I remove the window you see here and set up a window fan that blows the hot air indoors. The extra piece of metal you see on the back side of the barrel is a heat deflector I had to put in. The panel closest to the window, on the left side, was installed with the plastic side facing in toward the heat. I thought it would be far enough away from the barrel to be okay, but I was wrong. When I get some of the other junk in my driveway cut up, I'll replace that panel with one that has the metal side facing in.
As the day dragged on, my work kept getting sloppier and sloppier. You can see here that my panel fitment got a bit askew, but nothing some foam insulation couldn't handle. The sloping top is there both to shed water, and to keep the space around the barrel confined. I'm hoping that will help me out when it comes time to make this a forced-air system.
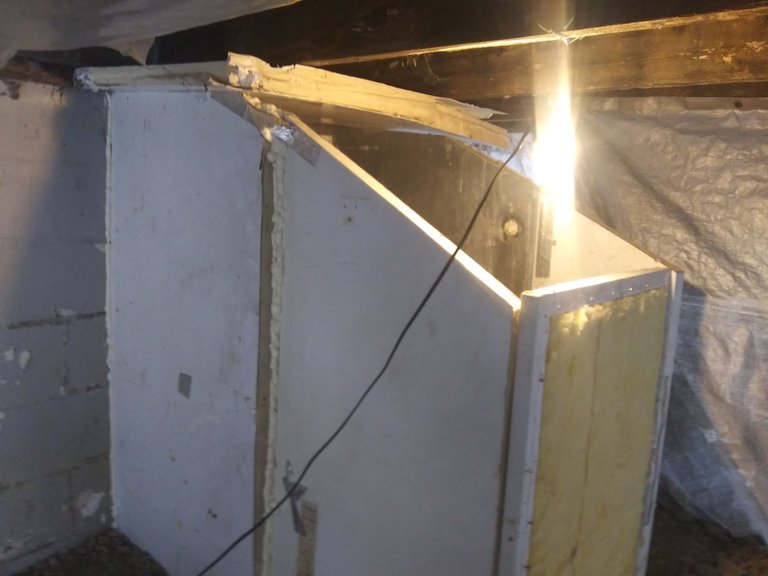
This is basically it, complete. I've already prettied it up a little bit, when I had to re-work all the clay. Next year I'd like to frame it up a little better, so that the roof and back can be easily removed for access inside. All the basics of the system worked extremely well, though some other parts still need to be built up a bit better, and the whole thing needs some aesthetic touches added. The hilarious part about all this work is that after it was all done, my Hedge Witch decided she didn't like the woodstove smell. She liked the warm mornings well enough to put up with it on the really cold nights, but for now, I'm still heating mainly with kerosene.
There are a few reasons why it still smells so much like woodstove. One is that water still evaporating out of my clay and ash mixes is carrying a pretty strong odor with it. Another is that I'm still having some issues drawing in smoke around the heat collector on the hopper, due to the clay around it continually cracking. Now that it has warmed up some, I may be able to repair that and give it enough dry time before heating that it will hold up, but I'm thinking for now it will be easier just to plug the ends of the hopper portion, since it doesn't seem to pull in smoke from anywhere around my new 'furnace room' now.
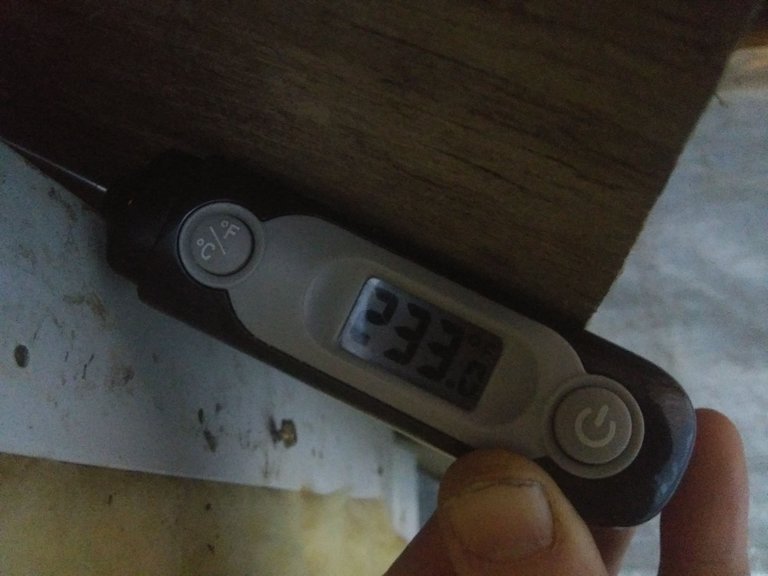
To show some numbers, the temp below is the temp inside my furnace room, about half an hour after lighting the stove, and roughly 24" away from the side of the stove 'bell'.
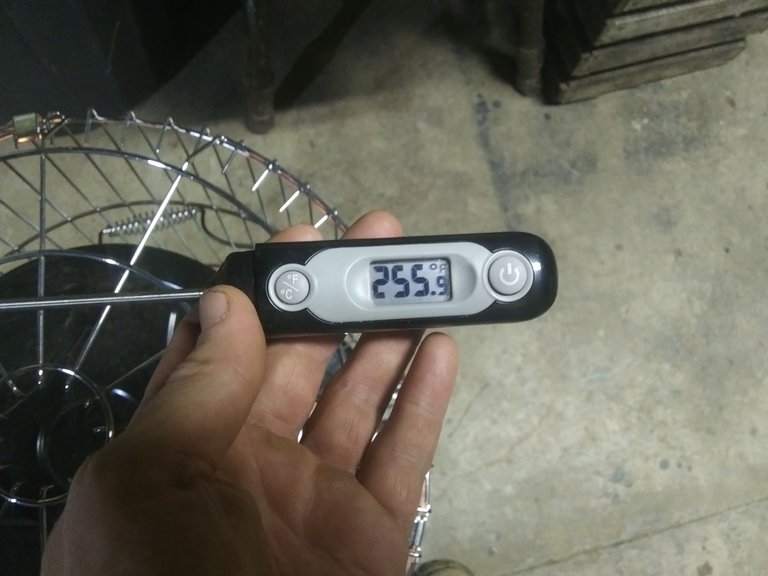
This is the temp I get about 12" above the kerosene heater. I bought a no-contact thermometer so I can get some better readings from the hot parts of the stove, but I haven't actually measured them yet. I still have a lot of information to collect, like wood consumption in lbs/hr, and some temperature readings on the basement wall that gets warmed by the stove exhaust. I also still have some things to finish, and possibly change, with the exhaust system. None of that will be happening in the near future, though. For now, weather is nice enough to drop the stove, and move on to gardening!
Although this is the formal conclusion of my rocket stove series, there will still be other rocket stove posts. I'll keep tweaking this system until it is my main heat source, and when I build my green house, I plan on heating that with a rocket mass heater. I'll also be revisiting my idea for a small, portable, room heating unit, once I've run a few more experiments with pourable and refractory clay mixes.
I thank you all for sticking with me through all this madness, it certainly has been an adventure on my end! I hope I've inspired you to seek some cost-saving, house-warming adventures of your own, and maybe even helped a bit with your own designs. As always, I'm happy to answer any questions in the comments below. I may not always reply promptly, but I will reply.
This is so super ipmressive! I only got the last part - I'm going to have to go and read the other ones now!
Thank you, a lot of work and planning went into it!
Posted via D.Buzz
Your post has been featured in the Lotus Garden newsletter which will be published tomorrow.
You've been curated by @minismallholding for Natural Medicine's homesteading newsletter, supporting gardeners, permaculturalists, foragers, environmentalists and other earth centred relationships with the earth.
CommunityIIDiscord
Thanks for the support!