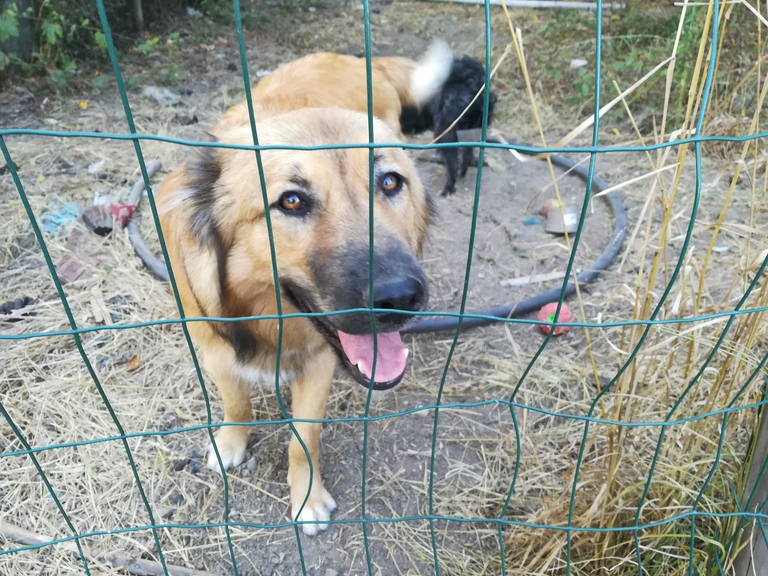
Here are the two mutts, in front the attention hogging Roxy and hiding almost out of view Chilli. Both are rescue dogs and complete characters in their own right.
Free as in more space
We are fortunate enough to have a sizeable back yard with tons of space for the dogs to run around, unfortunately the fence needs repairs and whole gaps filled in some places. Because of this we cannot let the dogs roam free there without supervision as they would both get out eventually.
We live right next to a road, where people do unfortunately not obey the speed limits meaning we could have a tragedy on our hands if the dogs got into the road.
I have run through a multitude of possibilities for making the back yard more accessible. Right now we walk out the gate by our houses entrance, then walk on the road next to the house, gaining access to the back yard by going through another set of gates on the left side of the house. This means when our kids want to go play they also have to walk next to the road, it's really not ideal.
My wife and I agreed it would be better to have a gate at the back, so that for now we could keep the dogs out, until we fix the fencing, while giving us all easier and safer access to the yard.
Two becomes one
I am a big fan of using what you have, we did price up ready made gates and the cost of buying new posts etc. but baulked at the prices. We need to make sure we can put the gates up without having the dogs run loose.
I managed to figure a way to move the gates around in such a way that we could keep the dogs in place and have the minimal time frame where they could make a break for it.
On the side of our house we have these two gates, my plan was to remove one, then move it around to the back of the house.
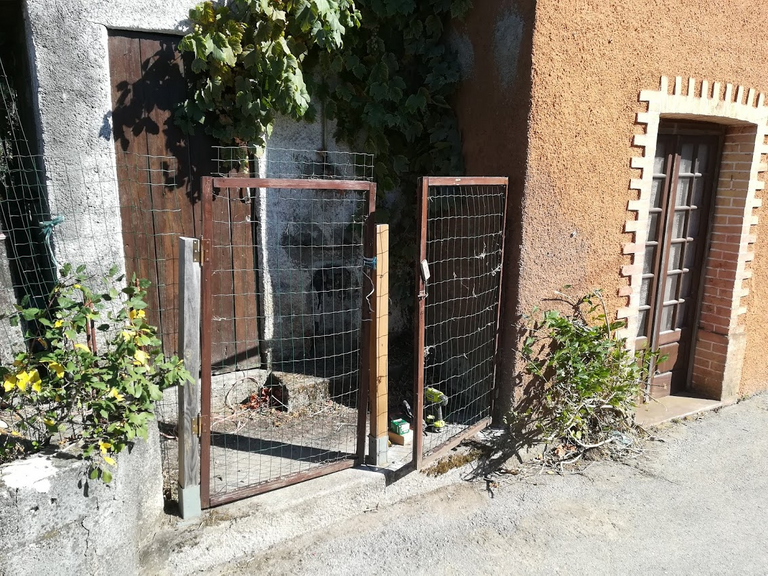
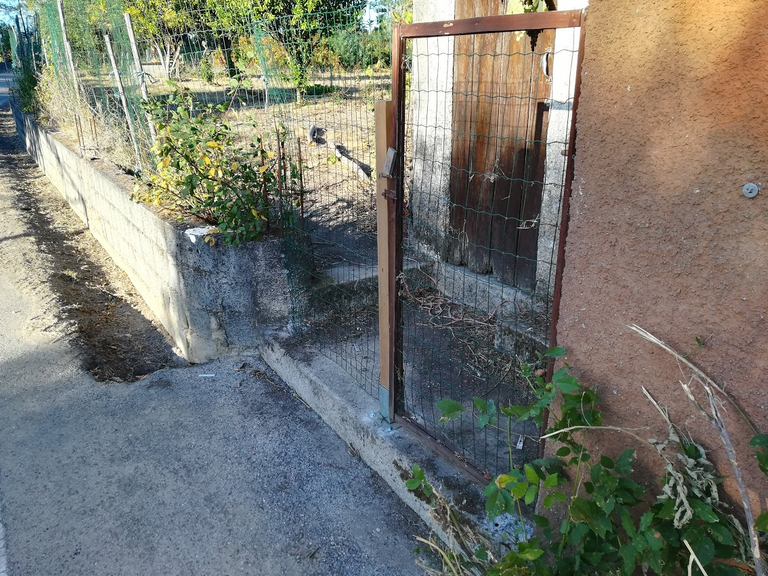
By the time I took this photo I was already part way into the process, the right hand gate was mounted on the post you see between the gates. I took the gate off, mounted a strip of woo against the wall and then screwed the gates hinges to that.
The post was moved to the middle, you will see why soon.
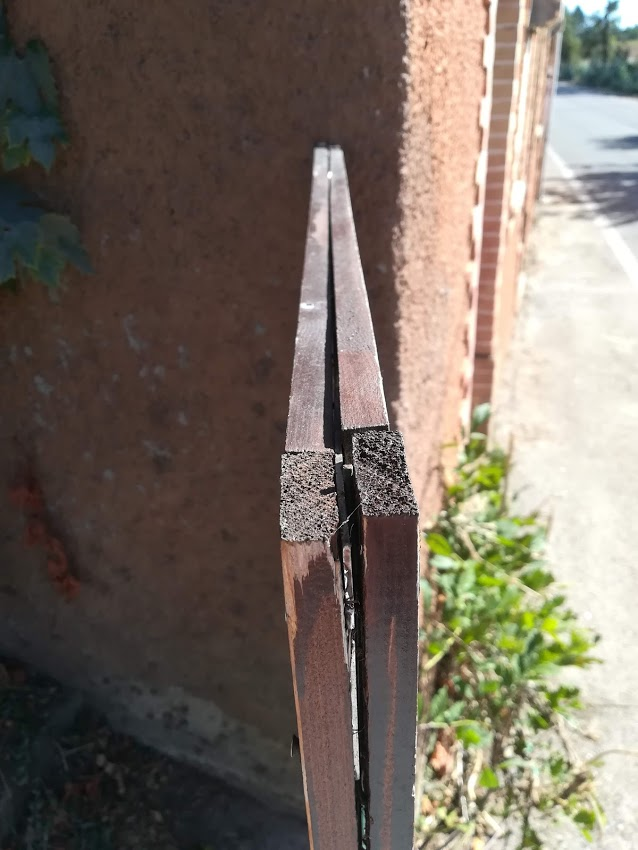
These gates are home made and quite loose and weak. A section of fencing is sandwiched between strips of wood, quite a neat idea actually, I will be using some left over wood from another part of the house to give these a bit of rigidity. Fortunately we live in an area where the crime rate is low, so these gates are meant to keep out wild pigs, foxes and keep our dogs in.
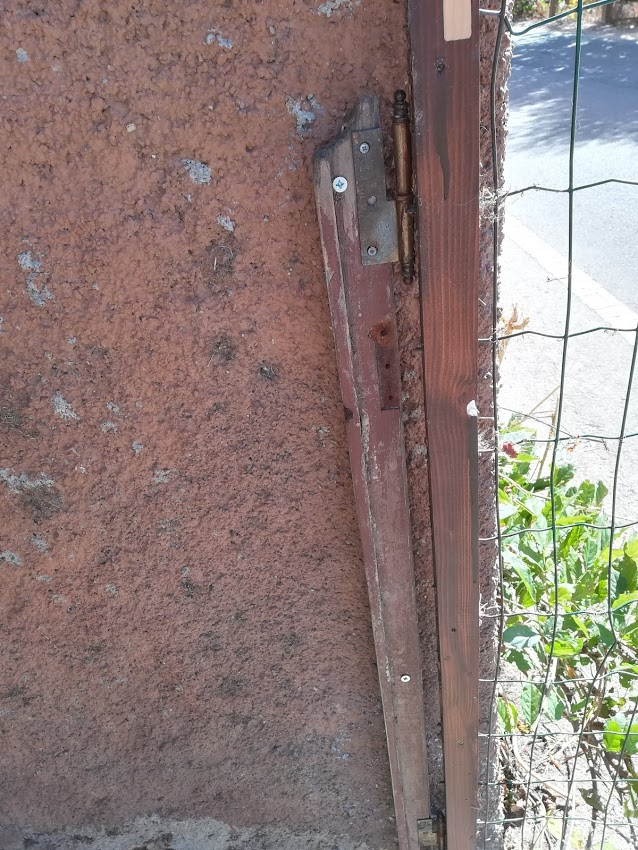
Re-use, recycle! Even the strip of wood against the wall is repurposed junk. This happens to be part of a door frame that had been left outside to rot. I cut it in half and use one piece here, the other would be for the back.
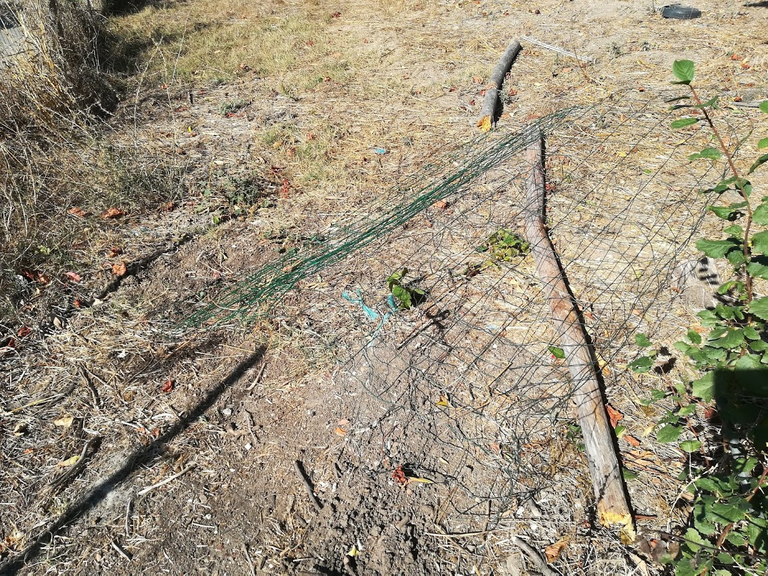
More trash being repurposed. This time a bit of fence will be used as a ...
fence!
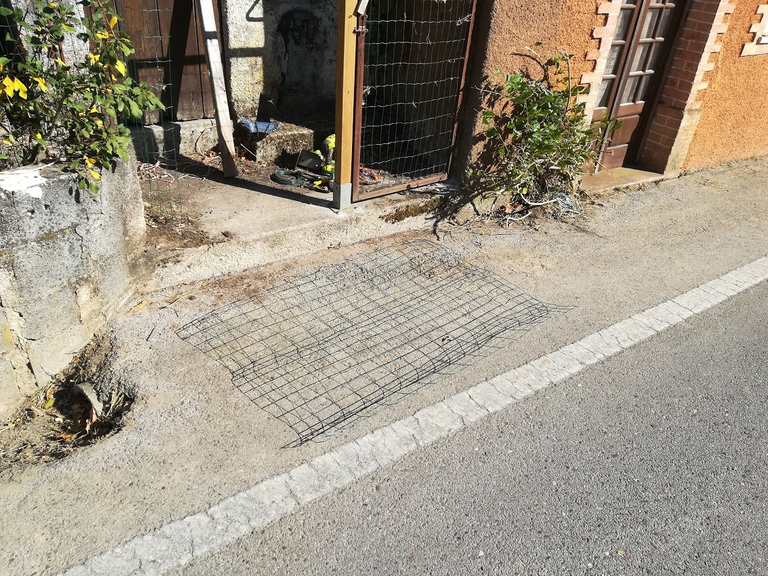
I lay it down in the road and stood on it a few times to get it straighter. I did not take photo's but one side was attached to the wall on the left of the photo, using wall plugs and screws with the washers used on roofing, these have a metal washer and a rubber washer in one. They seem to keep a good hold on the wire of the fence.
The other side of fixed to the wooden post, using screws with the same roofing washers.
Meanwhile 'round back
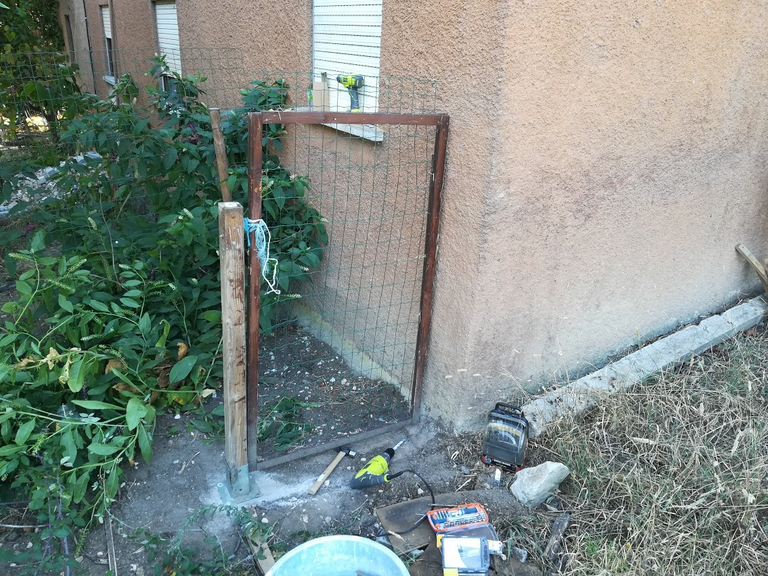
Please excuse the state of the back yard, between the internal renovations and taking on 2 extra projects after hours I have managed to completely neglect my yard :(
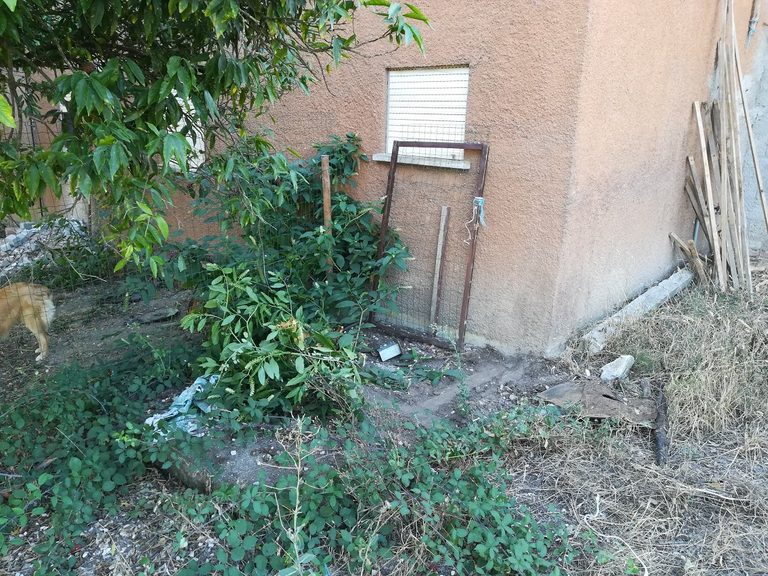
Here you can see the second gate as I was planning where to put it. The bits of wood on the right are what I have managed to pull off of out terrace roof so far. The thin strips will be used to strengthen these gates up a bit.
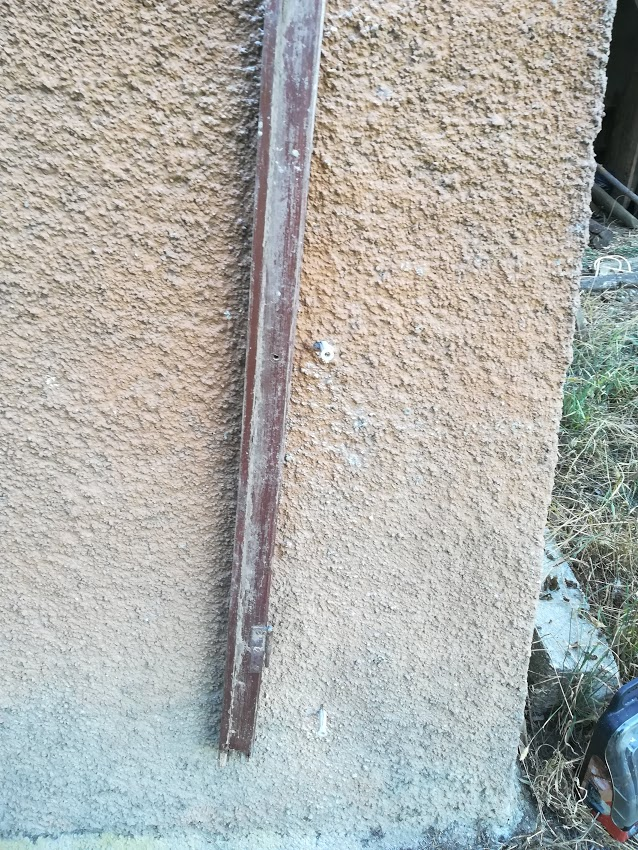
I mounted the length of wood on the wall by drilling holes through the wood, the drilled the top most hole in the wall.
After inserting the wall plug and turning a screw into it, I used the handle of my hammer to try and get the bottom of the wood at an equal distance from the edge of the wall to the top. I used a small diameter drill bit in the drilling maching to mark on the wall the position of the other two holes.
Then I move the wood out of the way and drilled the other two holes.
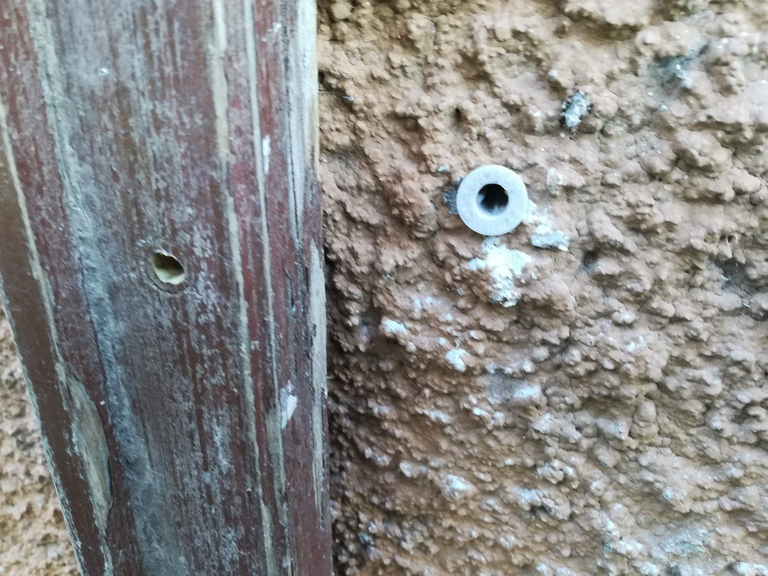
Heres one of the wall plus and its corresponding hole in the wood.

All the screws are in, oddly it looks very skew in this photo. Maybe it's the angle it's taken at?
Keep me posted...

You may have noticed from an earlier photo that this gate was also mounted to a post. Well same as the front, I decided to reuse that post so that I can latch the gate onto something, and to attach the fence to.
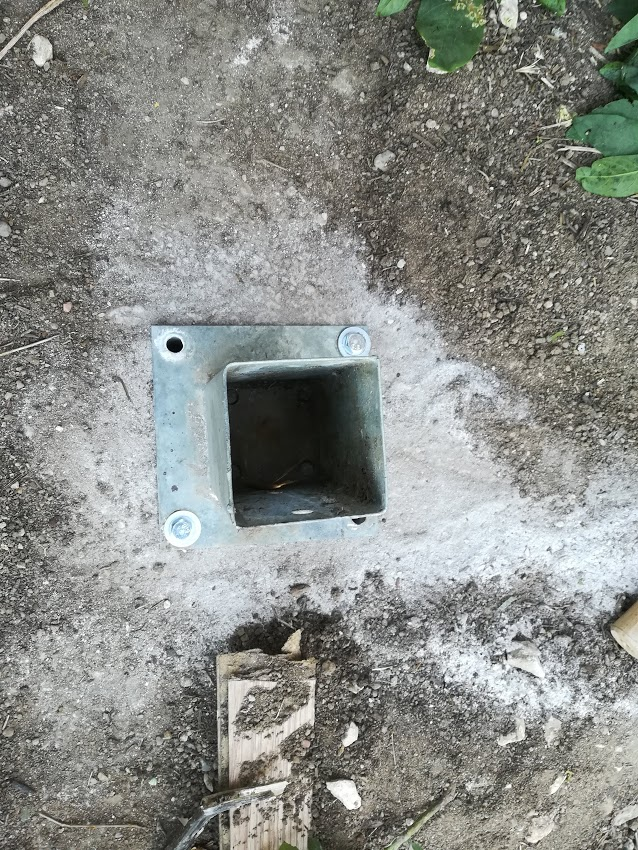
Fortunately (unfortunately?!?) , we have a french drain right next to the house so I was able to reuse the base that the wooden post goes into as well. I simple cleaned up a spot (it really needs some cleaning...) and drilled small holes in each of the corners where the holes in the base are.
I then proceeded to drill those holes out to the correct size and installed rawl bolts. I need 4, but only have 2. It seems even when I buy a box of screws / bolts I run out some how :(
I mounted the base nonetheless, as it will be easy to remove to install the missing two.
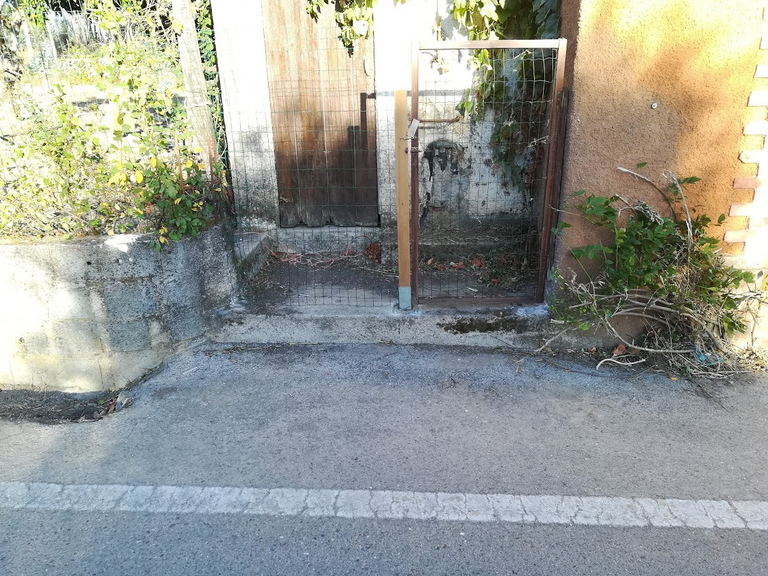
Above is a photo with the wooden pole dropped in loosely. I will fix this in place when the base is secured.
At that point I will be able to remove the fence from the pole in the background and bring it around to meet this post. Then we will super easy (and safe) access to out back yard! But first I need to go to town to buy supplies.
And so out day ends
It was time to head inside and have dinner, so my son and I packed up, but I could not resist taking a shot of the gate. The work is not all done yet, but we need to stand back and appreciate not wasting money sometimes.
All I have purchased for this so far were a few screws, washers and rawl bolts. Everything else was repurposed.
Yes new gates would have looked nicer, but at what cost? Sometimes having something look nice is about more than just the financial side. I deplore buying stuff to replace other stuff, so am happy with the compromises I made here.
Posted from my blog with SteemPress : https://scrips.io/blog/shaunmza/recycling-gates-to-set-our-dogs-free/
Congratulations @shaunmza! You have completed the following achievement on the Steem blockchain and have been rewarded with new badge(s) :
You can view your badges on your Steem Board and compare to others on the Steem Ranking
If you no longer want to receive notifications, reply to this comment with the word
STOPVote for @Steemitboard as a witness to get one more award and increased upvotes!