The following series of photo's took place over the period of a few days. It took me a while to get into a rhythm, but once I found it I got work done quickly.
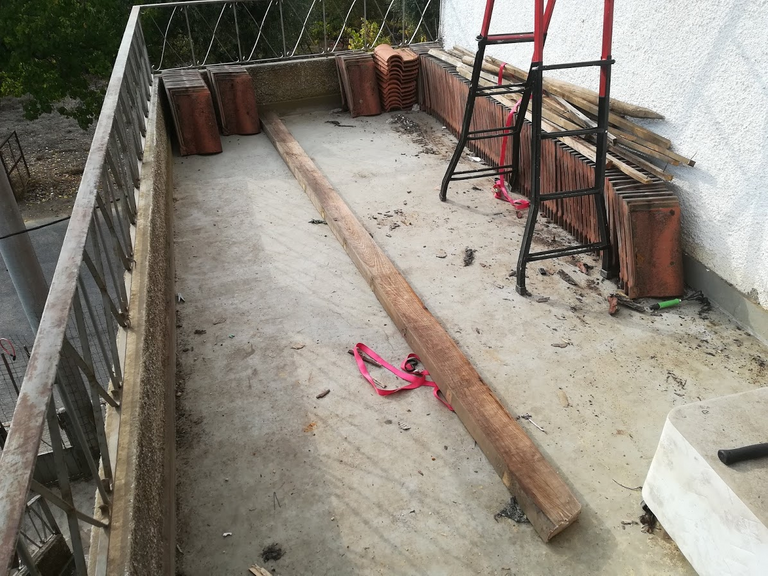
One down many to go
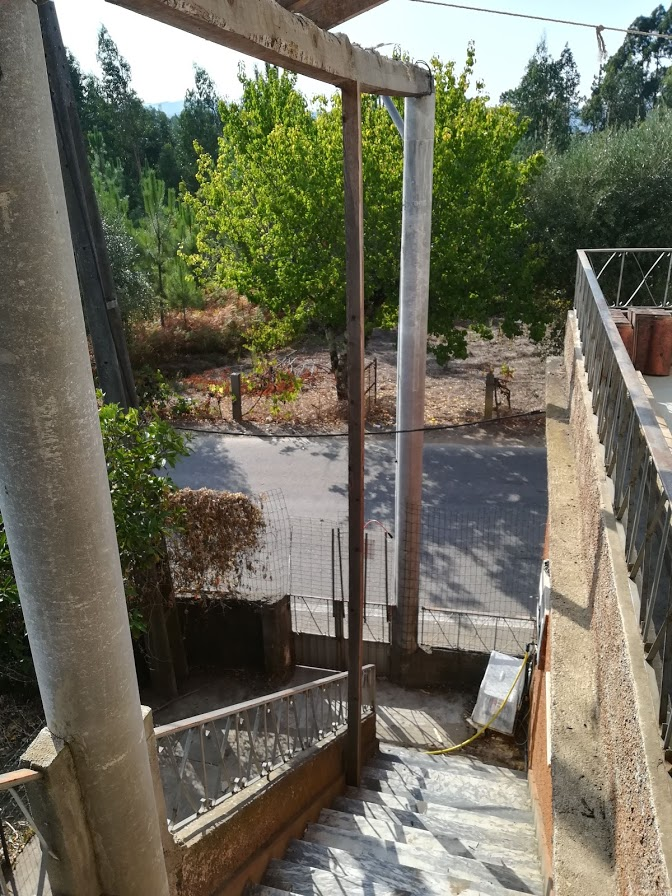
The first of the not so rotten beams was the hardest, again with it's proximity to the road, standing at the top of a ladder on the edge of the terrace...
Nonetheless I got it down and did not fall off the ladder. I had an idea to get the beams off relatively safely, meaning they would not fall on top of me as I took them down. It did not work out exactly as I had planned, however I did learn I was overcomplicating things. My next attempt was much simplified.
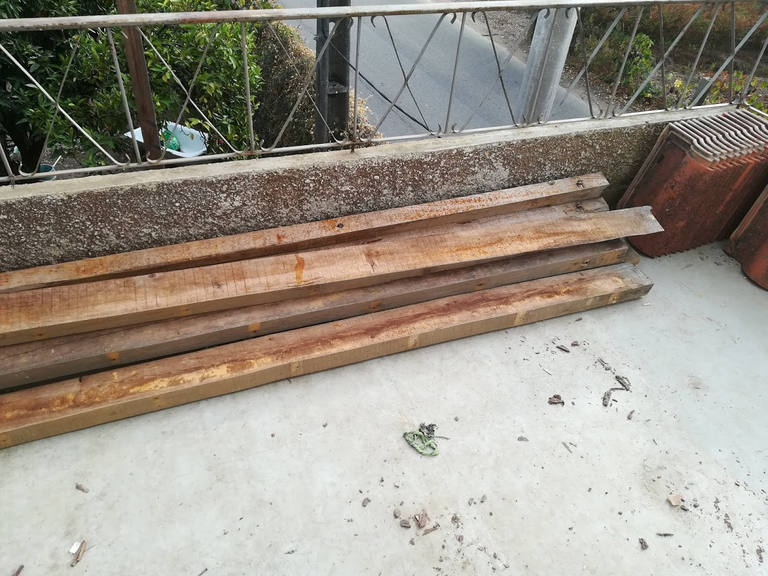
Looking at the wood in the photo, it really does not look bad, on closer inspection you can notice how many holes it has in it caused by bugs boring into t and eating it up from the inside.
I have a camera!
I remembered and started photographing some of my progress again.
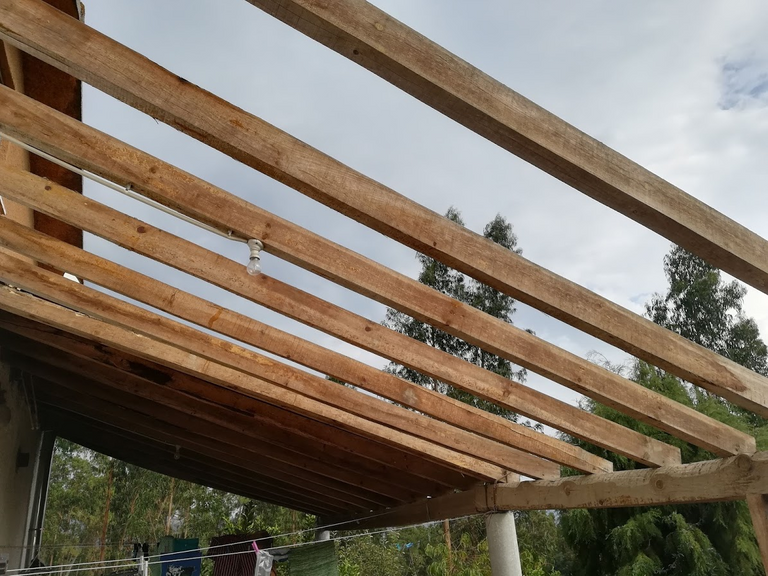
Here I had taken off all of the smaller supports that the tiles were packed onto, I was determined to get this down and soon!
I wanted it done before the rain started in earnest, which would make working on top of the terrace much too treacherous.
A few beams down, many to go. At this point I managed to get two down a day, after work. It's some pretty heavy lifting and the afternoon sun had me perspiring profusely. Lifting those beams of while balancing on a ladder also did not help.
If you are going to do it alone...
You may as well be smart, or have a plan.
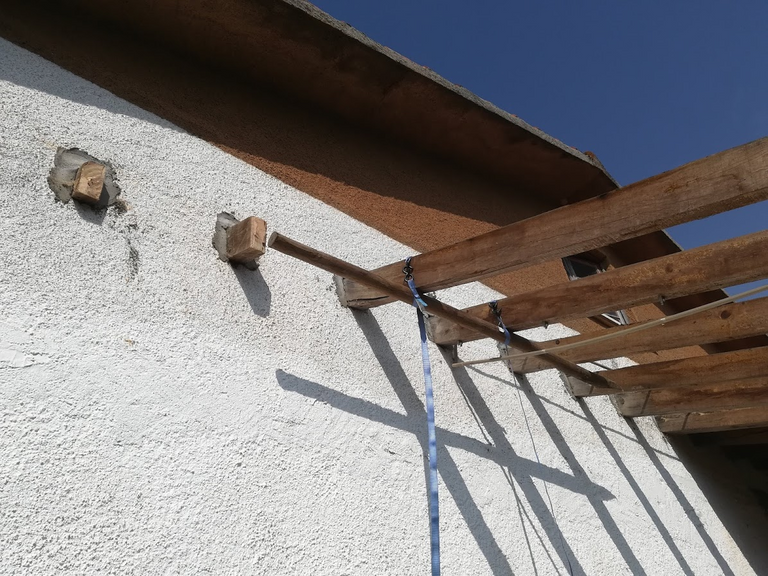
My plan was to have a treated pole tied to the beams adjacent to the one I was removing. This allowed me to cut it, once I had cut through it rested neatly on the pole. This gave me a chance to get off of the ladder, put down the tools, reposition the ladder to climb it and start moving the beam down.

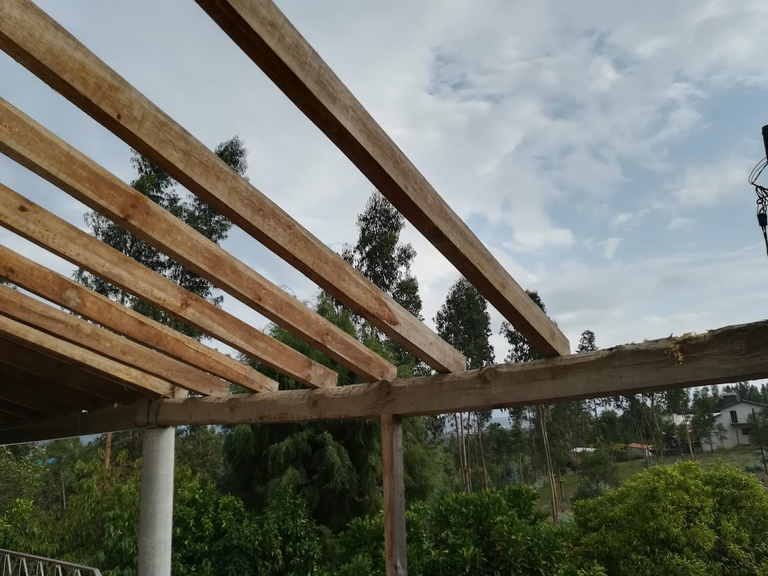
Bit by bit, beam by bean I repeated the same process, getting 3 done in a day. Still not fast enough.
This long pole was starting to loosen up a bit though as the weight it had to carry got less and less. I would end up tying it to the railing so we would not bump it over accidentally.
Slower than going in circles
I have seen a few people on YouTube and the like using cordless tools that I would never have had thought would be worthwhile.
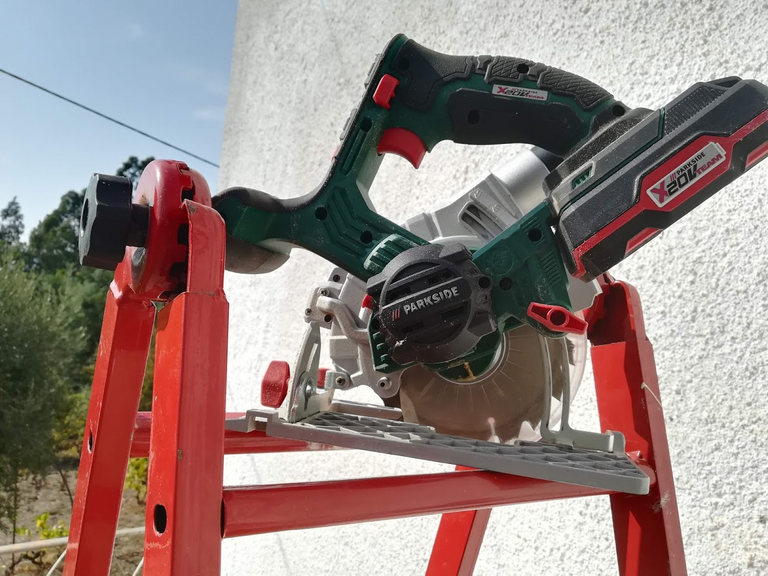
One such tool is a cordless circular saw. Such a tool needs speed and torque, right? Batteries simply cannot deliver the Volts and Amps needed for sustained high speed and torque.
I bought this tool a while back on a whim and thought this would be a good test of its usefulness.
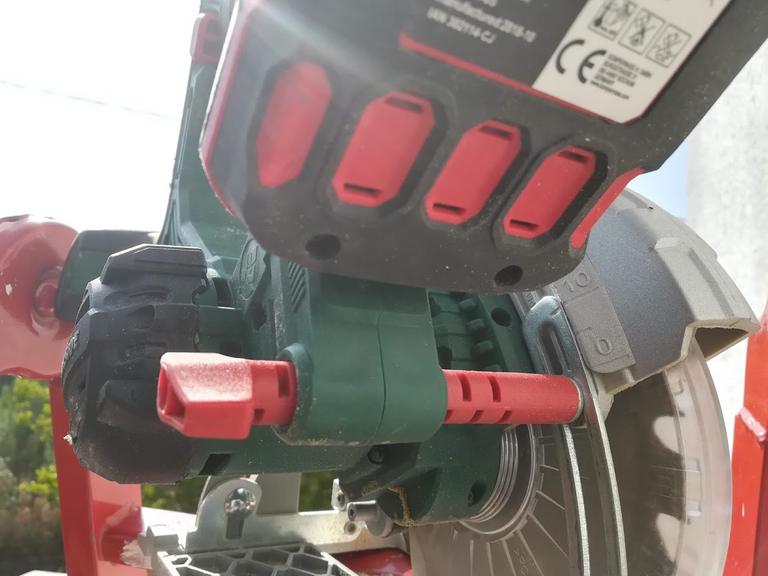
At first I tried to cut the full depth in one cut, but it jammed quite often and started smoking pretty quickly.
I let it cool down, thinking I had just let all the magic smoke out, whe it cooled I tried again, this time cutting no deeper than 10mm a time.
Unfortunately it is quite unwieldy standing on top of a ladder and still trying to make a straight cut with this tool where the battery is hanging off like a tumour.
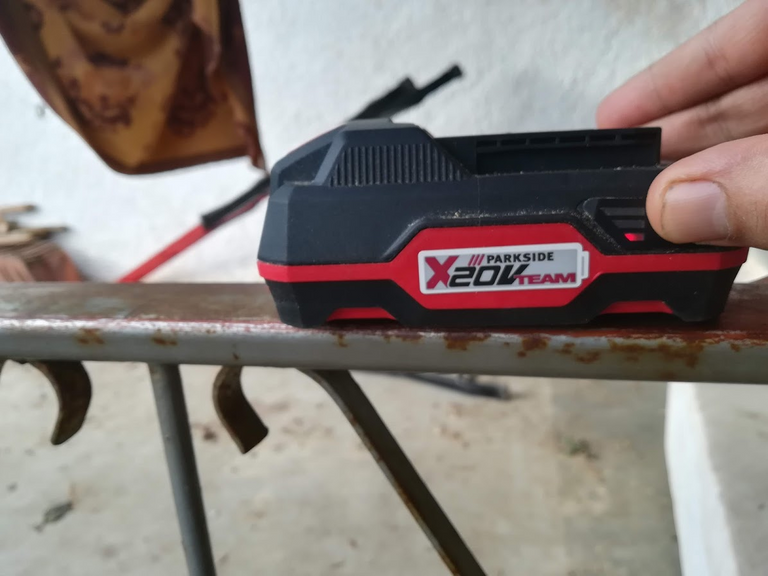
I could get through at most two beams before the battery was completely drained. I always leave the battery to cool down and rest for a while before charging it up again. Eventually I tried to just use a handsaw.
And whammo, in one afternoon I took down the remaining four beams, much easier. My arm was jelly at the end of it, but one big part was done.
Now I had to figure out how to bring down a huge rotted beam hanging a meter plus away from a floor!
Posted from my blog with SteemPress : https://scrips.io/blog/shaunmza/taking-down-our-terrace-roof-part-iii/
Hi @shaunmza, as a member of MAPXV, you just received an upvote. This info-message is to announce that the ADDAX trading game will start Round 2 on Monday 23 September. Read the new announcement on ADDAX.
Thanks and hope to see you in the game!
Hi @shaunmza, as a member of MAPX, you just received an upvote. This info-message is to announce that the ADDAX trading game will start Round 2 on Monday 23 September. Read the new announcement on ADDAX.
Thanks and hope to see you in the game!
This post had received 21.59% upvote from @steemitportugal account!
Our website has lots of news and tutorials you can visit right now at www.steemitportugal.com
Click here to vote

Delegation for daily voting: 10SP-25SP-50SP-100SP-250SP-500SP-1000SP
Hi, @shaunmza!
Thank you for using the #diy tag. This post has been rewarded with BUILD tokens in the form of an upvote.
Build-it is a new tribe on the steem blockchain that serves as a central hub for DIY and How-to's contents on steemit. The recommended tags required when creating a DIY artcle are #diy, #build-it. #how-to, or #doityourself. You'll get rewarded with BUILD tokens, which can also be exchanged for steem on steem-engine when you use any of the recommended tags as well as posting via our website.
We encourage steemians to post their DIY articles via our website. Have a question? Join us on Discord and telegram
This project is run and supported by our witness @gulfwaves.net. If you like what we do, vote for us as a witness on the steem blockchain
@shaunmza, Reflects that you've put lot of Manual Work. And with that you've described all the process effectively. Stay blessed.
Posted using Partiko Android
Congratulations @shaunmza! You have completed the following achievement on the Steem blockchain and have been rewarded with new badge(s) :
You can view your badges on your Steem Board and compare to others on the Steem Ranking
If you no longer want to receive notifications, reply to this comment with the word
STOP