Hello my people of @steemit in this opportunity I bring you a recipe that you will love, because in times of crisis the inventiveness of the Venezuelan has to come out afloat, providing new alternatives in the agri-food field.
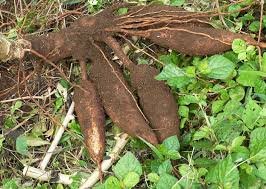
In this sense, we will talk about a tuber called Yuca whose scientific name "Manihot esculenta", it is a food that is grown in America, Asia and Africa, whose main characteristic is to provide a high content of carbohydrates in the form of starch, in addition , it provides us with vitamin A and a great variety of vitamins belonging to group B (B2, B3, B6, B9) in the same way this tuber is rich in folic acid and minerals such as potassium, magnesium, phosphorus, calcium, iron and sodium.
As for the benefits provided by this tuber, it can be mentioned that it improves blood circulation and because it is rich in carbohydrates, it is a food that is easily digested by our body, making it healthy for athletes, children and adults. Similarly, "Manihot esculenta" helps maintain strong bones and prevent iron-deficiency anemia.
Consequently, due to the benefits that this food provides us, I would like to share with the community the following recipe:
Regarding the ingredients:
• 1 Kg of yuccas
• 50 g of butter (optional and a matter of each person)
• 2 egg yolks ((it is optional and question of each person))
• Cheese grated to taste
• 1 glass of milk
• Salt to taste)
• Oil (to taste)
As for the preparation:
Step 1: Once the yucca is purchased, we proceed to peel it and cut it into pieces of approximately 15 cm (this is according to the container you use for cooking)
Step 2: After peeling and cutting the yucca, we proceed to properly wash it and cook it until it softens.
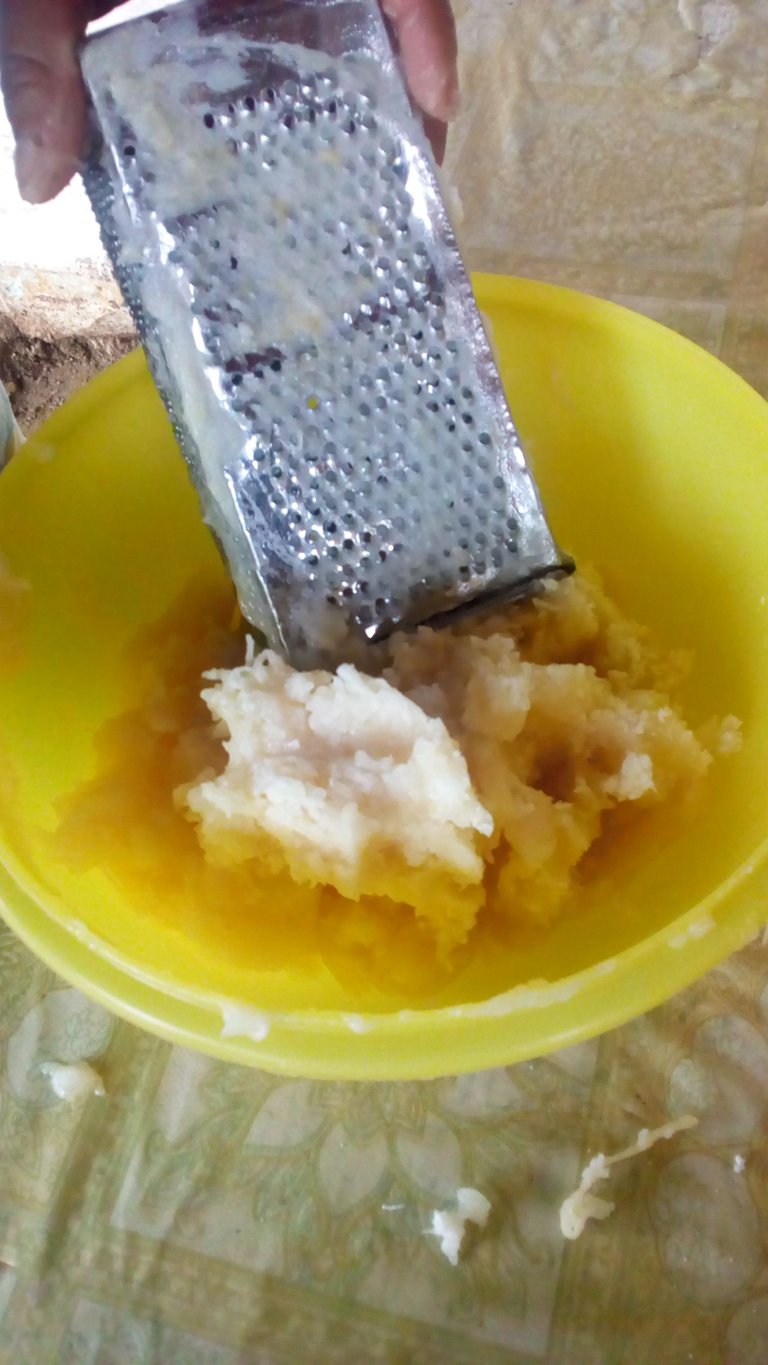
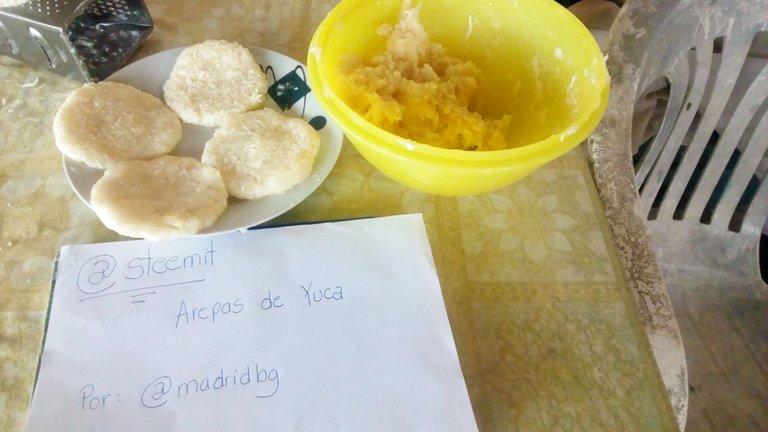
Step 3: After the cooking process, remove it from the heat and let it cool. It will be subjected to a grating process until it has a kind of puree. (see next image)
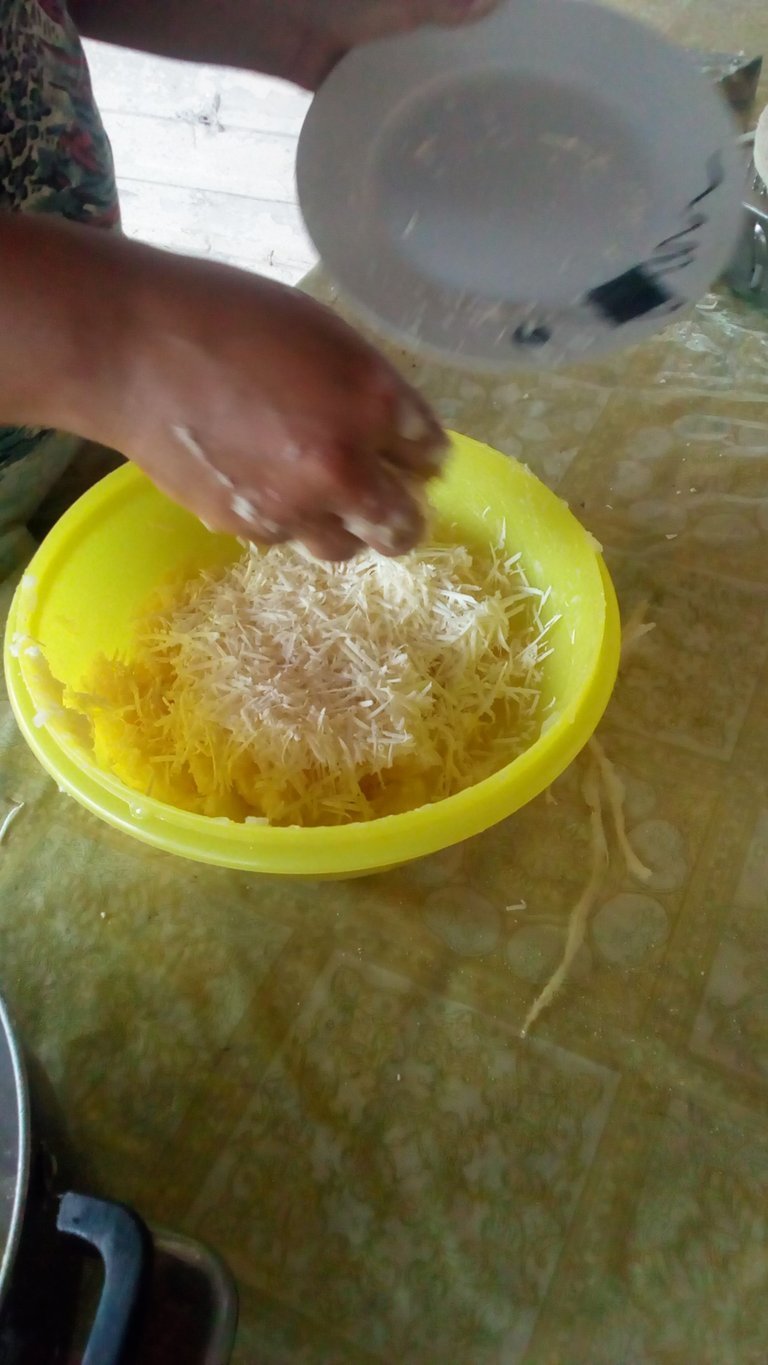
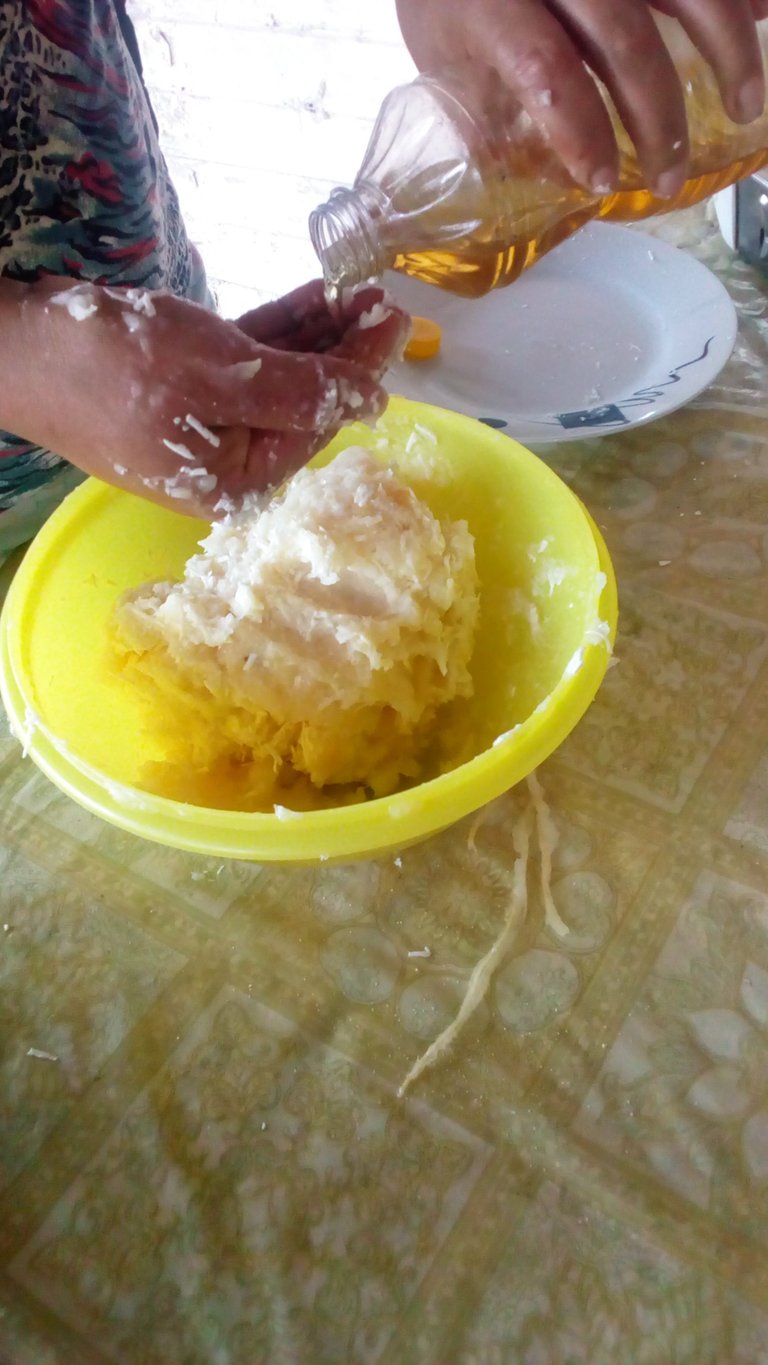
Step 4: Mix the puree obtained with the milk, the grated cheese, the butter and the yolks, add a pinch of salt and knead until everything is integrated. (See next image)
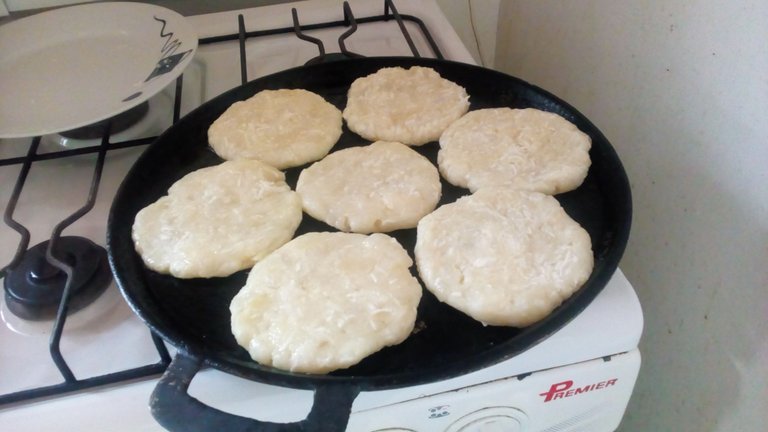
Step 5: Once the dough is obtained we proceed with the process of making the arepas, for this we make balls with the dough that are smaller than our hands and apply pressure with them until obtaining a flat circumference. (see the following figure)
Step 6: Once the arepas are made, we proceed to place them in a pan, which must have been previously heated and sprinkled with a small amount of oil. In this sense the cooking process will end when the arepas brown on both sides
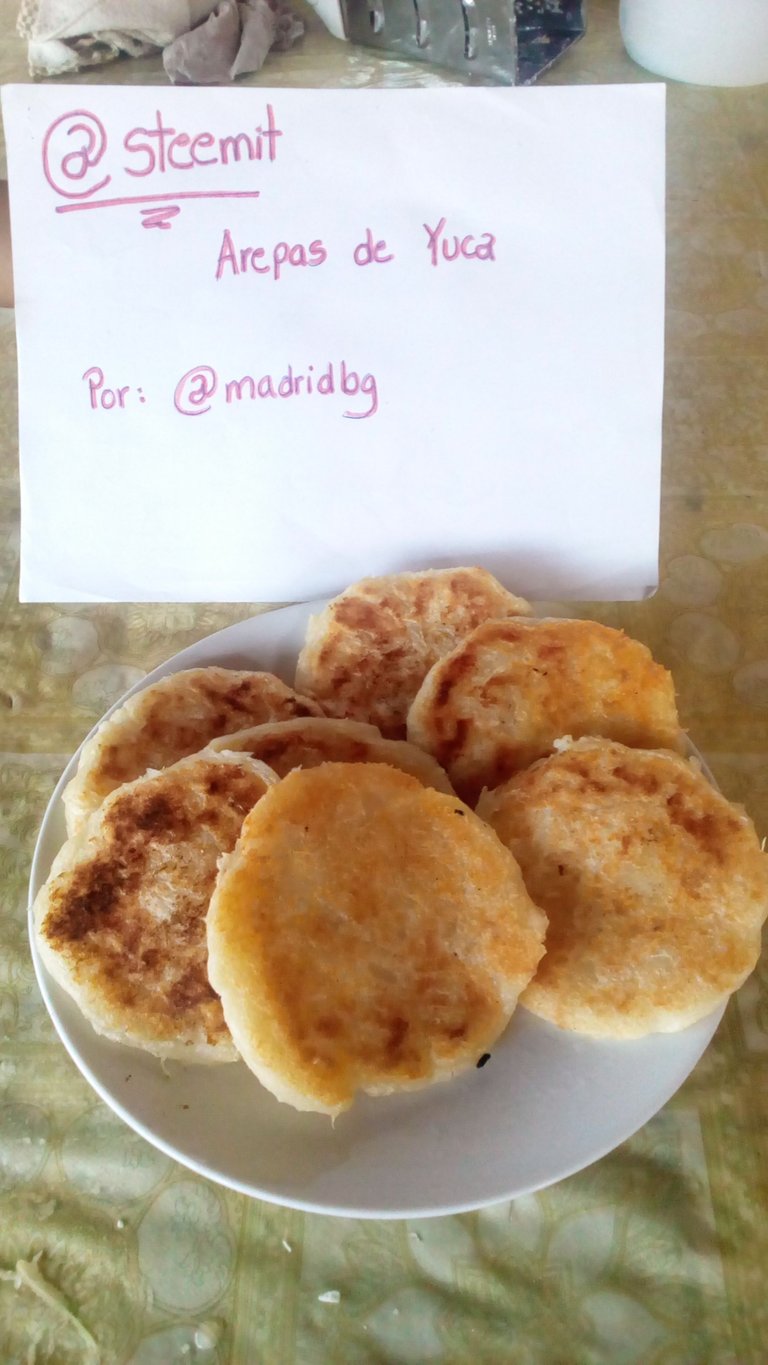
Step 7: Serve the arepas accompanied by cheese or cream of milk (the recipe of the same we will be publishing later)


I hope you liked or helped my recipe, I hope your support through @Madridbg
Step by step pictures were taken by @Madridbg with the BLU SELFIE phone with the help of @Miladis