Looks like its been ages since I wrote anything here. The thing is I do want to write. But, with all work, new projects, and my own lab work finding a good amount of time is hard. Finally, this weekend I took an off. So here I am. But for today I won't be writing science. I will try to do that tomorrow. Well, because I took this weekend for some me-time. And what I love doing in my me-time is cooking. So here is something rather novel I tried - Chicken keema stuffed Idli.
Picture taken by me
What I rather wanted do here is making precise note of quantities used, time to heat for and watts used for heating. The idea is to be able to reproduce this dish everytime I crave it. I finalized a protocol for this, which I am going to share today.
Picture taken by me
We will divide this into two objectives -
Objective 1 - making chicken keema masala
Objective 2 - making stuffed Idli
Materials required
- Mustard oil (I used mustard oil but you can use any other of your preference). - 60ml
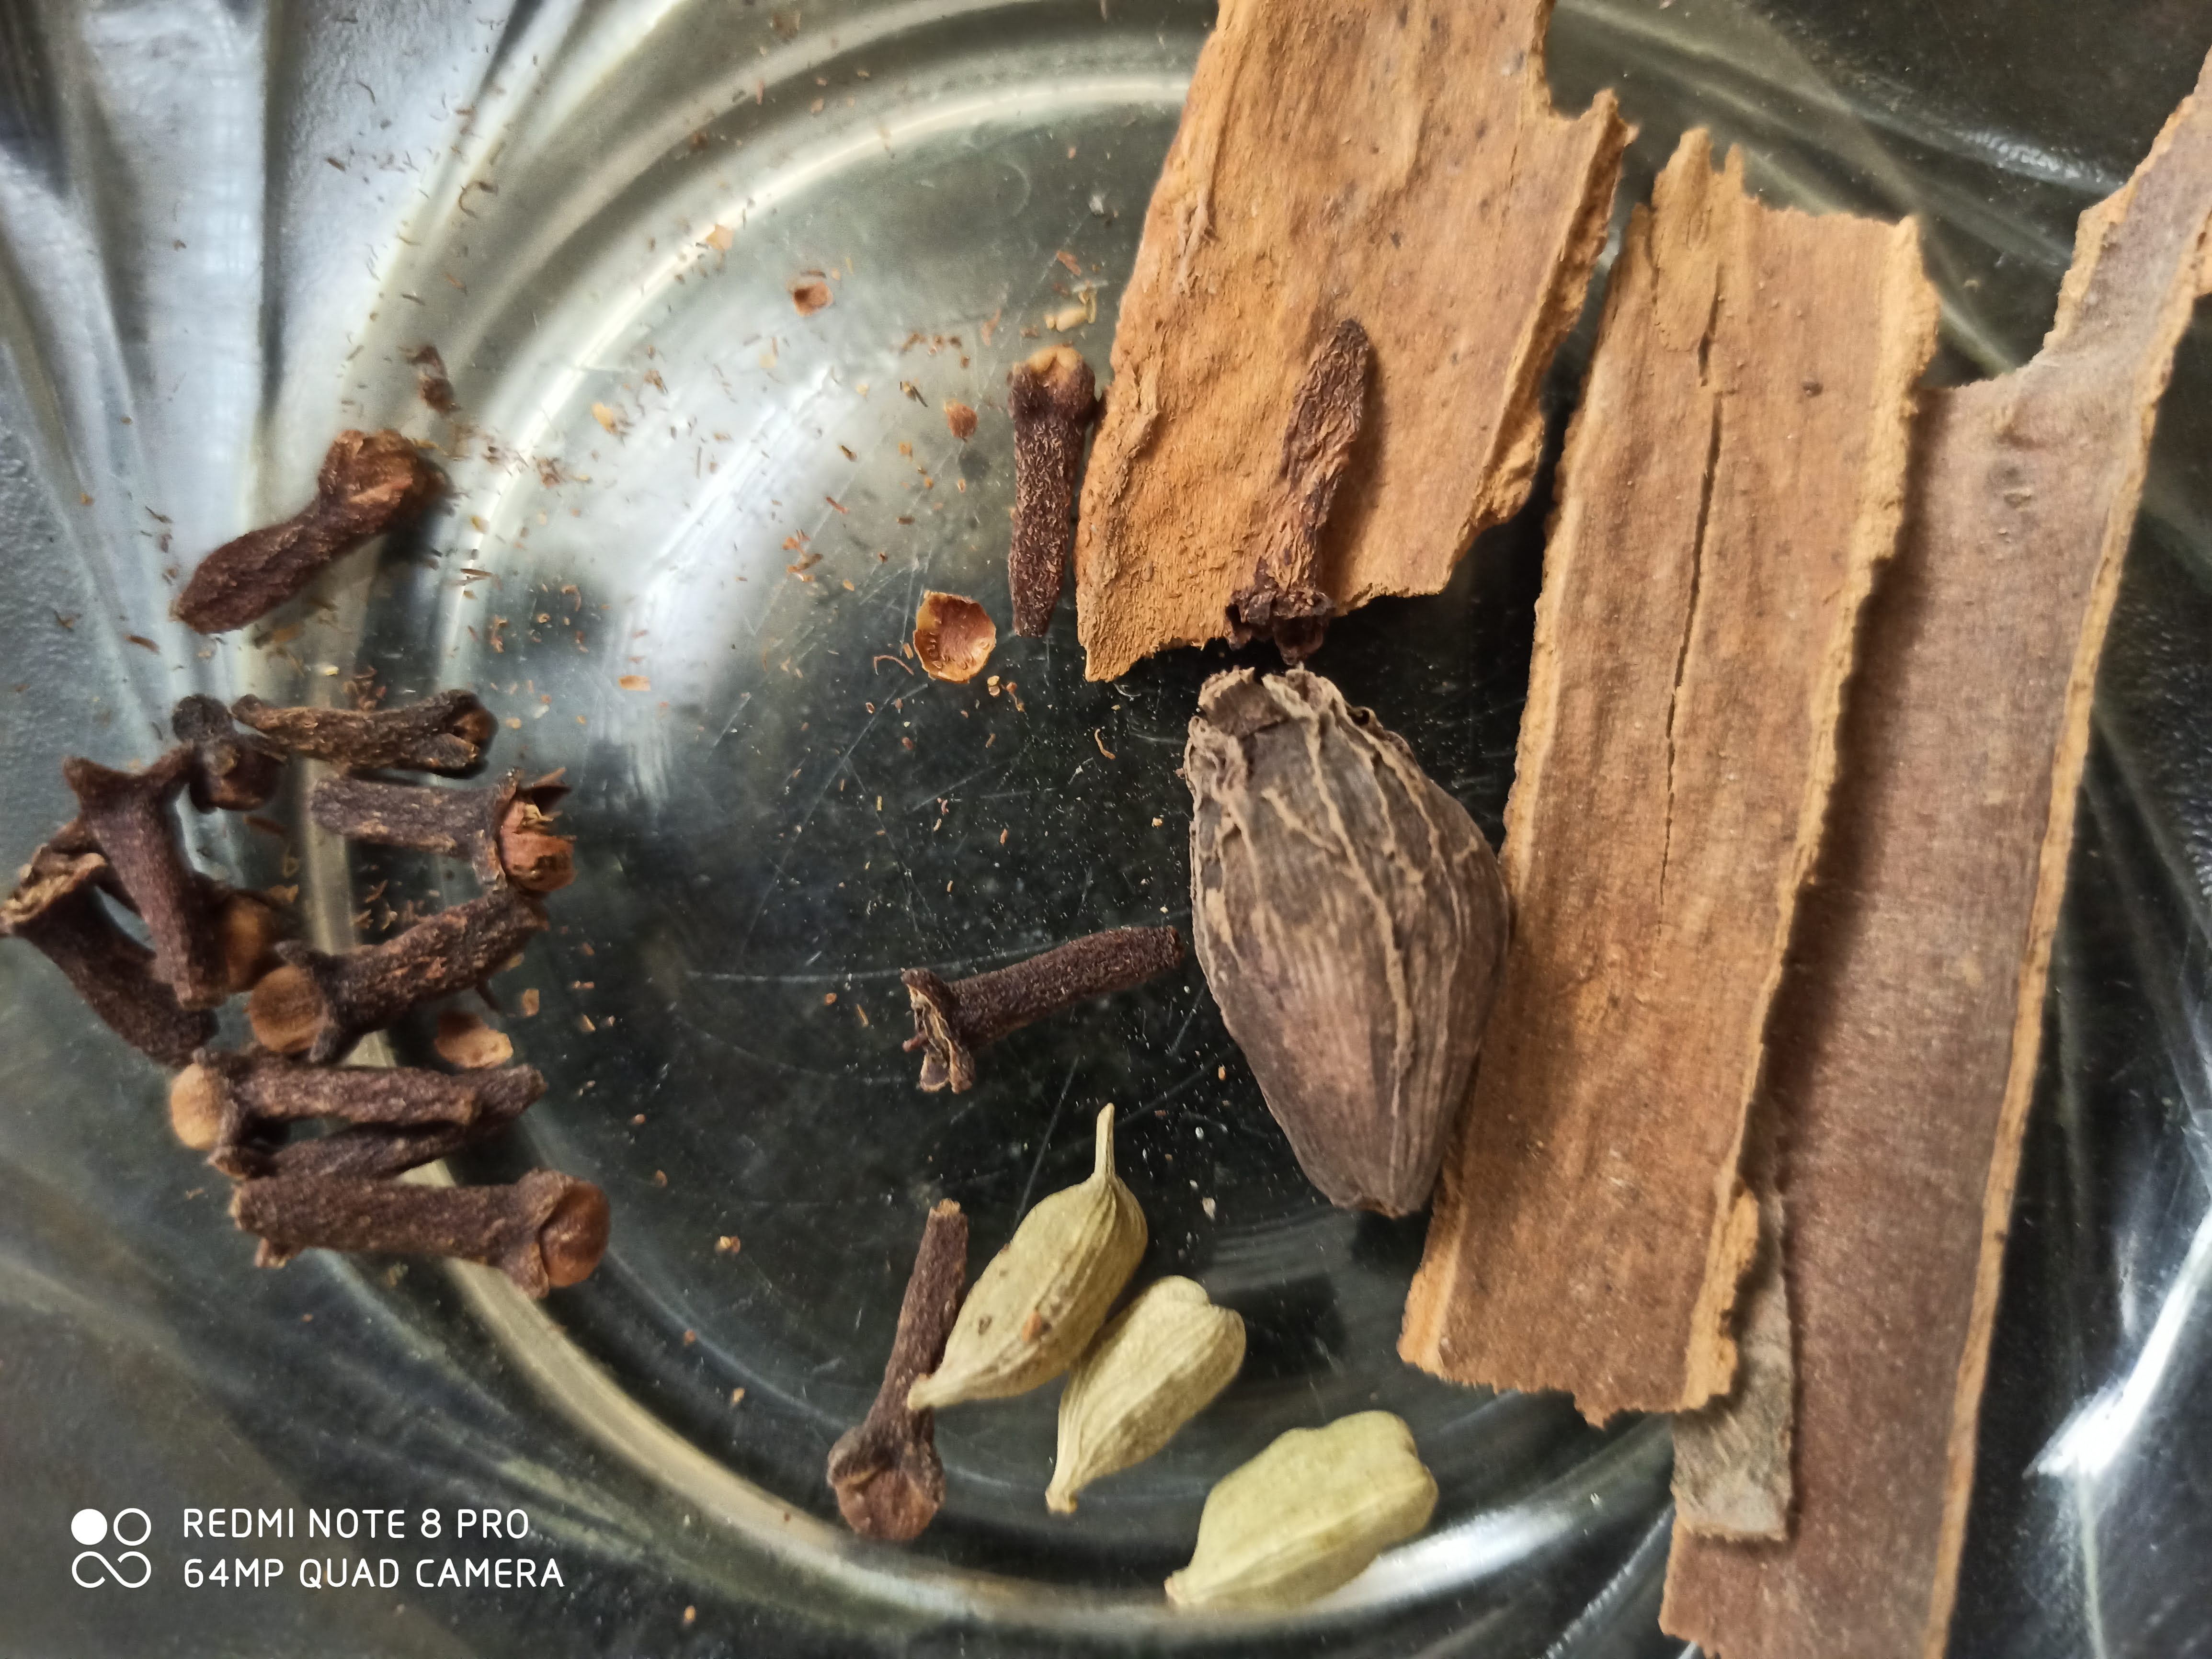
- Cinnamon bark strips (dal chini)
- Clove (long).
- Black Cardamom (Badi Eliachi).
- Green Cardamom (Choti elaichi).
- Cumin seeds (Jeera).
- Black pepper powder
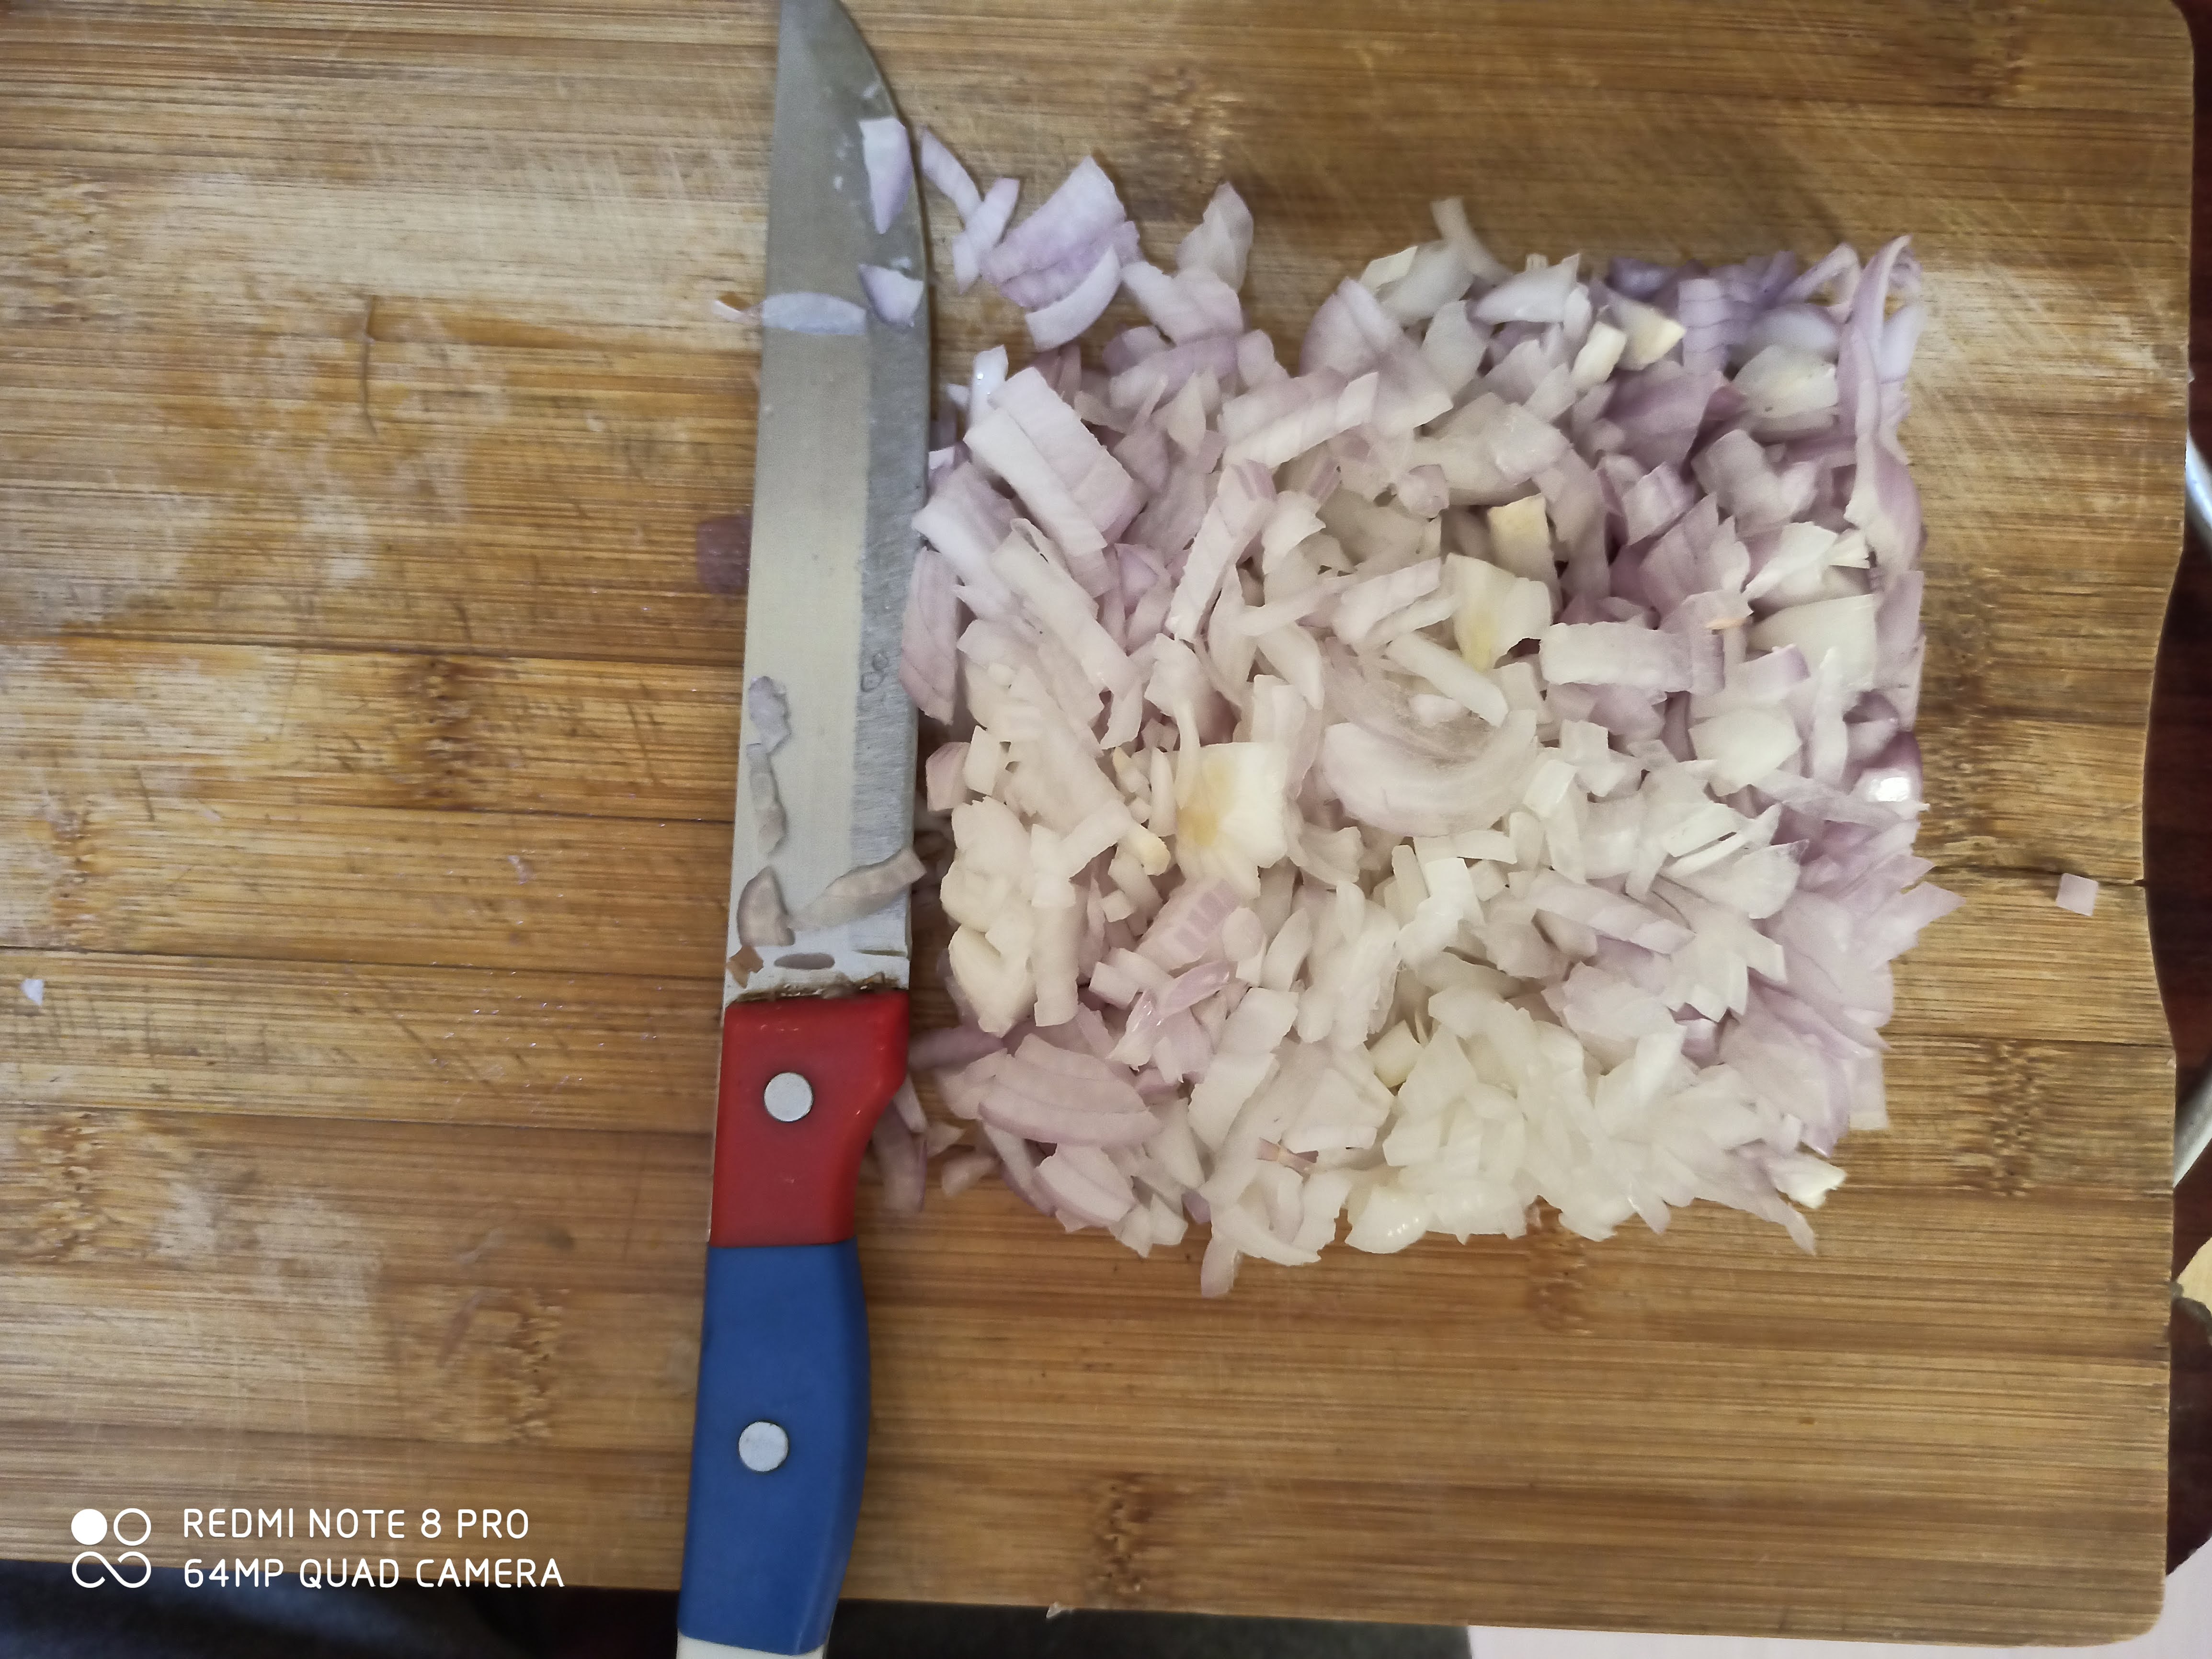
- Onion (4 medium-sized, finely chopped).
- Ginger Garlic paste
- Green chilli peppers (hari mirch).
- 400 ml of grinded tomato paste
- Turmeric powder (Haldi)
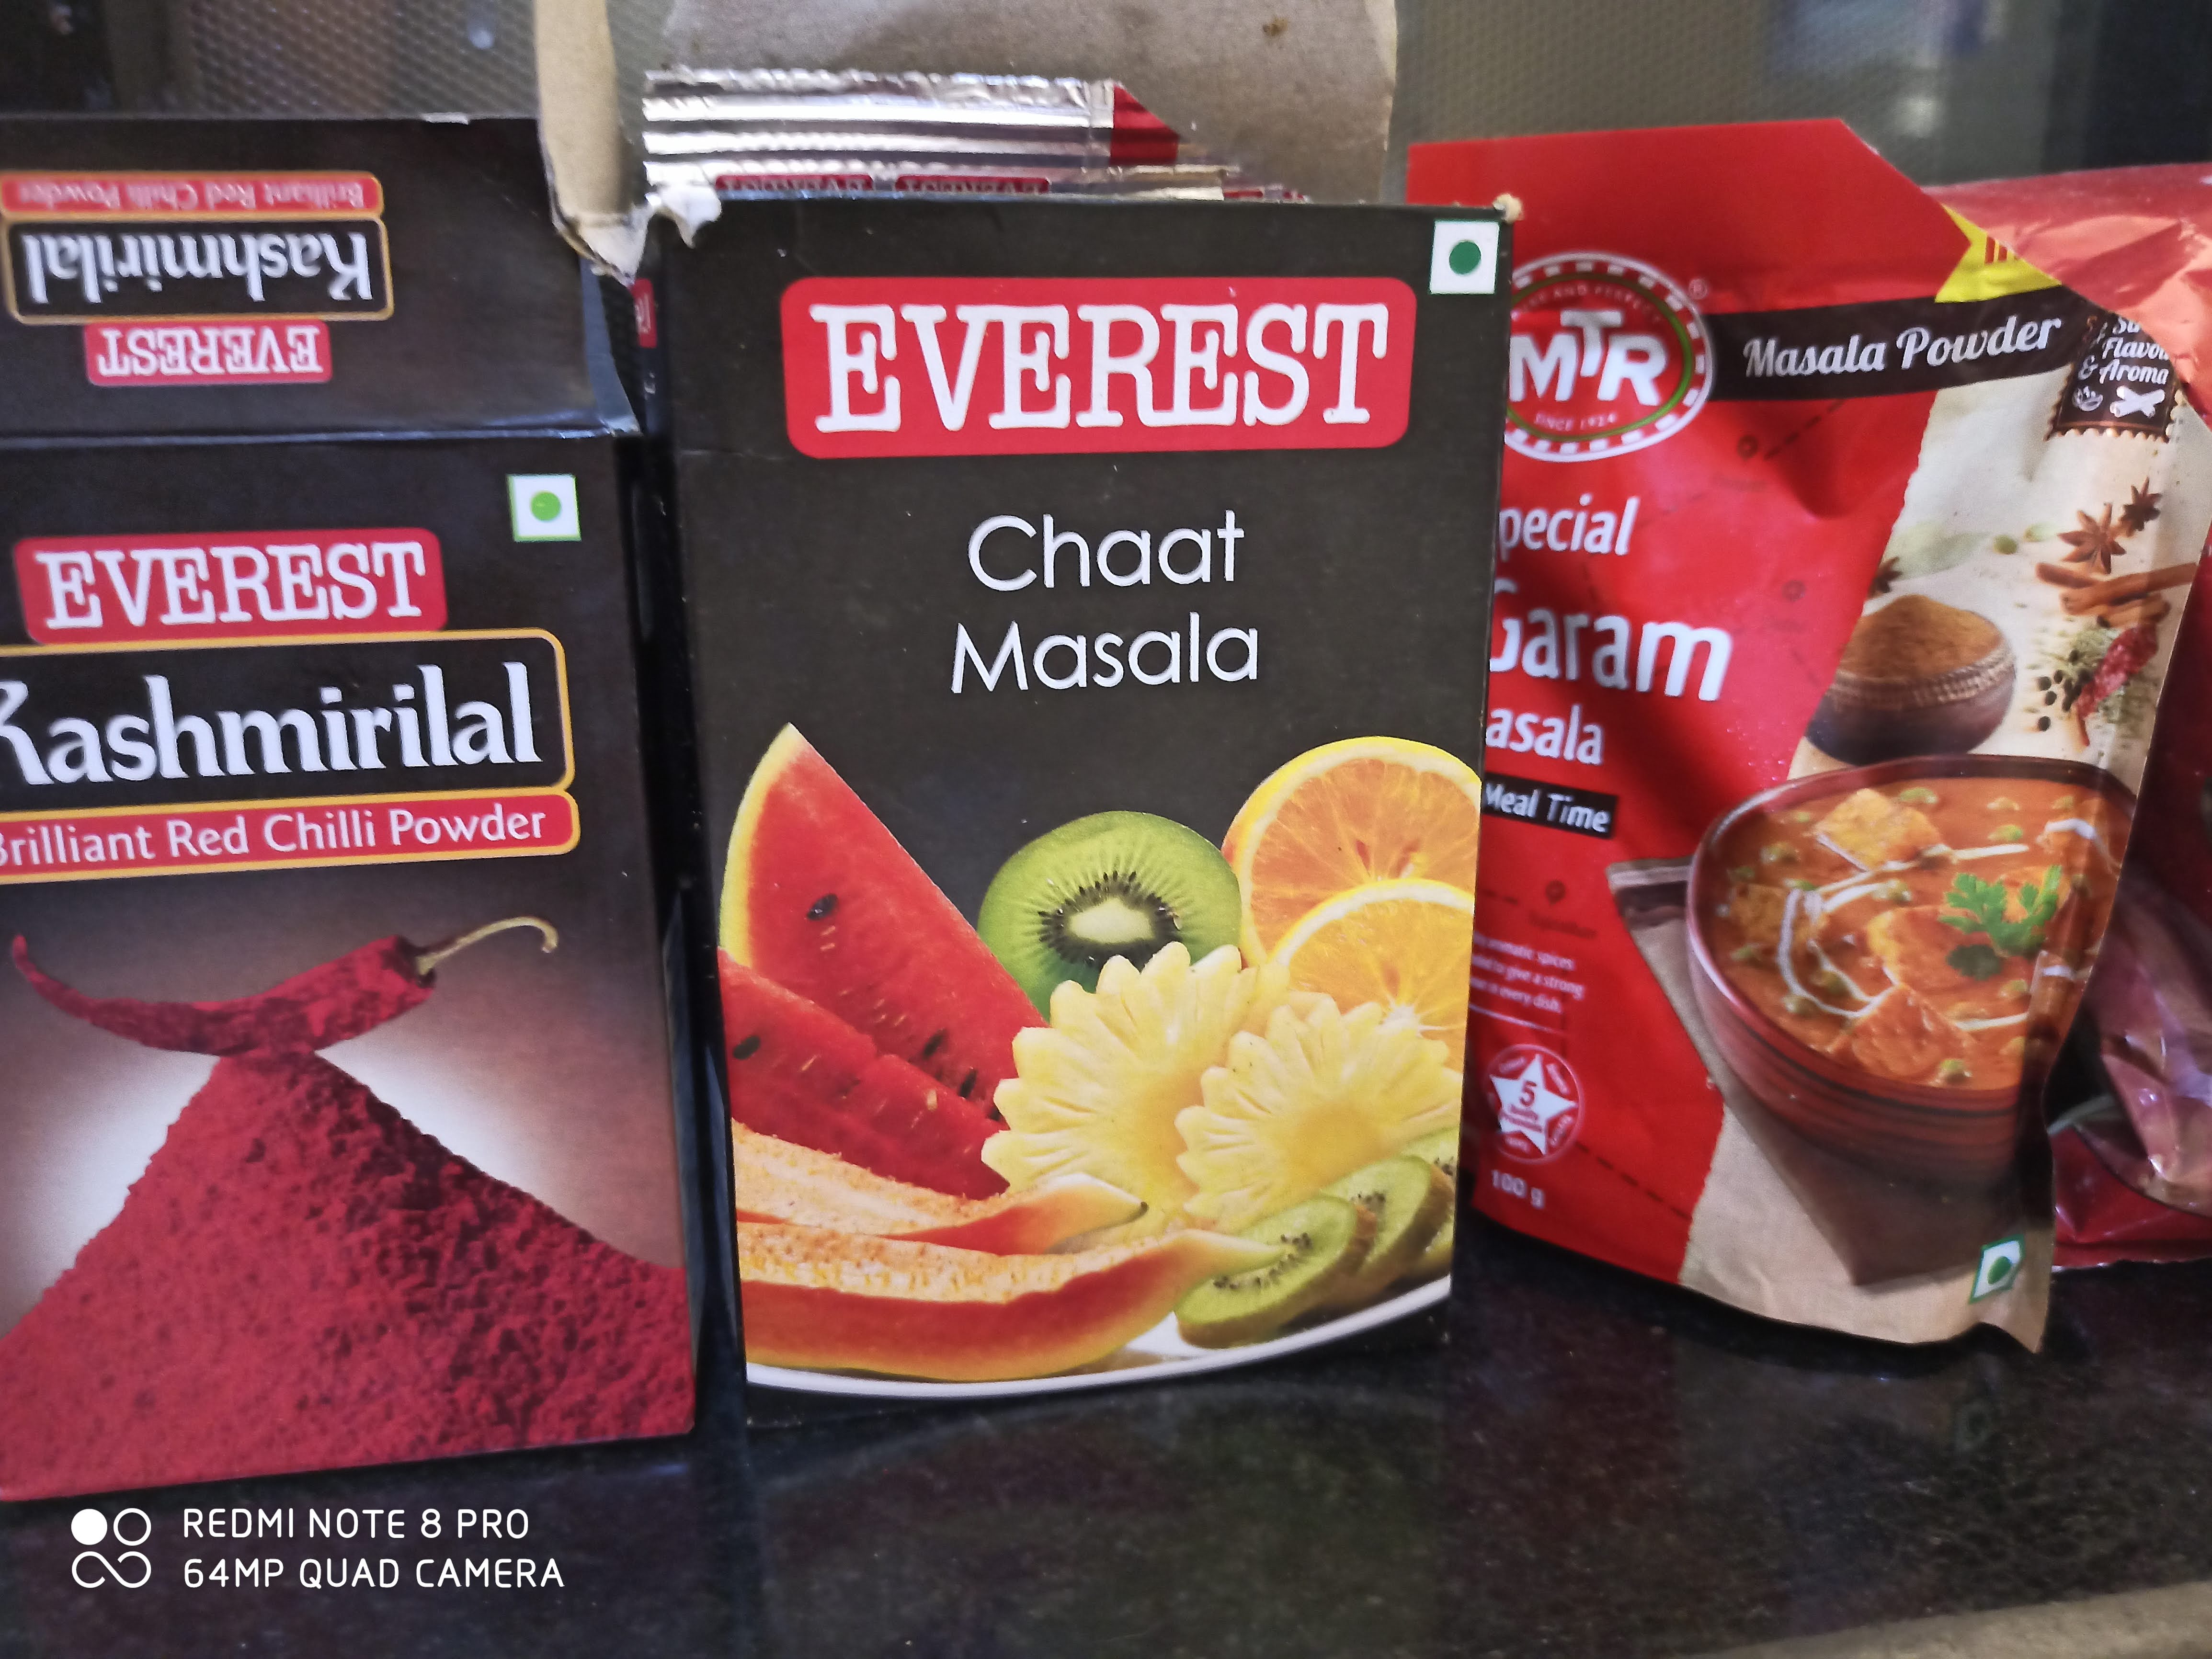
- Kasmiri lal mirch powder
- Chaat masala powder (optional)
- Garam masala powder
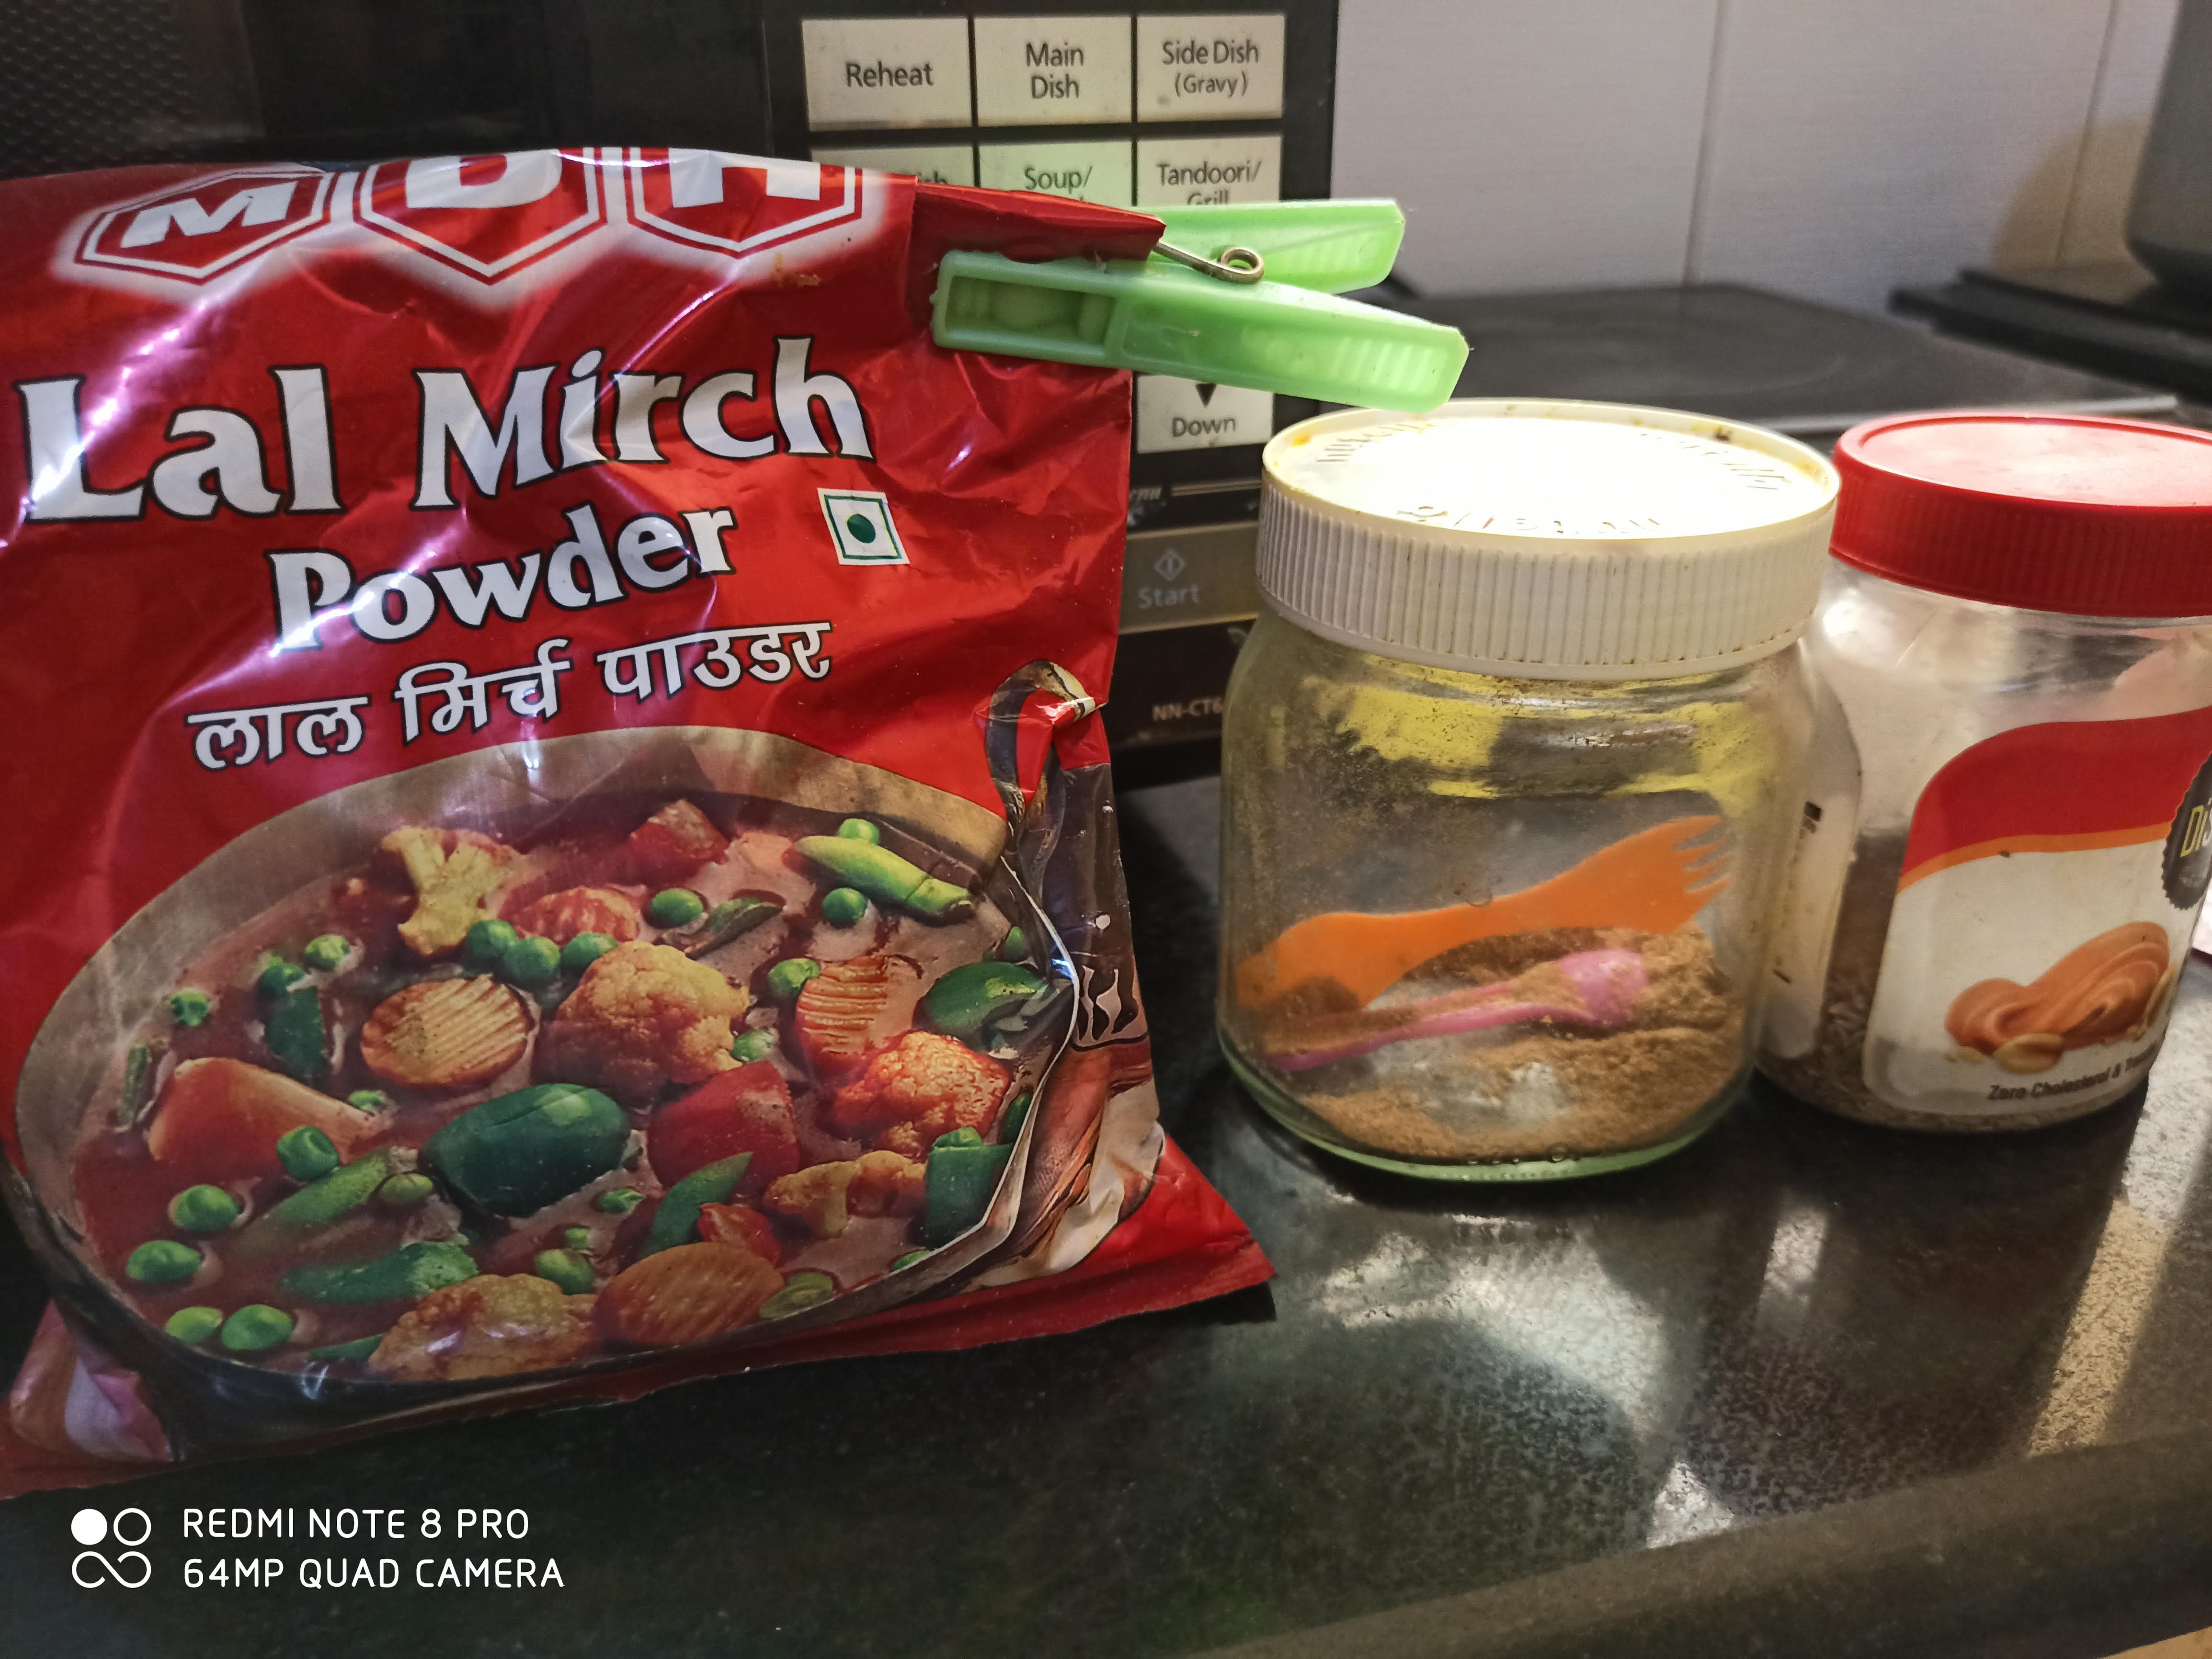
- Red chilli (Lal mirch) powder
- Coriander powder
- Minced Chicken (keema) (500g)
- Cilantro or coriander leaves (Dhaniya patta)
- Butter
- Lemon
- Cheese slices
- Mustard seeds (optional)
- Dosa batter*.
- You can also make your own dosa batter following this recipe - https://www.indianhealthyrecipes.com/dosa-recipe-dosa-batter/
Chicken Keema Masala
- Pour 60 ml mustard oil in a pan and set the induction heat to 1800 W.
- Add 2-3 strips of cinnamon, a few cloves (see figure), 1 black cardamom, and 3 green cardamoms, 1 Tbsp (15ml) cumin seeds (jeera) and 5 ml of black pepper powder and let it cook for 2 mins.
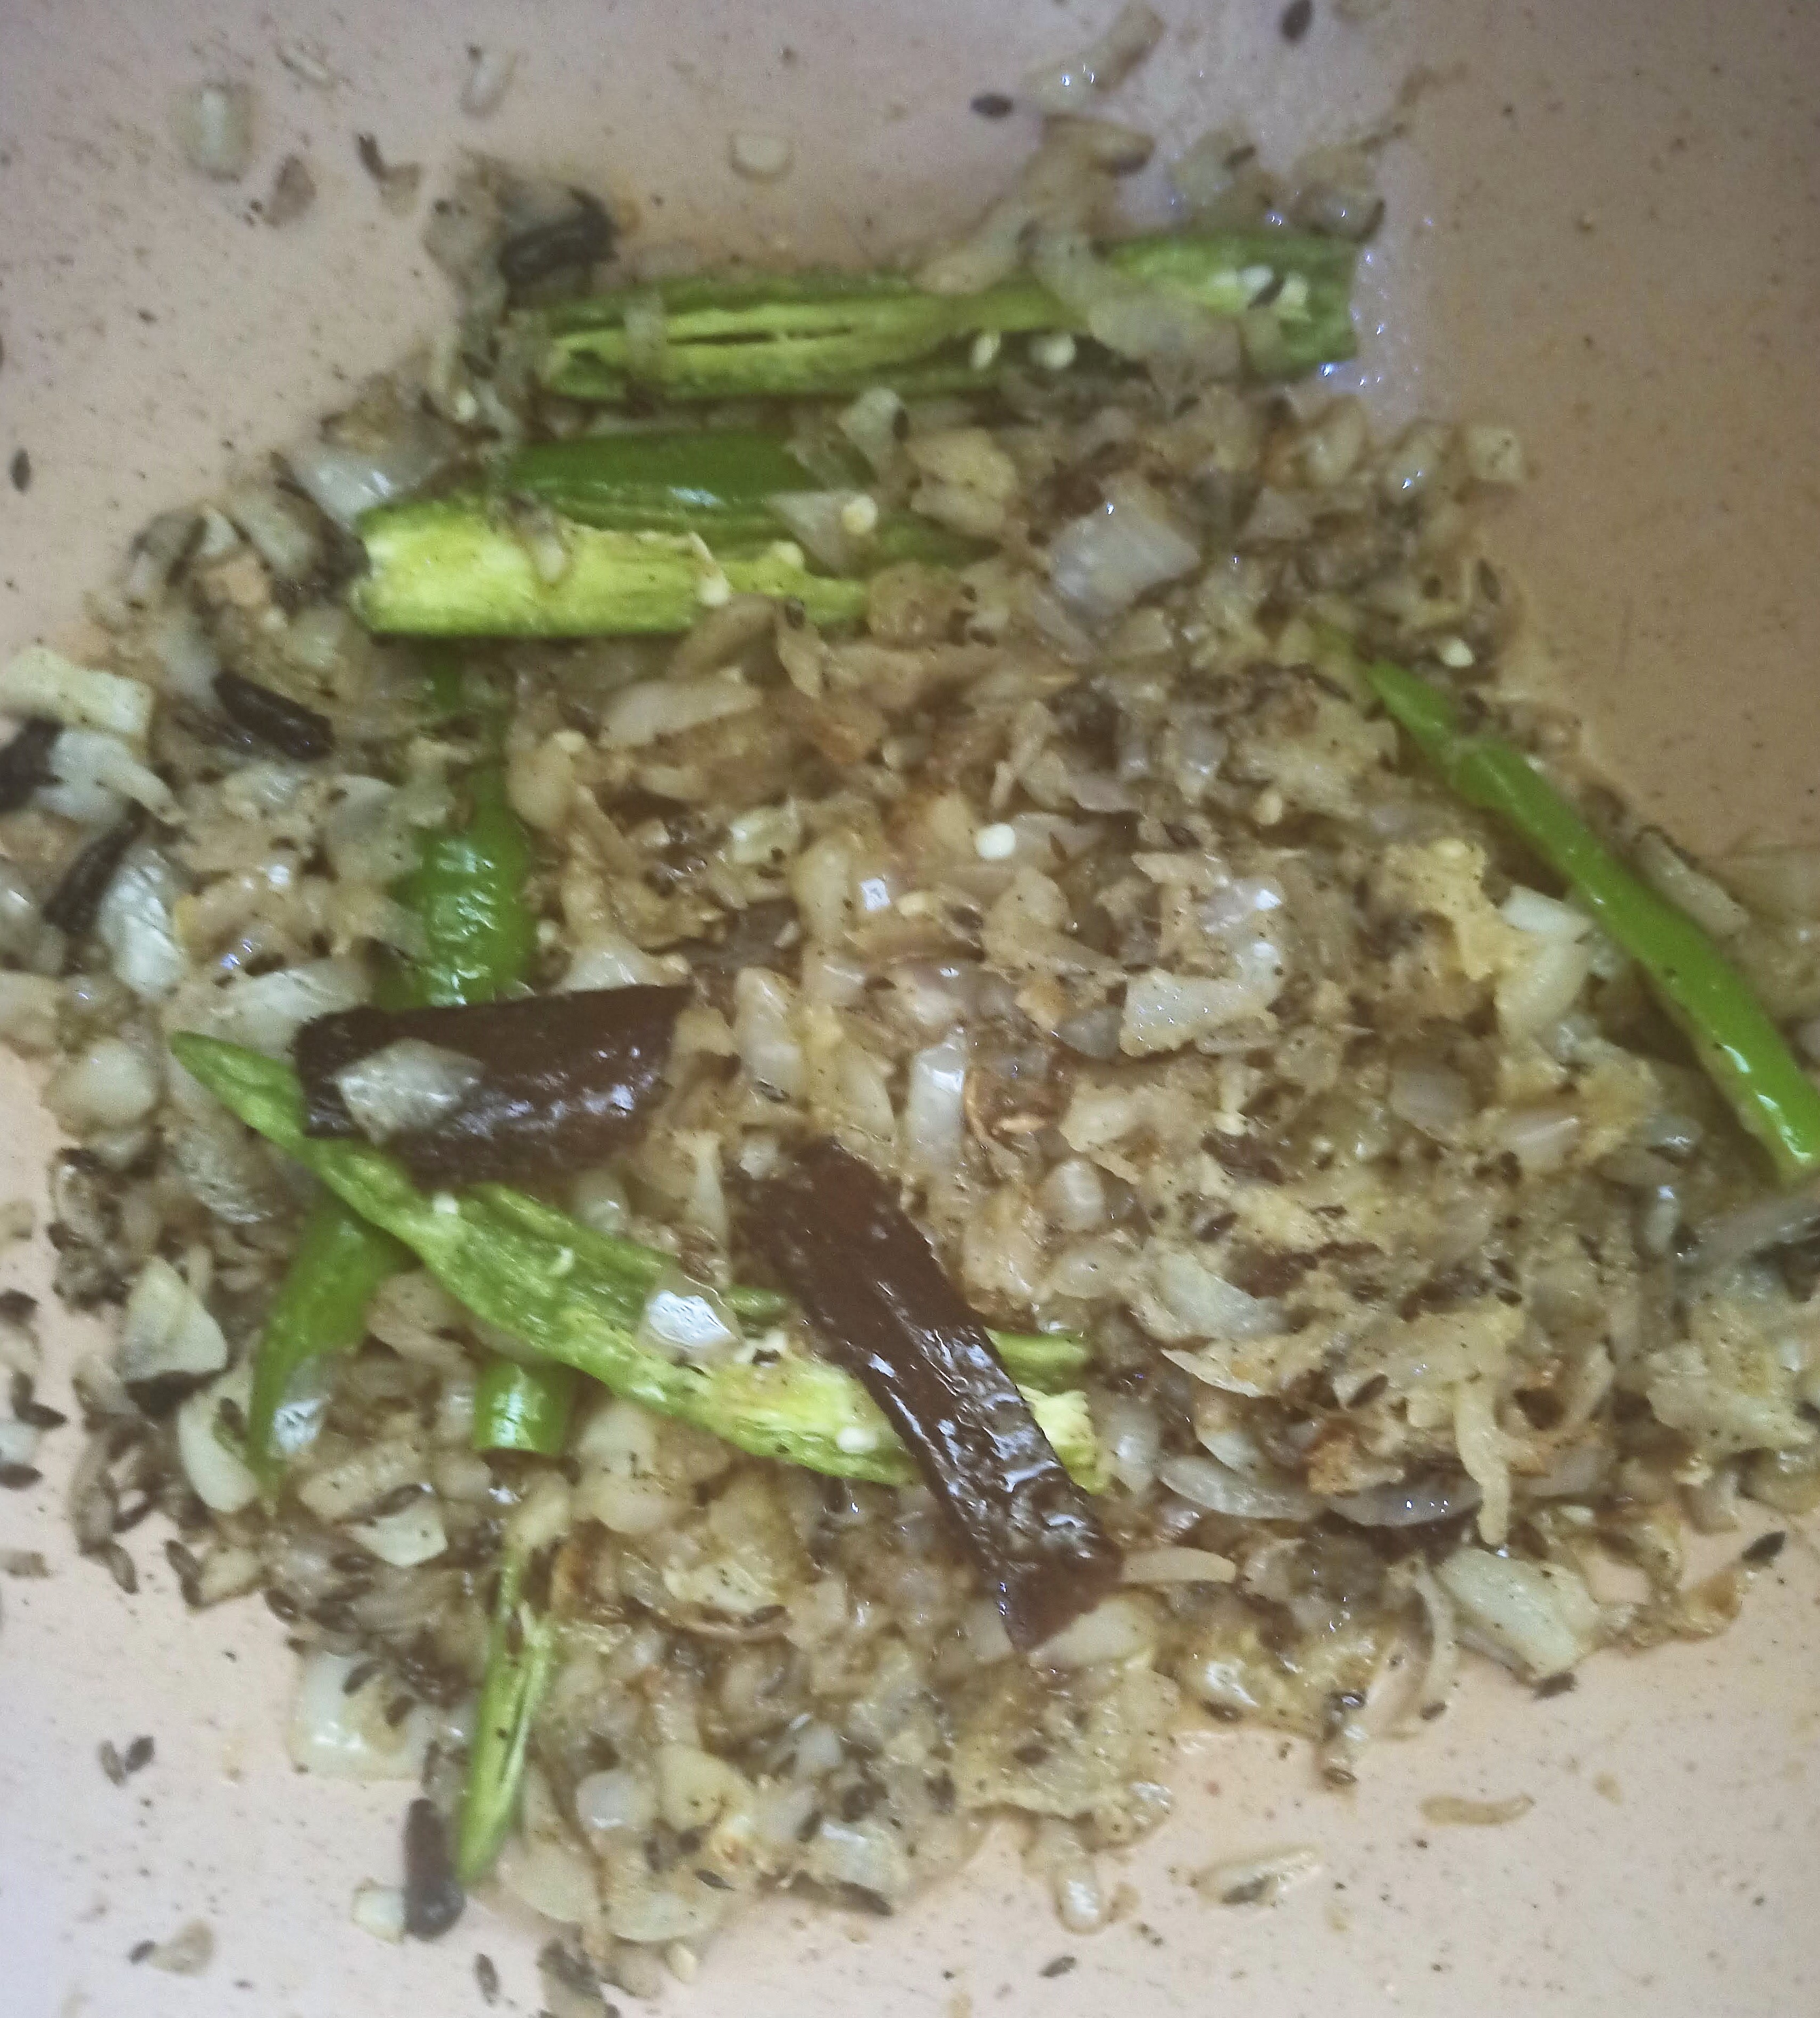
- Add the chopped onions (1.25 cups - cup size 250 ml) in the pan. Then, add 40 ml ginger garlic paste and 3 green chillies (slit into half) and let this cook for another 3-4 mins.
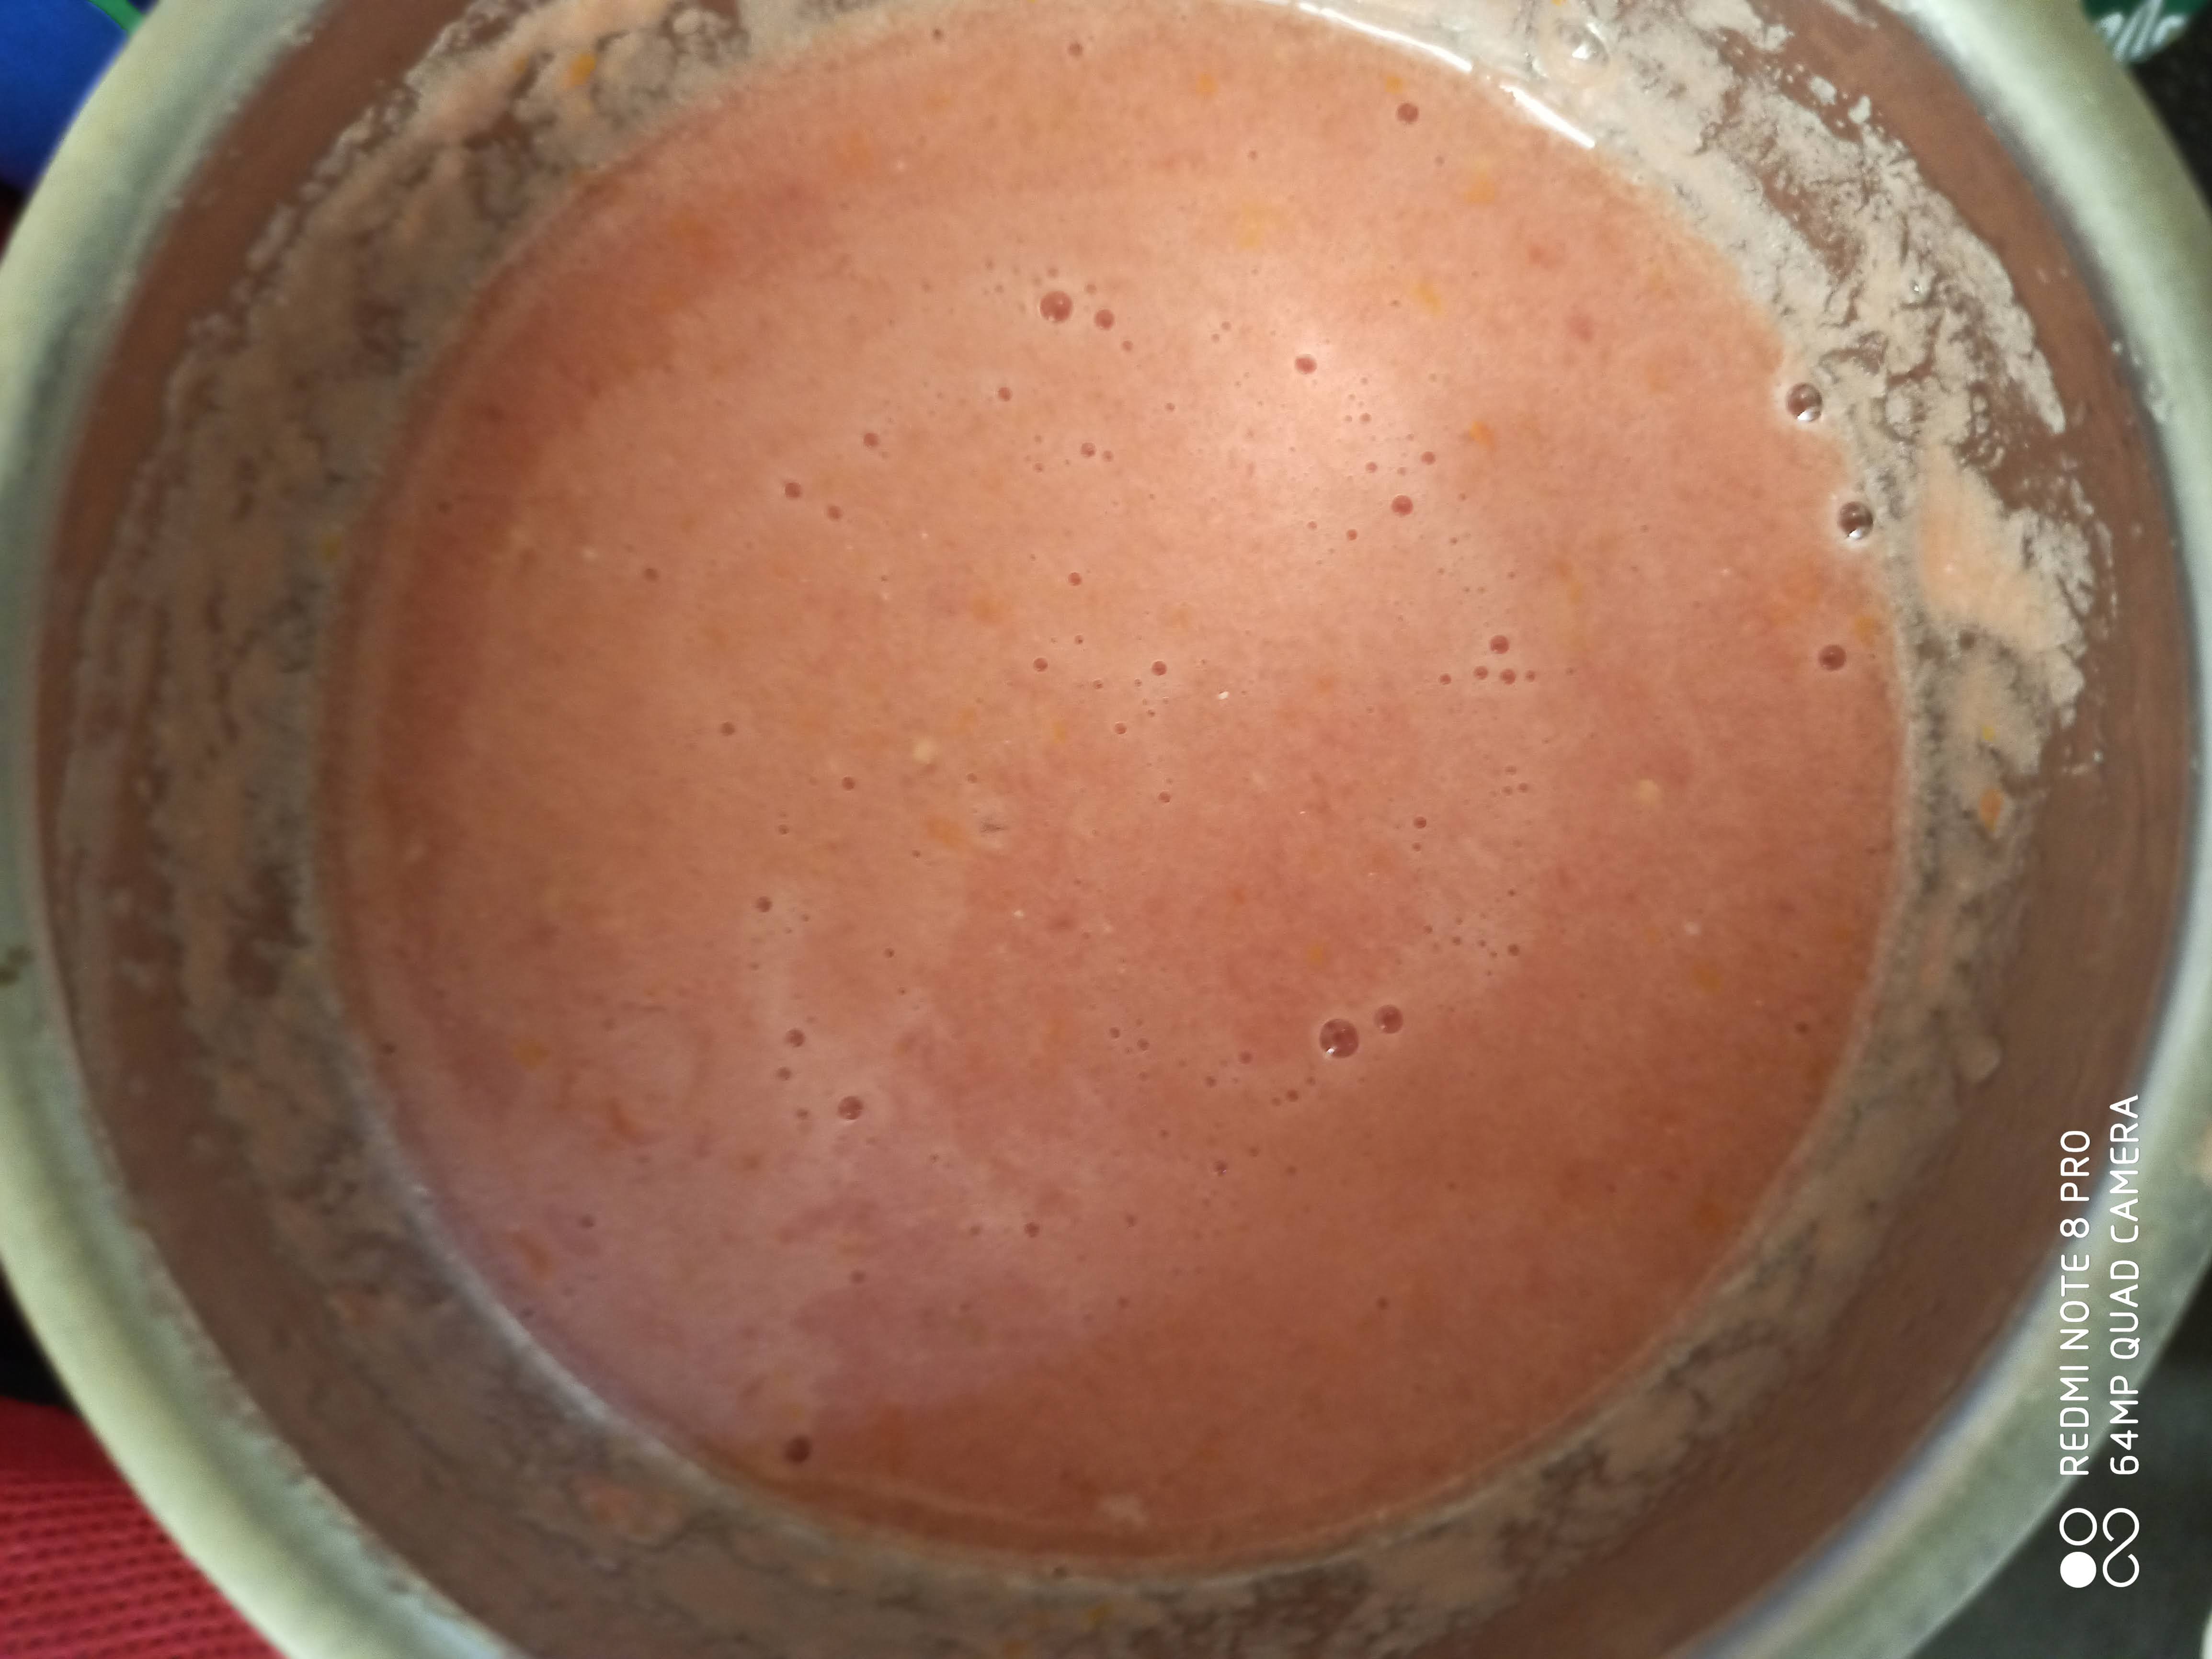
- Add 400 ml of grinded tomatoes and let it cook for 9 mins.
- While the tomatoes are being cooked add to the pan - add 1/2 a teaspoon (1 ml) turmeric powder, 1 tablespoon (15 ml) Kashmiri lal mirch, 1 tablespoon (15 ml) chaat masala (this is optional), 1.33 tablespoon (20 ml) garam masala powder, 2 tablespoons (30 ml) coriander powder, and 2 teaspoons of conventional lal mirch powder.
- After 9-10 mins add 500 g chicken keema to the pan and mix well with the masala you have cooked in the pan. Cover the pan.
- Lower the heat to 1000 W and let it cook for 15 mins.
- At this point take out some cooked keema (about 7-8 tablespoons) for idli stuffing.
- Add 1 cup (250 ml) of water and set the heat to 800 W. Cover the pan and let it cook for another 10 mins.
- Adjust the salt to taste.
- Add cilantro (Coriander leaves) on top of your cooked dish and butter as per your liking (I added 2 tablespoons). Lower the heat to 600 W, cover and let it cook for another 5 mins.
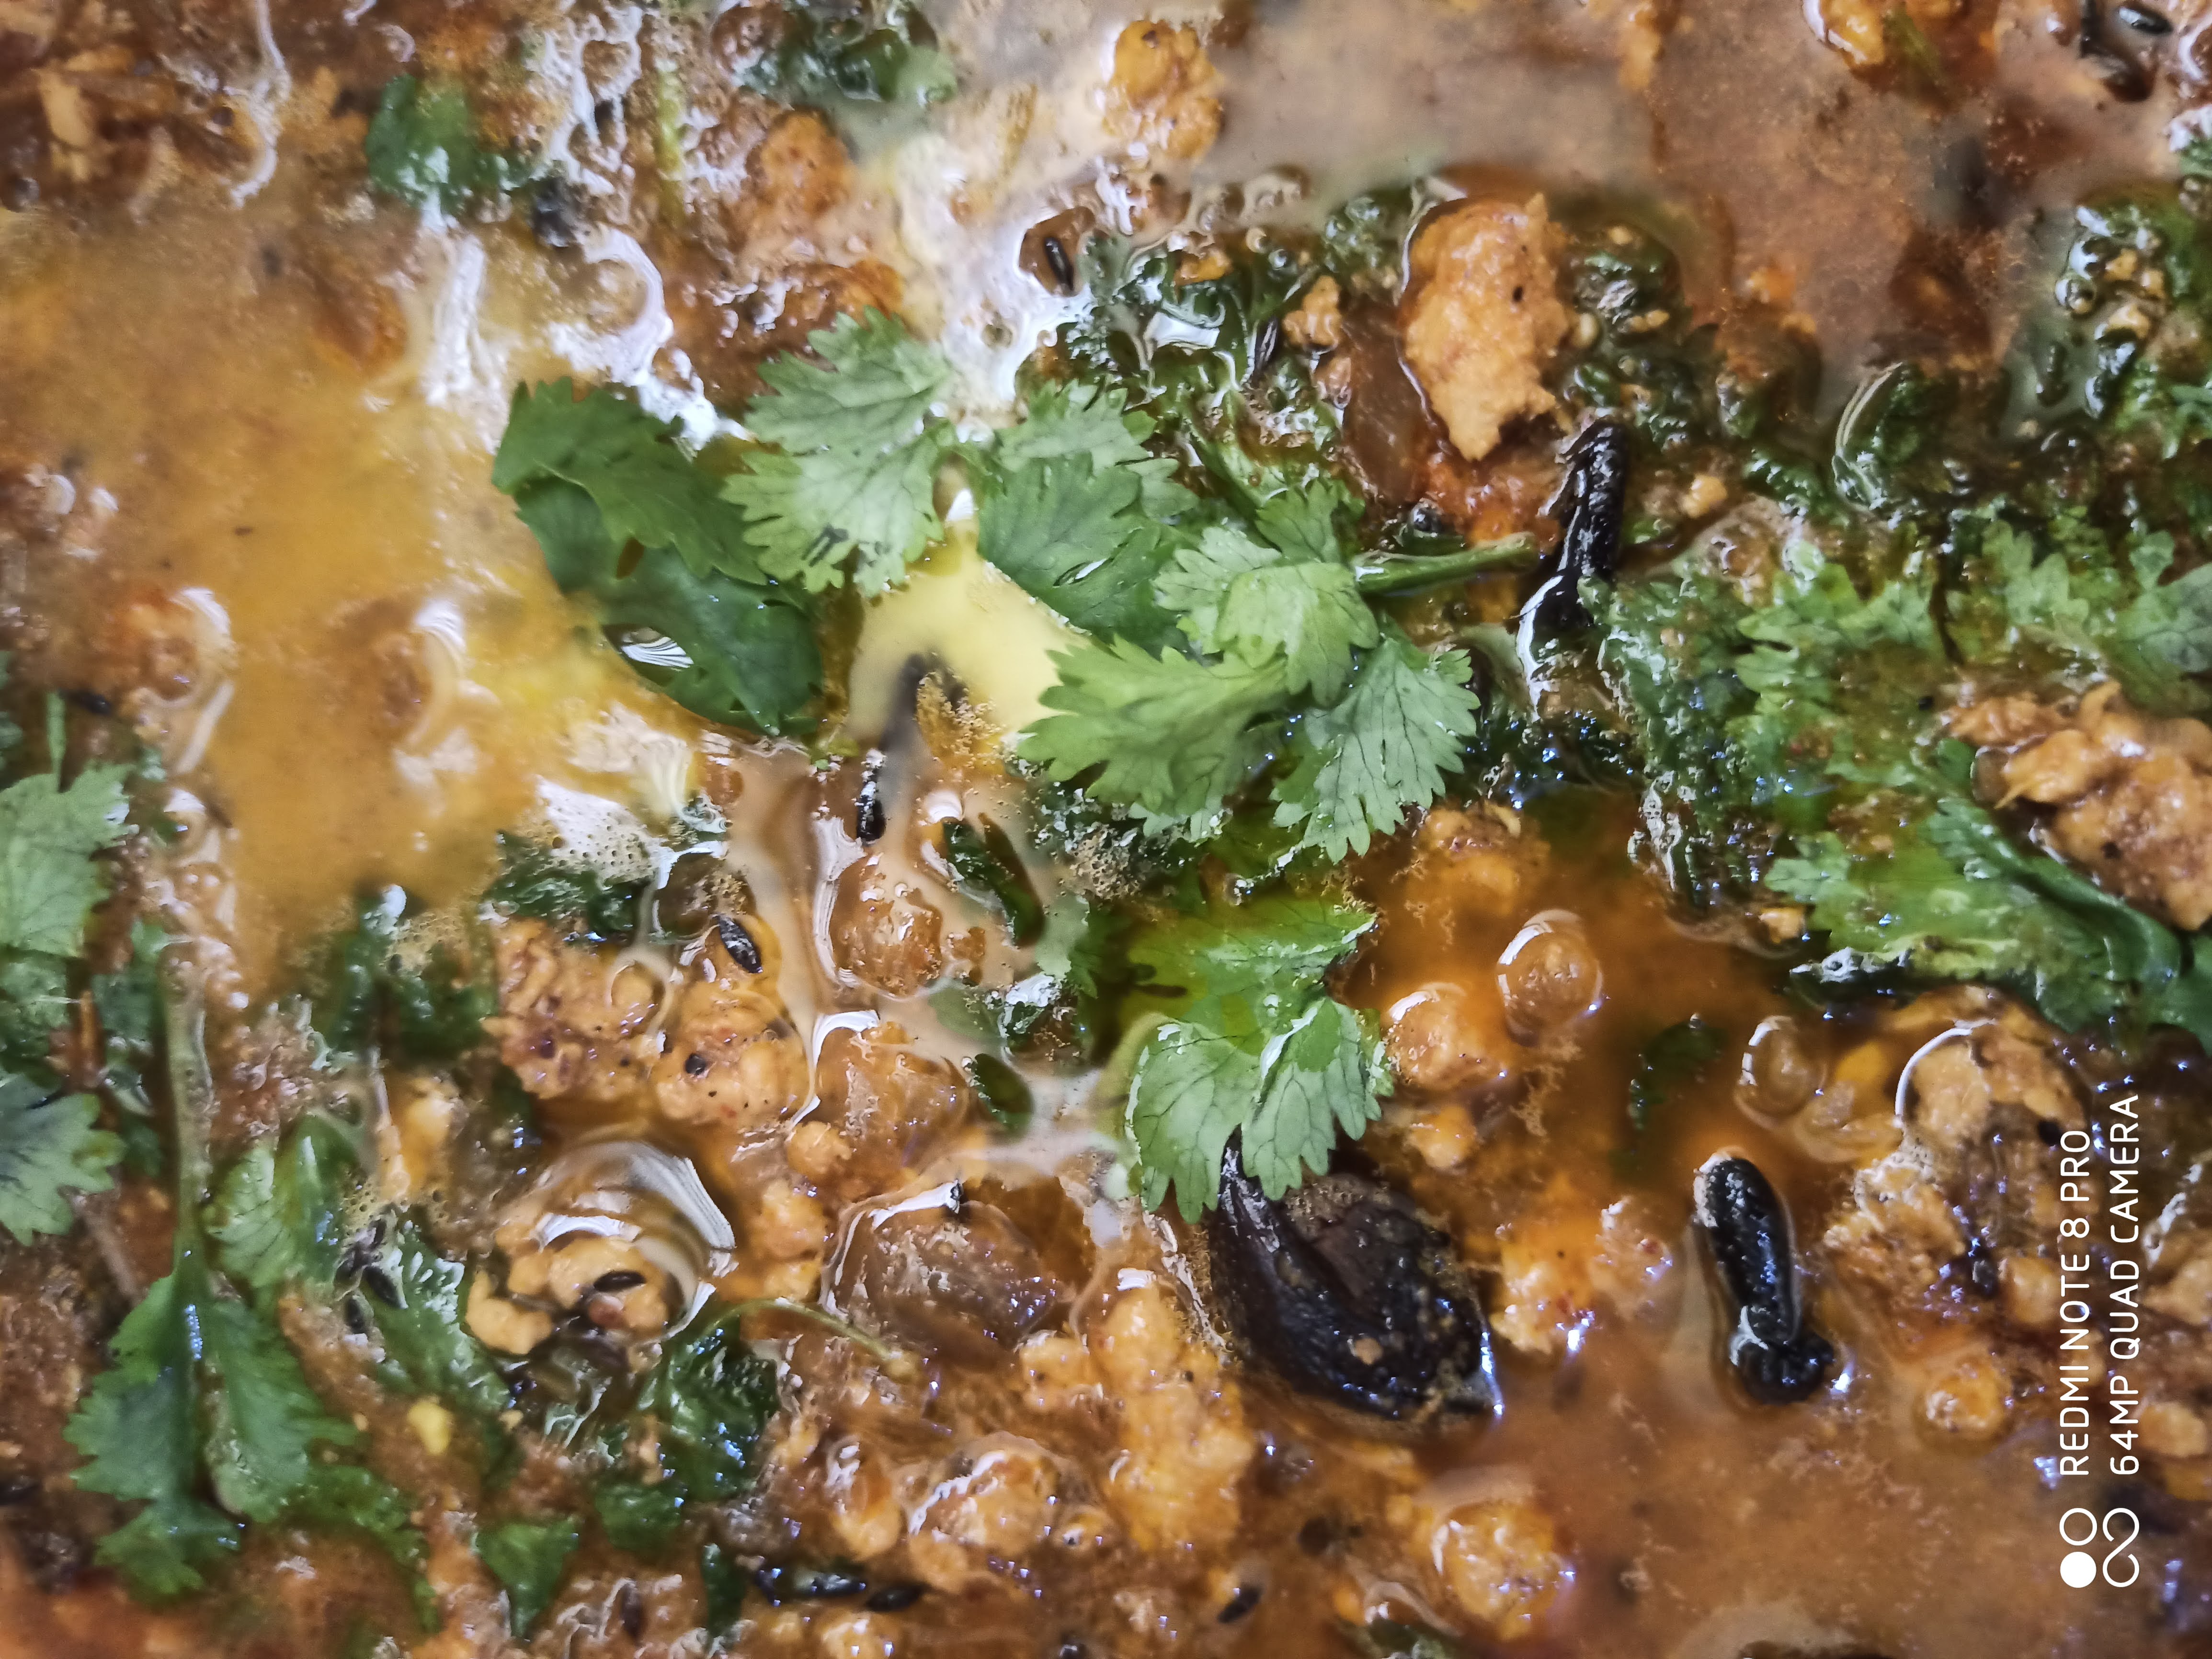
- Squeeze a quarter of a lemon in your dish and it's ready to be served.
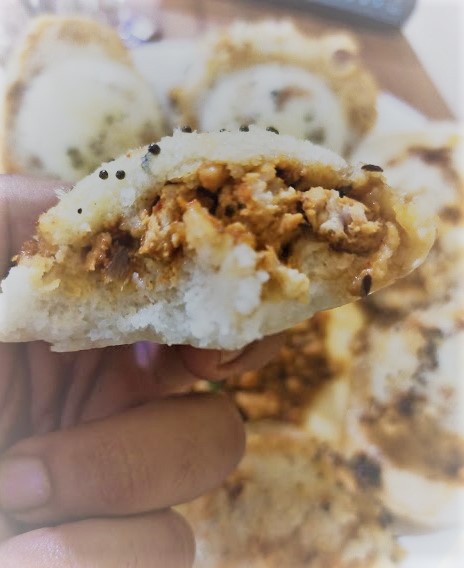
This dish can be served with any bread of your choice. It goes really well with naan or pooris. However, for me that is boring and something I have had a lot. So I wanted to do something different. Hence, I stuffed it inside the Idli.
Stuffed Idli
Ok, so this one is quick and lot simpler than making the keema itself. All you need here is some oil, some cheese slices, the keema you made above and the right apparatus and a microwave, A microwave idli maker looks something like this. You just need to add water to the base, idli mix to the wells and microwave it for 5-10 mins (see the images below).
Method
- Take a brush and paint the mustard oil on the wells of your idli maker.
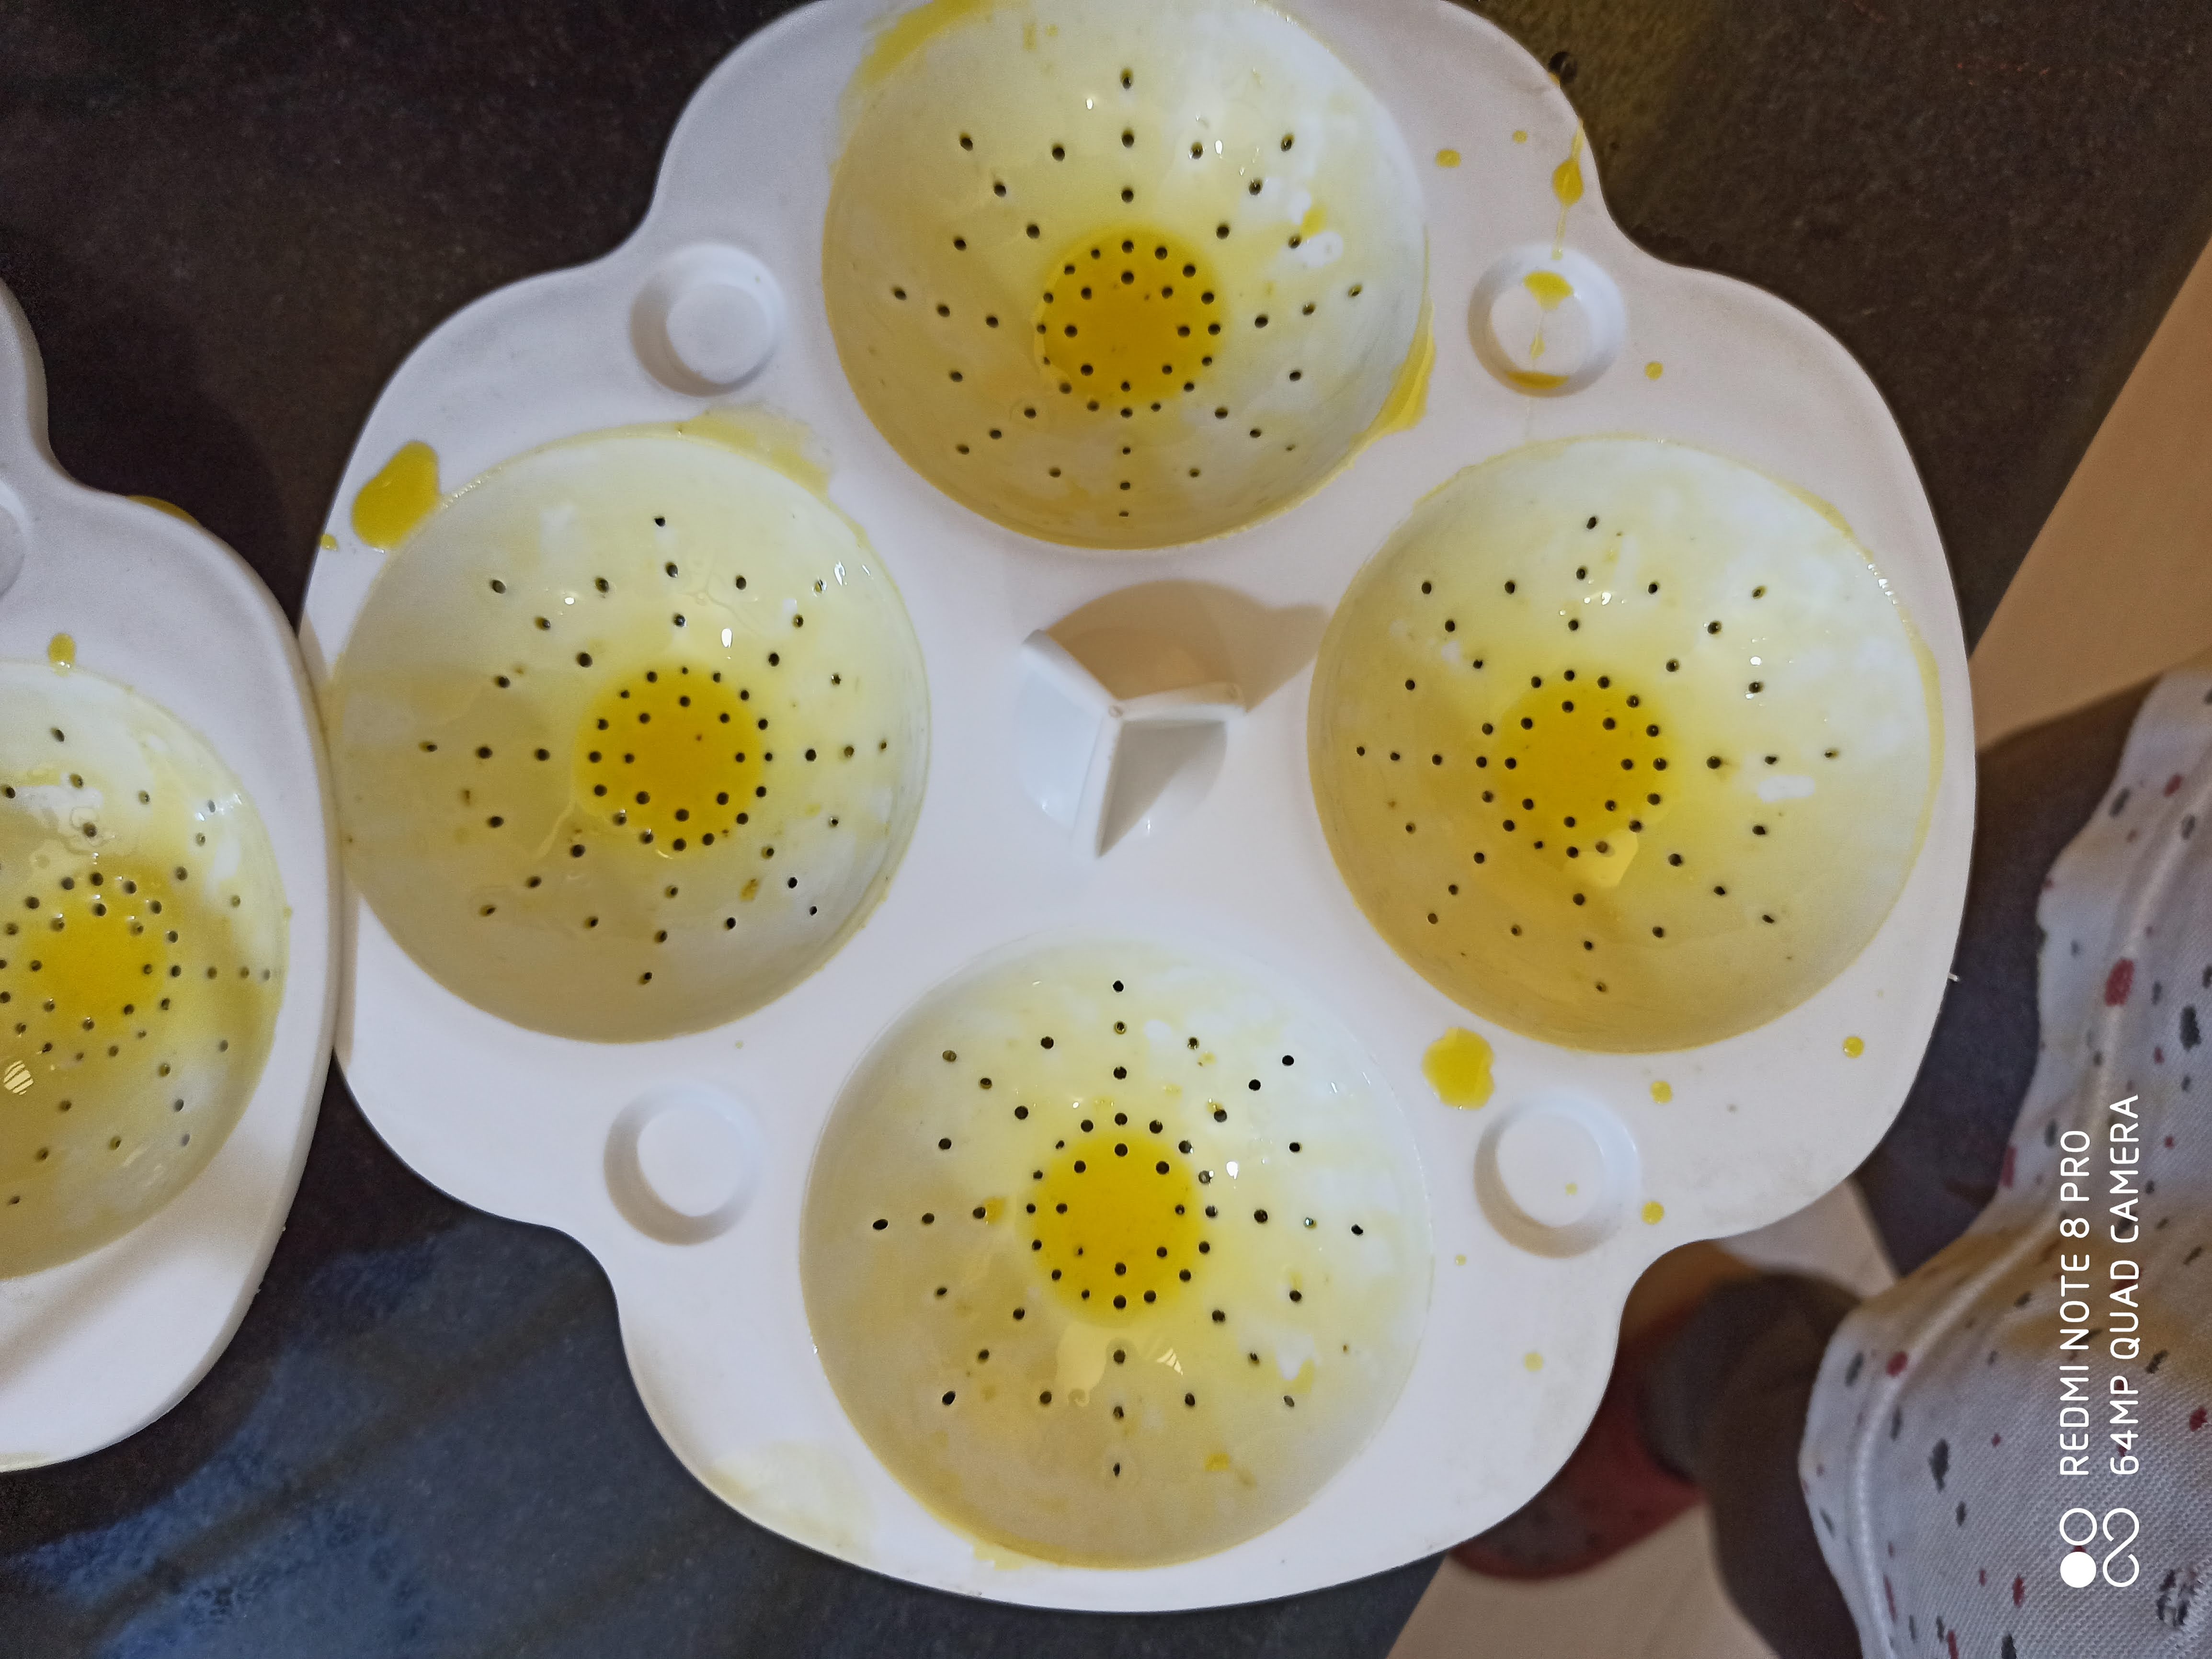
- Add idli dosa mix to the wells of your idli maker, such that it takes 25% of the total volume of the well.
- Cut your cheese slice into small squares to make a boat in your wells.
- On top of these slices add the keema you separated out for this earlier.
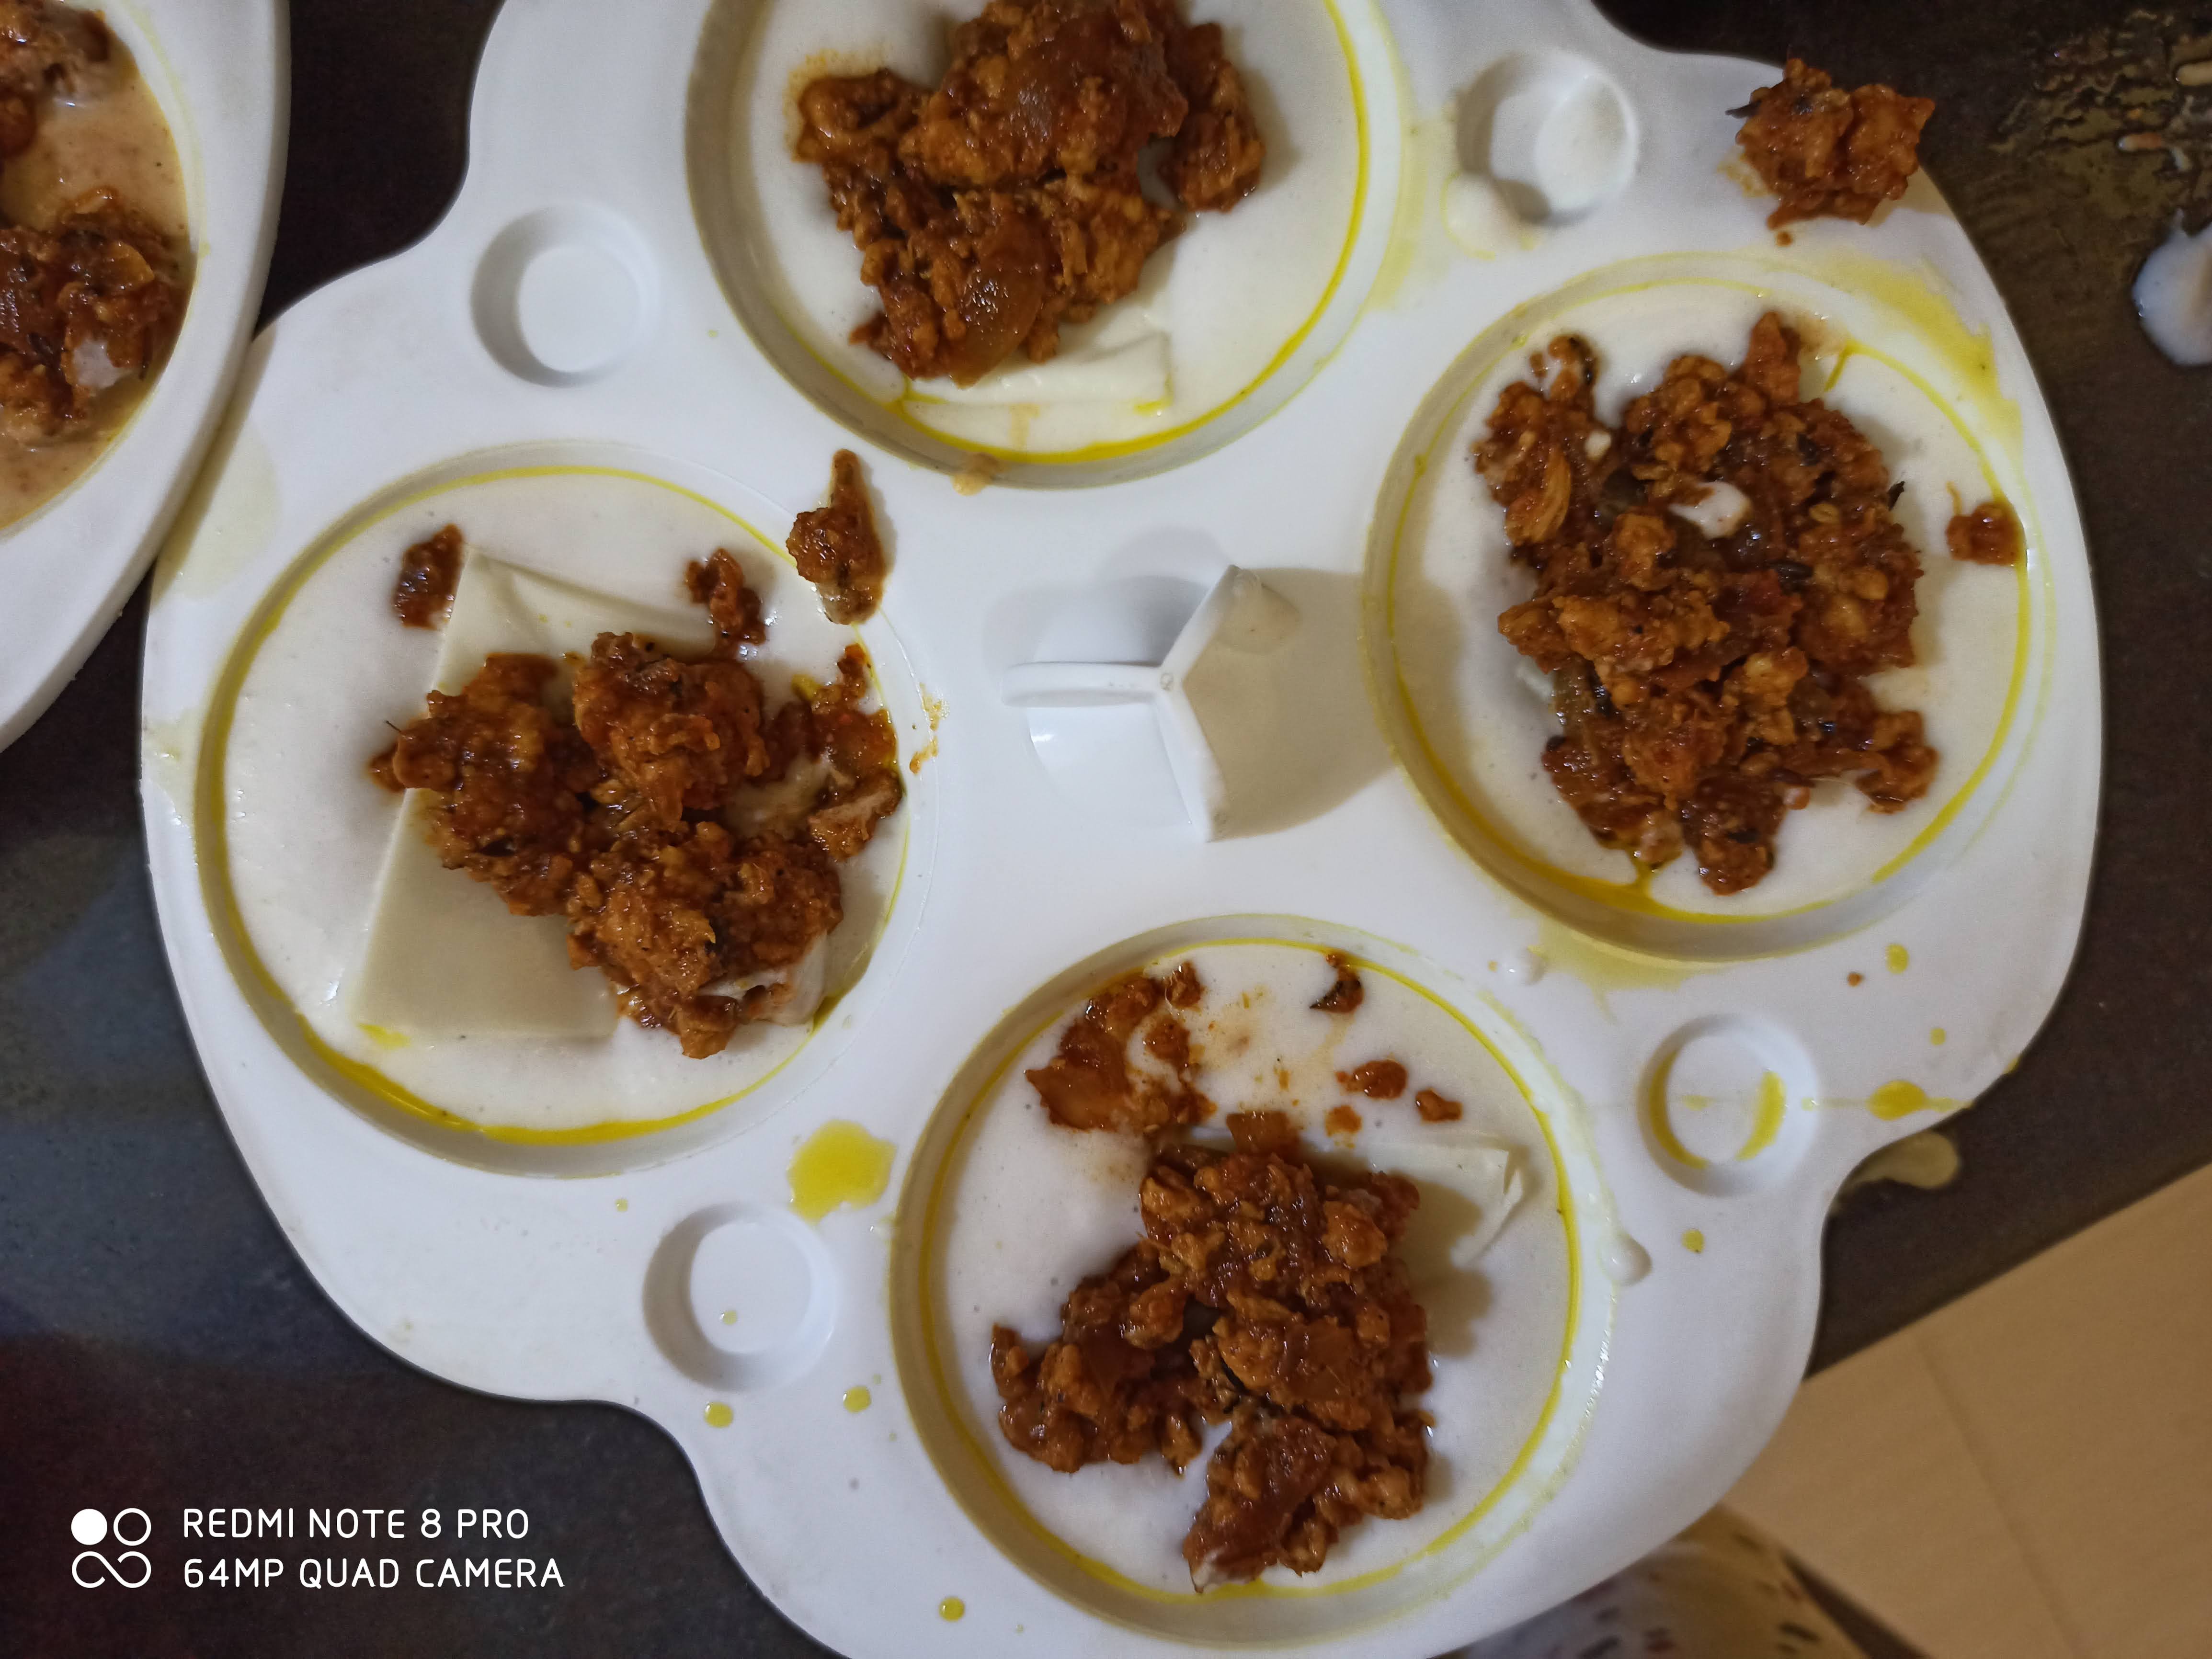
- Fill the rest of the well with idli/dosa batter.
- place your idli casts in a base containing a small amount of water.
- Microwave for 10 mins and you are done.
(Note: In case, idli is not set in 10 mins due to voltage issues, you can microwave it for 5 more mins or more. In case, it is becoming too hard, maybe you need less time than 10 mins. You can check the status at an interval for 5 mins to be sure.)
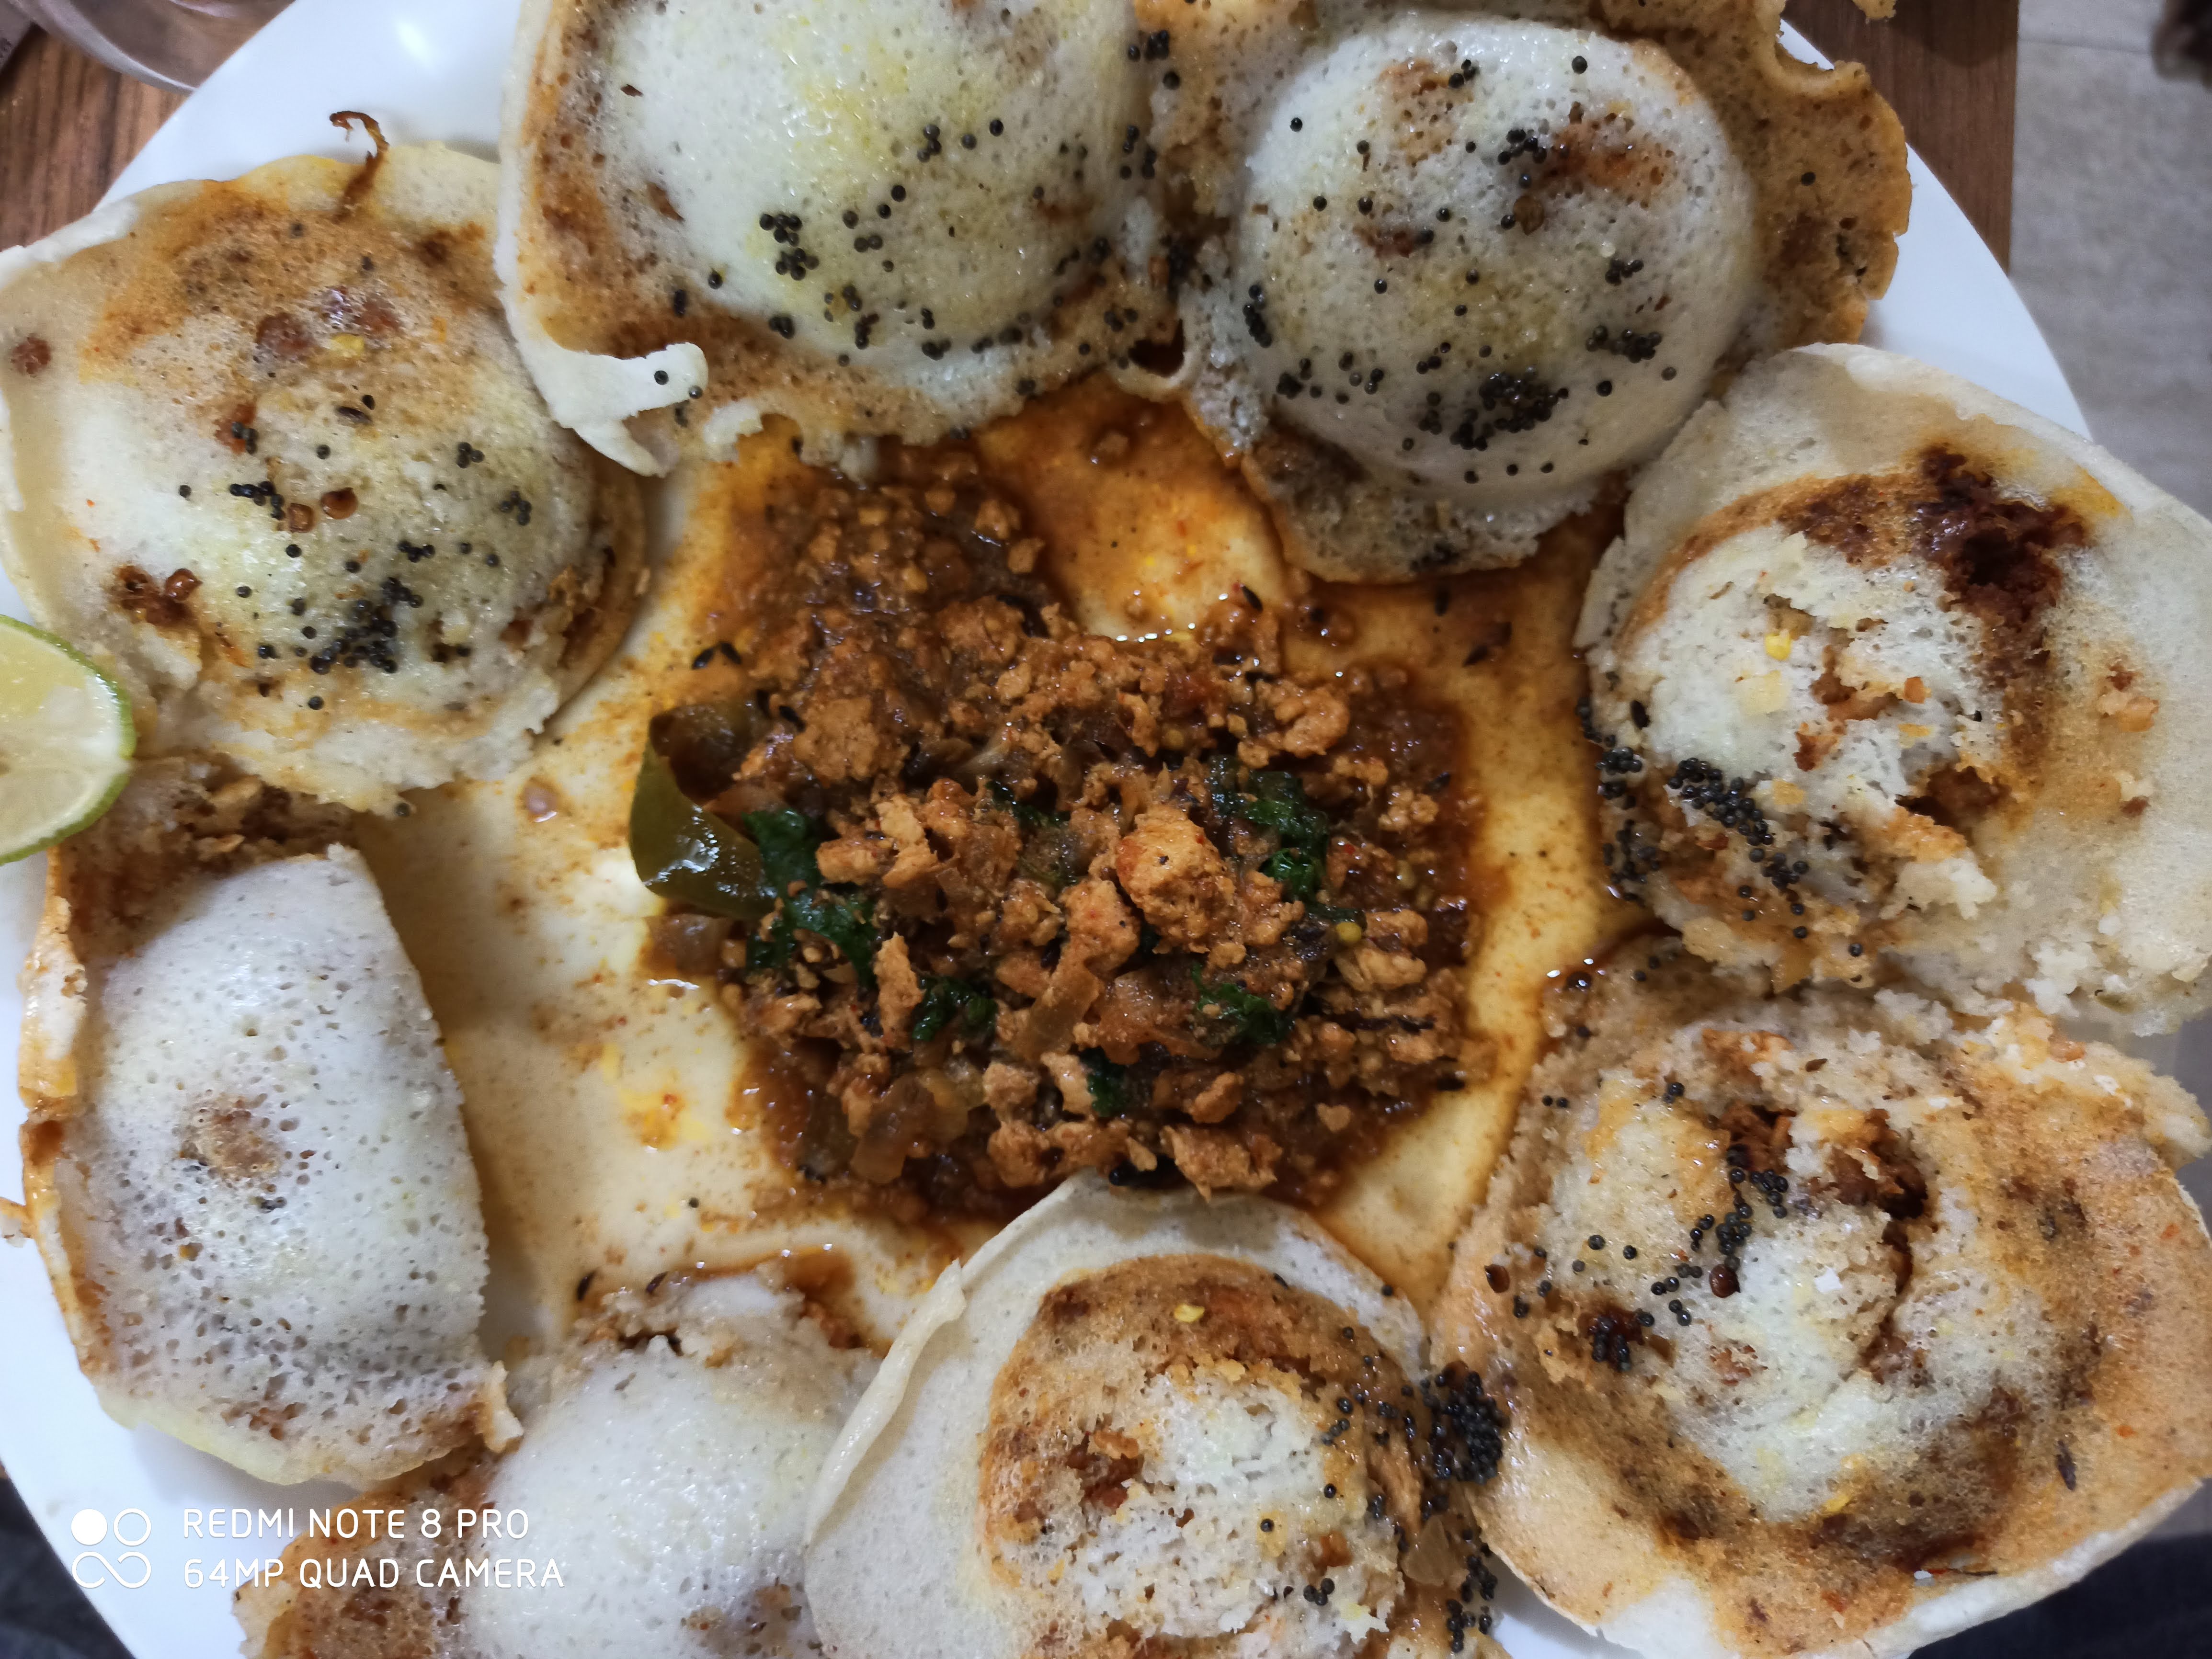
Take the idlis out of the casts and they are ready.
- Optional: In another pan pour a tablespoon of mustard oil. Add mustard seeds and green chillies to it. Pour it over the idlis you just took out of the cast.
And there it is, ready to eat.

Let me know your feedback in case you try it.
I can't believe you cooked all that! Truly an art. And you made me very hungry :)
I have to smile. I had an aunt, a wonderful, lovely, generous woman who had one minor flaw: she was proud of her cooking. What a cook. However, she shared with me a secret: When someone asked her for a recipe, after they had eaten one of her delectable dishes, she would tell them everything, but leave something small out. The only people she gave the whole recipe to were her daughters :))
This looks delicious, but I don't think I'll try it. So much work--I don't cook like that anymore. But once, yes once this would have been fun.
Nice blog, @scienceblocks.
Thanks. I know this one is bit of a work. But, am glad at least you considered to try it in the past. 🙂
In the past I made pumpkin pie from pumpkins I grew in my own garden. I was adventurous. And I ate everything that was put before me. Times change. Cooking can be very creative and a wonderful outlet. Plus, your family probably loves it :)
Congratulations @scienceblocks! You have completed the following achievement on the Hive blockchain and have been rewarded with new badge(s) :
You can view your badges on your board and compare yourself to others in the Ranking
If you no longer want to receive notifications, reply to this comment with the word
STOP