Hello, hivers! Welcome to my garden!
I recently wrote a couple of posts about garden related projects that I was working on. At the time those posts were written, the projects had not been finished yet. This post is a follow up to one of those projects.
This project is from a post from 12 days ago. At the time, I was writing about my container garden, but there was another on-going project that was partly included in the post. I was also rebuilding one of my raised beds at the time. This is that post.
https://peakd.com/gardenjournal/@amberyooper/garden-journal-container-garden-prep-work
I was working on making the raised bed shorter, and using the extra dirt to fill the big pots in the container garden. I was also rebuilding this raised bed at the time. I wanted to remove the end of the raised bed next to my rain water storage tank. The water valve faces the raised bed, so having the bed right there made it a bit more awkward to get to the valve for using the water.

I had shortened the bed by putting the end board where the side boards met in the middle of the bed.
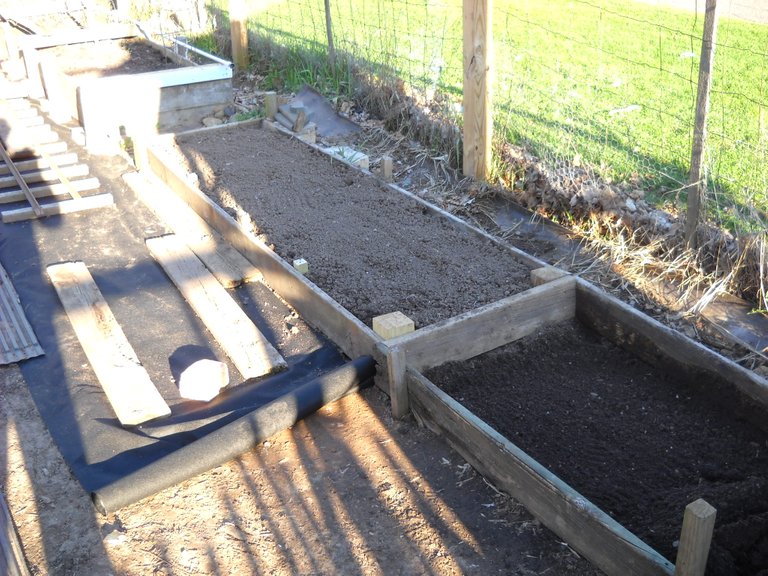
Then I had torn out the other half of the bed.
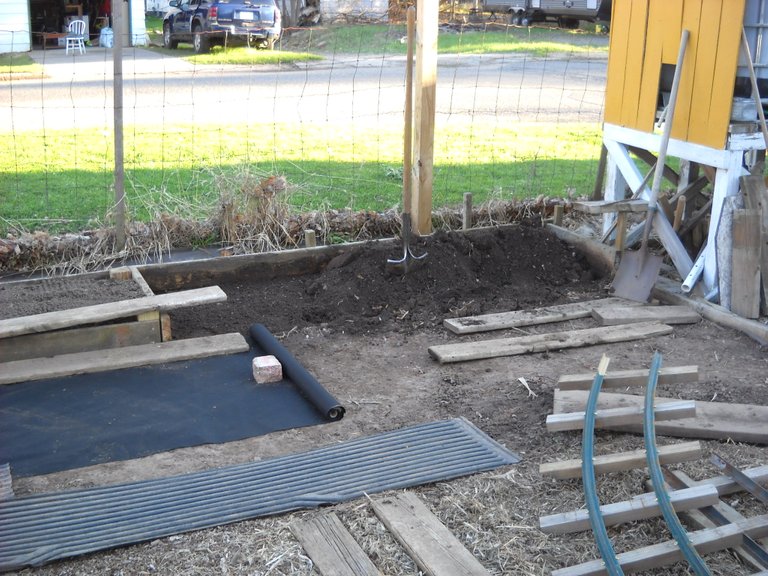
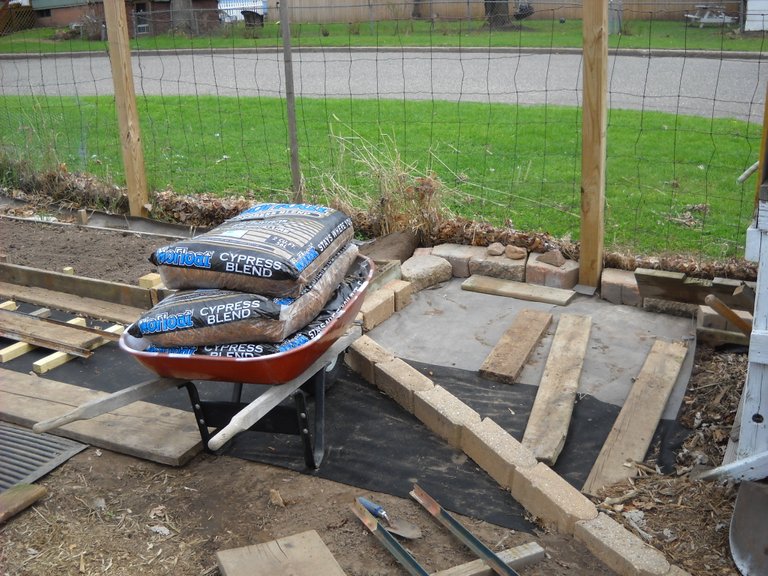
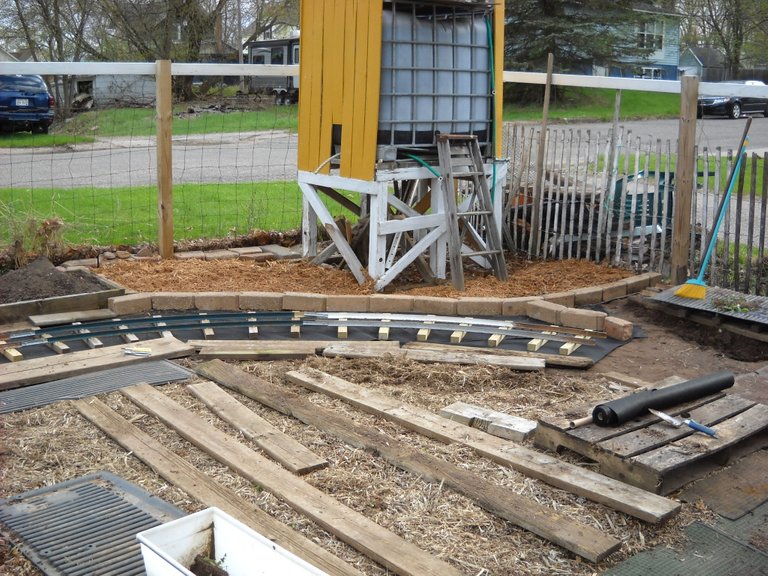
To continue this project, I decided that the bed could be a little longer, so I added a half length section to the bed. This is the best picture that I have of that. You can see the short box at the end of the raised bed.
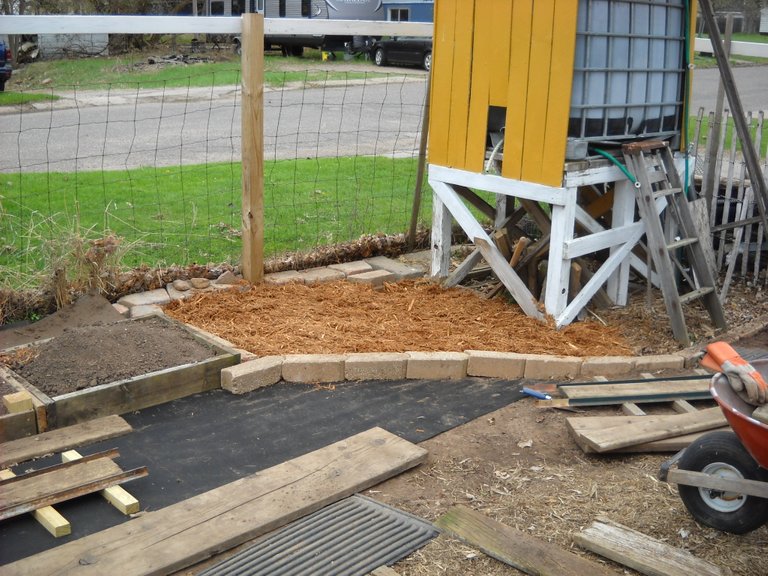
To finish this project, I put down weed barrier cloth and then used some edging blocks to hold in the cypress mulch that I added to the area where the end of the raised bed had been.
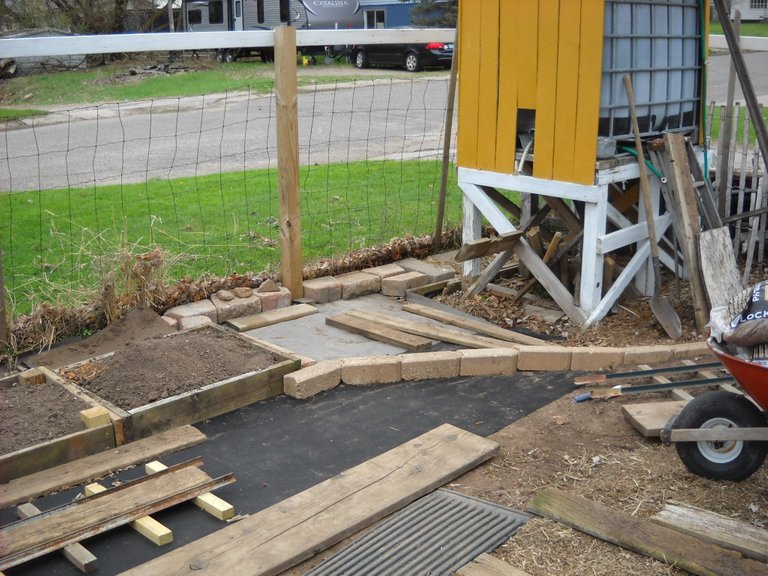
I wasn't satisfied with the way that the edger blocks dipped down as they ran across the opening, so I rebuilt that area and expanded it a bit. I had to pull back a section of the weedblock and fill in under it to bring the level up a bit. I also moved it out about a foot more.
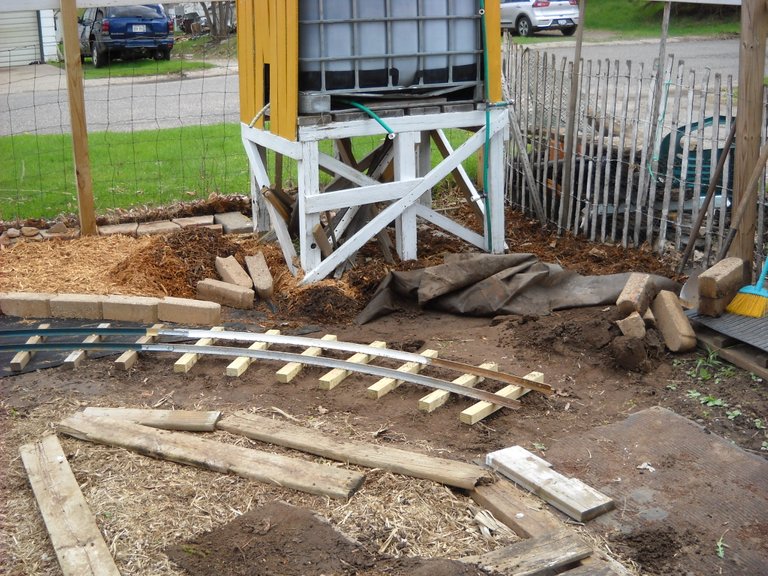
Then I relaid the edger blocks in their new position.
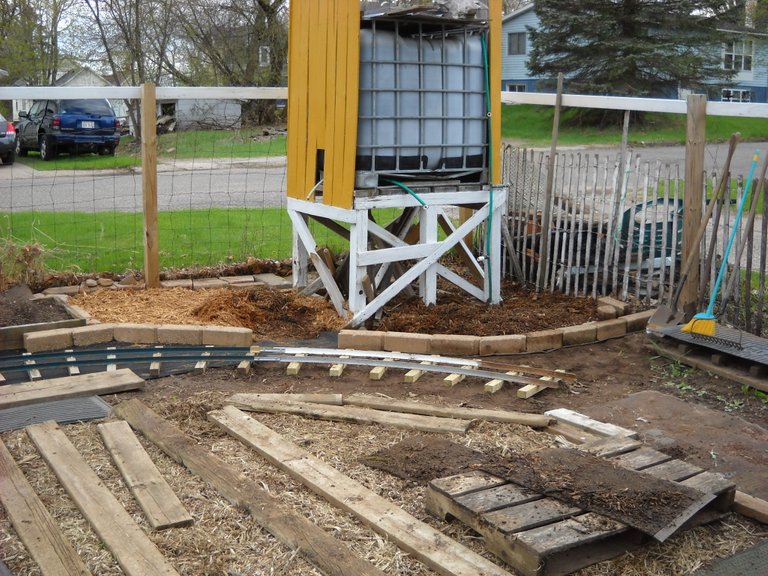
Then I filled in the new area with more cypress mulch.
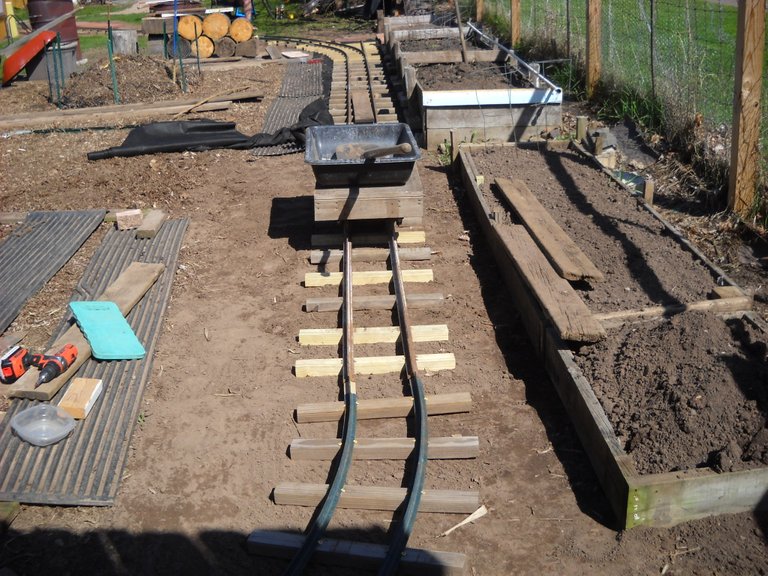
As you may have noticed, I was also laying a curve on my garden railroad, but that's a story for another time.
That's it for this post, I hope you found it interesting!
Thanks for stopping by to check out this project!

Congratulations @amberyooper! You received a personal badge!
You can view your badges on your board and compare yourself to others in the Ranking
Check out the last post from @hivebuzz:
Support the HiveBuzz project. Vote for our proposal!
This is a nice looking job! Love seeing your little railroad in the photos.
Thanks!