Hello, and welcome to my garden!
Over the past several days, I've been planting the potatoes in the big garden at home. I planted 4 rows of Yukon Gold potatoes, and 4 rows of russet white potatoes. It took me several days to plant all of the potatoes because I got interrupted by rain on a couple of the days.
Over the past couple of years, I've tried several different methods for digging the holes to put the potatoes in for planting. I used to just dig a shallow trench, put the seed potatoes in the trench about a foot or so apart, and then cover them up with a rake or a hoe. That method gets hard on an old abused back, so I've experimented with other methods of making the holes.
In the past couple of years, I've tried using a post hole digger to just make shallow holes instead of a trench. That was the method I used for the first 2 rows of potatoes that I planted this year. First you dig a series of shallow holes in a row, spaced as far apart as you want the potato plants, in my case, about a foot or so apart.
then you place a seed potato in each hole.
Then you cover the potato with the dirt from the hole. That's about all there is to it. The problem with this method, when you have a bad back, is that digging a bunch of shallow holes in ground that has not been tilled gets a bit hard on the back.
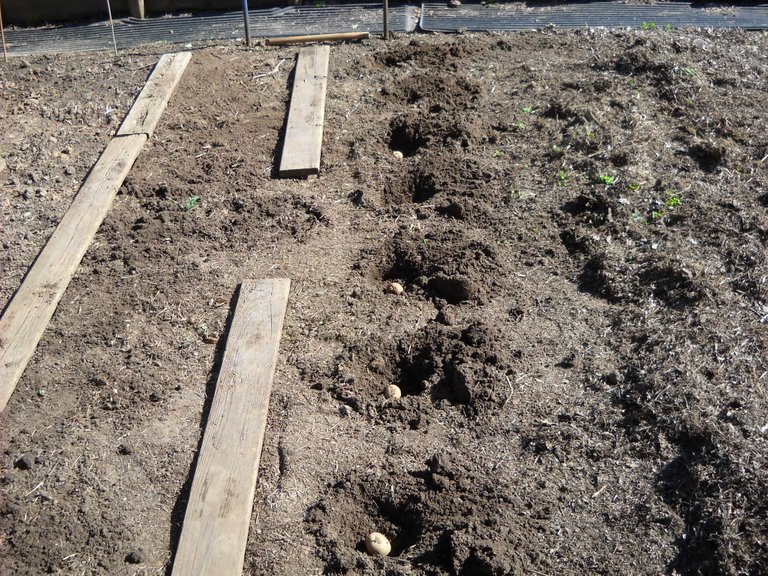
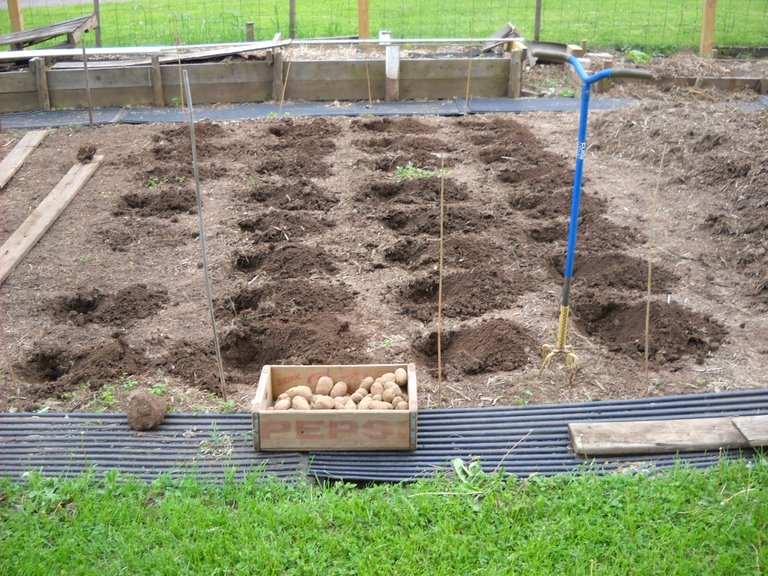
For the next 2 rows, I tried something a bit different. Last year, I bought a twist cultivator at a local flea market. These are also called a twist tiller. They're handy for loosening up soil without bending over. I decided to try to loosen up the dirt for the holes with the twist tiller before digging it out with the post hole digger. The twist tiller is the thing with the blue handle. In this picture, I already had the third row covered.
Digging the dirt out of the hole with the post hole digger takes a lot less effort when it's been loosened up. After that, the planting process is the same, put a seed potato in each hole, and then cover them up.
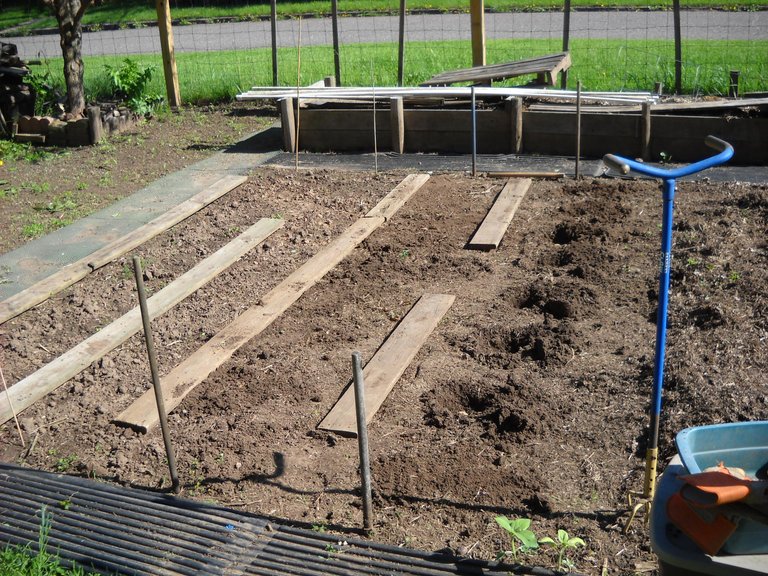
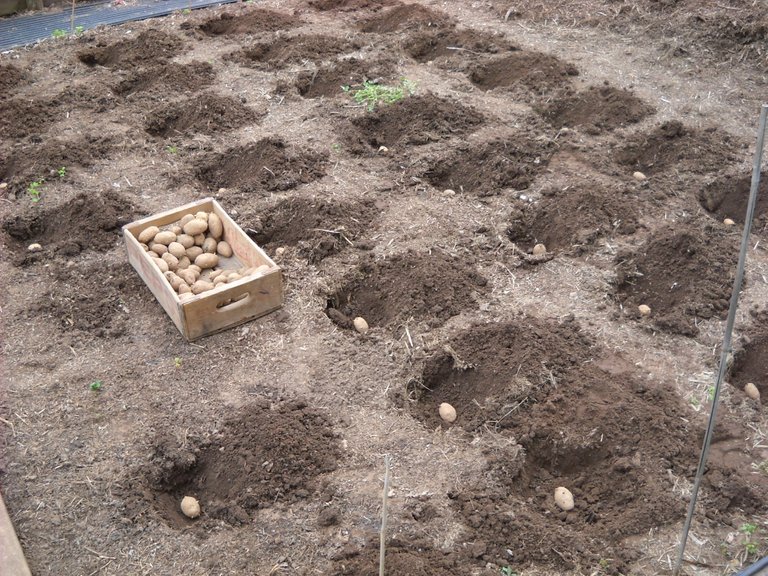
I finally got to the rest of the rows of potatoes today. I marked the 4 rows and then loosened the dirt for the holes with the twist tiller. I decided to try using my triangle hoe to dig the dirt out of the holes for these rows after loosening the dirt. It turned out that it was a bit easier on the back than lifting the post hole digger multiple times for all the holes. The undug spot in the first row is where a volunteer potato came up, I didn't want to dig it out because it's already growing nicely. The volunteer potatoes grow from small potatoes that I miss when digging them in the fall. I always end up with a few that grow in the spring.
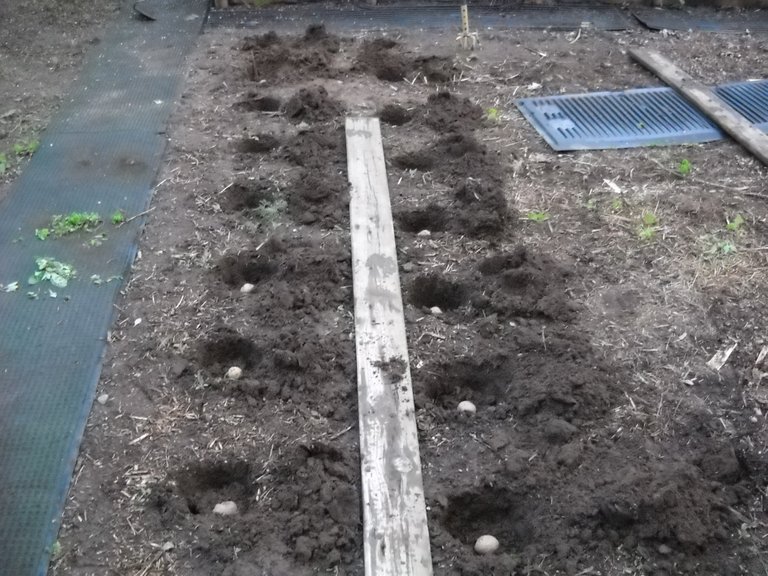
Once all the holes are dug, just place a seed potato in each hole. These are the white potatoes.
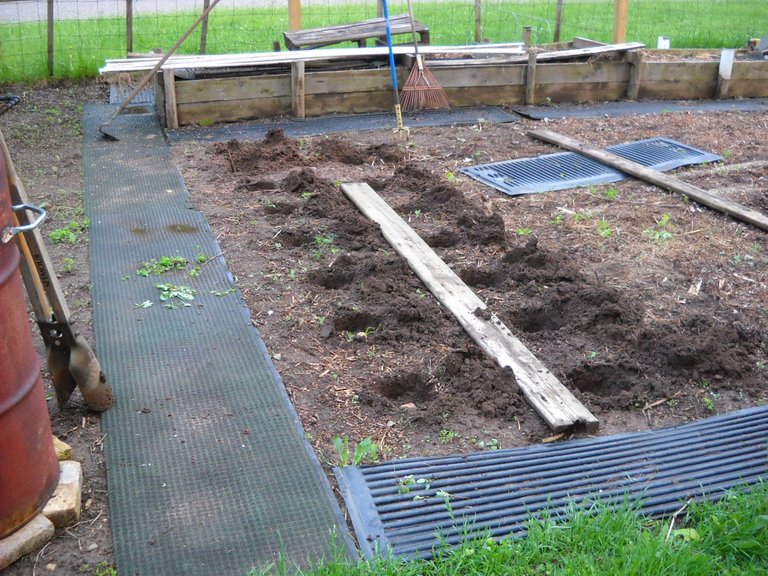
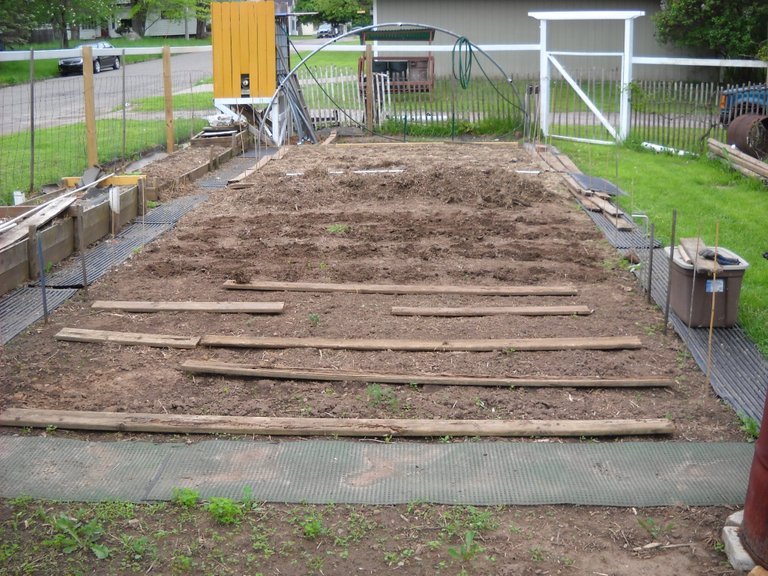
Here's a look at the big garden after getting all the potatoes planted. I have a mulch mound across the middle of the garden that will get used in the garden later this summer. On the other side of the mulch mound is the corn patch.
Well, that's all I have for this potato planting post, thanks for stopping by to check it out!

Good job!
That was quite an undertaking, planting potatoes and experimenting with how to do it.
As a disabled gardener, I've worked out many methods of how to do things without standing any more than I have to, or bending over a lot. I love how you trialed and critiqued each method.
Glad your potatoes are in!
Thanks!
Yeah, the old back isn't getting any better so I have to find easier ways to do things now... 🙂