Hola amigos peakD.
Continuación ** mascarilla infantil casera-1**.
Continued Homemade children's mask-1.
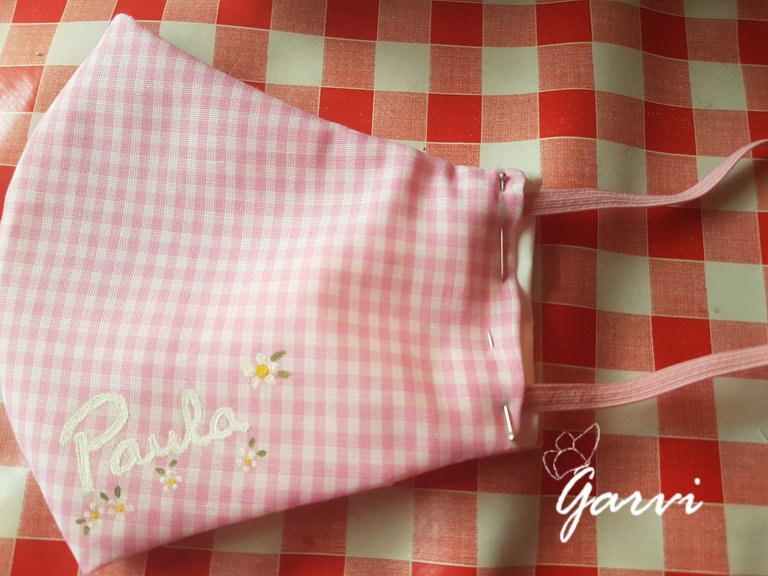
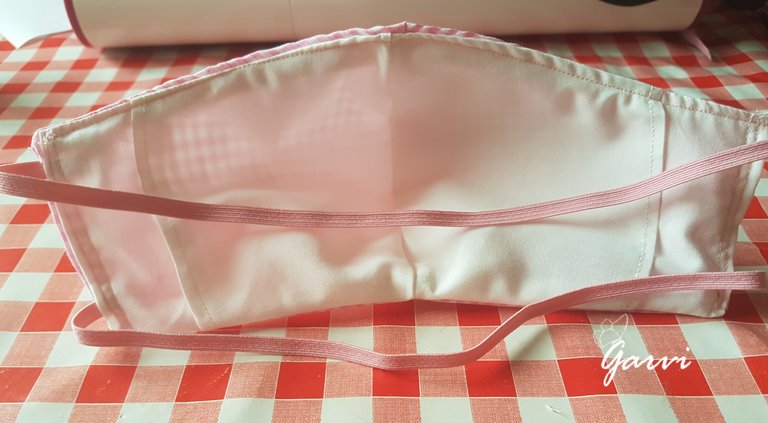
Hay muy pocas mascarillas infantiles para poder comprar así que he decidido hacer una con un bolsillo dentro para poderle poner el tejido de la ffp2 dentro y de ese modo poder proteger a los pequeños aunque estemos sin existencias en el mercado actualmente.
There are very few children's masks to buy, so I decided to make one with a pocket inside so that I could put the fabric of the ffp2 inside and thus protect the little ones even though we are out of stock on the market at the moment.
Os adjunto enlace TUTORIAL 1:
https://peakd.com/publish?edit=garvi%2Fmascarilla-infantil-casera-1-homemade-children-s-mask-1
I attach TUTORIAL 1 link:
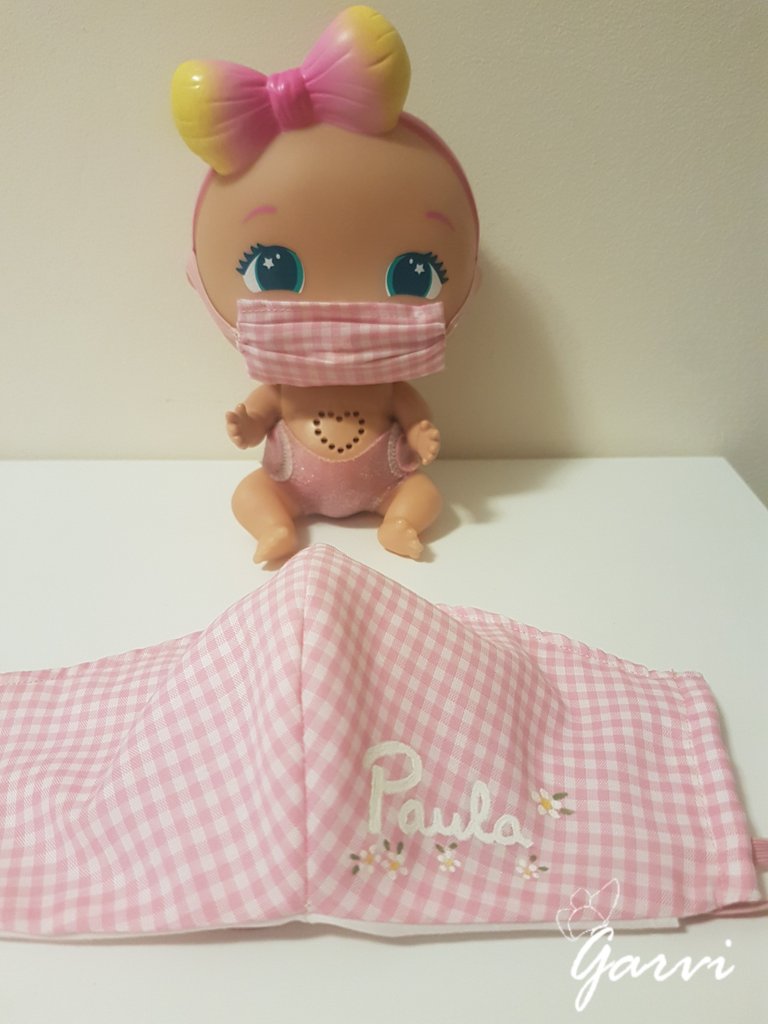


Una vez terminado el proceso de Personalizado.
Once the Customization process has been completed.
Paso 4/Step 4
A coser.
Sewing.
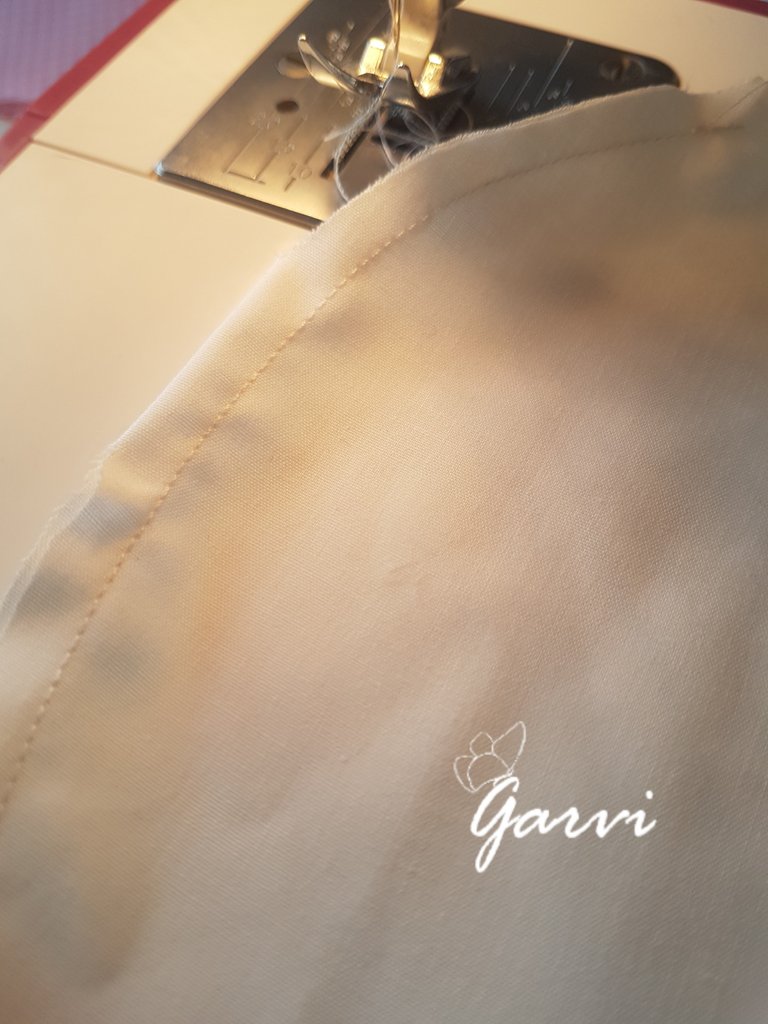
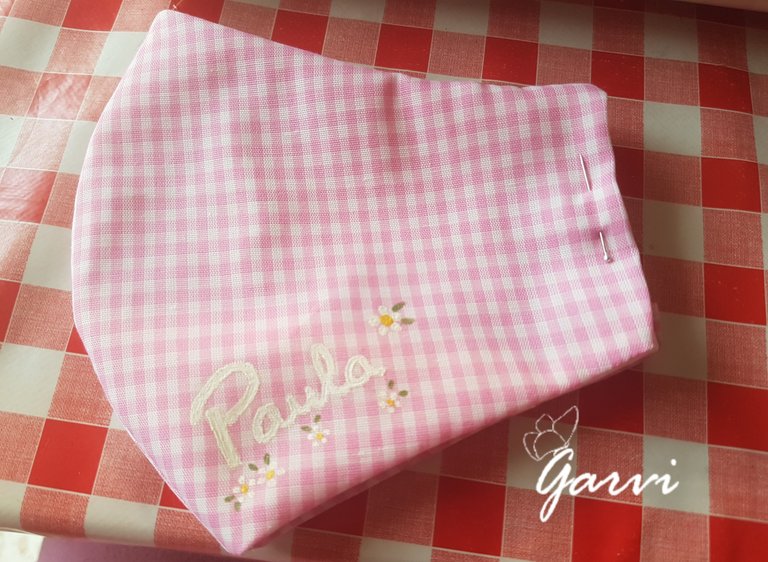
Primero he cosido todas las curvas de los moldes.
First I sewed all the curves of the moulds.
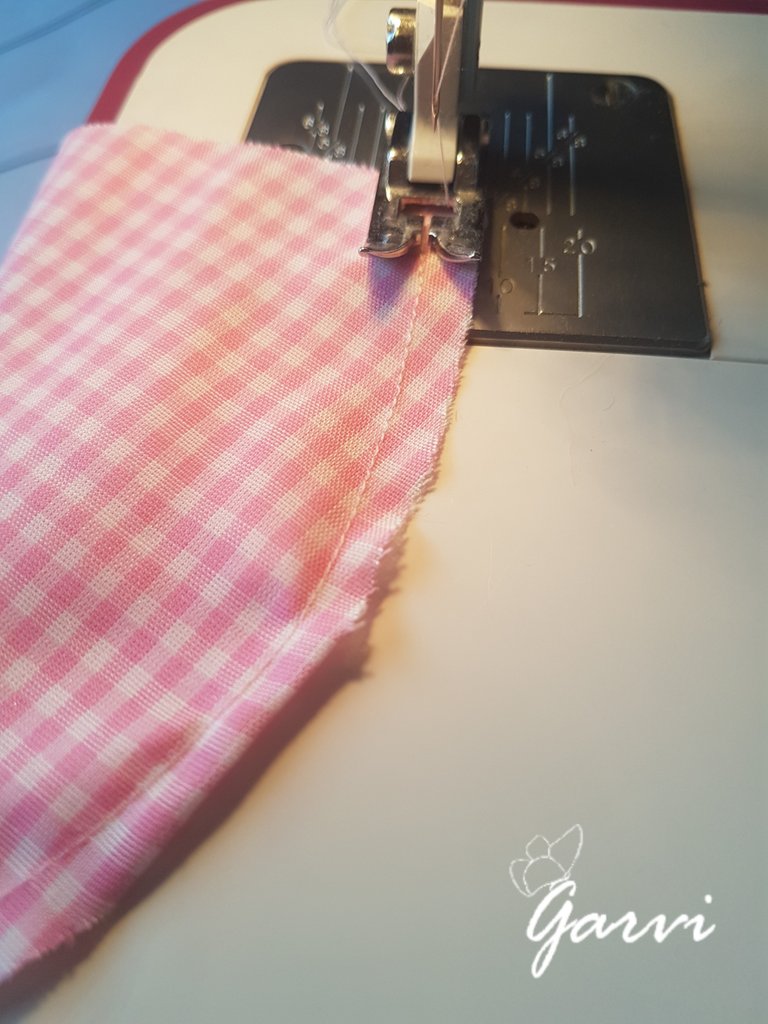
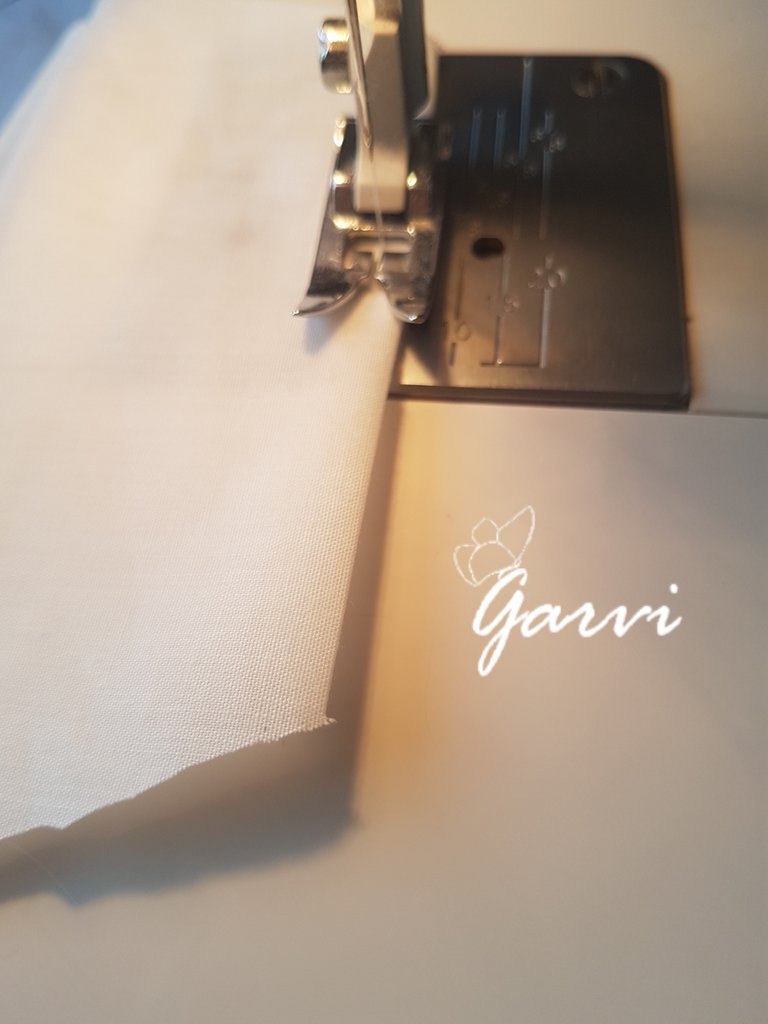
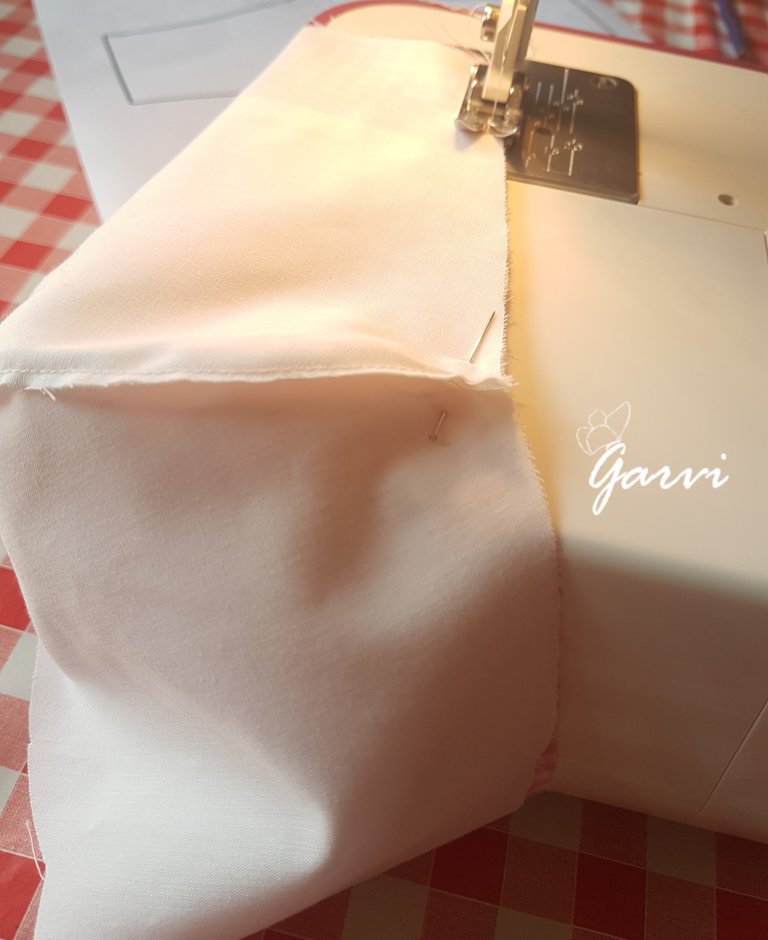
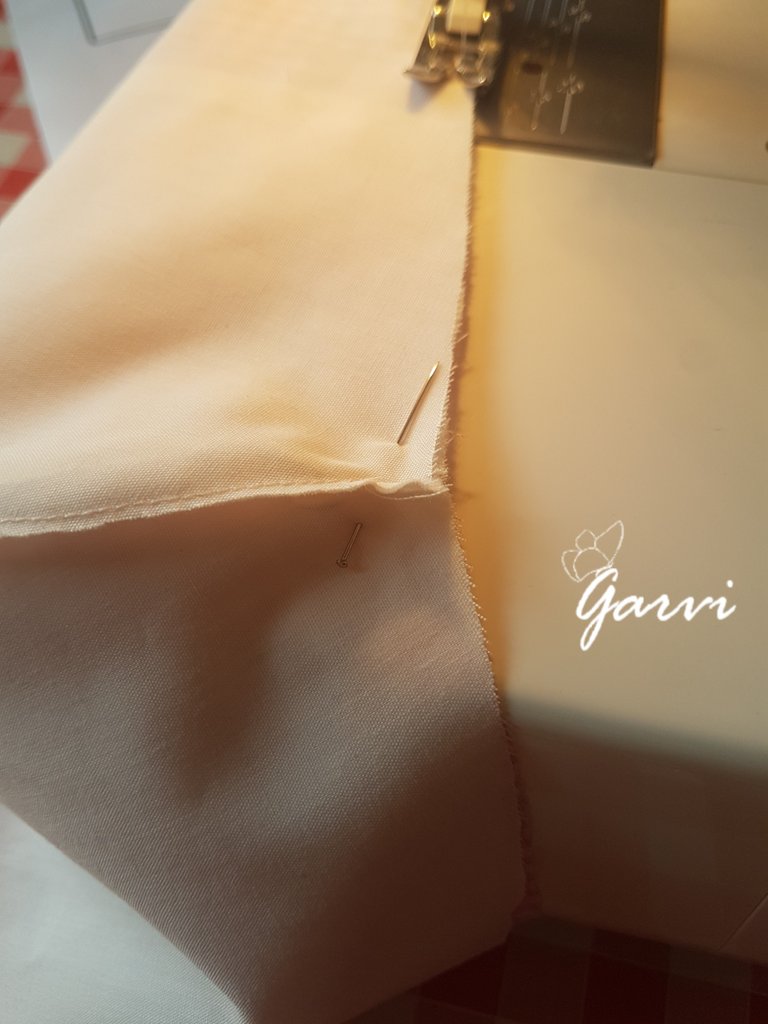
Paso 5/Step 5
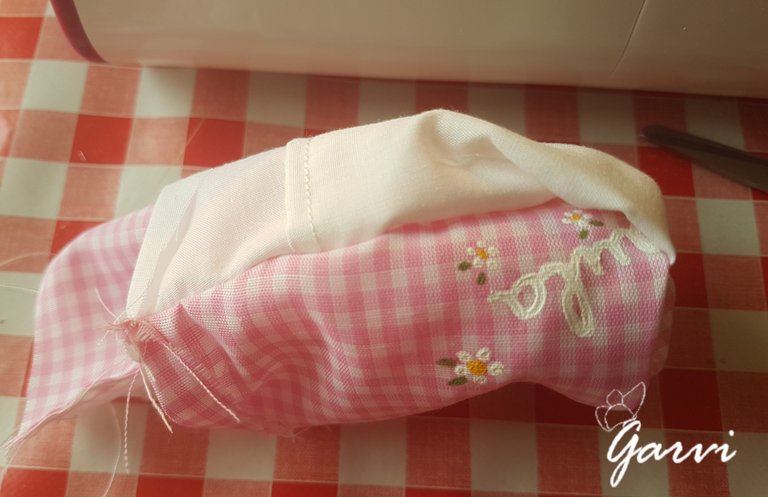
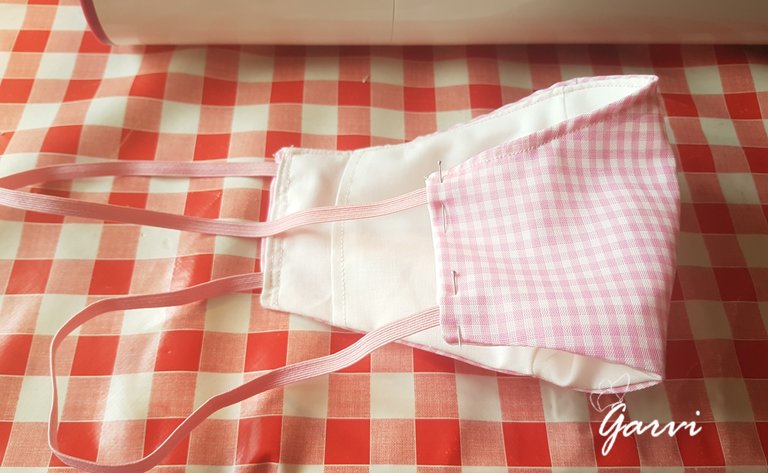
Montamos los moldes y para coserlos entre sí.
Los montamos interior y exterior encarados de forma que al darle la vuelta queden bien.
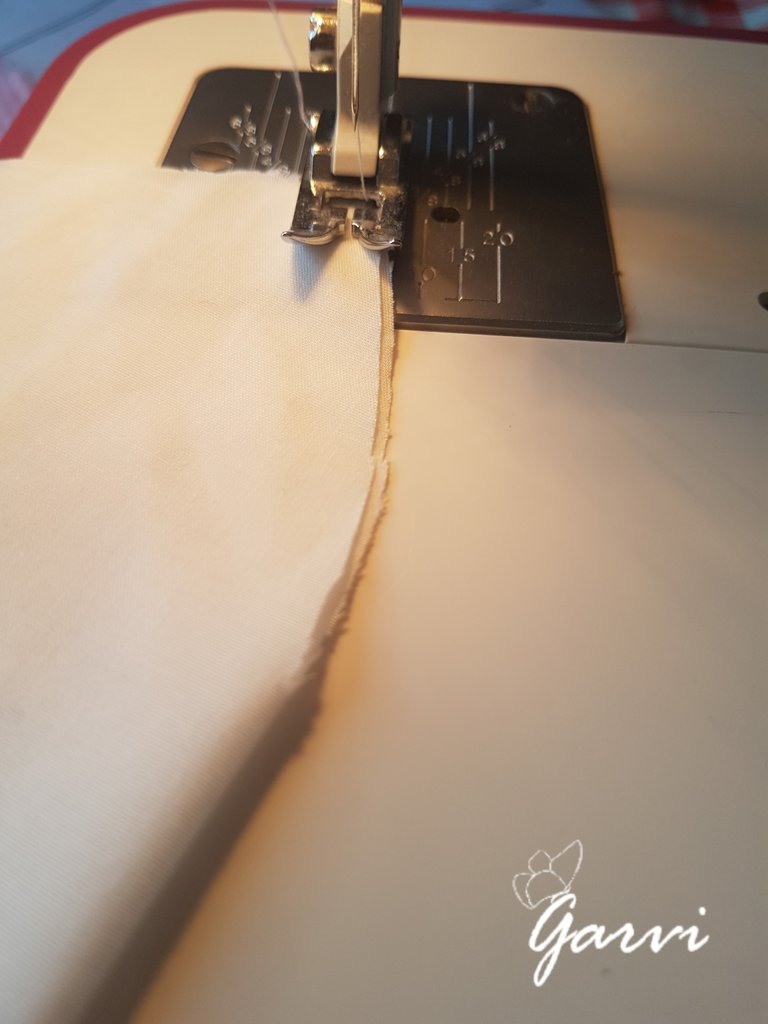
Cosemos arriba y abajo y dejamos sin coser los extremos para poder darle la vuelta despúes.
We mount the moulds and sew them together.
We mount them inside and outside facing each other so that when they are turned over they look good.
We sew up and down and leave the ends unstitched so that they can be turned over later.
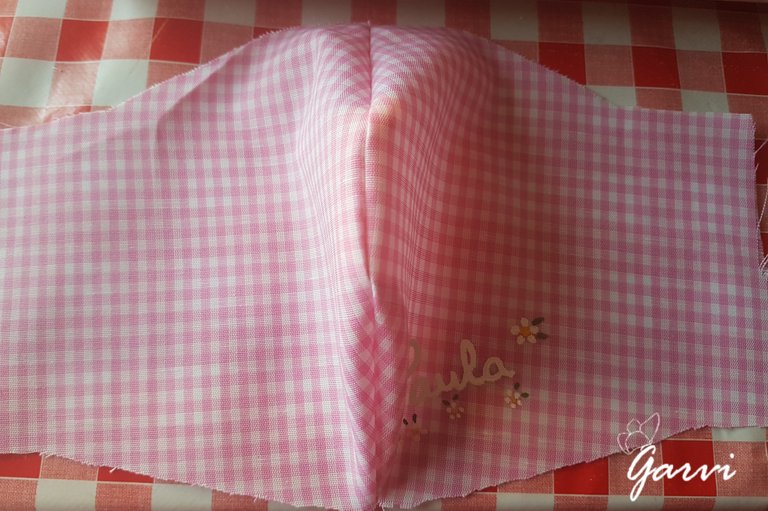
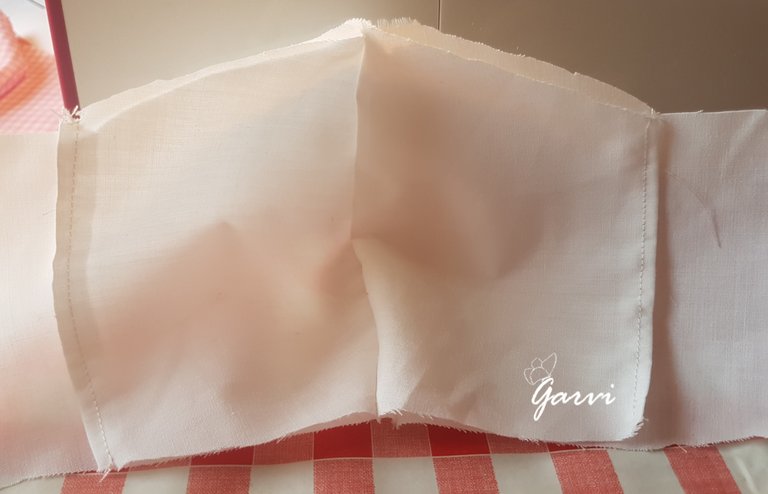
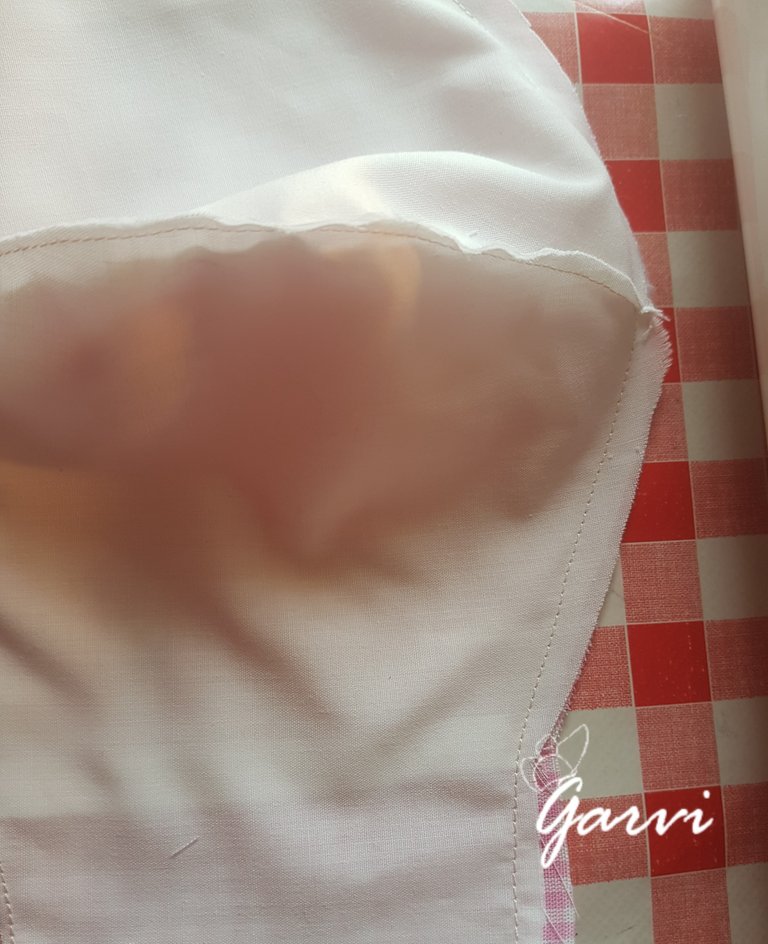
Damos la vuelta.
We go around.
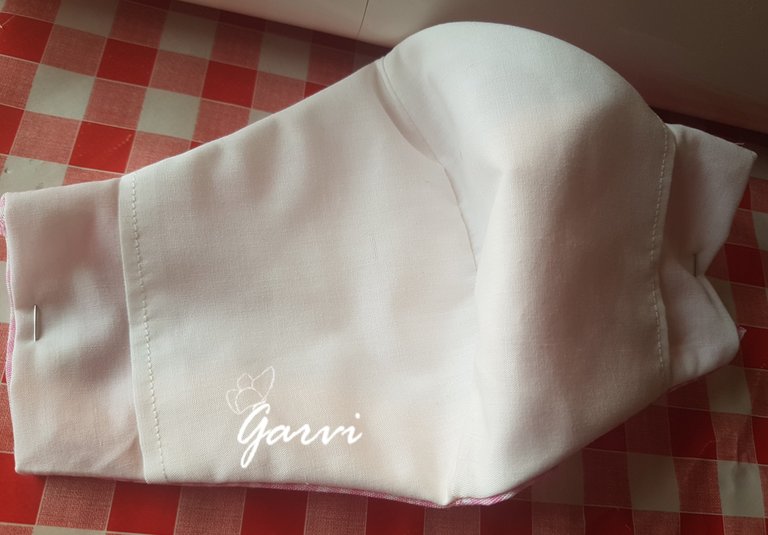
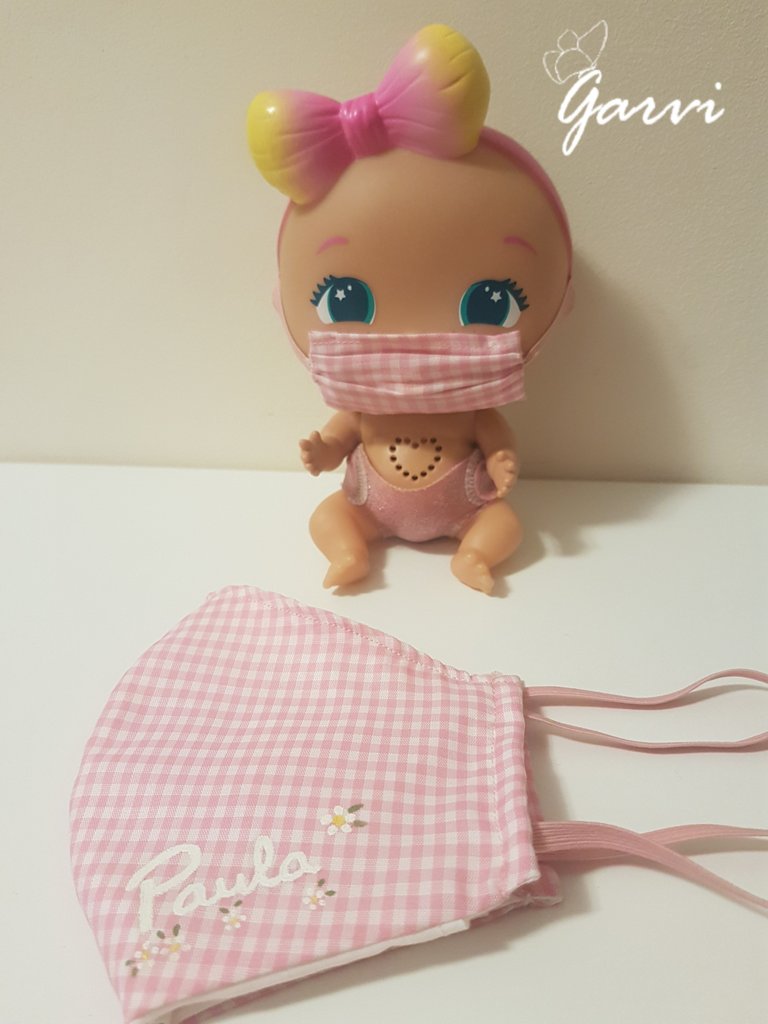
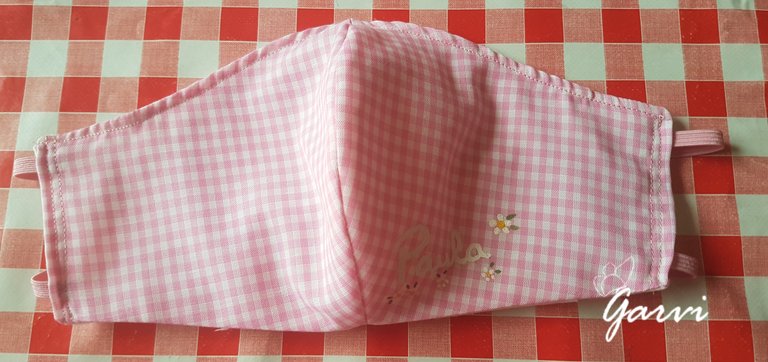
Paso 6/ Step 6
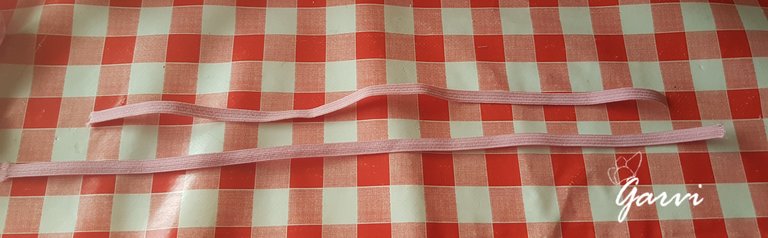
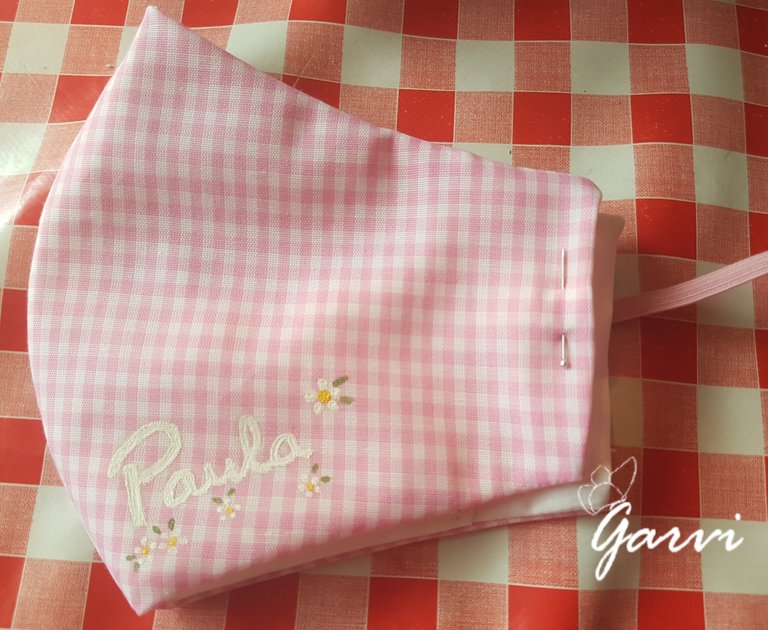
Poner los elásticos y terminar.
Put the elastics on and finish.
Cortar los elásticos a la medida del niño y teniendo en cuenta que el inferior sea más corto que el superior.También podéis tomar la medida y sujetar en las orejas.
Yo creo que esta opción es más cómoda para ellos y además más fácil de poder bajar en caso de que lo necesite.
Cut the elastics to the child's size, making sure that the lower one is shorter than the upper one.
I think this option is more comfortable for them and also easier to lower if needed.


Imágenes by @garvi