Español | Inglés
Hi hivers,
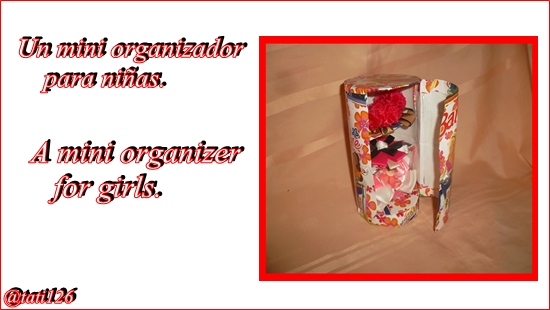
Today I made a mini organizer for girls to the taste of my niece, she told make one for her to keep her pigtails. It seemed good to me since Haci learns to store his things, teach your children to be organized and have fun creating with this mini organizer. What are you waiting for to cheer up and let's get started?
Hola Hivers,
Hoy hize un mini organizador para niñas al gusto de mi sobrina, ella me dijo que le hiciera uno para guardar sus coletas. Me pareció bien ya que Haci aprende a guardar sus cosas enseñale a tus hijos a ser organizado y diviertete creando con el este mini organizador. ¿Qué esperas para animarte y comencemos?
Materiales | Materials
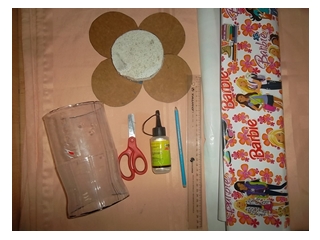
- Gift Wrap.
- Plastic bottle.
- Scissors.
- Anime.
- Pencil.
- Rule.
- Small ponytail.
- 2 Buttons.
- Silicone.
- Papel de regalo.
- Botella plástica.
- Tijera.
- Anime.
- Lápiz.
- Regla.
- Coleta pequeña.
- 2 Botones.
- Silicón.

Procedimiento | Process.
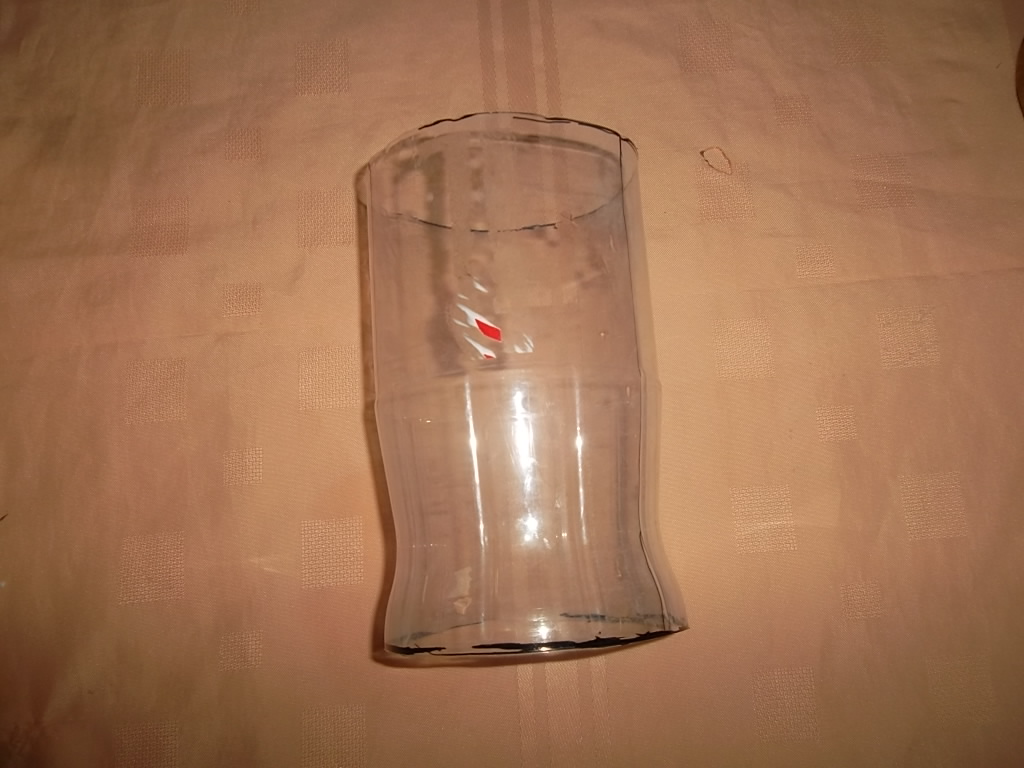
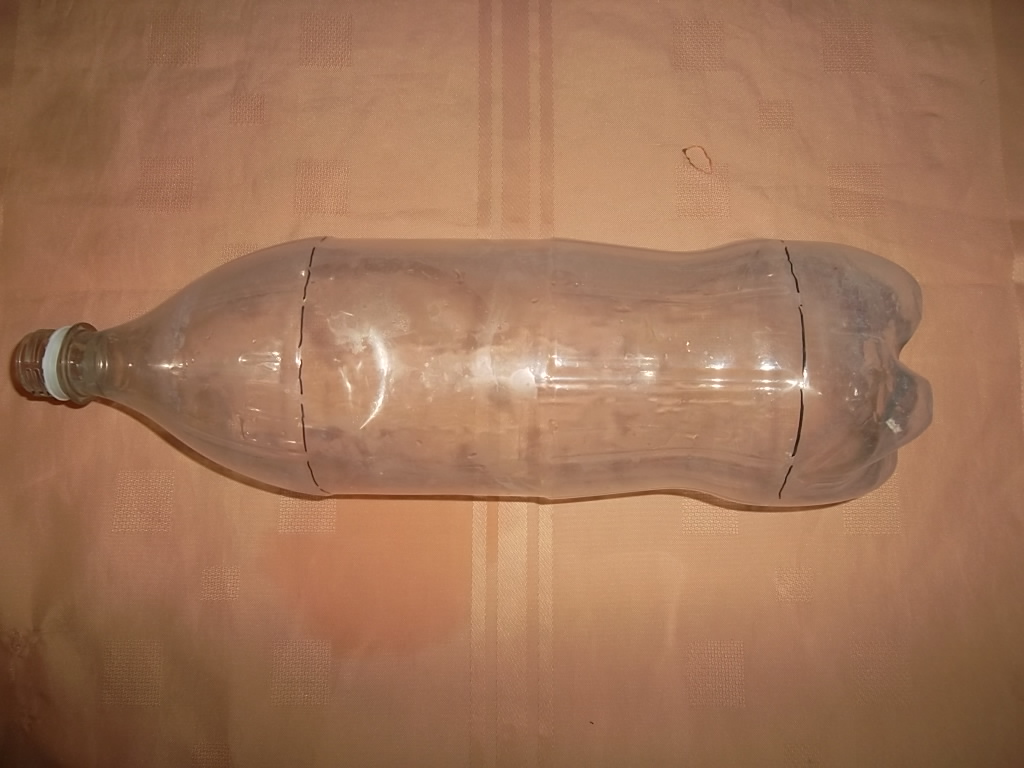
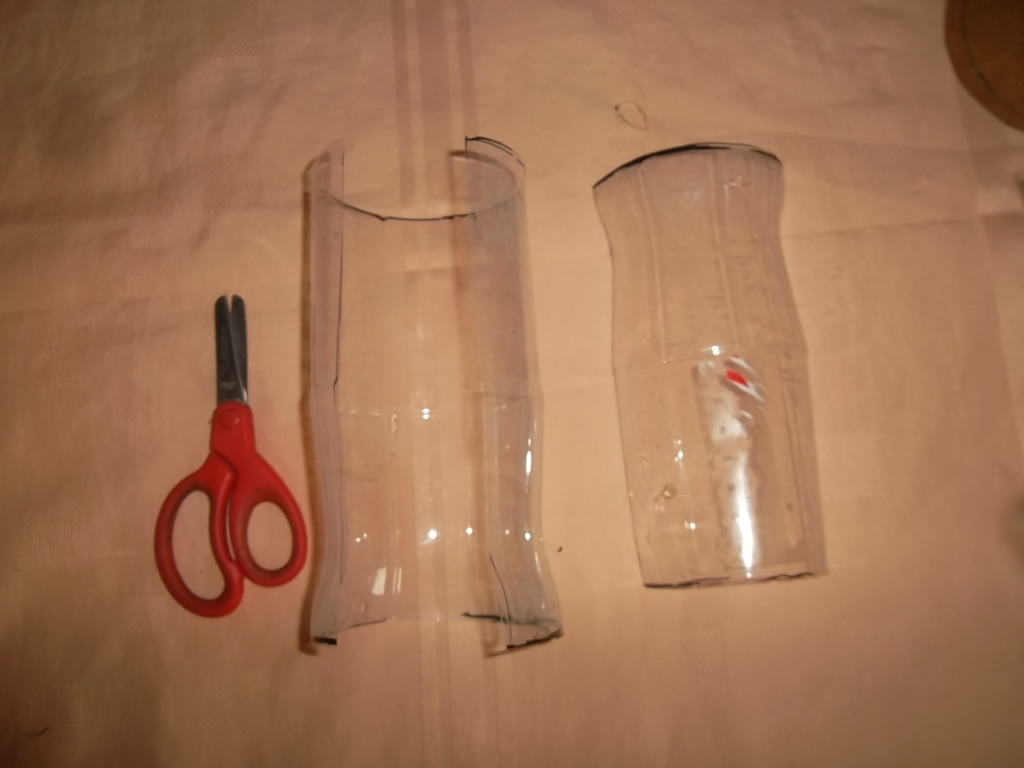
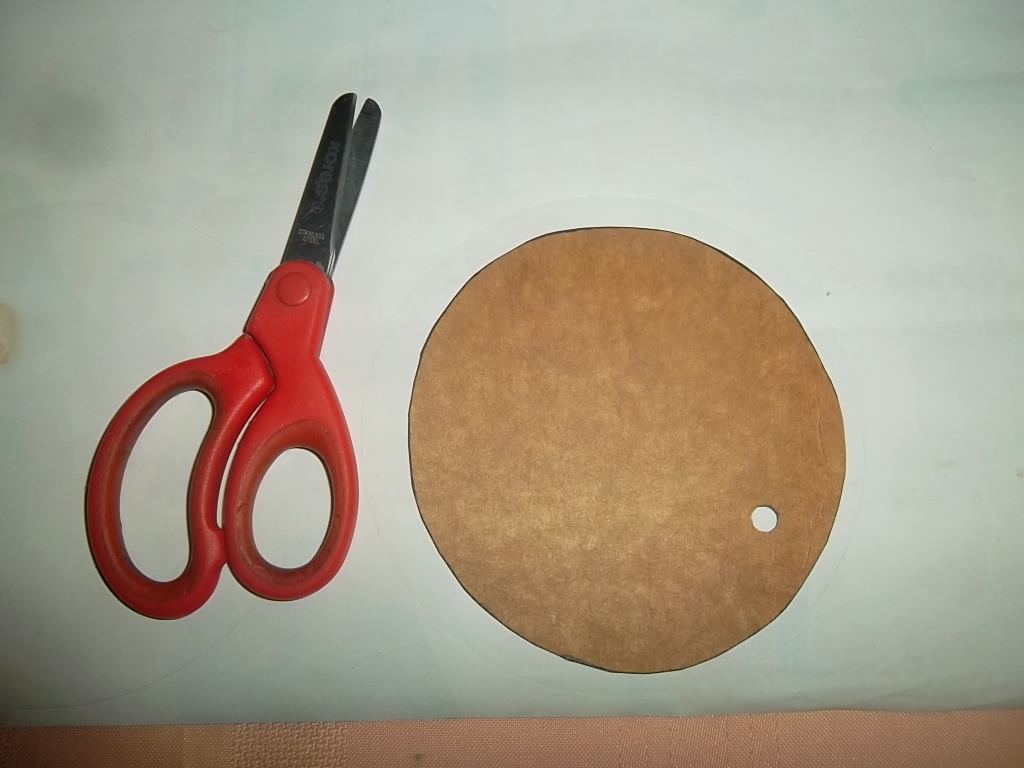
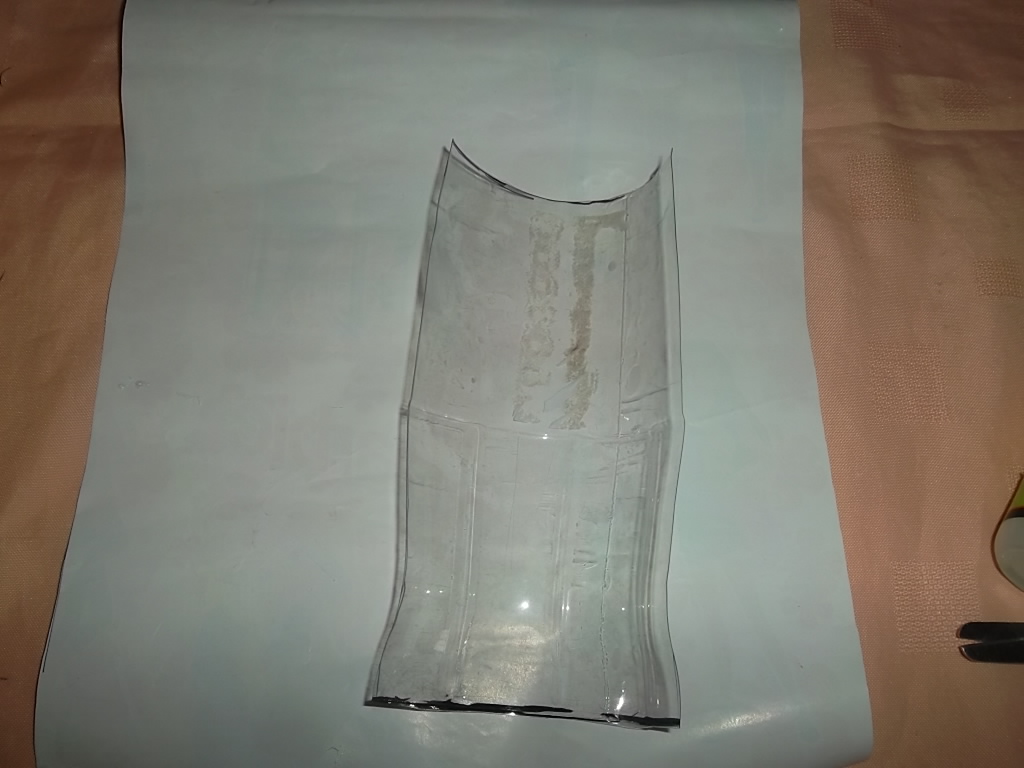
First we cut the plastic along the dotted lines. Then we take the measurement by making 4 circles and one anime.
Primeramente cortamos el plástico por las líneas puntuadas. Luego tomamos la medida haciendo 4 circulos y uno de anime.
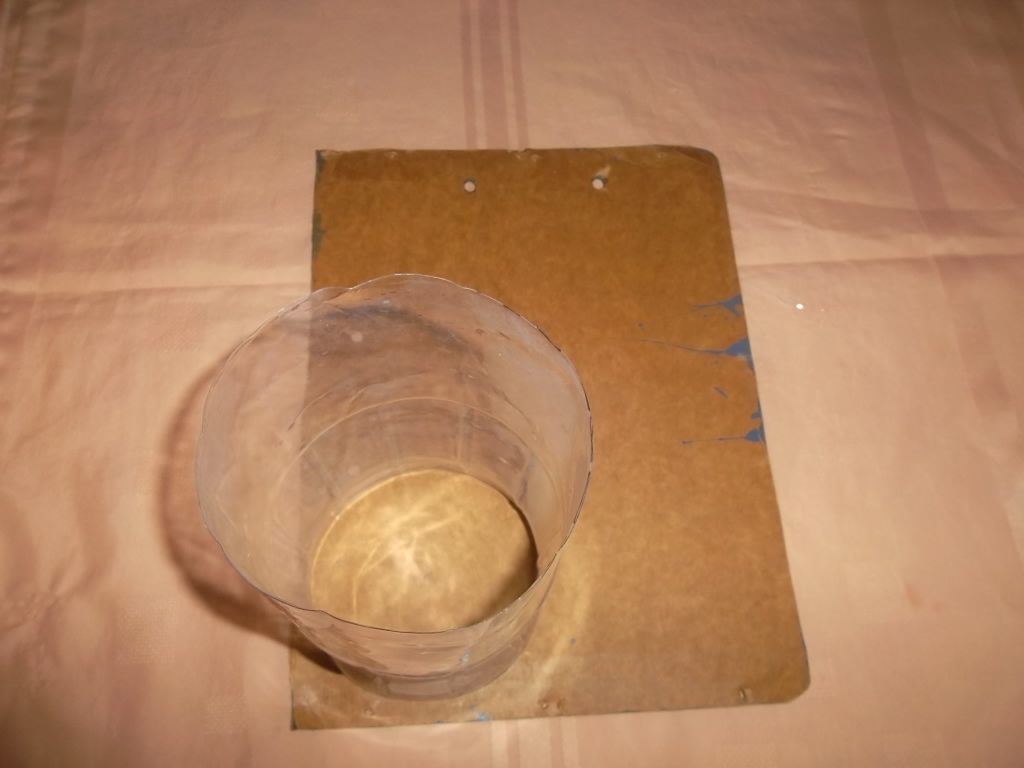
We take the measurement of the circles. For the lid we cut about 9 cm wide.
Tomamos la medida de los circulos. Para la tapa recortamos unos 9 cm de ancho.
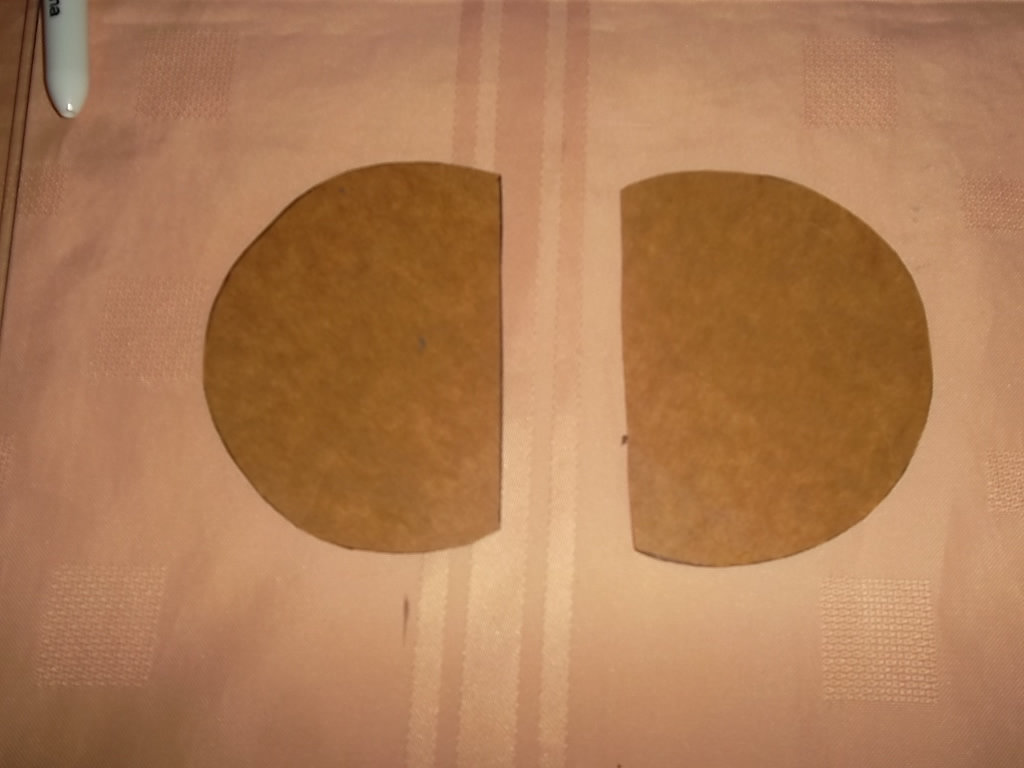
We will trim what is left over. We need two of this model.
Recortaremos lo que sobra. Necesitamos dos de este modelo.

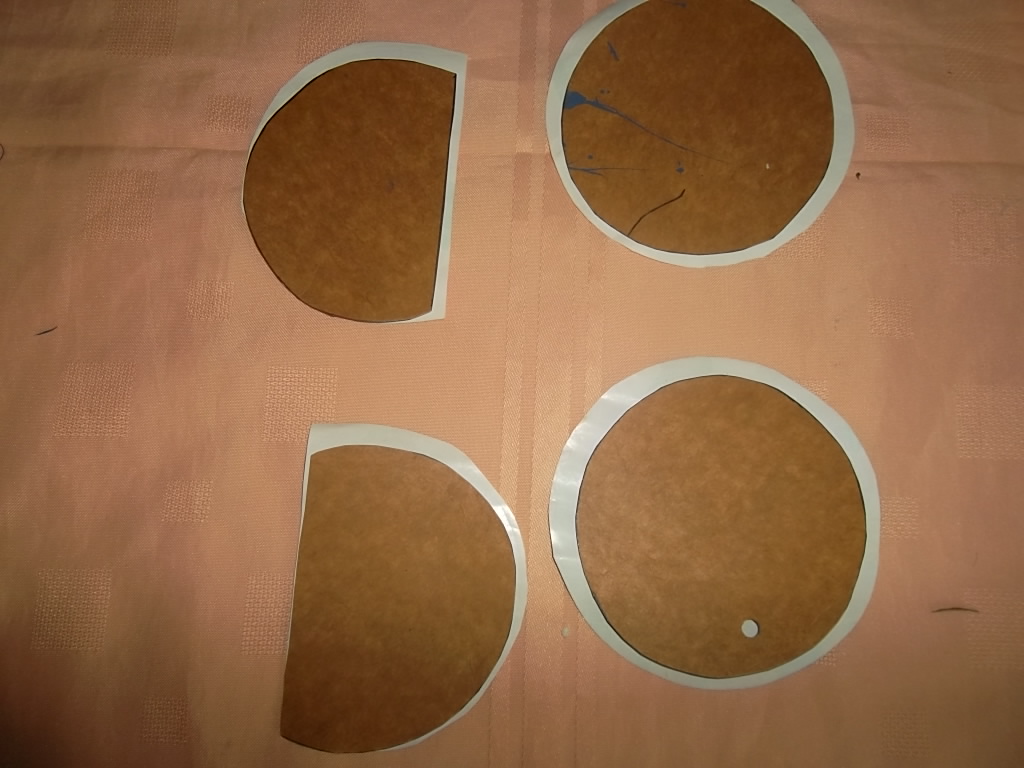
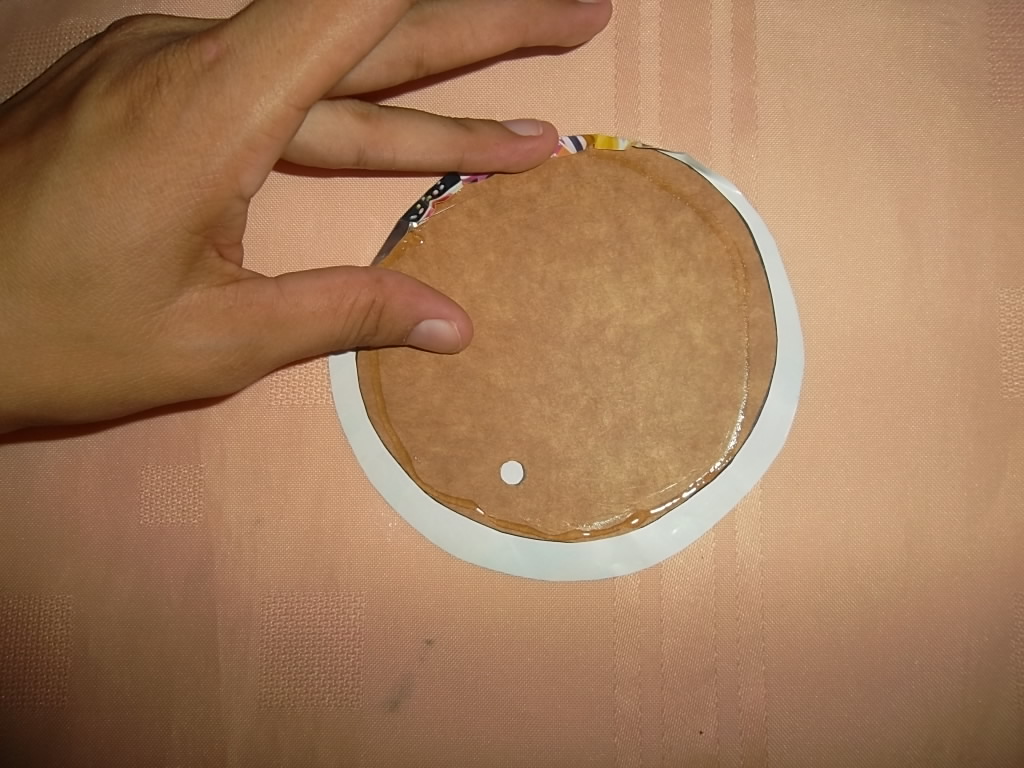
We transfer the circles to the wrapping paper and glue.
Transferimos los circulos al papel de regalo y pegamos.
We glue them like this.
Pegamos de esta forma.

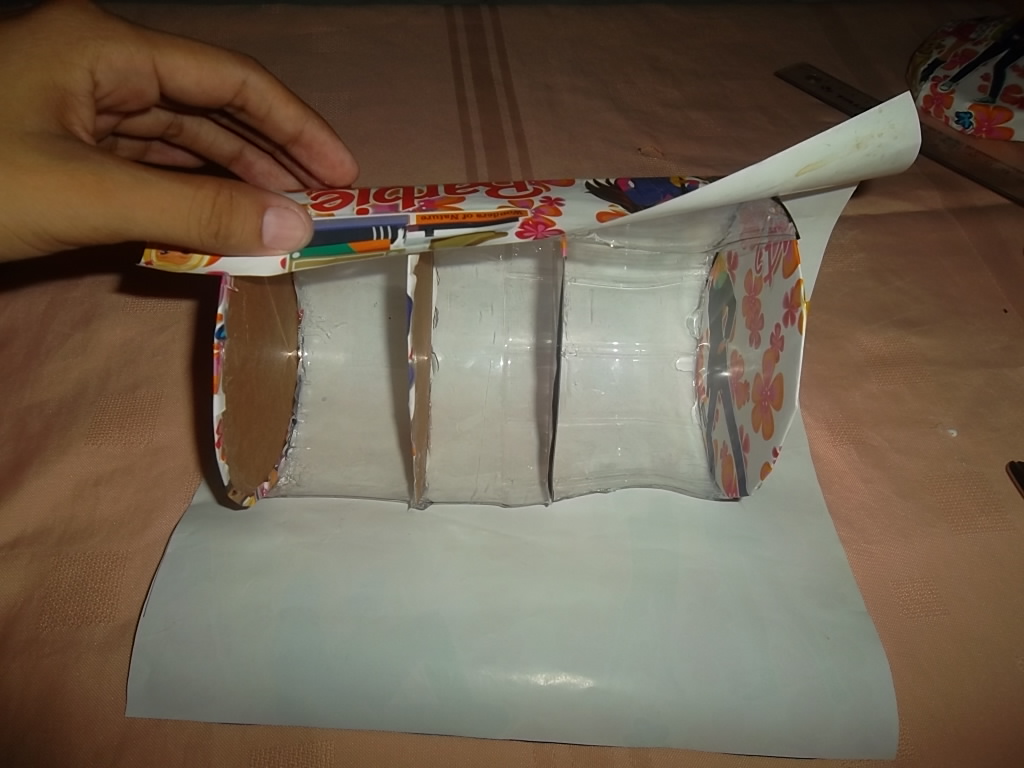
Now all lined, we glue to the plastic bottle by gluing the bottom base and the top and the two inside.
Ya todas forradas, pegamos al plástico de botella pegando la base de abajo y la de arriba y las dos de adentro.
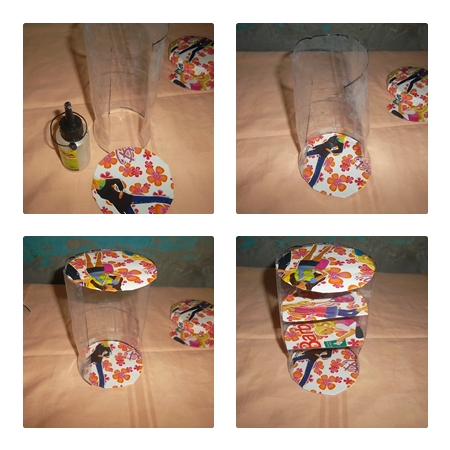
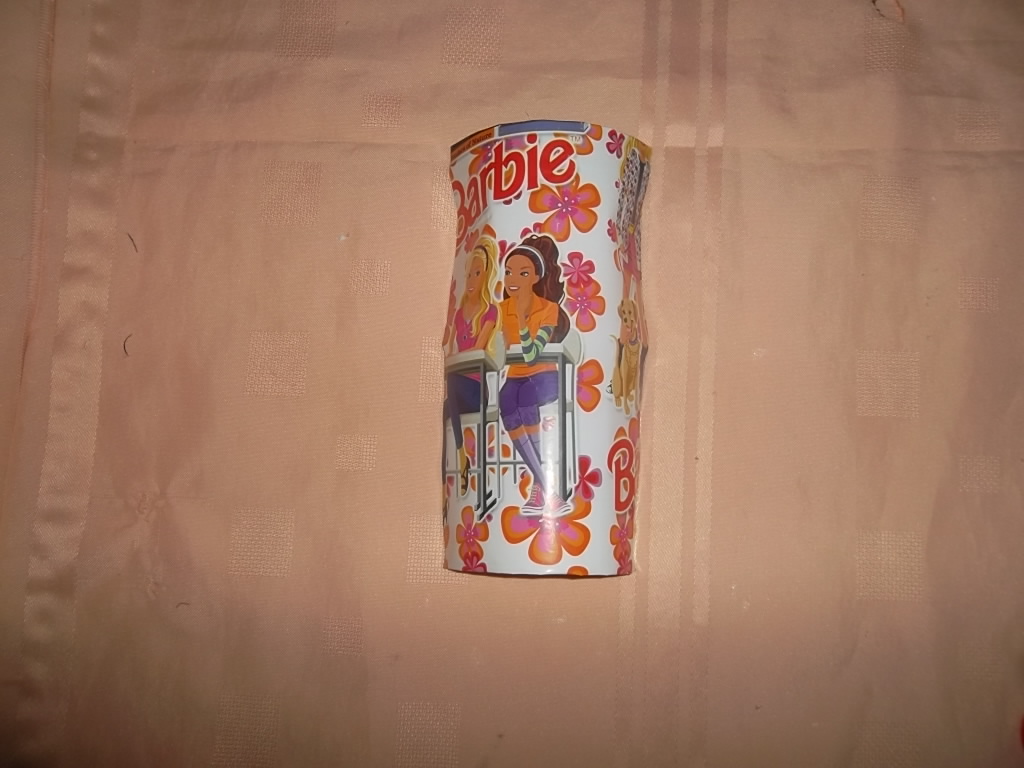
Once all the inside ones are glued, we are going to line the outside and the cover.
Ya pegada todas las de adentro vamos a forrar la parte de afuera y la tapa.
Being in this way, to place the cover we cut about 3 cm of wrapping paper and glue.
Quedando de esta manera, para colocar la tapa cortamos unos 3 cm de papel de regalo y pegamos.

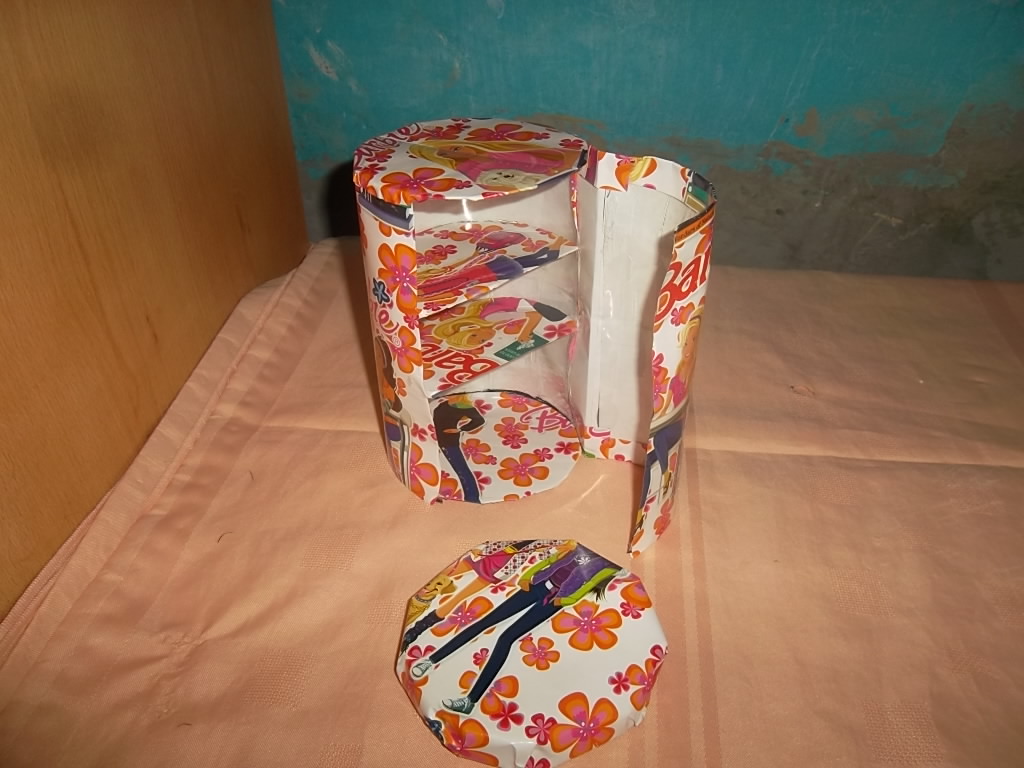
For the final base we glue the anime on the bottom, then we glue the two buttons to close the door and with the ponytail we close.
Para la base final pegamos el anime en la parte de abajo, luego pegamos los dos botones para cerrar la puerta y con la coleta cerramos.

Un mini organizador para niñas | A mini organizer for girls.

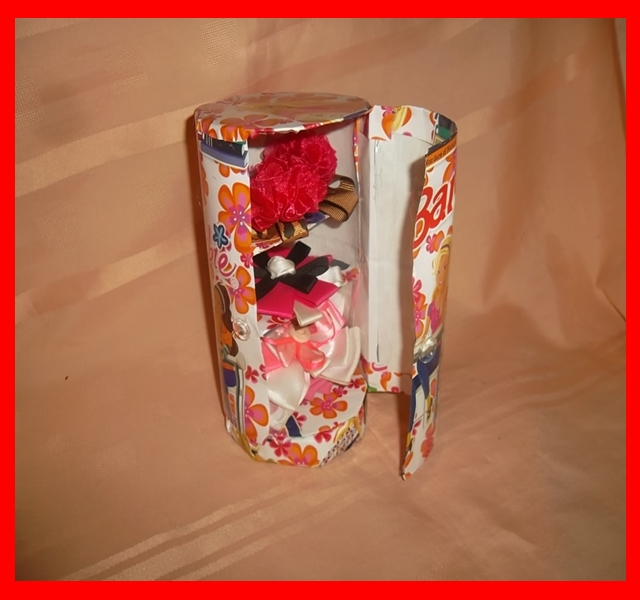
Foto tomada con camara samsung st65 los gif son editado con photoScape.
Photo taken with samsung st65 camera the gifs are edited with photoScape.

My twt posh
This post earned a total payout of 12.058$ and 6.029$ worth of author reward that was liquified using @likwid.
Learn more.