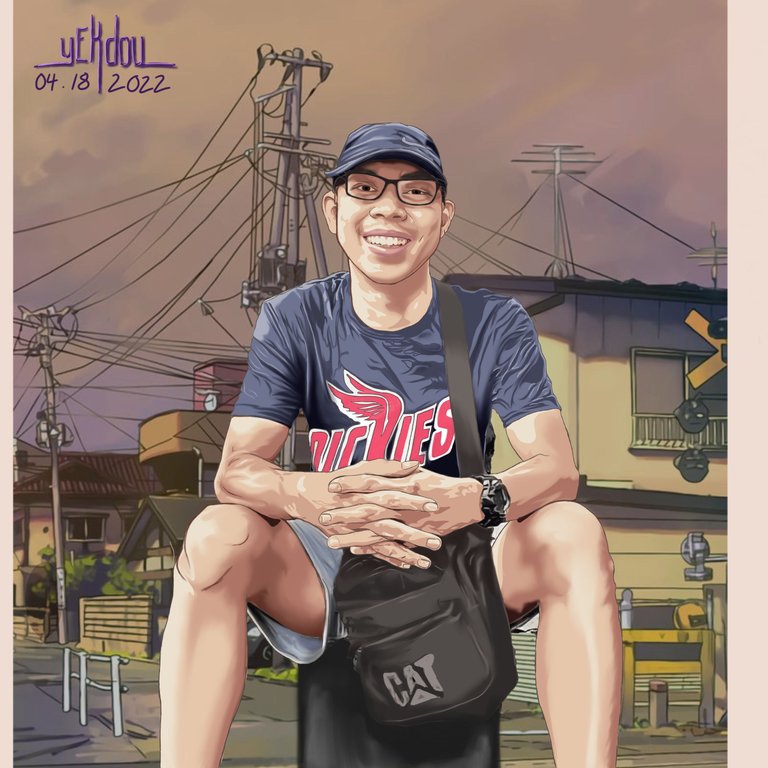
Hello guys, I wish y'all having a good day today.I just wanna share some story. Actually, it's been weeks since I finished this art gift, and I already gave it to my friend. But a lot of things happened this past few weeks, and I didn't get some time to post it. Now, I'm glad to have a rest and post some content. I made this art to thank my friend, a different ways of saying thank you bro for the helps that you've given to me. By the way his name is John Albert; I call him Jay.He is good on paper processing. When I got conflict in one of my documents I asked him for some advice and he immediately responds to my concern then he share some possible answer. I just followed it and that's it, I got my paper that I needed. Through art I just want to thank and appreciate his goodness. And I'm also happy cause he appreciates it in the same way. He really liked it.His advice really helped me. And
I couldn't think anything to express my gratitude for that. I don't think how my art would be important for him in this practical world, but I really just want to thank and appreciate him. And art is my language for that. I hope he would chant by the magic of surprise. And to be honest, I felt it. Same way that it's inspired me to make more drawings. At some point I realized that Huge or small we should not hesitate to spread positivity.
And If you want to know the process how I made this I would write it down for anyone who want to try.
What you need
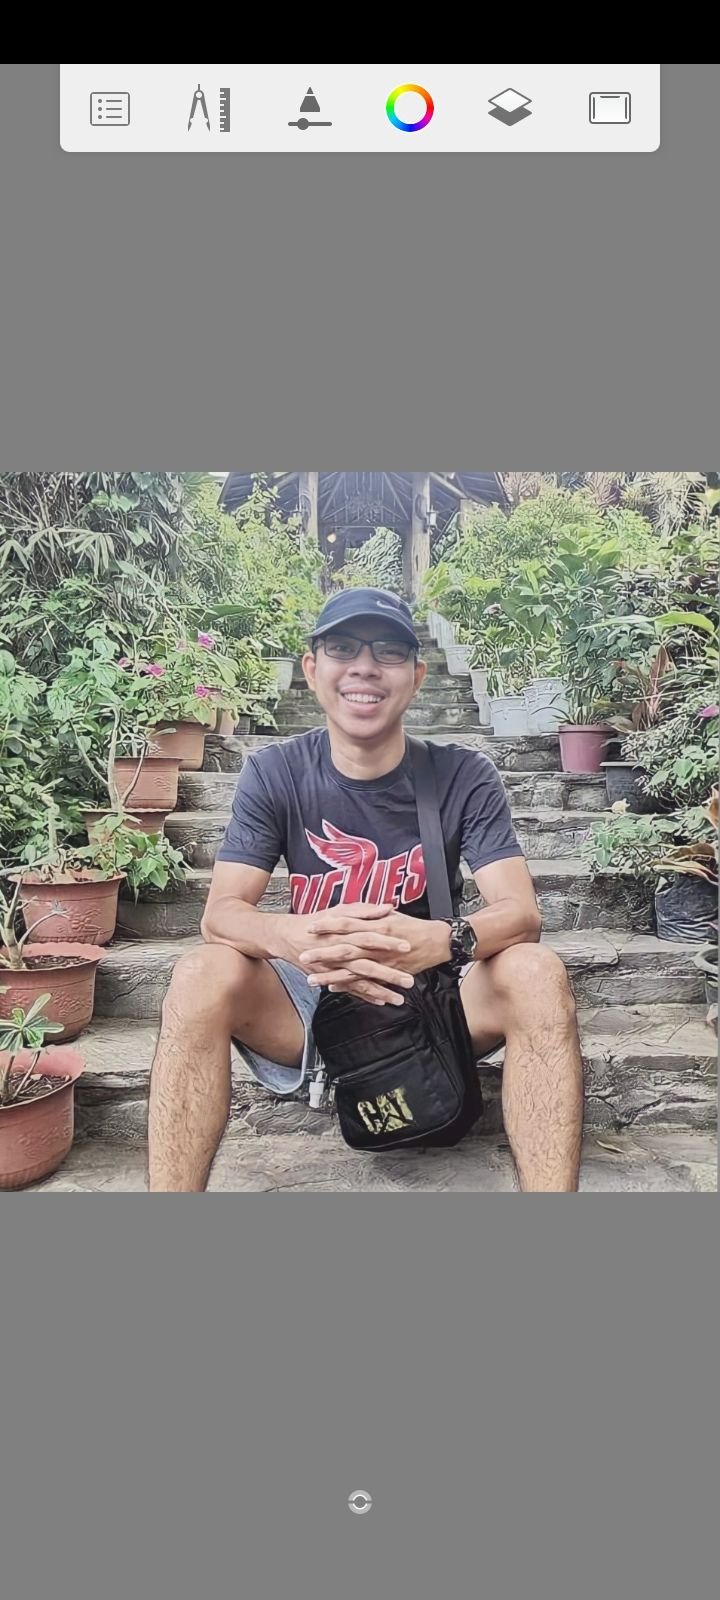
⚫Your subject reference
⚫Mobile phone
⚫Autodesk Sketchbook app
⚫Not necessary but it's a huge help if you have a stylus pen
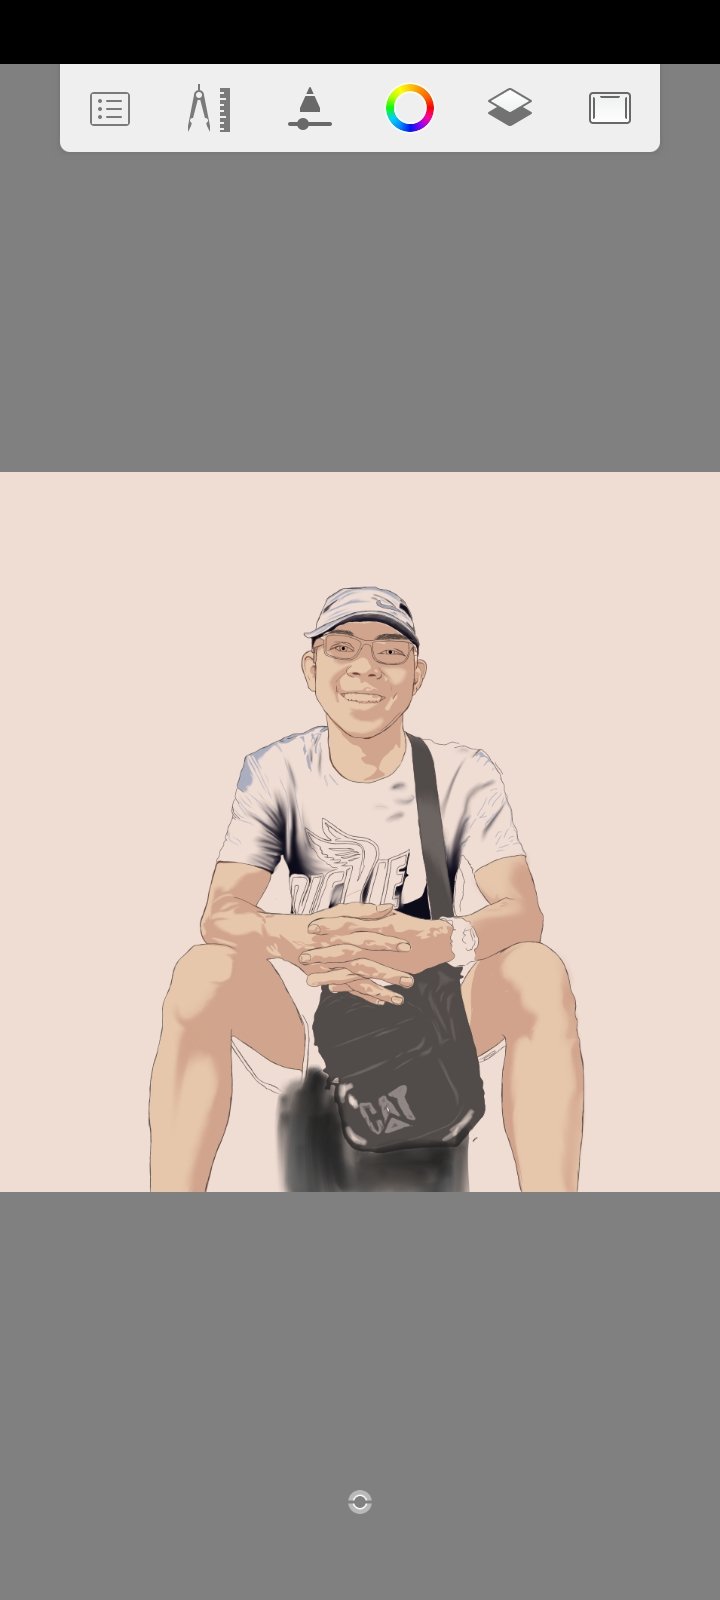
First I imported the reference on the sketchbook autodesk
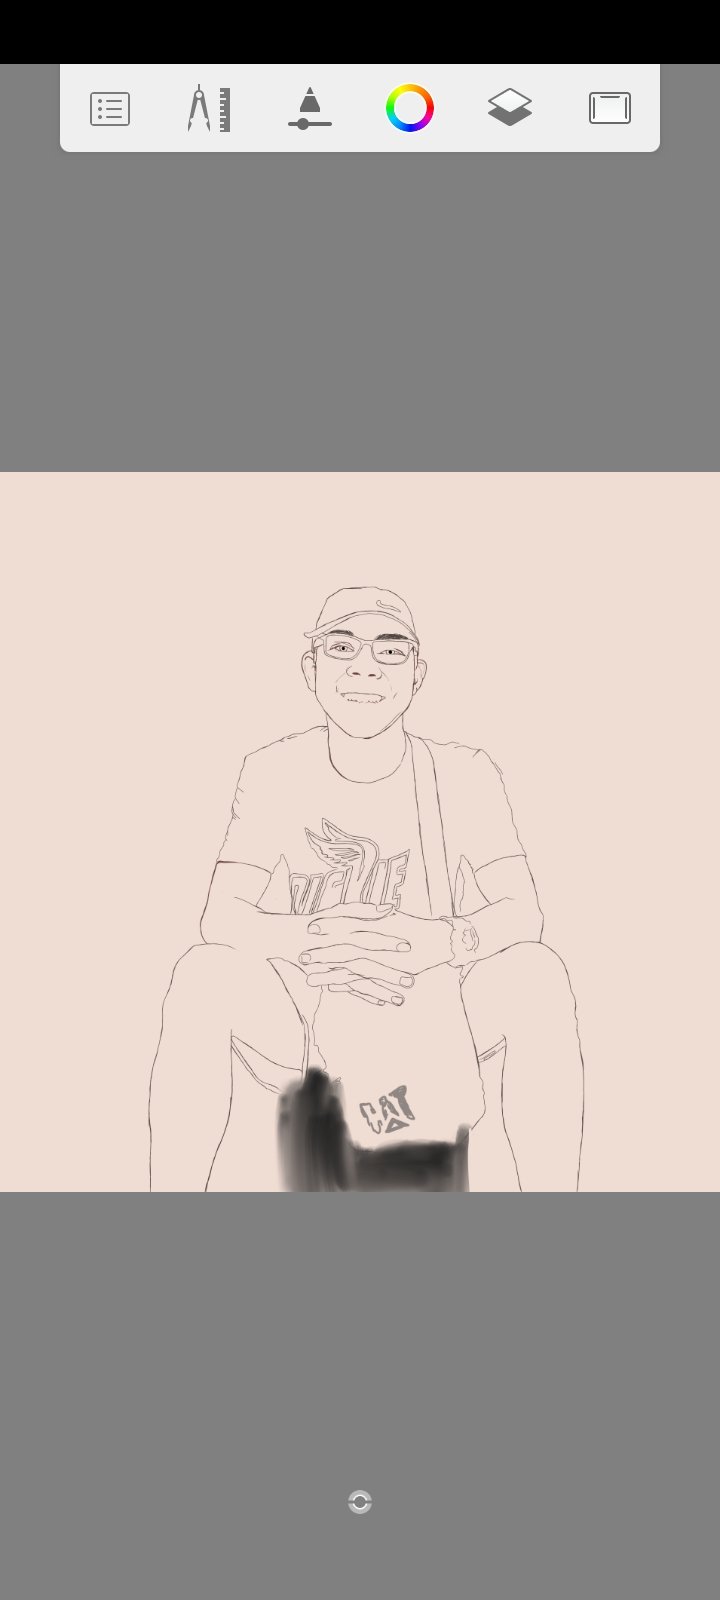
Lineart
Next I trace the line art to be able to guide me on the next process which is coloring the base skintone. In this line art I also add the details it depends on the mood., Sometimes I add the details along the process sometime at the end when I am about to finalize the project.
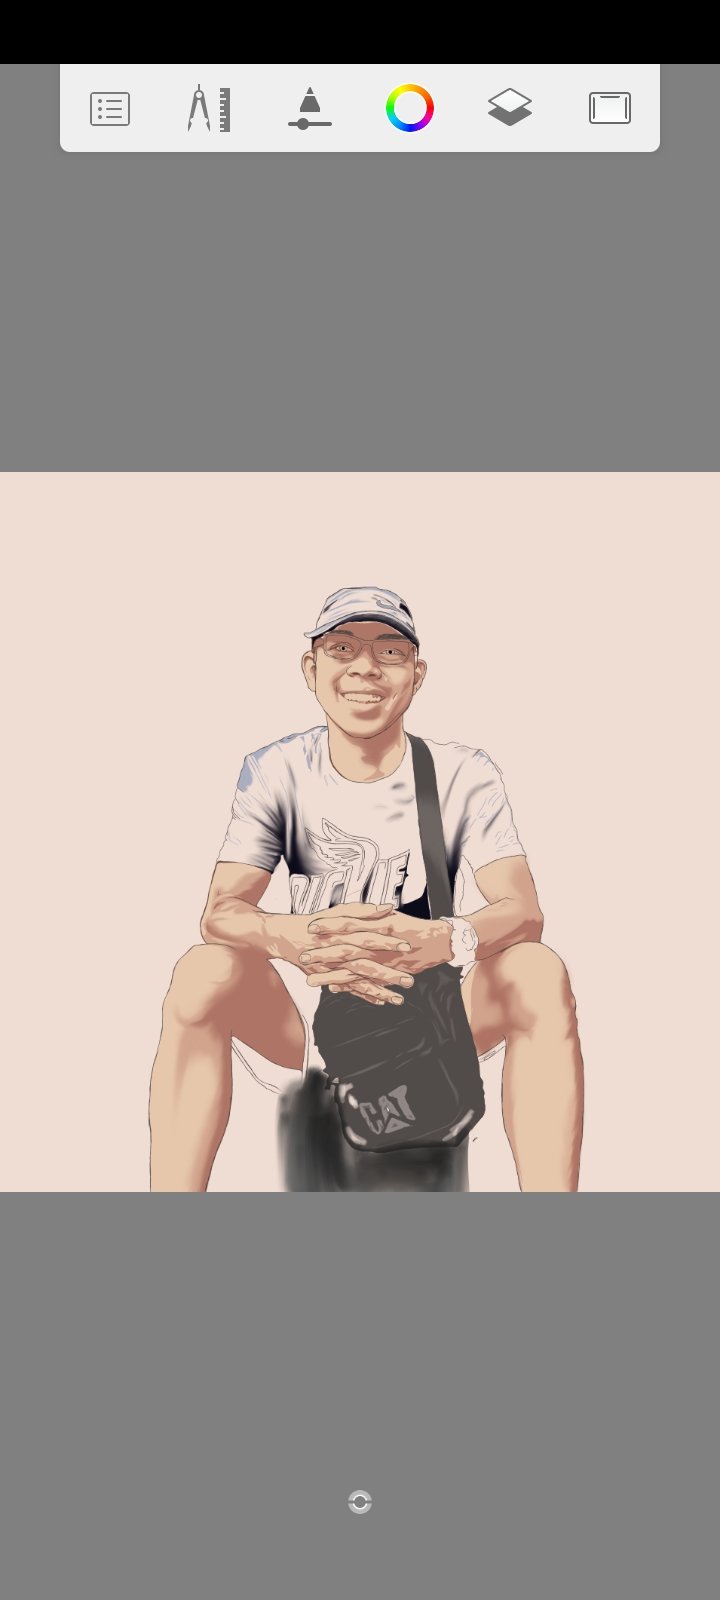
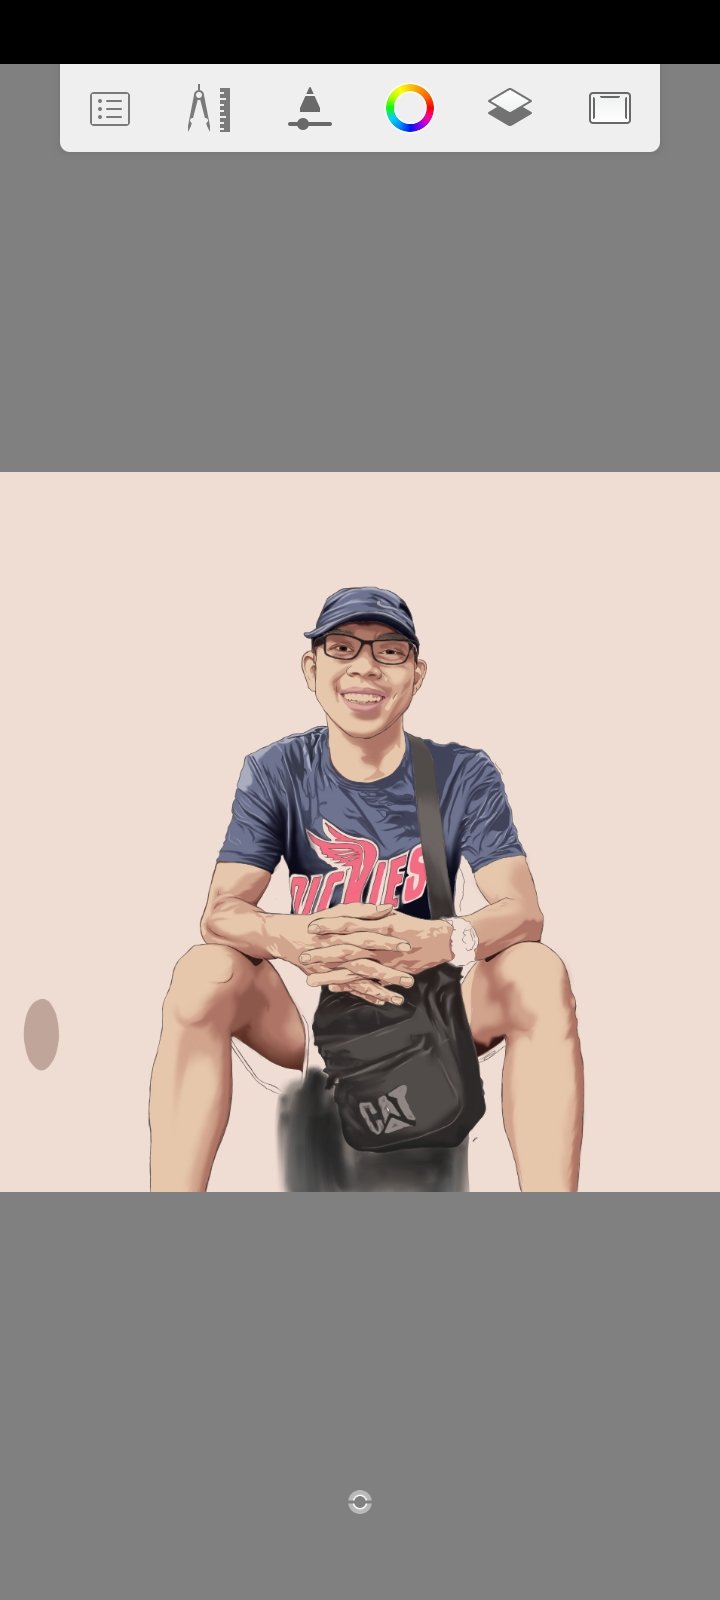
Base skintone
Now apply the base skintone, it is the layer of color before the highlight.also the bag bade color It also depend on you how many highlights and darker color you would want to add. To do this you just color all skin part of the subject.
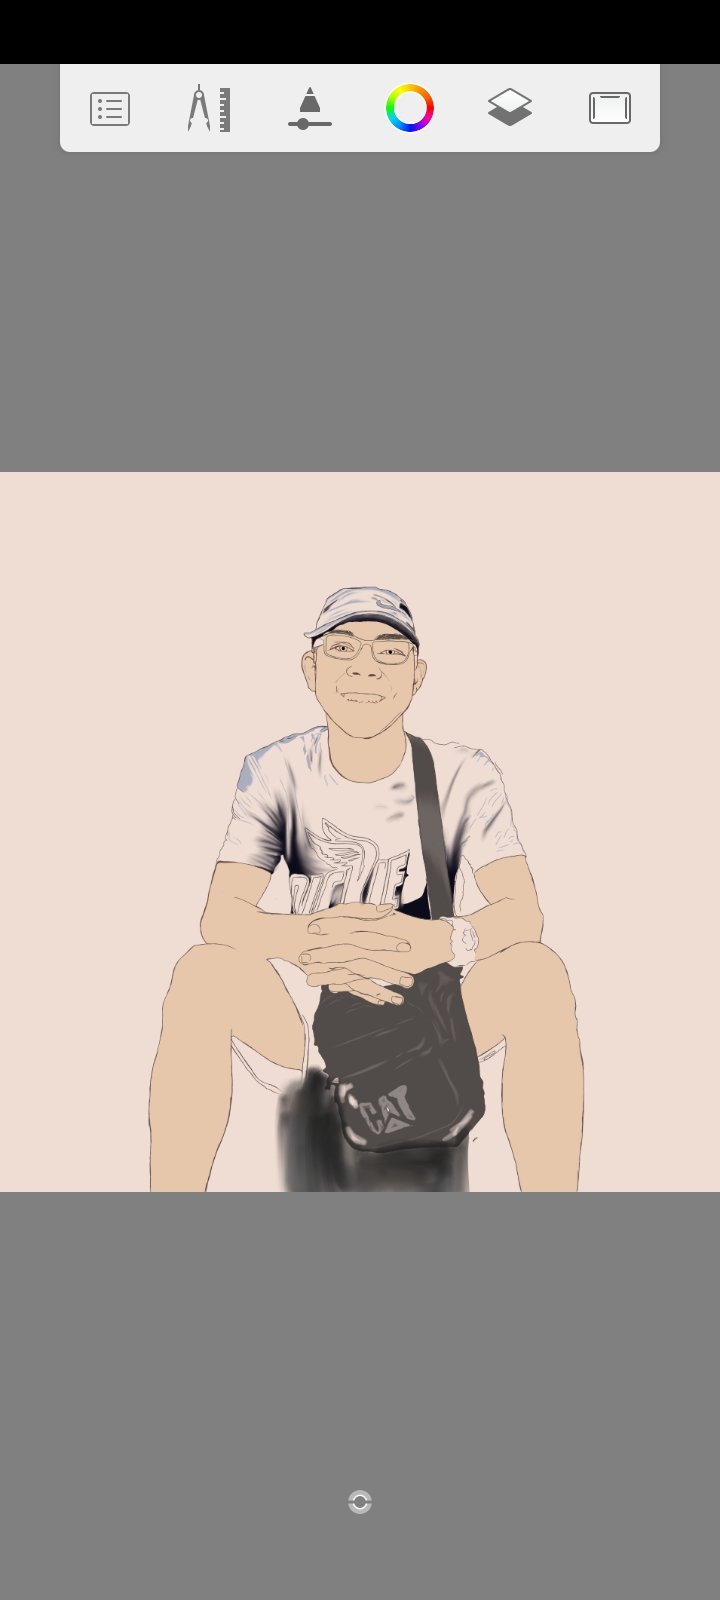
1st skintone
Color the first skintone, to know where is the first skin tone look for the lightest shadow base on the reference. also look for the darker and darkest shadow you must be aware of it because you would also color that along the process. Its like you're coloring from dark to light without blending and you must separate it by layer to be able to correct the mistake if there is without damaging the other color layer.
2nd skintone
Coloring the 2nd darker tone. Usually it is the darker color from the 1st skintone continue this process until you reach the darkest color of the skin. It also depend on you if you want to put shadow or black on the darkest part of the subject. Using smudge brush scatter the color to blend on the first skin tone. I did it on some part some part I didn't.
3rd skintone
Color the 3rd skintone, it is darker from the previous skintone layer, it is visible on forehead of the subject, the ears, the eyelids and the bottom part of the legs where the absence of light is eminent.
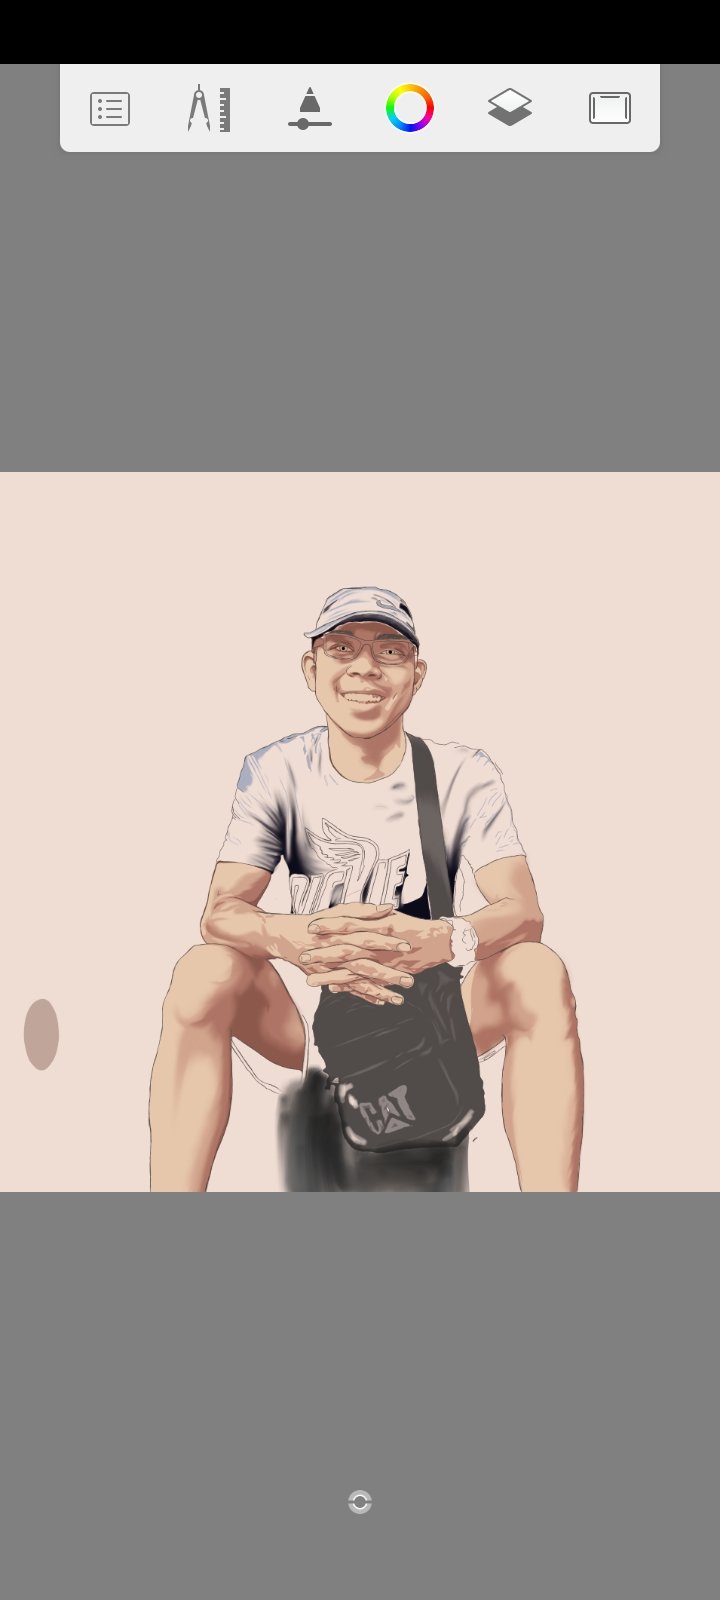
The darkest shadow and the eyes
Procceed to the darkest shadow you would see this on the bottom most part of the legs, under the cap, the space between the arms and the legs, the ayes. At the same time I also color the tshirt logo and the lips
Base color for shirt and cap
I then color the base of t-shirt and cap, just color the whole tshirt by plain blue. Dont be confuse if there's some highlights on some part. I mistakenly combine the two layers, it's a lost if I go back from the beginning of the process, so I decided to leave it there.

2nd tonecolor for tshirt and cap
Color the darker part of the tshirt, it depend on you how dark you want set. But I advice not to go far from the reference. To be able to do this use color picker then if you want to adjust the color simply click the quick set tool the small circle at the bottom part of the screen. The color and brush size will pop-up, hold the color then slide up to make it lighter and slide down to make it darker.
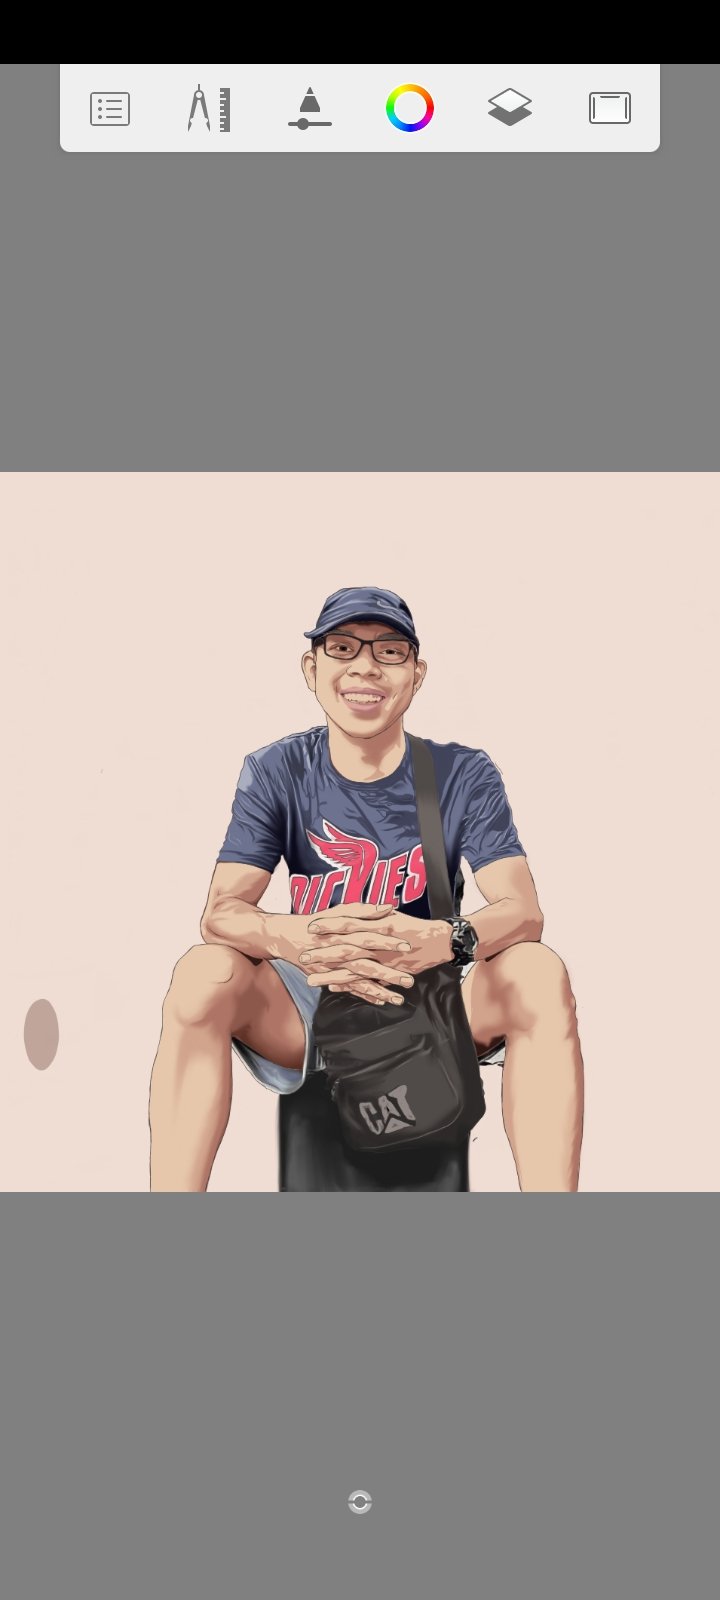
Short,watch and bag
I manually color the short using the paint brush preset. I try to use it its a mixture of smudge ang coloring. The smudge brush simply scatters the color while the paint brush would color at the same time it scatters the color. I also color the watch base on the reference. To do this. You must Invisible the all the layer except from the reference layer and the layer where you are working for the watch, reduce the opacity of the watch layer by 60 to 70% depend on your comfortability. Simply trace the color and start coloring. Color the dark and color the lighter part.
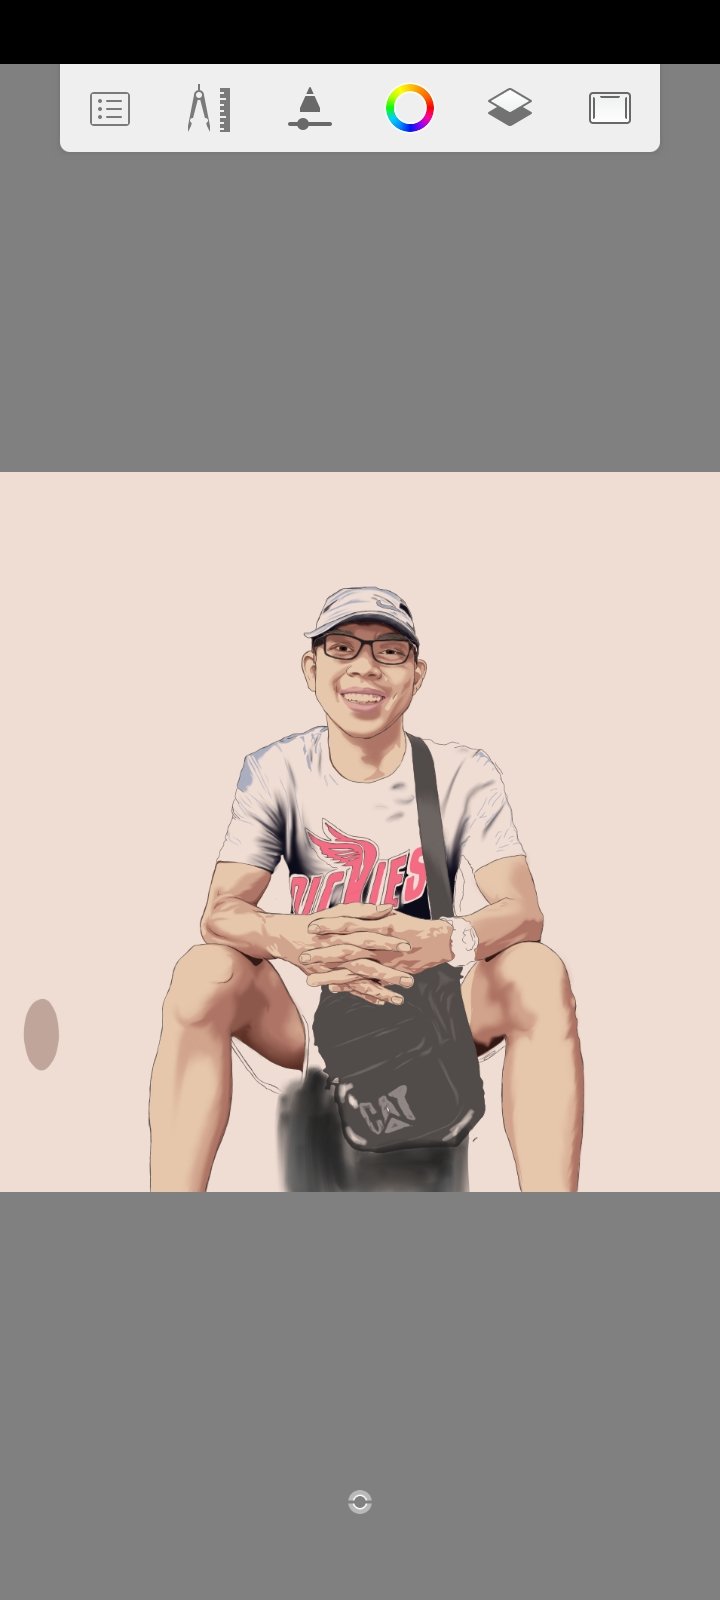
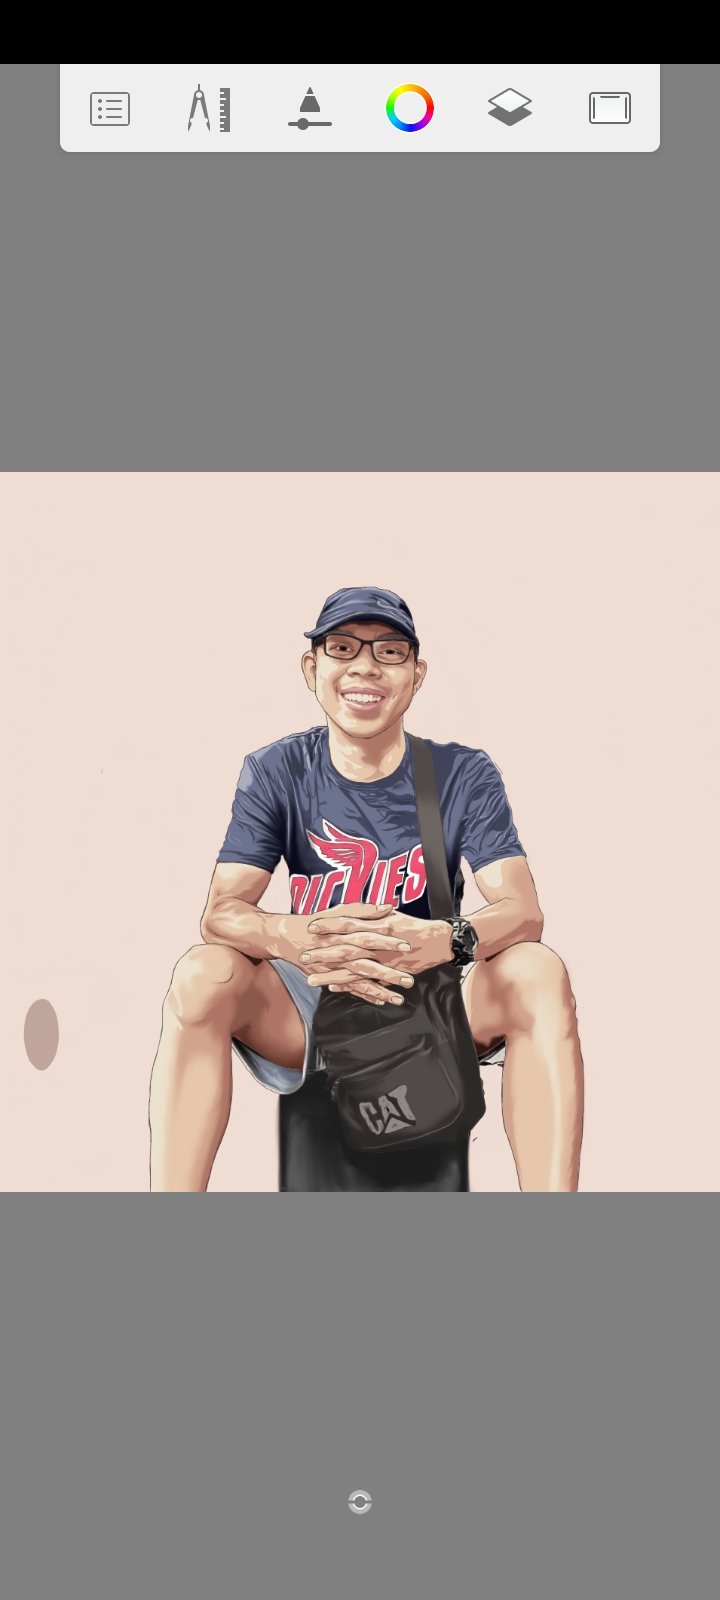
Skin highlights teeth
Color teeth and lightest part of the skin. It is part the where the light from source reflects to the skin. You must base it on the reference. To maintain the appropriate looks of the image.
Background
Simply download illustration on the google choose the image appropriate to your motiff, then imported it on the app and place on the bottom part of the layer section, to do this click the layer section hold the layer where you imported the image then slide and place to to the bottom most place.
Finally put your signature.
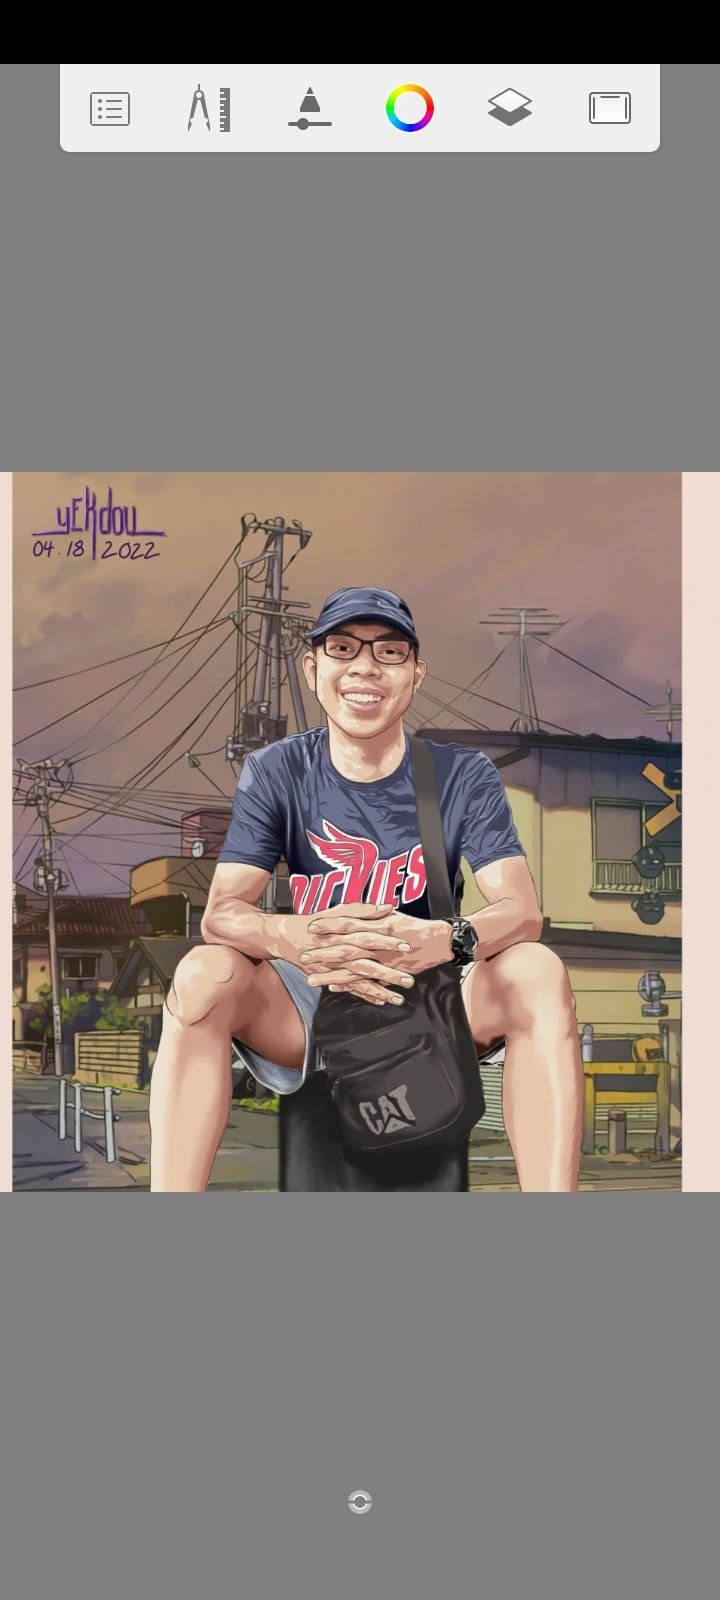
That's that
Thank you for appreciation 🤗
References
Yay! 🤗
Your content has been boosted with Ecency Points, by @yekdou.
Use Ecency daily to boost your growth on platform!
Support Ecency
Vote for new Proposal
Delegate HP and earn more
thank you
Dear @yekdou, we need your help!
The Hivebuzz proposal already got an important support from the community. However, it lost its funding few days ago and only needs a few more HP to get funded again.
May we ask you to support it so our team can continue its work this year?
You can do it on Peakd, ecency,
https://peakd.com/me/proposals/199
Your support would be really helpful and you could make the difference! Thank you!