Greetings!
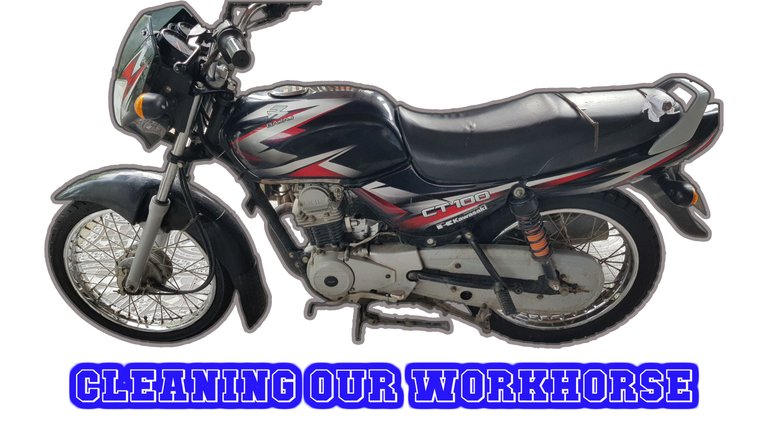
Most of us have a partner in doing certain tasks in our everyday life and most of the time that partner is a motorized vehicle such as a car, a van, a pickup, a motorcycle, or a scooter. In my case, my partners are a scooter and a motorcycle with a sidecar which we colloquially call “Kolong-kolong”. This blog is about cleaning the motorcycle’s sprockets and chain that gets a lot of dirt, especially during the rainy season. This motorcycle is our workhorse, we use it to go to the market to buy groceries, we use it for our important short travels and it is also a school bus for my son and my three nieces. By the way, I would like to mention that the scooter was named “Big Bang” by my wife when we bought it, my wife is an obvious fan of K-Pop, isn’t she? Haha.
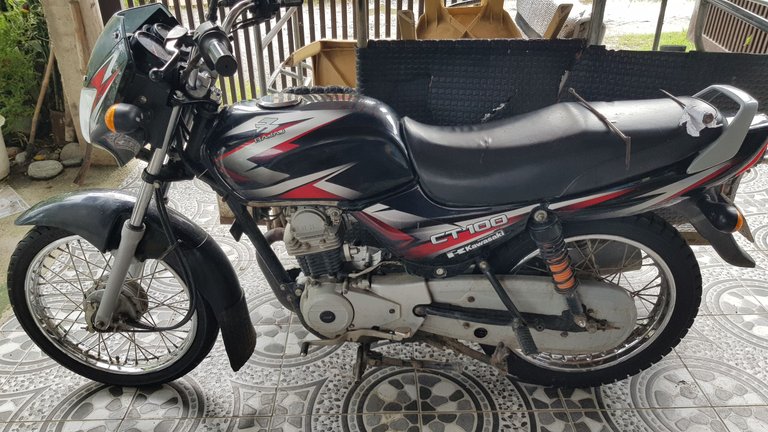
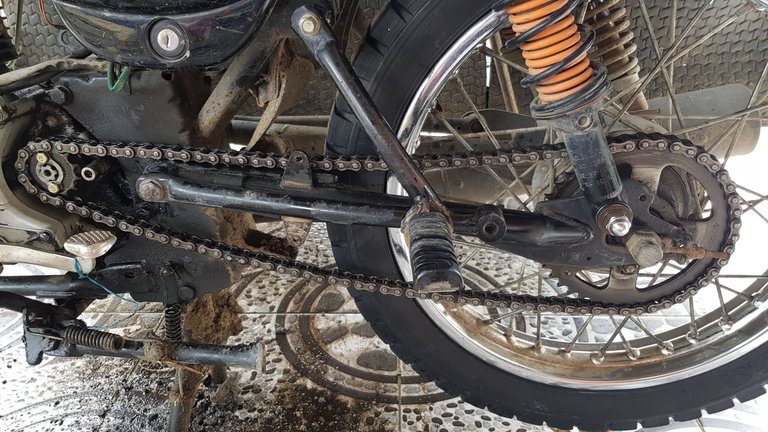
As of the moment we are in the midst of the rainy season and rain means muddy roads. Here in our town, there is a stretch of road that is approximately five kilometers in length that is a rough road that lies on the boundary of our town and an adjacent town. During the rainy season, the road makes our travel so miserable and I was so very pitiful on our motorcycle because it has to work more just to get by the road. So, in response, I am regularly cleaning and greasing the sprockets and chain of our motorcycle to prolong its life span. Below is a photo of our workhorse. It looks clean but if you zoom especially at the center bottom you will see a lot of dirt. The rims are not dirty at the moment because I just cleaned them hours ago prior to cleaning their sprockets and chain.
Cleaning the sprockets and chain
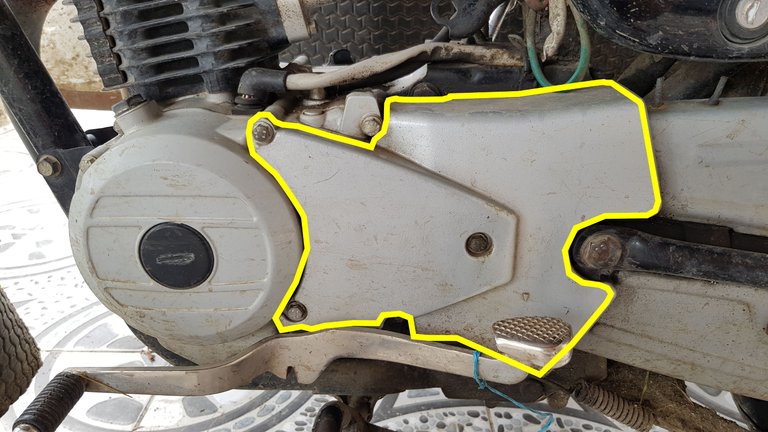
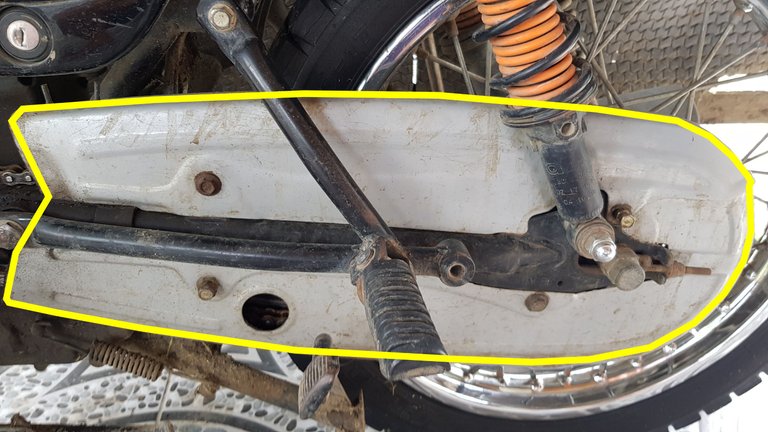
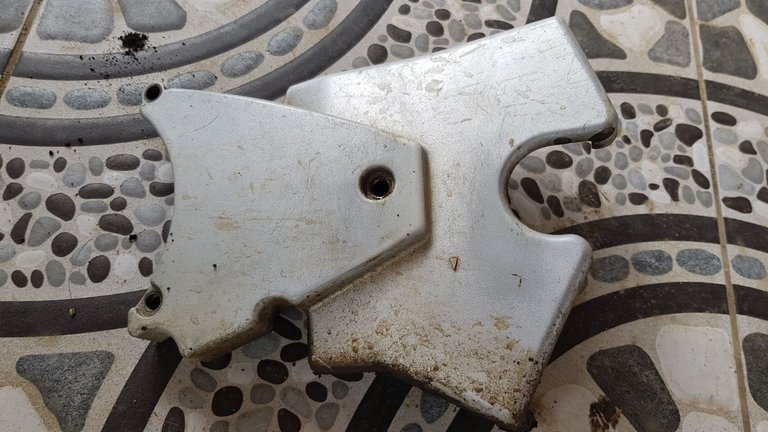
Below are the panels of our motorcycle that I cleaned (with a yellow outline). I first removed the panels’ covers by unscrewing the screws before I could clean the sprockets and the chain.
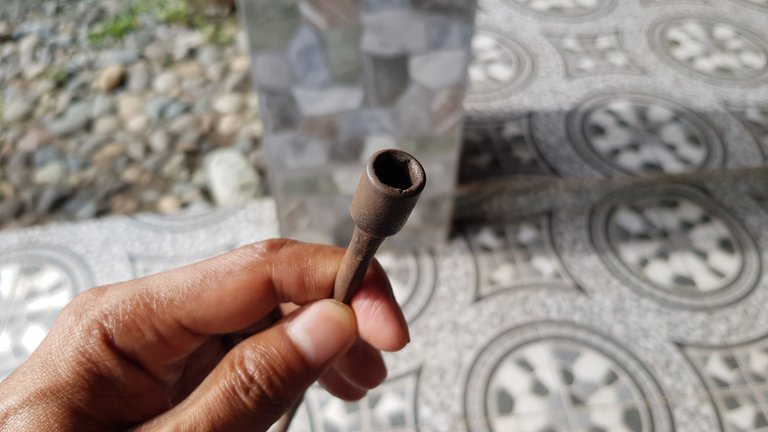
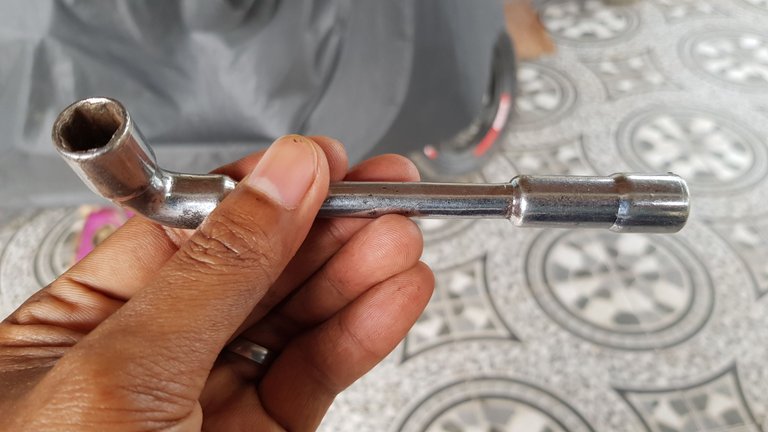
Tools that I used in removing the screws
By the way, here are the tools that I used in removing the screws of the panels.
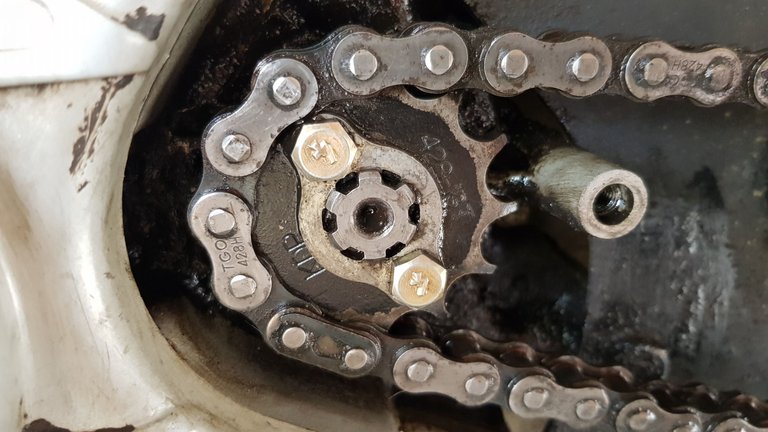
Removing the screws of the front sprocket
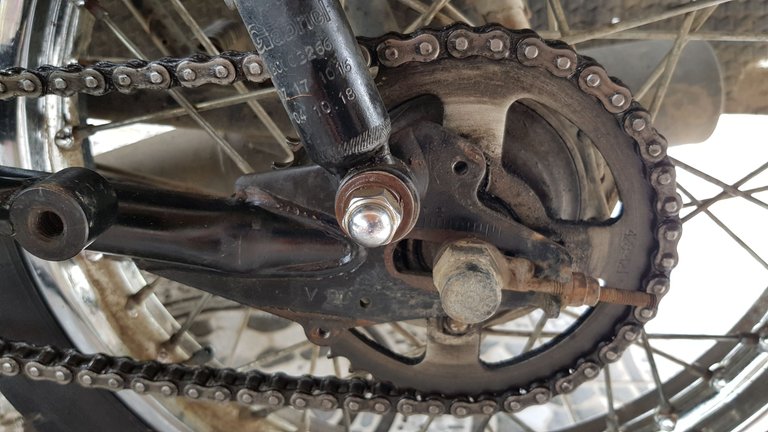
Removing the screws of the back sprocket and chain
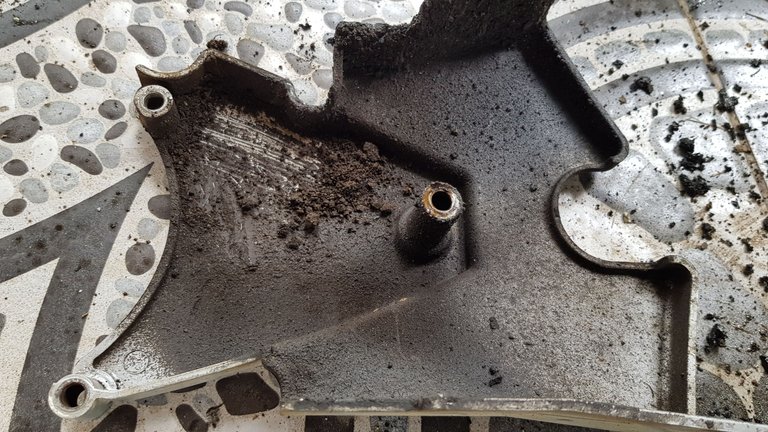
Here’s the first panel after it was removed
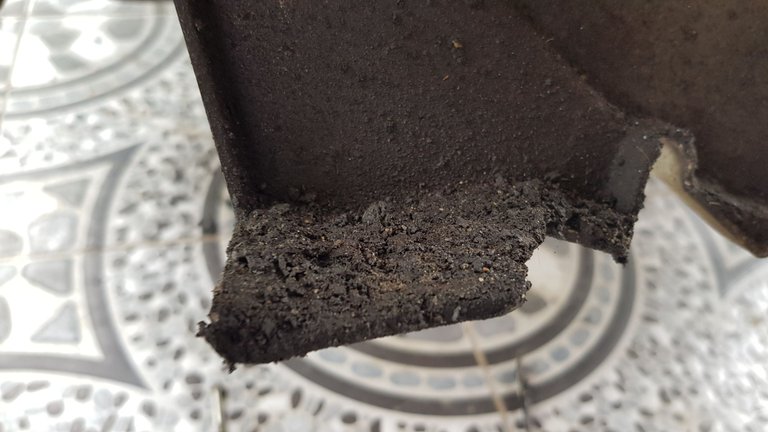
If you flip it this is what you are going to see, lots of dirt…
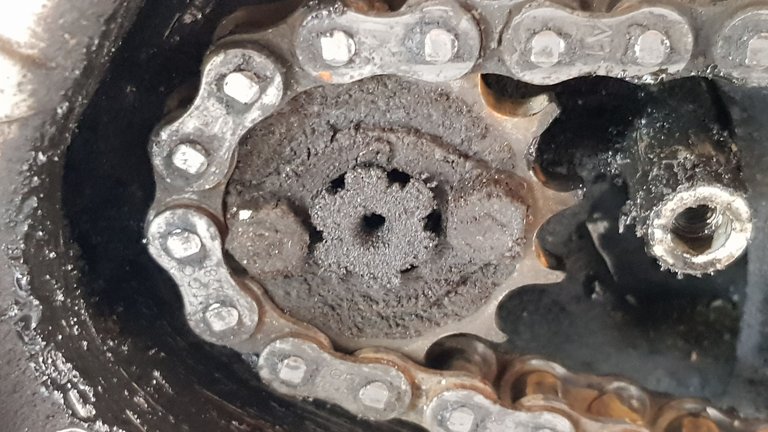
Here’s the front sprocket without the cover, lots of dirt and dirty oil.
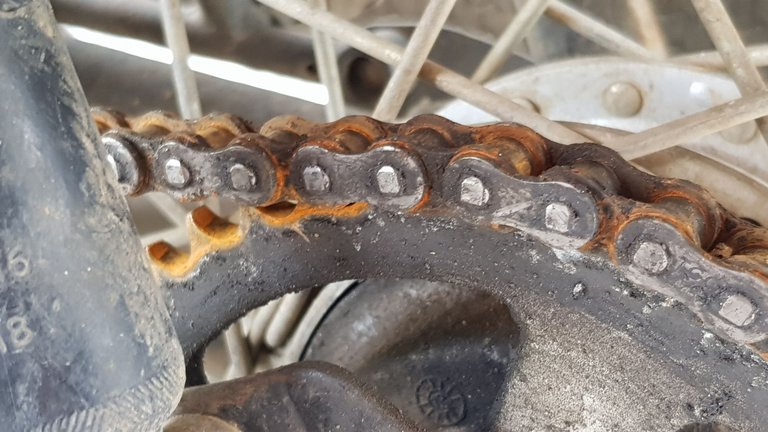
Also, the chain has visible rust
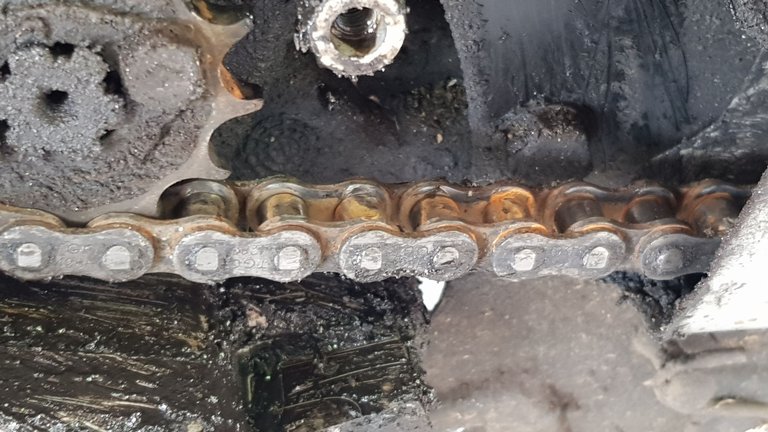
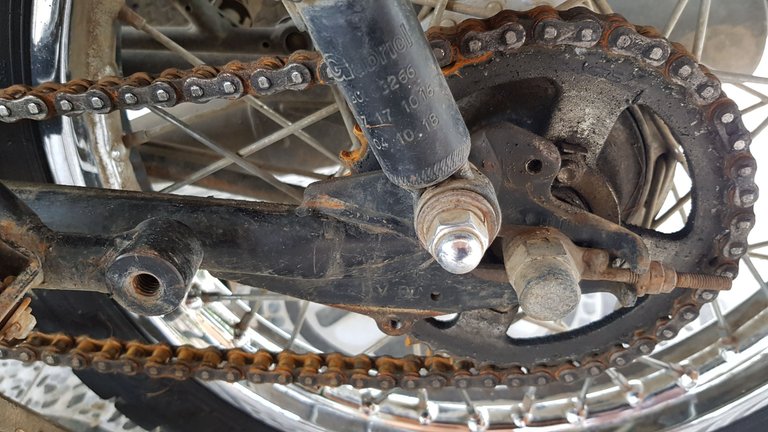
And here’s the back sprocket and the chain after removing the cover, it also has visible rust…
Dirt and dirty oil that I removed from the front sprocket
In cleaning the chain and the sprockets, I used diesel and a used toothbrush
And here they are now, a little bit cleaner…
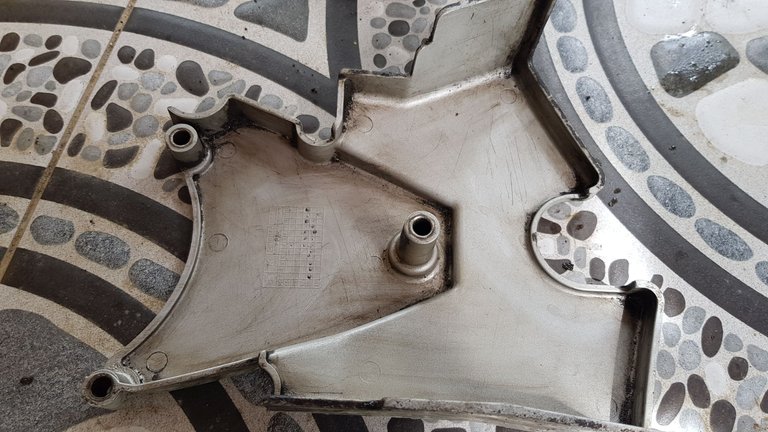
And here’s the front cover after cleaning it up...
| Before | After |
Putting the covers back
That is all for now guys, catch you up with the next one. Wishing you all safety, good health, and abundance.


Las personas que limpian así tan perfectamente prefieren dar la mujer q la moto 😅🤣😂. Excelente explicación 👏👏👏. Muchas veces veo esas motos pequeñas llevando puro martillo y cable y nada de mantenimiento.
¡Te felicito! ☀️🌱😉.
Thank you (^_^)
it looks better than a new one now!:)
Yes, a little bit better (^_^) thank you for dropping by.
Very good post friend, congratulations and greetings
Thank you. Greetings!
Wow! That was a detailed cleaning, now the tooth brush is forever doomed to be a cleaning tool for this bike, unless disposed off, in that case it would be better to just keep buying new ones and using the old ones for this kind of stuff, btw, how long would you recommend the user to wait for another cleaning of their bike? Every few months? Once per year?
Thank you, and indeed the toothbrush is forever doomed to be a cleaning tool.
Every four months better suits me, so yeah, I would recommend cleaning every four months :)
That is good enough, 4 months 4 cleaning it is xD
Good enough indeed :)
Thank you @diyhub