

¡Hola amigos de #HIVEMOTORS!
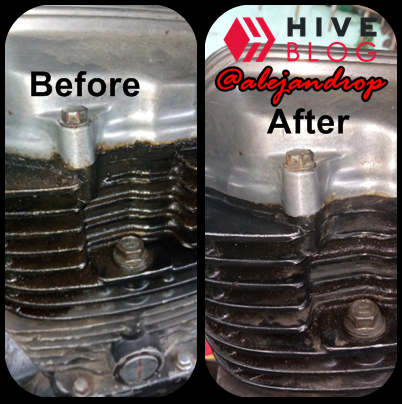
Hacía días que no traía contenido para ustedes y es que he tenido muchísimas ocupaciones que me impidieron comprar el repuesto, y no fue por falta de dinero, ya que el proyecto de comprar repuestos gracias a las recompensas obtenidas de #hive está montado desde hace mucho, de hecho, todas mis publicaciones en esta comunidad fueron gracias a esas recompensas. En esta oportunidad quiero mostrarles cómo hice el cambio de empaquetadura de la tapa de válvulas de mi moto, ya que estaba filtrando muchísimo aceite y casi me lo consumía por completo. A continuación, el sencillo procedimiento que realicé:
Hello friends of #HIVEMOTORS!
It had been days since I had any content for you and I have had many occupations that prevented me from buying the spare part, and it was not due to lack of money, since the project of buying spare parts thanks to the rewards obtained from #hive has been in place for a long time. In fact, all my posts in this community were thanks to those rewards. This time I want to show you how I changed the gasket on the valve cover of my motorcycle, since it was leaking a lot of oil and was almost completely consuming it. Here is the simple procedure I did:
Segmento #1: Teoría
Segment #1: Theory
Segmento #1: Teoría
Segment #1: Theory
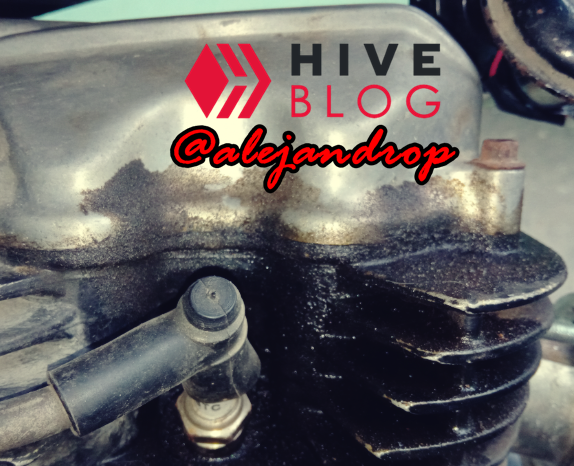
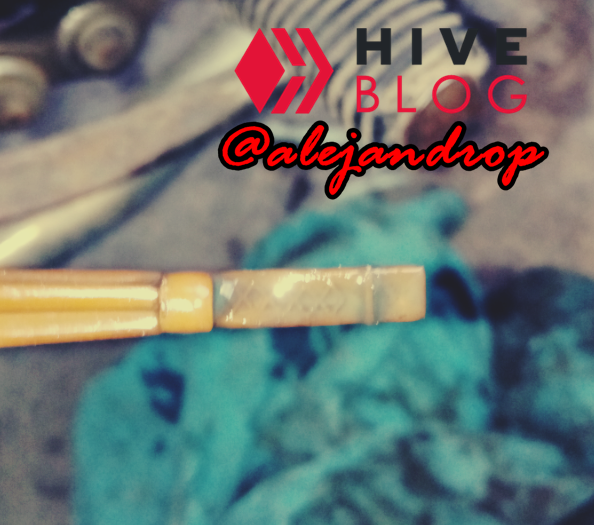
Aunque les parezca absurdo, siempre es bueno refrescar un poco la teoría, y aunque quizás ya todos lo sepan, aquí les vengo a explicar un poquito. Un motor de cualquier vehículo, sea carro o moto, necesita mantener sus piezas lubricadas para evitar el desgaste de las mismas y puedan quebrarse y causar alguna falla grave en la moto. Este aceite es impulsado gracias a una bomba mecánica que es accionada con el movimiento del cigüeñal (O creo que es con el movimiento de la crochera, no recuerdo bien), con ayuda de una pequeña cadena que la acciona. Esa bomba, aunque parezca de poca potencia, hace muy bien su trabajo, y por ende, este aceite es enviado a las válvulas en la parte superior, y la presión es tal que al mínimo desajuste en la cubierta que la protege, causará que el aceite se filtre por las ranuras de la misma, y esto se evita gracias a una empaquetadura de amianto o silicona, ésta última sería nuestro caso de hoy:
Although it may seem absurd, it is always good to refresh the theory a bit, and although perhaps everyone already knows it, here I come to explain a little. An engine of any vehicle, be it a car or a motorcycle, needs to keep its parts lubricated to avoid their wear and tear and they can break and cause serious failure in the motorcycle. This oil is driven by a mechanical pump that is activated by the movement of the crankshaft (or I think it is with the movement of the crochero, I don't remember well), with the help of a small chain that drives it. This pump, although it seems of little power, does its job very well, and therefore, this oil is sent to the valves in the upper part, and the pressure is such that the minimum misadjustment in the cover that protects it, will cause the Oil seeps through the grooves of the same, and this is avoided thanks to an asbestos or silicone gasket, the latter would be our case today:
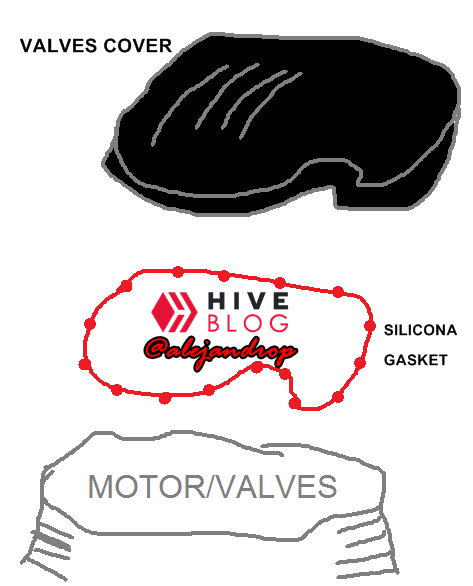
That is why, as we already know that we have a lot of oil leakage, it is because this silicone seal stopped working and therefore begins to filter the oil. We will proceed with the labor.
Segmento #2: Limpieza
Segment #2: Cleaning
Segmento #2: Limpieza
Segment #2: Cleaning
First of all we start with a little cleaning, with the simple reason that I want to keep this little job as impeccable:
To do this, I will use this Spray that you must already know, since it always accompanies me in every repair I do, especially if I am going to work with motor grease. This container contains gasoline and it is the only thing that can remove the oil in a single pass.

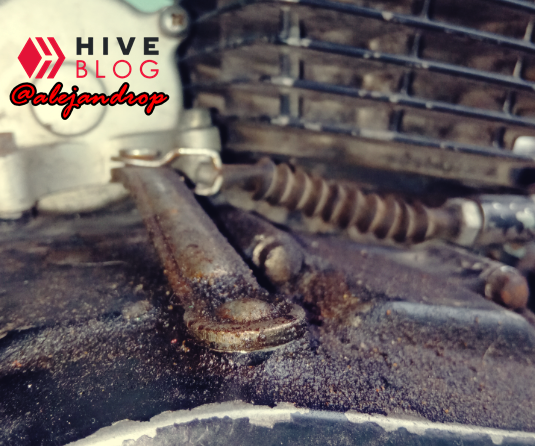
Y luego de rociar, procedí a limpiar el área muy bien (Hasta dónde se pudo) y quedó de esta manera:
And after spraying, I proceeded to clean the area very well (as far as possible) and it was this way:
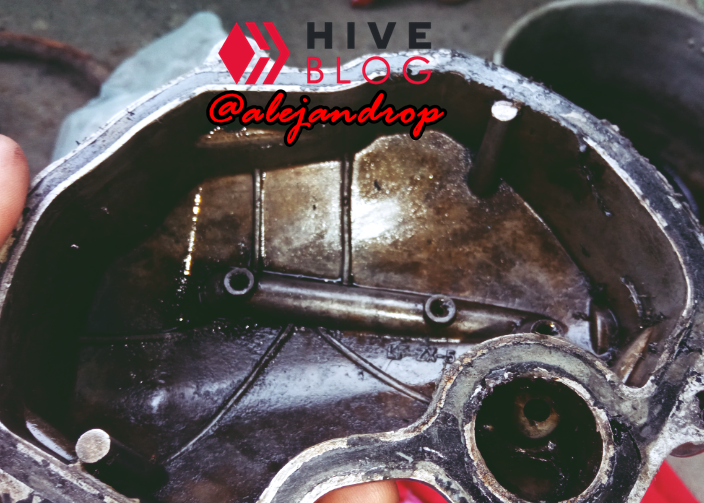
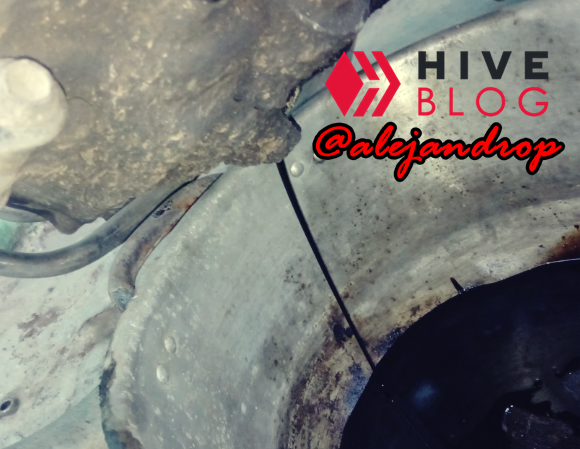
Y lo mismo hacemos con la sección de la cámara, que es la más afectada:
And we do the same with the camera section, which is the most affected:
Del otro lado del motor también procedí con la limpieza:
On the other side of the engine I also proceeded with cleaning:
Segmento #3: Desarme, reemplazo y ensamble
Segment #3: Disassembly, replacing and assembly
Segmento #3: Desarme, reemplazo y ensamble
Segment #3: Disassembly, replacing and assembly
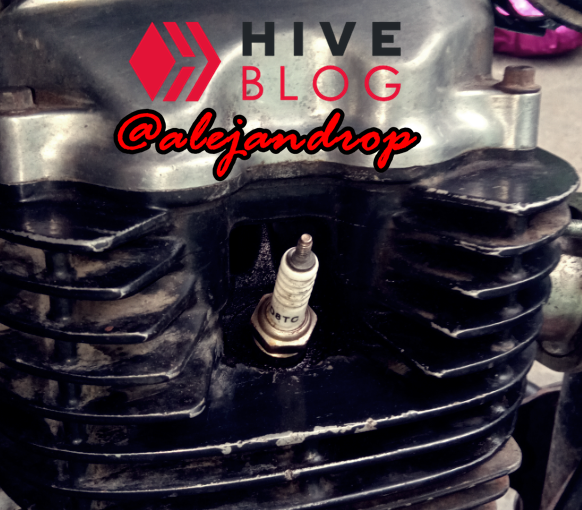
We proceed with the disassembly of the cover that protects the valves. First, we will use a #8 socket or wrench for the 3 screws that hold it.
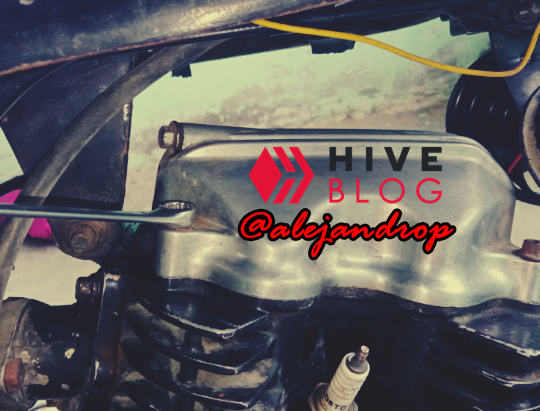
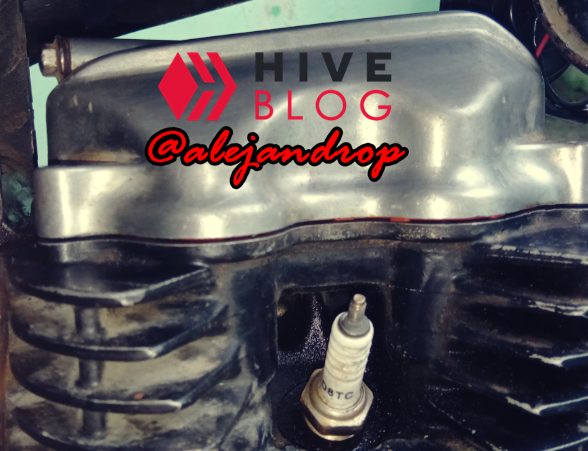
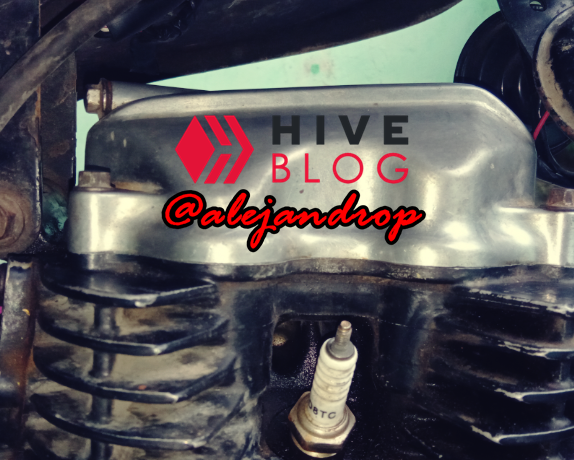
Una vez removida la cubierta, tenemos acceso a los balancines y todo el conjunto de piezas que lo componen, que son las encargadas de hacer trabajas las válvulas utilizando un varillaje especial para ello. Hoy no hablaré de esto ya que no tengo experiencia con eso, pero espero pronto poder experimentar y "dañar" para ustedes jaja
Once the cover is removed, we have access to the rocker arms and the entire set of parts that compose it, which are responsible for making the valves work using a special linkage for this. Today I will not talk about this since I have no experience with it, but I hope soon to be able to experiment and "harm" for you haha

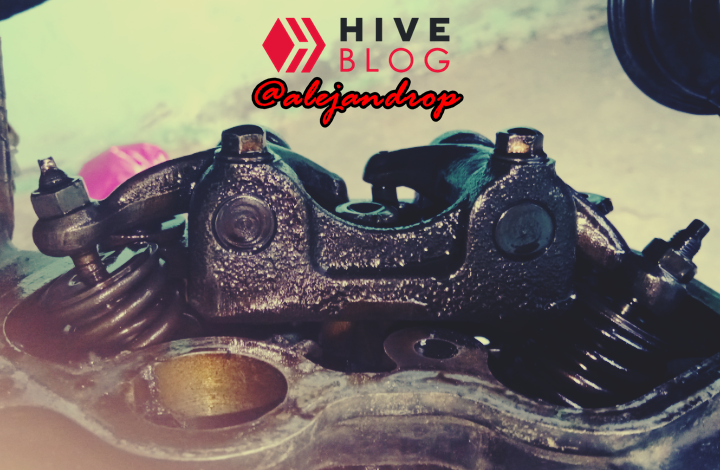
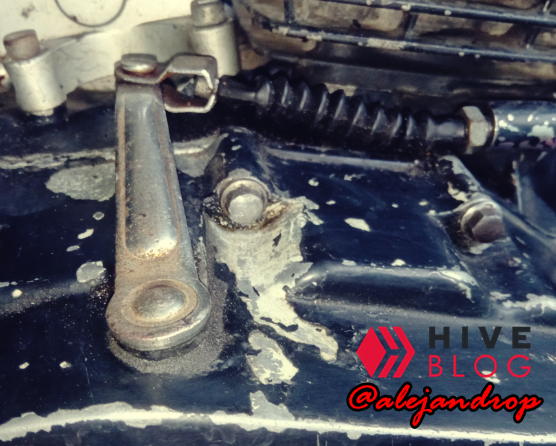
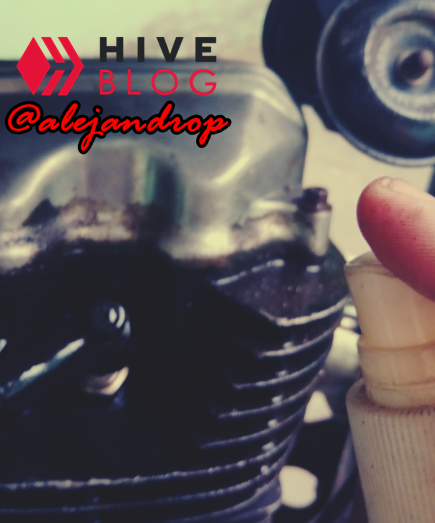
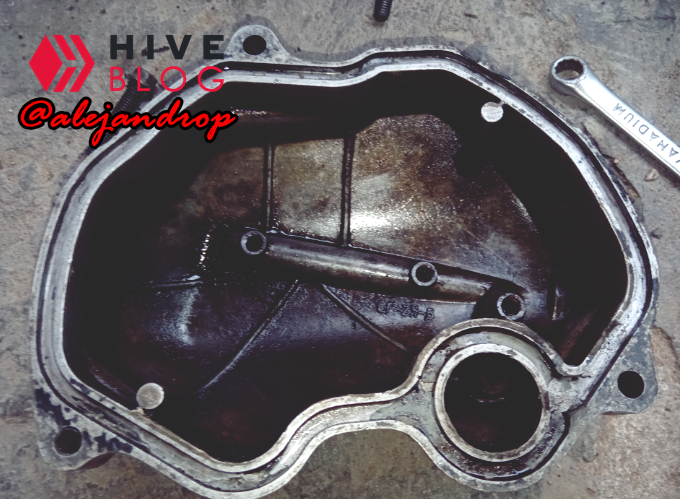
Procedemos a remover el sello de silicona, que como pueden ver está en muy mal estado y ya perdió su presión y por ende, filtra el aceite.
We proceed to remove the silicone seal, which as you can see is in very bad condition and has already lost its pressure and therefore filters the oil.
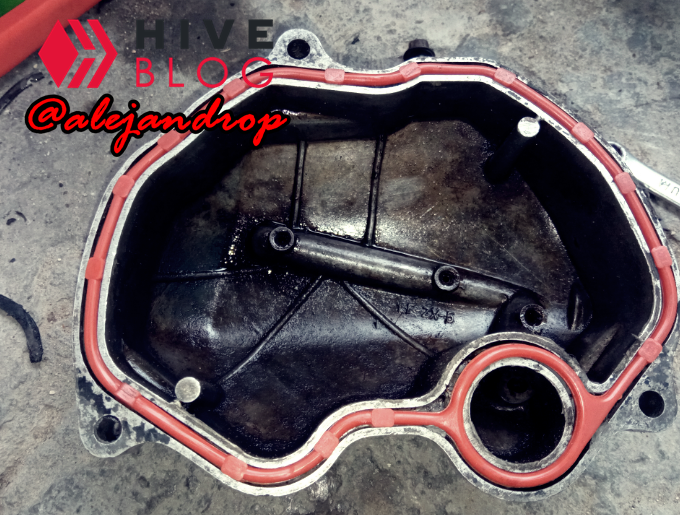
After the surface is thoroughly cleaned, the silicone gasket is fitted, which is the seal that prevents oil from seeping through the edges of the cover.
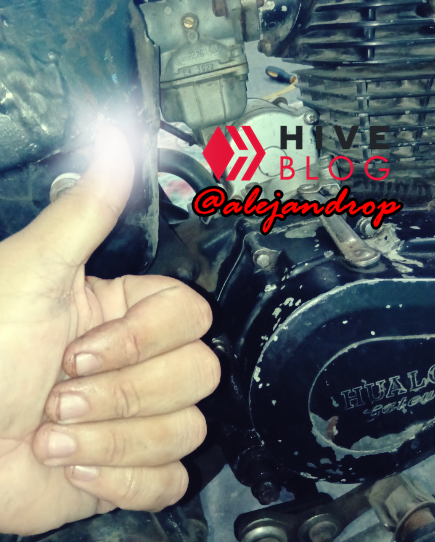
Ya con la cubierta en su lugar y bien fijada, ya hemos finalizado este paso. Ahora procedemos con el cambio de aceite, muy sencillo de hacer:
With the cover in place and securely attached, we have now completed this step. Now we proceed with the oil change, very simple to do:
Segmento #4: Cambio de aceite
Segment #4: Oil change
Segmento #4: Cambio de aceite
Segment #4: Oil change
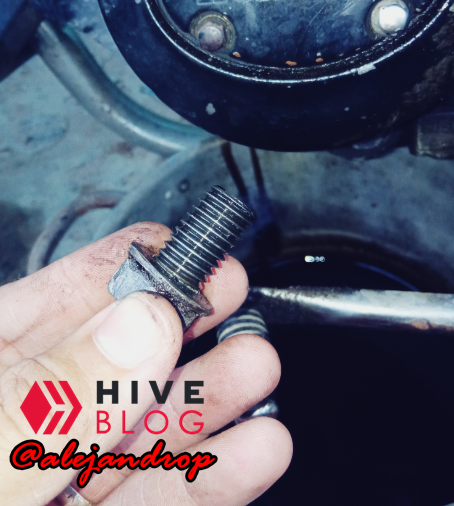
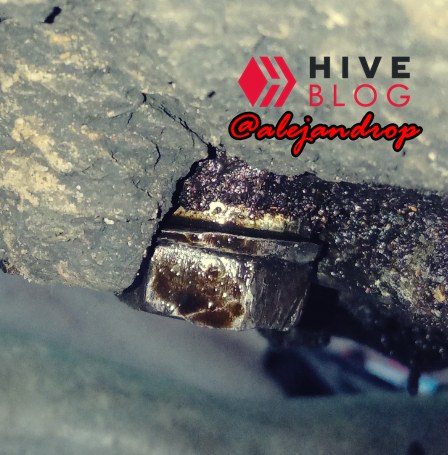
Esta es la parte más fácil, simplemente buscamos el tornillo de la parte inferior, por el cual se drena el aceite del motor:
This is the easiest part, we simply look for the screw at the bottom, through which the engine oil is drained:

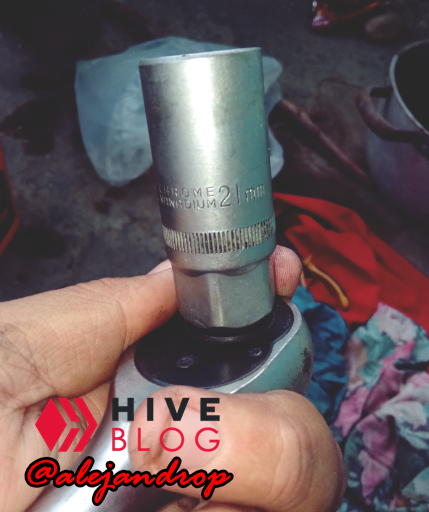
To loosen and remove it, I will need a 21mm rachet socket. This measurement can vary from motorcycle to motorcycle, the normal thing is that it is a 17mm screw, I do not know why this one brought a 21mm one, perhaps they placed it because the original was lost or its thread damaged.
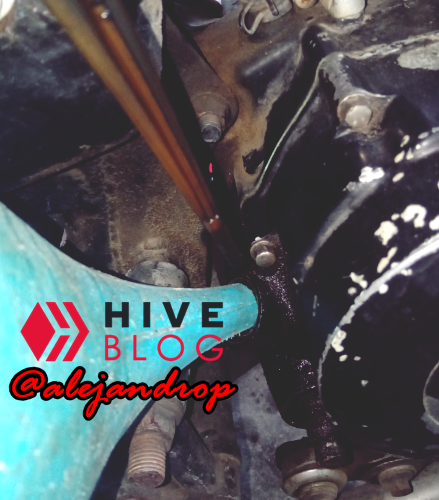
I placed the motorcycle close to the wall so that it remained in a vertical position, so that the oil could fall without any problem. Before, I place this small pot so that it retains the oil that is going to come out of the engine:
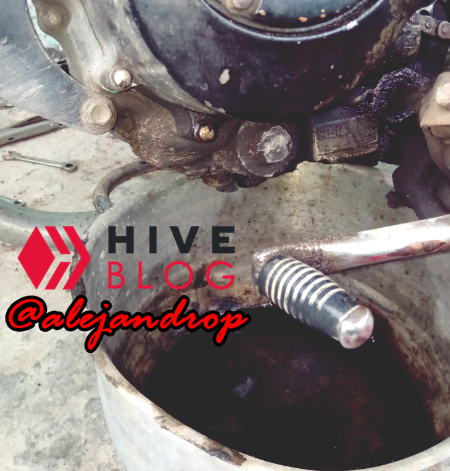
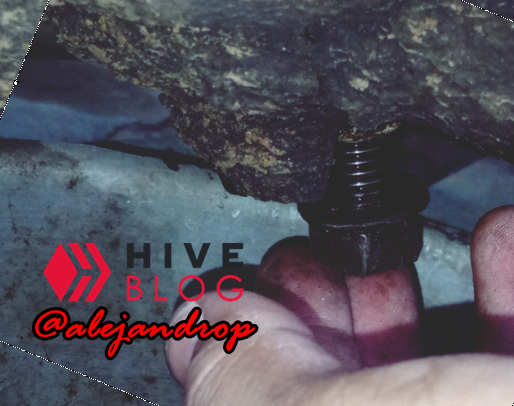
Colocamos nuevamente el tornillo en su lugar:
We put the screw back in place:
Ahora, desenroscamos el medidor de aceite, que es por donde se debe colocar el aceite a la moto.
Now, we unscrew the oil gauge, which is where the oil should be placed on the motorcycle.
Luego de echar el aceite, procedí a medir para corroborar que el nivel estaba correcto:
After adding the oil, I proceeded to measure to confirm that the level was correct:
Y estamos listo por aquí.
And we are ready over here.
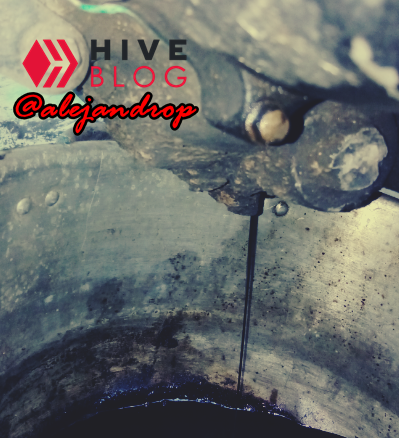
Por último, recolectamos en el envase donde vino el aceite.
Finally, we collect in the container where the oil came from.

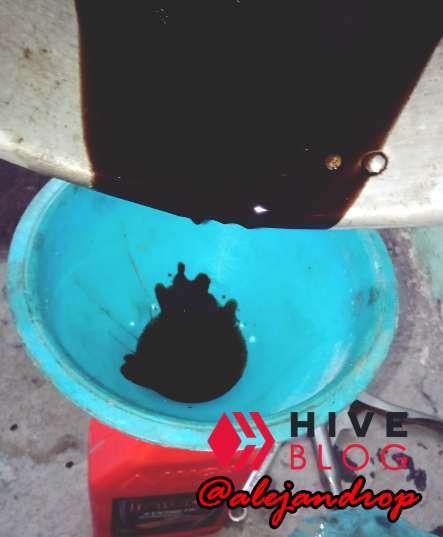
I am impressed with the following image, as it seems incredible to me that the bike does not have higher engine damage with this oil level. The bike had less than the oil level in it, very low by the minimum recommended value.

Well folks, this has been it for tonight. Thank you for having read my blog and see you in a next opportunity. I think that soon I will be making a strong change in the engine of the bike, more profound, and I will take pictures of it to report to you. I hope you liked it and greetings to all.


Congratulations @alejandrop! You have completed the following achievement on the Hive blockchain and have been rewarded with new badge(s) :
Your next target is to reach 25000 upvotes.
You can view your badges on your board and compare yourself to others in the Ranking
If you no longer want to receive notifications, reply to this comment with the word
STOPCheck out the last post from @hivebuzz: