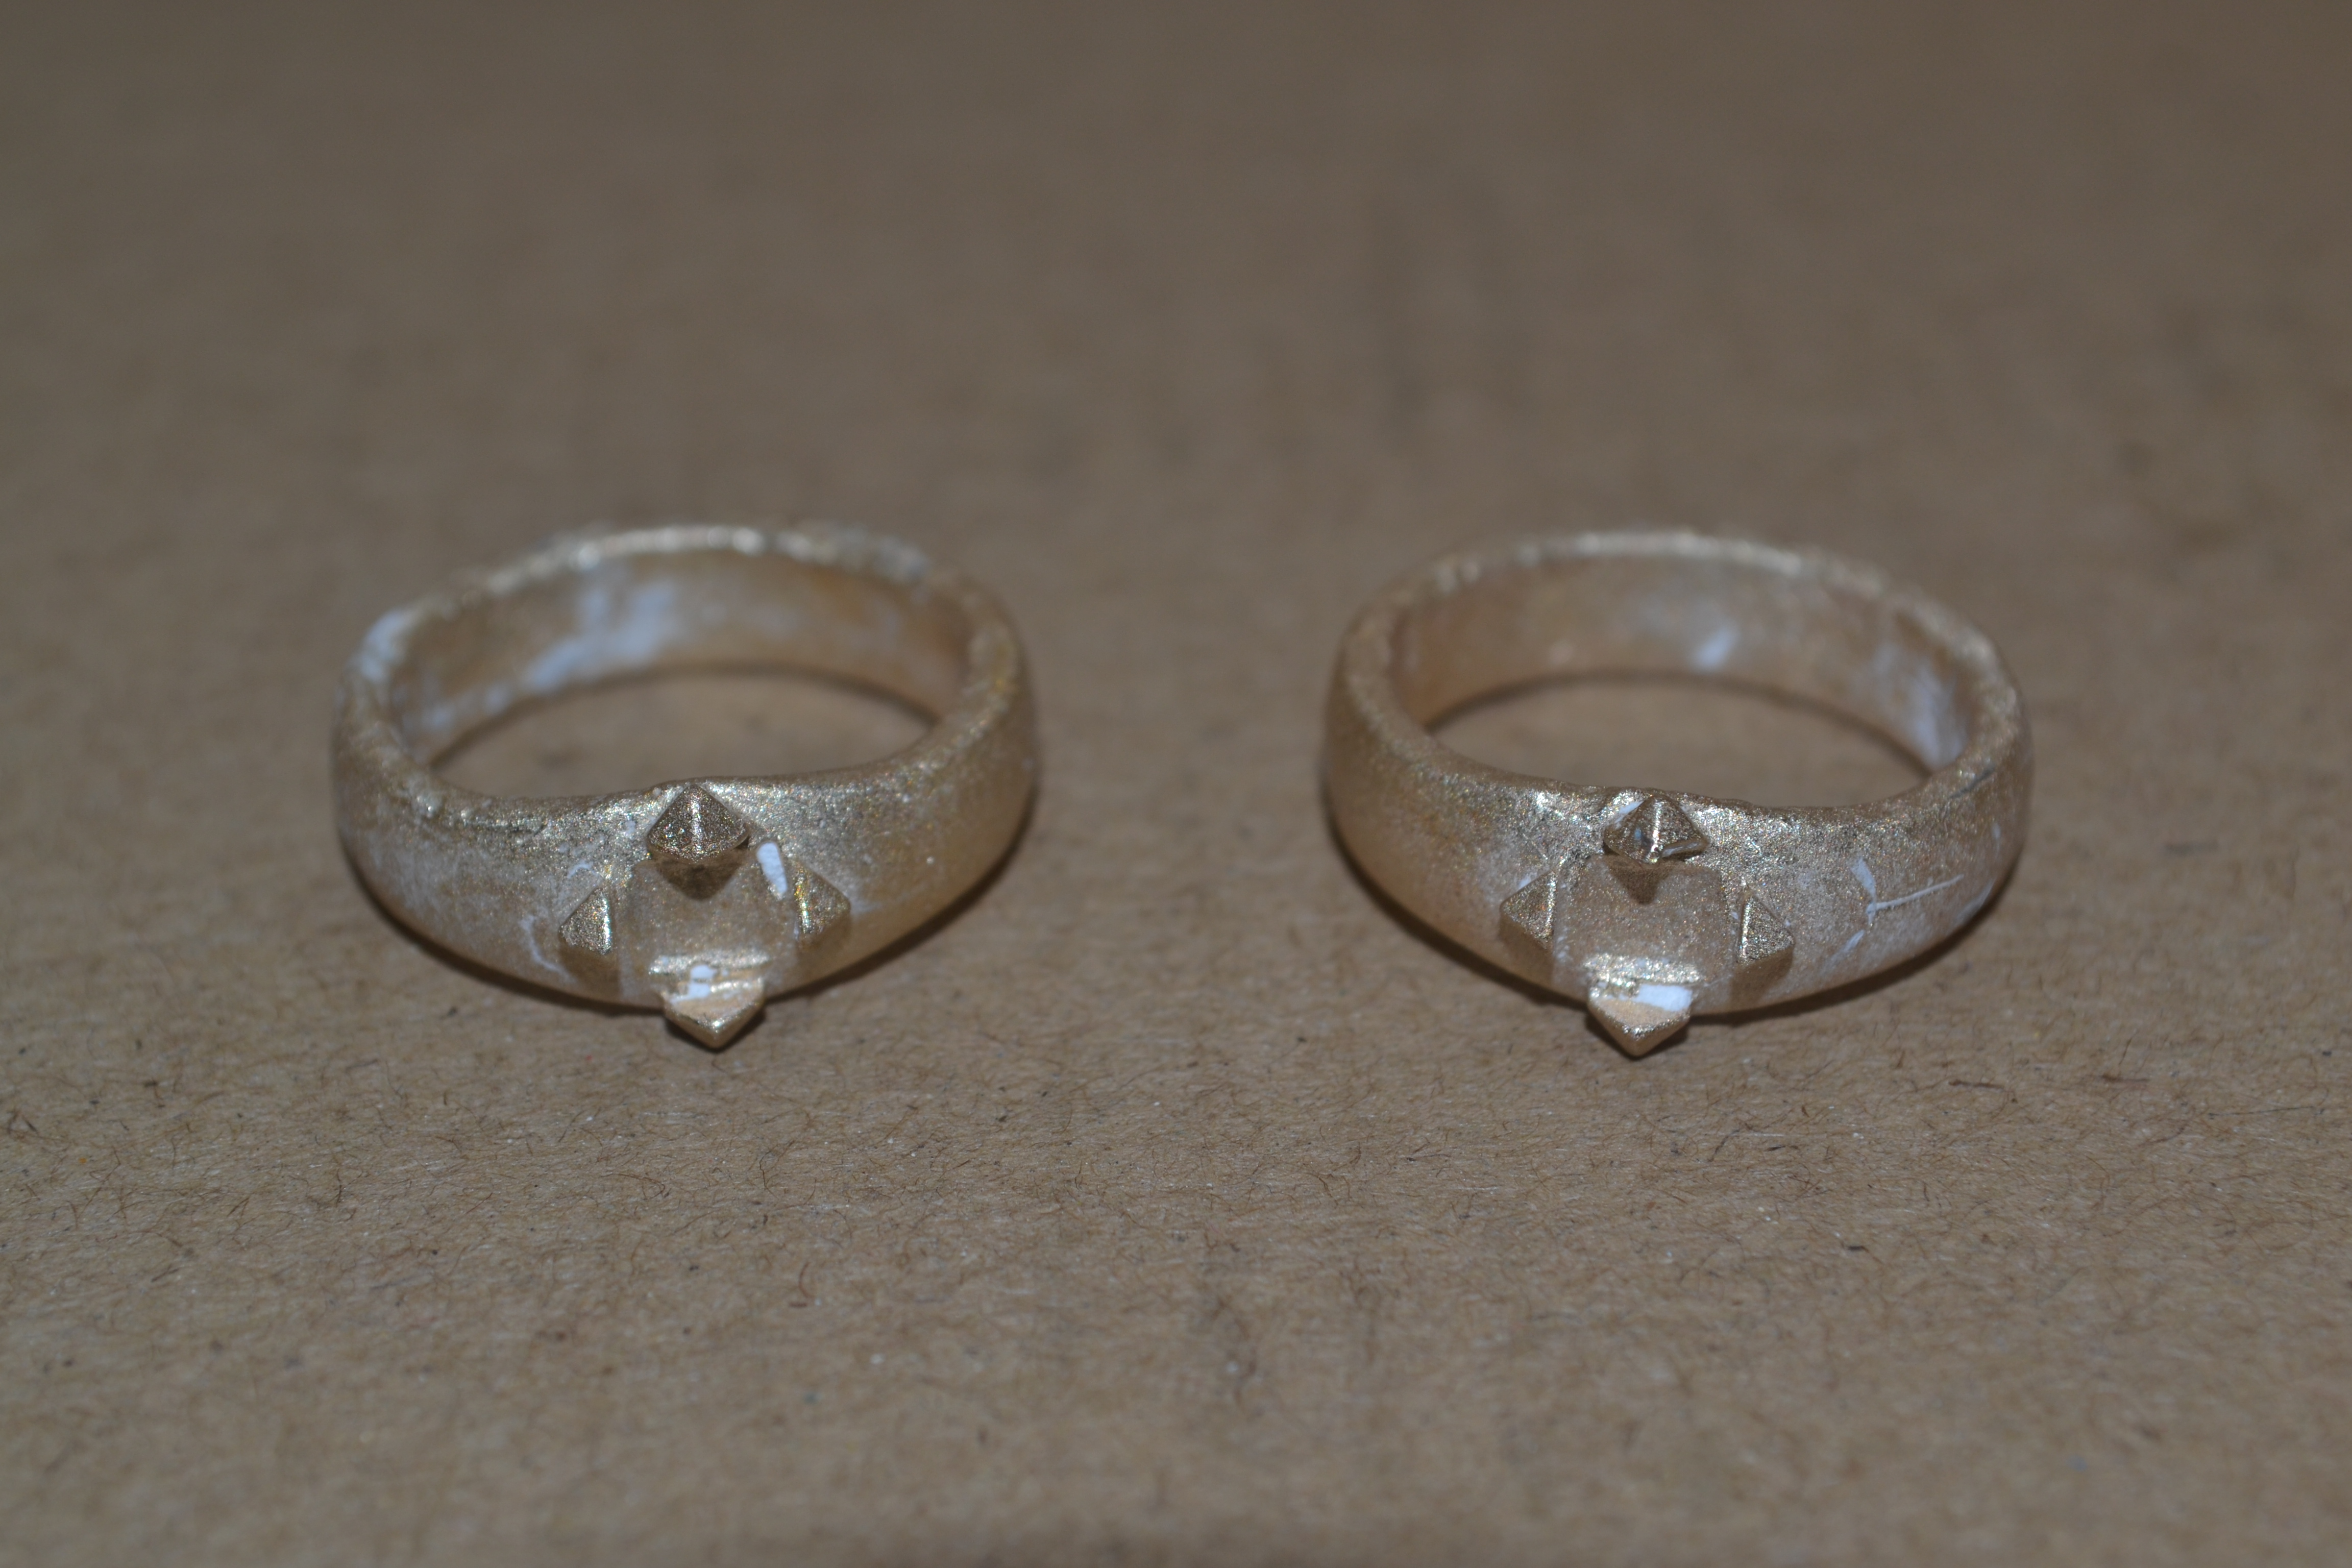
As I promised yesterday, I finally cast the rings in bronze, which is my first attempt at making proper jewellery. I had previously shared pictures of the part tree here in the 3D Print Community, and this is where it ultimately led. I documented everything that led to this point with the foundry tag.
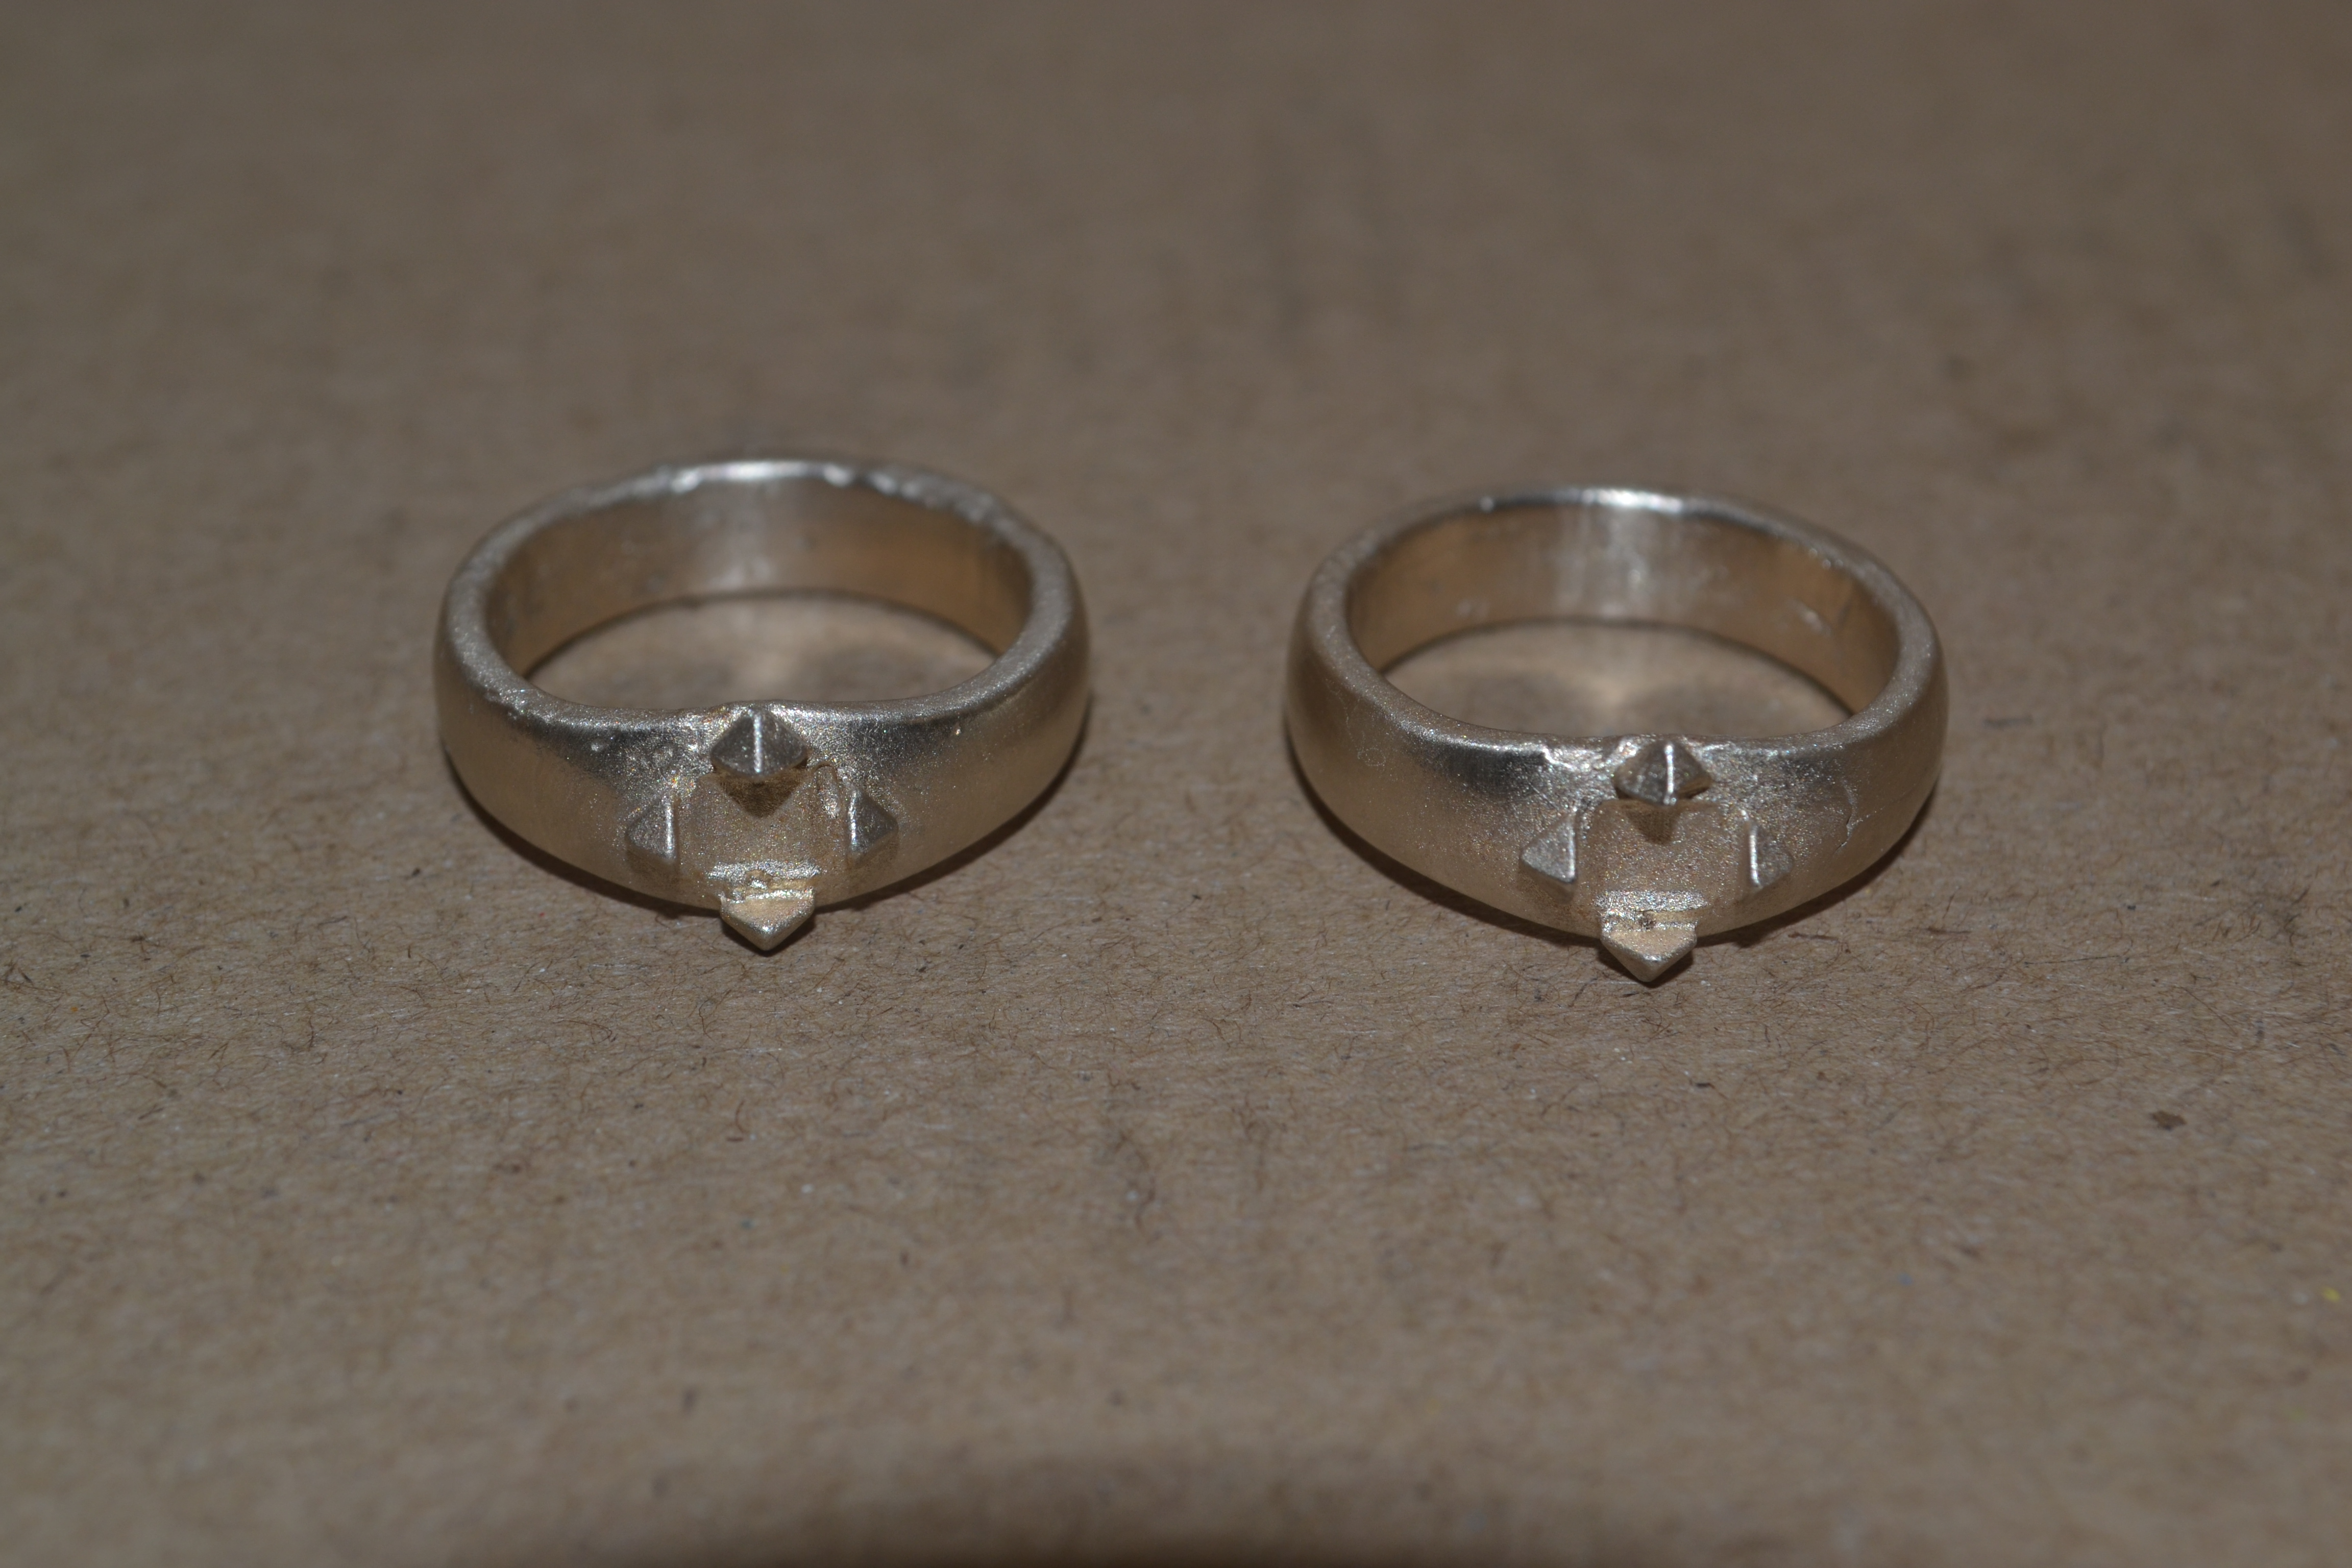
After clean-up, the rings look somewhat decent, though I didn't go crazy with polishing, since the castings are not of the greatest quality.
The part tree for the rings was one of my earliest, so it wasn't properly constructed like the part tree for my second run of miniature pewter chalices. Though I didn't need one this time, since the rings came out quite clean, next run will include a slag trap. The main sprue also needs to be a lot thicker.
You may have noticed that there are only two rings here, even though I printed three patterns. Well, thanks to the poor design of the part tree, one of the rings didn't cast completely. You will see what little there is of it when you watch the video of the entire process. My next step will be to put all the footage together and show the entire process for making these, from printing the patterns to cleaning up the castings.
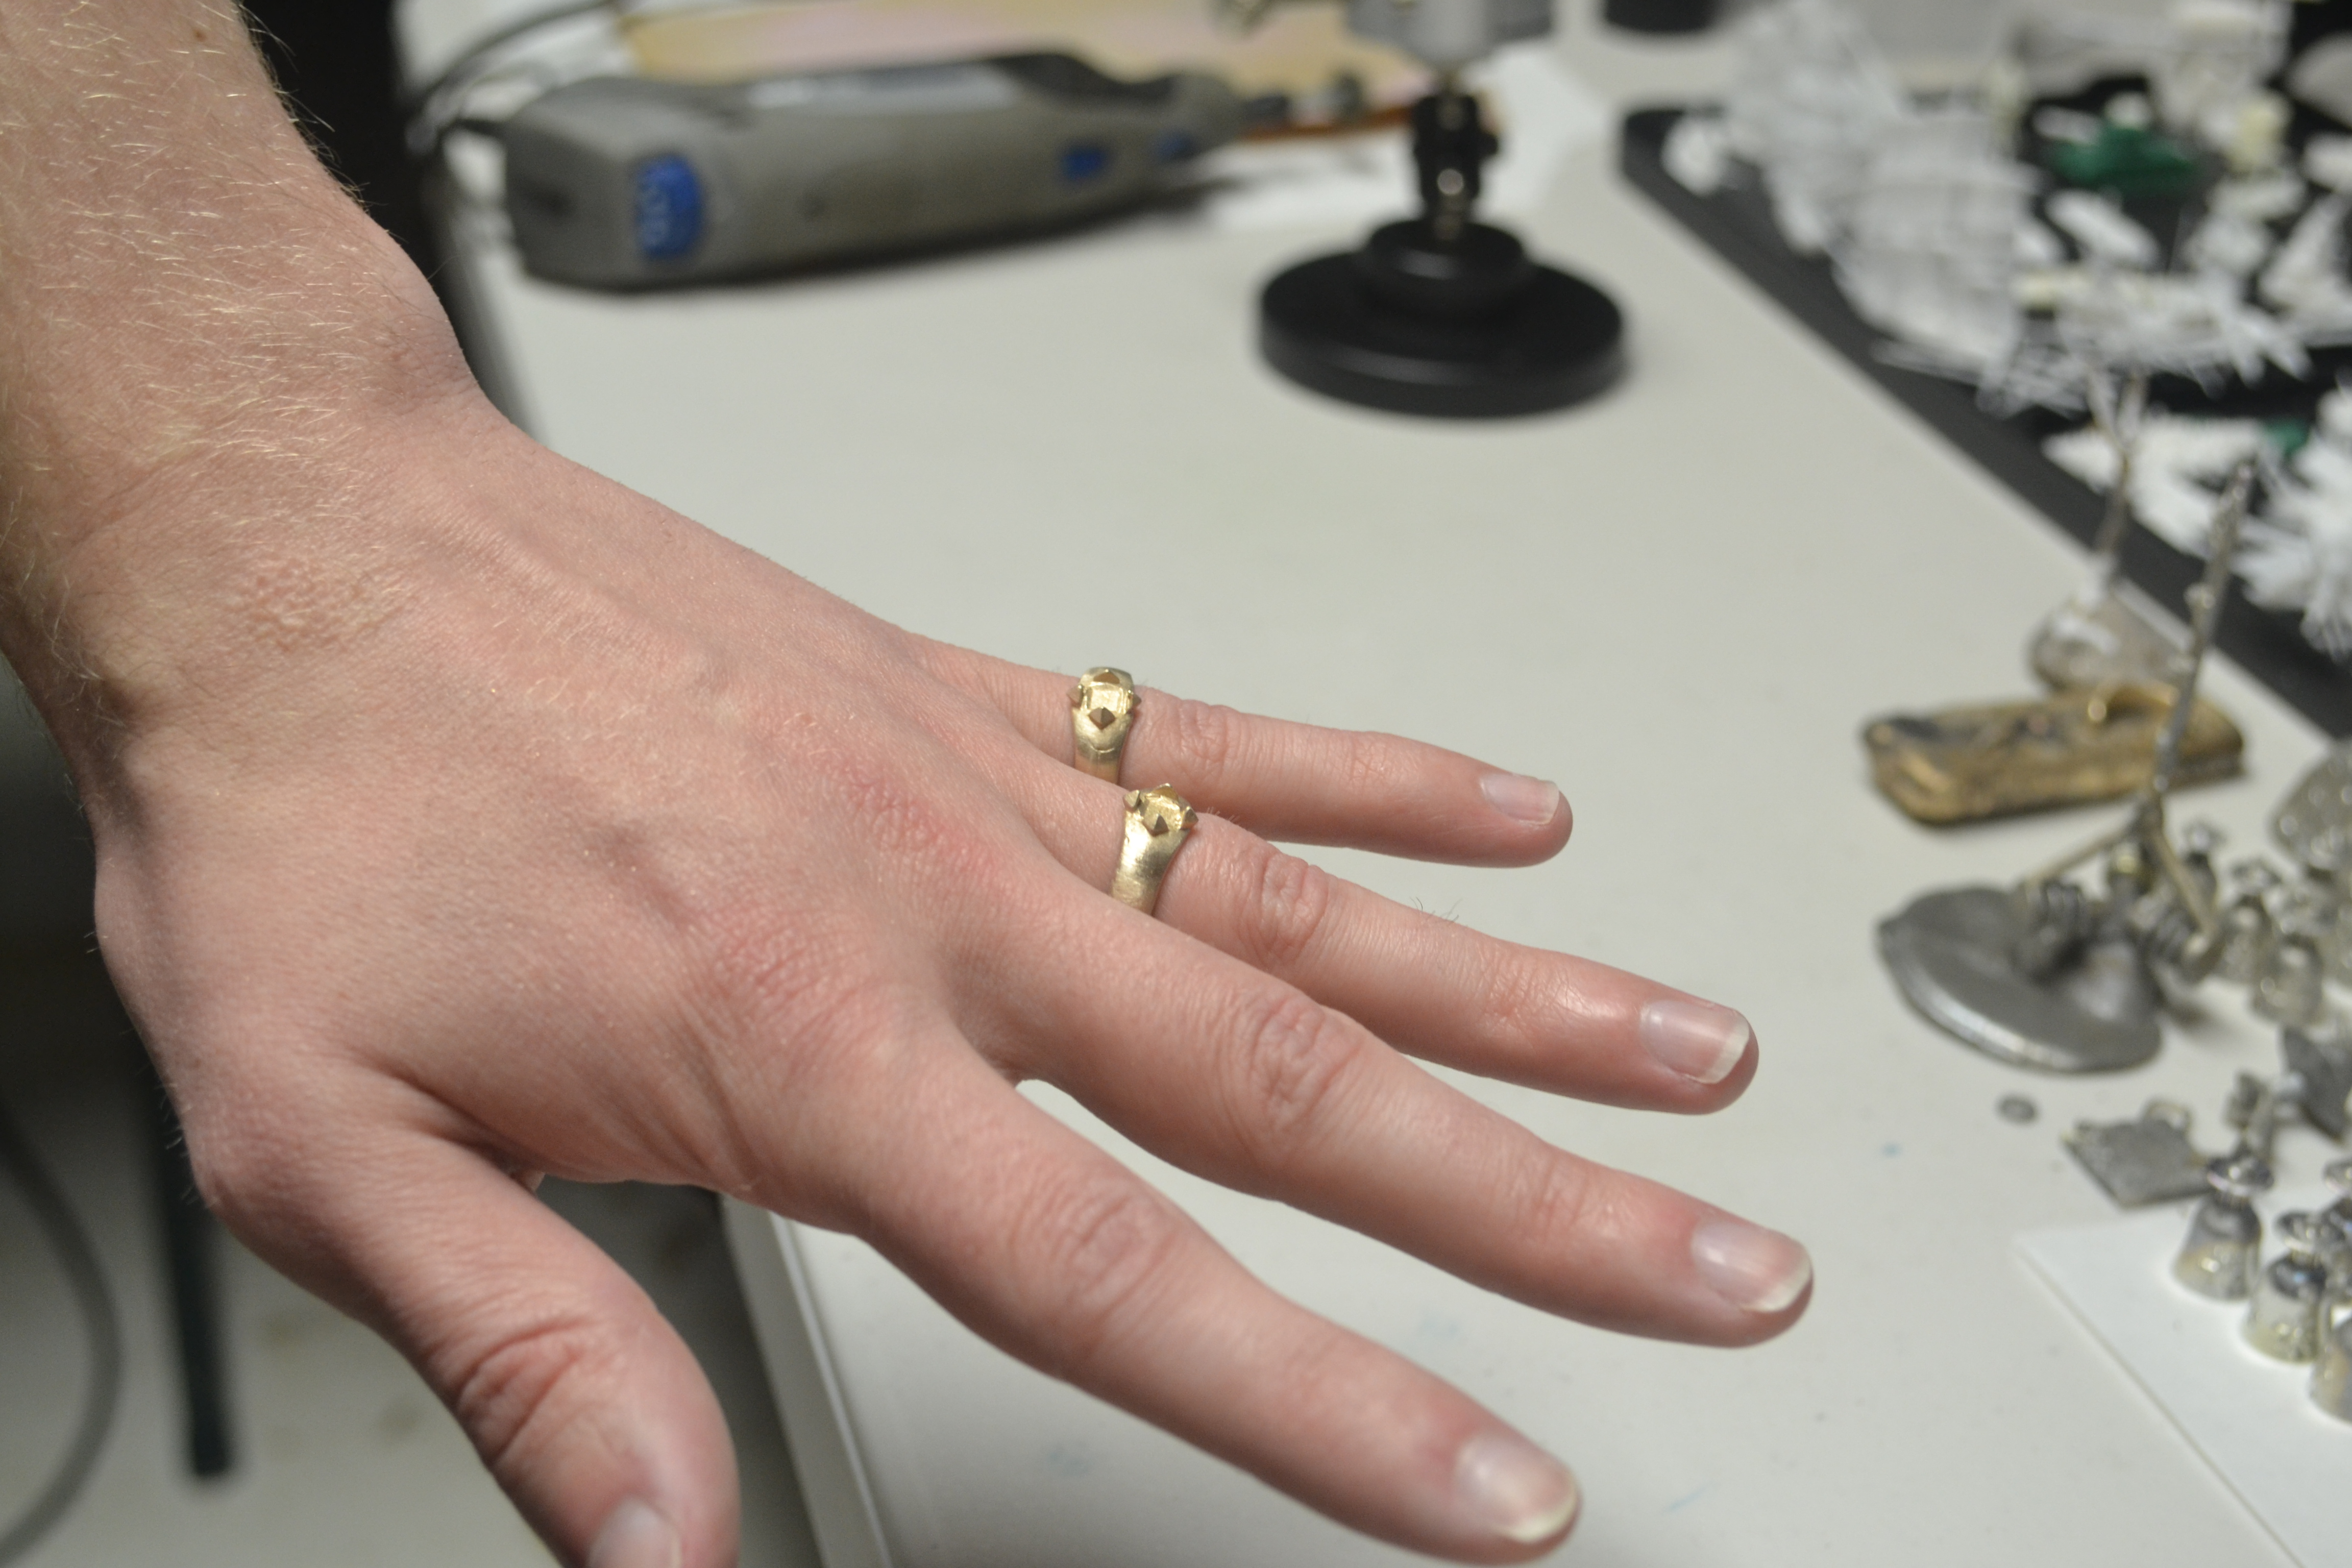
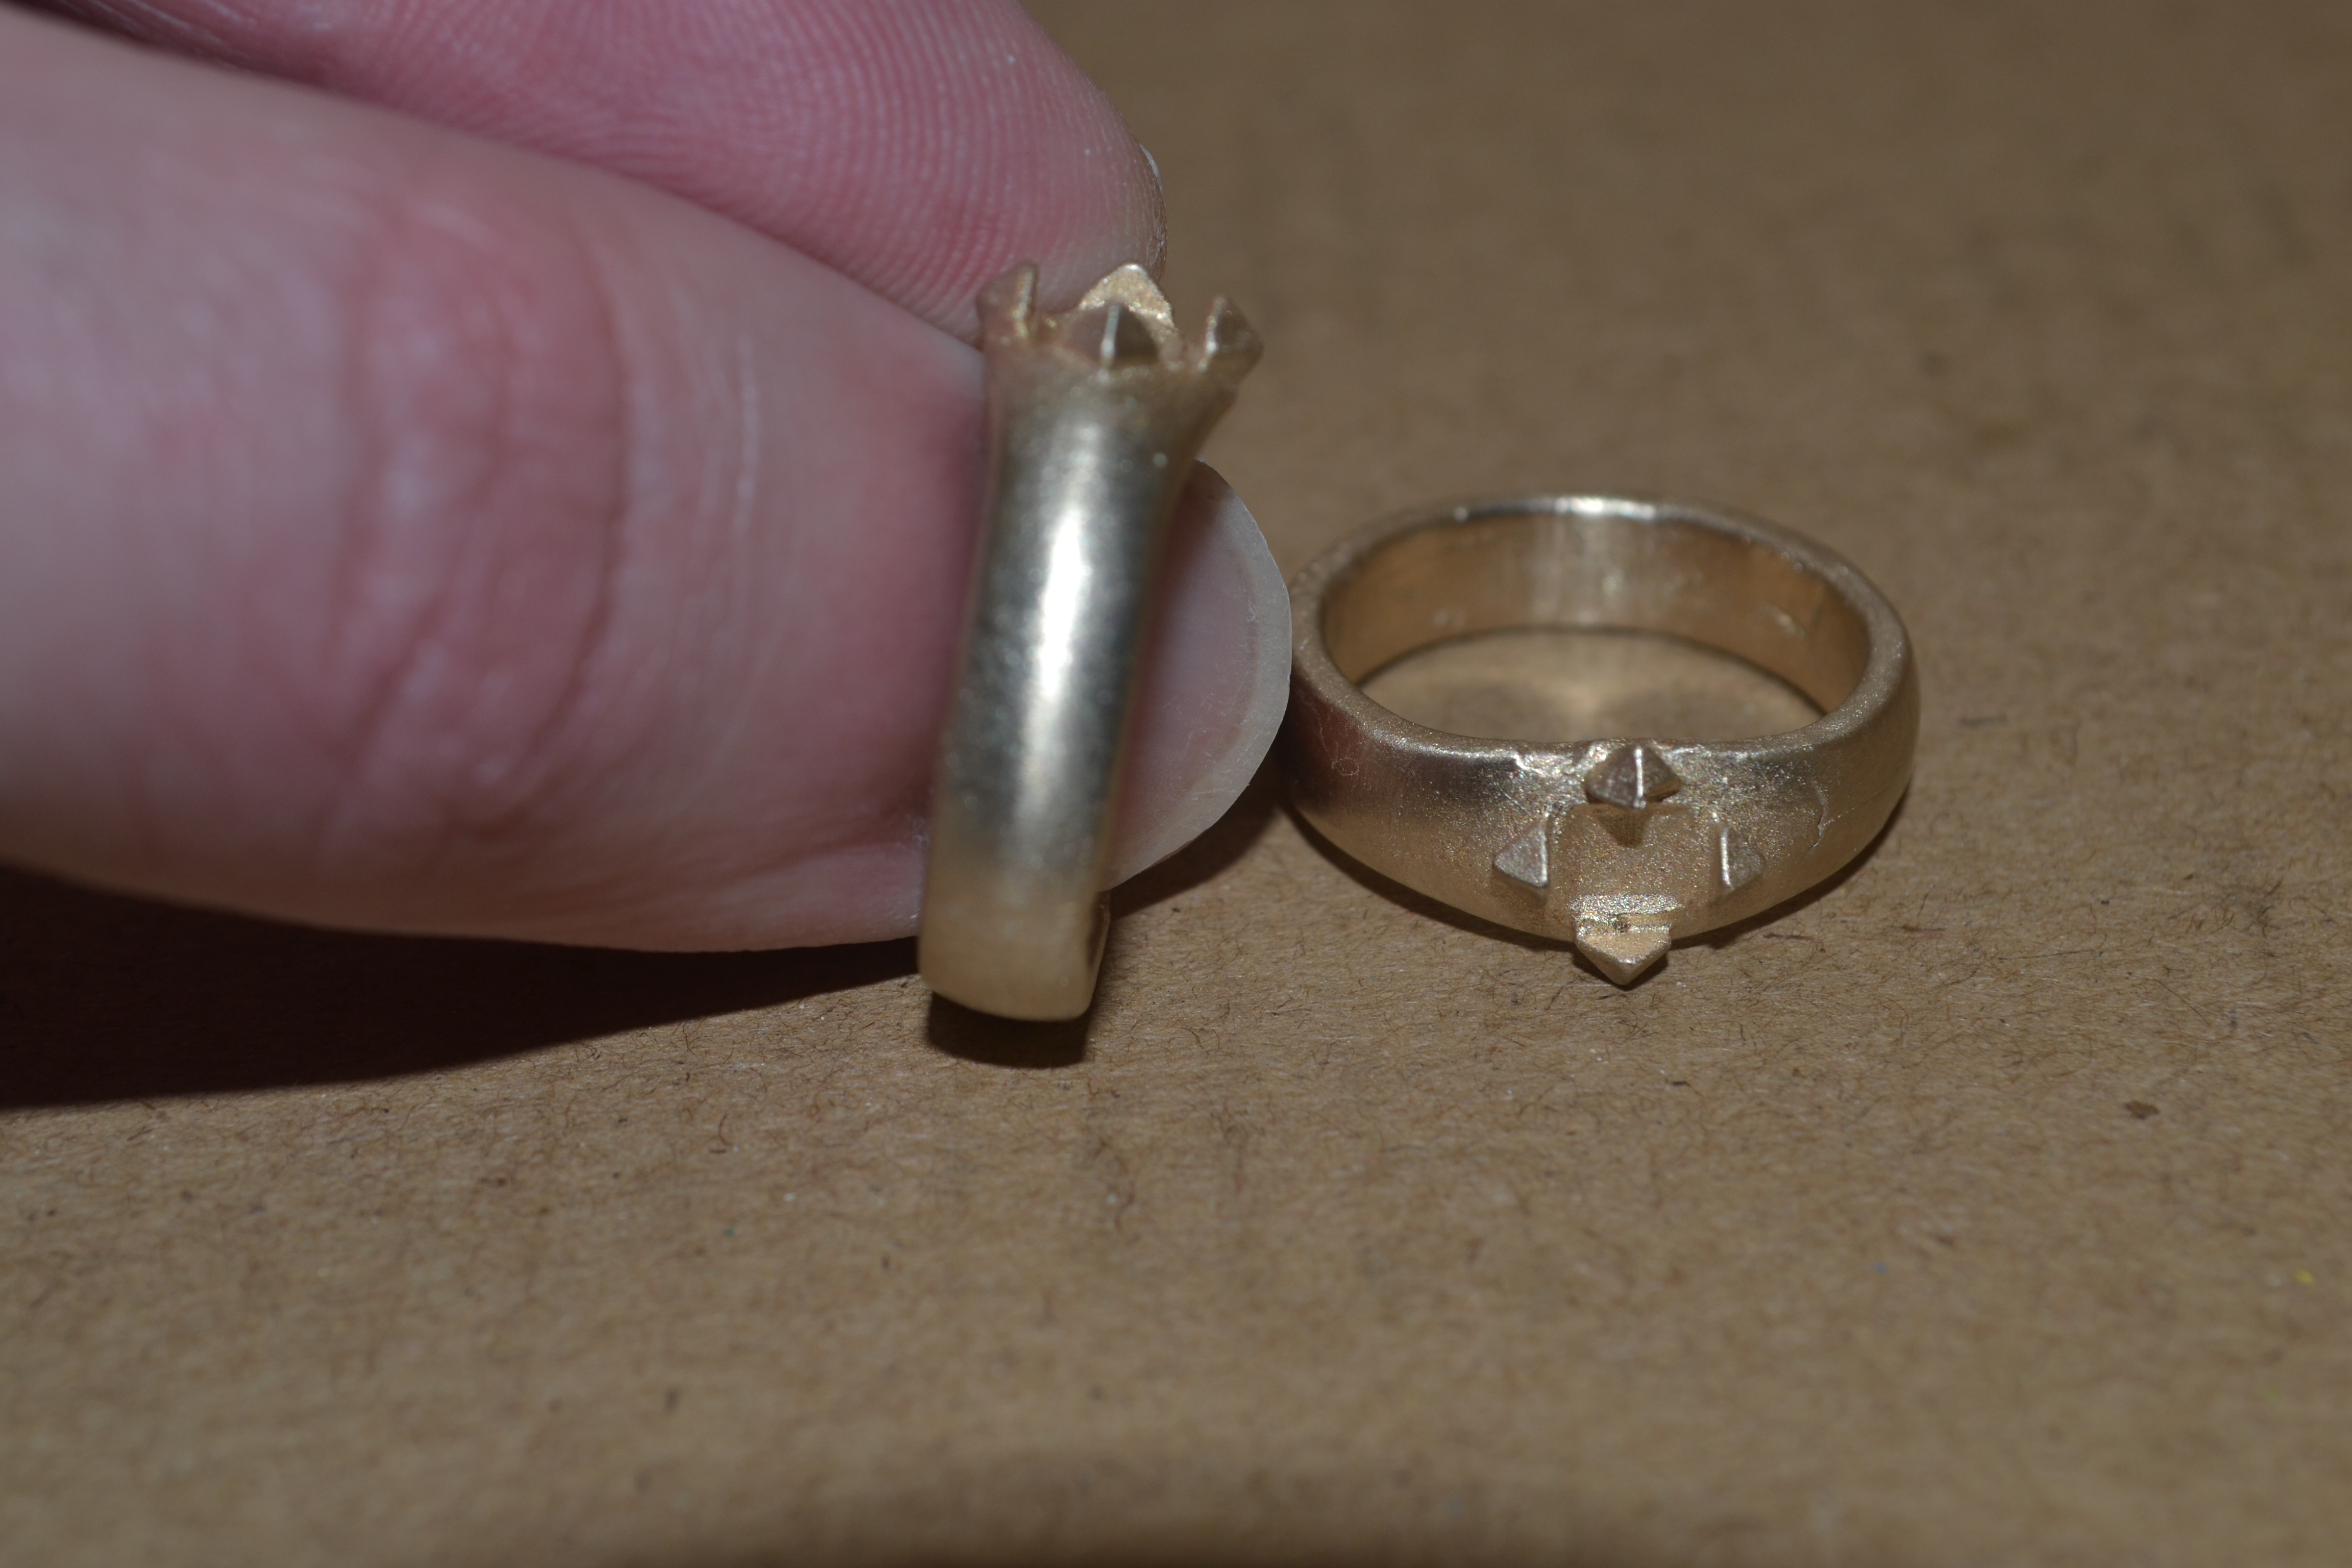
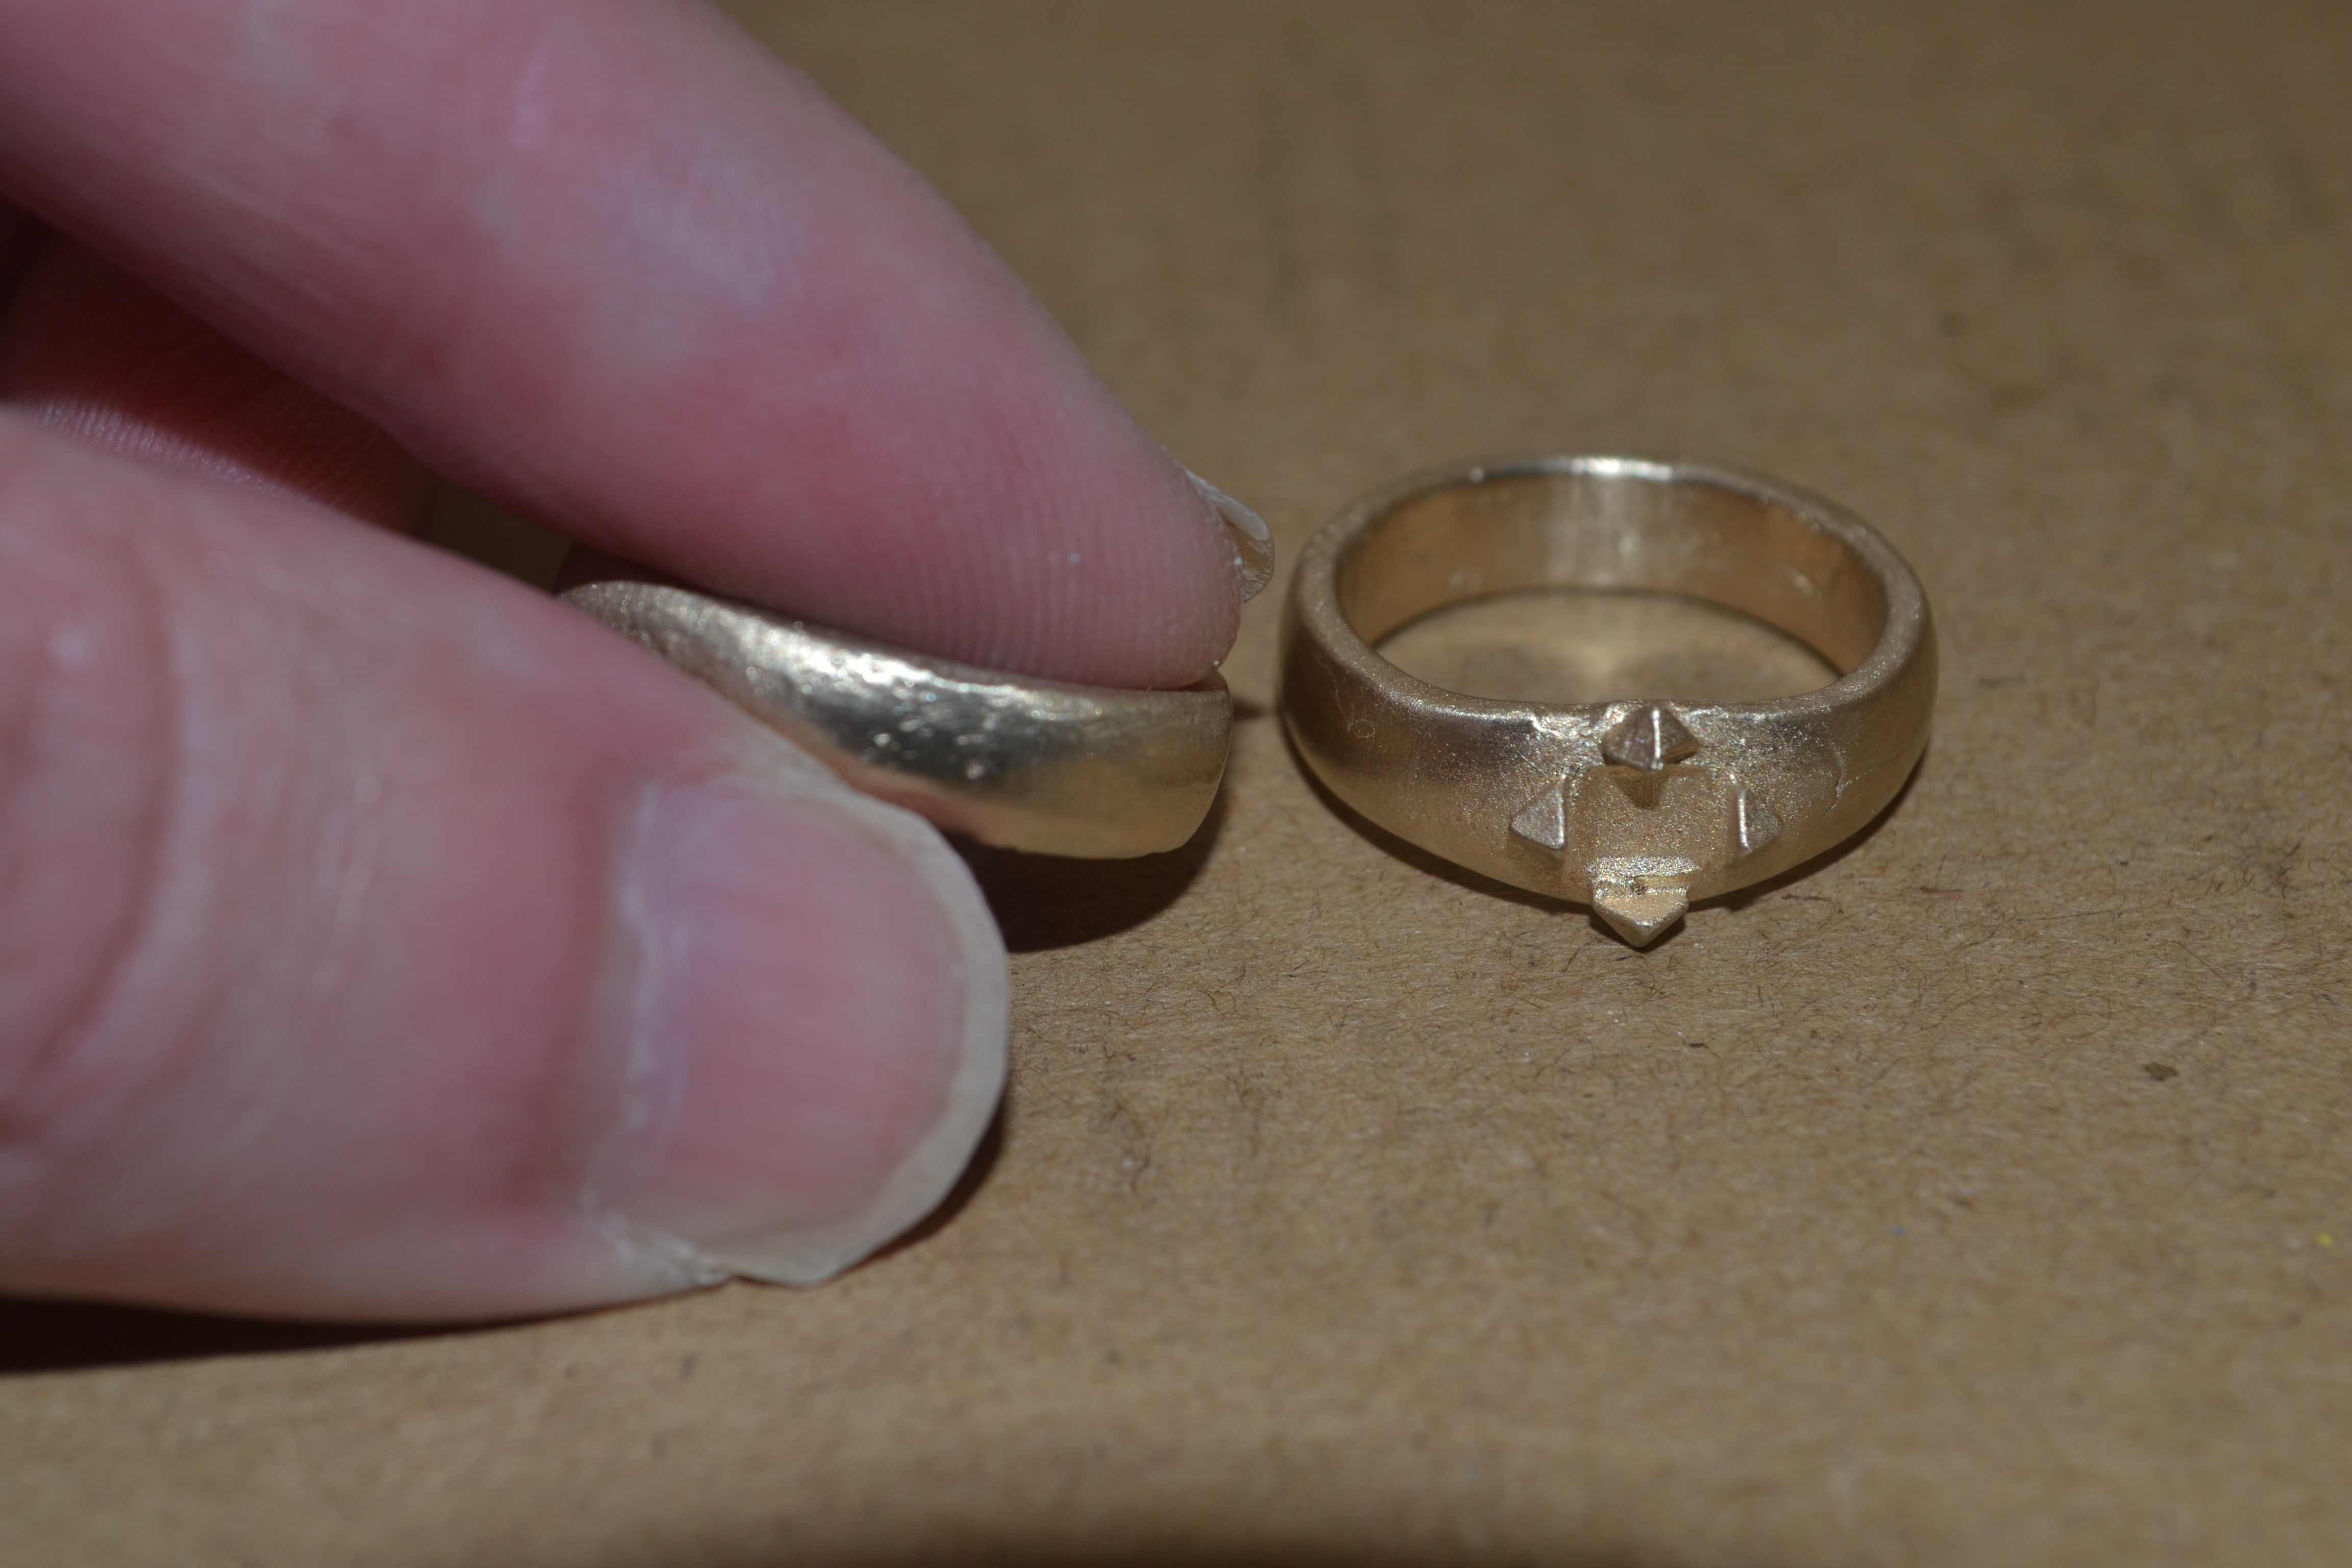
They are actually the same size, which is a bit tight for my ring finger, but not so tight that I needed any sort of lubrication to get it off. After publishing the video of this process, I'll move on to seeing if the setting will actually hold a stone. Were these rings gold, it wouldn't be so tenuous, but bronze is tough stuff - tougher than mild steel, in fact.
Keep your eyes open for that video if you're interested in seeing exactly how all this was done!
This would be an interesting project here, too. I would be tempted to mix an alloy from genuine Idaho silver and raw copper, and see if I could cut and polish a garnet from Emerald Creek to set in such a ring. Very Inland Northwest.
I'm tempted to try a garnet with one of these rings as well, for no reason other than it's my birthstone. I need to find out if the master jeweller that I know is still trying to get rid of his spare stonecutter; he actually offered to sell it to me already, but I didn't have a place to put it at the time.
Sterling silver is 7,5% copper, and Brittania silver is 4,2% copper, incidentally; how much copper would you use, and what would you call this alloy of yours?
I was pondering 90% silver, 10% copper similar to old US silver coins.
It's a moot point for now. I am not set up for metal casting at all.
That's probably going to turn black after about three days. Such a high copper content is better for something that is worn only on rare occasion, or not in contact with skin as much. Earrings, for instance, typically have a fine grade of silver for the studs or hooks, if they use silver at all; most sterling silver earrings that I've seen have their studs or hooks made of white gold or stainless steel.
Anyway, I know you're already familiar with the process, but if you need any tips, don't hesitate to ask either @ddrfr33k or me; he's more experienced with casting than I am, though his setup is a bit primitive (said the bloke using a bucket as a vacuum chamber).
Nice work I'm guessing you use the 3D pattern as a sort of lost wax method for the casting.
Please don't ever make a bronze Benchy😀
Correct. You'll see the whole process soon enough, once BitChute finishes processing my hour-long video.
Why shouldn't I make a bronze Benchy? I've printed far more intricate models than that silly little boat (though I confess I had never even heard of a Benchy until you just mentioned it). In fact, I printed a 1:220 scale SU-152 in wax resin, so casting that will be my ultimate challenge.
I think you answered your own question with "silly little boat"
Looking forward to the video.