.png)
Hello my beautiful Hive Family, I hope each of you are well, for me it is a pleasure to share another of my Makeup, this time I was inspired by the leaves of the trees, the truth that are very nice, and today I wanted to do something very different, so stay to see the step by step.

.png)
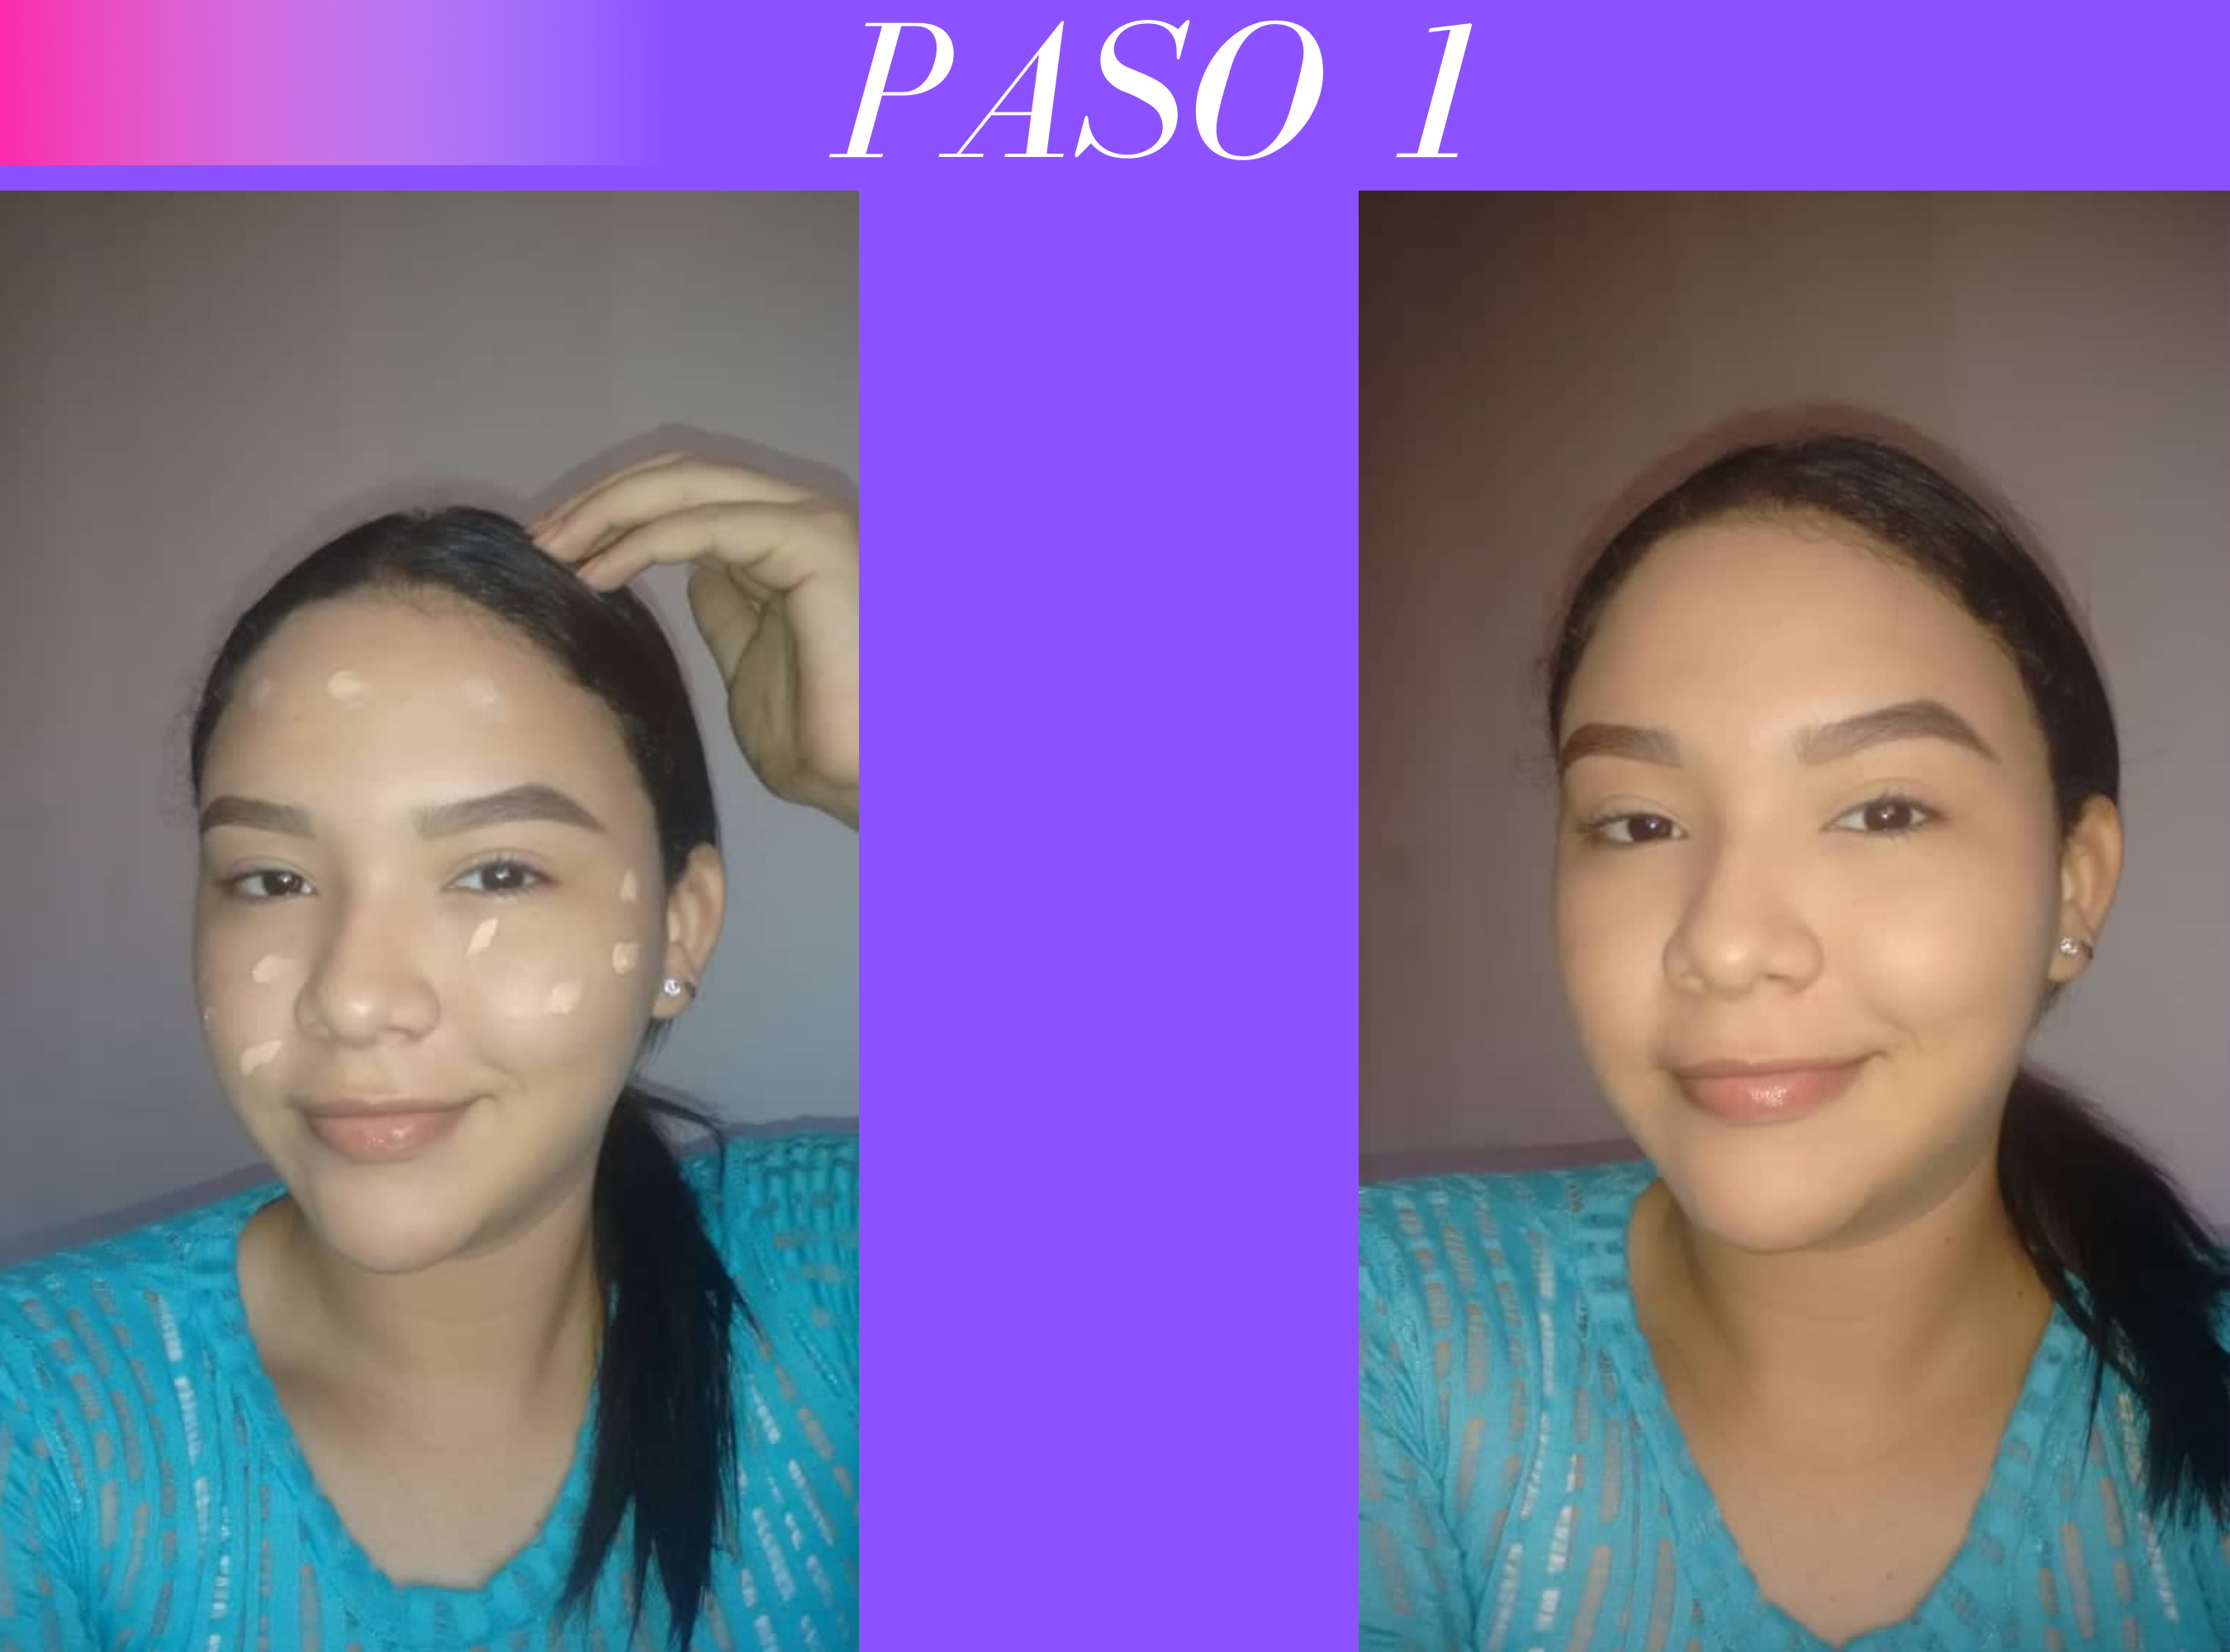
-Paso 1: Primero que todo, sombree mis cejas, luego apliqué base y selle con polvo, hice esto ya que el maquillaje que me hice, abarca una parte del lado derecho de mi rostro, por eso prepare la piel al principio, solo con base y polvo, para que al final, el acabado fuera mejor.
-Step 1: First of all, I shaded my eyebrows, then I applied foundation and sealed with powder, I did this because the makeup I did, covers a part of the right side of my face, so I prepared the skin at the beginning, only with foundation and powder, so that at the end, the finish would be better.
.png)
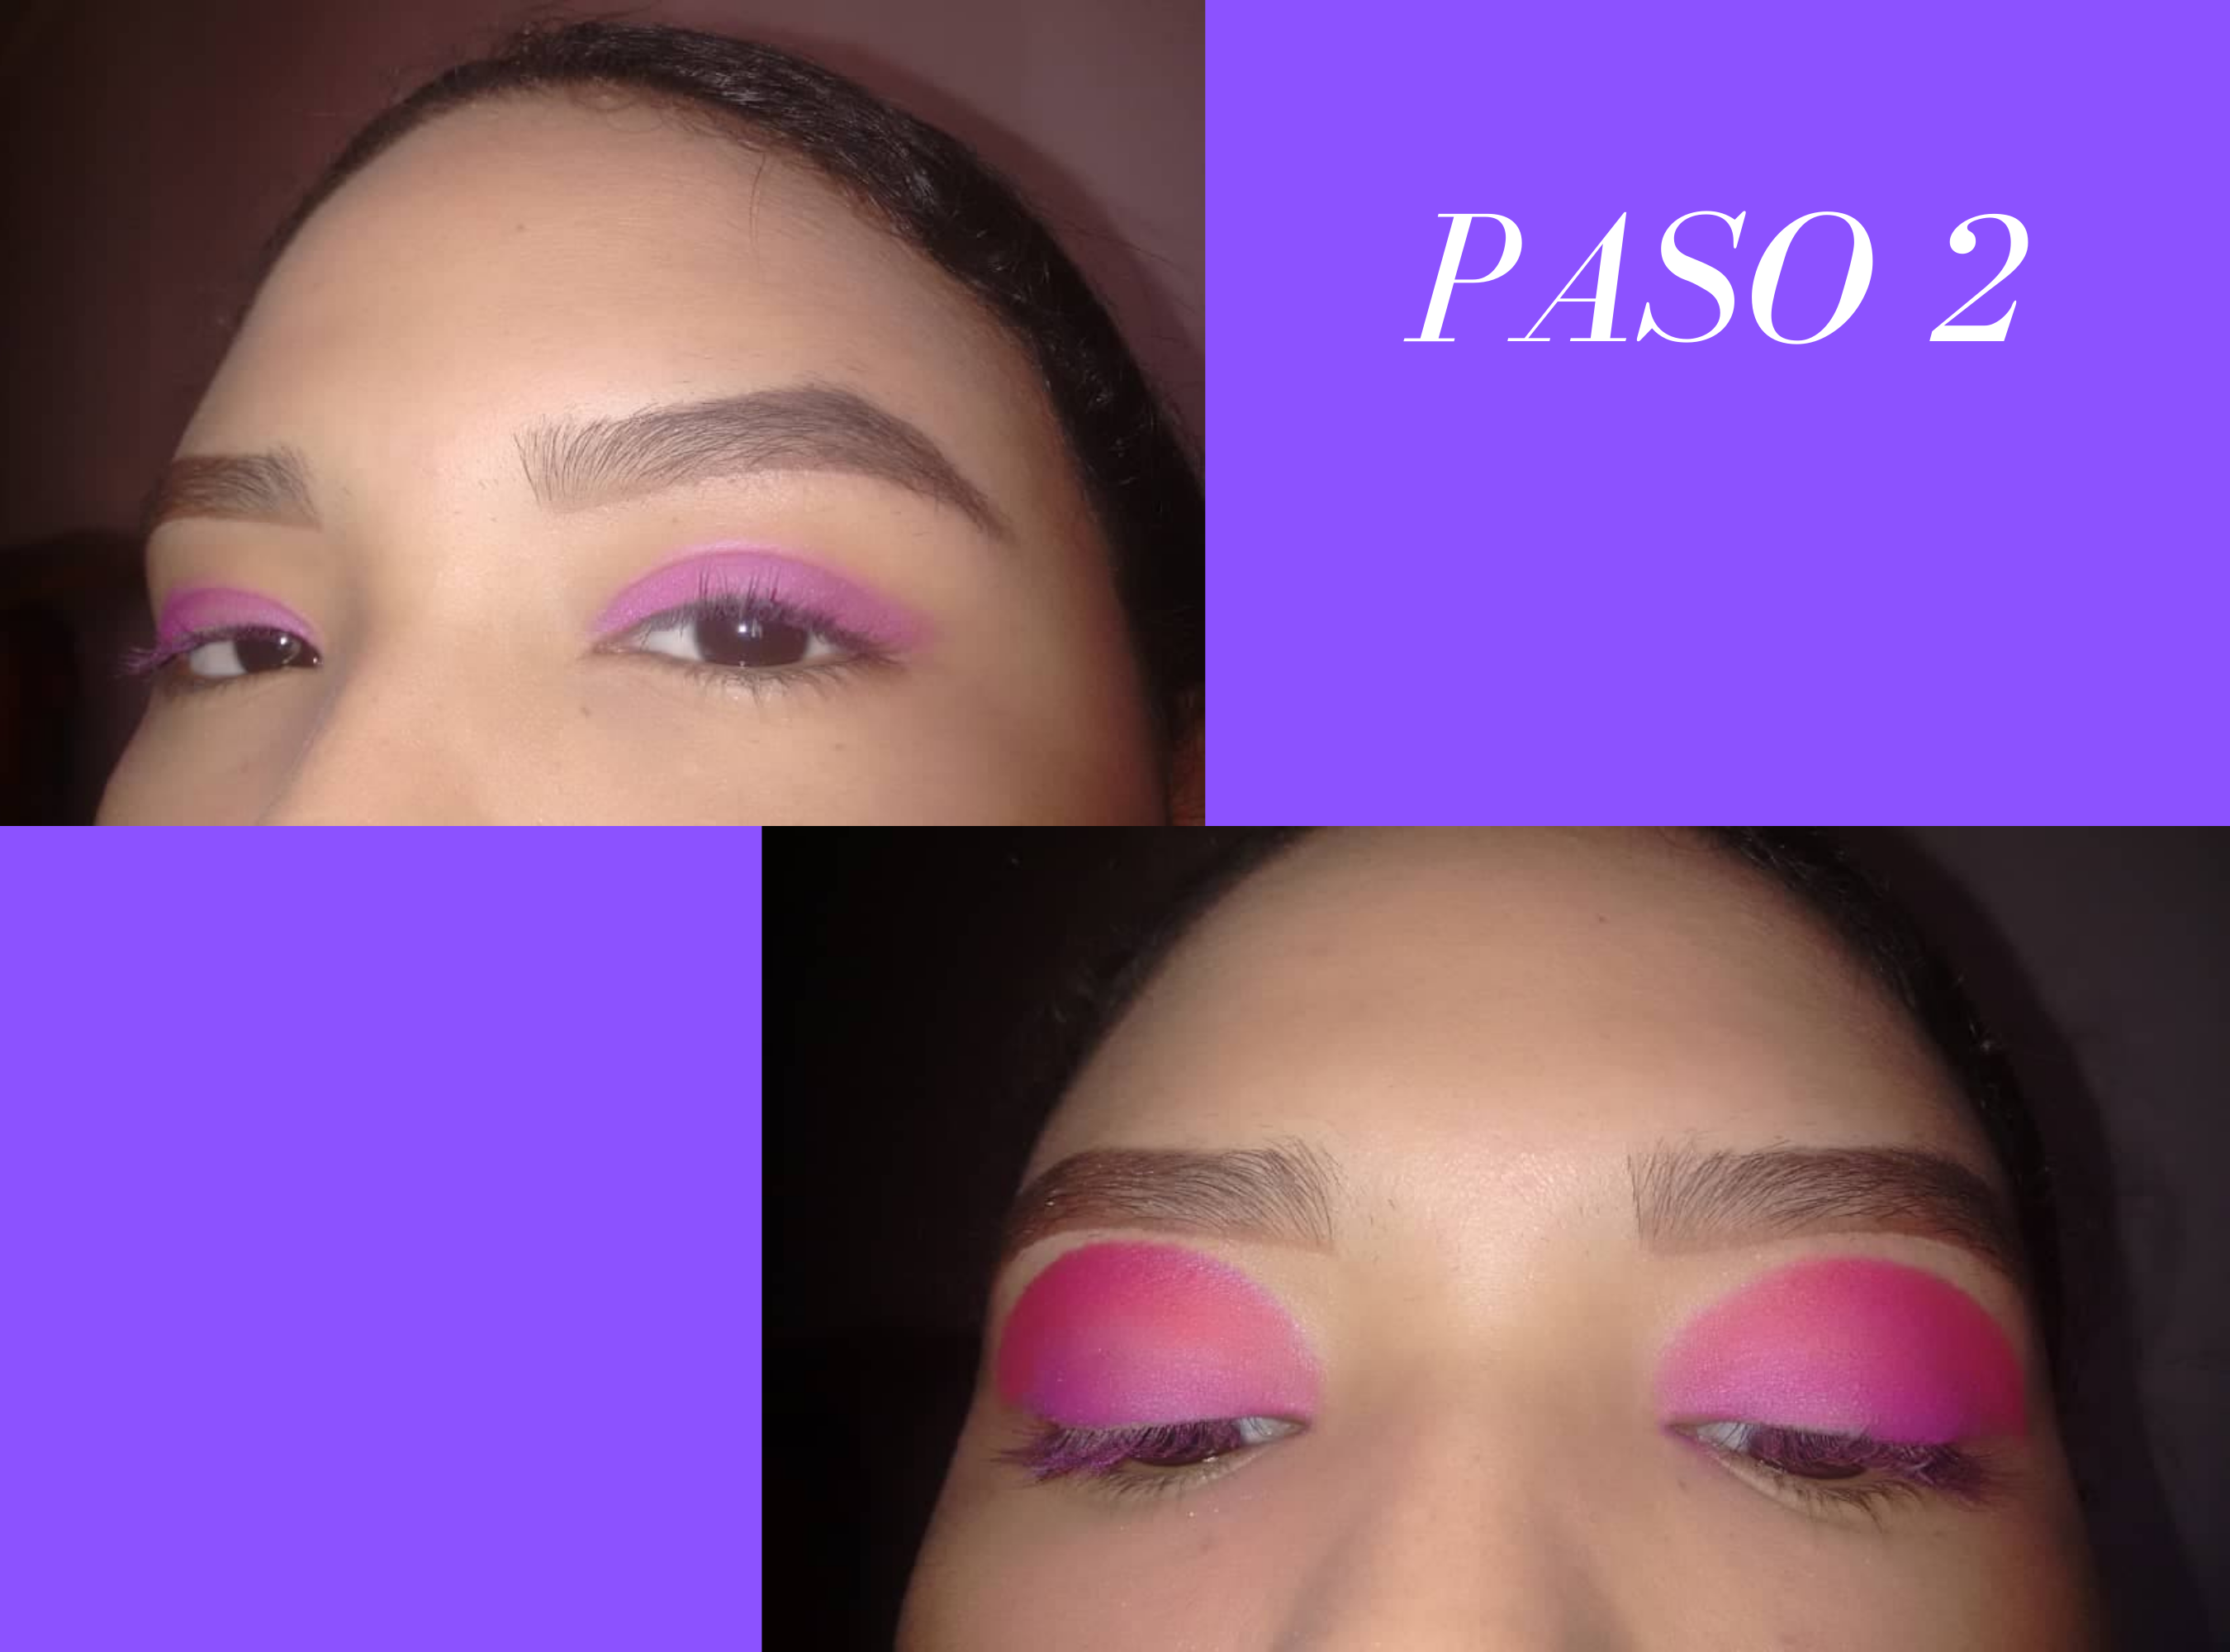
-Paso 2: Apliqué sombra morada en mi párpado móvil, luego apliqué una sombra color rojo, sobre el párpado móvil, abarcando todo el resto del párpado si vemos bien, los colores contrastan perfectamente.
-Step 2: I applied purple shadow on my mobile eyelid, then I applied a red shadow on the mobile eyelid, covering the rest of the eyelid, if we see well, the colors contrast perfectly.
.png)
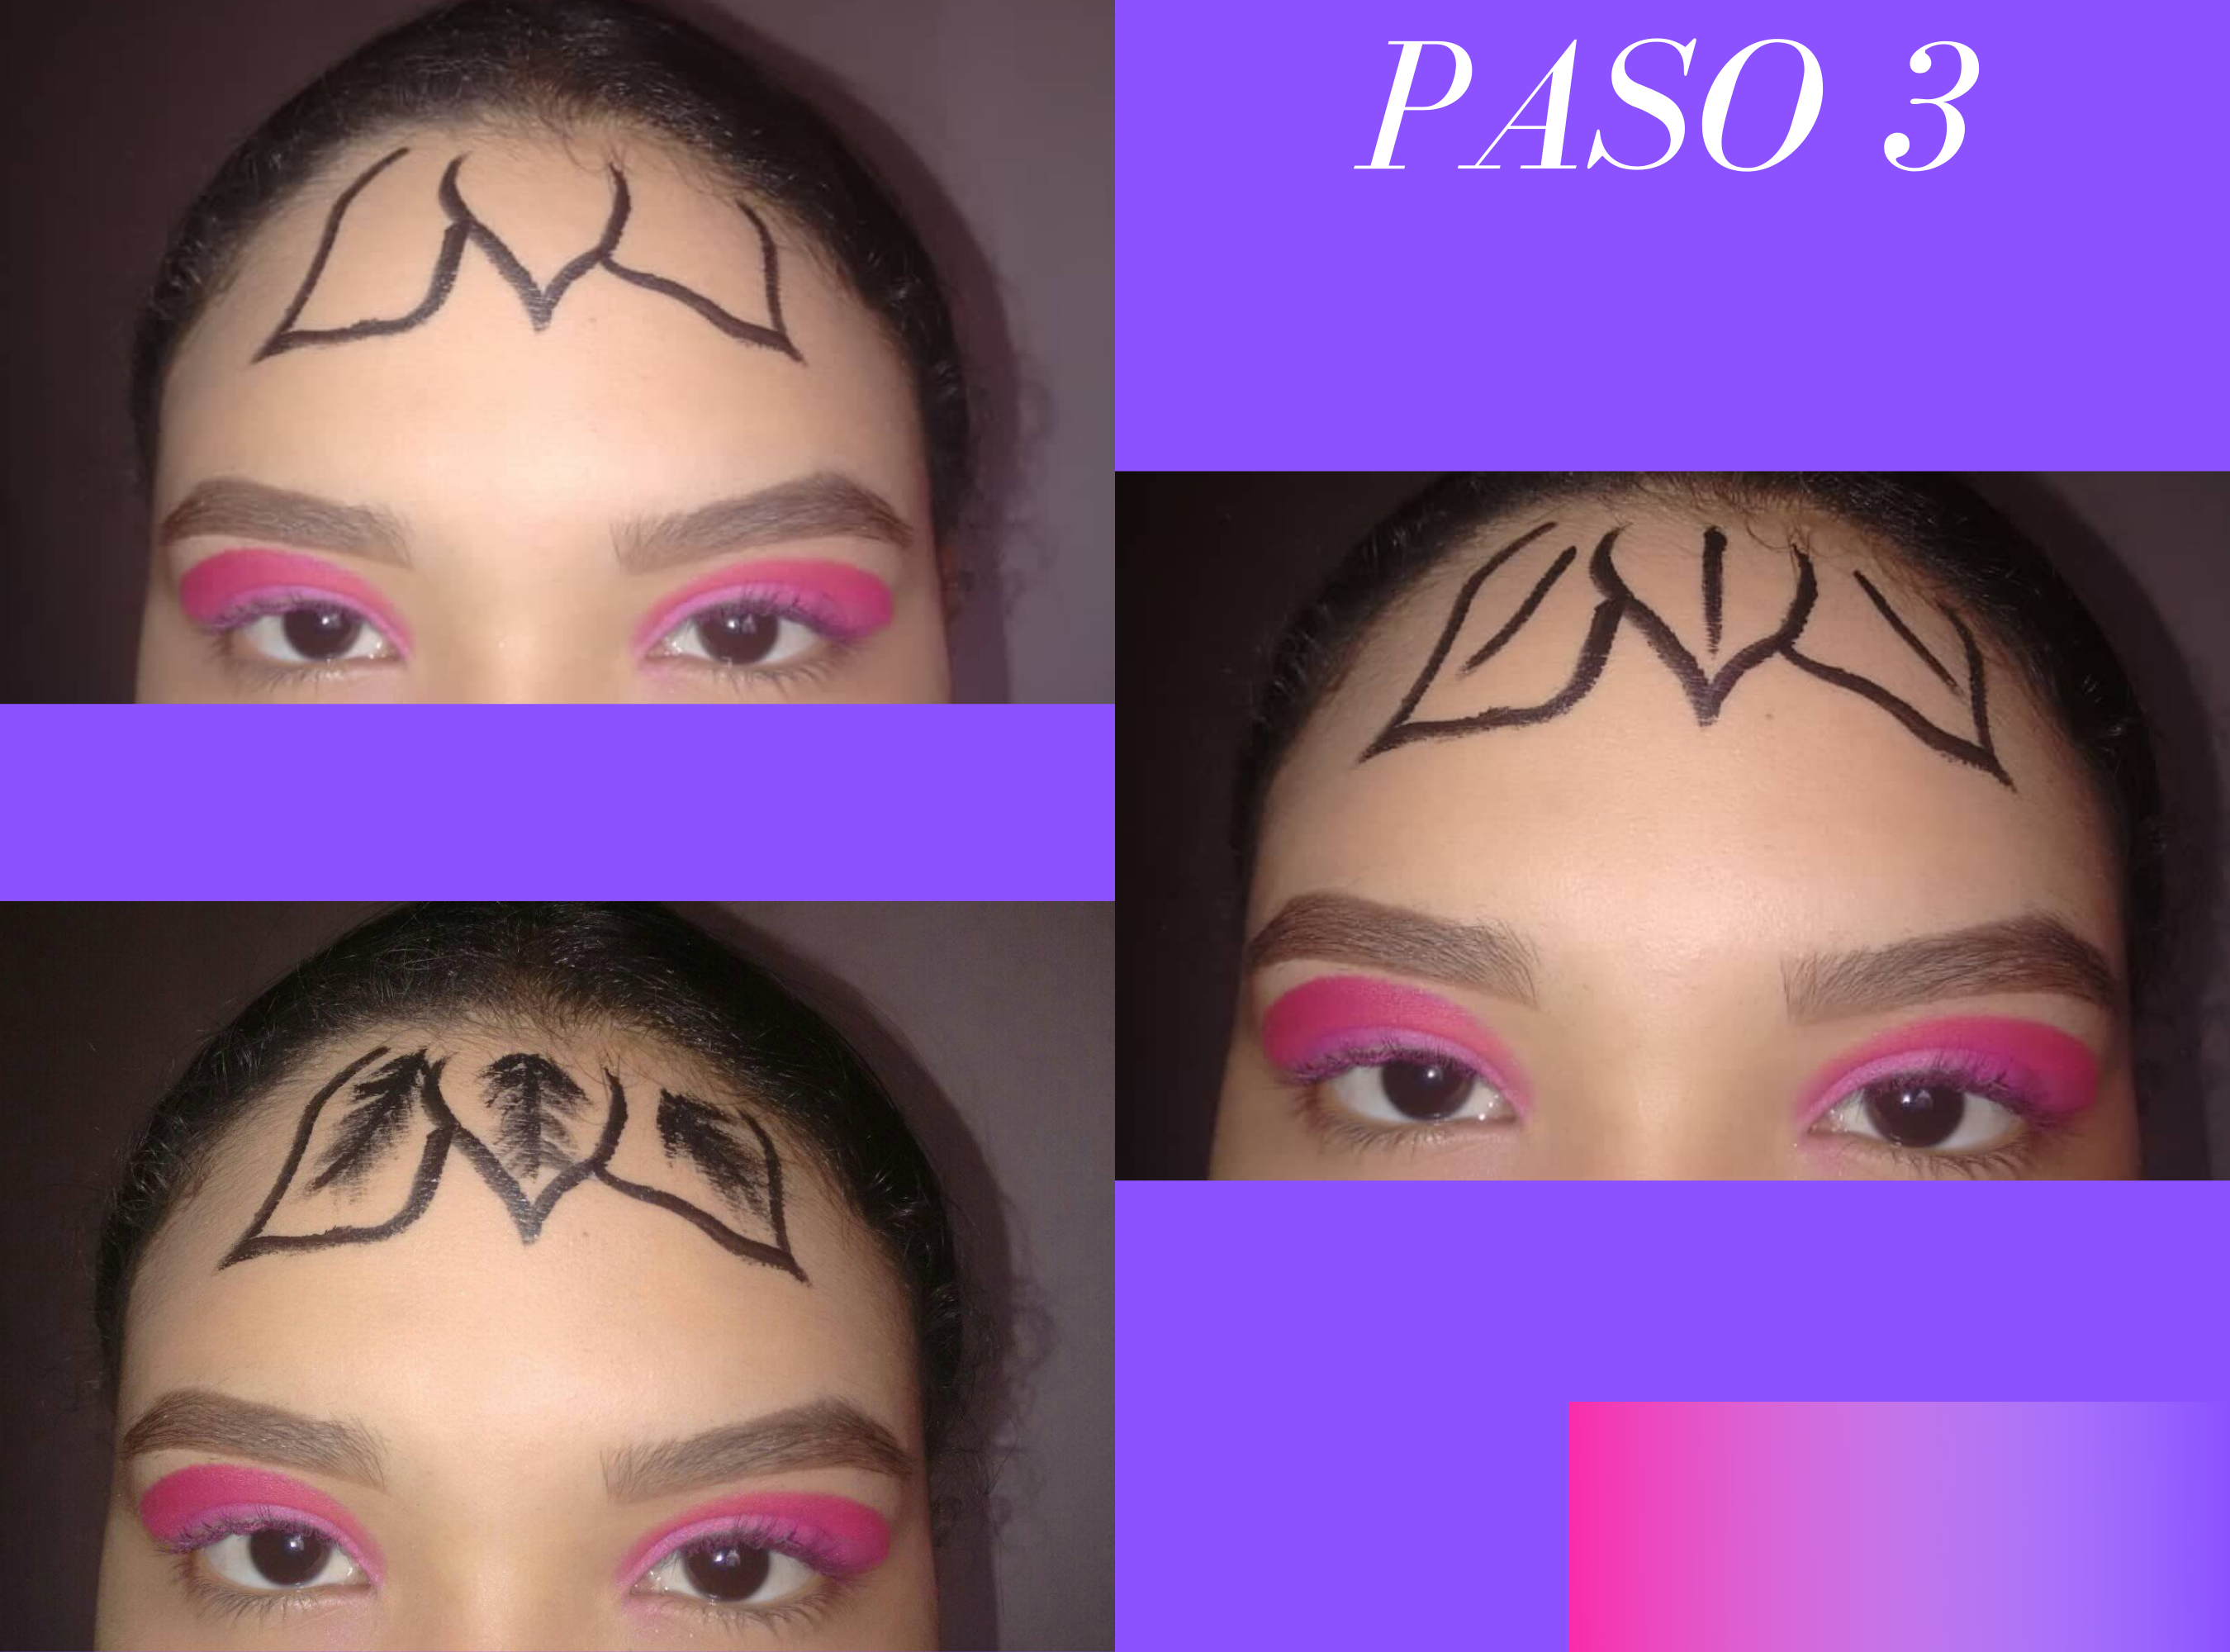
-Paso 3: En la parte de mi frente, realicé tres hojas, con delineador, luego hice las líneas que van dentro de la hoja, y por último hice las líneas que salen de esas líneas que son el centro de las hojas.
-Step 3: In the part of my forehead, I made three leaves, with eyeliner, then I made the lines that go inside the leaf, and finally I made the lines that come out of those lines that are the center of the leaves.
.png)
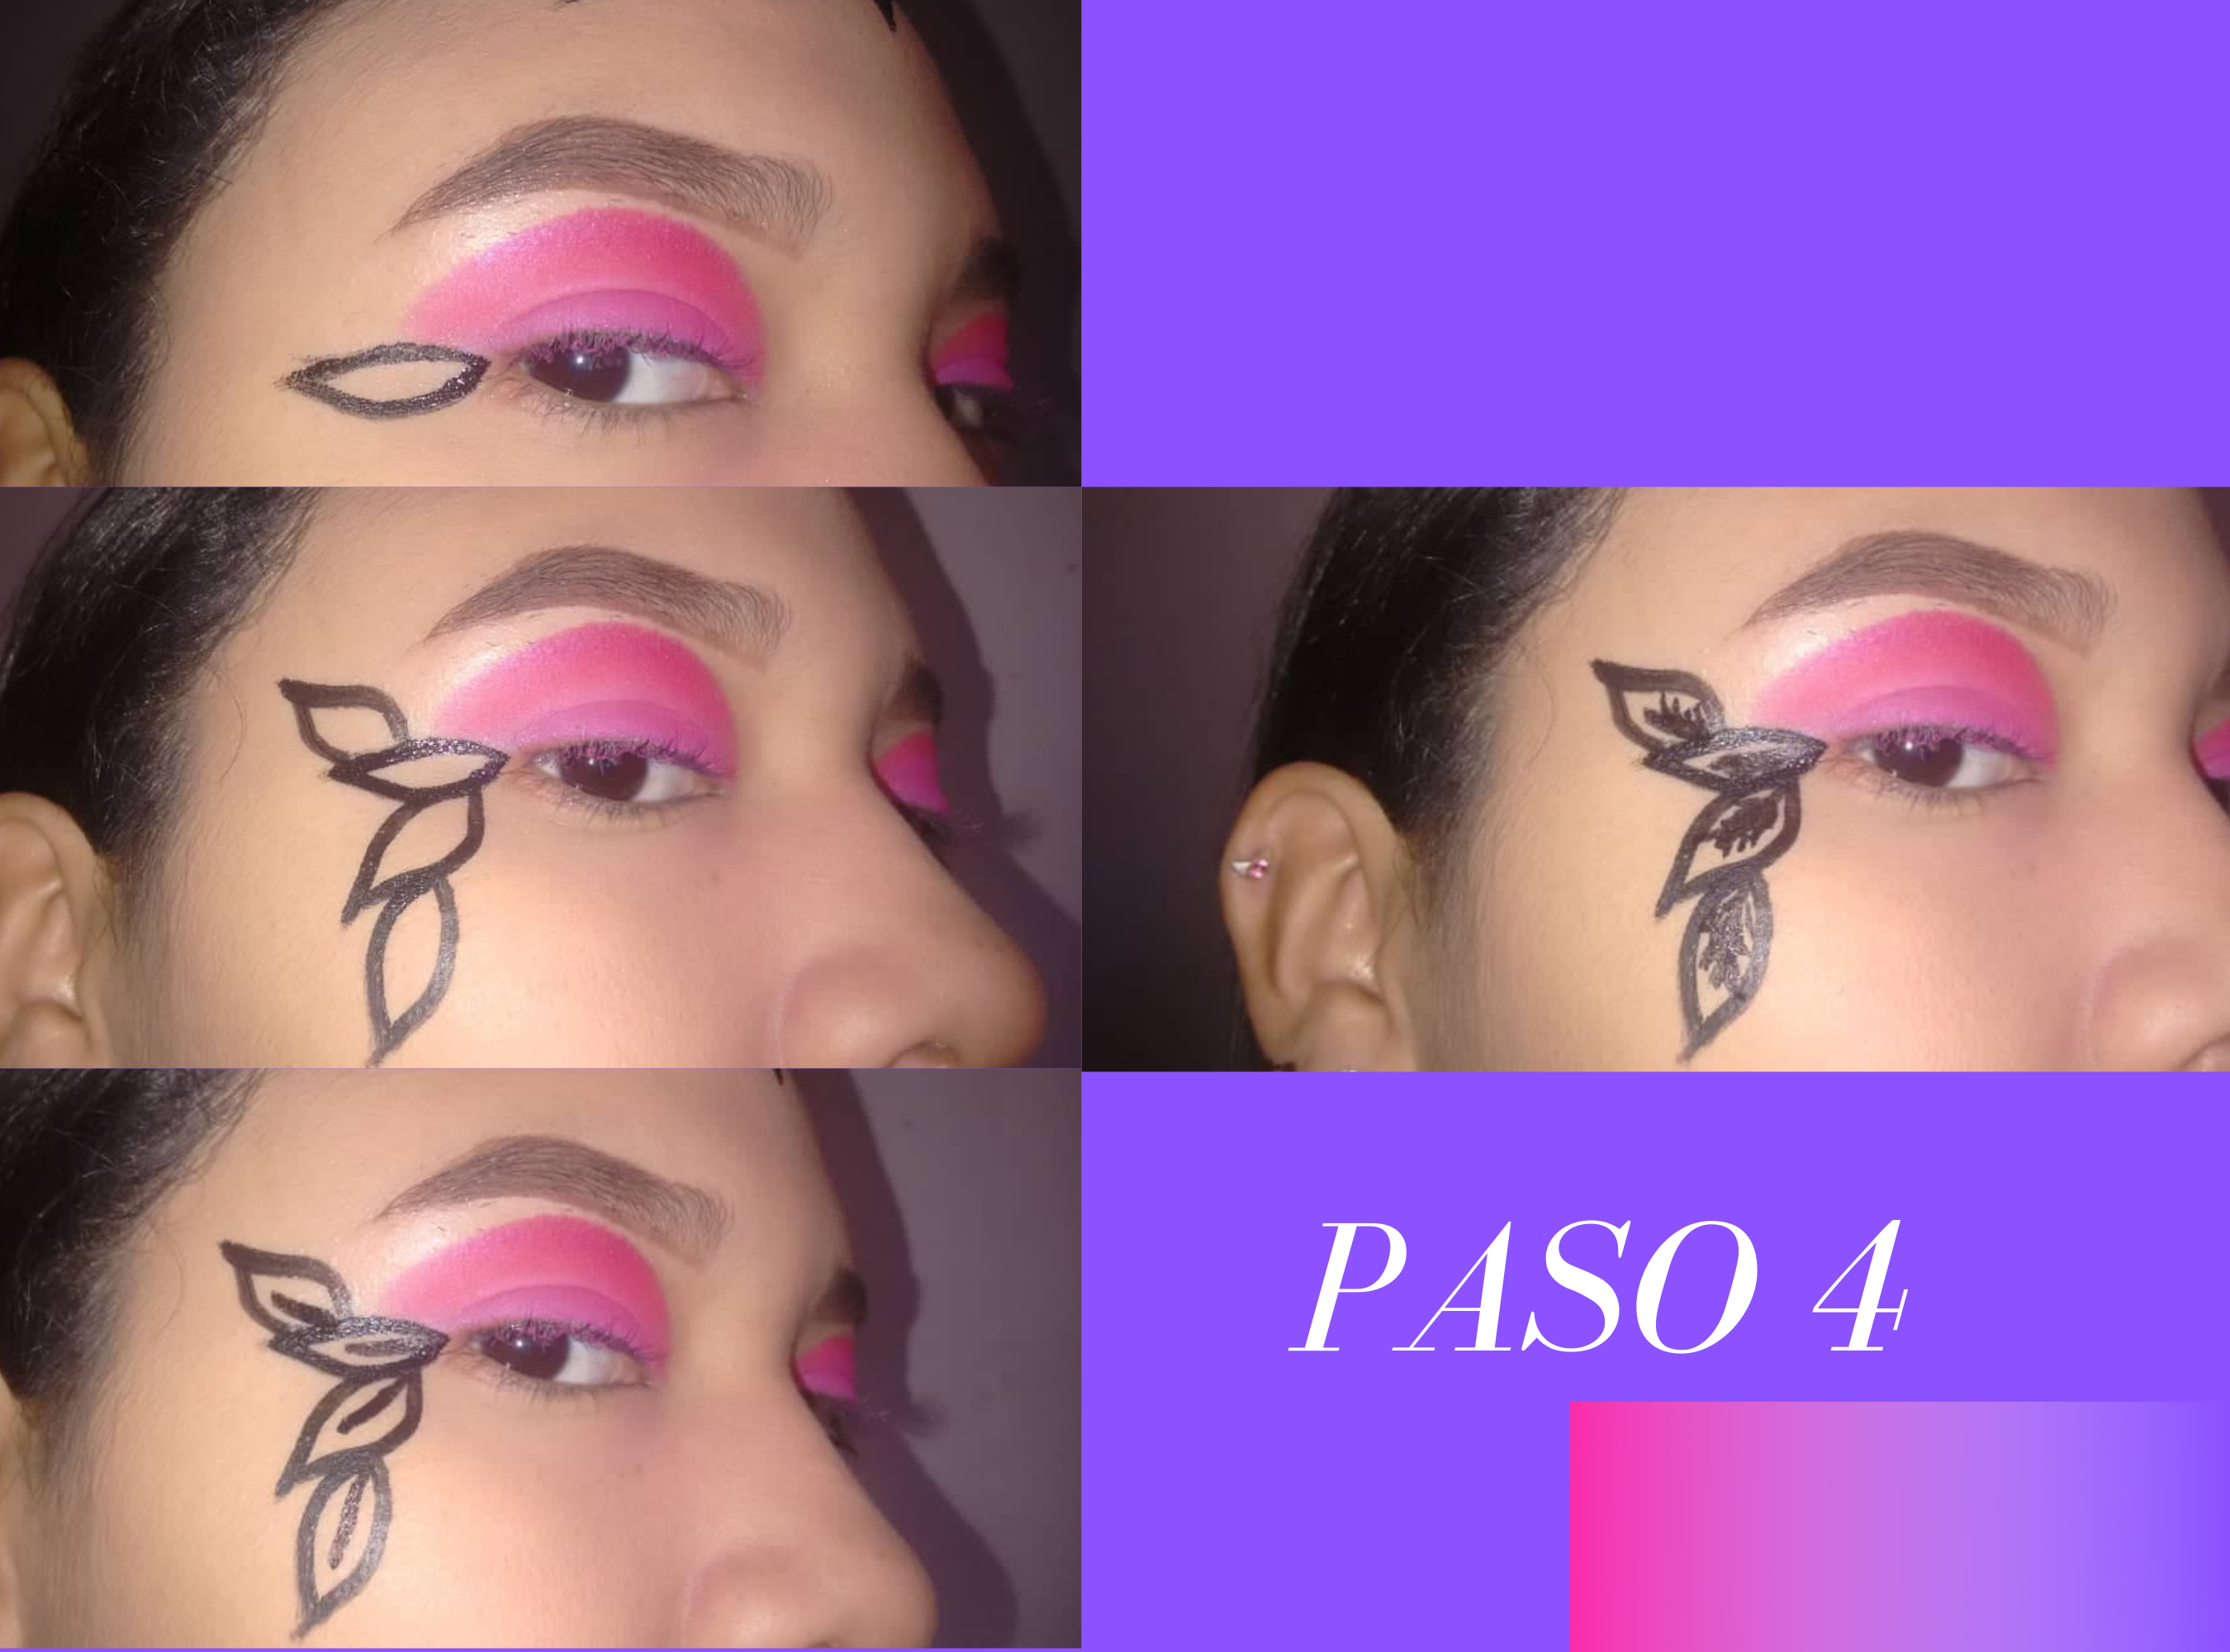
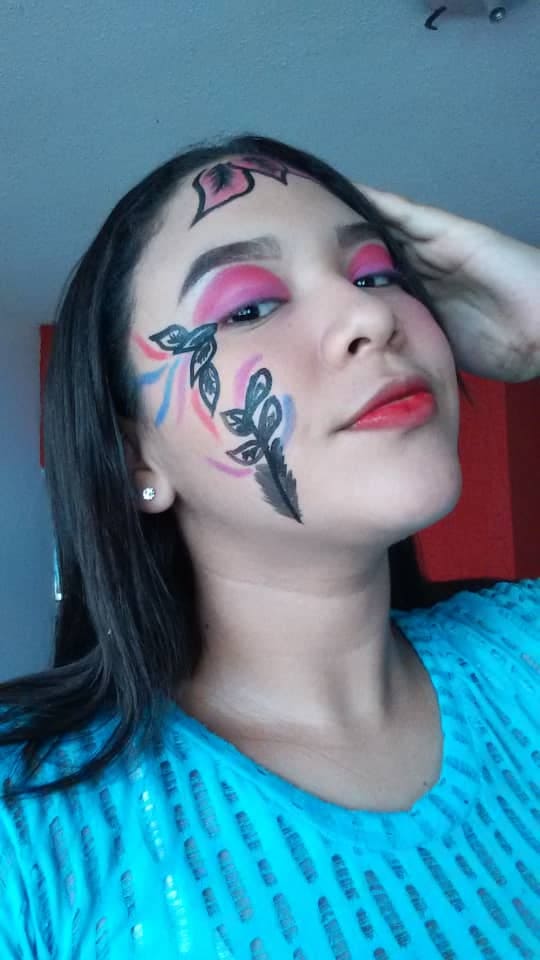
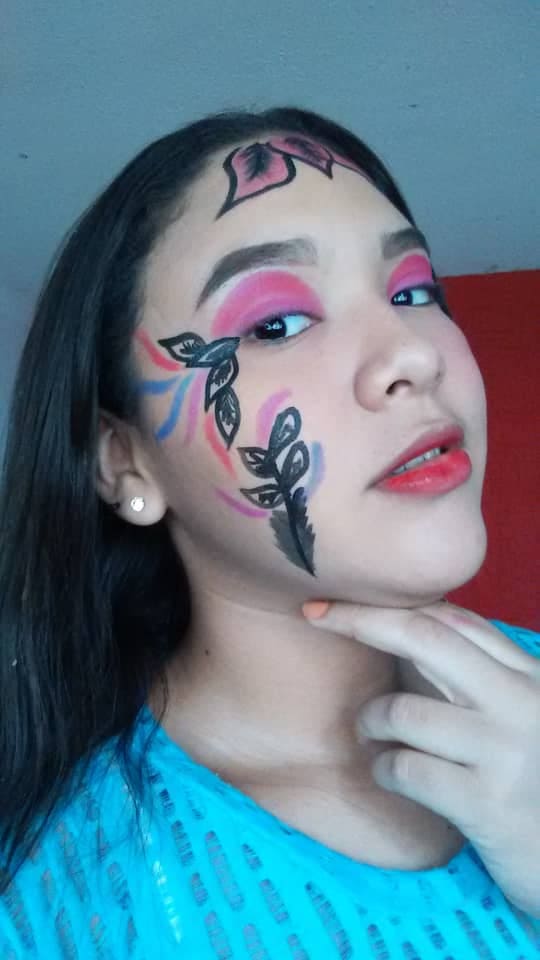
-Paso 4: En la parte inferior de mi ojo derecho, realicé una secuencia de hojas pequeñas, en el orden de nuestra preferencia, les hice todos los detallitos de una hoja.
-Step 4: On the lower part of my right eye, I made a sequence of small leaves, in the order of our preference, I made all the details of a leaf.
.png)
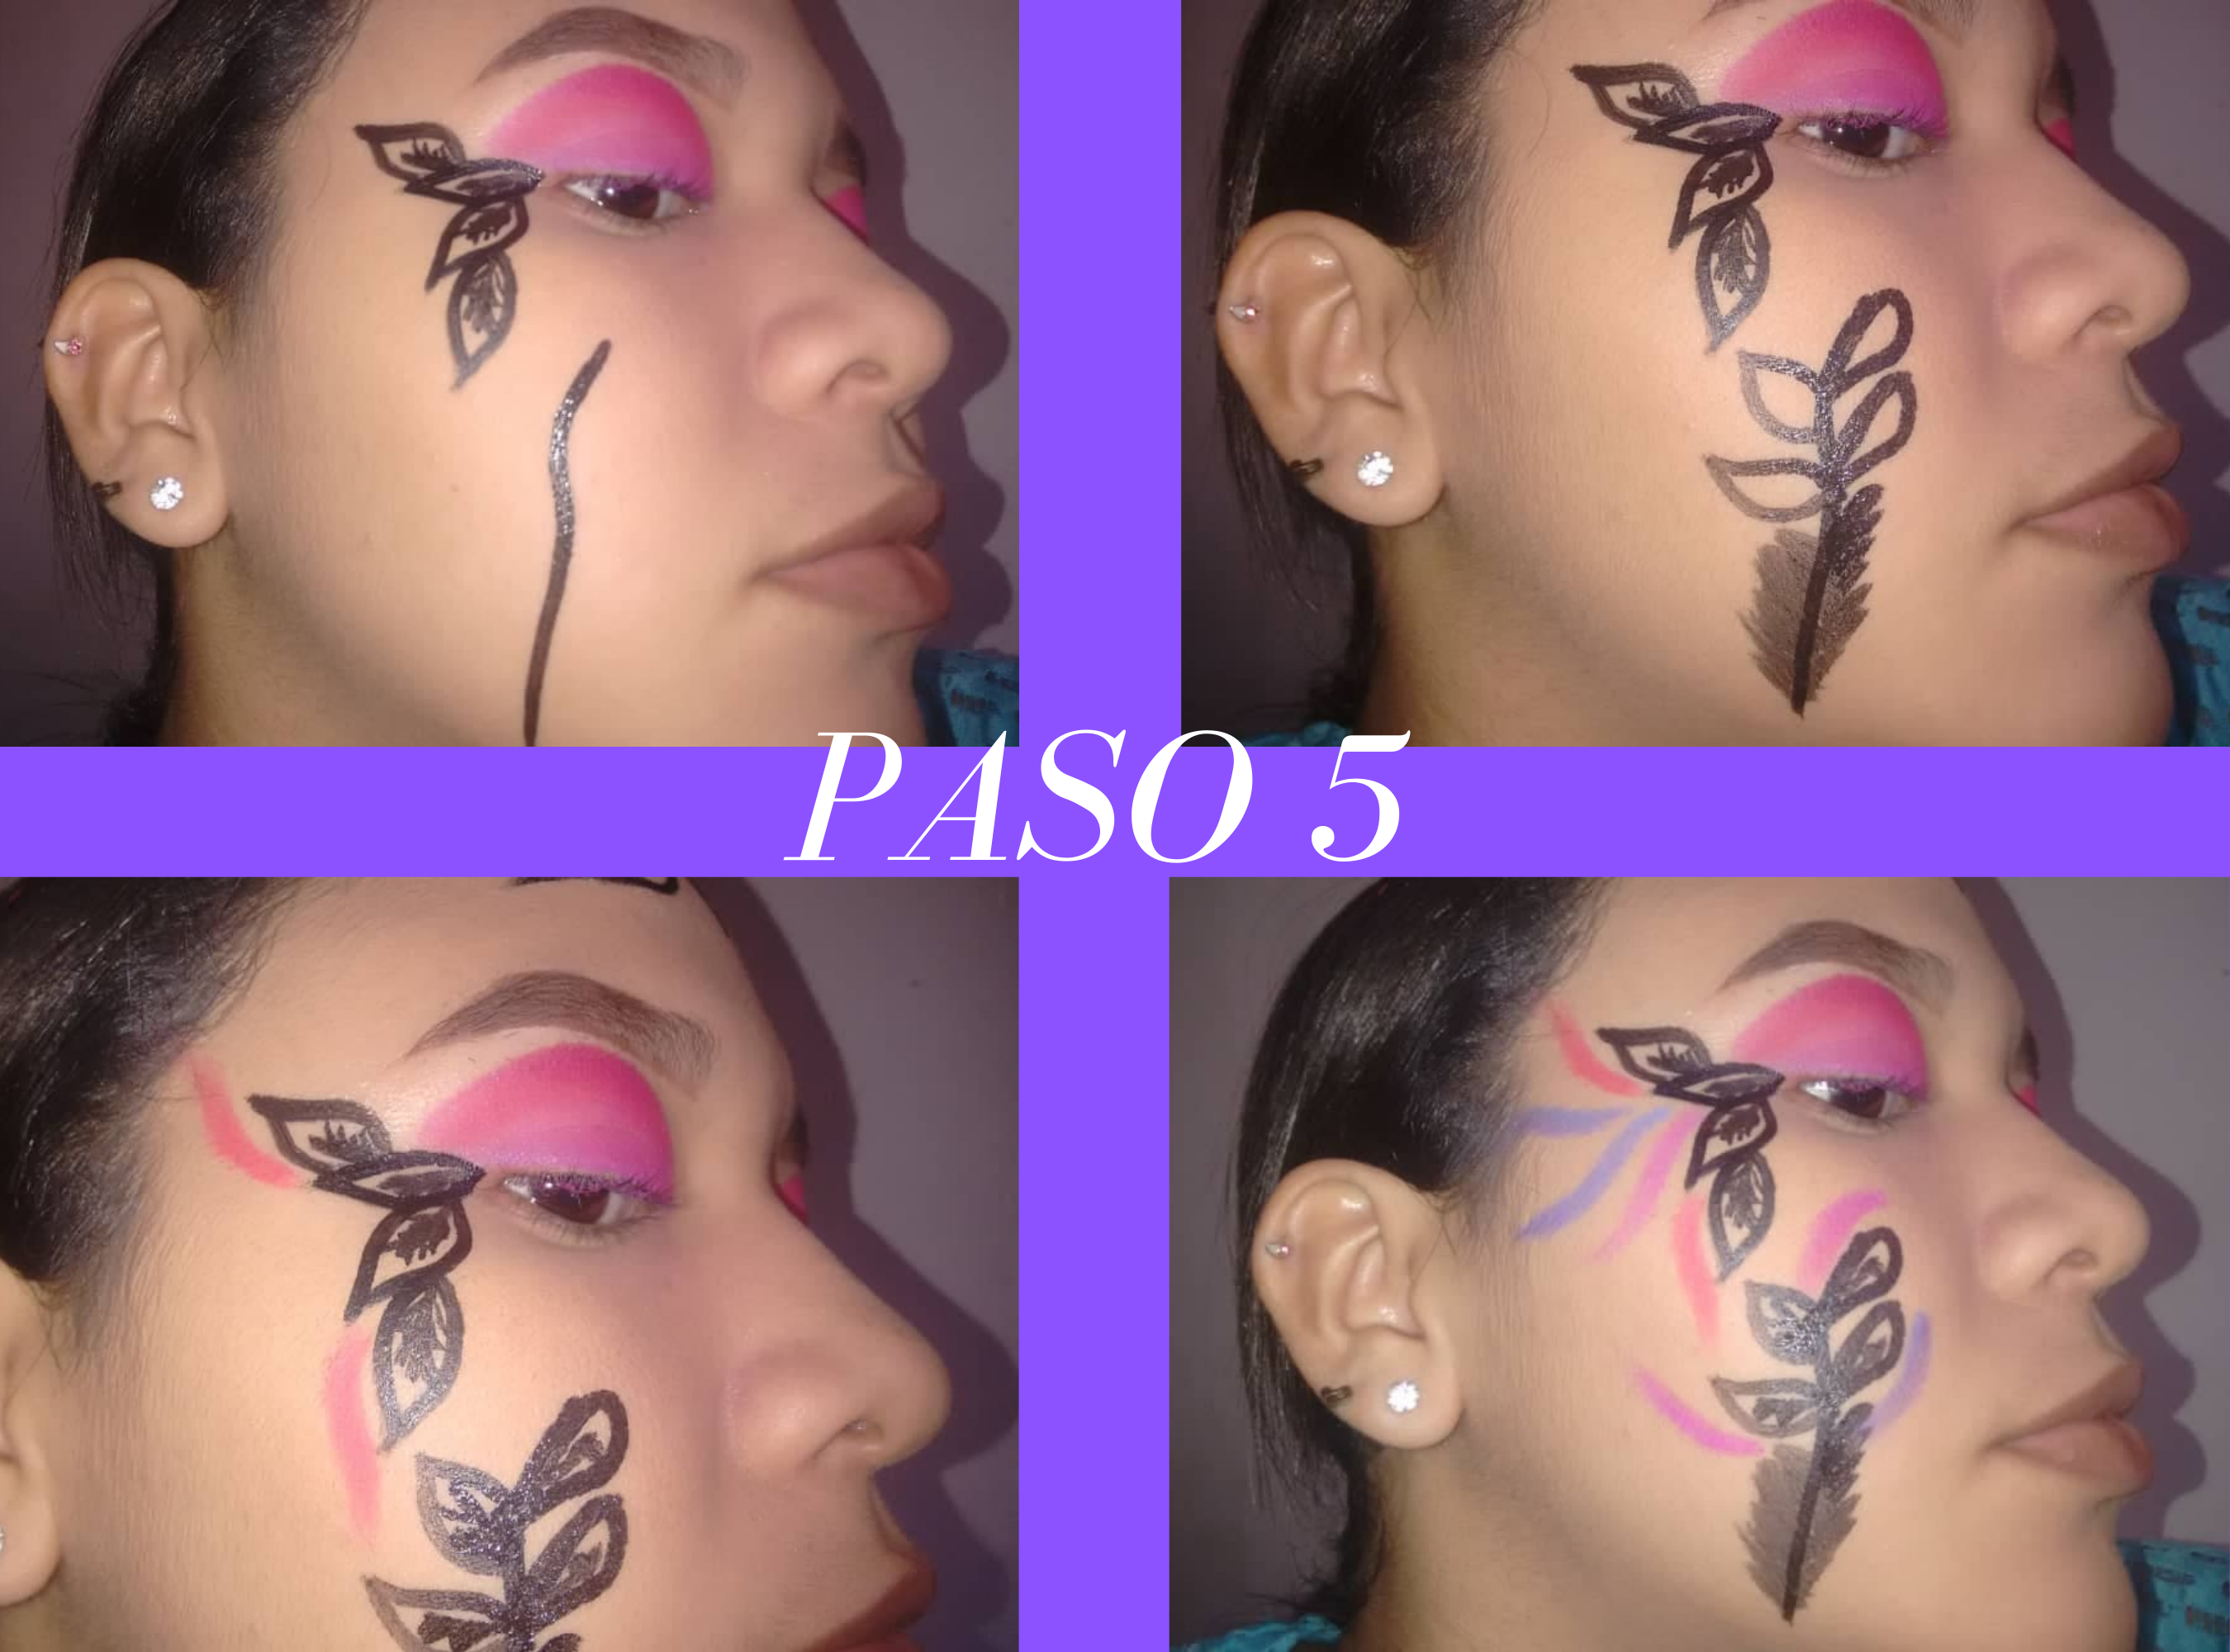
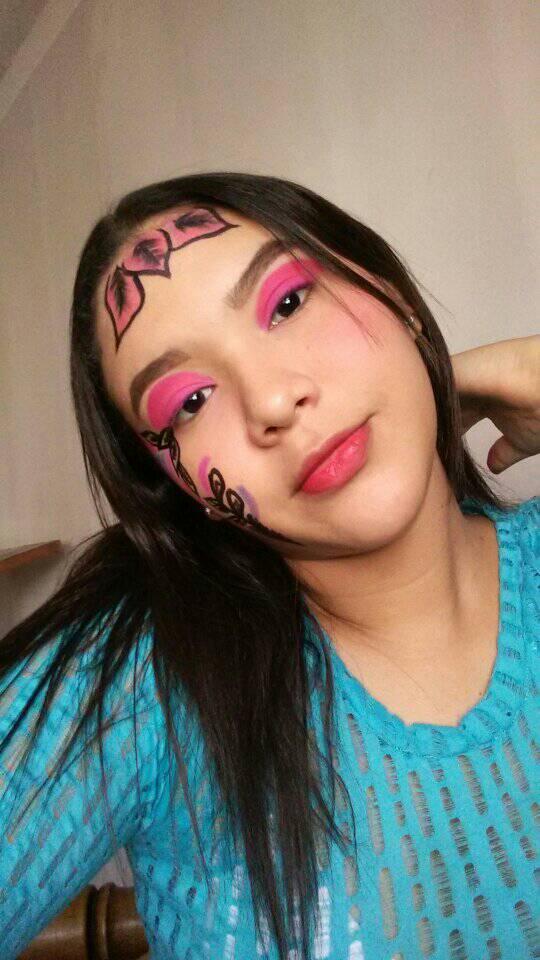
-Paso 5: En la parte de mi rostro, del lado derecho, continué realizando como una pequeña matica, hice la línea principal, y de allí partió el resto de la imaginación, a lo último, apliqué unas sombras, y realicé unas líneas para resaltar más la decoración que quise lograr.
-Step 5: In the part of my face, on the right side, I continued making a small matic, I made the main line, and from there the rest of the imagination started, at the end, I applied some shadows, and made some lines to highlight more the decoration I wanted to achieve.
.png)
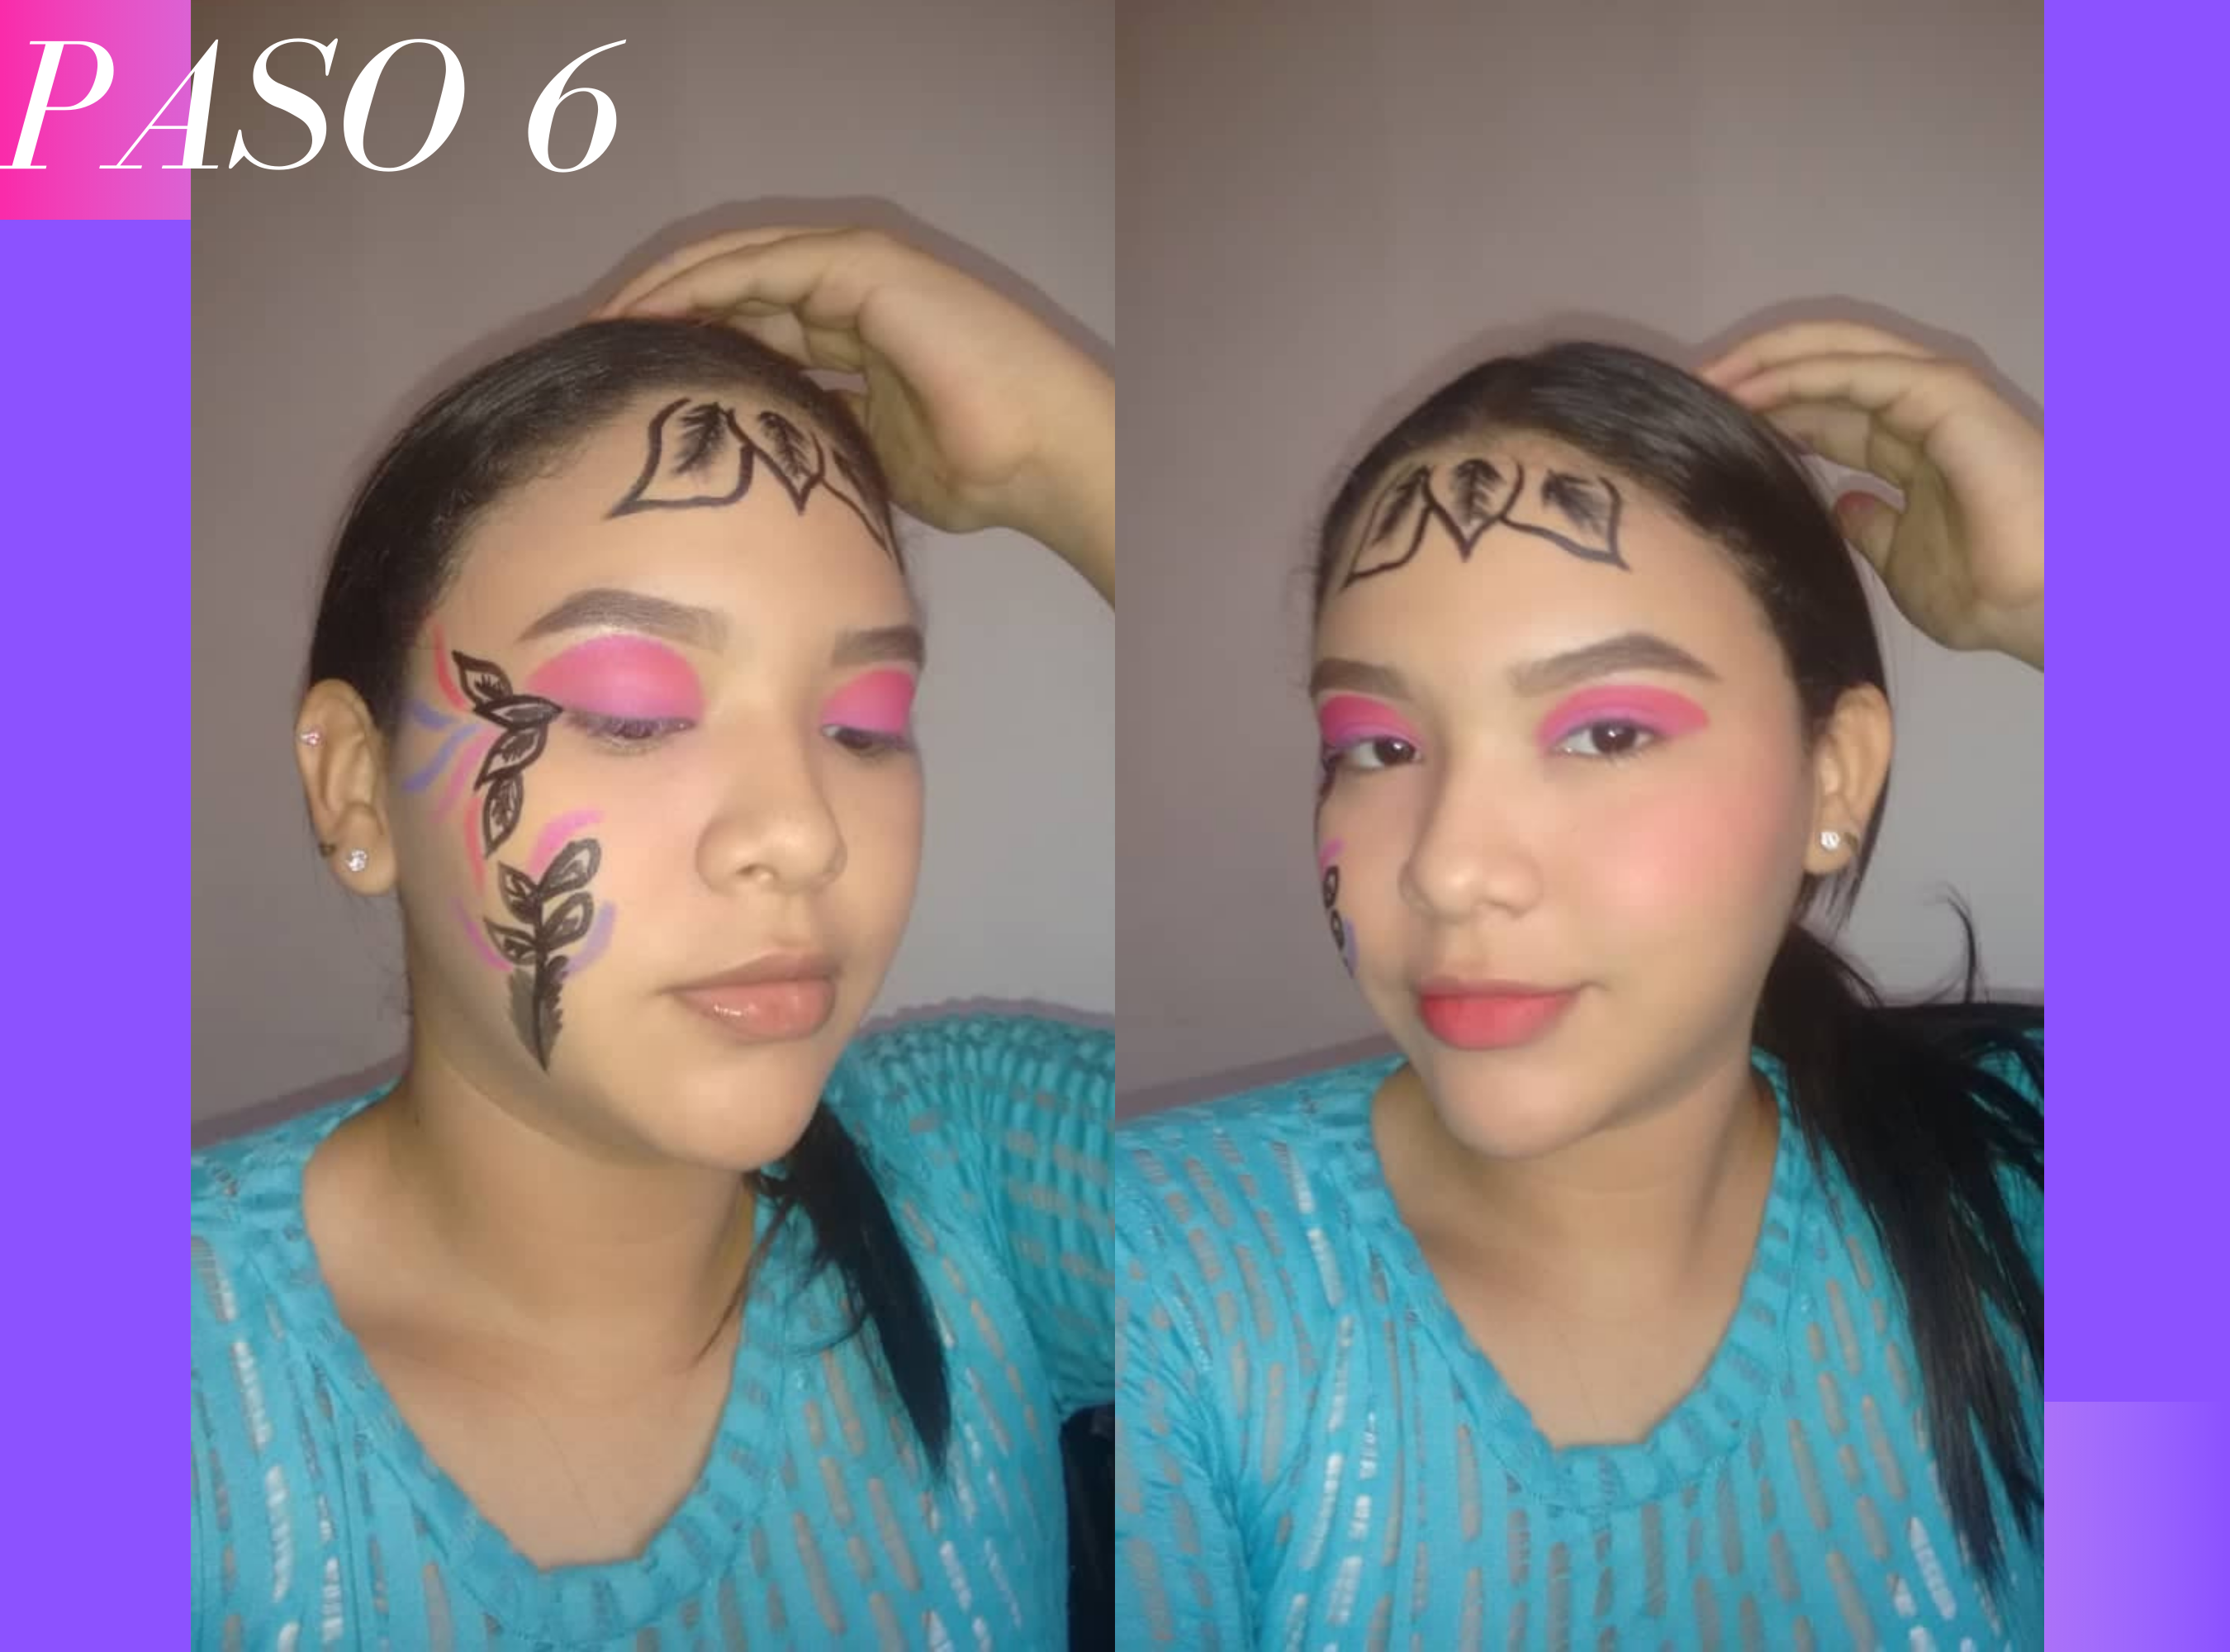
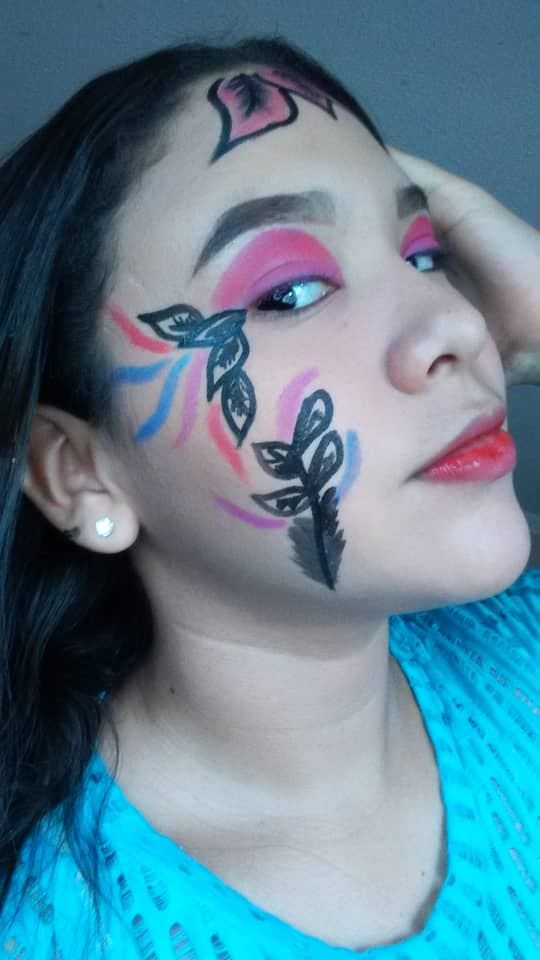
-Paso 6: Ya terminada la parte del rostro, apliqué un poco de rubor y un labial suave.
-Step 6: Once I finished the face part, I applied a little blush and a soft lipstick.
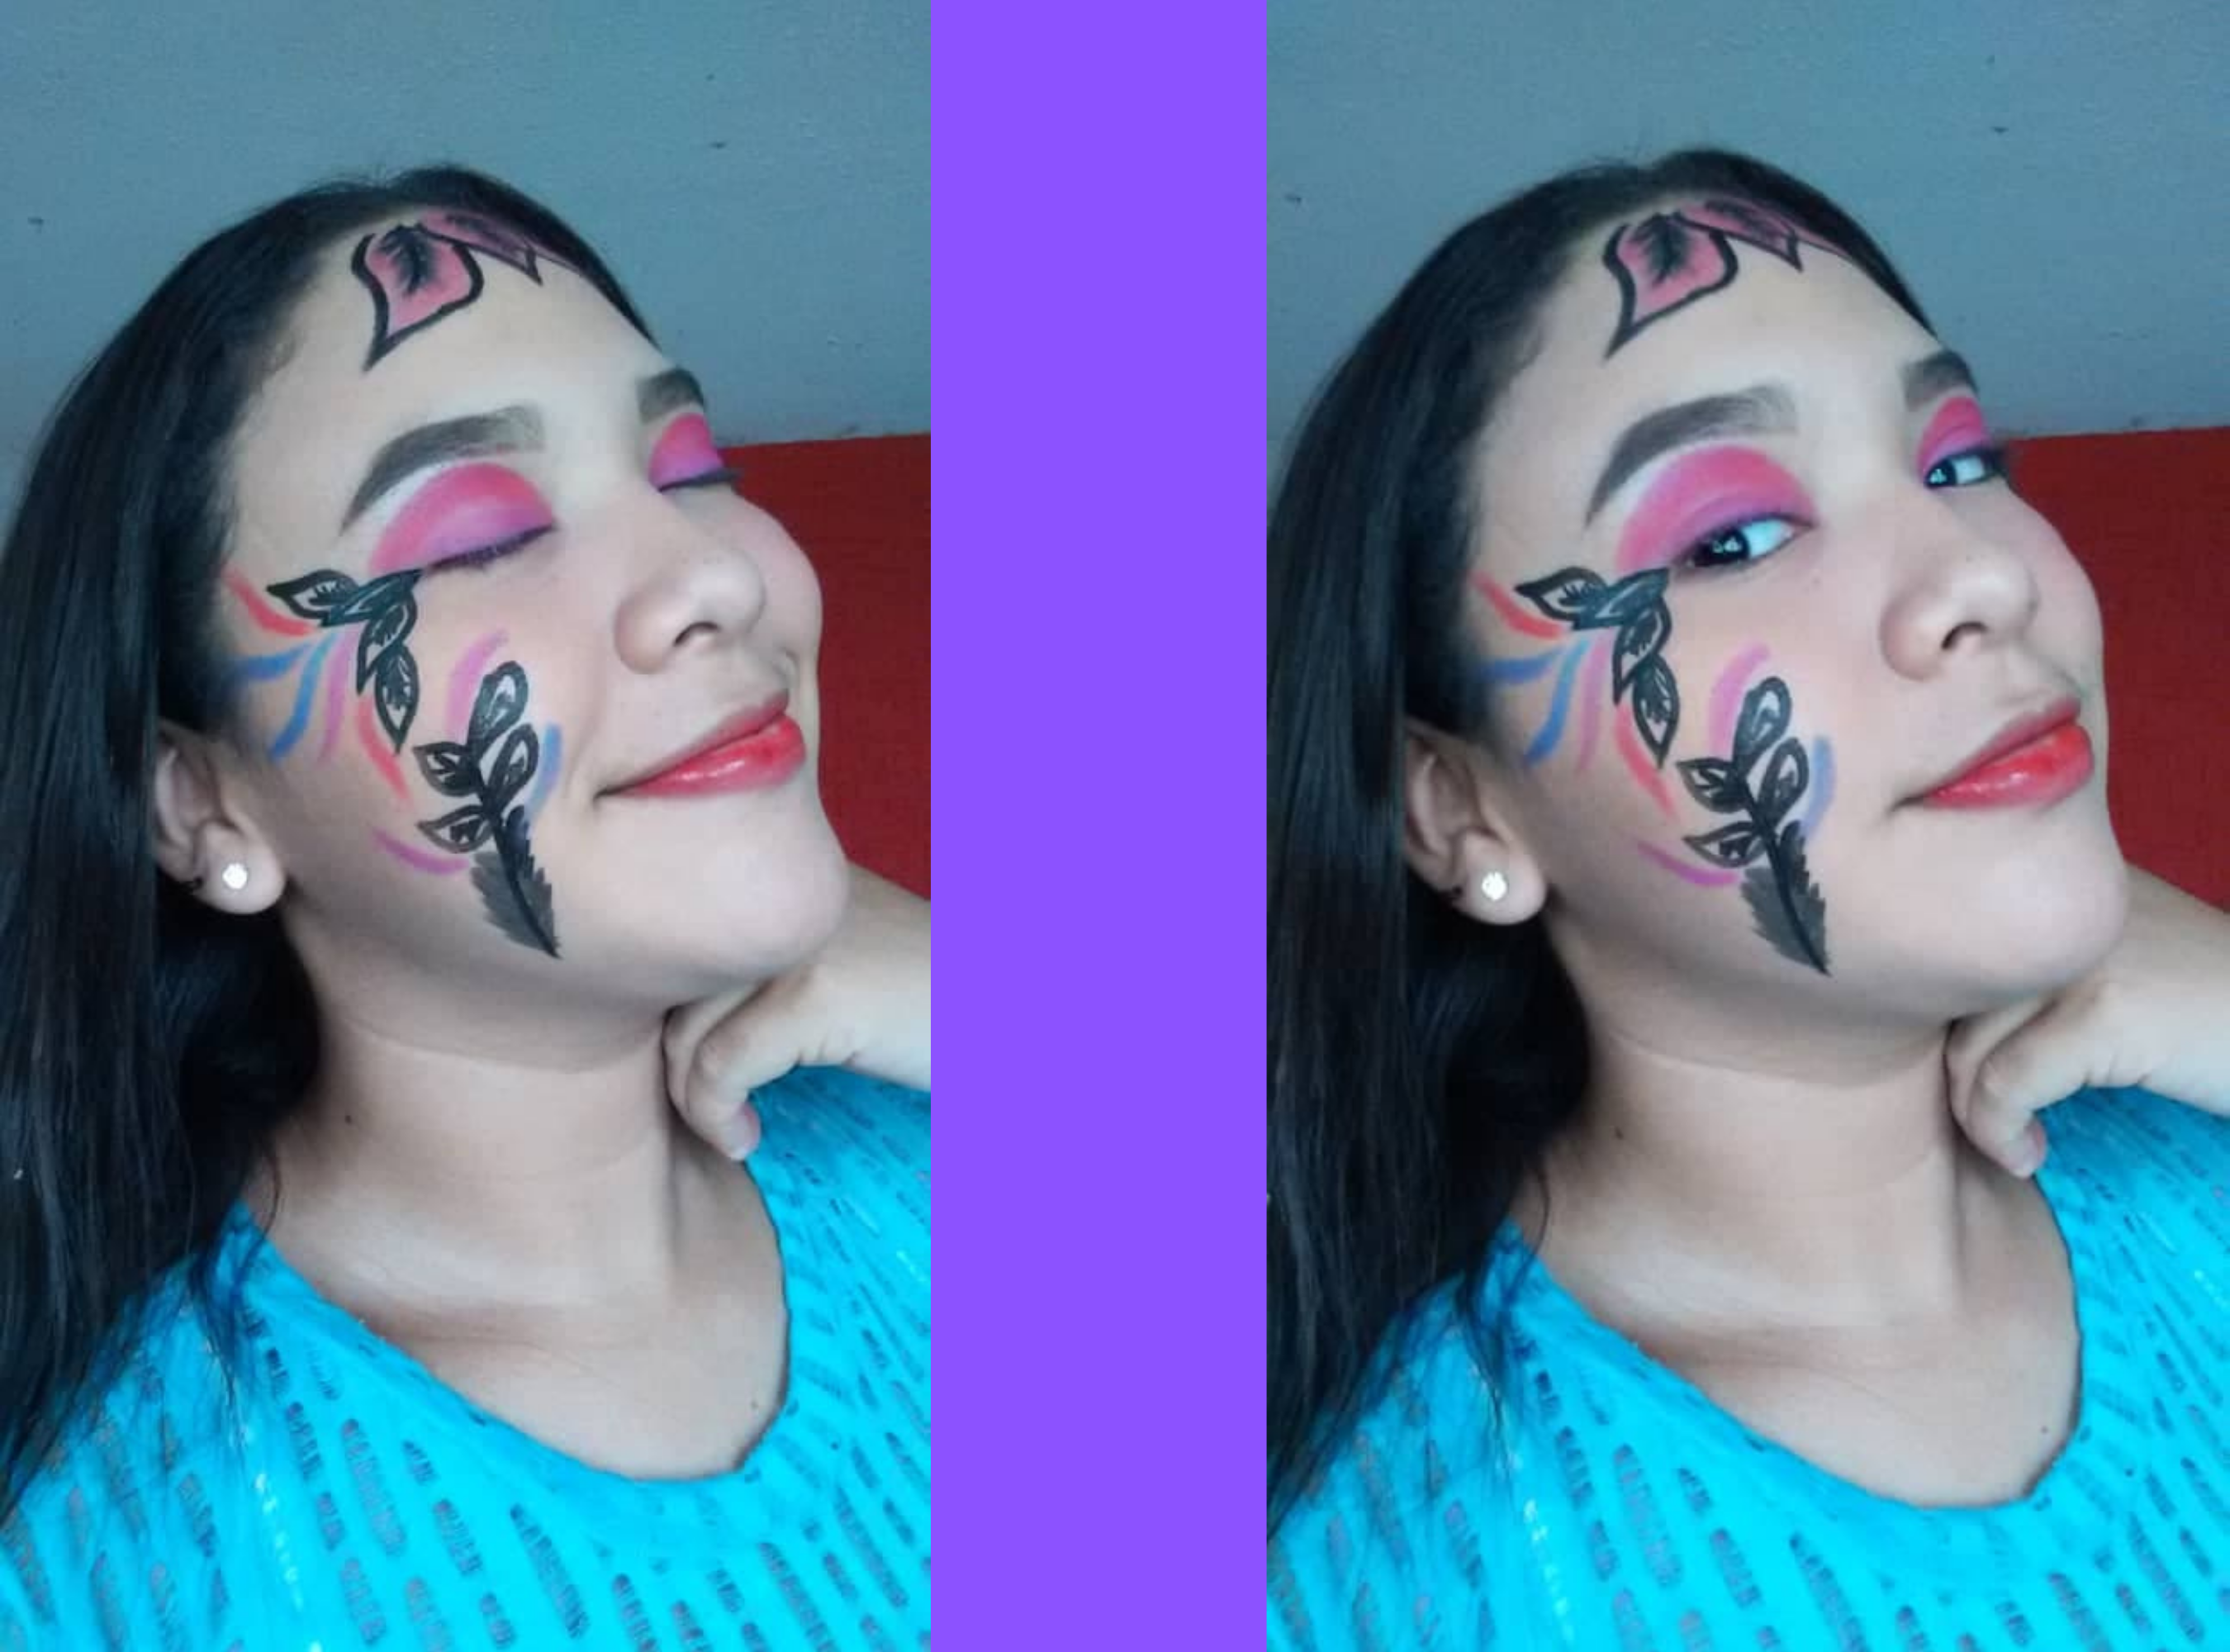
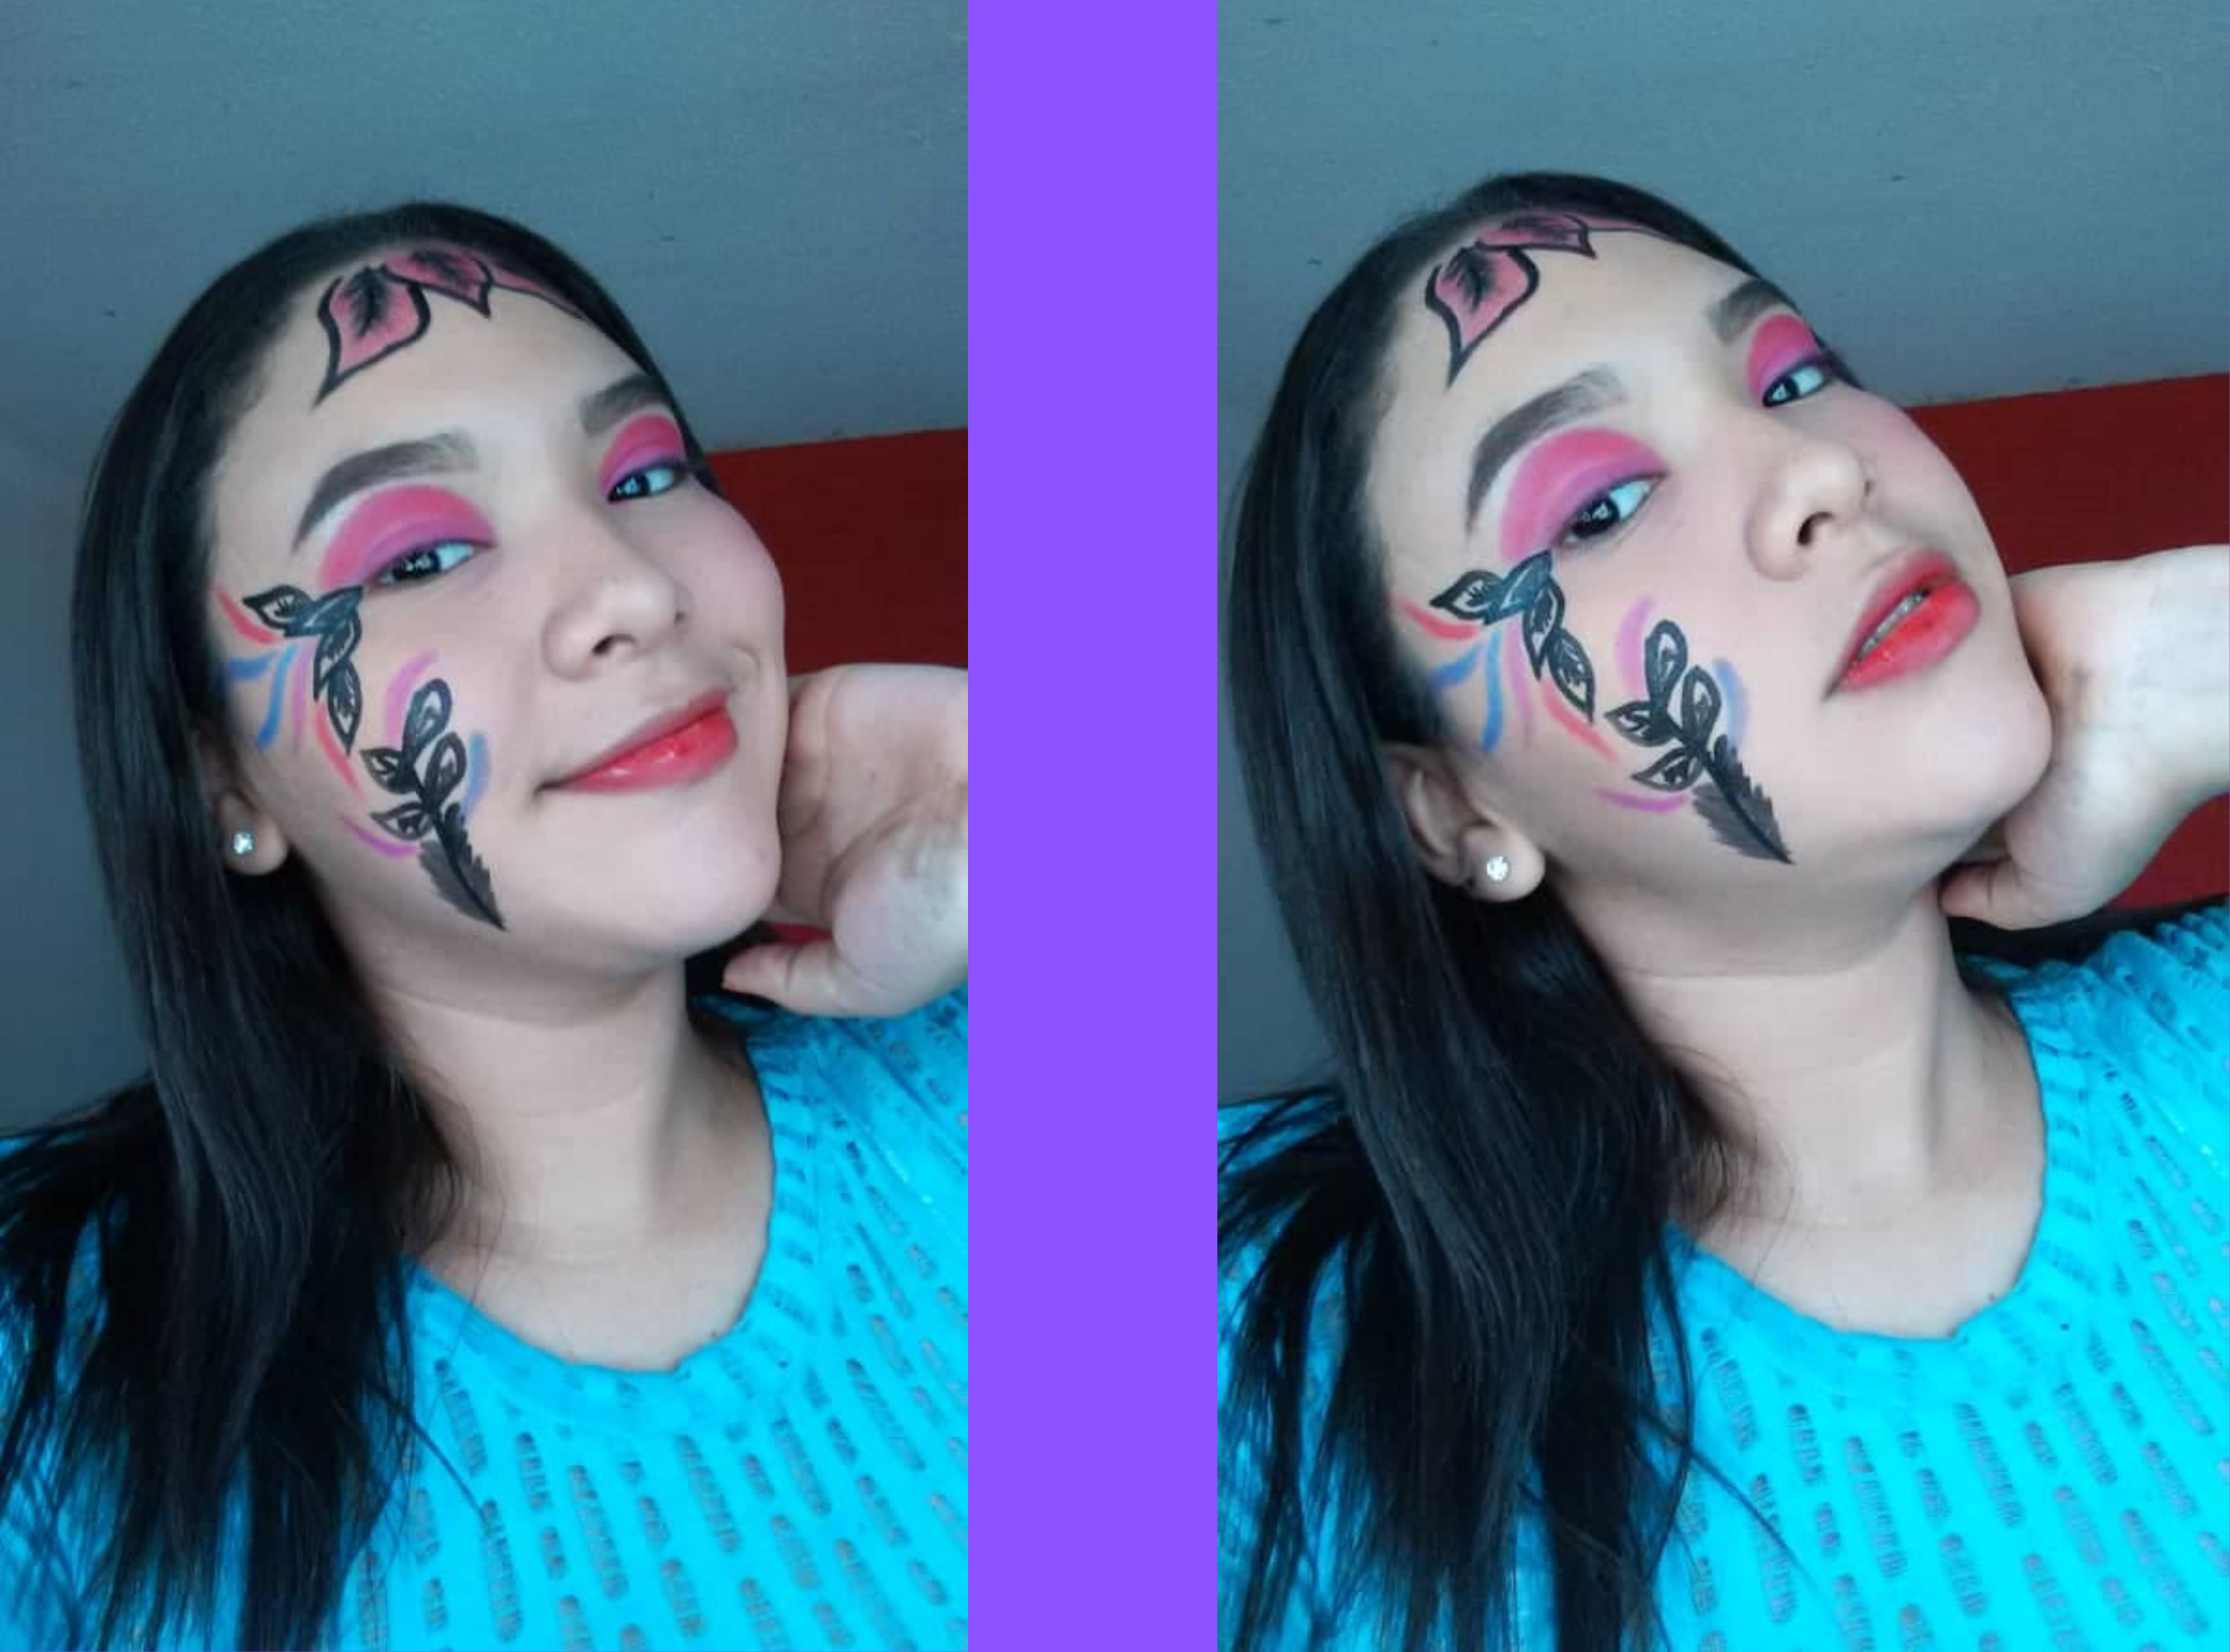
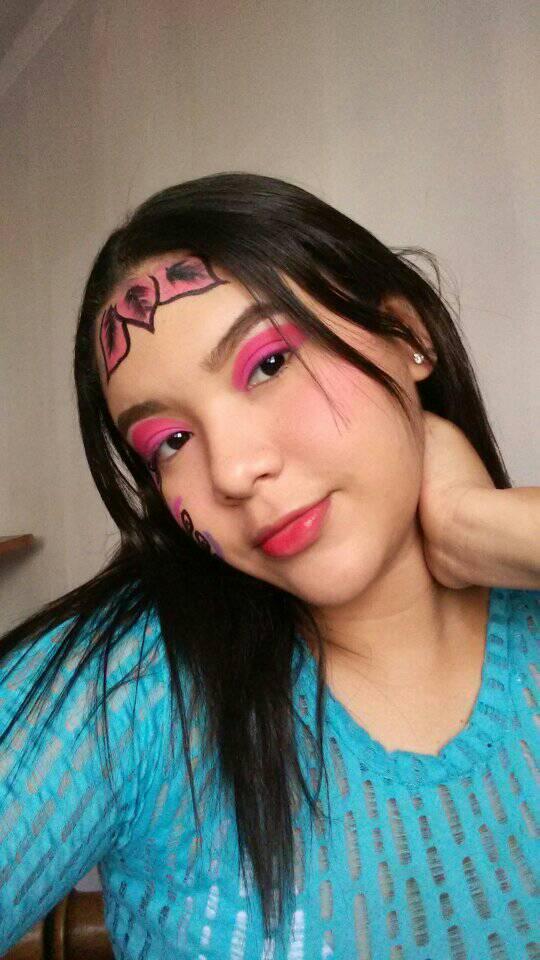
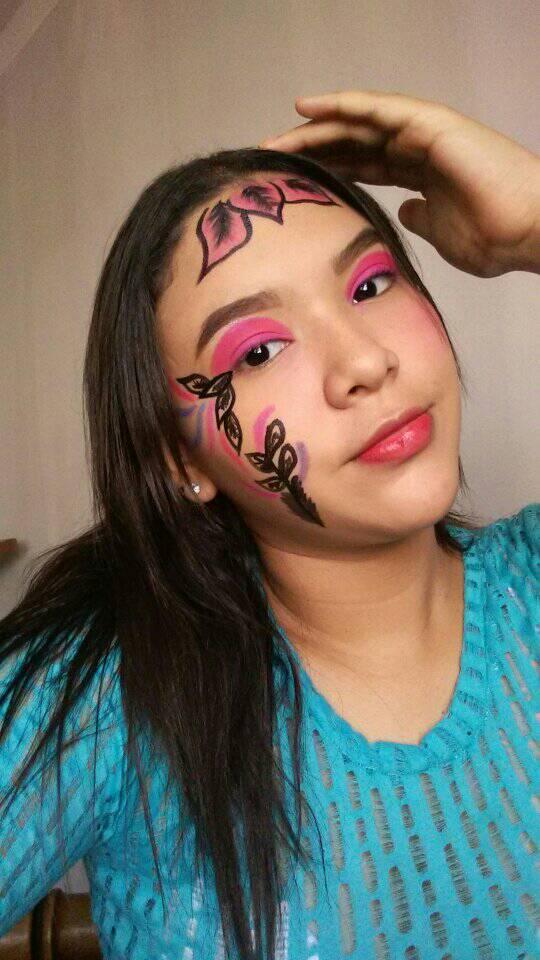
This is my final result, I hope you liked it, thanks for reading my post, greetings and blessings to all.
.png)
.png)
All photos are of my authorship and edited with canva.

Te quedo muy lindo!
Muchas gracias amiga, saludos.
Que bonito maquillaje, el color que has usado es muy lindo 🤩 yo habría colocado las hojas en color verde 🍃 pero de igual forma has hecho un trabajo muy lindo. ☺️
Muchas gracias en verdad, tomaré tu consejo en cuenta.