|
|---|
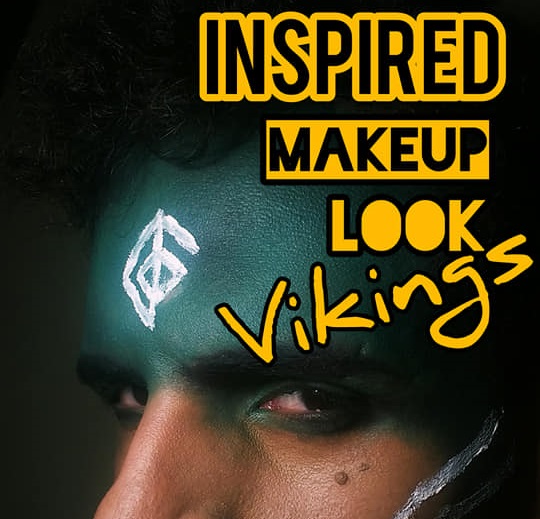
Okay, cabe acotar que no soy maquillador, tampoco soy modelo, pero presté mi cara para esto, y yo realmente quería tener este maquillaje en mi rostro. ¡Jajajajaja!
Okay, cabe acotar que no soy maquillador, tampoco soy modelo, pero presté mi cara para esto, y yo realmente quería tener este maquillaje en mi rostro. ¡Jajajajaja!Okay, for you to know, I'm not a MUA, neither a model, but I gave my face to this, and I really wanted to see this make up on my face. Hahahaha!
Okay, for you to know, I'm not a MUA, neither a model, but I gave my face to this, and I really wanted to see this make up on my face. Hahahaha!
Mike fue el maquillador
Mike was the make up artist
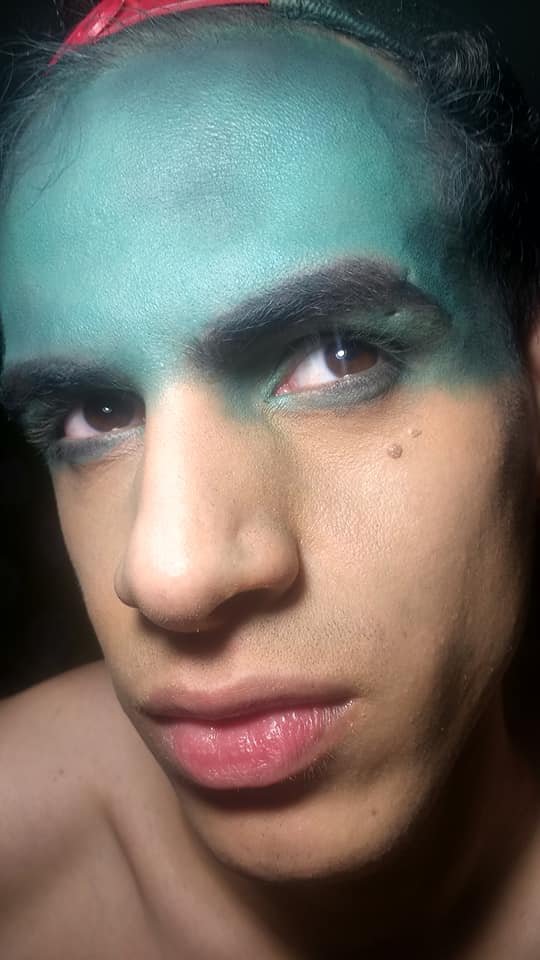
Step 1:
Lo primero es limpiar e hidratar bien la piel antes de ponerle maquillaje.Comenzó por llenar de frente a cejas con una sombra azul turquesa de la paleta James Charles. Después continuó el relleno utilizando una sombra negra para colorear las ceja (sí, negra), y haciéndolas sumamente gruesas para que no se perdieran entre los colores que seguirían.
First thing is cleaning up the skin and hydrate it before putting makeup on.
We started filling from forehead to the eyebrows with
a turquoise shade from the James Charles pallete. After that kept filling with a black shade to draw the eyebrows (yes, black), and making them extremely thick so the color won't lose with the ones will add next.

Excuse my derp face
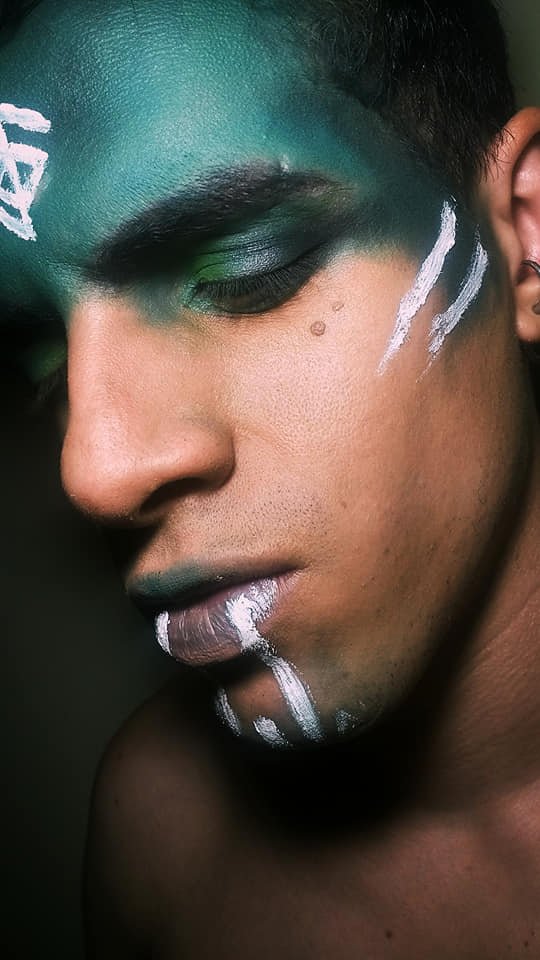
Step 2
With the same green tone, cover the eyes area (also over the nose) until you reach the waterline, adding a little sparkle with a bright green tone over the tear duct. Using a black shadow from the same palette, make some details and shades to give a "dirty" effect over the green and it'll have a "warrior" look.

Step 3
Hacer el resto de la piel. Aplicar corrector naranja para matar las ojeras oscuras, también, base de mi tono de piel, y un polvo compacto del mismo tono para sellar toda mi piel (incluidos los labios, porque los necesitaba pálidos).
Make up the rest of the skin. Apply orange concealer to hide the dark eye bags, also, cover with a base of my skin tone, and a compact powder of the same tone to seal the skin (including the lips, because we need them pale).
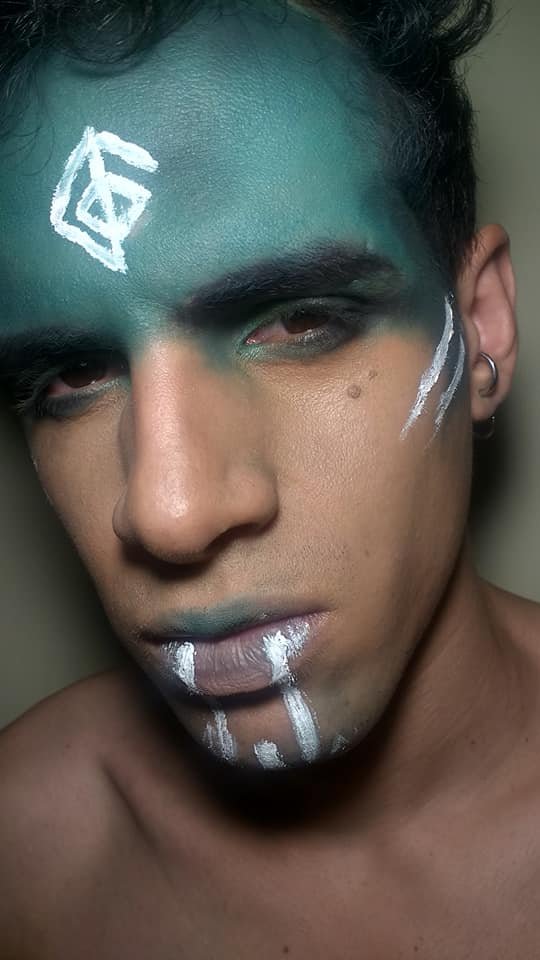
Step 4
Con la misma sombra verde agua antes usada, colocar un pequeño sombreado en el centro del labio superior.
Para finalizar todo, contornear la nariz. Con pintura al frío blanca, coloqué un símbolo de guerra en el centro de la frente, al igual que líneas de batalla sobre los pómulos y a cada lado del labio inferior, hasta llegar al mentón.
With the same bright green shadow we used before, add a little shade in the center of the upper lip.
To finish, contourn the nose. Using fresh white paint, I drawn a war symbol in the center of the forehead, as well as some battle lines over the cheekbones and each sides of the upper lip, til reaching the chin.

Espero que les haya gustado mi escape de la zona de confort. LOL.
Si les gustó, ¡háganmelo saber!