Hola hermosos lectores y bella comunidad de Makeup Power. Hoy quiero hablarles de esta técnica que se hizo tendencia el mes pasado en Instagram, y además contarle mi experiencia realizándola. Espero lo disfruten, y se animen a recrearlo.
Hello beautiful readers and beautiful community of Makeup Power. Today I want to tell you about this technique that became a trend last month on Instagram, and also tell you about my experience doing it. I hope you enjoy it, and are encouraged to recreate it.
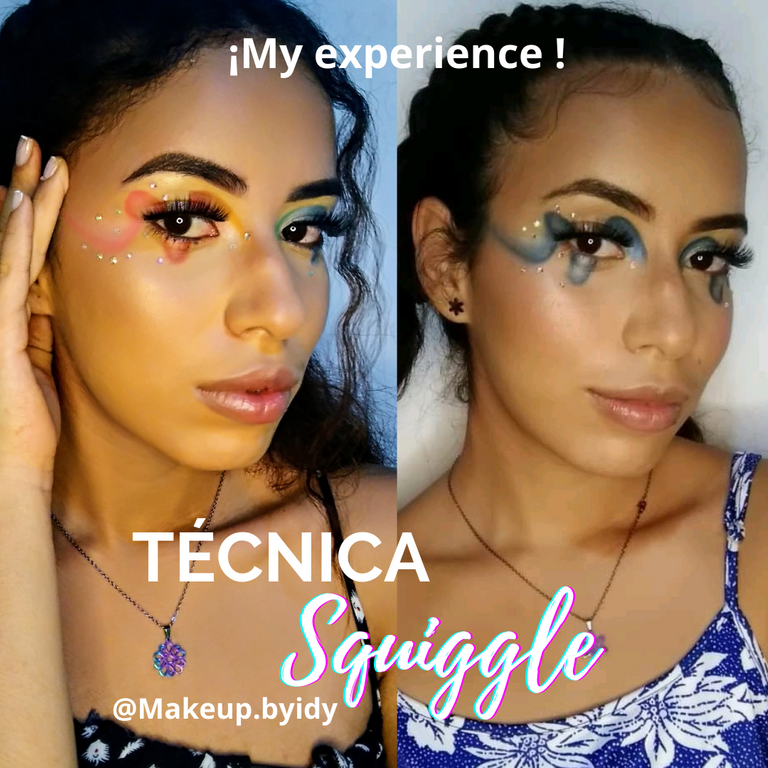
¿Qué es la Técnica Squiggle? | What is the Squiggle Technique?
Está técnica la podrán haber visto en delineados, y una vez fue tendencia en cejas. Pero esta vez, la veremos en sombras. Está técnica no es más que mostrar, un efecto ondulado o de ola en nuestros párpados. Esta técnica no es común de utilizar para salir un día común al trabajo, pero sin duda alguna es glamorosa, y puede complementar cualquier maquillaje artístico, de pasarela o editorial.
You may have seen this technique in eyeliner, and it was once a trend in eyebrows. But this time, we'll see it in eyeshadows. This technique is nothing more than showing a wavy or wave effect on our eyelids. This technique is not common to use for an ordinary day at work, but it is undoubtedly glamorous, and can complement any artistic, runway or editorial makeup.
Lo importante acá es mantener la forma ondulada, sin manchar el resto del ojo, para que pueda verse lo más marcado posible. De la manera en que lo hago, no se hace ningún corte con corrector, realmente el pulso tiene que ser bueno para mantener la forma, y difuminar de una manera adecuada. En esta ocasión recomiendo una técnica de difuminado circular, con una brocha realmente pequeña para difuminar, ya que una muy grande o utilizar la técnica de abanico arruinaría el trabajo de las líneas.
The important thing here is to keep the shape wavy, without smudging the rest of the eye, so that it can look as sharp as possible. The way I do it, you don't make any cuts with concealer, you really have to have a good pulse to keep the shape, and blend in a proper way. On this occasion I recommend a circular blending technique, with a really small blending brush, as a really big one or using the fan technique would ruin the line work.
Mi Experiencia | My Experience
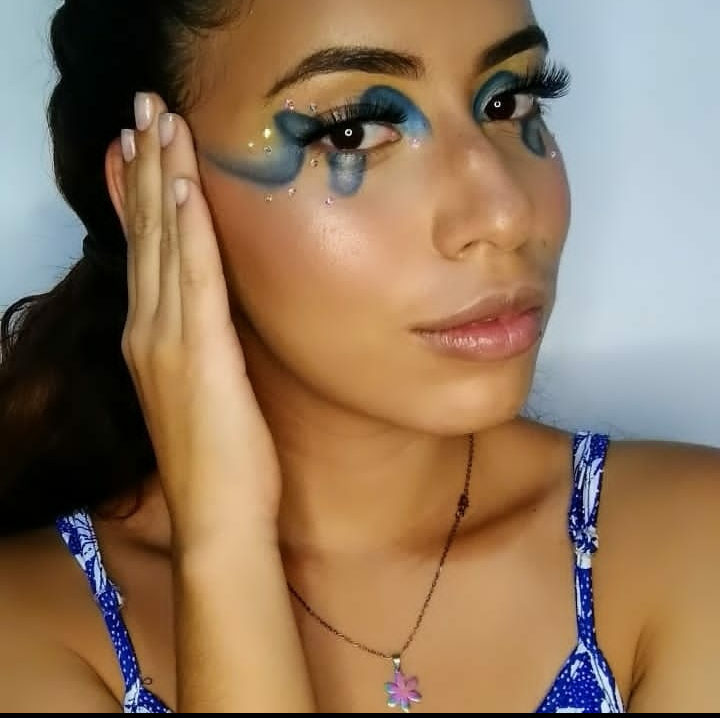
Ahora bien, que tal fue mi experiencia... Realmente al principio me costó un poco mi párpado no es muy amplio y difuminar partes pequeñas me costó. Mantener la forma también fue algo que estuvo en mi contra, ya que lograr que las líneas se vean definidas, pero bien difuminado en el centro no fue nada fácil, siempre trato de que mis trabajos se vean lo más profesional posible, y que se note el esfuerzo. Otra detalle, era que no tenía tantas tonalidades de azul por lo cual el trabajo de colorimetría estuvo presente, mezclar sombras (claras y oscuras) para lograr el tono que deseaba era un desafío.
Sin embargo, ame el resultado, aplicar pedrería y mucho Iluminador ✨ le dió ese toque Glam, que en lo personal me gusta muchísimo.
Now, what was my experience like? Actually at the beginning it was a bit difficult for me, my eyelid is not very wide and blurring small parts of it was hard. Keeping the shape was also something that was against me, since getting the lines to look defined, but well blurred in the center was not easy, I always try to make my work look as professional as possible, and that the effort is noticed. Another detail was that I didn't have so many shades of blue, so the colorimetric work was present, mixing shades (light and dark) to achieve the tone I wanted was a challenge.
However, I loved the result, applying rhinestones and a lot of illuminator ✨ gave it that Glam touch, which I personally like very much.
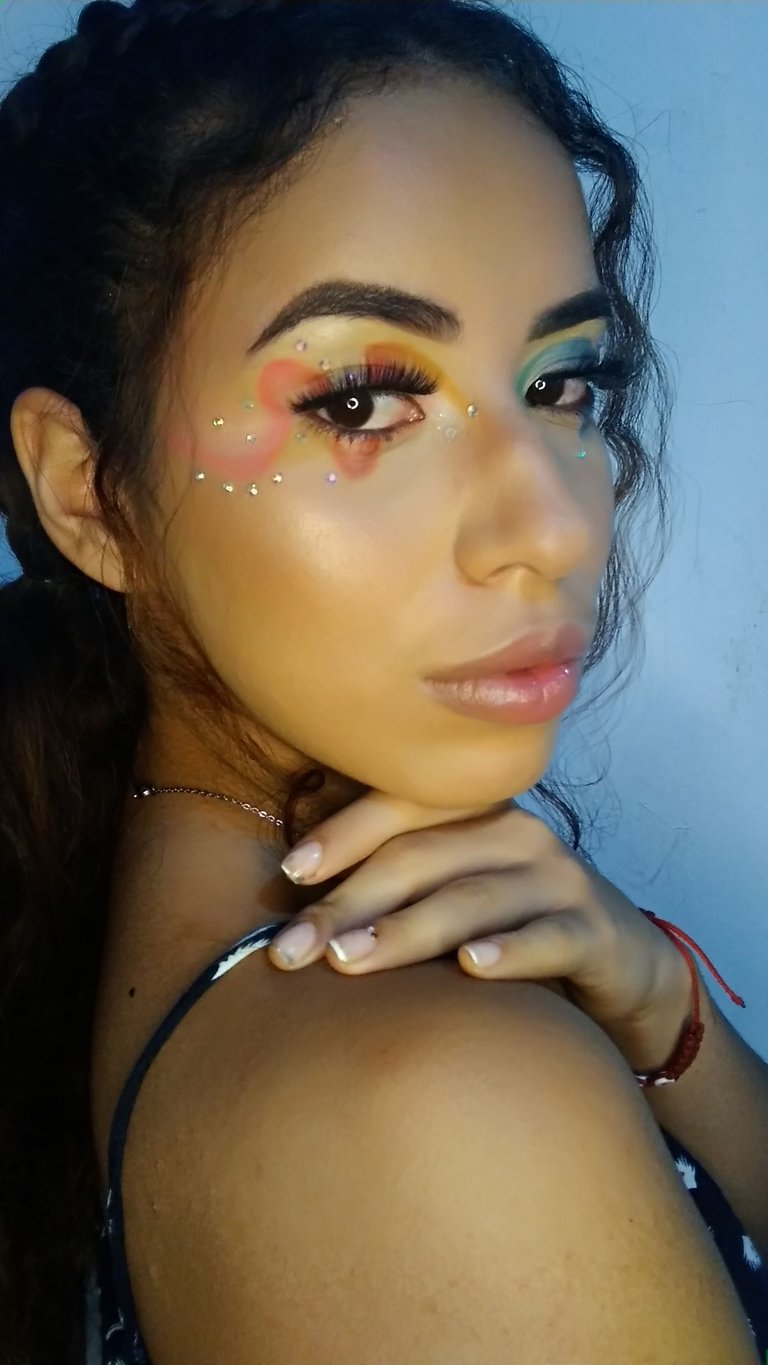
Segundo Intento | Second attempt
En esta ocasión, no se me hizo tan fácil quería intentar esta técnica un poco más colorida, y está vez difuminarlo se me hizo más complicado, además de la buena mezcla de colores.
This time, I wanted to try this technique a little more colorful, and this time blurring it was more complicated, besides the good mix of colors.
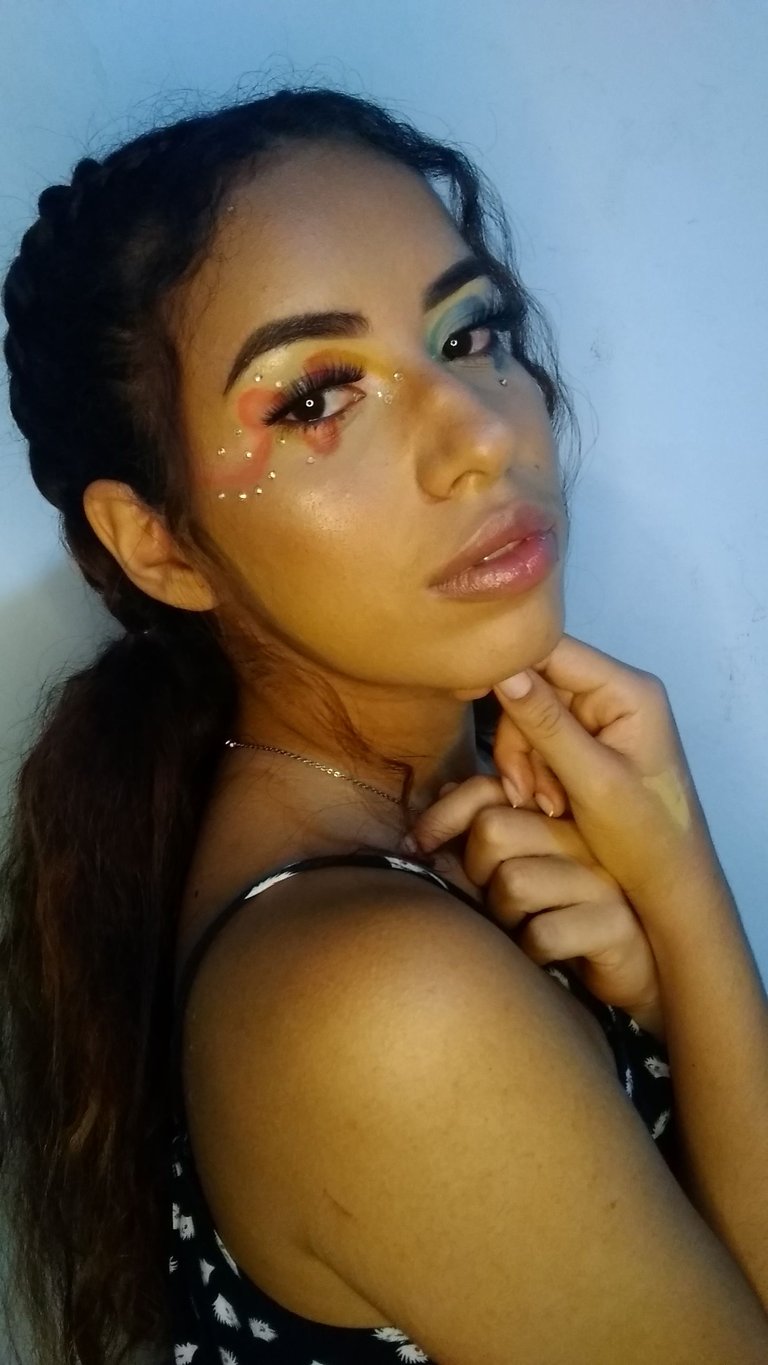
Aún así, ame los resultados y estoy orgullosa de mi trabajo.
Still, I loved the results and am proud of my work.
Recomendaciones | Recommendations

| 1.Si es primera vez que lo intentas, utiliza un solo color. Así conoces más el área, y el trabajo es menos. Cuando sientas que ya dominas la técnica, puedes utilizar pigmentos neon si quieres. | 1.If you are trying it for the first time, use only one color. This way you know more of the area, and the work is less. When you feel you have mastered the technique, you can use neon pigments if you want. |
|---|---|
| 2.Utiliza bichas pequeñas, y marca primero las líneas que serán tu guía para mantener la forma. | 2.Use small bugs, and first mark the lines that will be your guide to keep the shape. |
| 3.Primero prepara el rostro y luego los ojos, se que se complica un poco, pero preparar el rostro después que ya tenemos hecho la parte de los ojos, será todo un desafío (en esta ocasión). | 3.First prepare the face and then the eyes, I know it gets a little complicated, but preparing the face after we have already done the eyes, will be a challenge (this time). |
| 4.Por último, ten la mejor actitud. | 4.Finally, have the best attitude. |
 |  |
Recuerden... No dejen que nadie les diga que no pueden hacer algo🔥. Los límites los colocas tu 😊
Fuentes y/o créditos:
Gif y ediciones hechas en Canva.com
Todas las fotos son de mi propiedad hasta que se demuestre lo contrario
Traductor DeepL.com
Sources and/or credits:
Gif and edits made on Canva.com.
All photos are my property until proven otherwise.
Translator DeepL.com