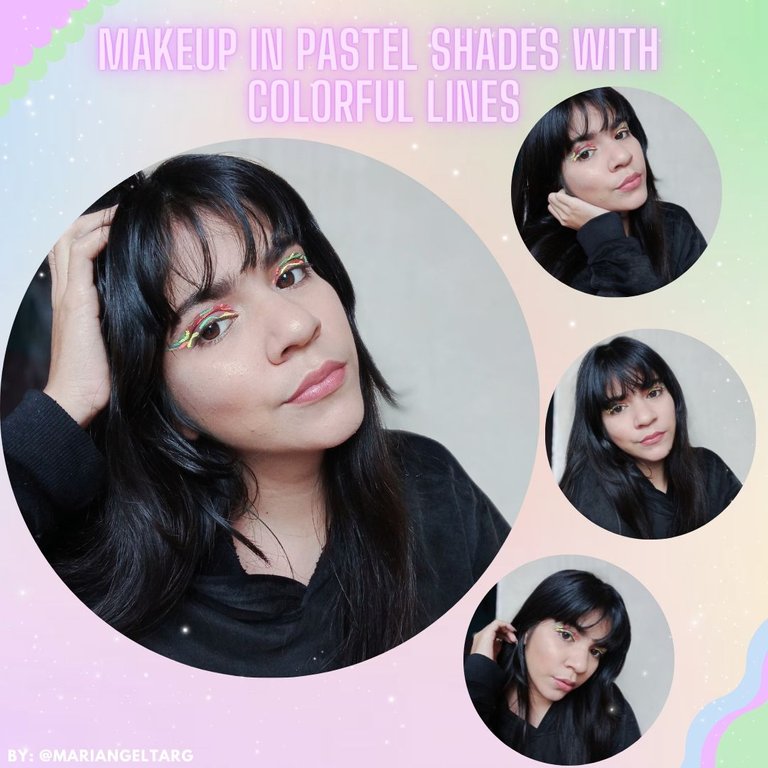
¡Hola hola bellezas! Una vez más me encuentro en la comunidad de maquillaje, esta vez he decidido hacer algo un poco más colorido pero solo en ciertos toques, creo que en lo que va de año este ha sido uno de mis maquillajes favoritos, aunque no fue nada difícil la mezcla de colores y como resaltan me encantó, así que acá vamos con el procedimiento.
Hello hello beauties! Once again I find myself in the makeup community, this time I decided to do something a little more colorful but only in certain touches, I think that so far this year this has been one of my favorite makeups, although it was not difficult at all the mix of colors and how they stand out I loved it, so here we go with the procedure.

Materiales / Materials:
- Tónico / Toner.
- Jabón facial / Facial soap.
- Primer / Primer.
- Crema hidratante / Moisturizing cream.
- Protector solar / Sunscreen.
- Pomada de cejas / Eyebrow ointment.
- Corrector / Concealer.
- Base / Base.
- Paleta de sombras / shadows palette.
- Pintura verde, naranja, amarillo y rojo / Green, orange, yellow and red paint.
- Polvo suelto / Loose powder.
- Beauty blender / Beauty blender.
- Brochas / Brushes
- Contorno / Contour.
- Rubor / Blush.
- Iluminador / highlighter.
- Brillo labial / Lip gloss.
Procedimiento / Procedure:
ESPAÑOL
Paso 1:
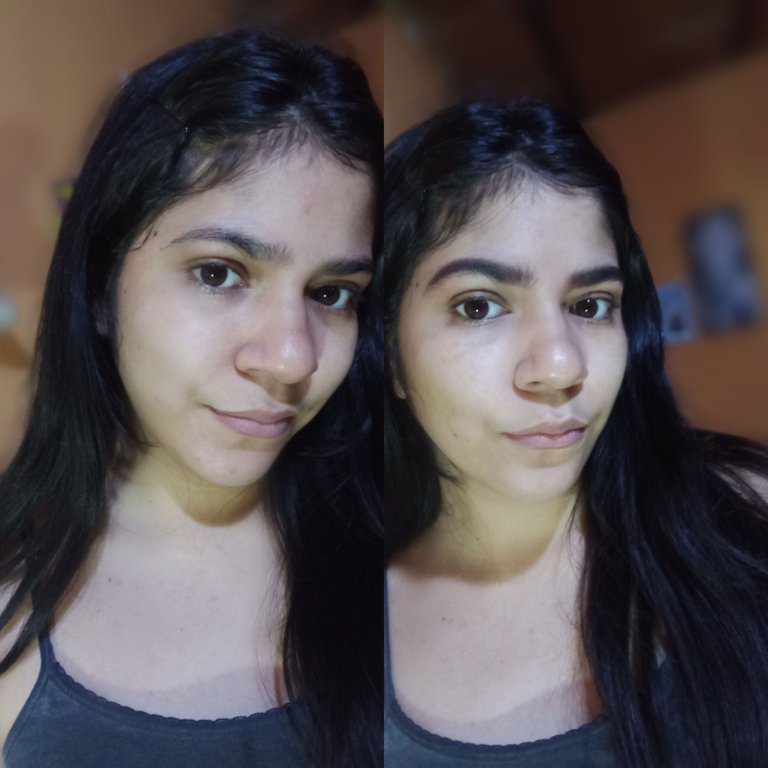
Cómo siempre menciono en mis post, mi primer paso en limpiar mi rostro con tónico facial para así eliminar cualquier impureza, seguidamente lavo muy bien mi rostro con jabón facial neutro, luego de secar mi cara aplicó primer, crema hidratante de día y protector solar.
Paso 2:
Para hacer mis cejas primero las peine muy bien, luego de esto tome un pincel y pomada y realice una fina línea debajo de mis cejas, luego rellene poco a poco la ceja y difumine todo al peinarlas para que así no quedarán tan oscuras ni marcadas, luego de limpiar los bordes aplique corrector y lo difumine para obtener una buena forma.
ENGLISH
Step 1:
As I always mention in my posts, my first step in cleansing my face with facial toner to remove any impurities, then I wash my face very well with neutral facial soap, after drying my face I apply primer, day moisturizer and sunscreen.
Step 2:
To make my eyebrows first comb them very well, after this take a brush and pomade and make a thin line under my eyebrows, then fill in little by little the eyebrow and blur everything when combing them so they will not be so dark or marked, after cleaning the edges apply concealer and blur it to get a good shape.
Paso 3:
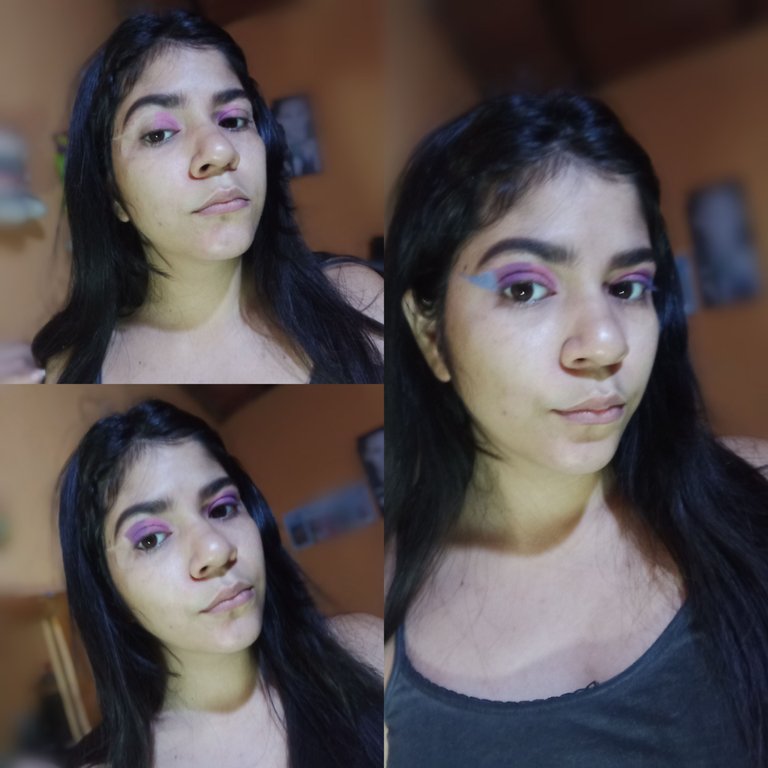
Con una brocha plana coloque corrector en mis párpados y lo esparcí para obtener un mejor pigmentado, luego de esto tome un pincel plano y con corrector hice una línea más arriba del pliegue de mi ojo para tener una forma y seguir este patrón, también coloque dos cintas adhesibas al final de mis ojos, las cintas las coloque hasta el final de mi ceja justo donde terminaba la línea que trace.
Luego de esto cuidadosamente tome sombr rosa y comencé a aplicar al principio de mi ojo siguiendo la forma, luego de esto tome sombra morada y la coloque en el medio de mi ojo, al final de mi ojo coloque sombra azul siguiendo la línea que había trazado para así obtener una forma un poco más afilada.
Step 3:
With a flat brush I placed concealer on my eyelids and spread it to get a better pigmentation, after this I took a flat brush and with concealer I made a line above the crease of my eye to have a shape and follow this pattern, I also placed two tapes at the end of my eyes, the tapes I placed them until the end of my eyebrow just where the line I drew ended.
After this I carefully took pink shadow and started to apply it at the beginning of my eye following the shape, after this I took purple shadow and placed it in the middle of my eye, at the end of my eye I placed blue shadow following the line I had drawn to get a little sharper shape.
Paso 4:
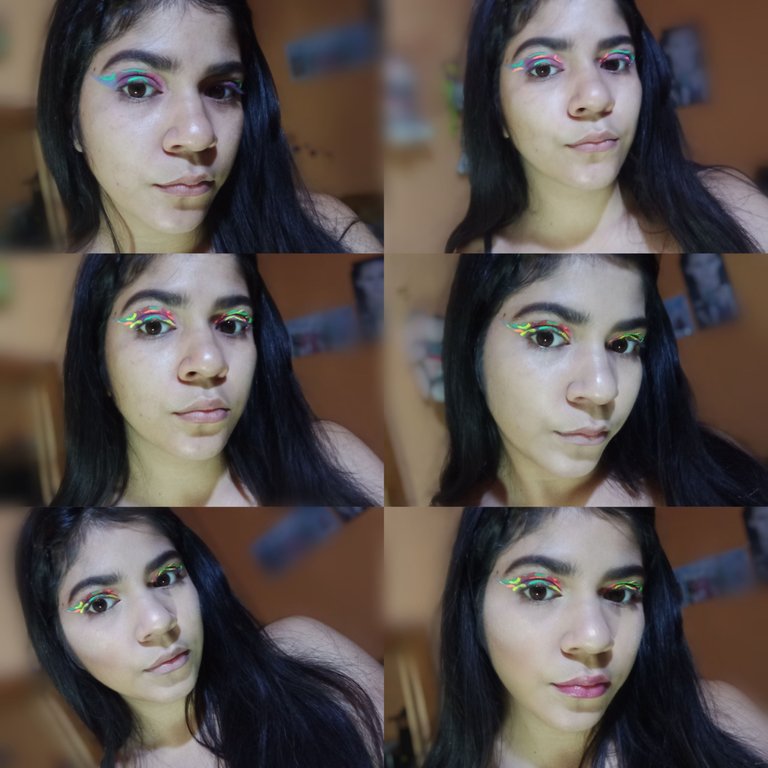
Luego de limpiar los bordes de la sombra tome pinturas alfrio de diferentes colores, con un pincel delgado comencé a realizar líneas de color verde encima de las sombras que ya había aplicado, luego seguí con el color naranja, seguido del amarillo y por último el color rojo.
Las líneas no tenían un orden específico, solo queria que su color resaltara e hicieran mejor el maquillaje.
Paso 5:
Aplique corrector en mis ojeras y lo esparcí, luego de esto coloque pequeños puntos de base y lo esparcí con mi beauty blender, seguido de esto coloque contorno en mis pomulos, sellé todo con polvo suelto y aplique rubor en mis pomulos así como también iluminador, luego de esto aplique un poco de iluminador en mis lagrimales y coloque brillo labial en mis labios y ¡Listo! Maquillaje completado.
Step 4:
After cleaning the edges of the shadow I took alphrio paints of different colors, with a thin brush I started to make lines of green color on top of the shadows I had already applied, then I followed with orange color, followed by yellow and finally red color.
The lines had no specific order, I just wanted their color to stand out and make the makeup better.
Step 5:
I applied concealer on my dark circles and blended it out, after that I placed small dots of foundation and blended it with my beauty blender, followed by contouring my cheeks, sealed everything with loose powder and applied blush on my cheeks as well as highlighter, after that I applied a bit of highlighter on my tear troughs and placed lip gloss on my lips and done! Makeup completed.
El resultado / The result

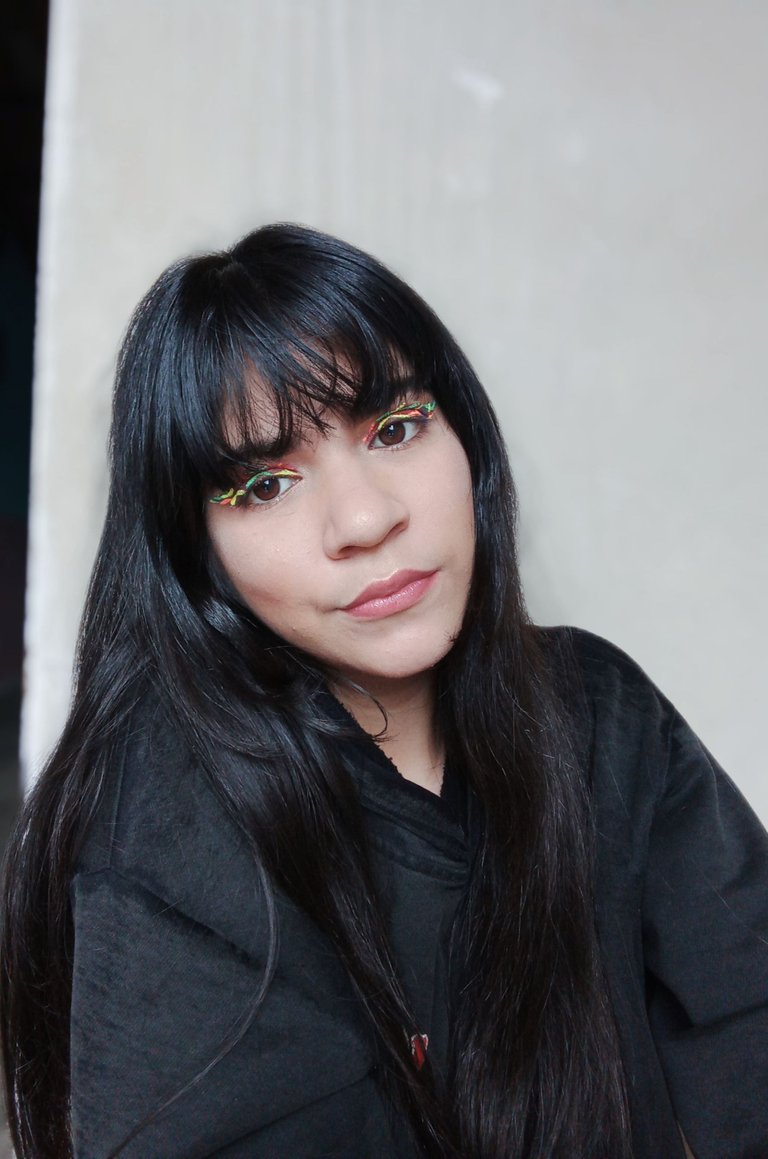

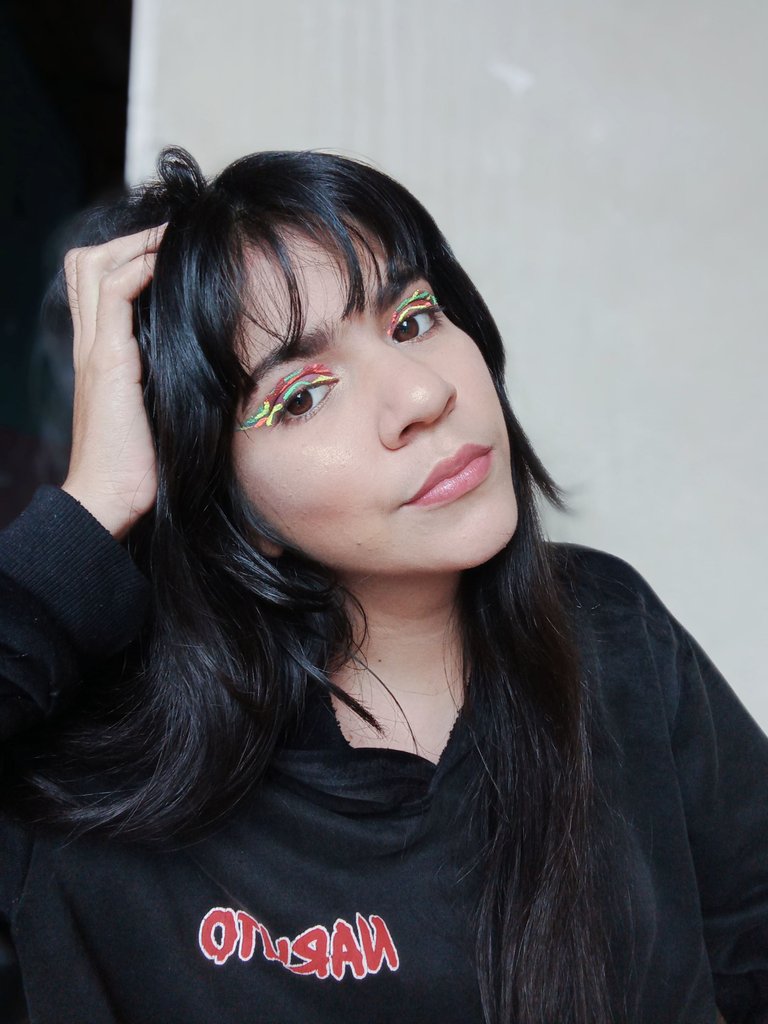
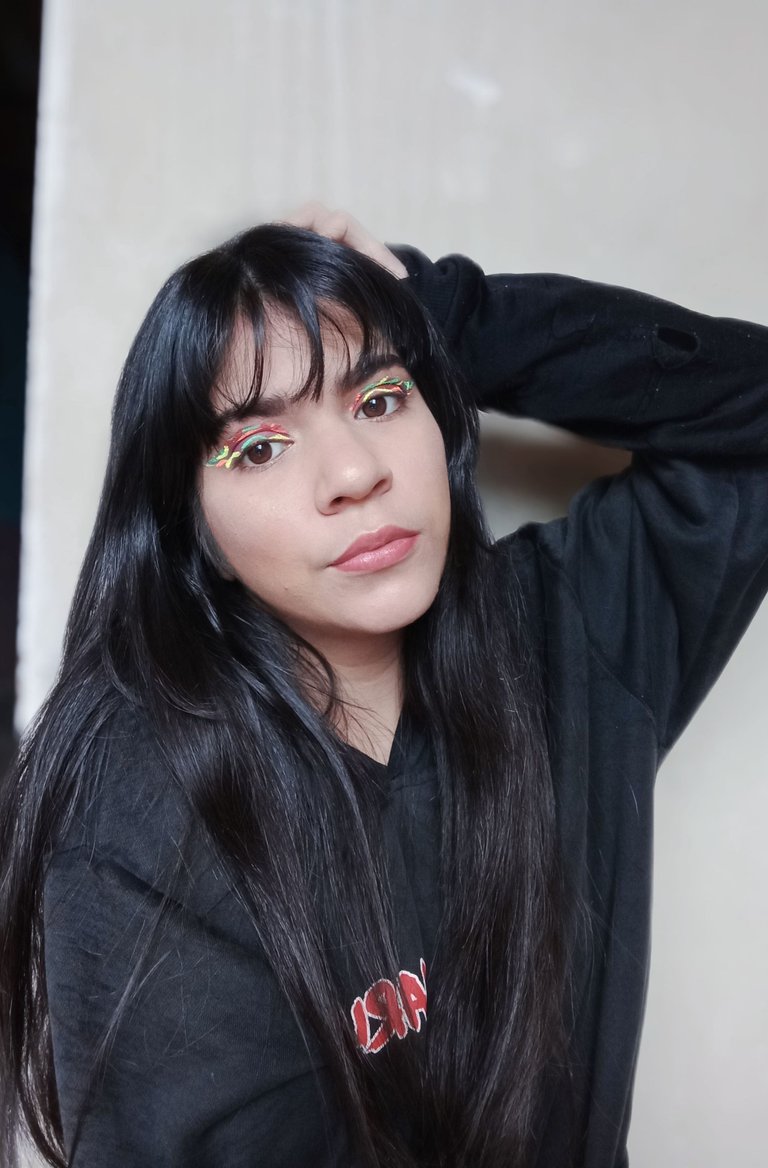
Ya dije que este es de mis favoritos, pero es que la combinación me encantó y me gustó el resultado, los colores que utilice para hacer las líneas resaltan y le dan un muy buen toque al maquillaje, espero que les haya gustado mi post ¡Nos leemos pronto! XOXO.
I already said that this is one of my favorites, but I loved the combination and I liked the result, the colors I used to make the lines stand out and give a very nice touch to the makeup, I hope you liked my post See you soon! XOXO.
Cover created in: Canvas.
Text translated with: DeepL.
Dividers edited with: PicsArt.
All photos of the procedure are my own.
Congratulations @mariangeltarg! You have completed the following achievement on the Hive blockchain and have been rewarded with new badge(s) :
Your next target is to reach 150 posts.
You can view your badges on your board and compare yourself to others in the Ranking
If you no longer want to receive notifications, reply to this comment with the word
STOPTo support your work, I also upvoted your post!
Check out the last post from @hivebuzz: