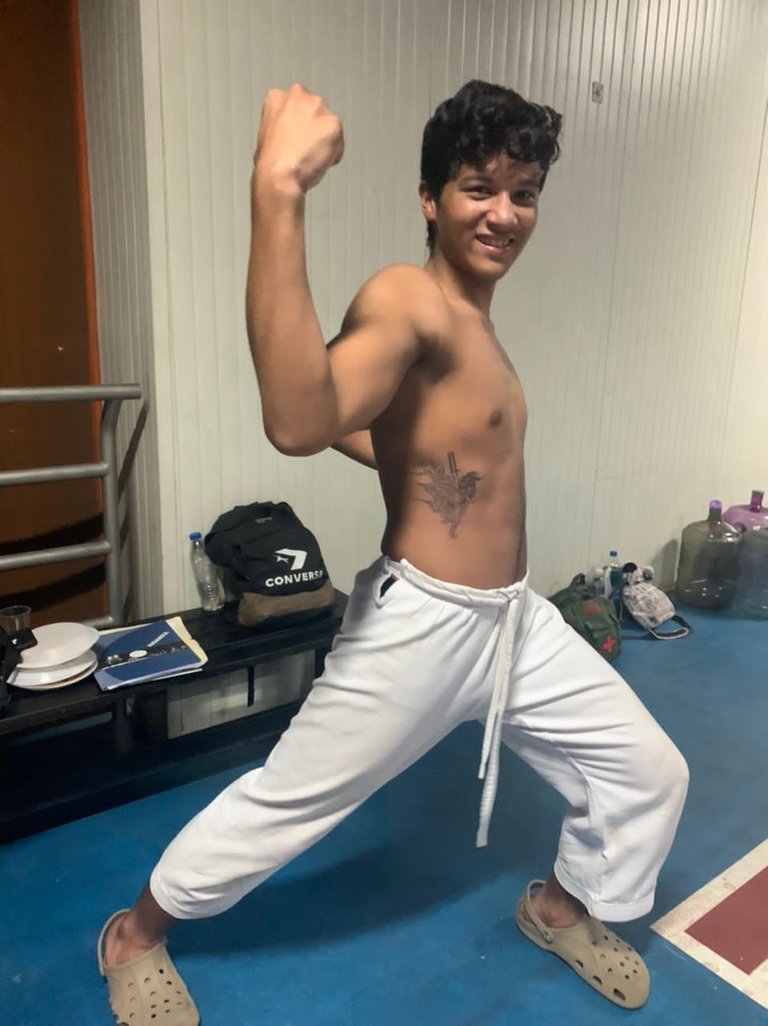
¡Hola, Comunidad Es primera vez que comparto un post por aquí y espero que sea del agrado de todos.😉 Hace unas semanas culminé un proyecto cinematográfico orientado en el karate. Pude participar como actor, siendo el antagonista de la historia. Cómo todo villano mi personaje debía parecer rudo, y qué mejor para eso que un par de tatuajes 😁.
Hello Community It is the first time that I share a post here and I hope it is to everyone's liking. A few weeks ago I finished a film project focused on karate. I was able to participate as an actor, being the antagonist of the story. How every villain my character must seem tough, and what better for that than a couple of tattoos 😁.
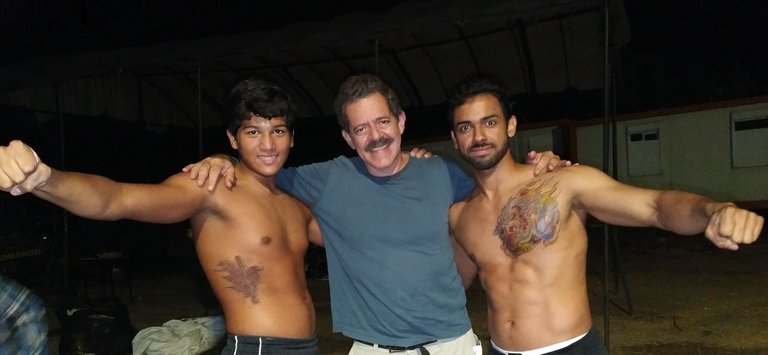

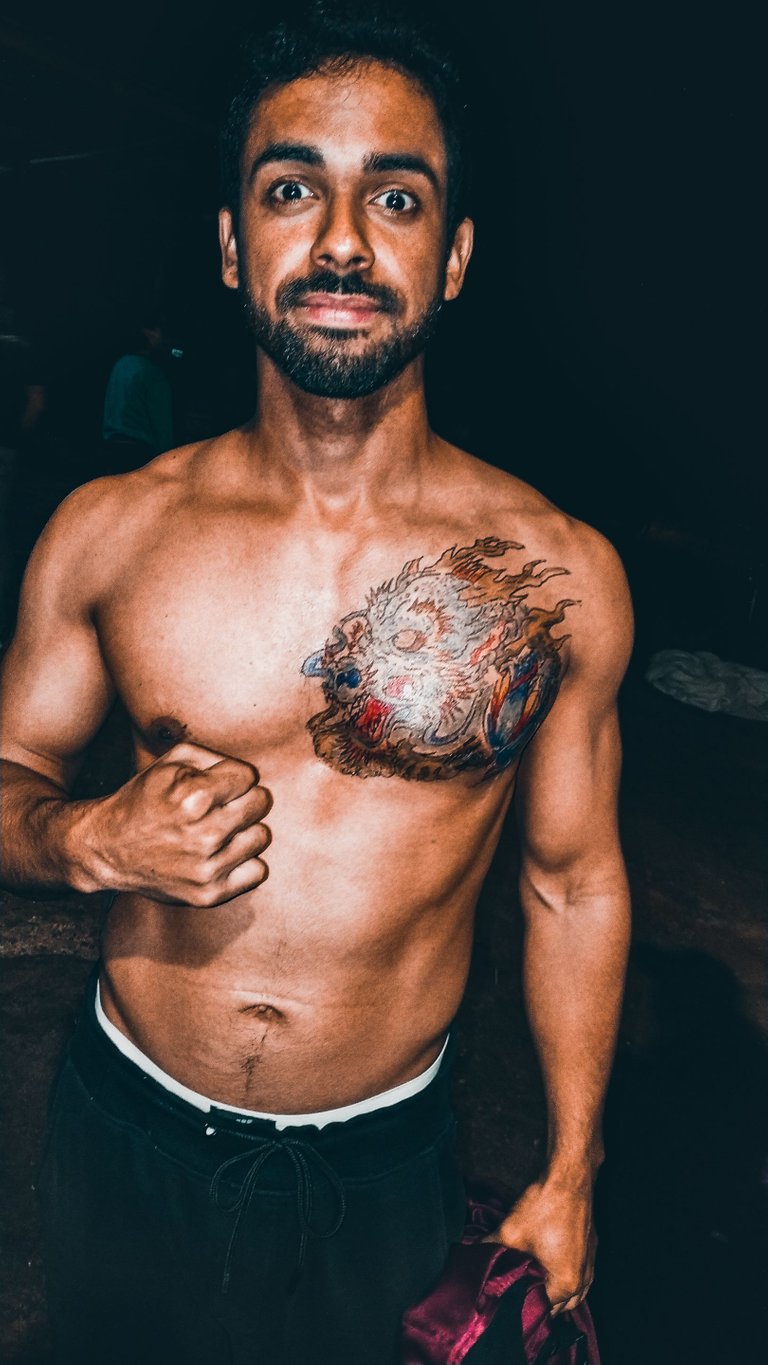
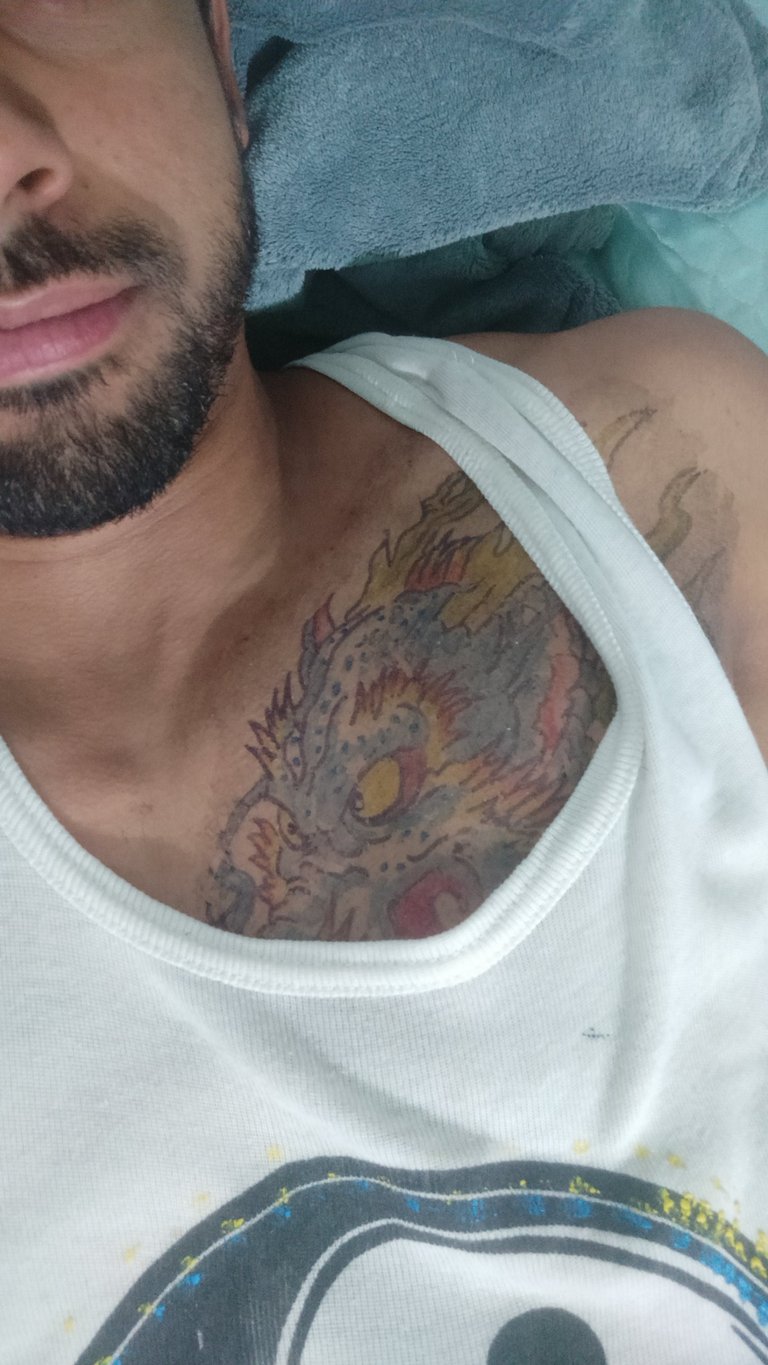
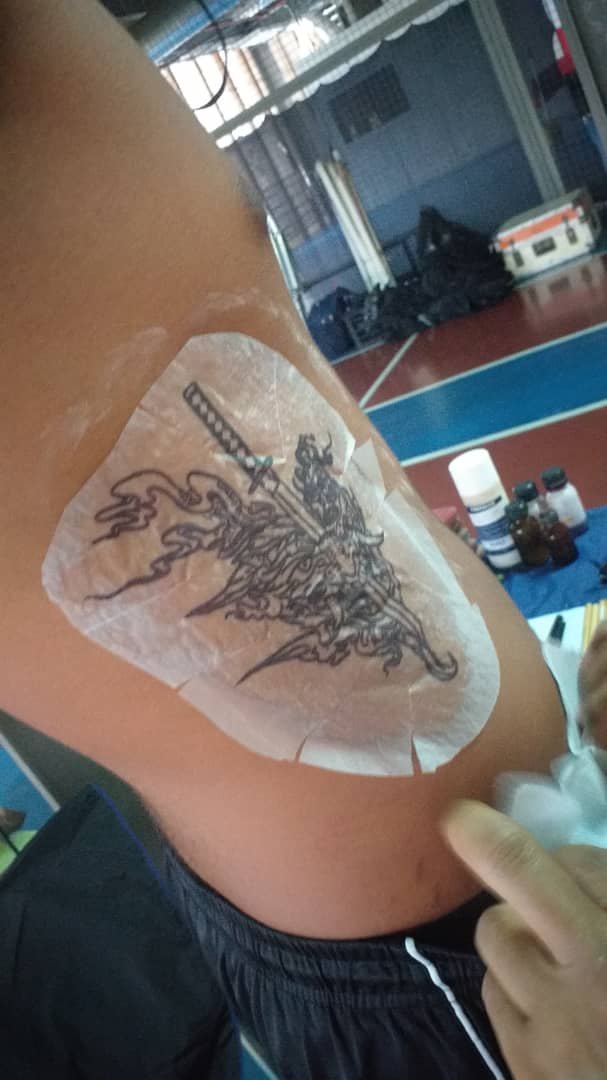
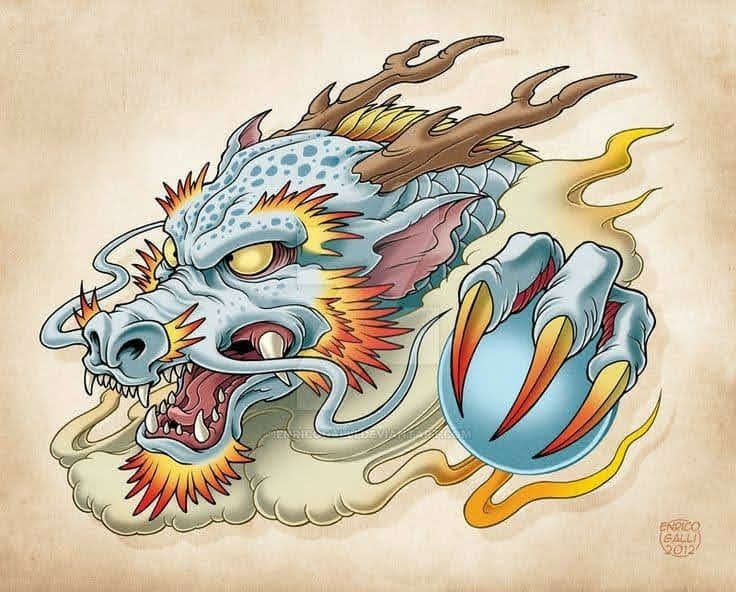
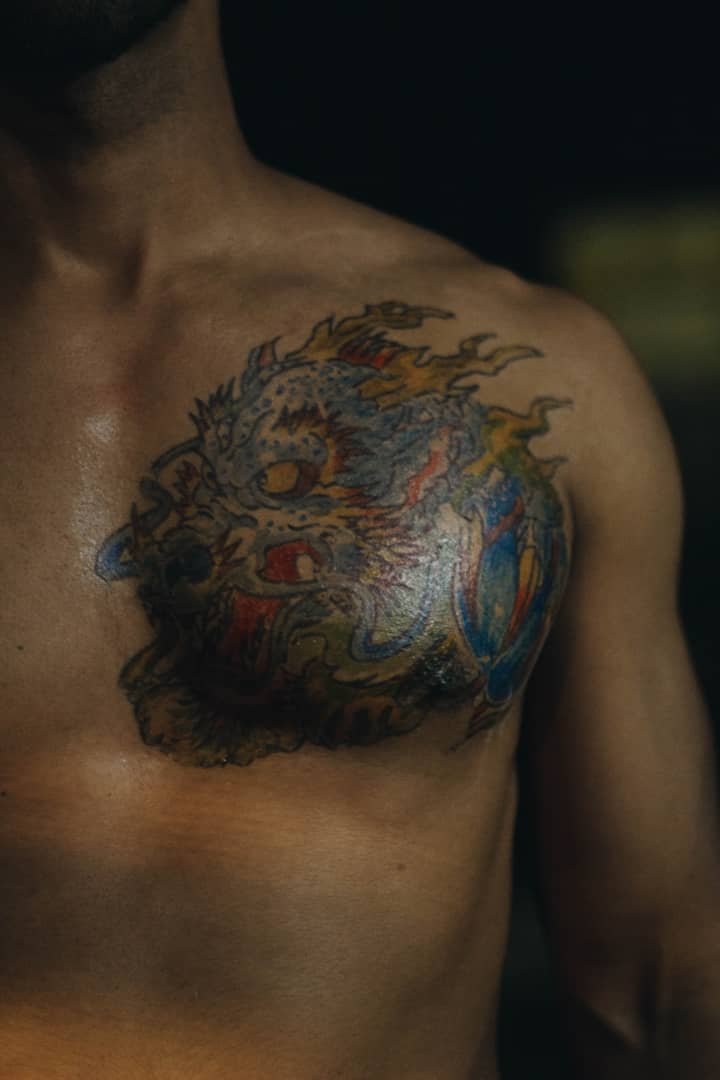
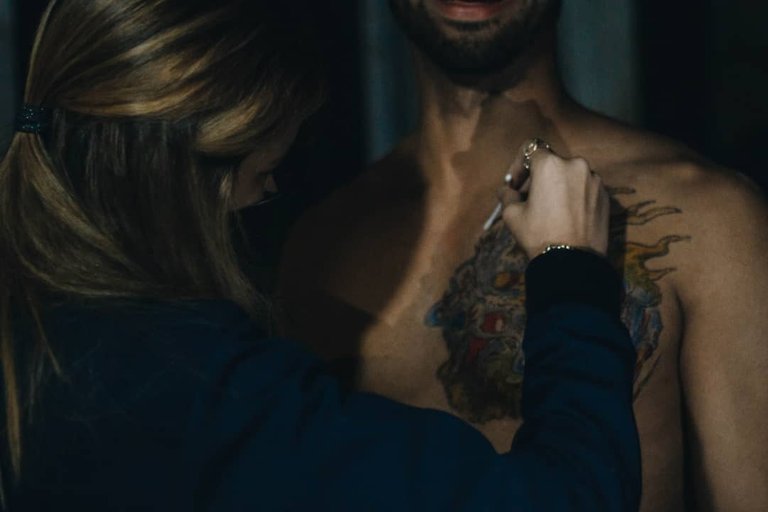
Tanto a mi versión adolescente como a mí se nos hicieron un tatuaje que es típico de los Yakuza, la mafia más temida de Japón. Famosa por tatuarse casi todo el cuerpo. Nuestro personaje quería reflejar ese lado oscuro de la cultura oriental y por eso se optó por realizar tatuajes que tuviesen que ver con ellos, como hicimos con Goro Majima, un demonio japonés. Este tatuaje se nos hizo en las costillas derechas. Mientras que la versión adulta del antagonista, mi personaje, se le sumaba un segundo tatuaje en el pectoral izquierdo; siendo este un Kazuma Kiryu, un dragón ascendente.
Both my teenage version and I got a tattoo that is typical of the Yakuza, the most feared mafia in Japan. Famous for getting tattoos almost all over her body. Our character wanted to reflect that dark side of oriental culture and that is why we chose to make tattoos that had to do with them, as we did with Goro Majima, a Japanese demon. This tattoo was made on our right ribs. While the adult version of the antagonist, my character, had a second tattoo on his left chest; this being a Kazuma Kiryu, a rising dragon.
Aunque el maquillador del proyecto, una persona con varios reconocimientos a escala nacional e internacional, no quiso revelarme el total de los materiales que usó, aquí les dejo la mayor información que pude recabar.
Although the makeup artist of the project, a person with several national and international recognitions, did not want to reveal to me the total of the materials he used, here is the most information I could gather.
1) Compra papel transparente Decal. ¿Alguna vez has comprado un tatuaje temporal en una máquina de monedas o en la juguetería? Estos tatuajes temporales están impresos en Decal, un papel especial cubierto con adhesivo por un lado. El diseño del tatuaje se imprime con tinta sobre el adhesivo. Puedes comprar el papel transparente en las tiendas de manualidades.
1) Buy transparent decal paper. Have you ever bought a temporary tattoo from a coin machine or toy store? These temporary tattoos are printed on Decal, a special paper covered with adhesive on one side. The tattoo design is printed in ink onto the sticker. You can buy clear paper at craft stores.
2)Diseña el tatuaje. El cielo es el límite, cualquier forma, color o patrón se imprimirá bellamente en el papel y se verá claramente en tu piel. Para idear el diseño del tatuaje, usa Adobe Photoshop o un programa similar pensado para crear imágenes, a menos que seas un muy buen dibujante.
Decide si quieres que el tatuaje sea negro o a color. Si tienes una impresora a color, tu diseño puede incluir los colores que quieras.
Escoge los colores que se vean bien en tu piel. Ten presente que cuando apliques el tatuaje, la imagen quedará revertida en tu piel. Eso significa que, si tu tatuaje incluye una palabra, esta tendrá que estar al revés en el diseño, sino se leerá al revés cuando la apliques.
2)Design the tattoo. The sky is the limit, any shape, color or pattern will print beautifully on the paper and show clearly on your skin. To come up with your tattoo design, use Adobe Photoshop or a similar program designed to create images, unless you are a very good draftsman. Decide if you want the tattoo to be black or in color. If you have a color printer, your design can include the colors you want.
Pick the colors that look good on your skin. Keep in mind that when you apply the tattoo, the image will be reversed on your skin. This means that if your tattoo includes a word, it will have to be backwards in the design, otherwise it will be read backwards when you apply it.
3)Imprime el tatuaje. Pon el papel transparente en la bandeja de papel de tu impresora. Asegúrate de que esté acomodado correctamente para que la imagen quede impresa en el adhesivo y no en el papel mate. Corta el tatuaje con unas tijeras cuando termines.
3)Print the tattoo. Put the transparent paper in the paper tray of your printer. Make sure that it is arranged correctly so that the image is printed on the sticker and not on the matte paper. Cut the tattoo out with scissors when done.
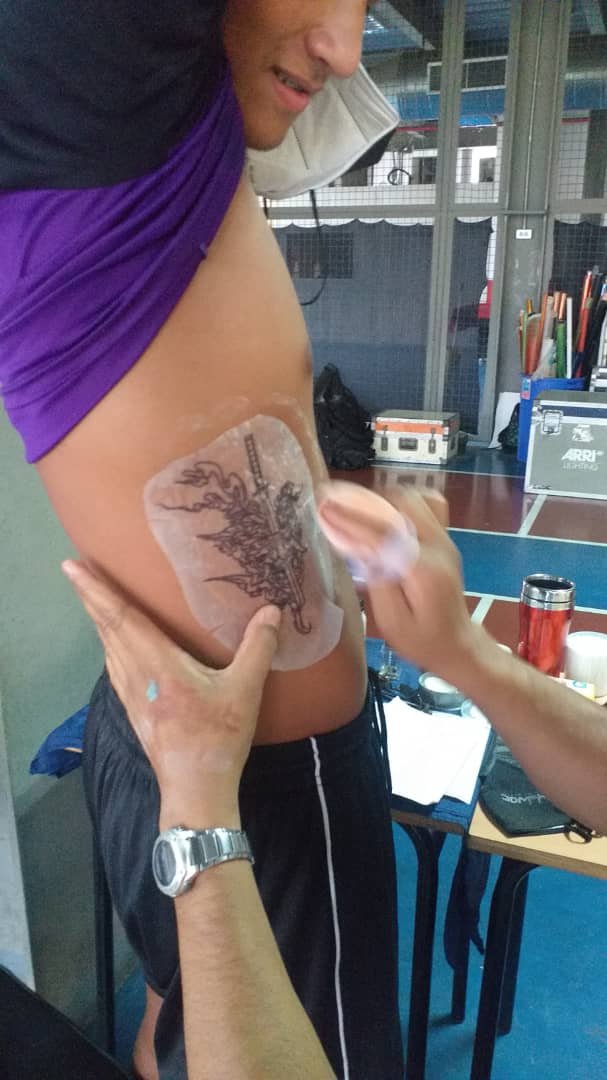
4)Aplica el tatuaje. Coloca el tatuaje con la tinta hacia abajo sobre tu piel. Cúbrelo con una tela de papel. Presiona la tela o la toalla de papel y sostenla en su lugar durante 30 segundos. Retira la tela o toalla de papel y saca el papel. El proceso de humedecido hace que el adhesivo se transfiera del papel a tu piel.
4)Apply the tattoo. Place the tattoo ink side down on your skin. Cover it with a paper cloth. Press down on the cloth or paper towel and hold it in place for 30 seconds. Remove the cloth or paper towel and remove the paper. The wetting process causes the adhesive to transfer from the paper to your skin.
5)Retira el tatuaje. Este tipo de tatuaje puede durar 1 semana o más antes de que comience a borrarse. Si quieres quitarlo antes de que se borre solo, frótalo con agua jabonosa y un cepillo.
5)Remove the tattoo. This type of tattoo can last 1 week or more before it starts to fade. If you want to remove it before it erases on its own, scrub it with soapy water and a brush.
6) Esmalte de uñas. El esmalte para uñas es perfecto para hacer coloridos tatuajes temporales, tu pulso debe ser lo bastante bueno para no arruinar el diseño. Puedes utilizar las herramientas que usas para decorar tus uñas o un palillo de dientes. Una vez que hayas terminado, déjalo secar como si de tus uñas se tratara y pasa sobre él una capa de esmalte transparente. Esto lo mantendrá ahí por más tiempo.
6) Nail polish. Nail polish is perfect for making colorful temporary tattoos, your pulse should be good enough not to ruin the design. You can use the tools you use to decorate your nails or a toothpick. Once you are done, let it dry as if it were your nails and pass a layer of transparent polish over it. This will keep it there longer.
TIP IMPORTANTE: Noté que el maquillador aplico un poco de pegamento, a mi parecer pega blanca, sobre mi piel antes de pasar el tatuaje a mi piel, esto hizo que se fijara con mayor firmeza y que diera una sensación de volumen, haciéndolo ver más realista.
IMPORTANT TIP: I noticed that the makeup artist applied a little glue, in my opinion white glue, on my skin before transferring the tattoo to my skin, this made it fix more firmly and give a feeling of volume, making it look more realistic.
Bueno, amigos. ¡Esto fue todo! Espero les haya gustado y servido para aumentar sus conocimientos en el área. En un próximo post prometo explicar cómo se realizaron algunas cicatrices y heridas que también se nos hicieron aora el cortometraje. Así que no te pierdas de mis próximas publicaciones. 😉🙏🏼
Good friends. That was all! I hope you liked it and it served to increase your knowledge in the area. In a future post I promise to explain how some scars and wounds were made that were also made to us by the short film. So don't miss out on my next posts. 😉🙏🏼
Wow..que interesante post. Me encantaría practicarlo alguna vez. Queda genial. Gracias por compartir.
Si! 😉 Definitivamente queda un buen resultado. Muchas gracias a ti! 🙏🏼