As was mentioned in my prior post on walnuts, it's a race to see who is first to gather this yearly prize, squirrels or @farm-mom and I.
These fearless mammals have beaten us to the punch for the past three years.
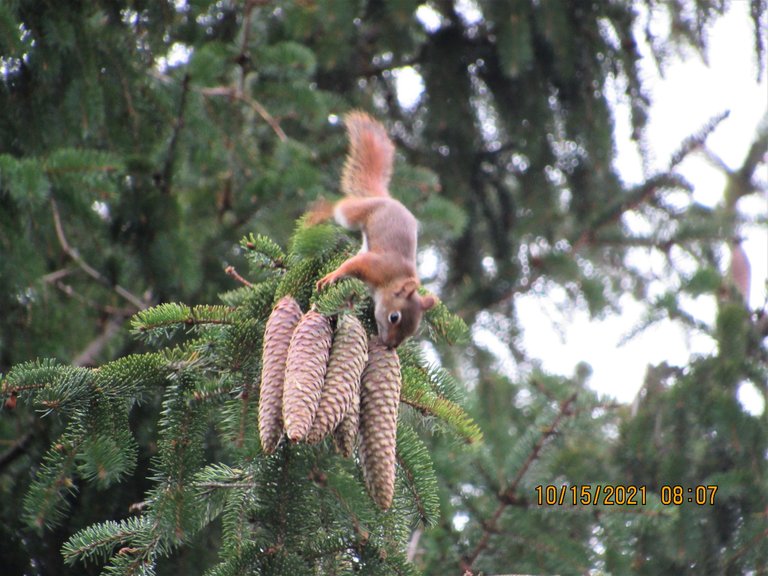
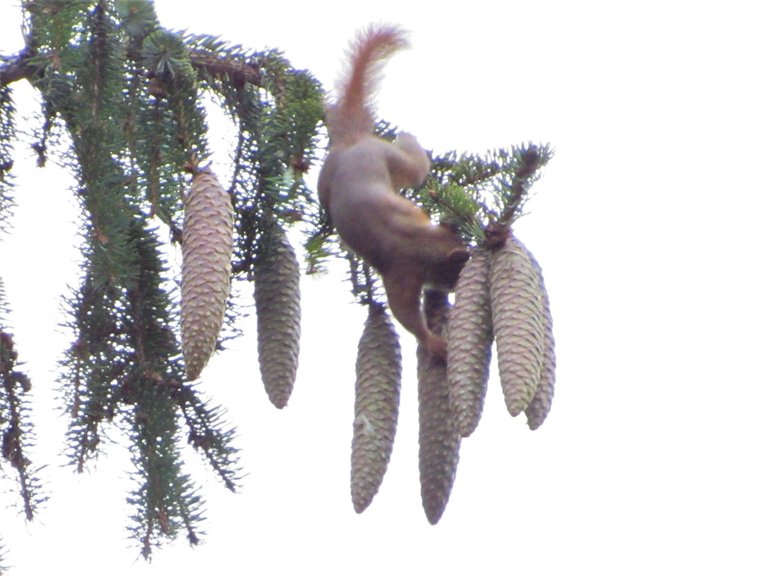
But, this year they have been occupied bustling around striping conifer cones for the seeds inside, a favorite of theirs.
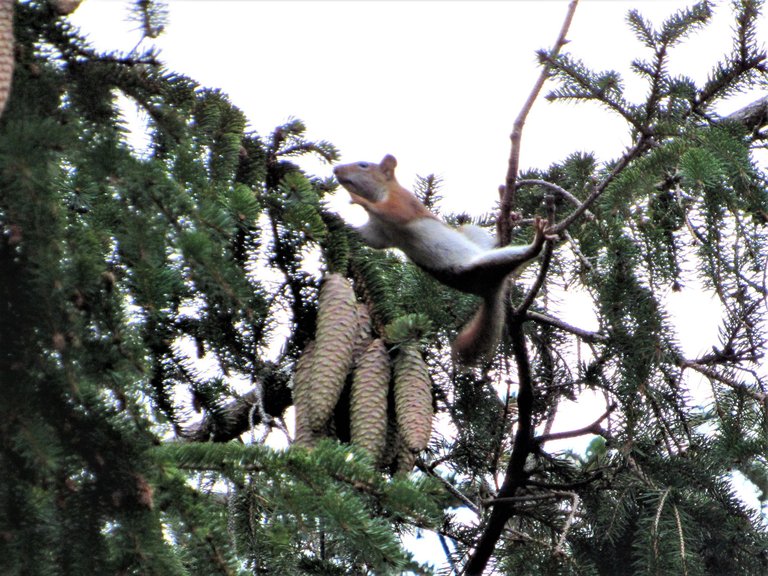
While these gutsy creatures have been occupied with unleashing thousands of cones from the branches of the pine trees, we have been doing the same with the walnuts that have cropped up on our walnut trees, like never before!
With winter around the corner, we both have the same goal, squirrel away as much food as possible.
Boy, do I wish I could climb trees, it sure would make the job a lot easier.
Even if I were able to soar to such heights, hanging precariously from a branch with my toes would be out of the question.

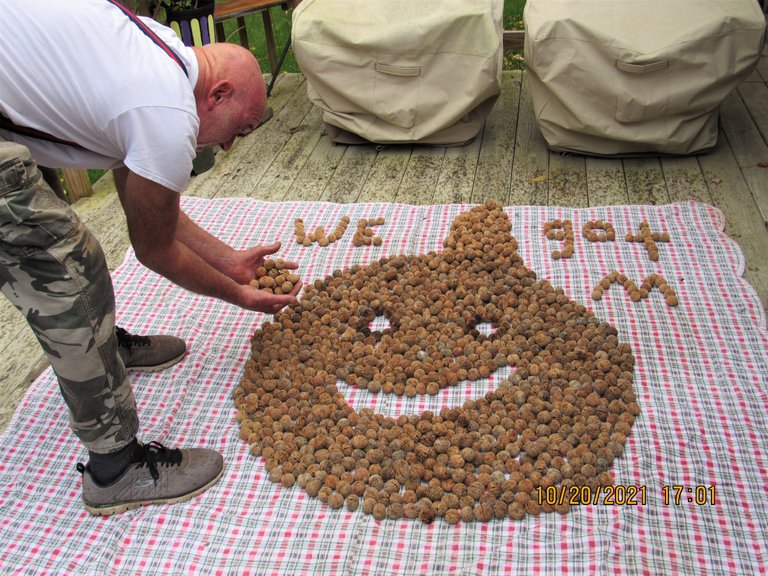
With plenty of nuts to go around, we have had the opportunity to gather as many walnuts as our hearts appetites desire.
Despite the fact that we have finished gathering the walnuts, hobbitizing has really just begun. The next step in processing these nutritionally packed nuts is to remove the outer green husk.
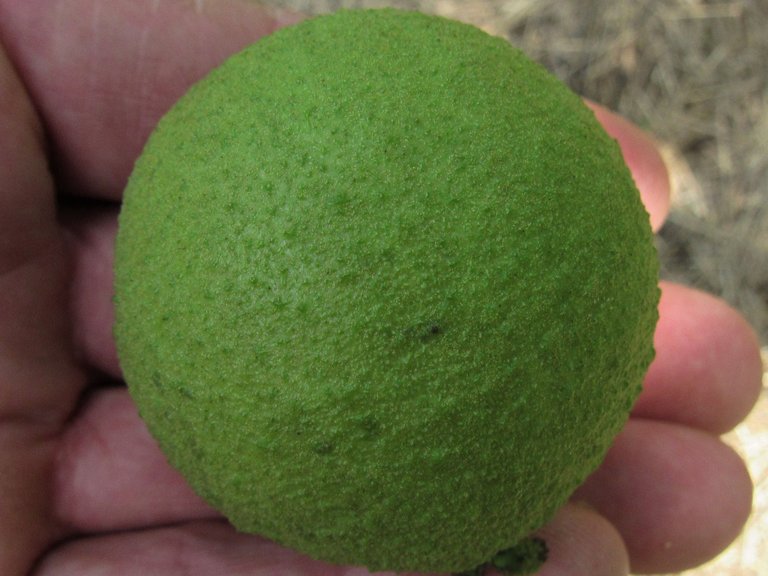
The key to removing the husk from the walnut is to allow the walnut to fully mature .
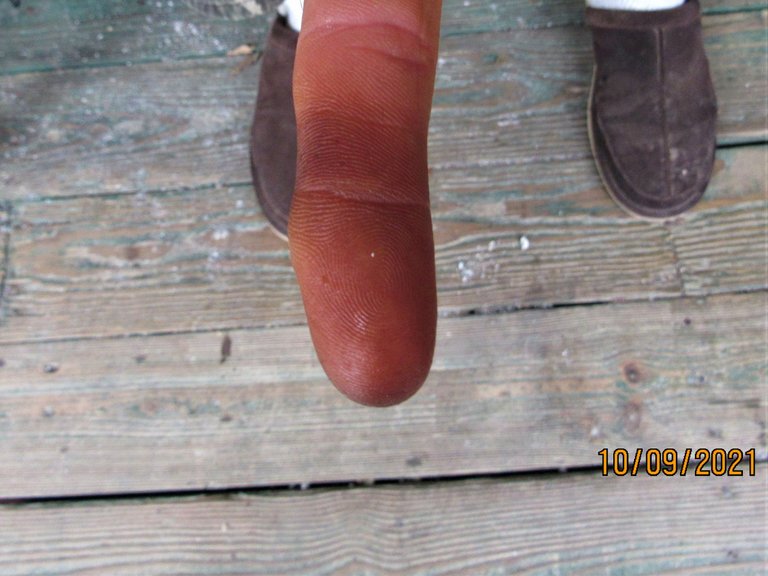
That's when the dent test comes into play.
When the walnut has reached full maturity, you will be able to leave a depression in the husk by applying pressure on it with your thumb. If you don't leave a dent, the walnut is not ripe.
Another indication that the nut is ready to be picked is the color of the husk.
The husk will begin to develop dark spots,
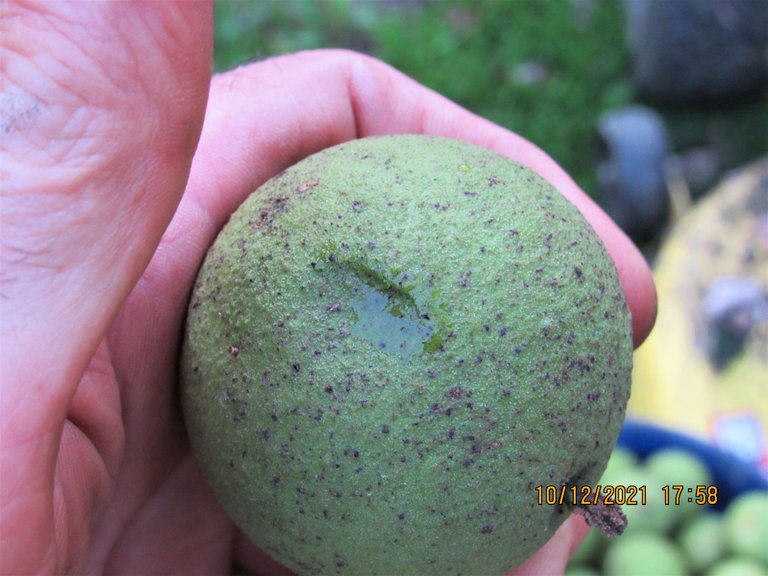
while immature walnuts will appear totally green.
After harvesting walnuts for several days it was time to get busy seperating the nut from the husk. In the past, this part of the process has proved to be a chore and knowing that we had collected 100 times more walnuts than ever before, I needed a new technique.

My idea was to drill a hole in a sturdy piece of wood and gently tap the nut through the hole.
After surveying what we had collected, I decided that a 1 1/2 inch hole may do the trick.
After staging the setup, it was time to give my idea a go.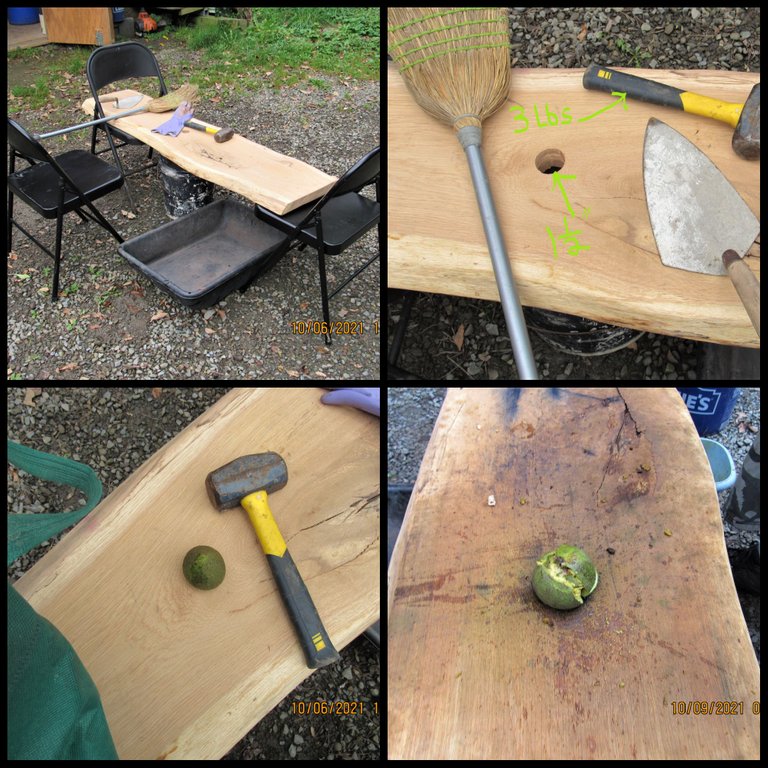
Within minutes, I realized that this method was going to work like a champ.
The three-pound sledgehammer I was using provided the right amount of force with the slightest amount of downward pressure.
In a 50 minute period, I was able to remove most of the husk from the nut.
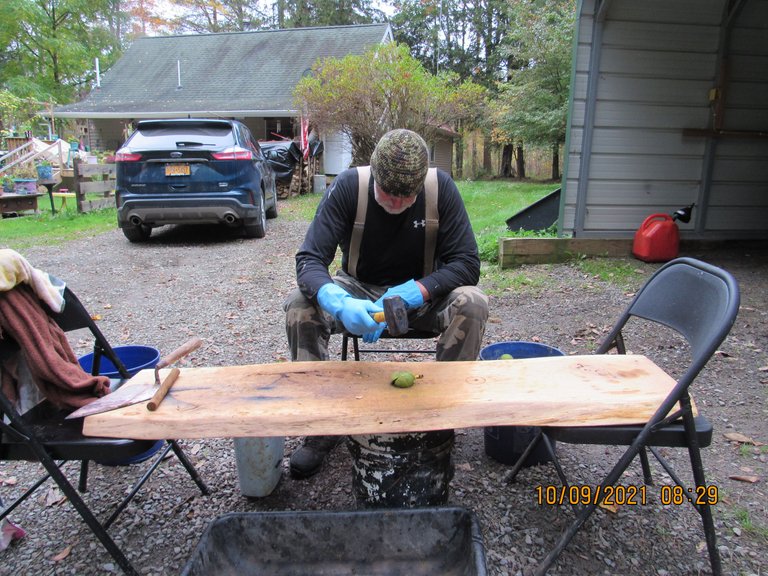
Now that I had a relatively easy time with this part of the process, I tried recruiting Robin to join in on the fun, but after seeing what the juice from the walnut husk was doing to my fingers, she didn't want anything to do husk removal. The rubber gloves I was wearing had sprung a hole and
the results were not pretty. Removing the stain was nearly impossible.
That's when a friend of ours came to the rescue, thanks @jerrytsuseer.
In a reply, he suggested using this product to remove the brown stain and it worked, within minutes my hands had returned to their original color.

After purchasing some new rubber gloves and some Borax, my better half decided she would give it a go. 👍
She was a natural and after removing the husks from over 300 walnuts, her exact words were, "that was fun, let's go get some more."
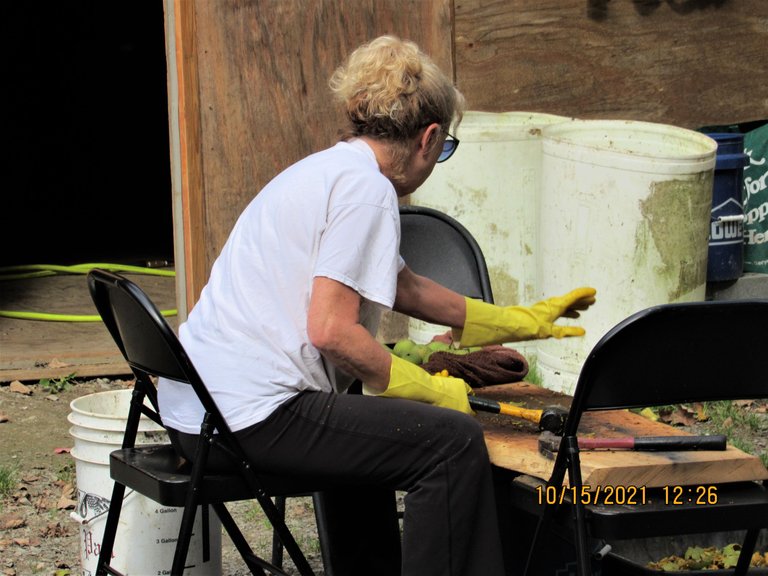
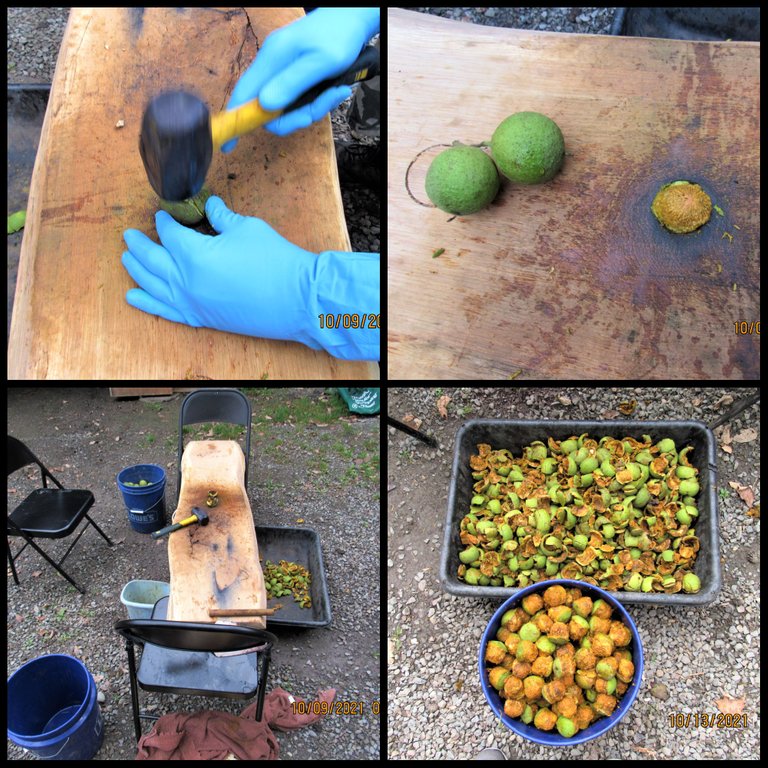
While she husked, I used the power washer to remove any debris that was still clinging to the shell. This was also the first time I had tried this method.
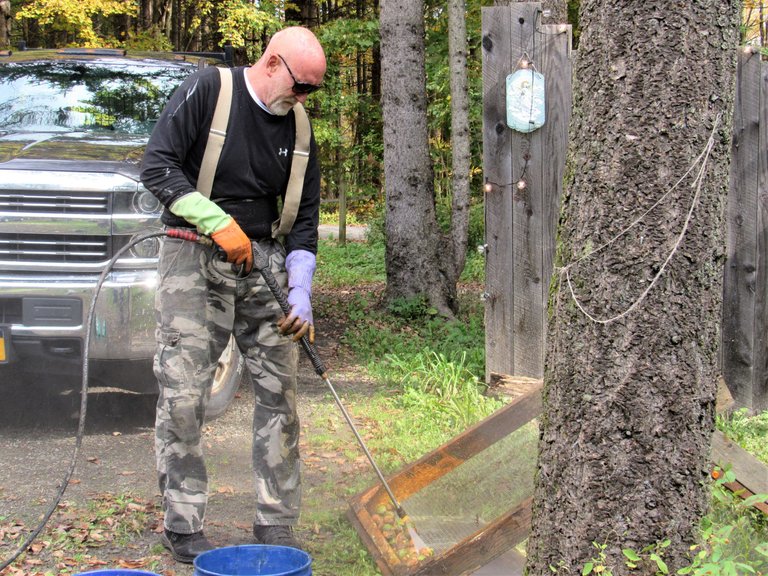
After a few minutes, I saw that this technique was working great.
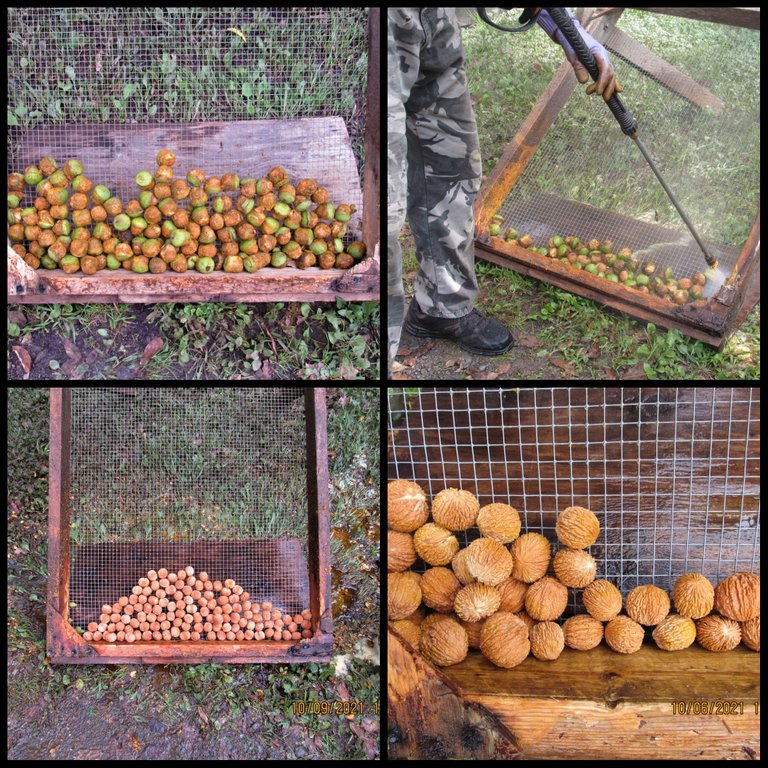
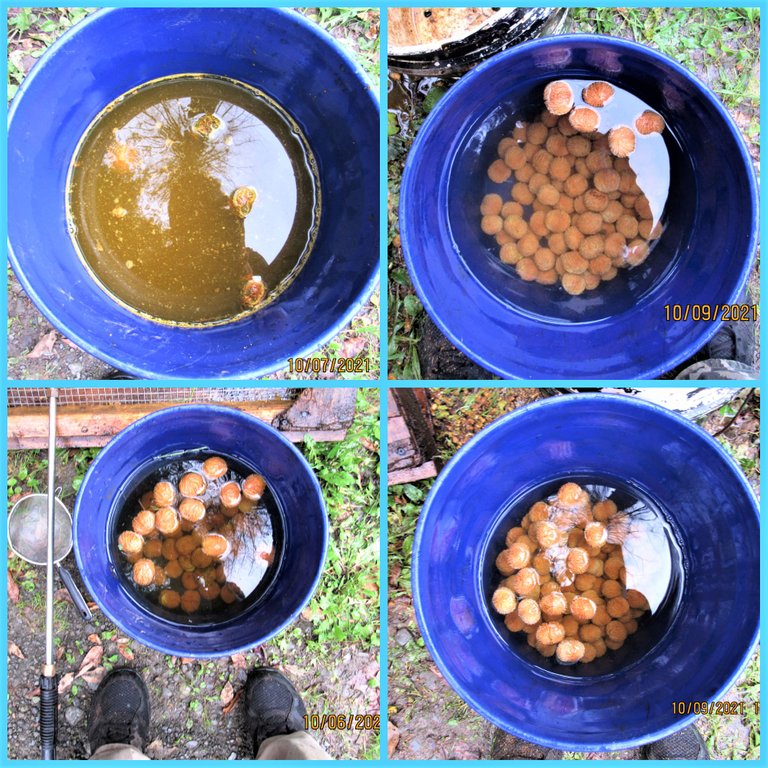
The final step, before setting the walnuts out to dry, was to float test them after they had been cleaned.
The ones that float are discarded. The reason for them floating is that air has made its way into the cavity where the nut should have formed. Most often these walnuts have been damaged by insects or a nut never developed.
Although the meat in these nuts was not cured, I figured I would crack a few open to get a sneak preview. With lots of meat inside and the nuts being bigger than I expected, I was thrilled.
Gathering these protein packed babies was well worth the effort!

There was much to learn about this nutritionaly packed nut.
Through trial and error I think I came up with a good system that will save us hobbitational time in the future.
Before closing out this blog, here are a few other things I've learned along the way.
Walnuts need to be dried for 2 to 3 weeks before removing the nut from the shell.
Drying should be done in a dark dry place, with good ventelization.
A fullly cured nut should be brittle, if it's still plyable, let it dry for a little longer.After the nuts have been removed from there shell, the nuts should be spread out on a tray and
dried for an additional 2 days before being put into storage.Husked walnuts can last 4 weeks or more in your pantry if stored properly in an airtight
container.Walnuts can last for up to a year if stored in a fridge.
Walnuts can last for up to two years when vacumn packed and stored in a deep freezer.
The next step in this process will be to remove the walnut from its shell.
I've not gone down that road yet, but STAY TUNED and I'll be more than happy to share that with you also! 😁
Tag @edprivat, you're it.
Wow, what a fun interesting long process. I am very glad your harvest was plentiful and you did not have the squirrel squrirelling away your walnuts for winter this year. Thank the lord for pine trees!
I find that if I leave my bought bags of walnuts in the pantry so am pleased to hear that this was not a silly idea after all.
I look forward to seeing you remove the walnut from the shell. We used a hammer when removing the macadamia nut from its very hard shell, but that was only one at a time. I am sure there is a faster process for bags of walnuts. Regards
Very cool nut de-huller! No wonder she had a great time doing it. Love your last photo! Beautiful nuts for the year.
There's also the potential to make walnut ink and sell it to some traditional artist types.
I could see how the stuff would work great as ink, just don't get any on you!
Yeah my fiance likes to paint with walnut ink, and it was a messy hand staining process creating just one bottle of ink. Still pretty cool I believe the US constitution was penned in walnut ink.
That's an interesting nugget about the constitution.
Your fiance doesn't want to accidentally knock that bottle over.
Have a great weekend.
I thought walnuts grew on grocery store shelves. Oh I feel stupid now. If there are walnut trees perhaps there are money trees?😊
We grow money trees here on the farm. We're running a winter clearance sale.
1 sapling money tree for $1,200.00
2 sapling money trees for $4,000.00
Would you like to buy one? 😁
😂
Great tip on float testing. Kind of like checking old eggs.
Can you eat the nuts before curing? Is it that they taste better after or can they by be a bit toxic eaten too fresh?
Same principle for sure.
They are not toxic. We ate the few we broke open and they were very bitter and the texture was like eating a worm. Not that I have ever eaten a worm, but if I did I imagine the worm would taste like the not ready for eating walnut.
Now I've got myself confused, does the walnut taste like a worm, or does the worm taste like walnut. 😁
You're freaking me out now! Is that taste or texture? Because I don't do well with squishy things...
At this point in the curing process, the walnuts are still soft. When I tasted them I imagined that the texture might be that of a worm!
Congratulations @thebigsweed! You have completed the following achievement on the Hive blockchain and have been rewarded with new badge(s) :
Your next target is to reach 10000 upvotes.
You can view your badges on your board and compare yourself to others in the Ranking
If you no longer want to receive notifications, reply to this comment with the word
STOPCheck out the last post from @hivebuzz:
Support the HiveBuzz project. Vote for our proposal!