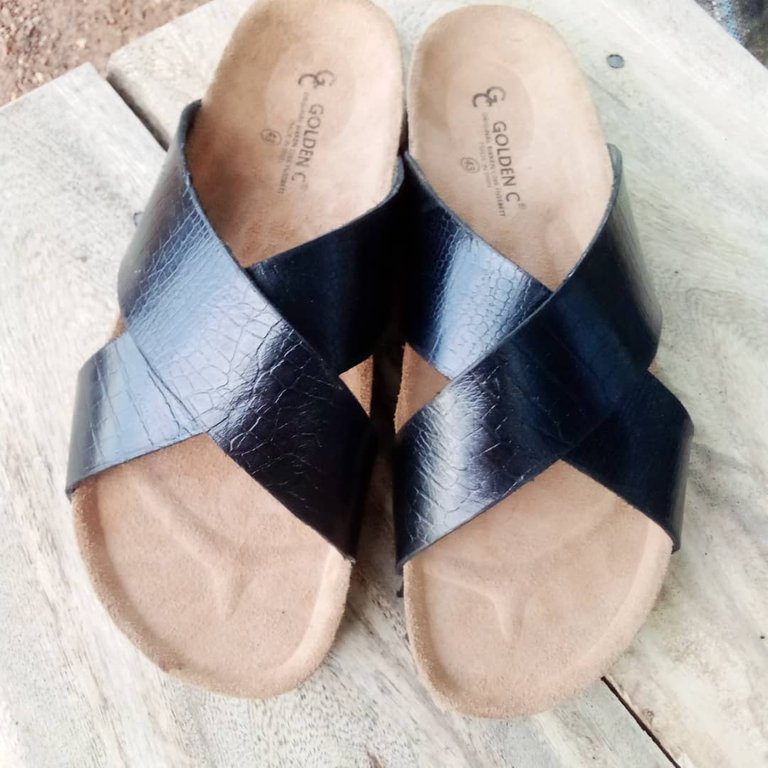
Hello star lovers, how is your week going? I believe it should be going fine with you, your family, and your business. Today I decided to make a crossing belt slipper for myself in order to save myself cost since I’m a shoemaker. To be honest with you, it has quite been a long I made footwear for myself because I was only focused on making different sizes and styles for my customers.
If not for a customer who came to my shoemaking office to request footwear, I wouldn’t have even noticed that my own footwear is due and needed a replacement. Well, I think I will have to make you understand a bit about how I and the customer discussed it. The moment the customer entered my shoemaking office and we bargained for the specific footwear he wanted me to make for him when he was about leaving he made a statement to himself that he won't know why most shoemakers don’t like making good-looking footwear for them self rather than making for customers. Noticing the statement made by the customer, I looked at my leg and observed that the statement made by the customer was for me. This was how I decided to make this crossing slipper.
Do you know that when I was making the crossing slipper for myself, a lot of my shoemaking customers saw the slipper and wanted to buy it again for themselves but I just have to ignore their demand? At least the negative statement made by the customer who lured me into making the footwear touched me. In the end, I was happy that I made lovely footwear for myself.
I will be sharing complete ideas on how I made the crossing slipper for myself at least to enable you to make one for yourself.
Materials used have to be considered:
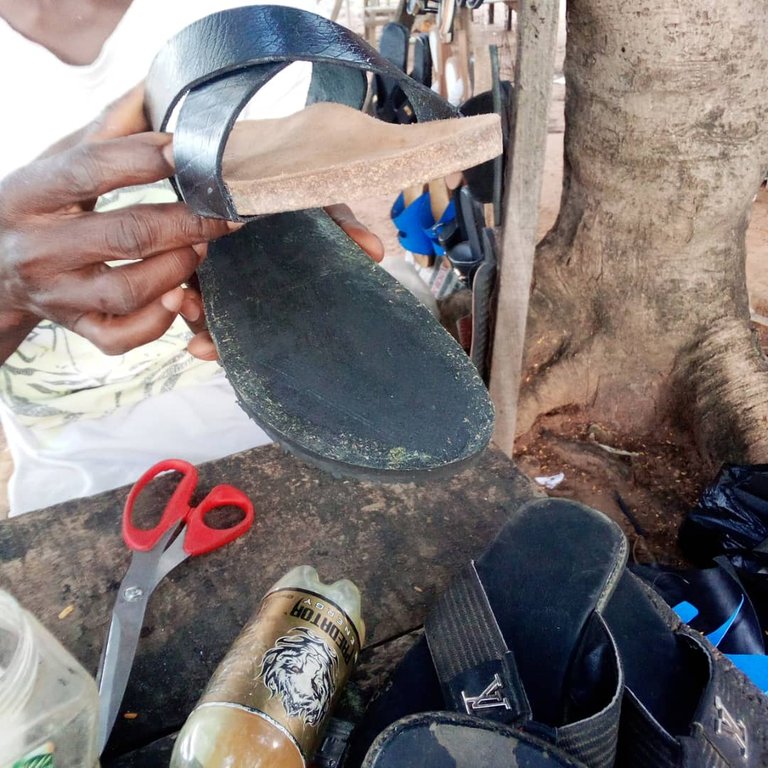
Brown leather was used.
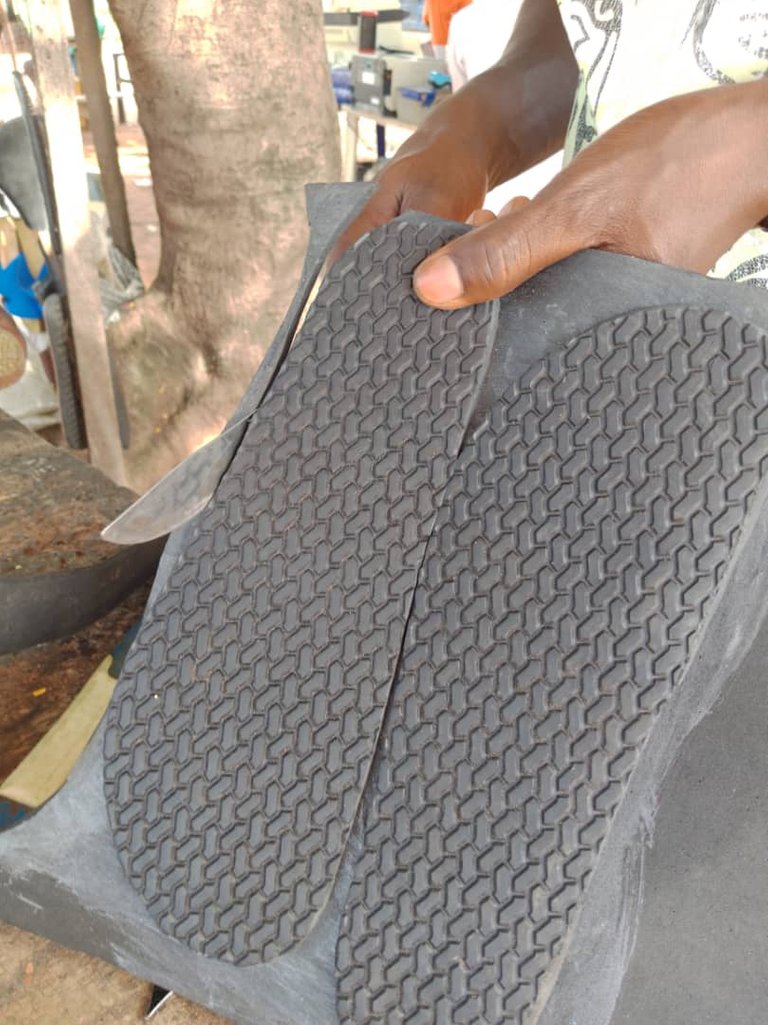
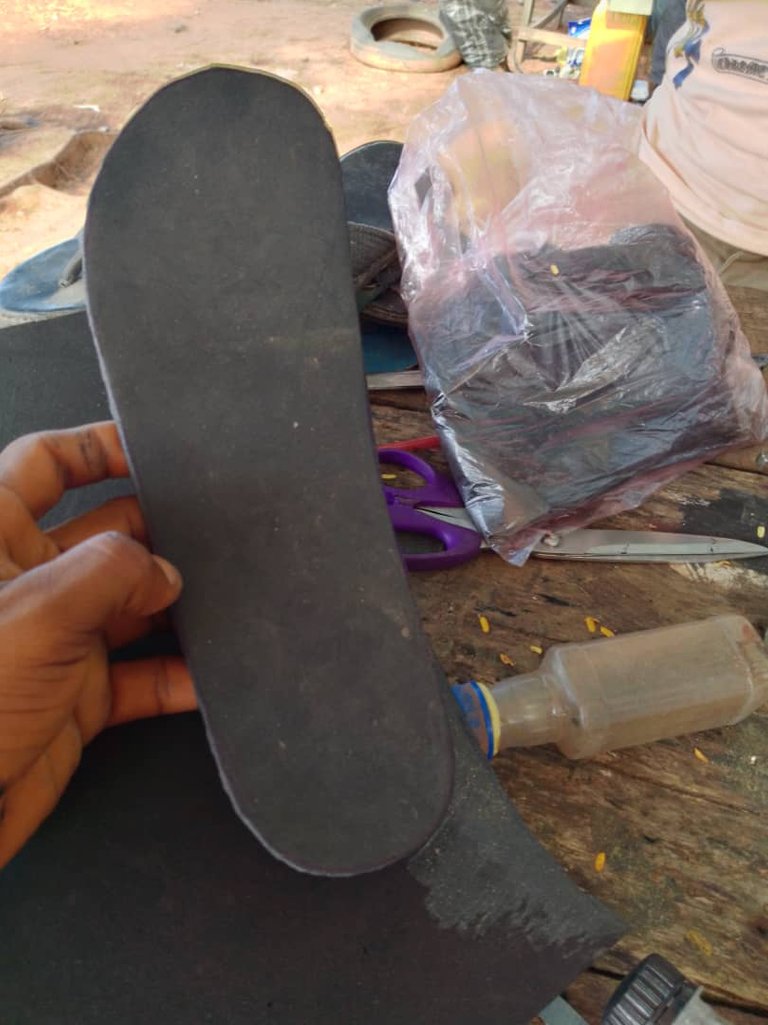
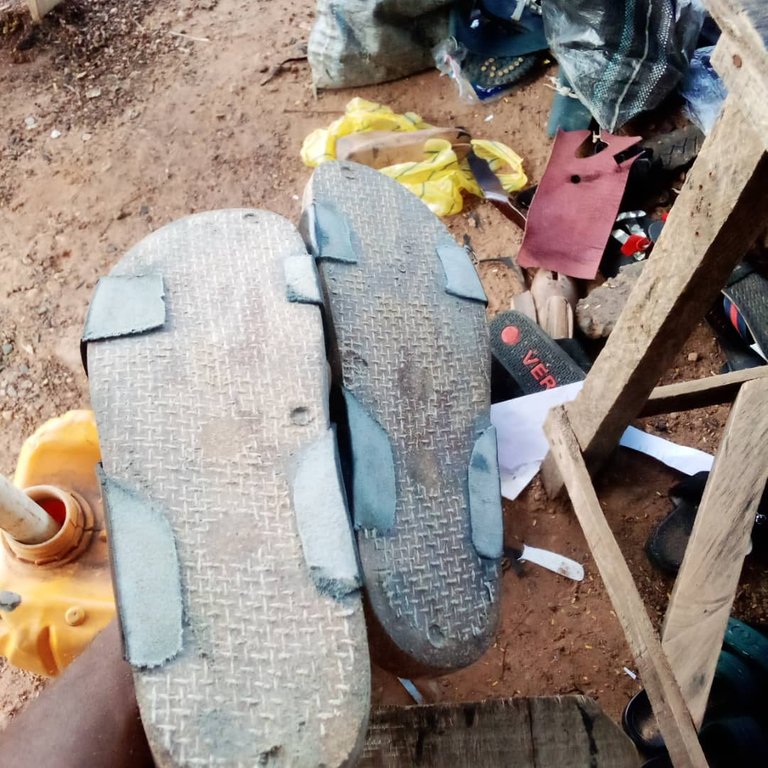
Footwear sole.
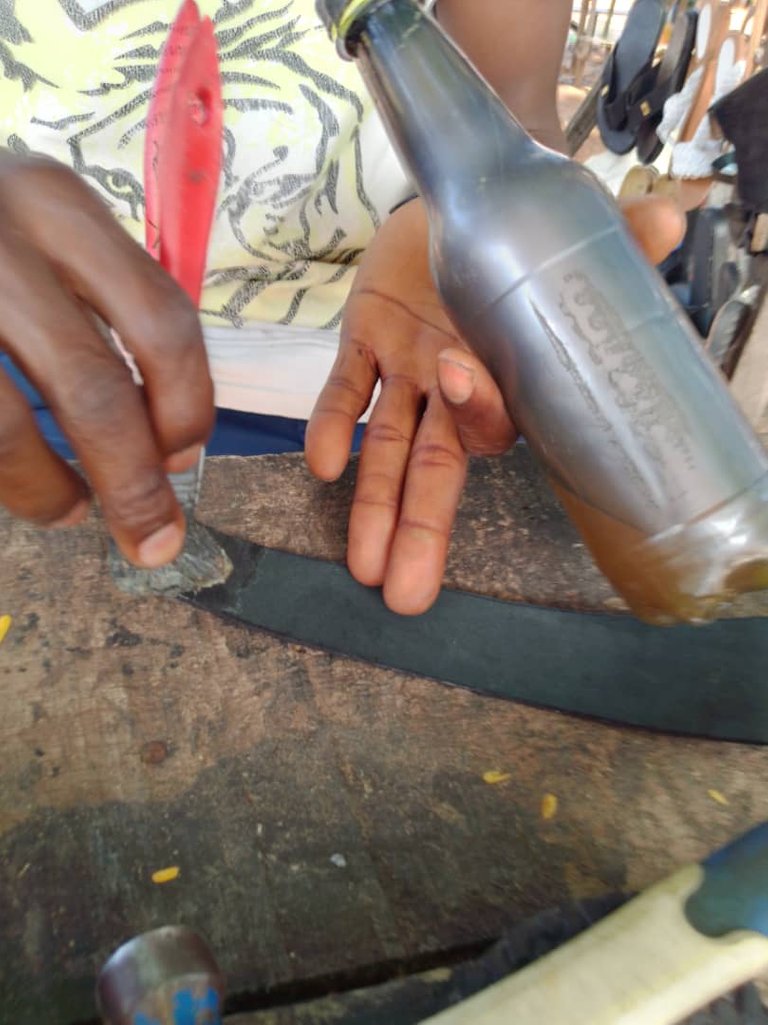
Gum.
We also have to consider the tools that I used in making the crossing footwear:
Scissors were used in cutting leather to get an accurate top design.
Hammer.
A brush was also used for the application of gum.
Sandpaper was used to scratch the sole and leather.
Now we have to look at the procedures adopted in making the crossing slipper:
The first thing we are going to do is to make sure that all the materials to be used in making the crossing slipper are completely provided to reduce the stress of going up and down.
We are going to be taking proper measurements of our leg size to determine the size we are making. Well, I wear 40.
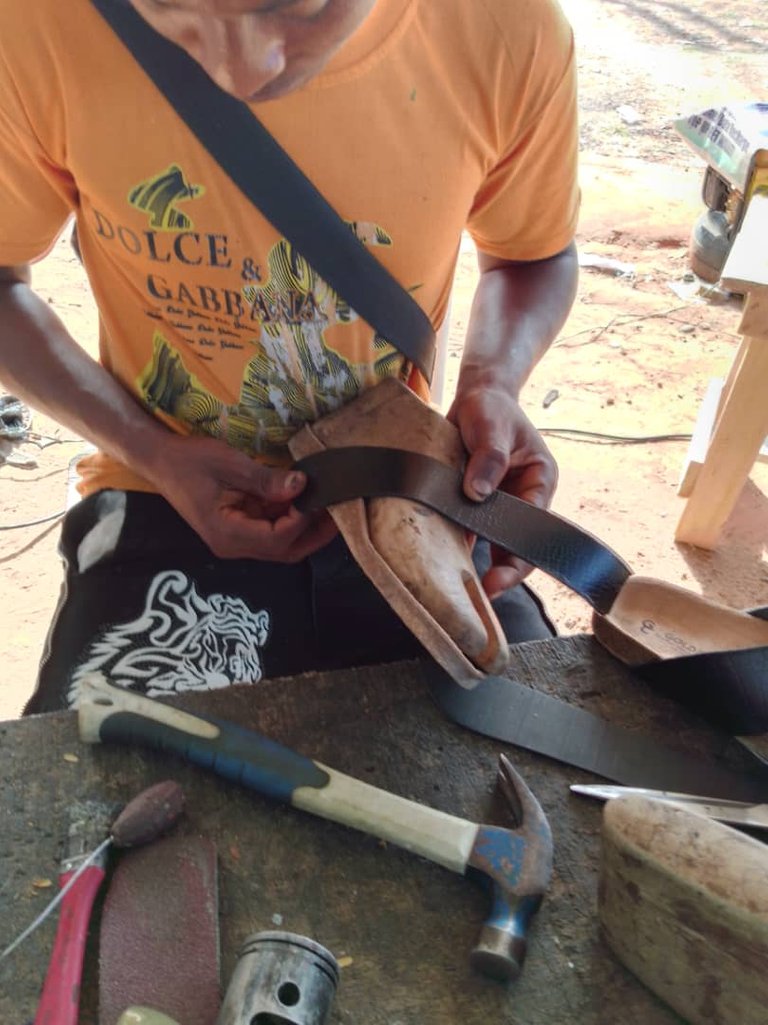
We have to measure the top crossing side of the slipper using leather.
We have to use scissors to cut the top leather we have just measured.
Apply some gums to the top leather of the crossing slipper we have just cut and allow to dry under the sun for like 1hr. Once the leather is dried, fold it and hit it slightly with a hammer.
Now we are going to use sandpaper to sandpaper the sole down and edge side and then apply some gum. We also have to allow it to dry properly before we will now gum together the down sole and the top leather to give us the complete look of the crossing slipper.

Congratulations @apunawu! You have completed the following achievement on the Hive blockchain and have been rewarded with new badge(s):
Your next target is to reach 500 posts.
You can view your badges on your board and compare yourself to others in the Ranking
If you no longer want to receive notifications, reply to this comment with the word
STOPTo support your work, I also upvoted your post!
Check out the last post from @hivebuzz:
Support the HiveBuzz project. Vote for our proposal!
Great job welcome to the star's community 🤝🏾
Yay! 🤗
Your content has been boosted with Ecency Points, by @apunawu.
Use Ecency daily to boost your growth on platform!
Support Ecency
Vote for new Proposal
Delegate HP and earn more