WE NEED MORE POWER CAPTAIN!!!
That is what I often thought when I would use my circular saw out at the homestead. As long as it was soft lumber I was cutting through all was good. But when it came to cutting the hard Oak logs the saw would often trip the power inverter...I then had to stop work to go reset it. It did this because it was pulling too many Watts.
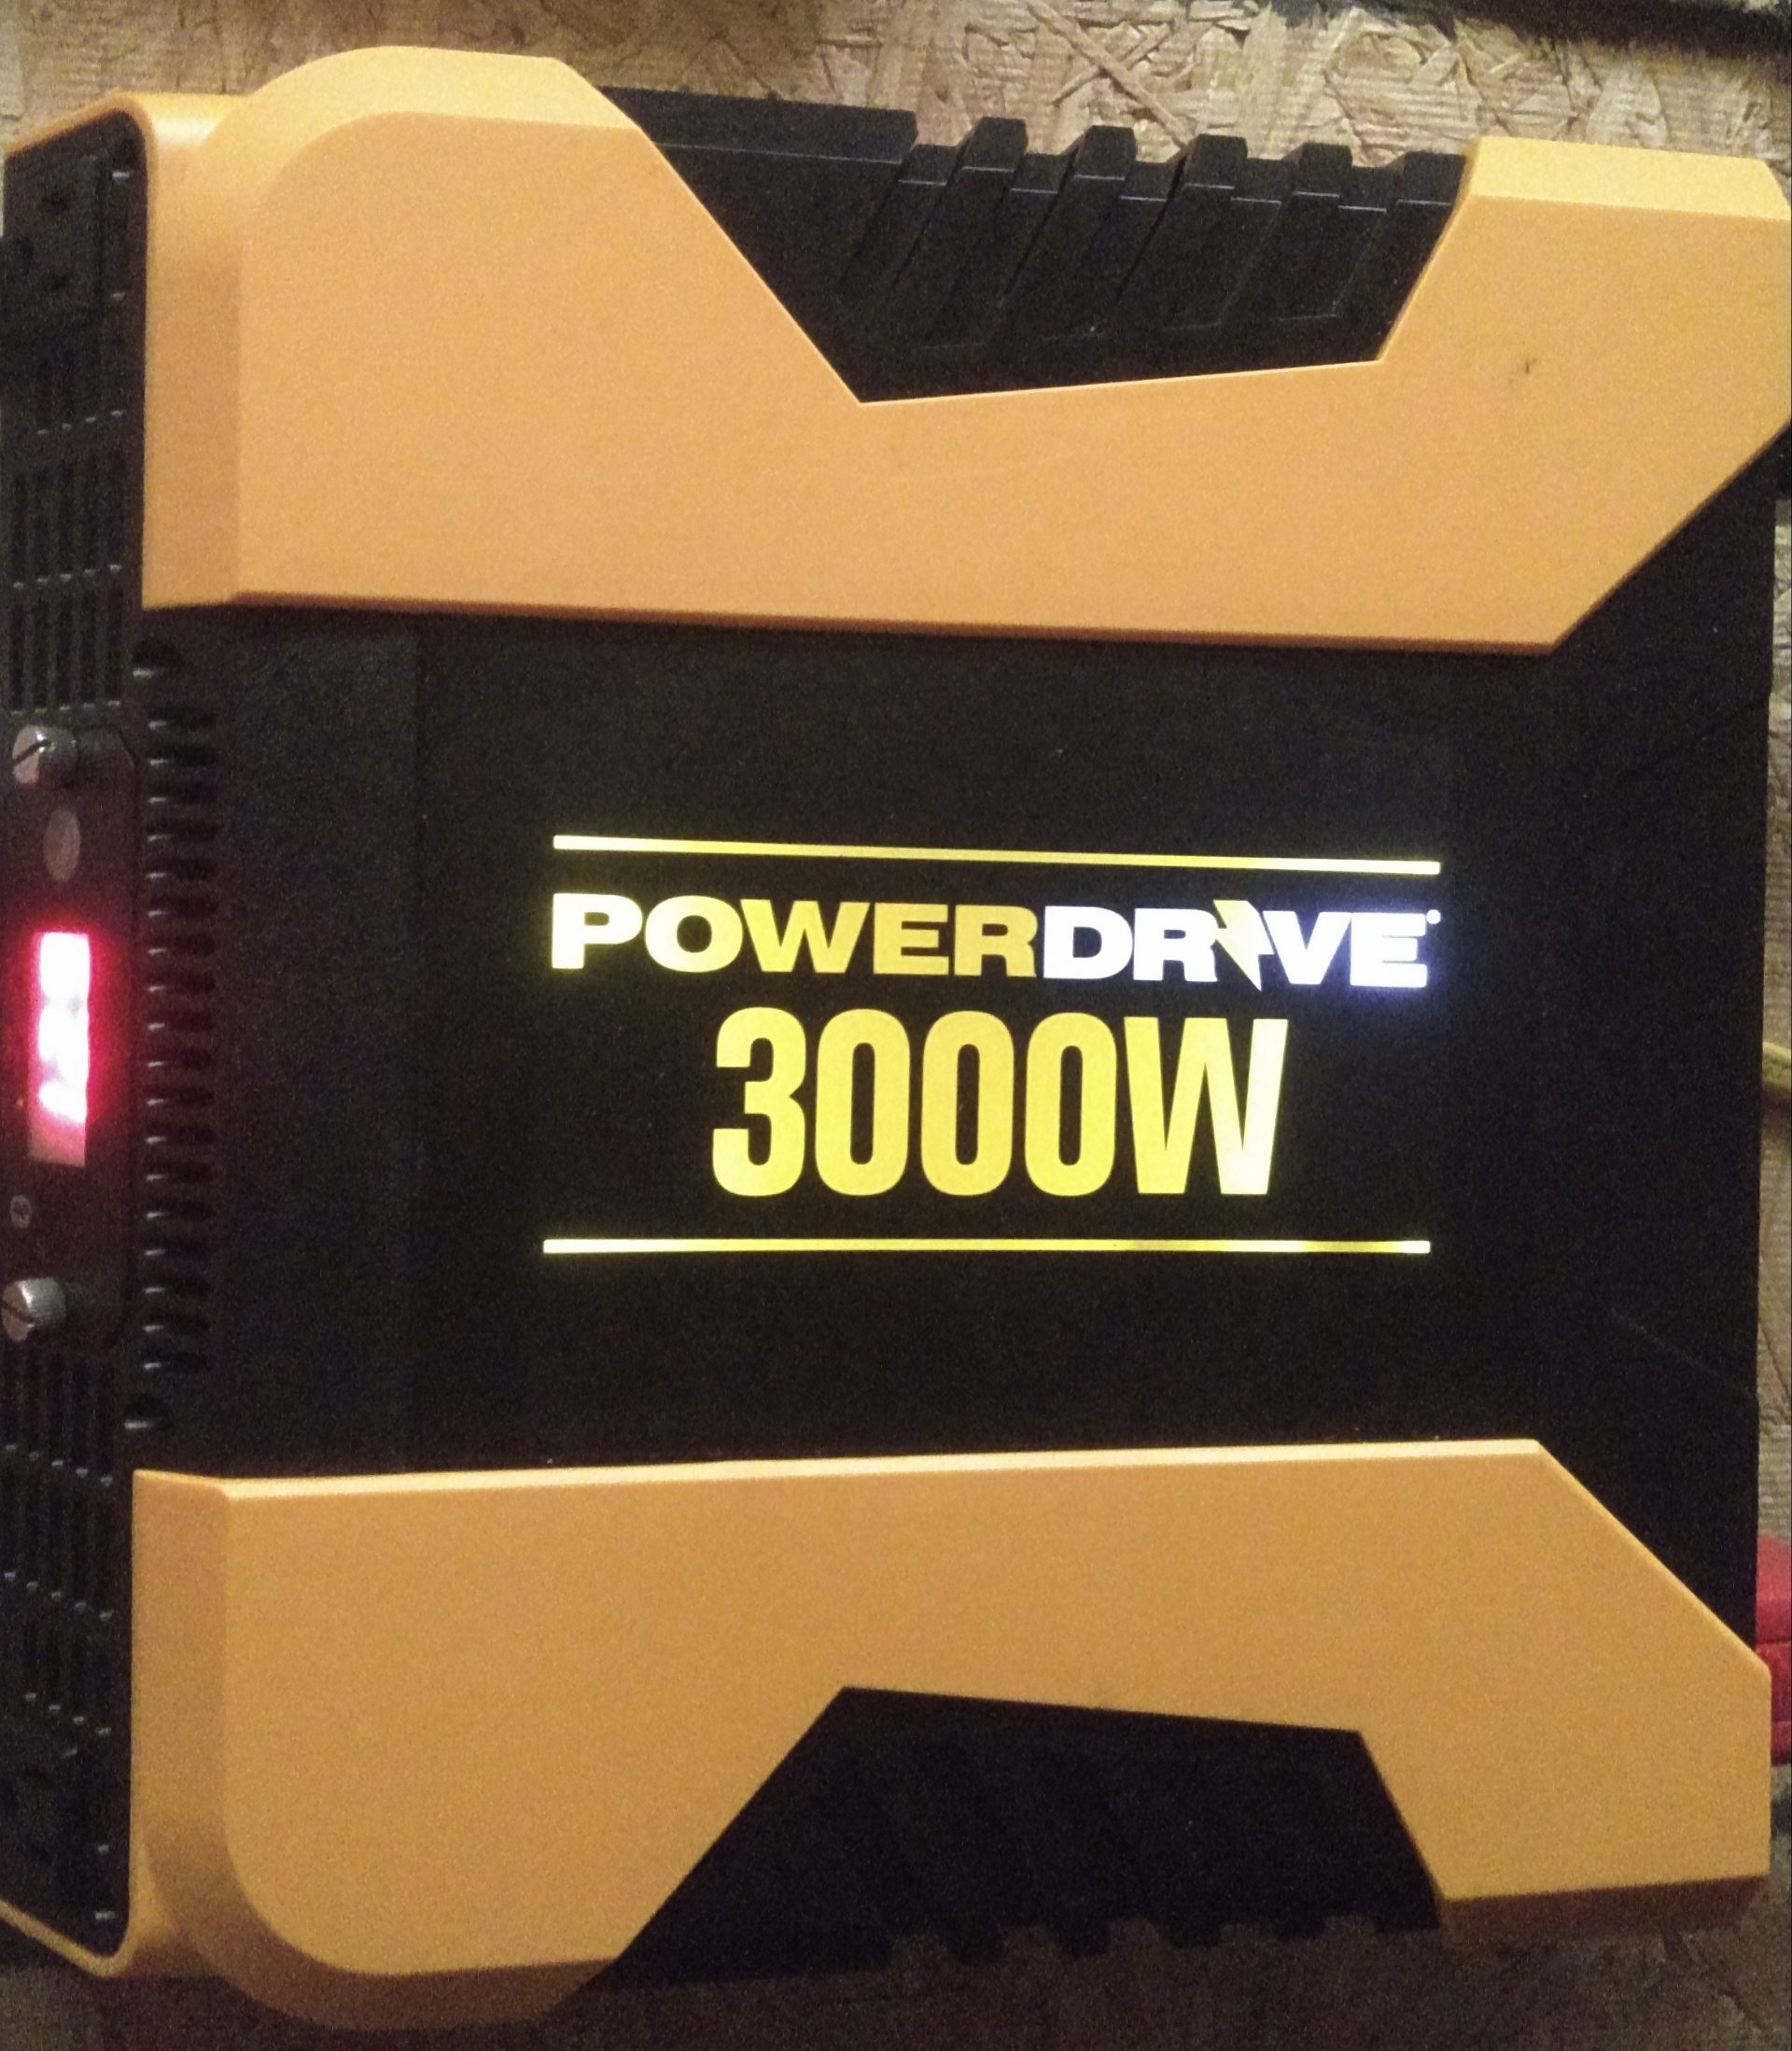
*This is our old inverter.
...BUT WHAT'S AN INVERTER?!?
In the world of solar power, your inverter is what turns the stored energy in your batteries(13-15 DC volts) into household voltage(110/220 AC volts).
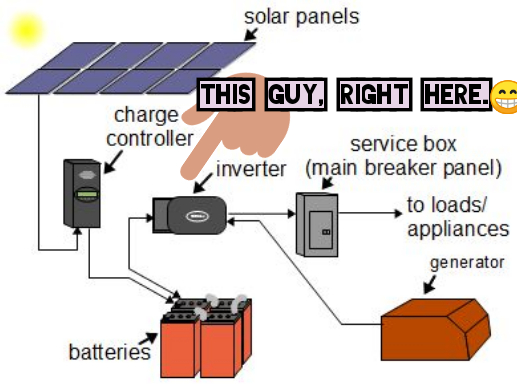
*Source, Rimstar.org, with an edit from yours truly.
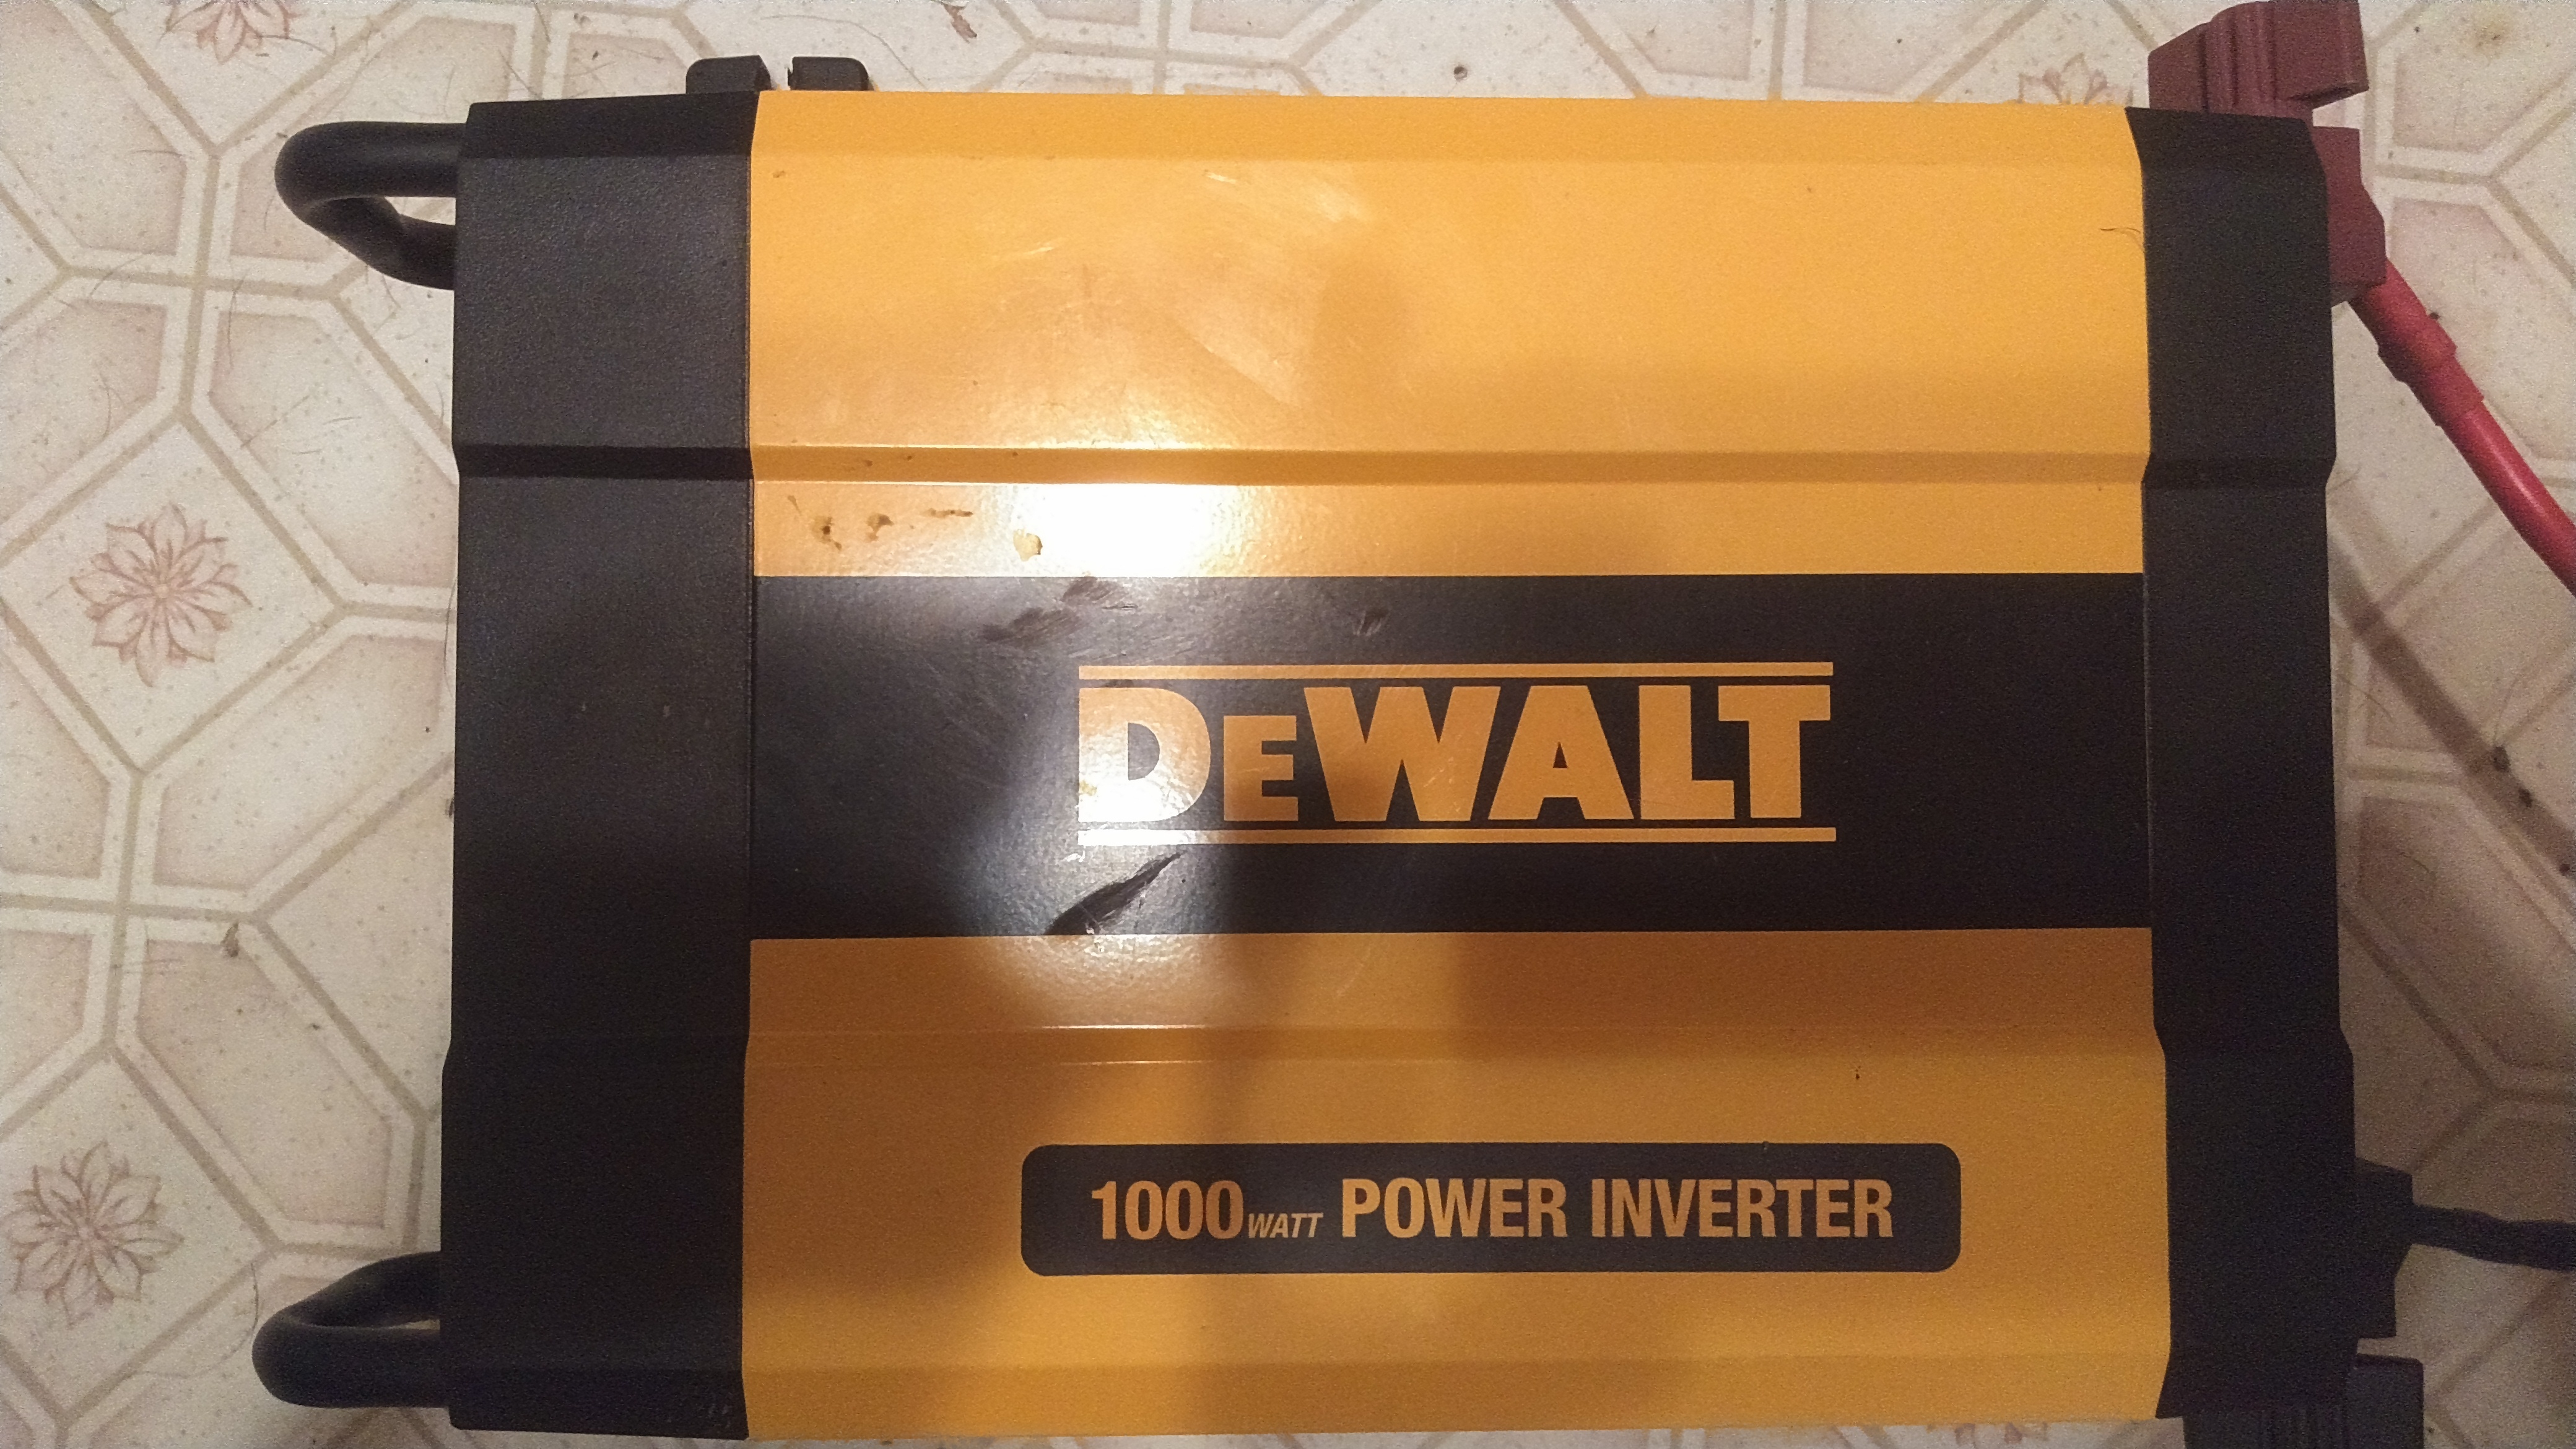
So...it was time for an upgrade, and I already had one. It had been at the homestead for a couple months but other things had taken priority over replacing it. But after doing so, and using the saw to cut oak effortlessly I'm so glad I finally did it!
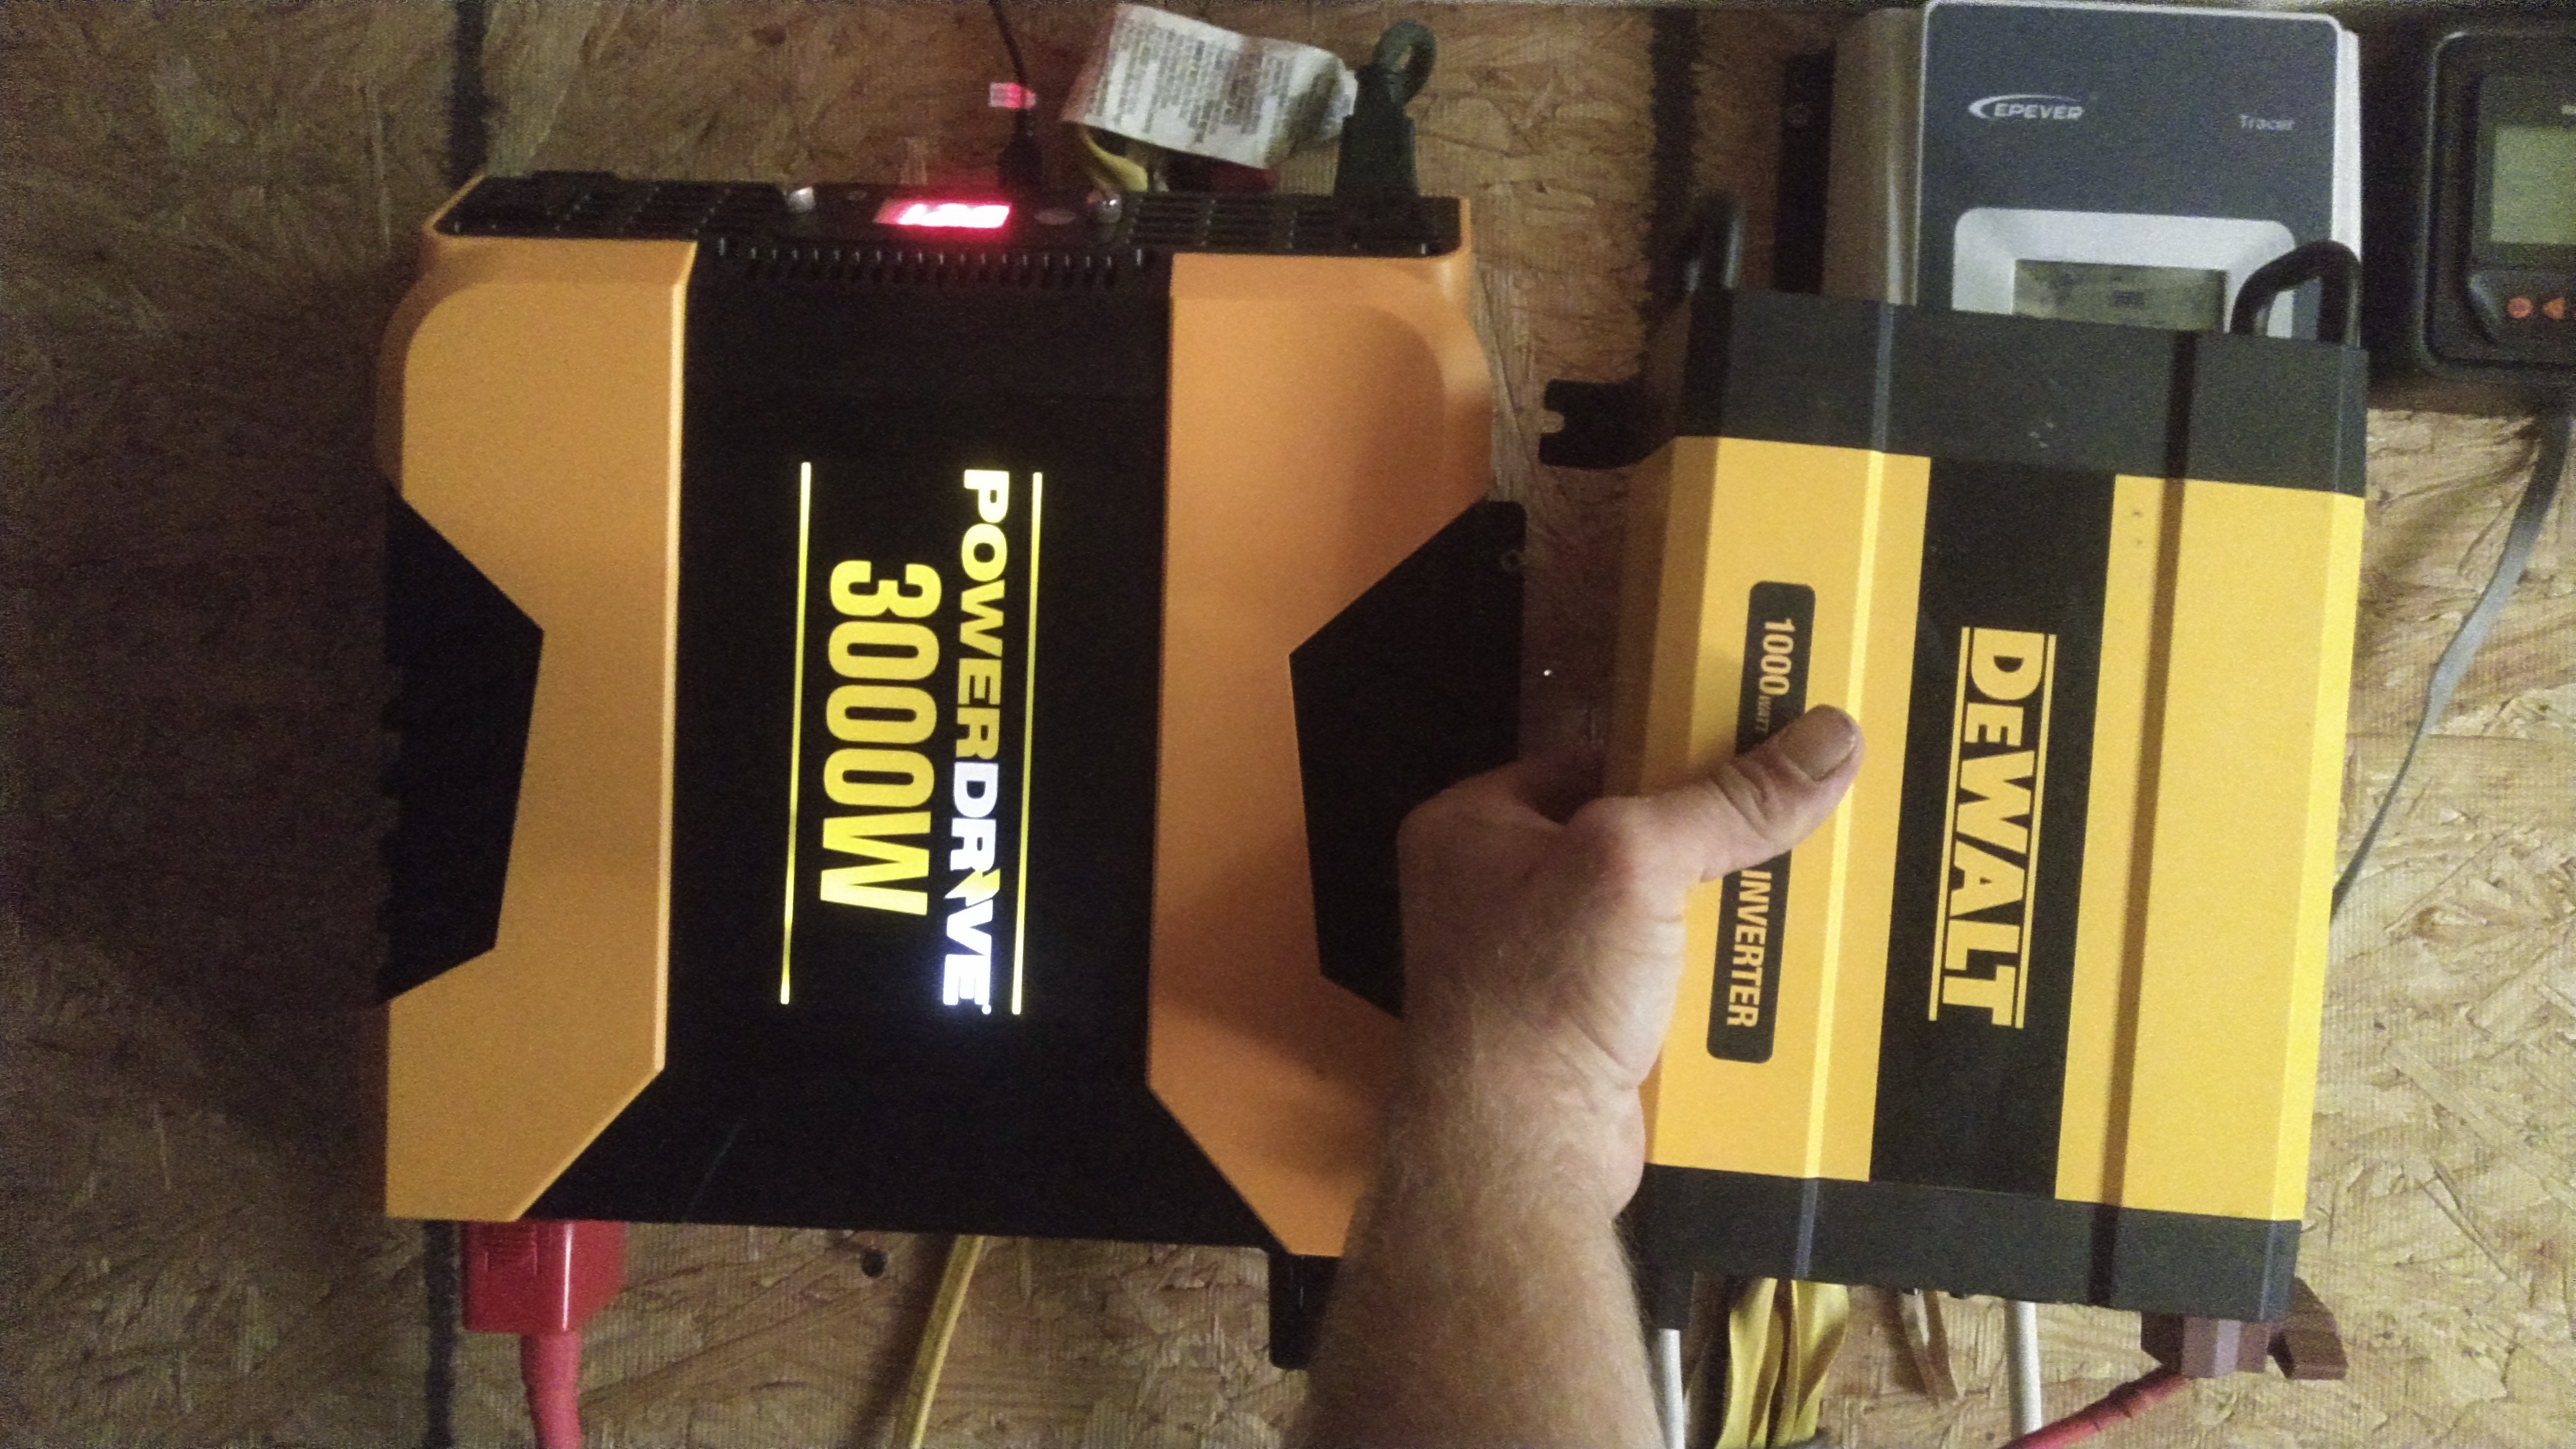
*A side by side comparison of the old and the new.
OLD BUT NO WHERE NEAR USELESS
Our original inverter will still be used in the long run but not to power the main cabin most likely. I believe it will be used for the farmside(animal buildings, sheds, exterior lighting, etc) of the homestead.
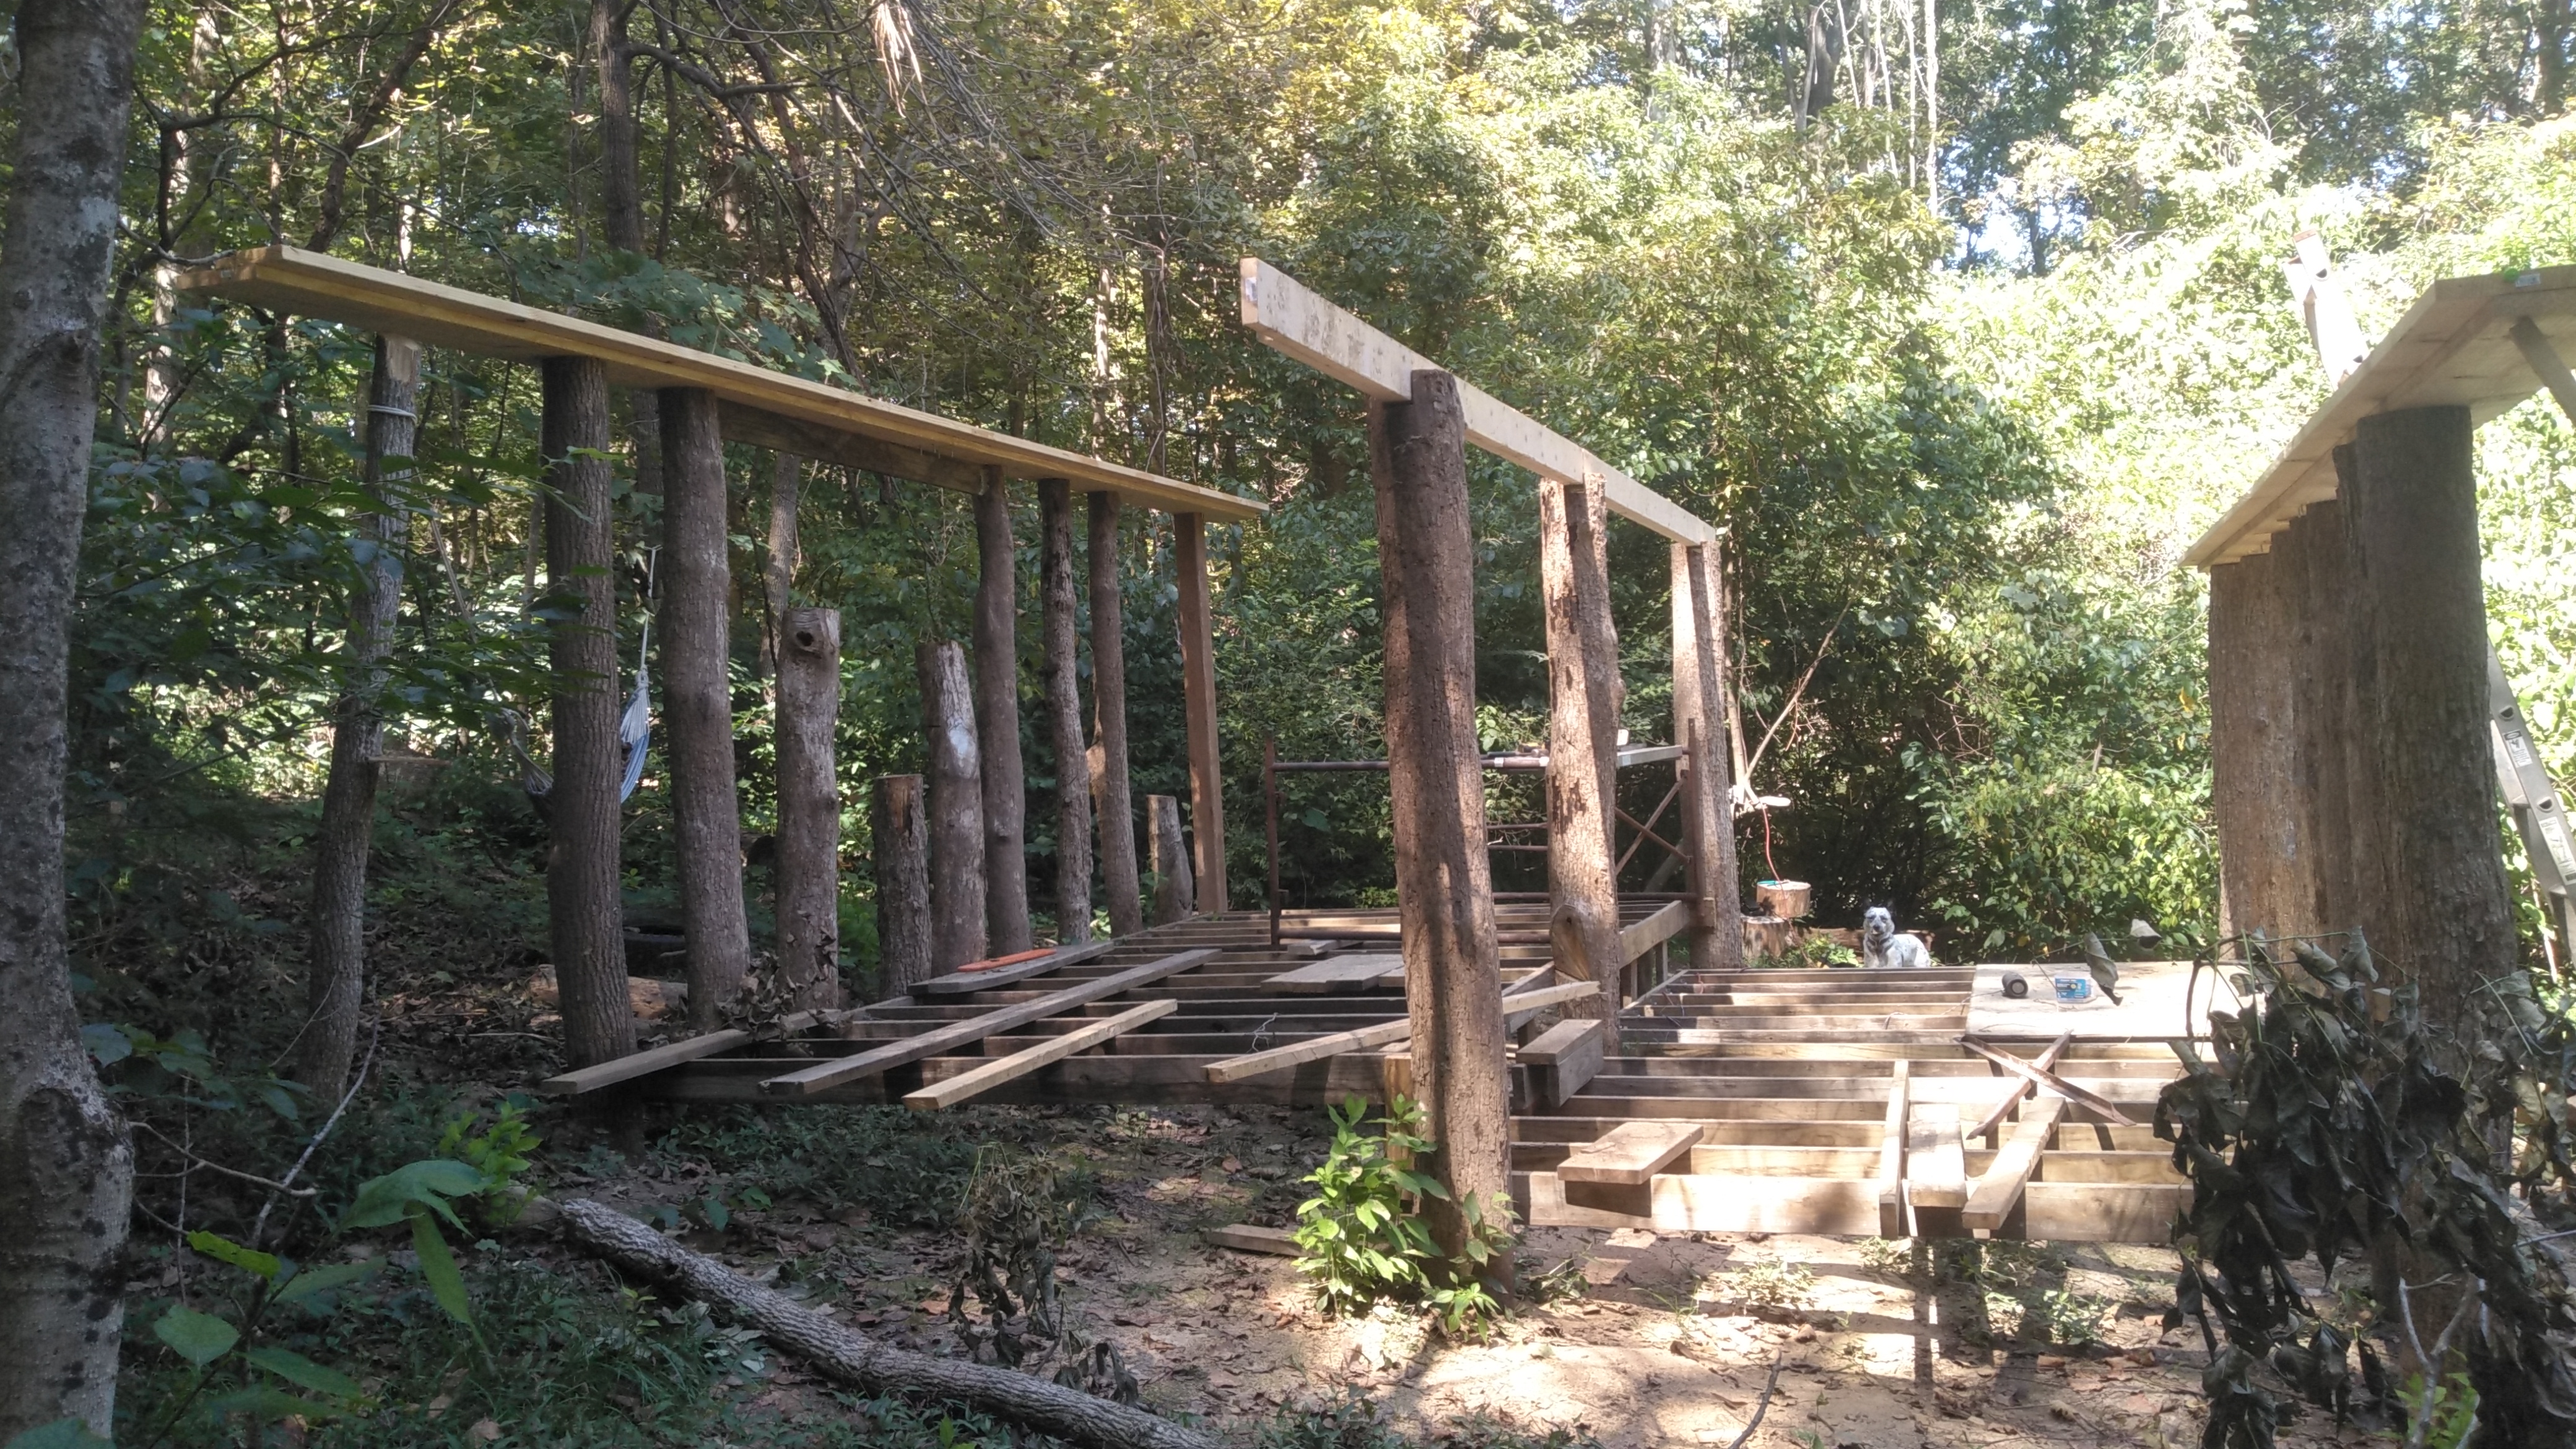
THE MAIN CROSSBEAM IN THE CABIN
It has been installed and that means my next step will be installing the trusses that will transverse the roof structure. The beam is made from four top grade 2x6's, essentially making it a 4x6. I also offset the mating area of the boards to further increase the strength.
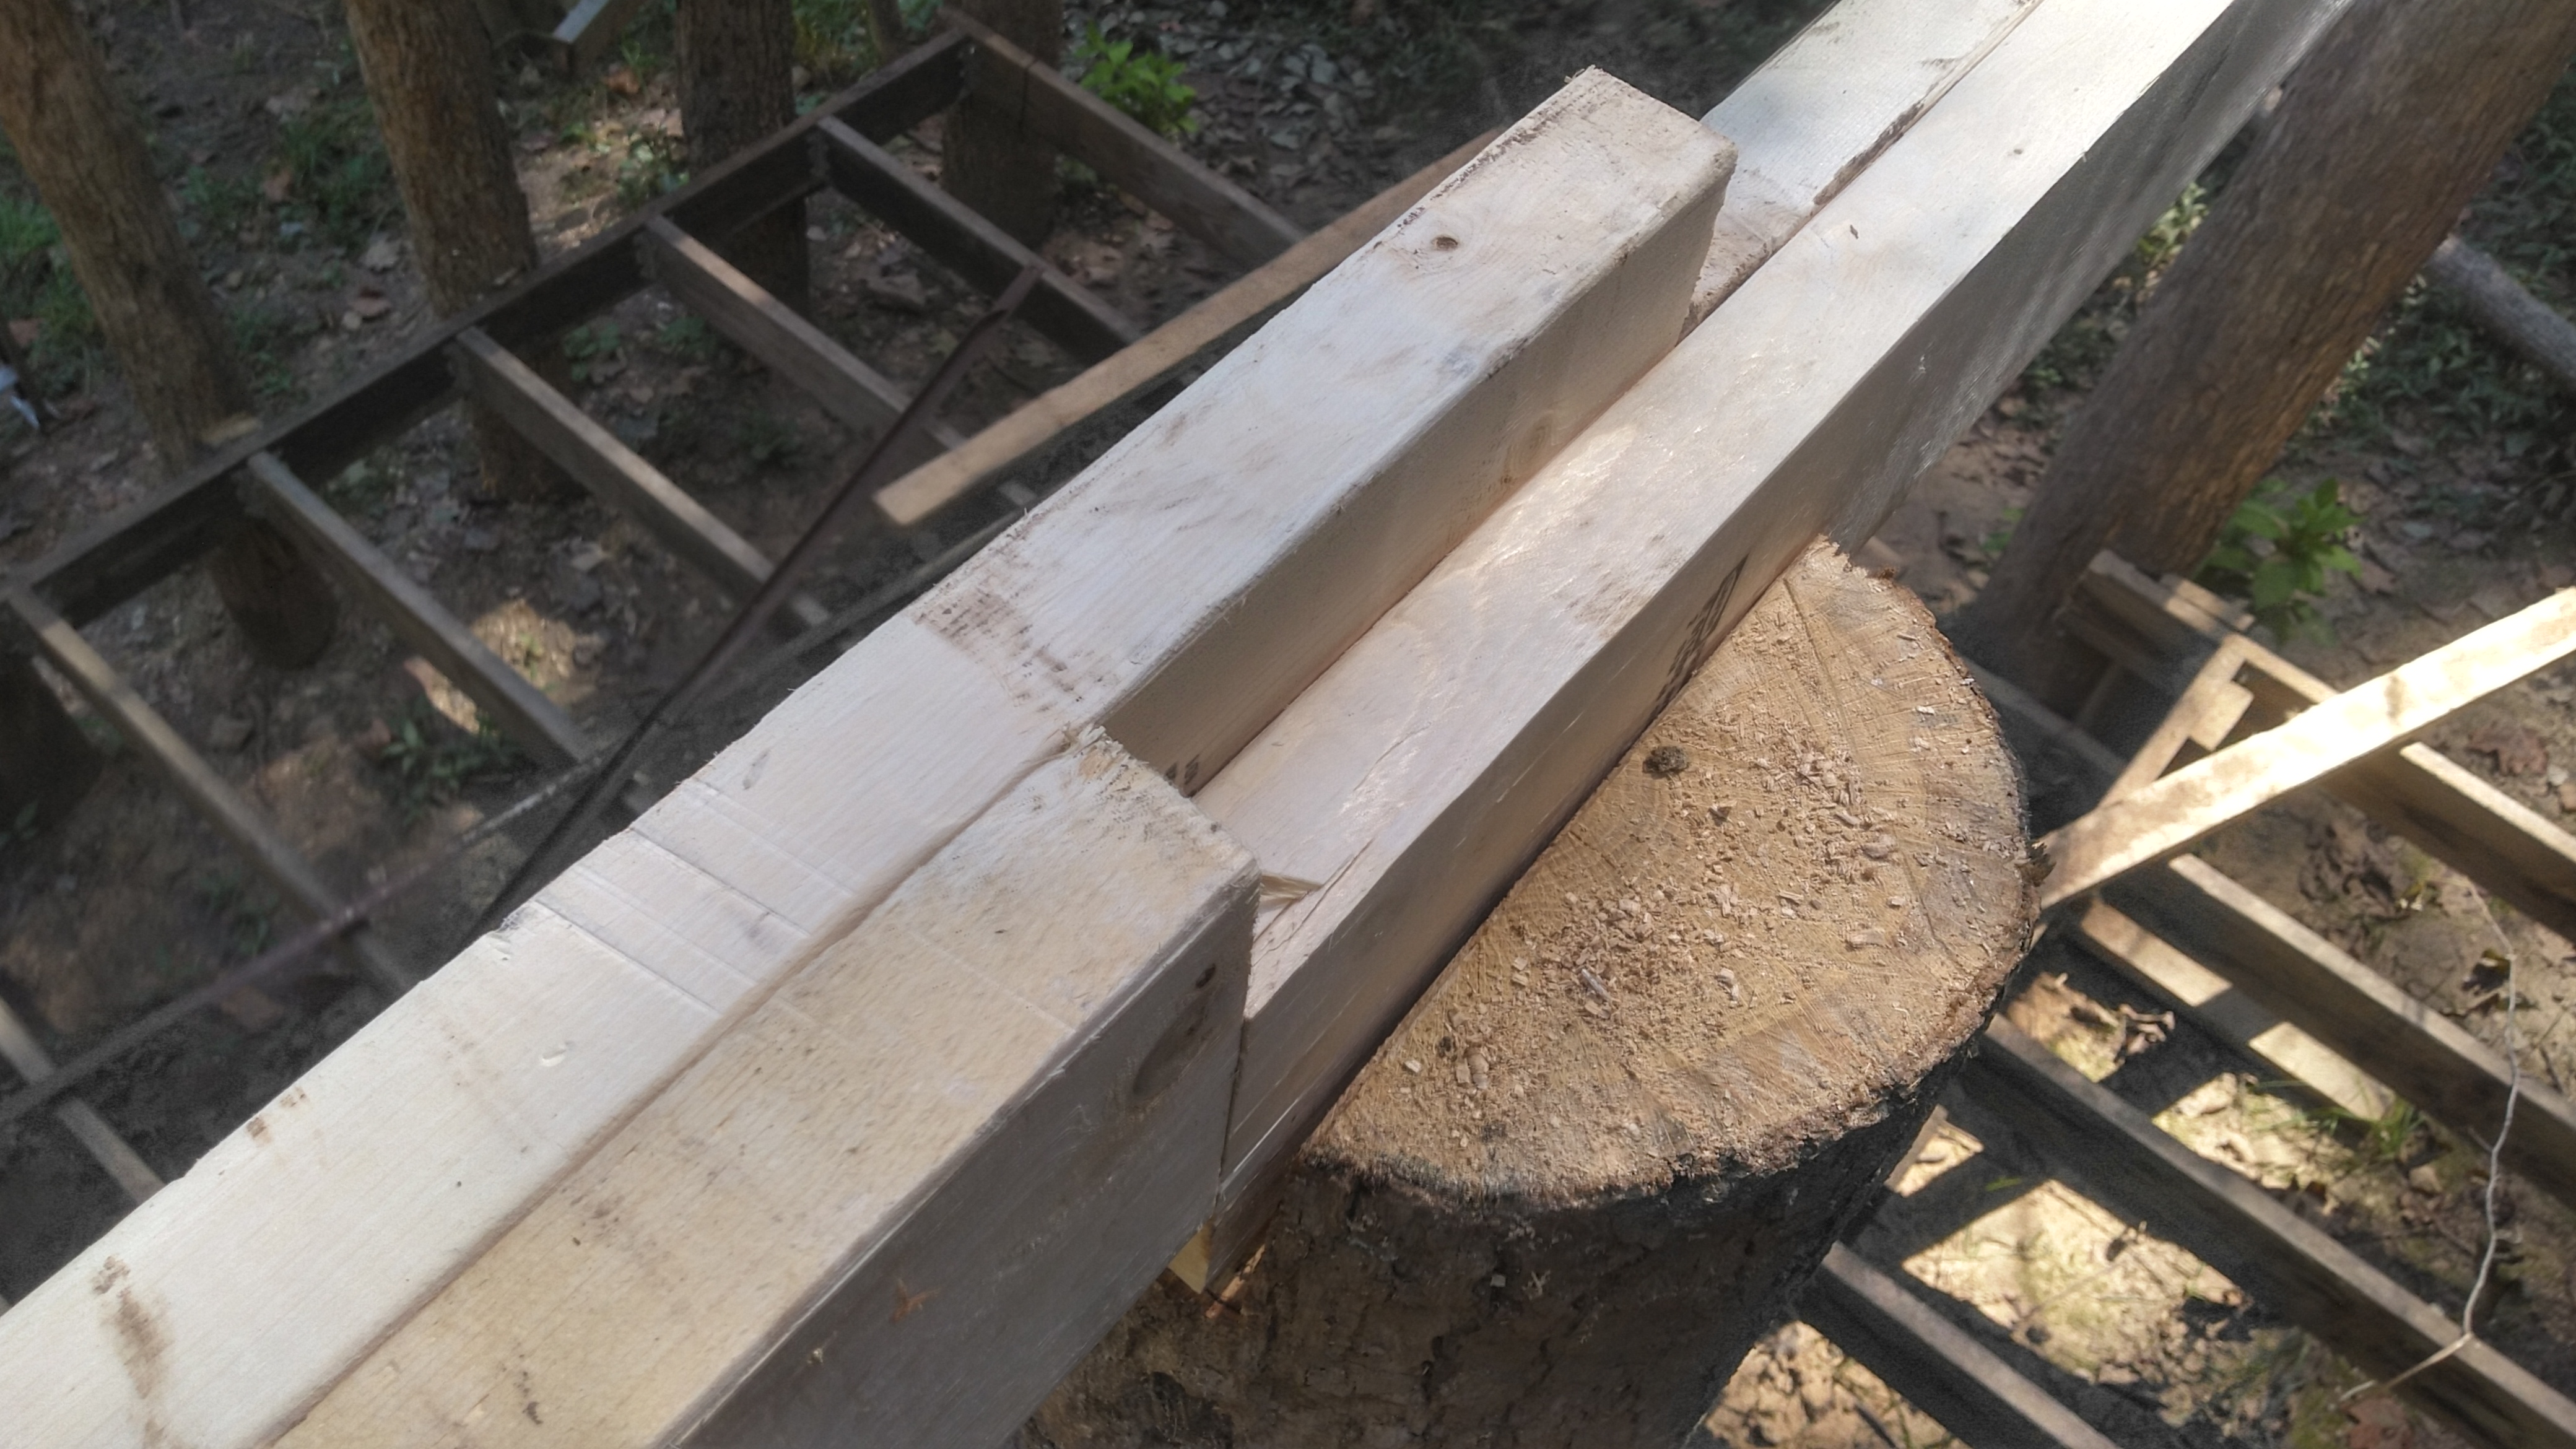
Before I placed the beam though, all the center support logs had to be notched out. This work is what prompted me to upgrade the inverter I talked about earlier. First, a string lime was pulled across the tops of all the logs and line were marked. This was done to ensure the support beam would line up properly with all the support beams.
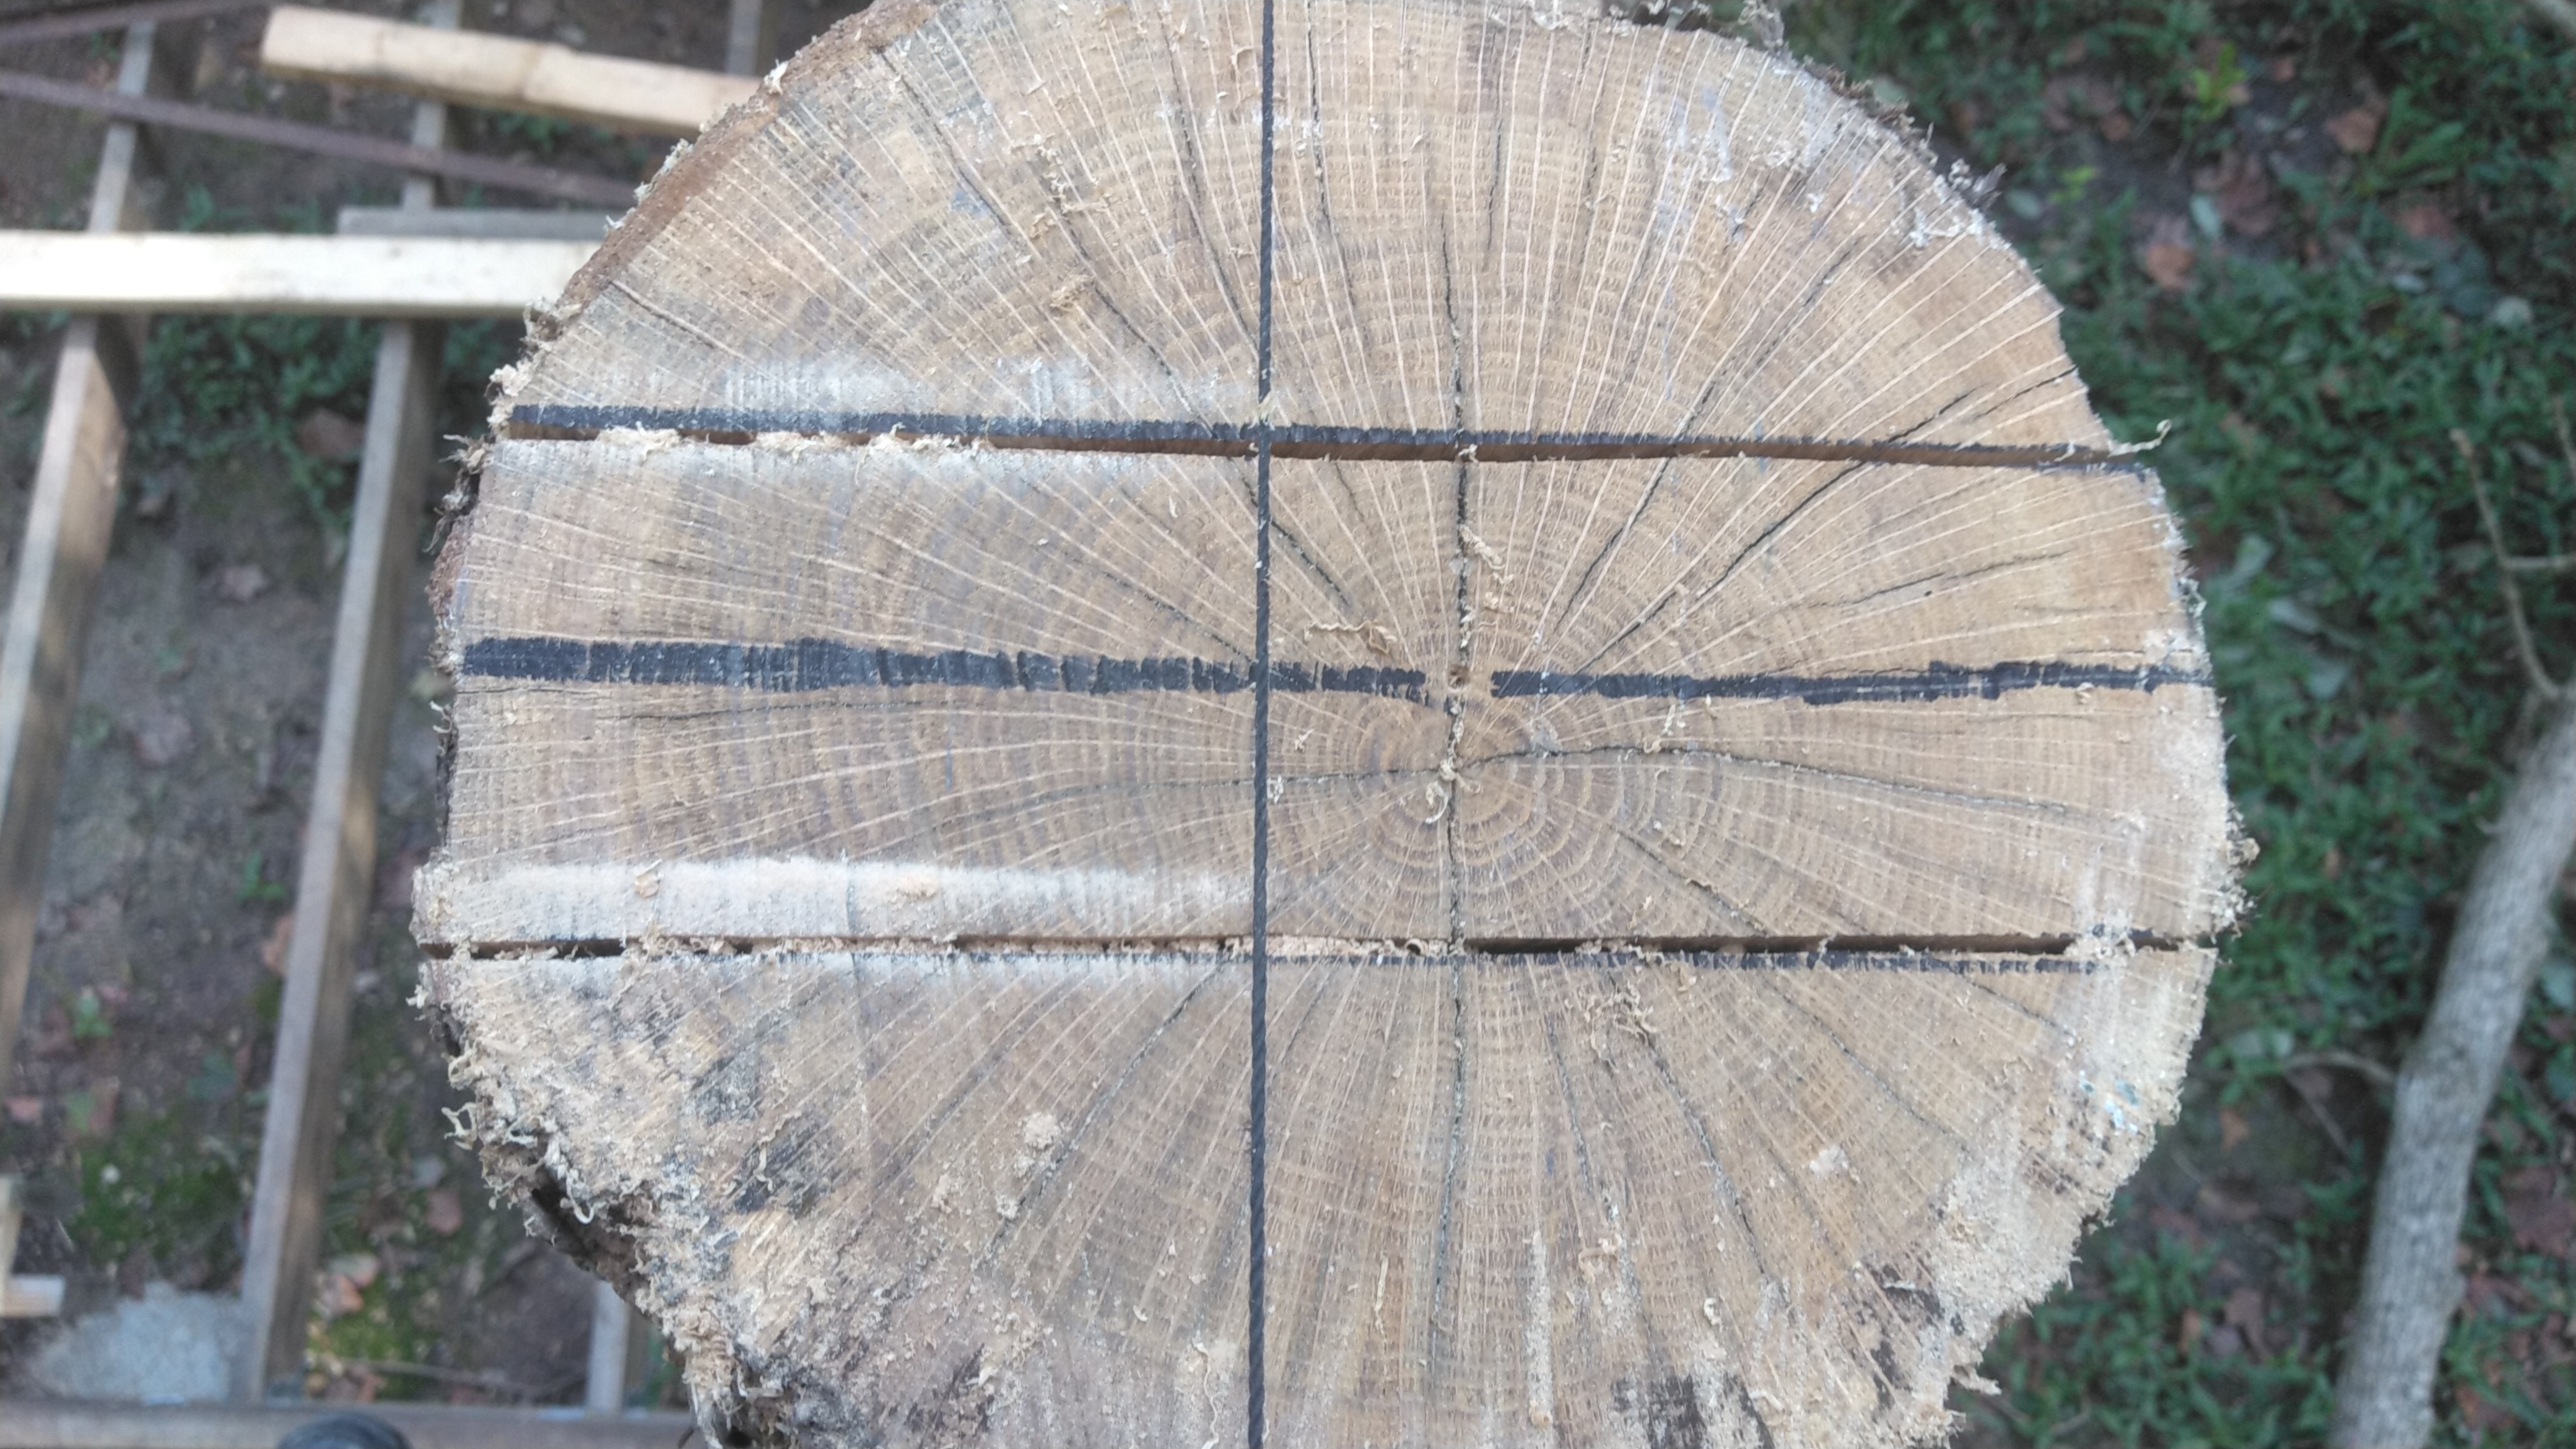
After that(as you may have noticed in the picture above) I started cutting out everything in between the lines.
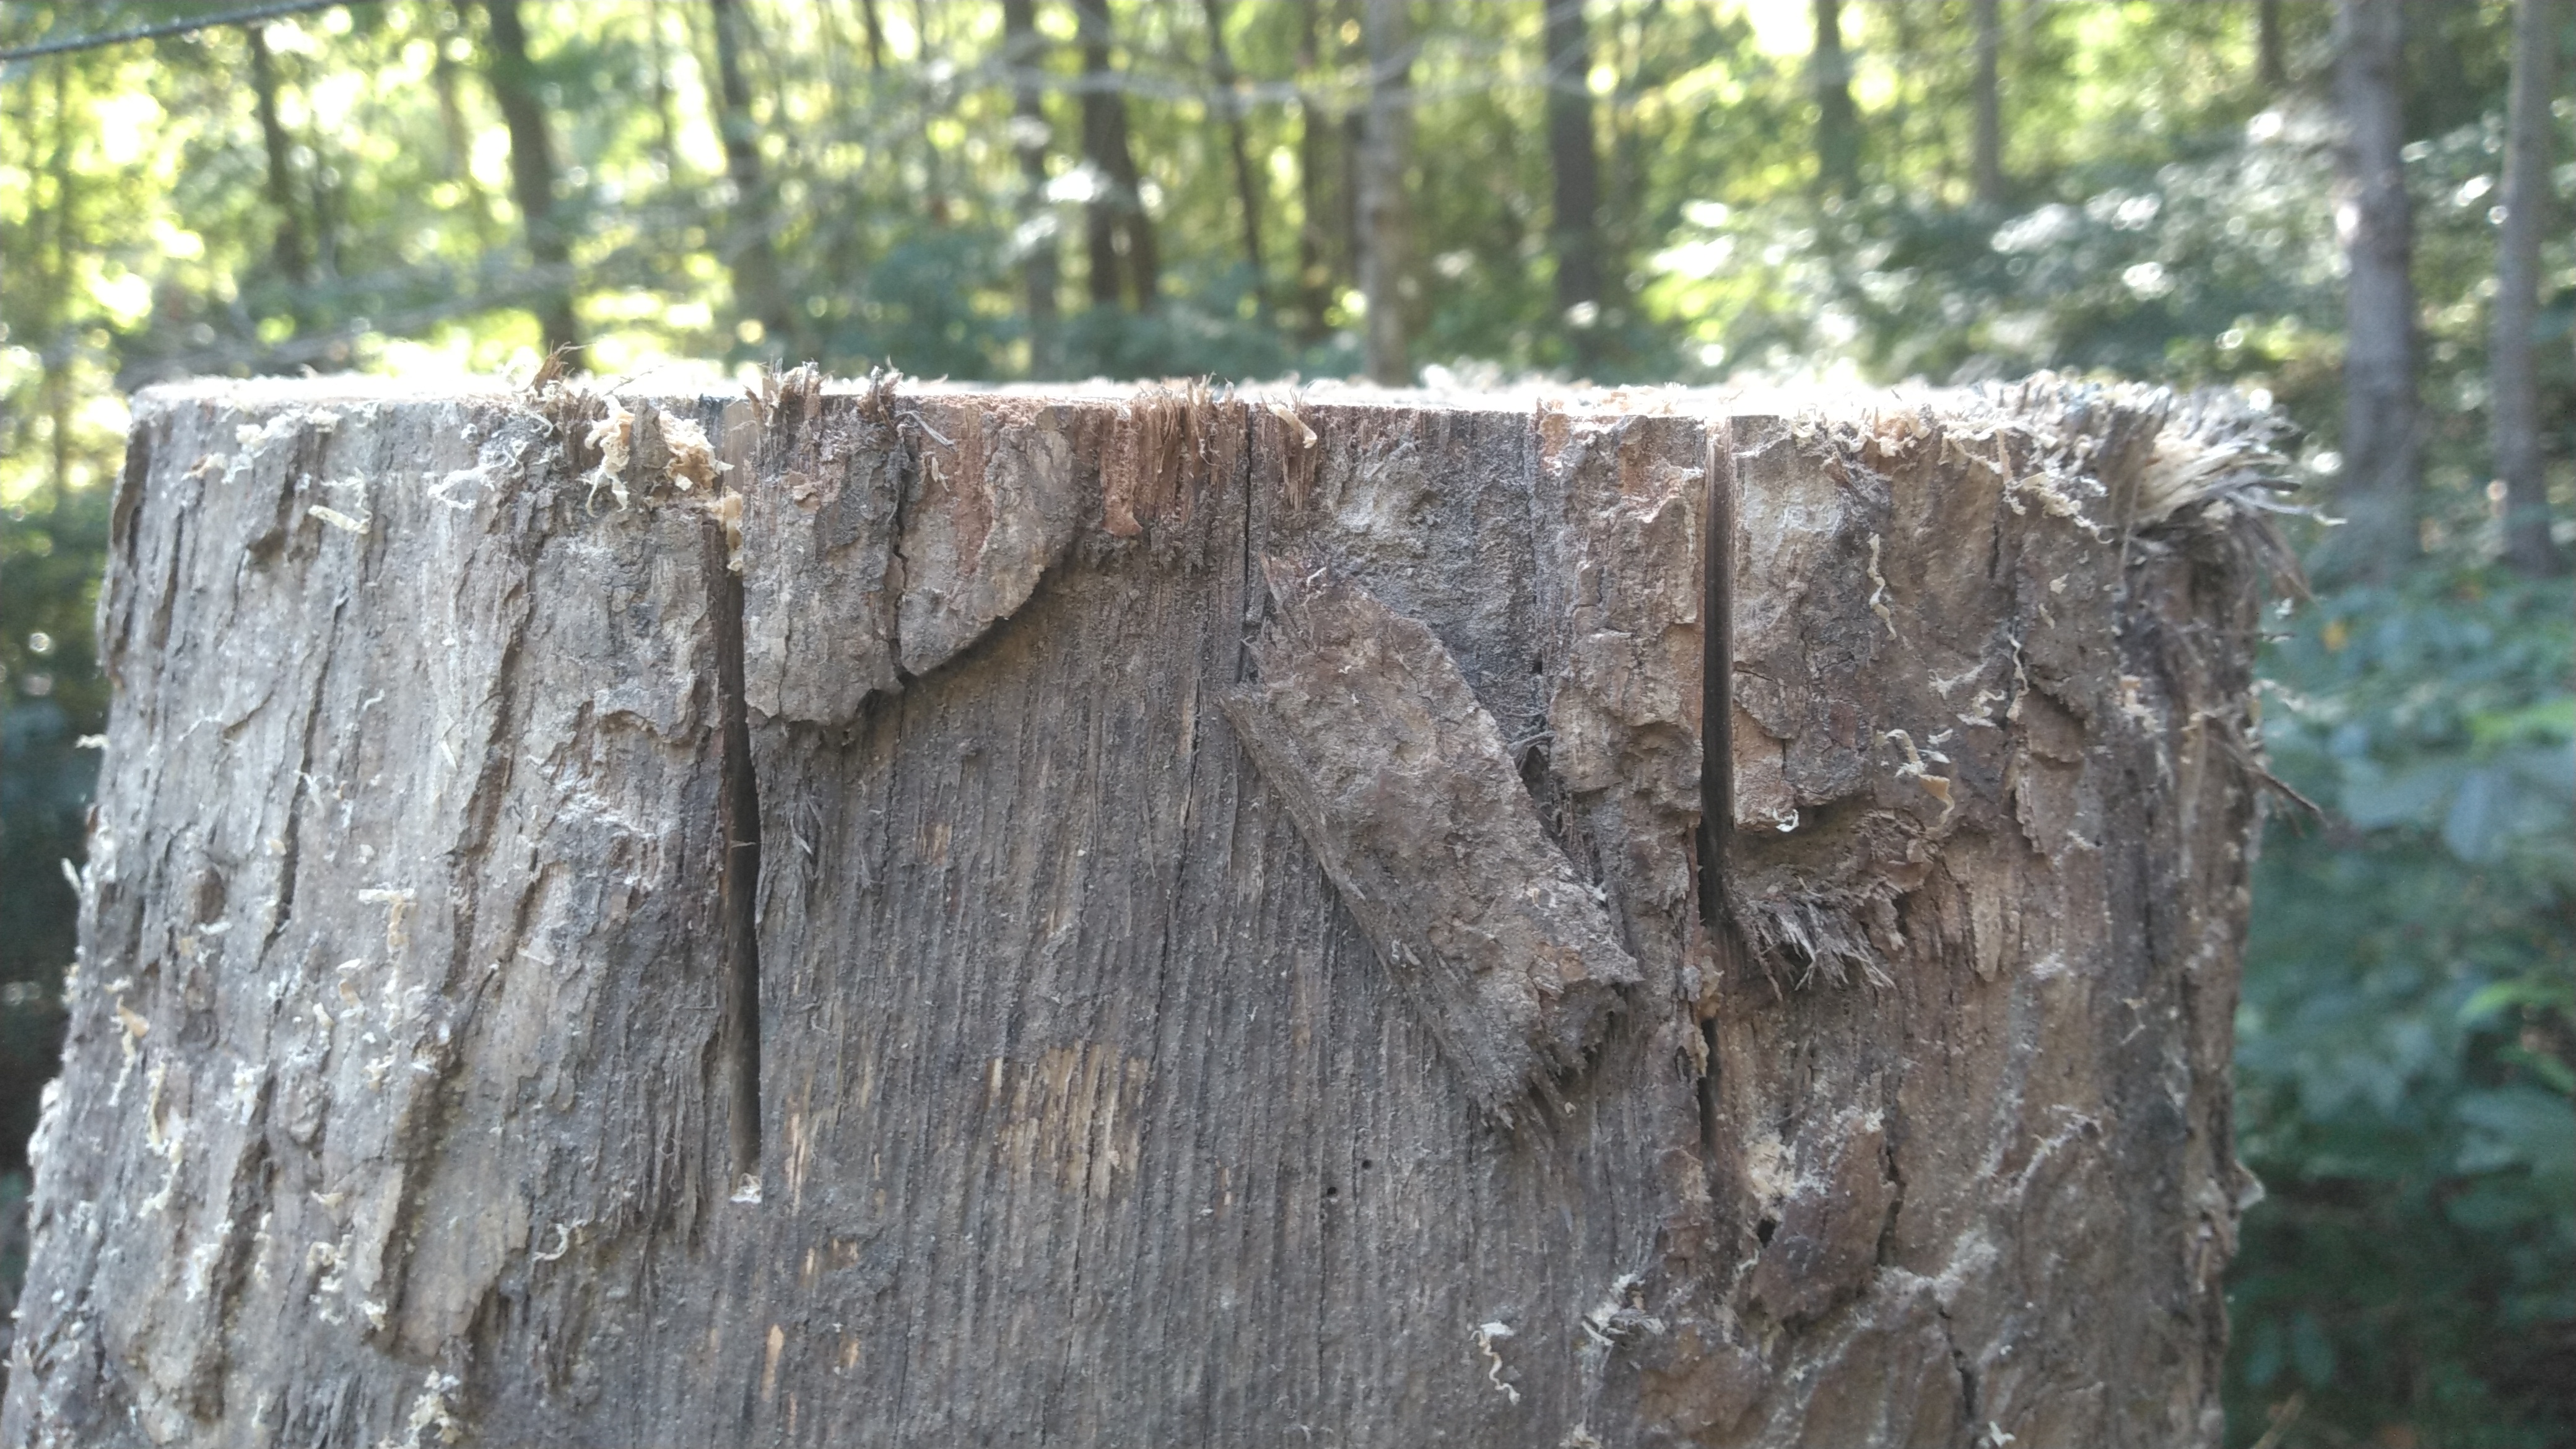
*At the start...
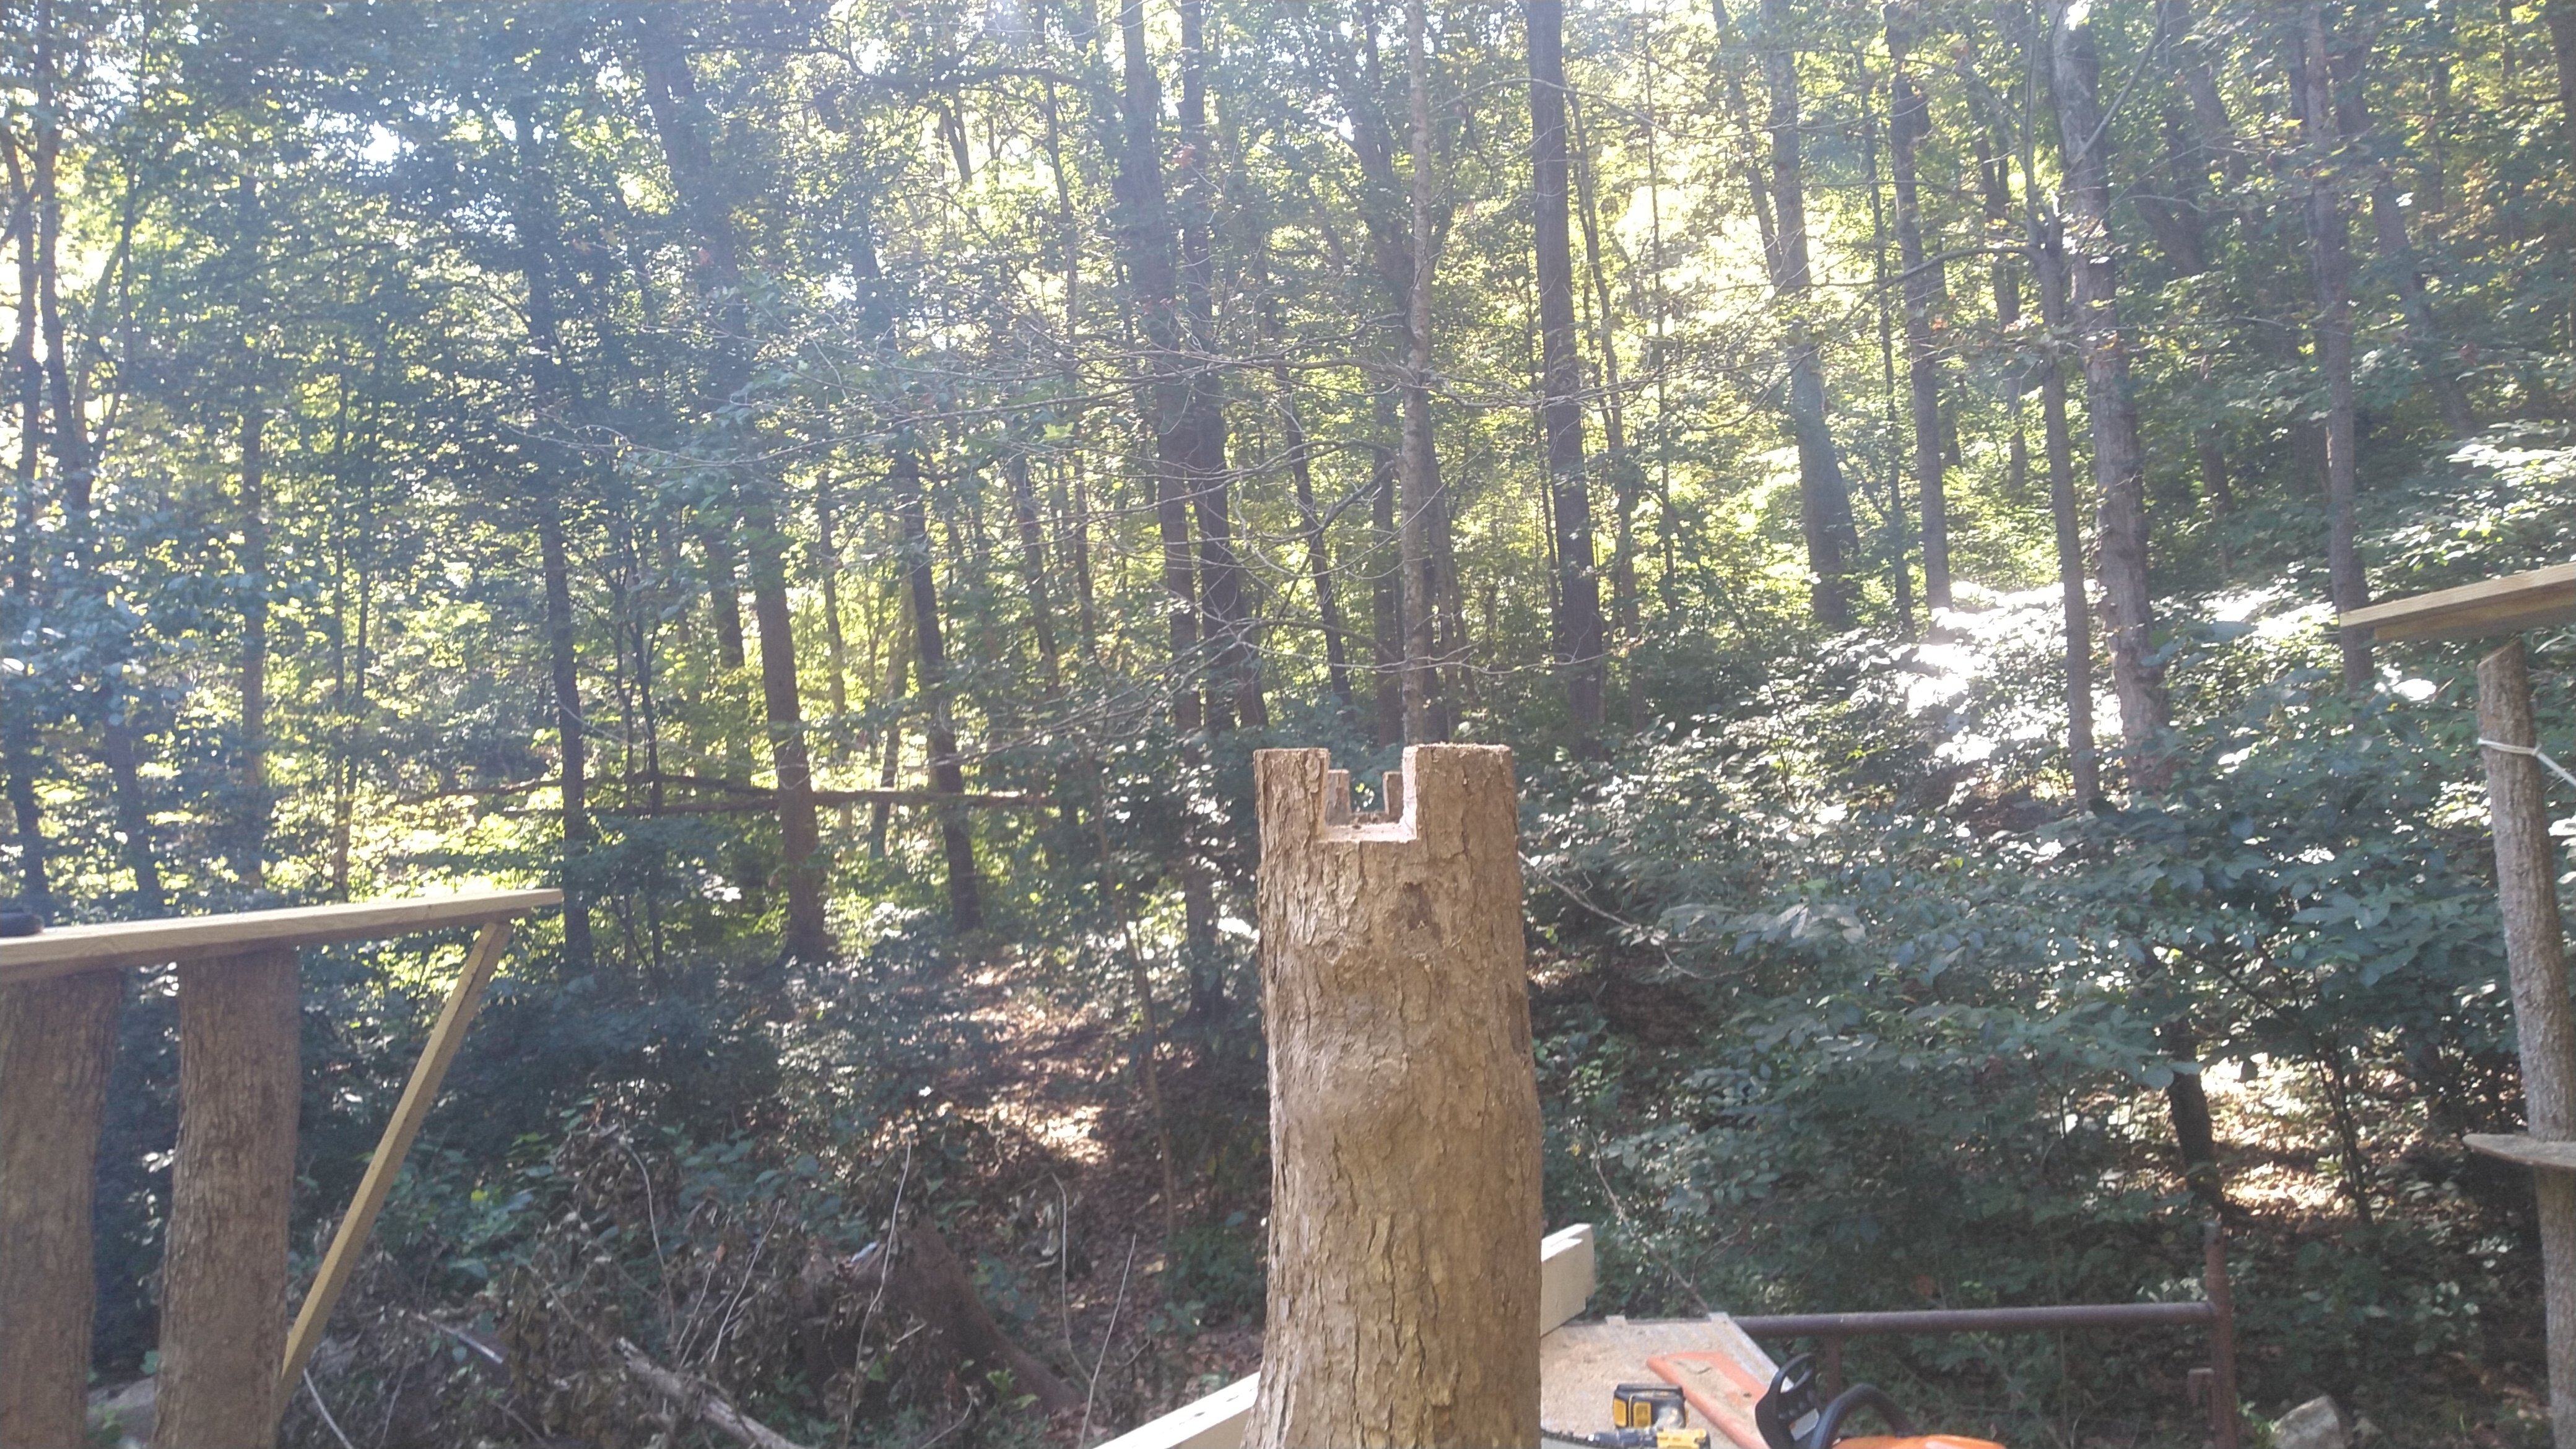
*All finished up.👍
I have prep work for my son's birthday party this weekend so I was not able to completely finalize installing the reinforcement brackets, but I secured it with some screw to hold it temporarily. I think it's looking really good so far. What do you think? Please let me know in the comments below if you like it, or have any ideas, questions or suggestions. I'd love to talk!
I’ve featured your post in The Lotus Garden newsletter, which will be published tomorrow.
Curated for #naturalmedicine (by @minismallholding) - join our community here.
The Lotus Garden is a newsletter supporting content relevant to Homesteaders & supported by Natural Medicine. Earn LOTUS & HIVE for your #homesteading content!
About II Discord II Community
And here you are again my dear friend! Thank you so much for all your kind support! I'm going to owe you a bunch of hugs!🤗🤗🤗🤗
Glad the new inverter is doing the job.
Me too my friend! It will be a big help!