Welcome back, curious readers, to another recap of my after work activities on the homestead! I've been doing a much better job at keeping up with the property this year. Part of the reason for that is better weather... so far the rainfall has been more normal, so I've had more opportunities to get outside and work, and I've been able to work in the dirt, not just mud. Another part of the reason is that I had ample opportunity to get all the yard tools tuned up during all the rain last year, so everything was ready to go and has been running perfectly.
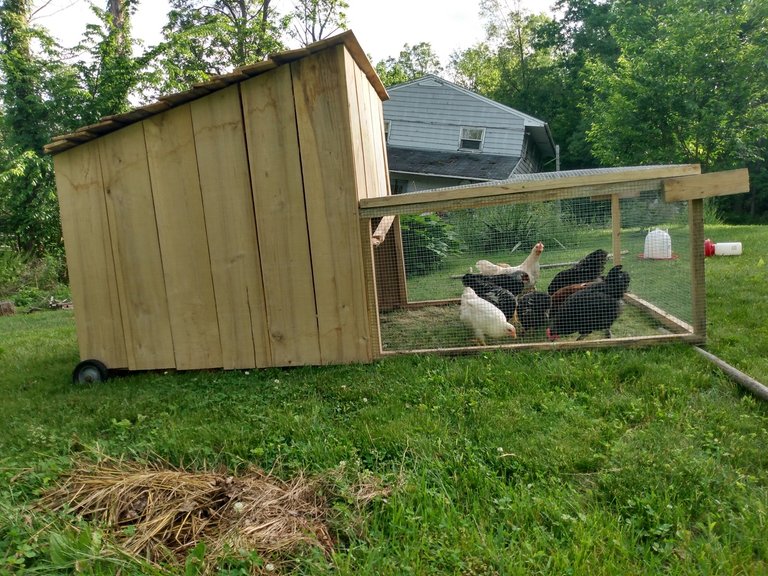
The new chicken tractor has been performing just as I'd hoped (which is a huge relief), although there were some difficulties to work out, things to repair already, and finishing touches to add still.

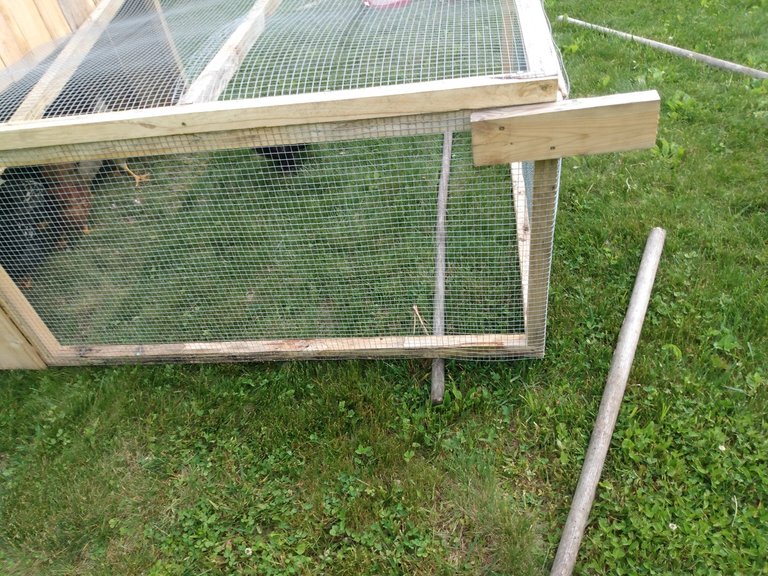
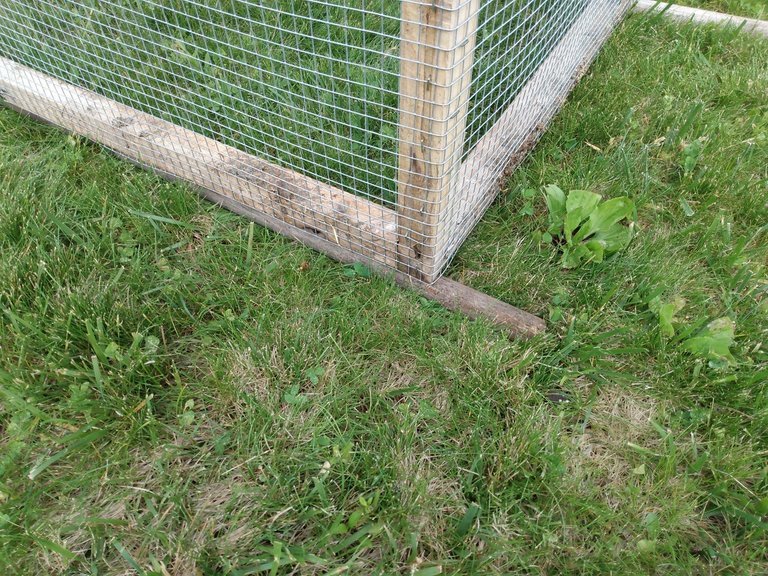
To wheel it around, I took the wheels from the old chicken tractor and mounted them on a 2x4 that was a little over 4' long. These wheels were way too small for the old one, and I plan on putting larger wheels on it when I do the other repairs it needs.
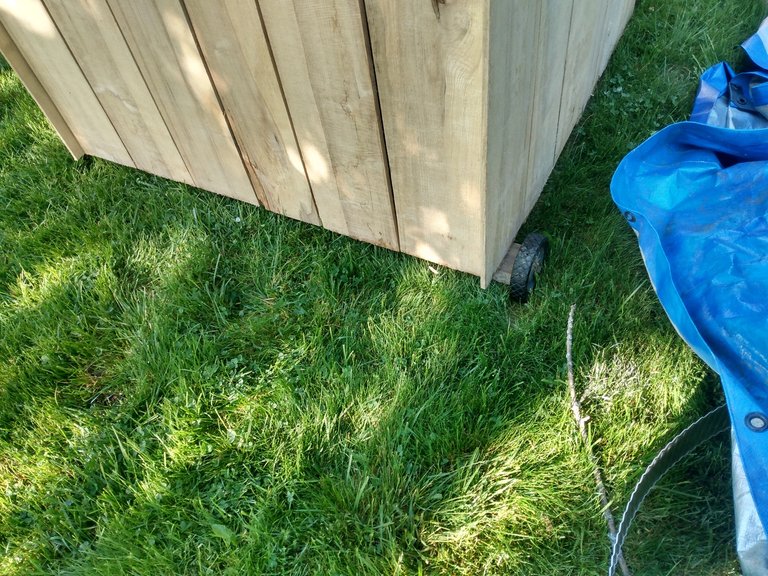
I can lift up the enclosed end and slide the wheel assembly underneath, so all the weight of the tractor is on the wheels when I'm moving it. I want to be able to remove the wheels, because I plan on keeping baby chicks in here at some point in the future, and they can fit through the gap underneath the frame when the wheels are in place. The chicken tractor weighs about 60 lbs., which is well within my ability for now, but in the future, I want the wheels on a lever, so I can easily raise or lower them. You can see something similar to what in have in mind in this post by @goldenoakfarm.
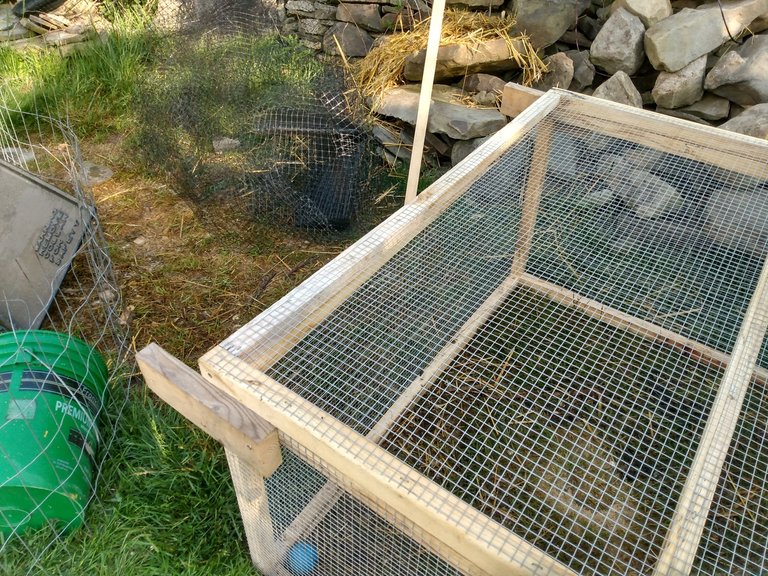
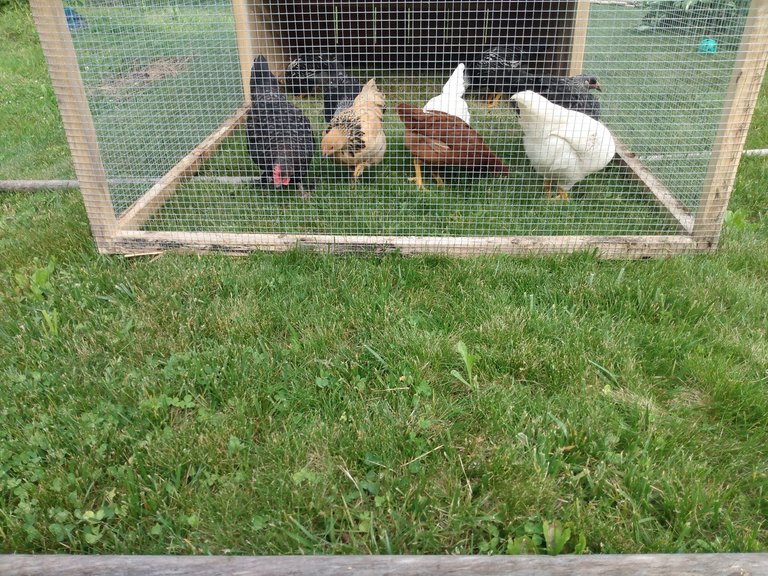
I screwed a couple stub handles on the wire end, and I can easily lift this end and roll the chicken tractor on flat ground, without removing the chickens. I do have to remove their food and water dishes, and any larger debris from things we've tossed in for them, like corn cobs.
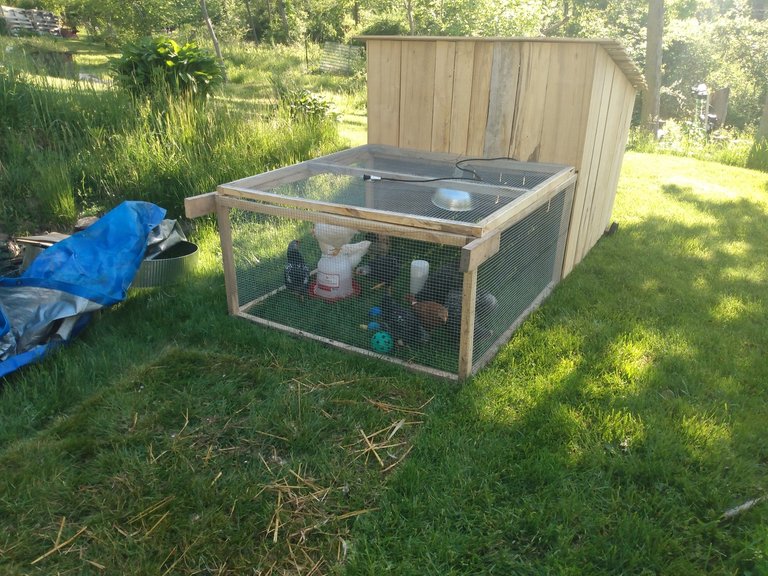
The photo above shows it after the second move, which took less than a minute, and I didn't even break a sweat. At this point, all the chickens are large enough that I've been leaving the wheels in place. I'm currently moving the chicken tractor every 2-3 days.
For most of the move up the hill, I've been able to just put some old rake and broom handles under the front of the frame. The work as rollers, allowing me to push the tractor up the hill from behind. The slope is too steep for me to pull it from the front, because my shins hit on the lower part of the frame when trying to drag it uphill.
On this particular part of the hill, I'm going over a 'bump', and the rollers in the front aren't tall enough to stop the frame from dragging in the middle, as you can see in the photo above.
This problem was easy to solve with more old handles. I pushed this old rake handle back toward the middle where the tractor was dragging, to get that part off the ground.
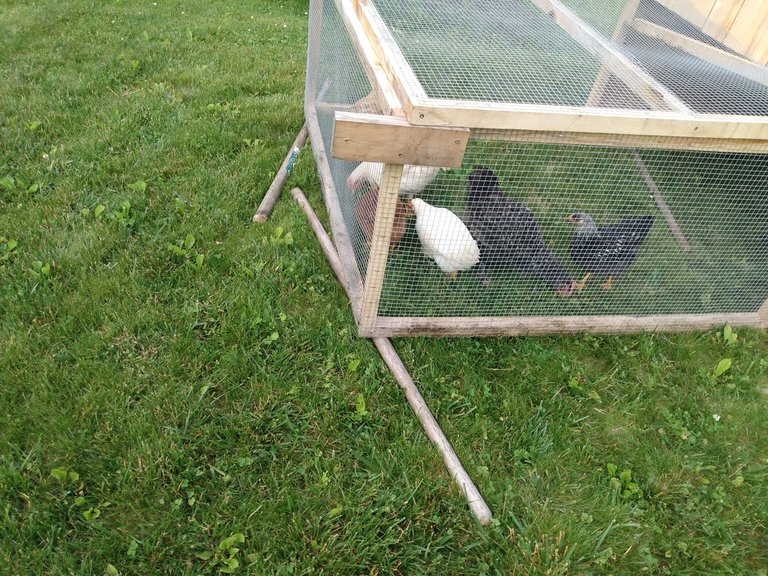
Then I put the front 'rollers' back in place. As I was taking these pictures, I figured out that by putting the front rollers in at an angle, like you see in the photo above, it helped keep the front up higher, and helped prevent more dragging.
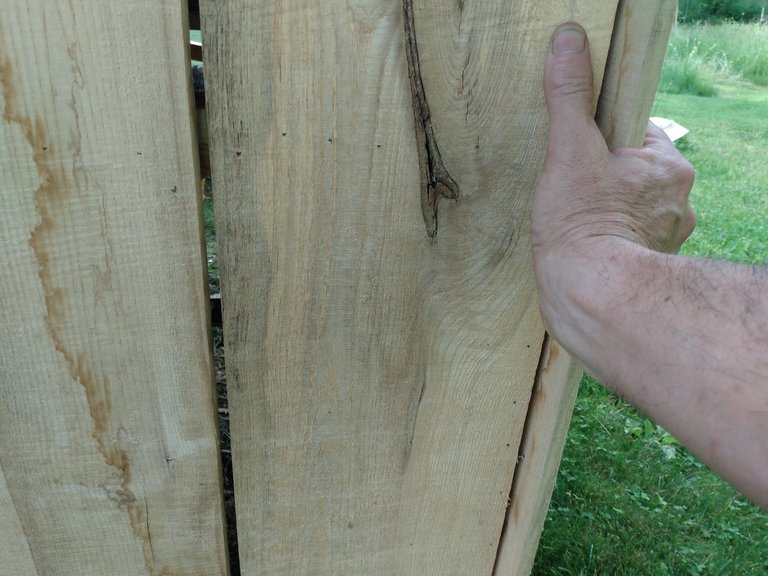
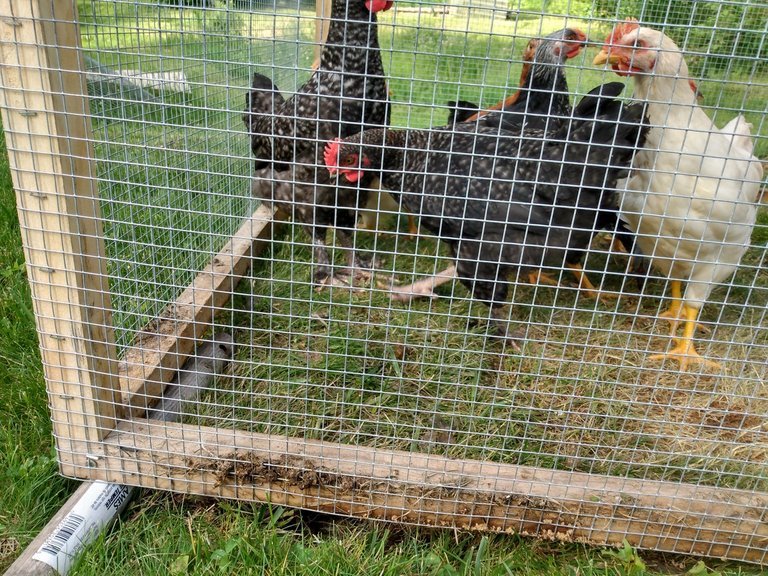
Because it is built with such lightweight materials, I have to be careful where I push on the back. If I don't keep my hands in line with the structure boards of the frame, I can easily push right through this siding.
On this particular push, I moved the tractor uphill about half the length before it got stuck again. This happens because as I move the tractor forward, the rollers in the front move progressively back, and eventually, the front will start pushing into the hill. I have to block the back wheels while I reposition the rollers in the front, or the chicken tractor will just roll right back down the hill.
The photo above shows how the front starts pushing right into the ground. The chickens seems to enjoy watching all this stuff happen. I have to be careful when pushing the chicken tractor on the rollers, because sometimes they will get too close and the rollers will start to roll over their little chicken feet.
I simply pull out the rollers that are farthest back, and replace them in the front.
We've used this old style of moving heavy object a few other times around the homestead, most on large rocks that were too heavy to move with equipment. I've also used rollers like this to move around some of the heavier logs I've cut up.
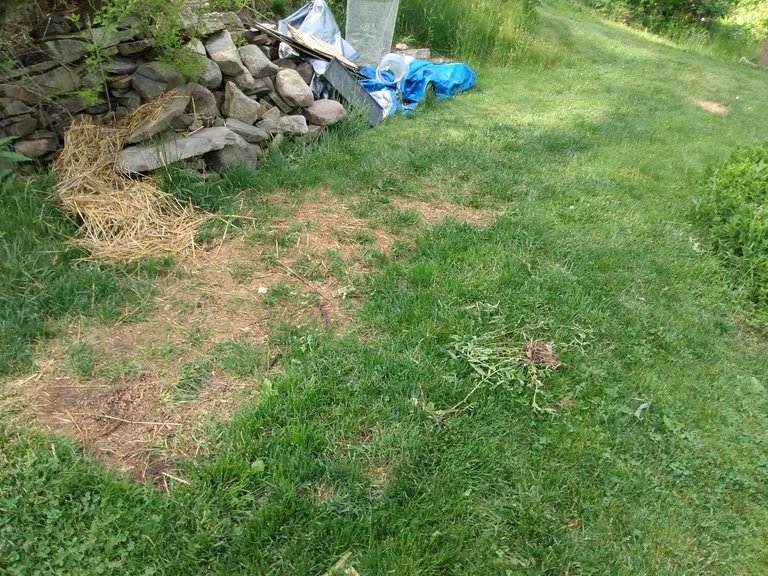
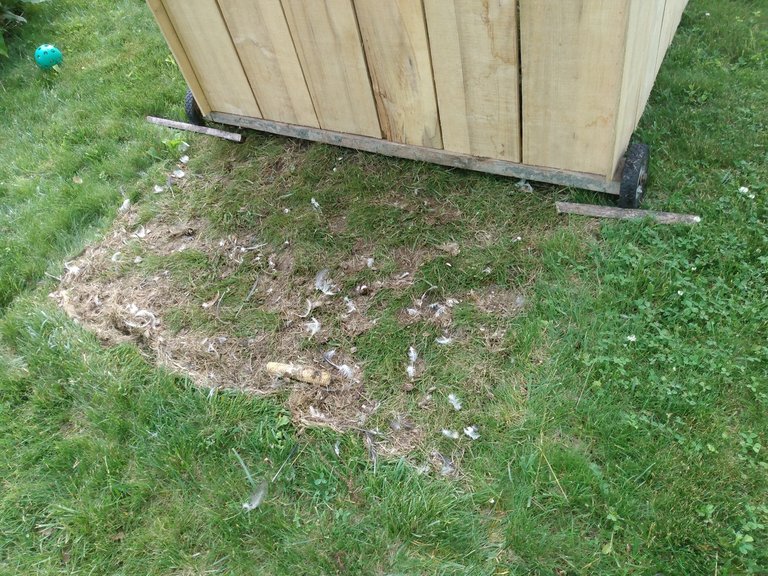
In the photo above, the big brown spot is where I assembled the chicken tractor, and where it sat when I first moved the chickens in. It was in this spot for a little over a week before I put the wheels on and moved it the first time, which was too long, and why this spot is so brown. You can see the darker green trail moving from the brown spot toward the upper right corner of the photo. That's how much more growth I see on the lawn by having the chickens there for just 2-3 days. Even at the brown spot where I kept them too long, you can see that the lawn is greener and thicker in the areas around it.
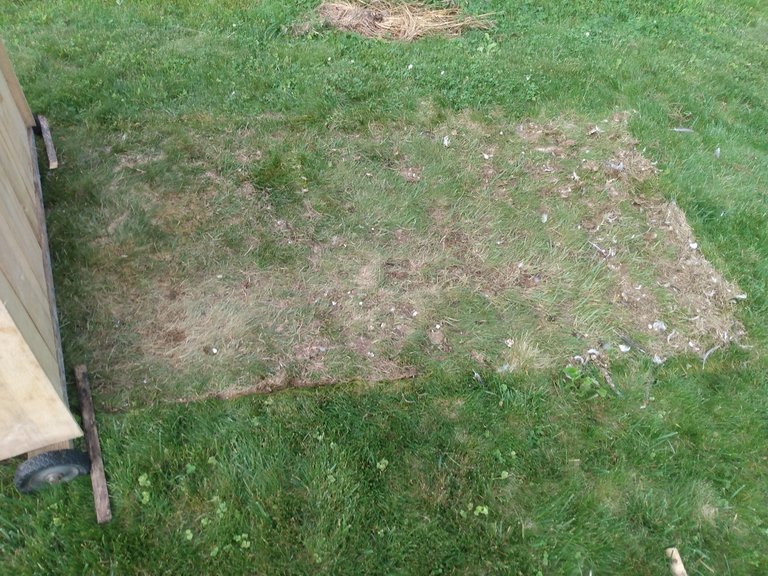
As you can see in the photo above, the ground always looks brown in the spot that I just moved the chicken tractor from, but this will mostly turn back to green within a day. I do have a slight problem on the slope with things accumulating on the downhill side (the right side in the photo), but it hasn't seemed to cause a problem yet.
I had originally planned on adding a garden update to this post, but since I went over 1000 words just talking about moving the tractor, I think I'll change the title and call this post done. I hope you found this interesting, and I hope I answered any questions any of you may have been having about how this is supposed to work. If you look back the the photos, you can see that one of the boards that make the frame of my 'lid' for the chicken tractor has come loose at one end, and will need to be repaired pretty soon. There has also been some shrinkage on the siding boards, with the gaps between them growing to around 1/4". I'll probably leave them alone if the gaps don't get any bigger than this, and the chickens don't start pecking at them and making holes.
I'm already 2 days behind on getting this post finished, and I have to get up early tomorrow, so I'm going to skip any further proofreading tonight and hit that 'Publish' button. Please forgive me if I leave any obvious spelling or grammar errors, and please keep checking in to see more low budget problem solving! Until next time...
It's a tough call between making it sturdy enough to protect the chickens, but light enough to move around. It still sounds a bit of a pain to move, but at least you aren't doing it every day. Have you added next boxes in the covered part?
I haven't added nest boxes... these chickens should be in their new coop before the hens start laying. Once the new coop is built, this tractor will be used mostly for slaughter chickens.
That will probably help keep the weight down, then. Will you have specifically bred meat chickens or just raise any roosters from hatches?...Or both of the above?
The plan is for a little bit of both. I've yet to successfully breed any chickens here at all. Predators kept interfering, which was the reason for moving things closer to the house and using much smaller wire mesh. These chickens are mostly dual-purpose birds, so once they are breeding successfully it's likely that many of the roosters and hens will end up getting butchered. If they do not breed successfully, my plan is to just get a half dozen Cornish Rocks that I raise for slaughter, twice a year.
On a side note, it looks like things are successfully set up for Homesteading in the OCD incubation program. I'm hoping to get to my desktop tonight to see if there's anything new in the community worth the boost, and to work on an announcement post in the community. I also (just typing this here so I remember) need to drop a comment to jacobpeacock, to let him know, and to see if he still has the keys for the community account.
The reason we developed the wheel system was A: to allow the coop to sit flush on the ground to keep larger predators out and B: to keep the smaller birds in. But we found that with the wheels engaged, the smaller birds would head for the light under the edges. To stop that I took old inner tubes, cut them to the right width, and firmly stapled them to the bottom side, inside. When the coop was lifted by the wheels, they fell down, blocking the light.
Hope you get some bigger wheels on the coop. Using rollers seems a bit labor intensive.
The small wheels and rollers are labor intensive, but it still only takes about 5 minutes to move, and I only use this for getting it up the hill. Once it's moved I up to the top of the yard (about 3 more moves), I won't have to use the rollers any more, and I'll be able to leave these small wheels in place until I have babies in here. I like the idea of the inner tubes, but I'm worried it will exacerbate my drag problem.
It didn't here, with the bigger wheels.