Hello friends...
☺☺☺
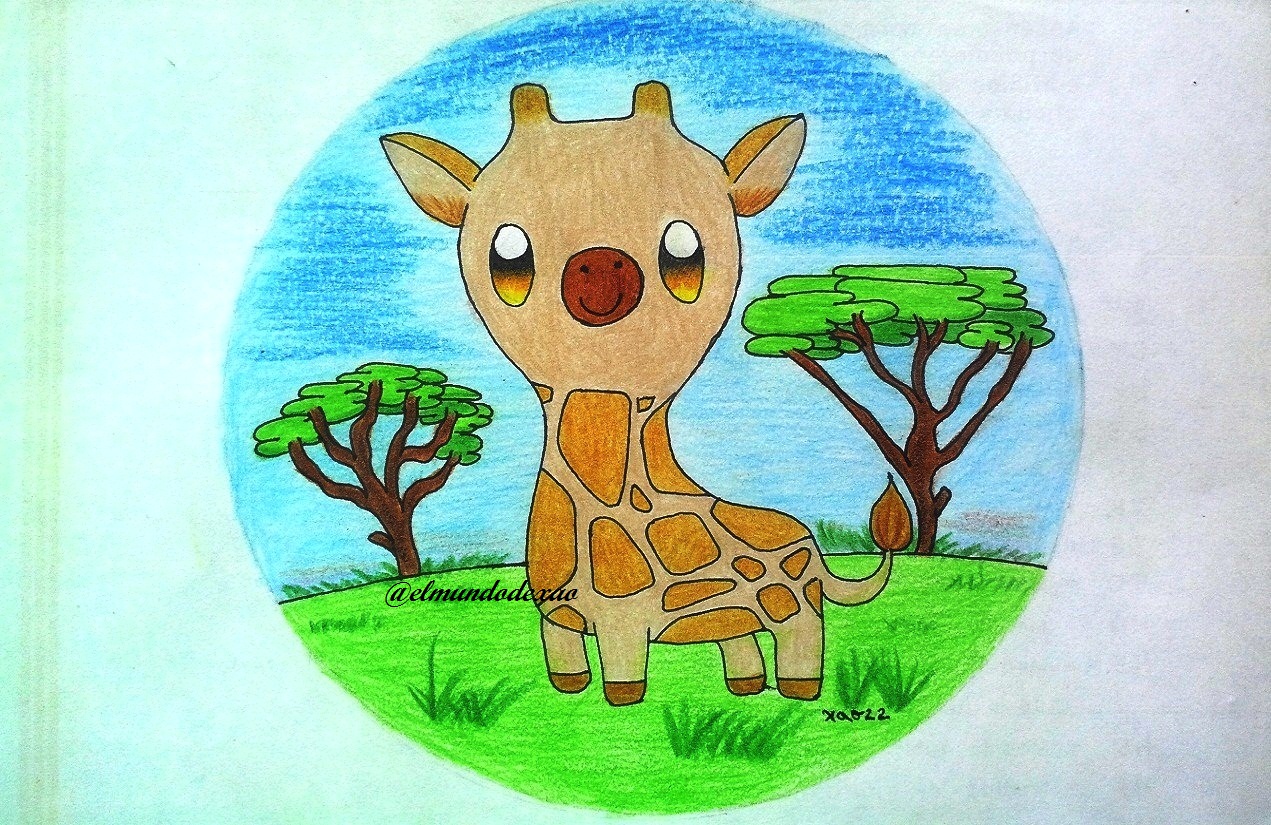
Welcome to my blog; today's post is a kawaii art that I want to share with all of you and it is a beautiful giraffe. The constant practice of this type of drawing helps me to develop better techniques and loosen my hand when making the strokes and I can tell you that once we have practiced enough we can see in our mind the possible steps we can take when we want to paint or develop a drawing.
Next I mention the materials used: white paper, graphite pencil 2, 0.5 marker, eraser and colors (Variety of brands).
Before continuing I remind you that at the end I will leave you the link that I used in this occasion.
Let's start with the step by step drawing:
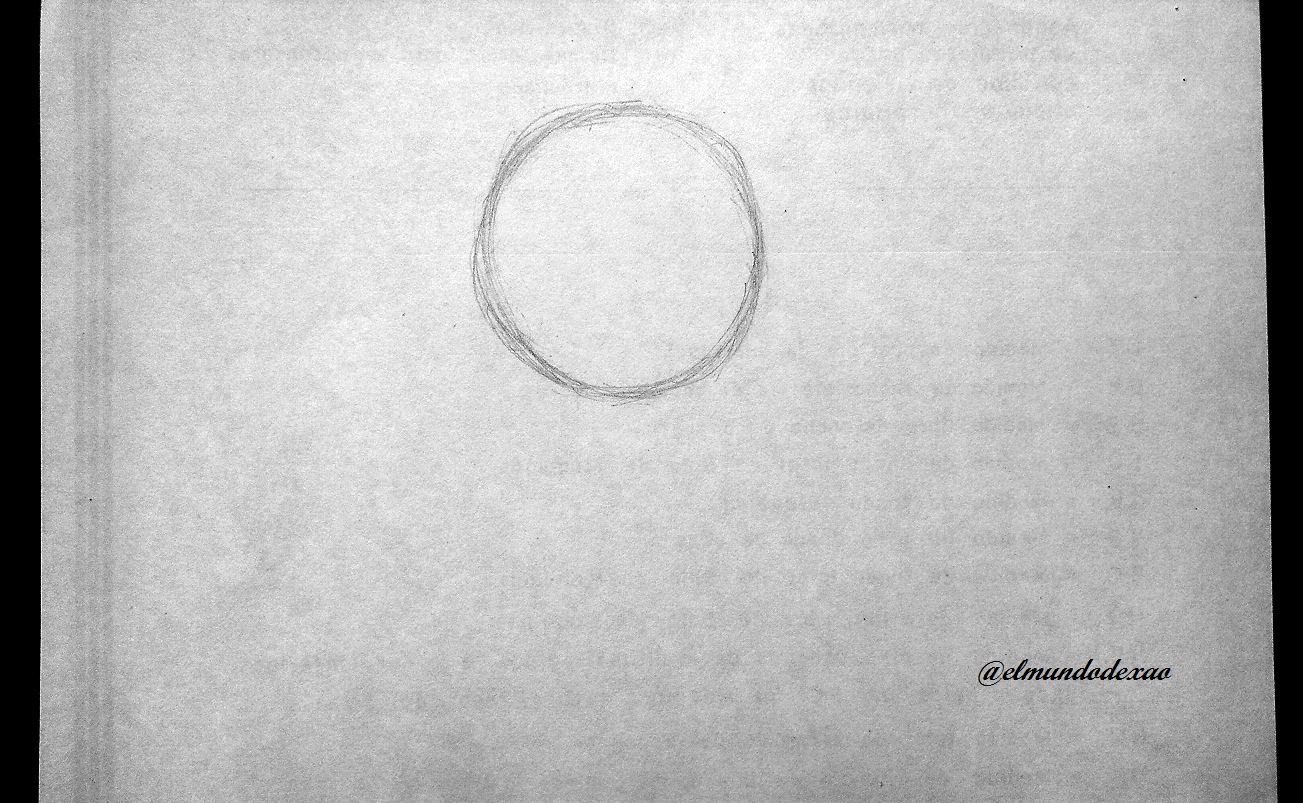
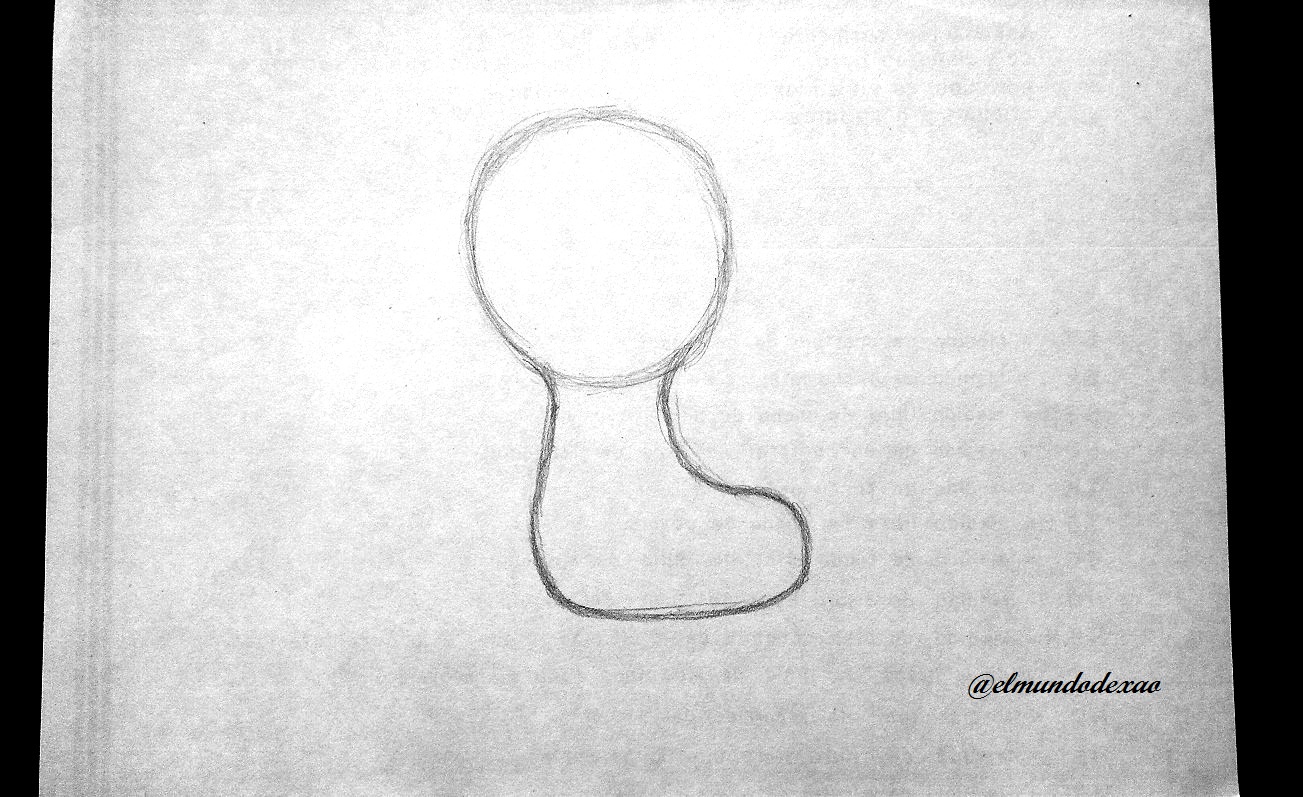
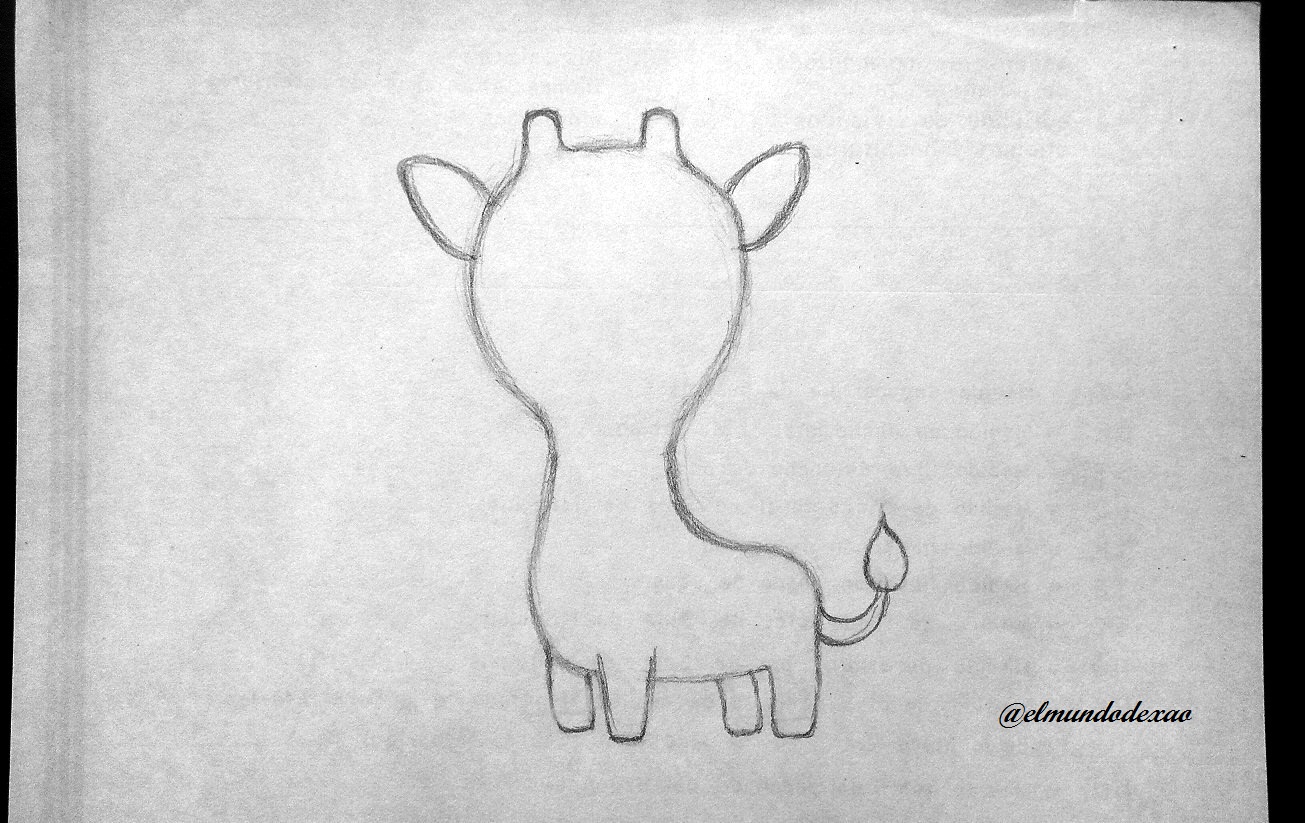
Step # 01: This time I will start with a circle; I remember that when I started I used to make the circles with the lid of some container that I had at hand and little by little practicing daily I could get rid of the help that these objects gave me; so if you are starting and it causes you a little frustration to make some geometric figures do not hesitate to use what you have at hand. Once the circle is finished I draw a silhouette similar to a boot pointing to the right; remembering that it is a giraffe what we are drawing so it should have a little long neck, not much just a little with that it will be fine.
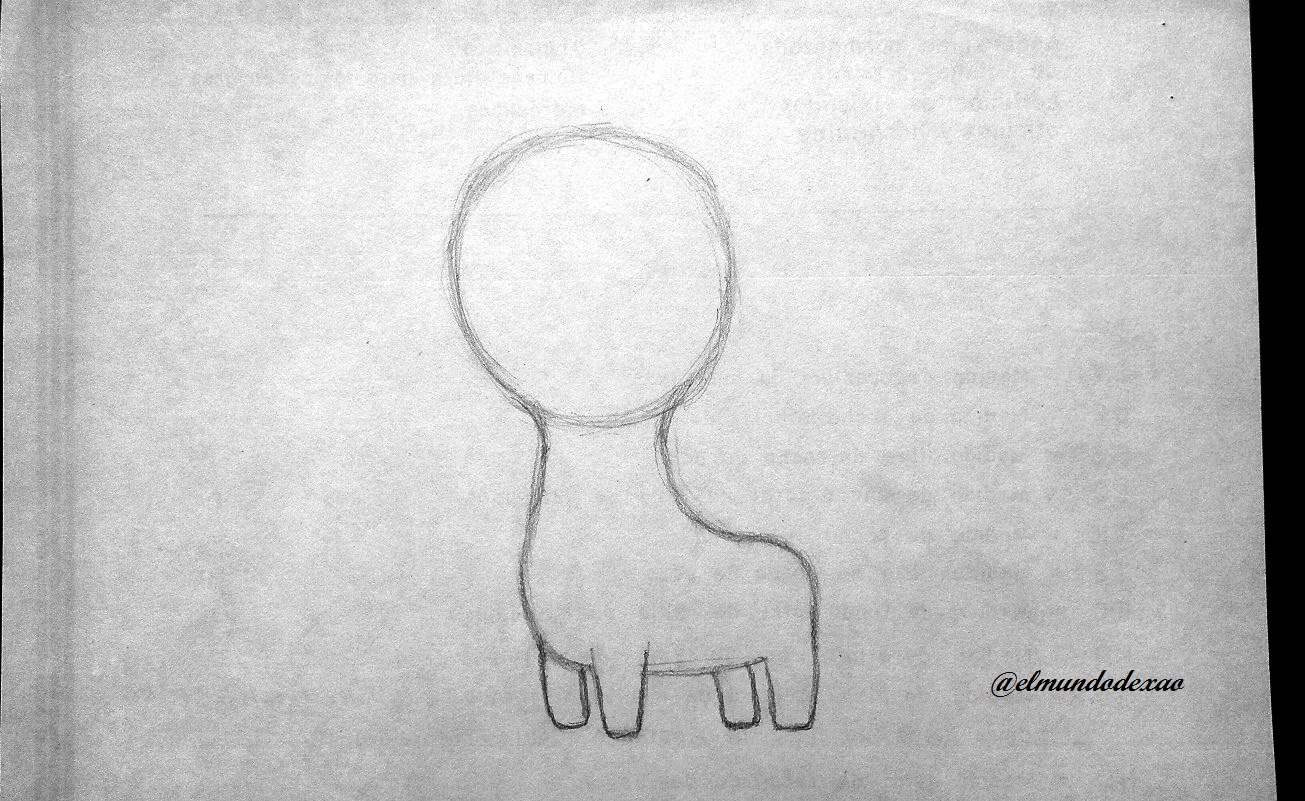
 Step # 02: I draw the four legs which is not a big challenge since they are quite simple and without details, then I add the tail and here you have to take into account the right position since in the first attempt I noticed it a little strange; that is to say it did not look good and it was just that it was very low; then I draw the ears and the horns, with the ears something also happened to me but it was more funny since the ears looked like those of a goblin and the mistake was that I had not made that little curve that you can see in the lower stroke of the ear.
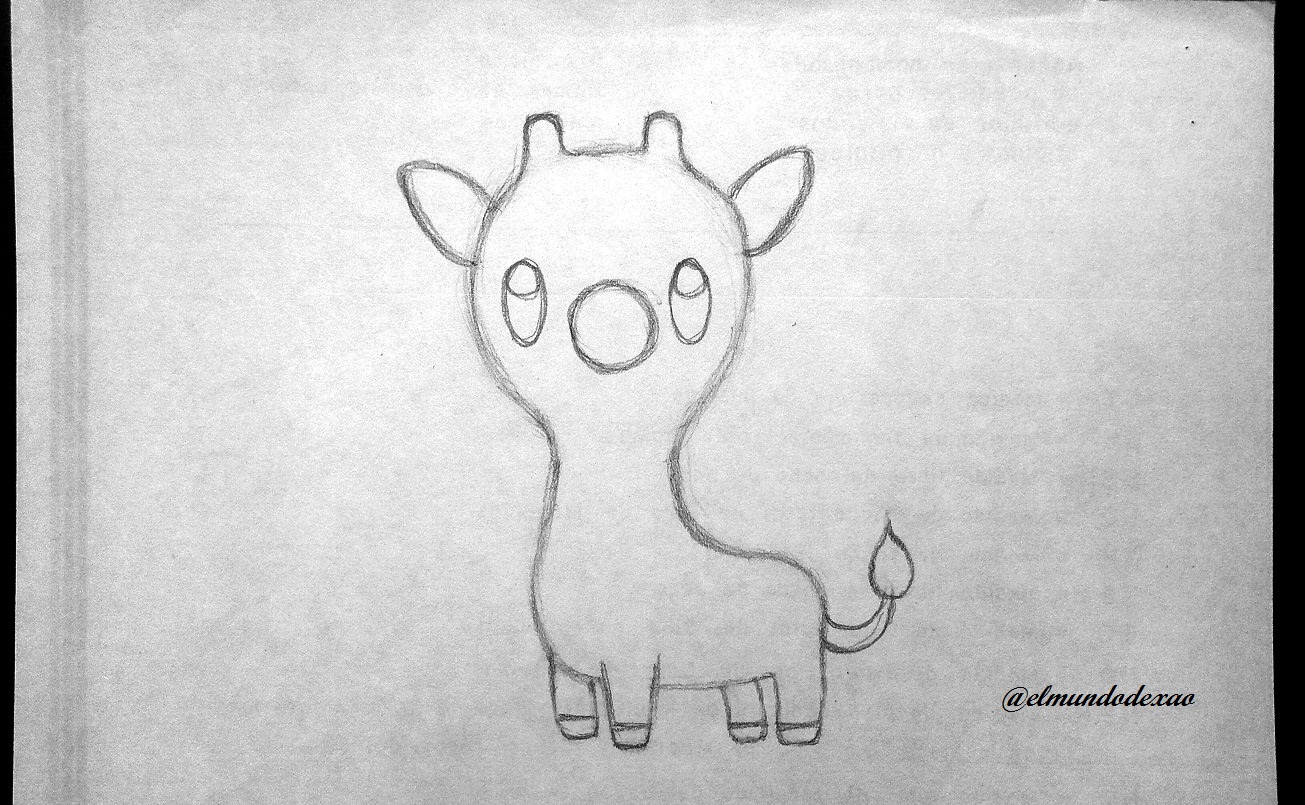
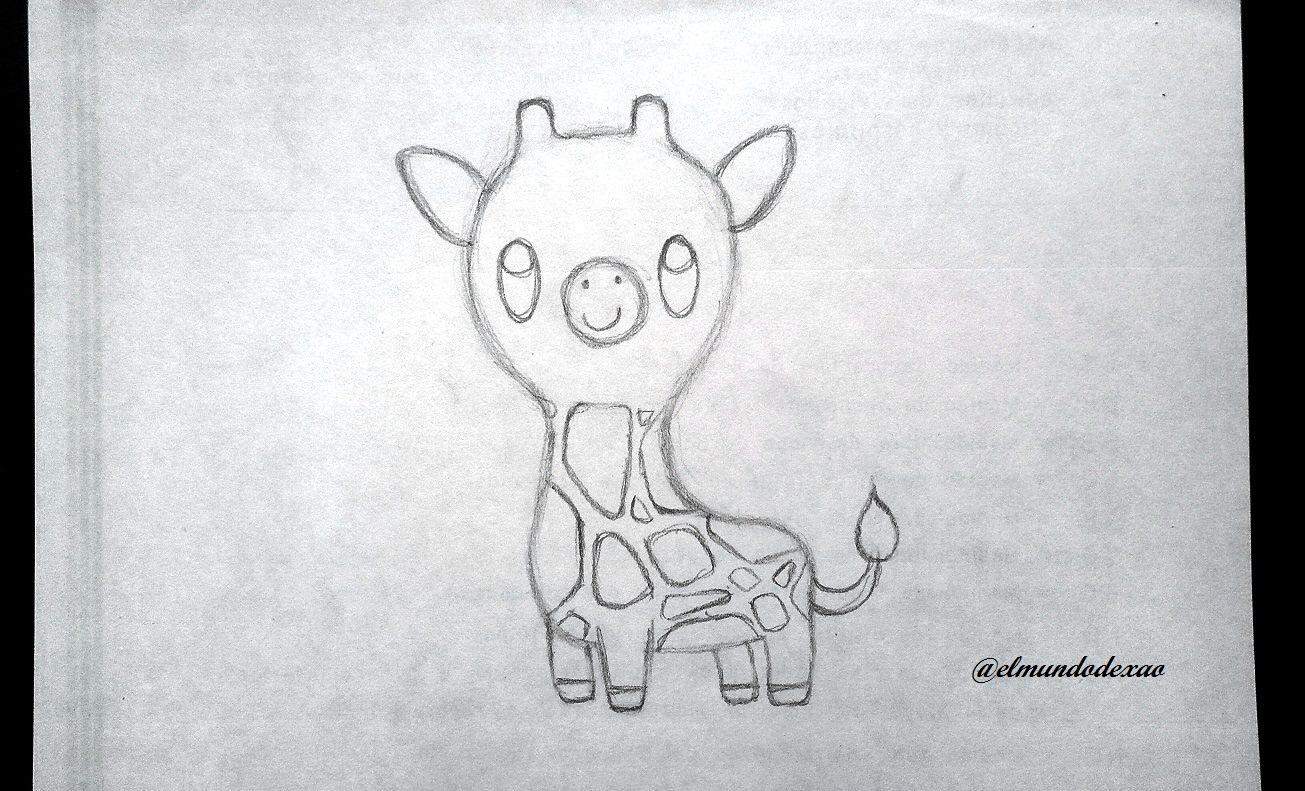
 Step # 03: Now I concentrate on making the eyes and for these I will make a couple of small ovals with a circle inside and for the snout a circle between the eyes; to which I draw a couple of dots for the nose and a small smile; only the spots would be missing which at first glance seem very easy but it has cost me a little to make them since at first they looked like something very different from a giraffe so I had to make the spots somewhat pointed and then round them.
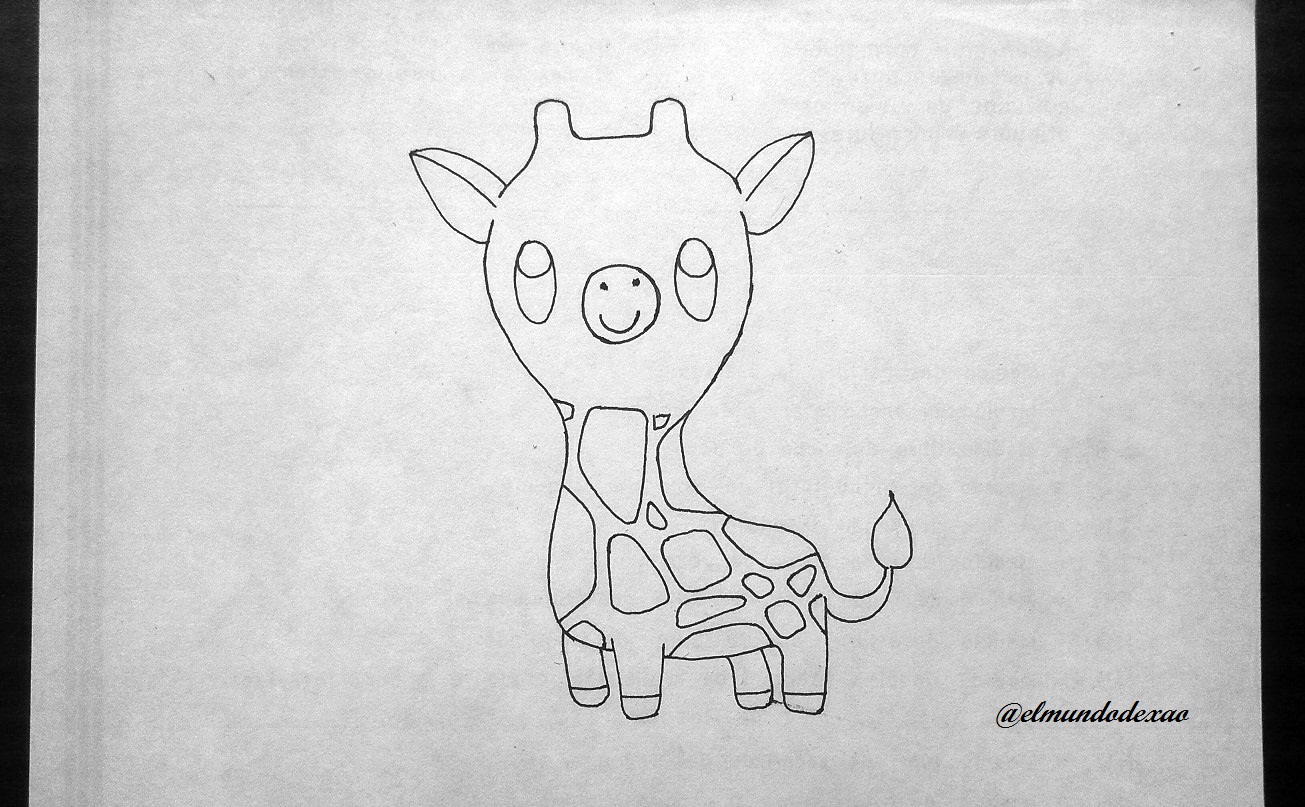
 Step # 04: The remarking or inking to improve its appearance and on this particular occasion I liked the result because I had my doubts about how the stain would be but everything went very well; so I proceed to erase all the graphite and clean the sheet.

 Step # 05: I begin to color and I will do it with a beige color in the whole body; of course I do not include the spots since for these I will use a light brown color. When we must choose color combinations as in this case it is advisable to first make several separate tests because many times the colors that we do not think look good are the ones we end up using.
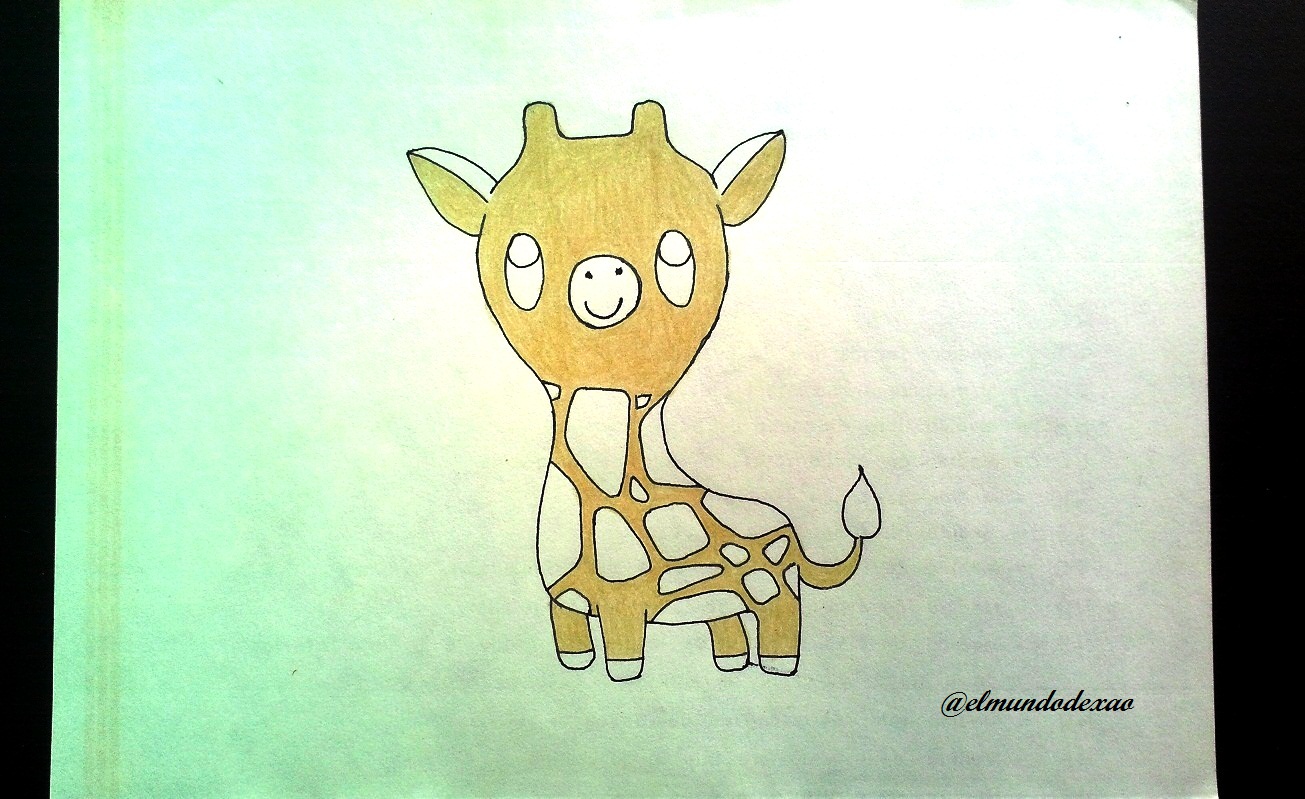
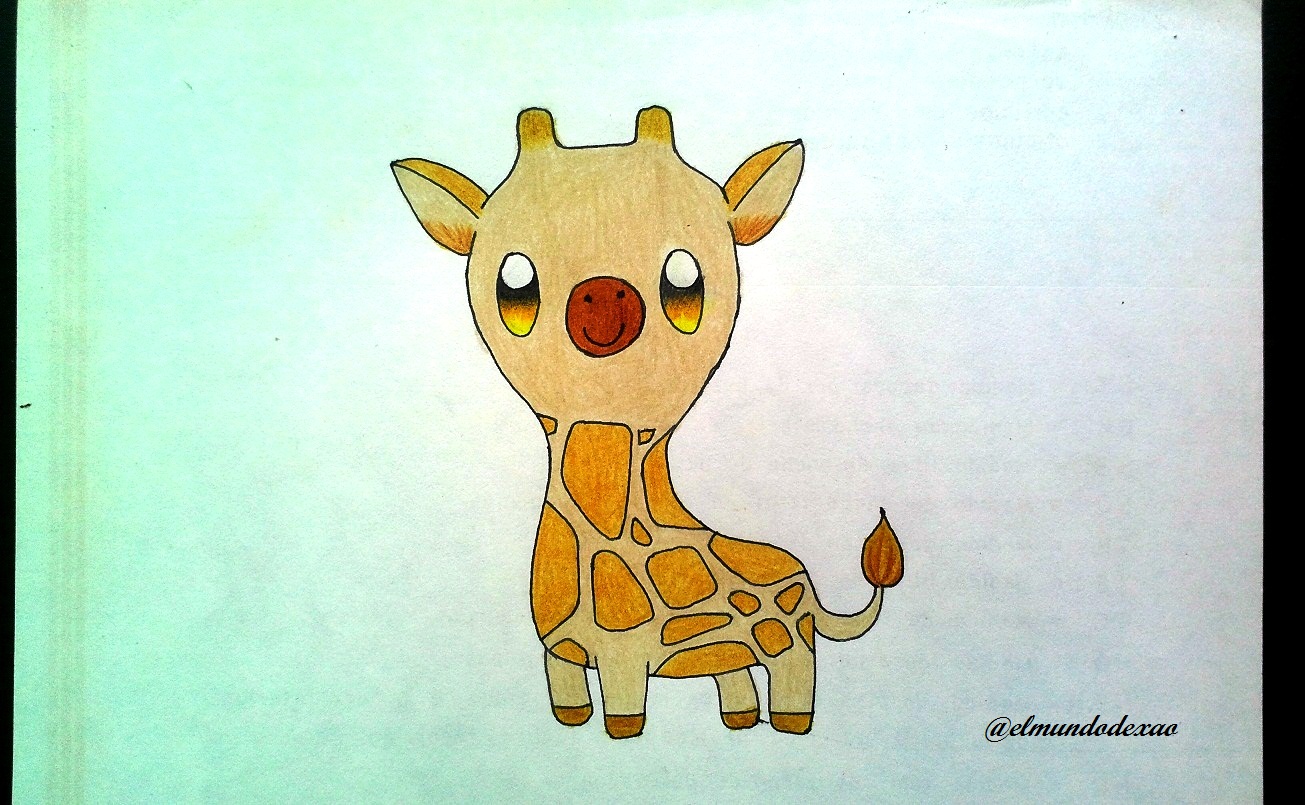
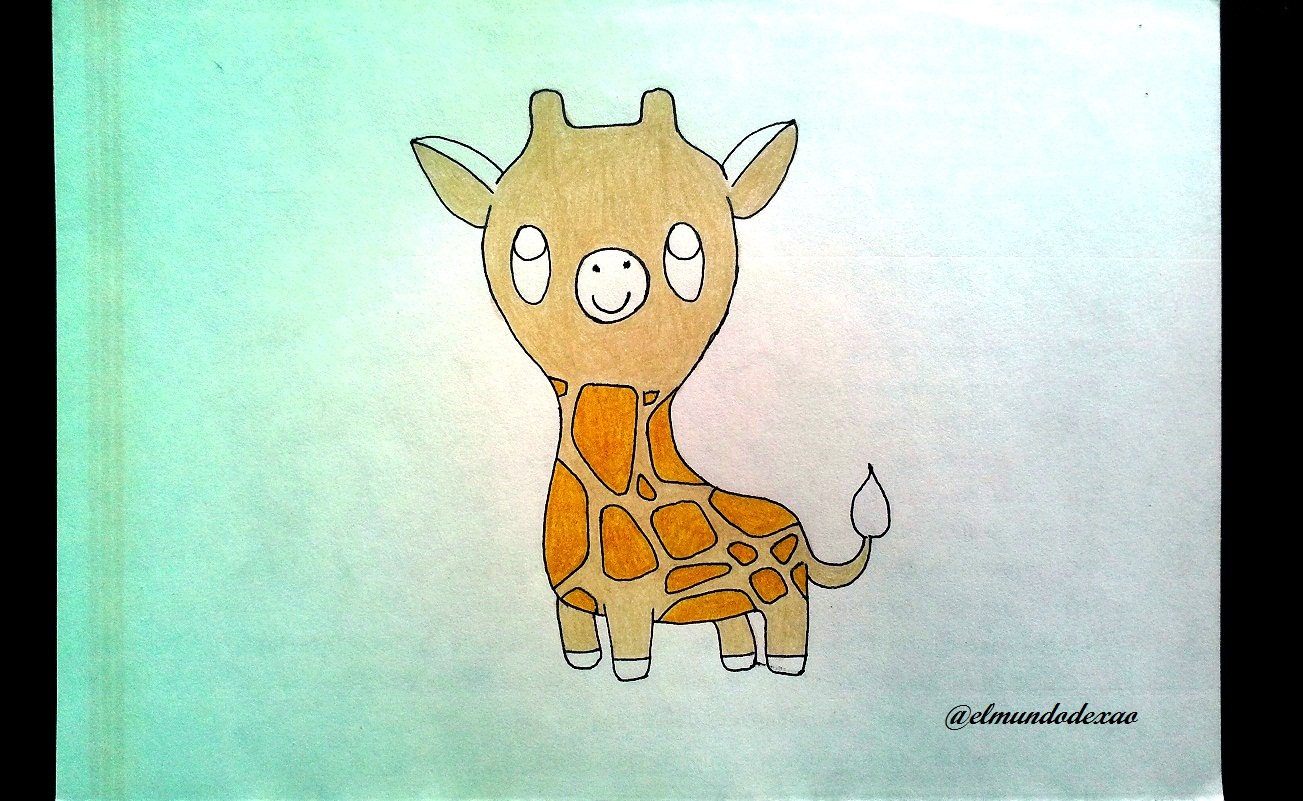 Step # 06: For the eyes I wanted to make a combination according to the colors that the giraffe has and I think it has turned out very well; for the snout a carmine color will be enough; for the hooves, horns and parts of the ears I will use brown and so I finish this giraffe.
 Step # 07: The environment; the most known environment that surrounds the giraffes are desert savannahs with little vegetation so I will only draw a couple of trees where it is common to see them eating...
I say goodbye wishing you a happy day, afternoon or evening depending on your location.
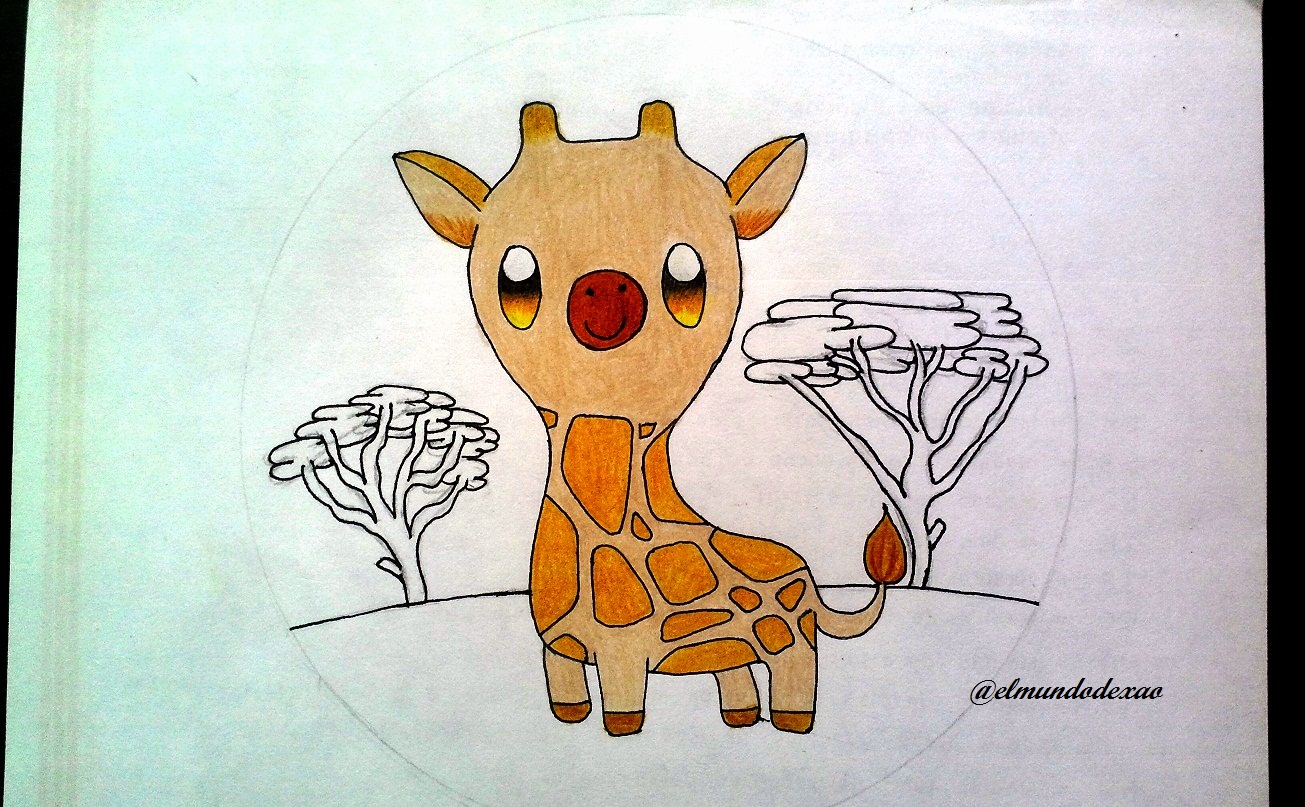
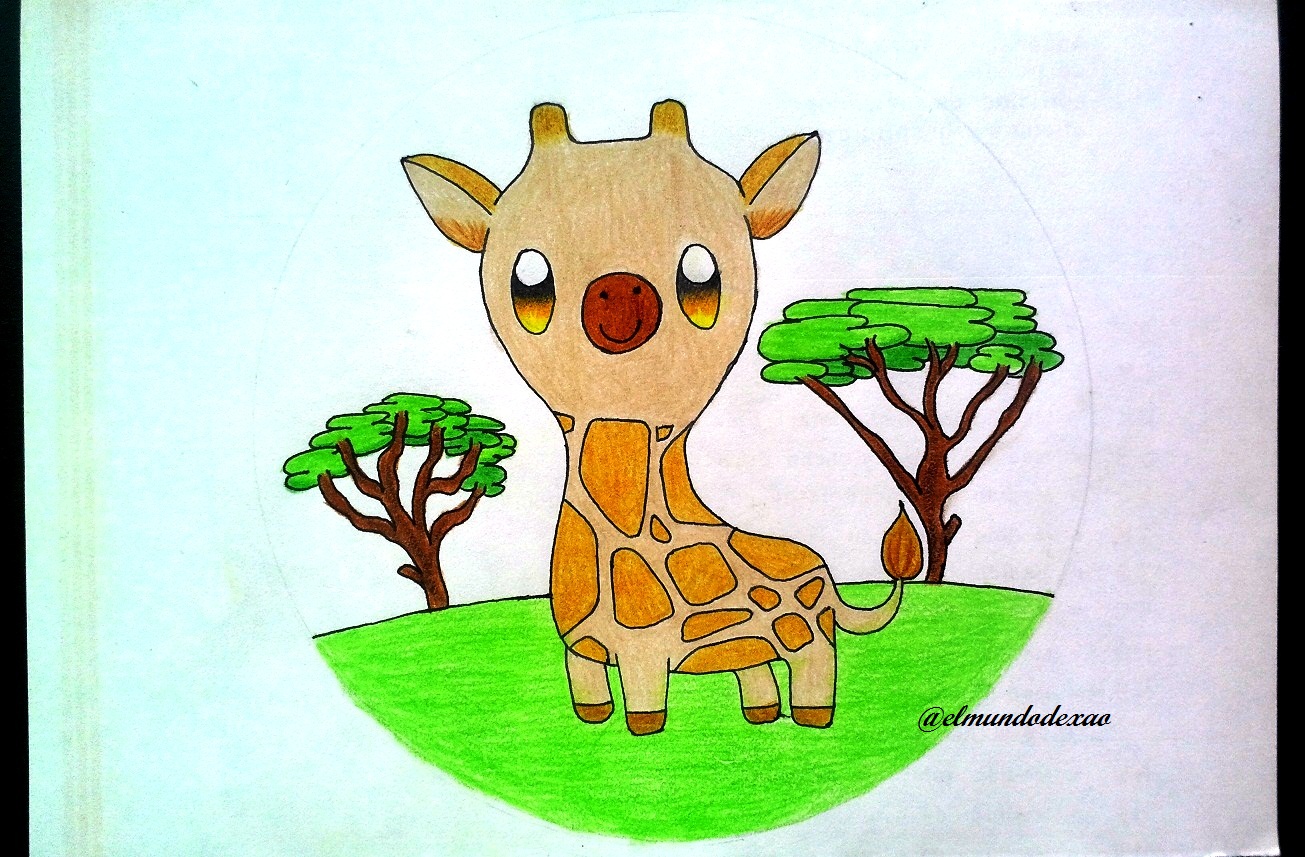
Photo Source: Own photos captured with a Síragon camera.
Modified size: With the Paint Program.
Thanks for visiting my Blog… AH! Don't forget to vote, reblogear, and comment.
Translated with:

www.DeepL.com/Translator (free version)

Arte Kawaii “Dibujando Una Jirafa”.
Hola amigos…
☺☺☺
Bienvenidos a mi blog; la publicación de hoy es un arte kawaii que quiero compartir con todos ustedes y se trata de una bella jirafa. La práctica constante de este tipo de dibujo me ayuda a desarrollar mejores técnicas y soltar la mano al momento de hacer los trazos y les puedo decir que una vez se ha practicado bastante podemos ver en nuestra mente los posibles pasos que podemos dar al querer pintar o desarrollar un dibujo.
A continuación menciono los materiales utilizados: Papel blanco, lápiz de grafito 2, rotulador de 0.5, borrador y colores (Variedad de marcas).
Antes de continuar les recuerdo que al final les dejare el enlace que use en esta ocasión.
Comencemos con el paso a paso del dibujo:
Paso # 01: En esta ocasión comenzare con un circulo; recuerdo que cuando comencé solía hacer los círculos con la tapa de algún envase que tuviese a la mano y poco a poco practicando a diario pude deshacerme de la ayuda que me daban estos objetos; por lo que si estas comenzando y te causa un poco de frustración hacer algunas figuras geométricas no dudes en usar lo que tengas a la mano. Terminado el circulo dibujo una silueta parecida a una bota apuntando hacia la derecha; recordando que es una jirafa lo que estamos dibujando por lo tanto debe tener el cuello un poco largo, no mucho solo un poco con eso estará bien.
Paso # 02: Dibujo las cuatro patas cosa que no representa gran reto ya que son bastante sencillas y sin detalles, luego agrego la cola y aquí hay que tener en cuenta la posición justa ya que en el primer intento la notaba algo extraña; es decir no se veía bien y solo era que estaba muy abajo; luego me dedico a dibujar las orejas y los cuernos, con las orejas también me paso algo solo que fue más cómico ya que las orejas parecían las de un duende y el error era que no había hecho esa pequeña curva que se puede ver en el trazo inferior de la oreja.
Paso # 03: Ahora me concentro en hacer los ojos y para estos haré un par de pequeños óvalos con un circulo en el interior y para el hocico un circulo entre los ojos; al cual le dibujo un par de puntos para la nariz y una pequeña sonrisa; solo faltarían las manchas las cuales a simple vista parecen muy fáciles pero me ha costado un poco hacerlas ya que en principio me quedaban como otra cosa muy distinta a una jirafa por lo que tuve que hacer las manchas algo puntiagudas y después redondearlas.
Paso # 04: El remarcado o entintado para mejorar su aspecto y en esta ocasión en particular me ha gustado el resultado ya que tenía mis dudas de como quedarían las mancha pero todo ha ido muy bien; por lo que procedo a borrar todo el grafito y limpiar la hoja.
Paso # 05: Comienzo a colorear y lo haré con un color beis en todo el cuerpo; por supuesto no incluyo las manchas ya que para estas usare un color marrón claro. Cuando debemos escoger combinaciones de colores como en este caso es recomendable hacer primero varias pruebas aparte ya que muchas veces los colores que no pensamos queden bien son los que terminamos usando.
Paso # 06: Para los ojos quise hacer una combinación acorde con los colores que tiene la jirafa y creo ha resultado muy bien; para el hocico un color carmín bastara; para las pesuñas, cuernos y partes de las orejas utilizare marrón y así finalizo esta jirafa.
Paso # 07: El entorno; el ambiente más conocido que rodea a las jirafas son sabanas desérticas con poca vegetación por lo que solo dibujare un par de árboles de esos donde es frecuente verlas comer…
Me despido deseándoles un feliz día, tarde o noche según sea su ubicación.
Fuente de Fotos: Propias capturadas con una cámara Síragon.
Modificado el tamaño: Con el Programa Paint.
Gracias por visitar mi Blog… ¡AH! No se olvide de votar, rebloguear y comentar.
@tipu curate
Upvoted 👌 (Mana: 0/50) Liquid rewards.
Hi @magicmonk, thanks for the support for my post.

Yay! 🤗
Your content has been boosted with Ecency Points, by @campingclub.
Use Ecency daily to boost your growth on platform!
Support Ecency
Vote for new Proposal
Delegate HP and earn more
Hi @ecency and @campingclub, I really appreciate the support. I wish you success.
