As I remember my first attempt at making Kimchi is when I was in high school didn't like the taste before, as I get older my taste bud did change and I like it.
Kdrama and Kpop are the number one influencer to me of trying the famous kimchi and their food. At that time Korean foods are not that famous and I who am a very curious person found a way to make that happen.
My mom is a very supportive and curious person too. I convinced her to buy kimchi ingredients from our local market, you can easily buy those. Yeeeyyy!~
Me who take the risk and didn't even know what the taste of Kimchi still make Kimchi. LOL
My first attempt tastes good but... I didn't put the freshly made kimchi in the refrigerator and got fermented fast at that time when Kimchi taste sour it means it's not good to eat anymore, as I remember those time " Kimchi jjigae will be perfect for those fermented Kimchi T.T "
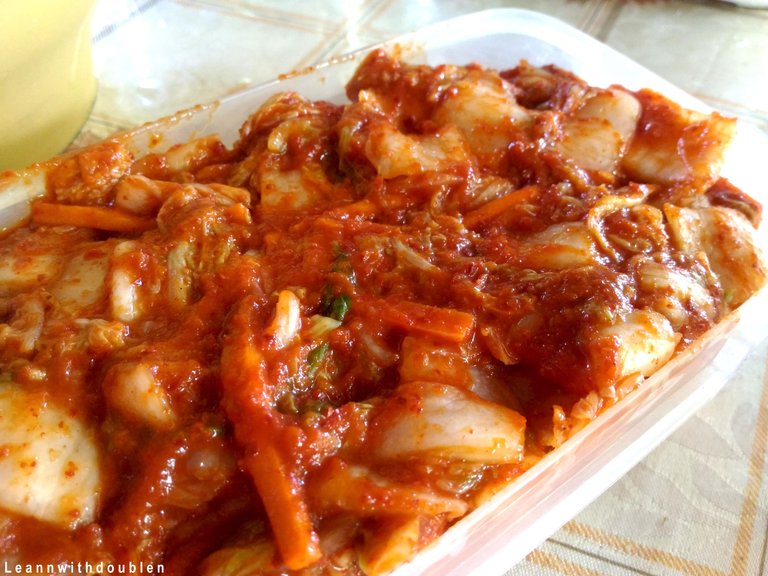
But now you can easily buy those everywhere, but nothing can beat the homemade right? I'm gonna show you how I make it my style.
By the way, Kimchi is a good source of probiotics because it is fermented and it's good for digestion. So eat your KIMCHI.~
How I Make Kimchi
Ingredients:
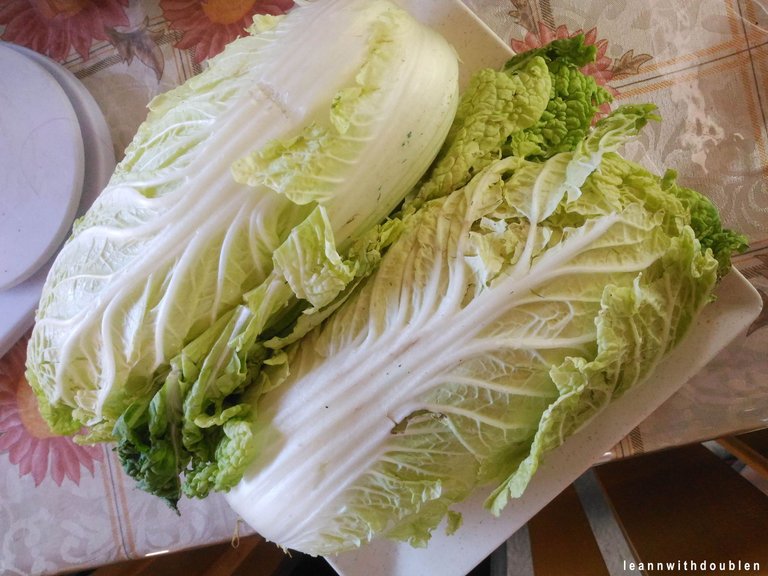
- Nappa Cabbage 2.5 lbs (Medium Size)
- Carrots (2 Medium Size)
- Garlic (2 bulb)
- White Onion (2 Medium Size)
- Salt (1/4 cup)
- Sugar (1 tbsp)
- Fish Sauce (2 tbsp)
- Red Chili Flakes Gochugaru (5 tbsp)
- Glutinous Rice Flour (2tbsp)
- Water (1 cup)
How I Make It:
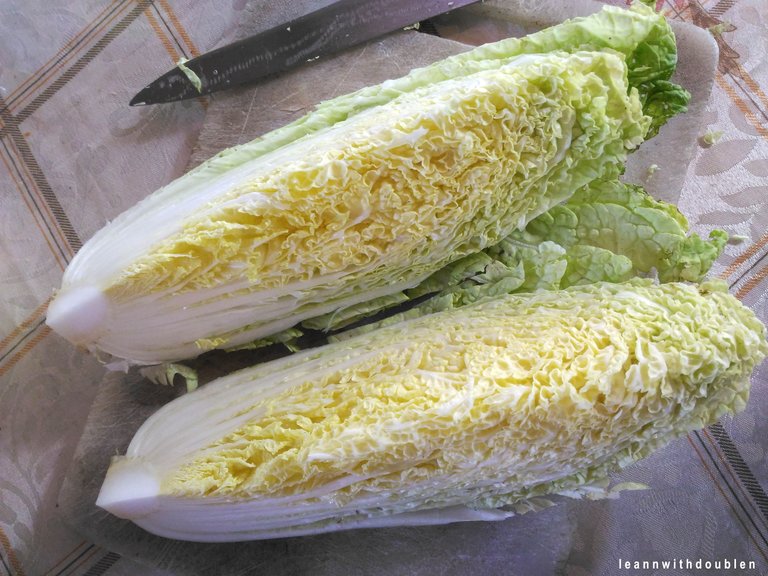
1. Cut the Cabbage
 1. Cut the cabbage in half first.
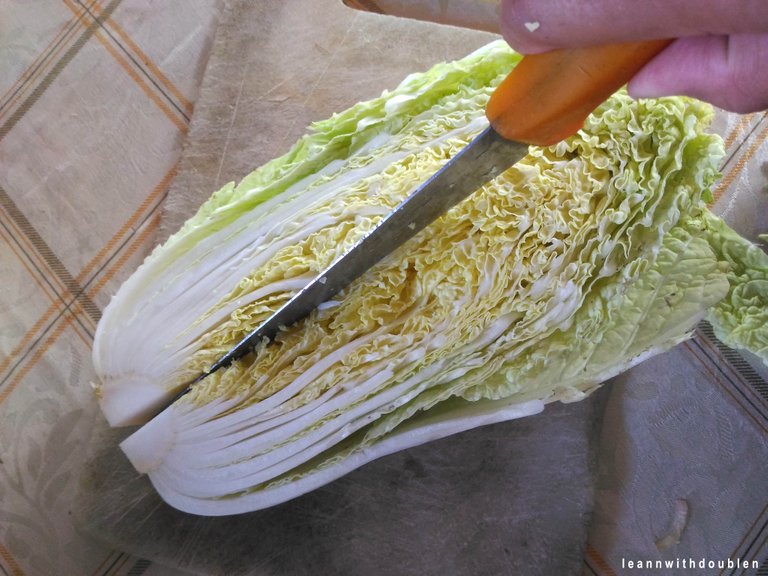
 2. Cut like in the photo.
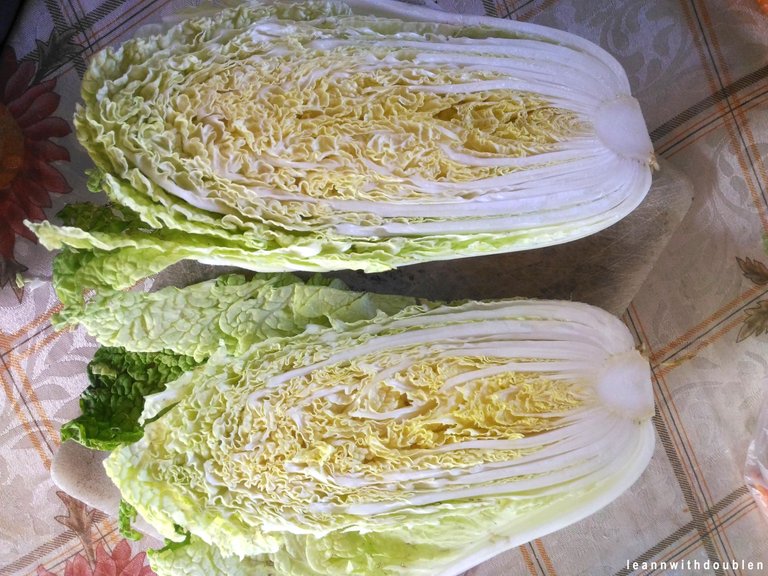
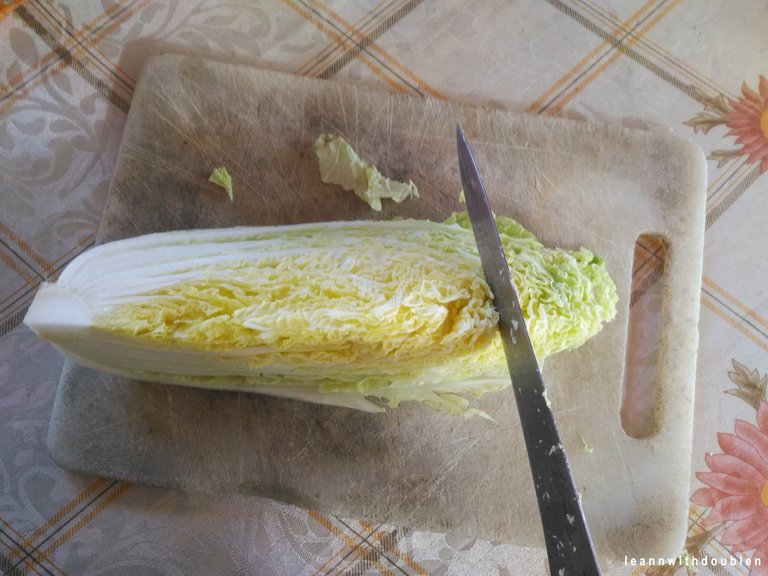
 3. Set aside the other half and cut it in half again.
 4. After that set aside again the other half.
 5. I chopped it from the leaves to the ribs.
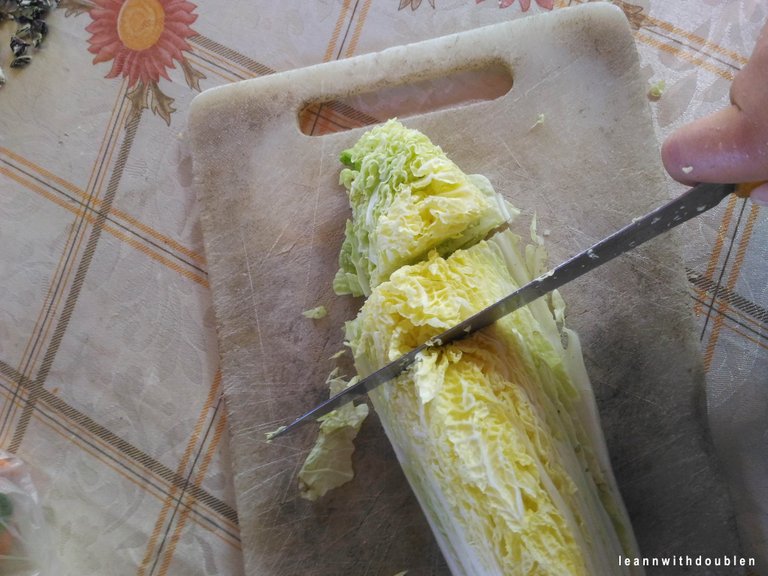 6. I chopped it a inch length.
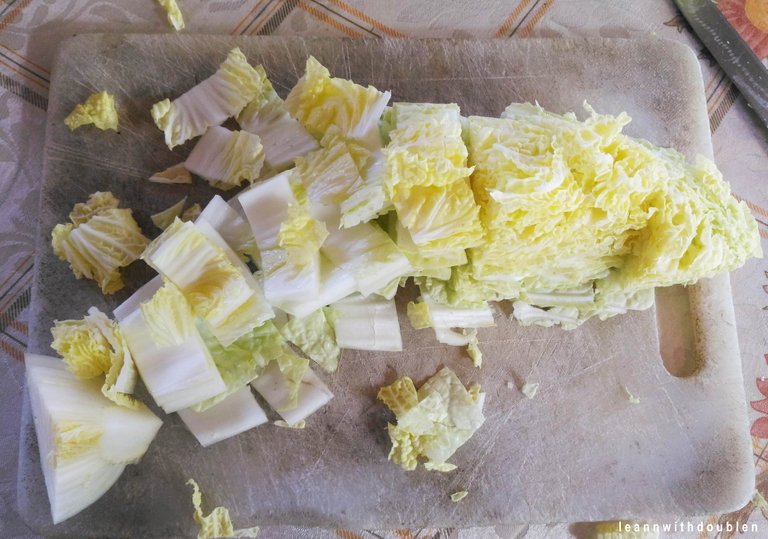 7. I normally chopped it up till I get to the stem (hard part)
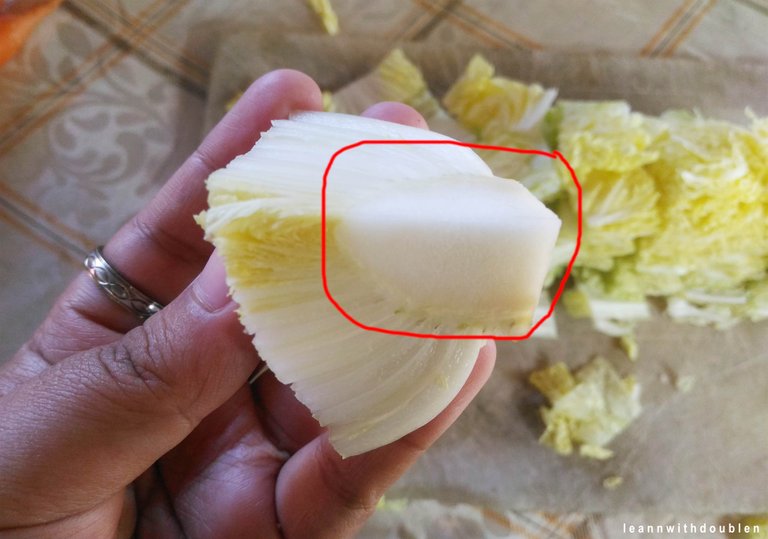 8.Remove this part (hard part)
2. Salt the Cabbage
 1. Put all the chopped cabbage in a large bowl. I used two because this is the biggest bowl I have. hehe
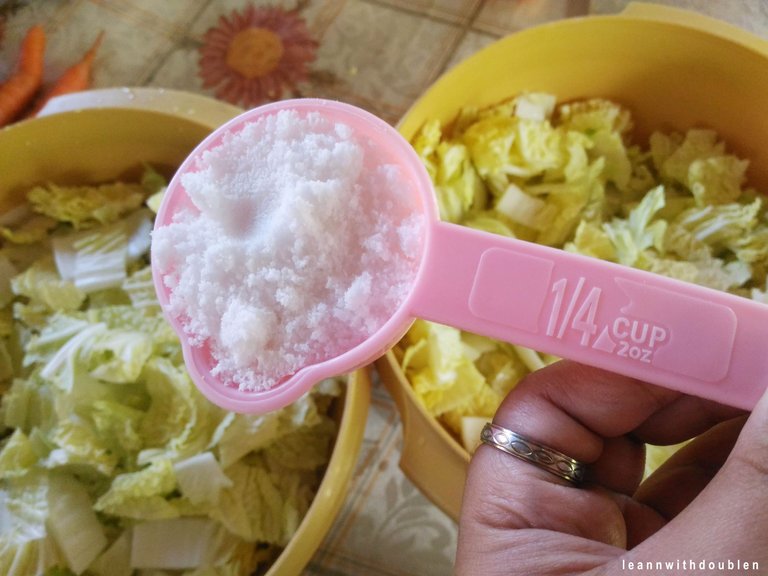 2. Salt the cabbage. I usually use rock salt
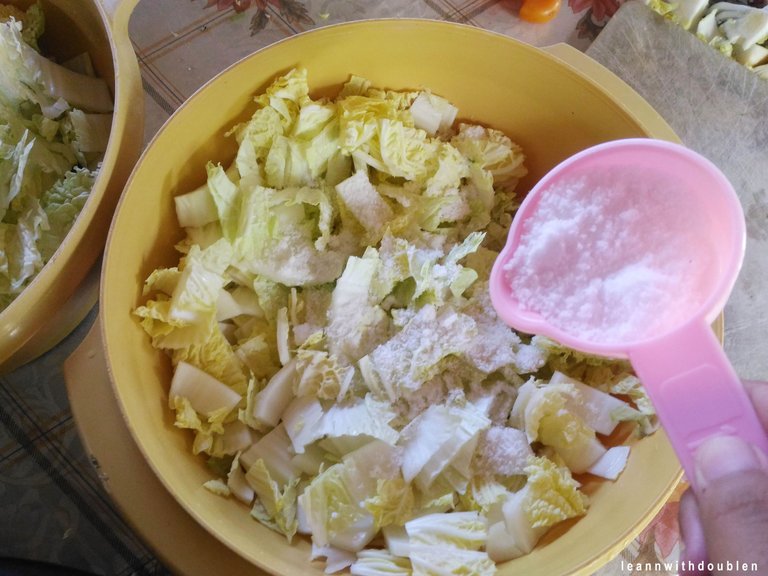 3. Springkle the half in one bowl and half to another bowl. If you used one big bowl you don't have to sprinkle the half.
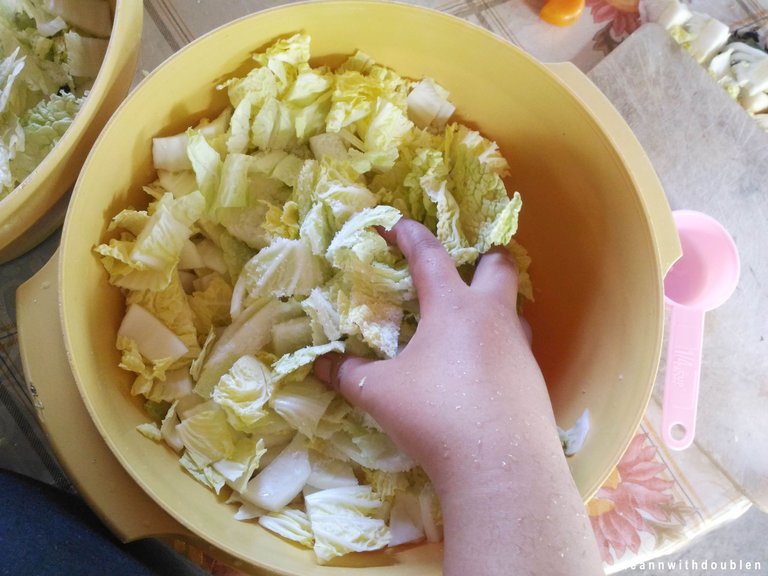 4. Mix and massage the chopped cabbage until the salt combined. Set aside for 30 minutes.
3. Porridge
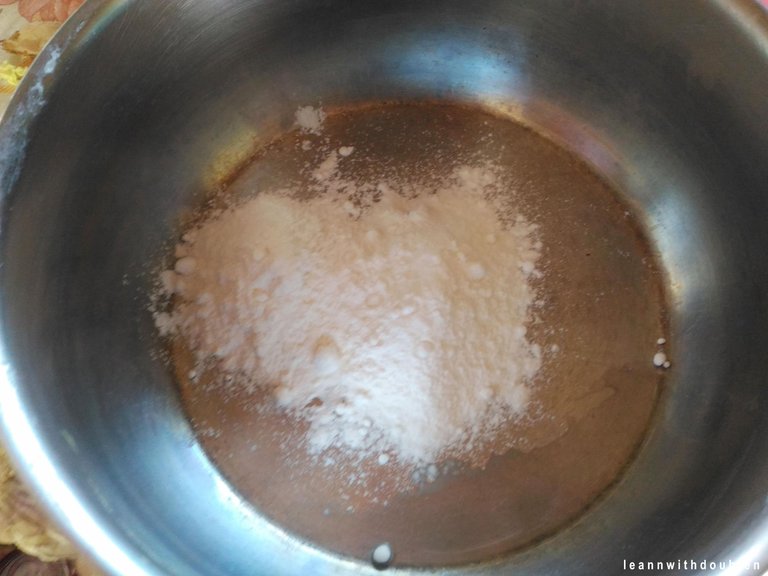 1. For the porridge, Add two tablespoon of Glutinous Rice flour in a small pan.
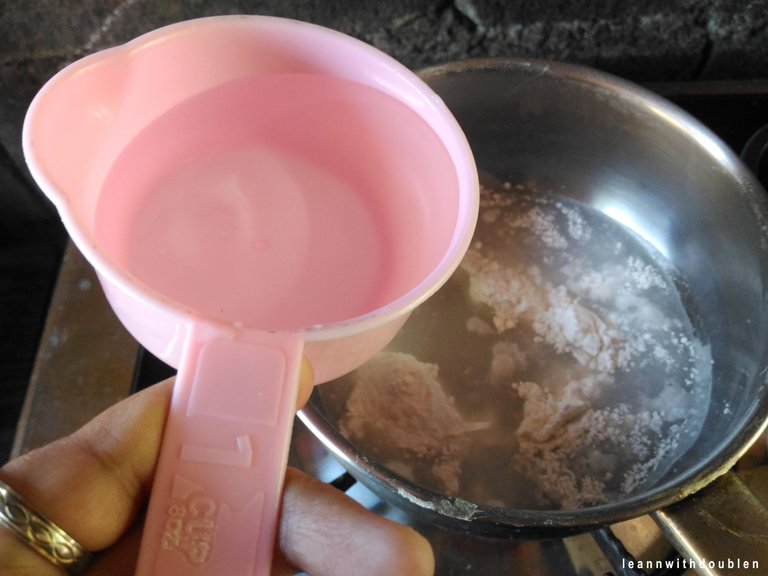 2. Add one cup of water.
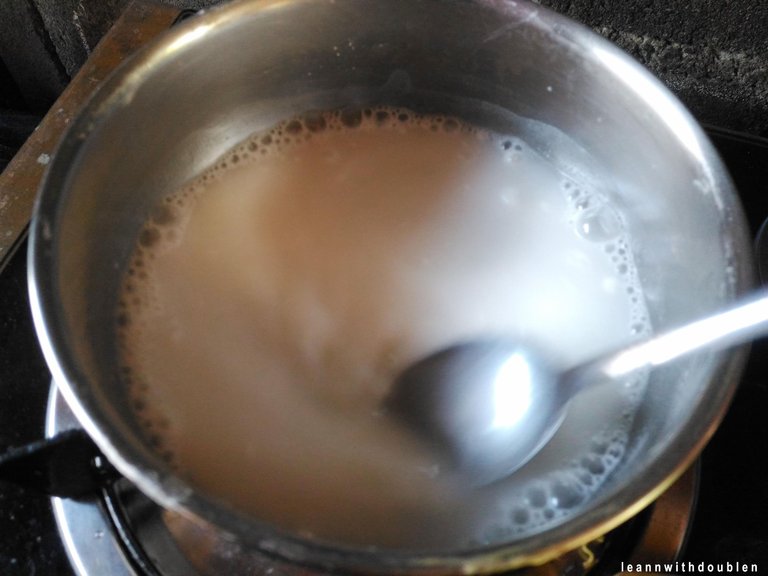 3. Mix until no clump. Turn on you stove in medium heat.
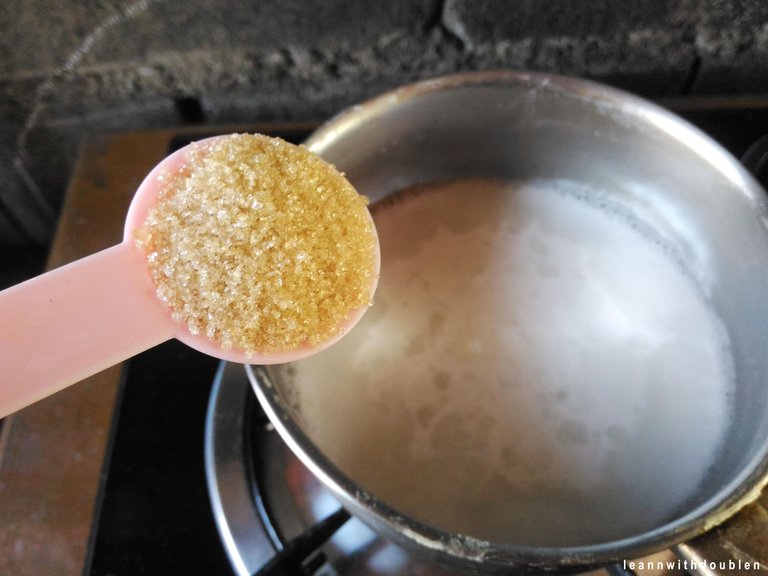 4. When it started to boil add 1 tablespoon of sugar.
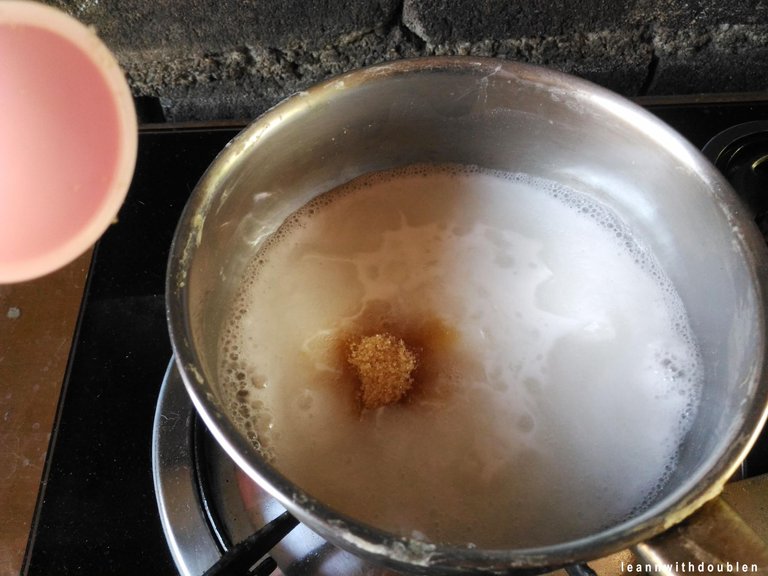 5. Mix the porridge until the sugar dissolve.
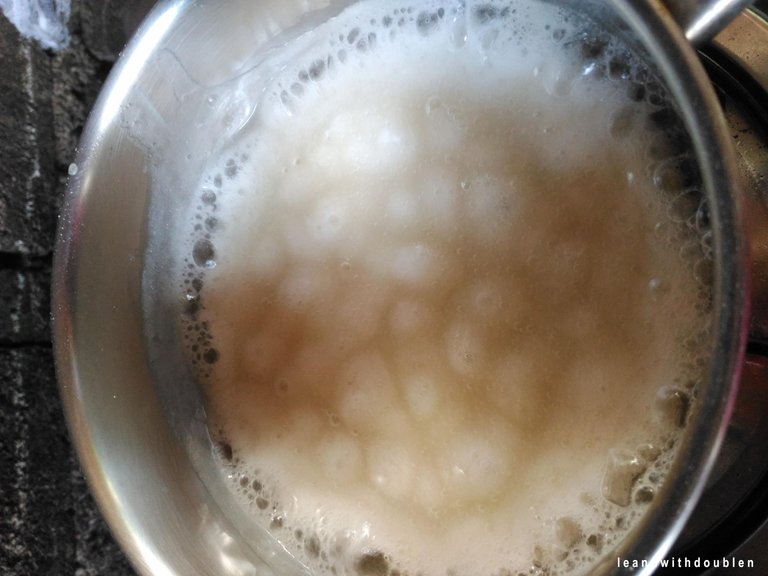 6. Wait until the porridge get thick and set aside to cool down.
4. Preparing and Making the Paste
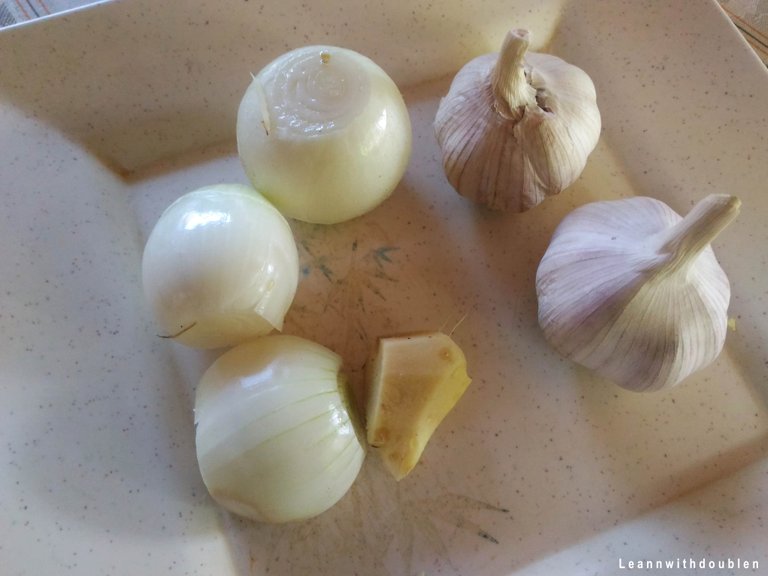
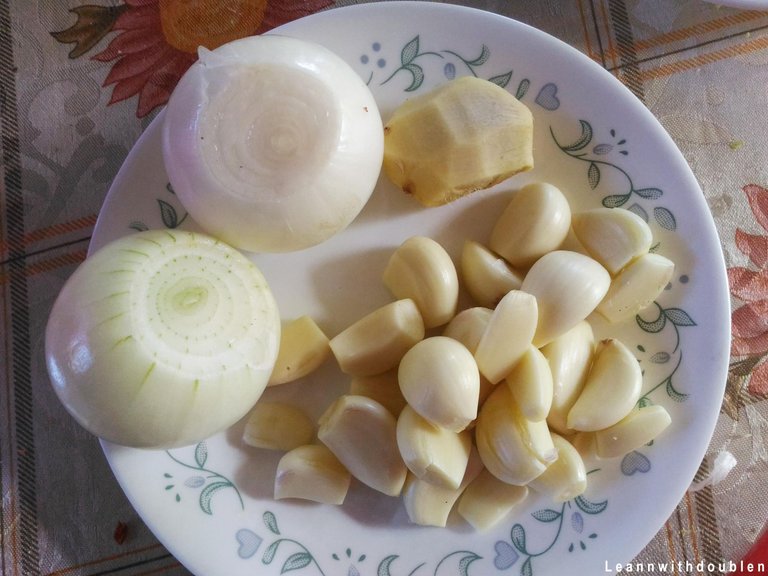 1. Prepare your Garlic, White Onion, and Ginger.
 2. Put all the ingredients you prepare in blender or food processor.
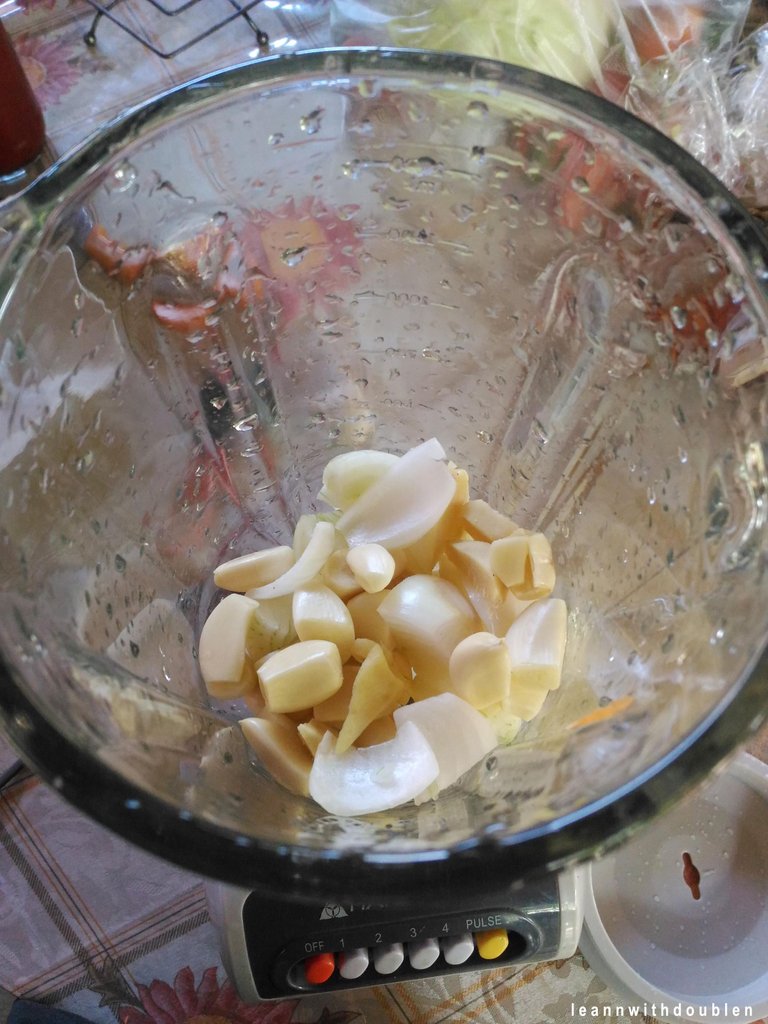 3. All ingredients in.
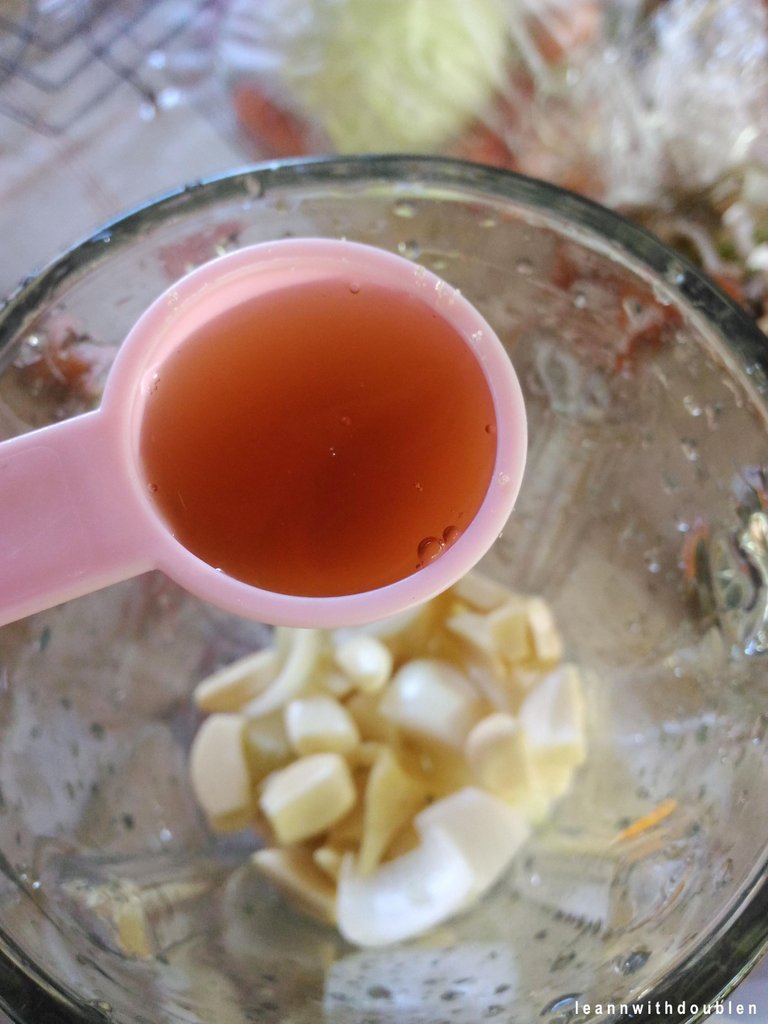 4. Add two tablespoon of fish sauce in.
 5. Add the porridge in.
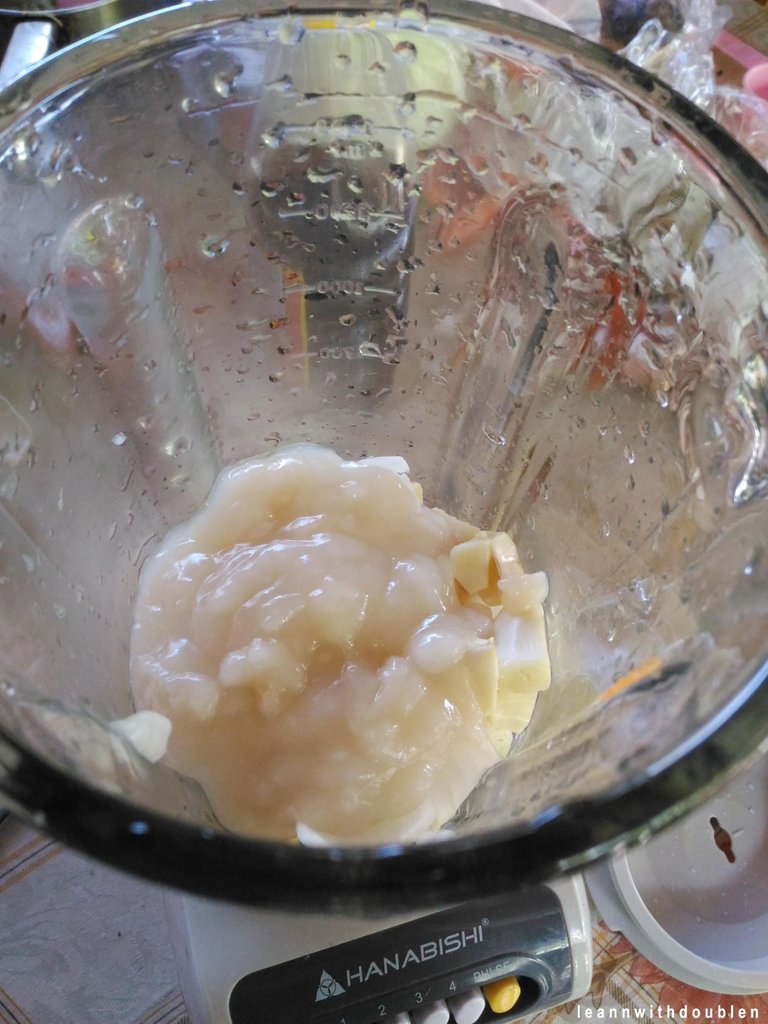
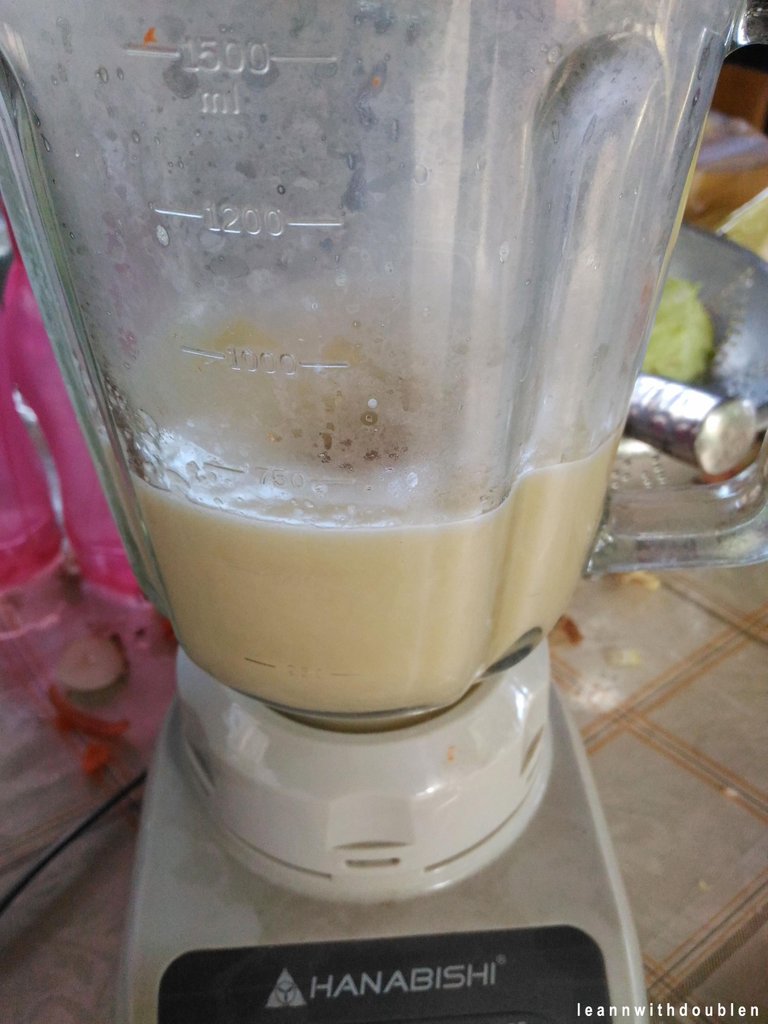 6. Blend them all until no clump.
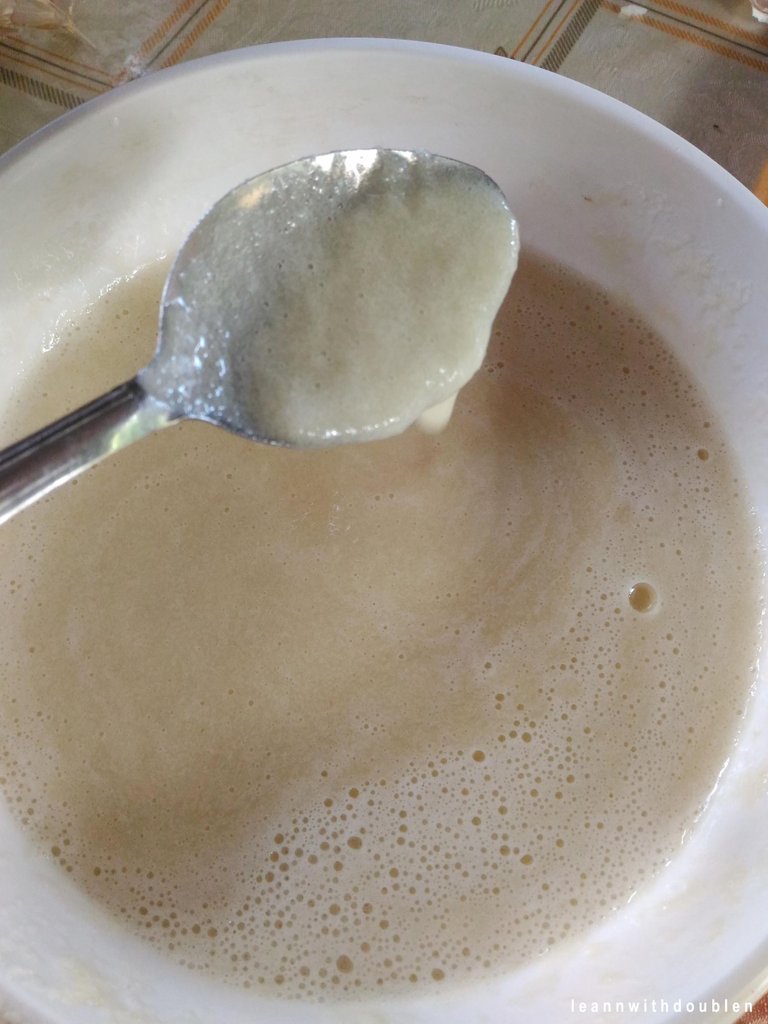 7. The consistency look like this.
 8. Add 5 tbsp of Red chili Flakes (Gochugaru). I highly recommend using the Korean red chili flake. It makes your kimchi more colorful and not spicy.
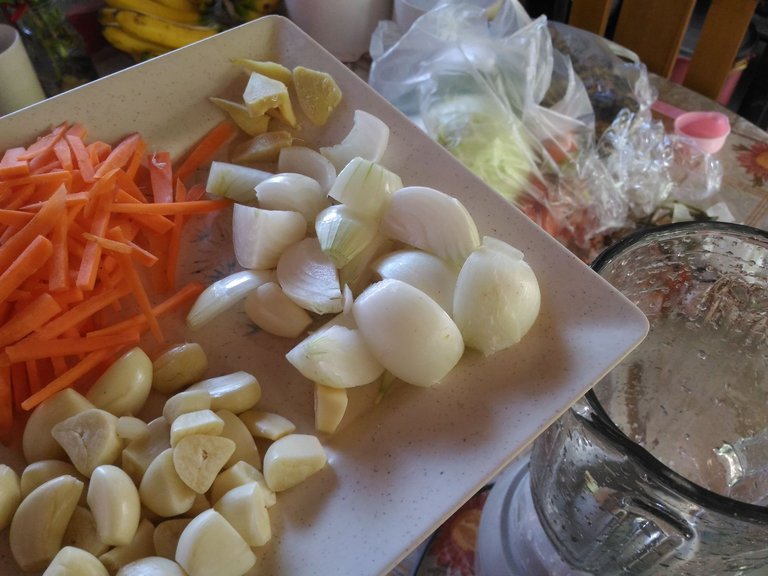
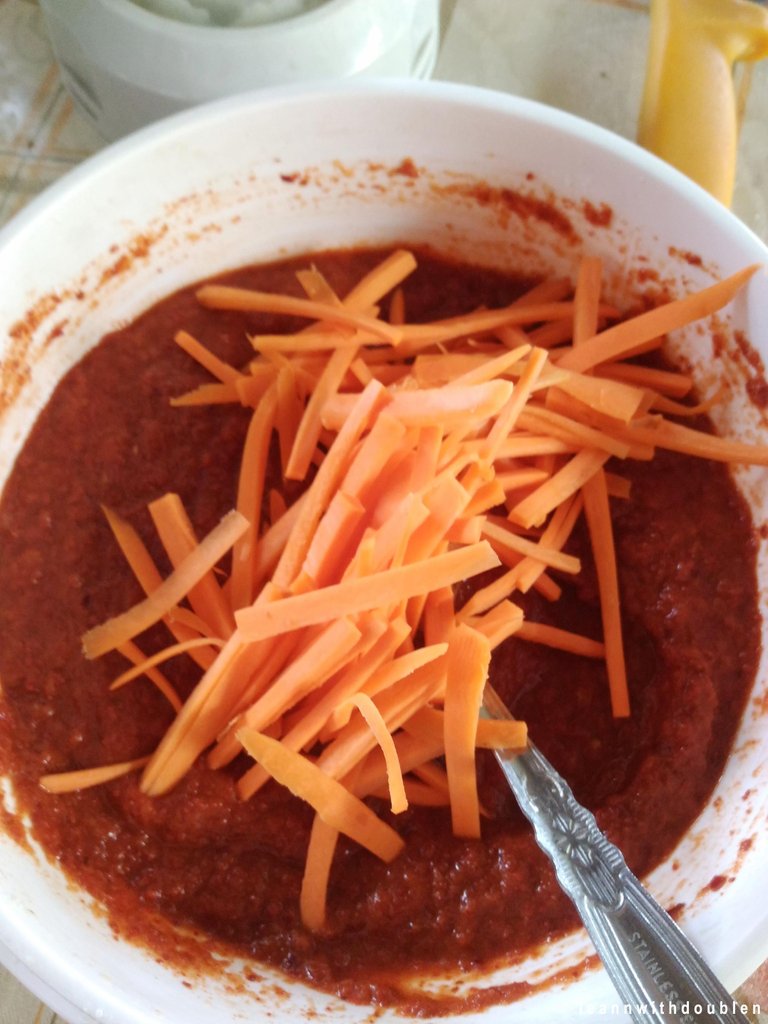 9. Add your chopped carrots in.
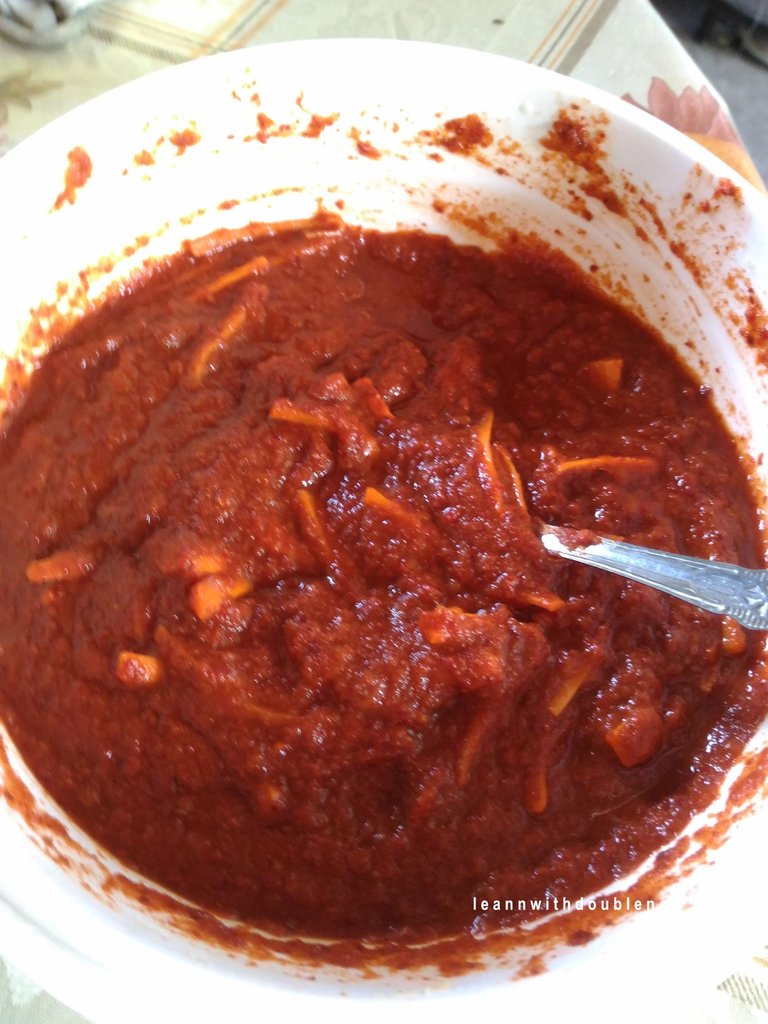 10. Mix until combine.
5. Rinse the Soaked Cabbage
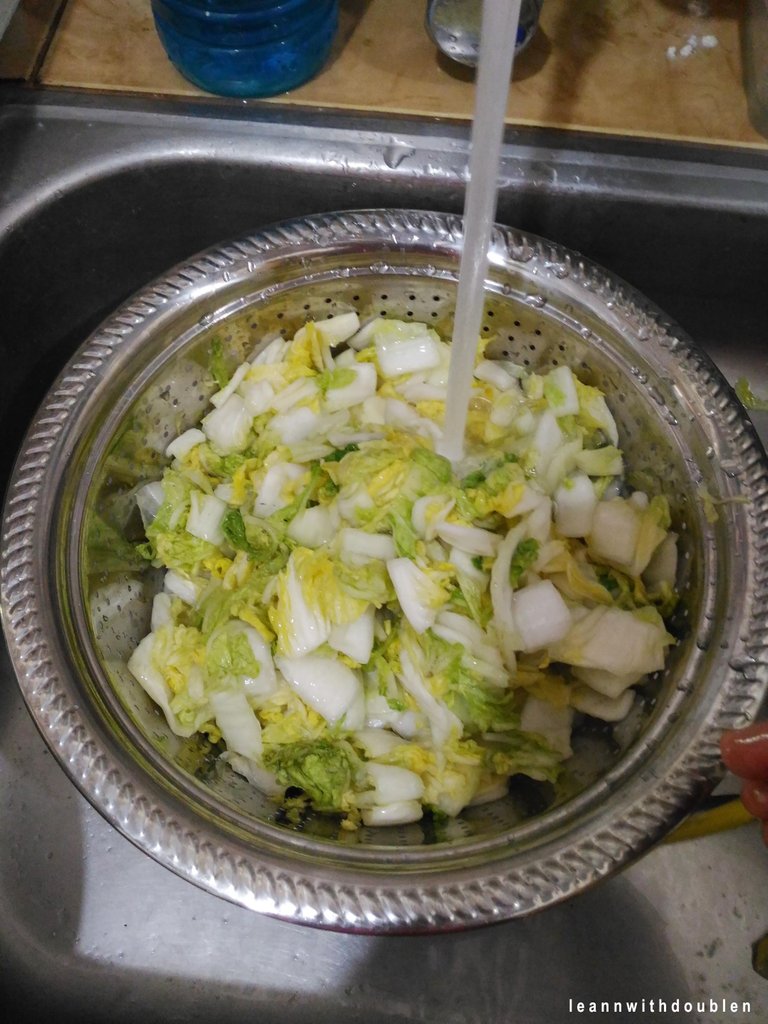
1. Rinse your soaked cabbage three times. After every rinse, squeeze the extra water in the cabbage.
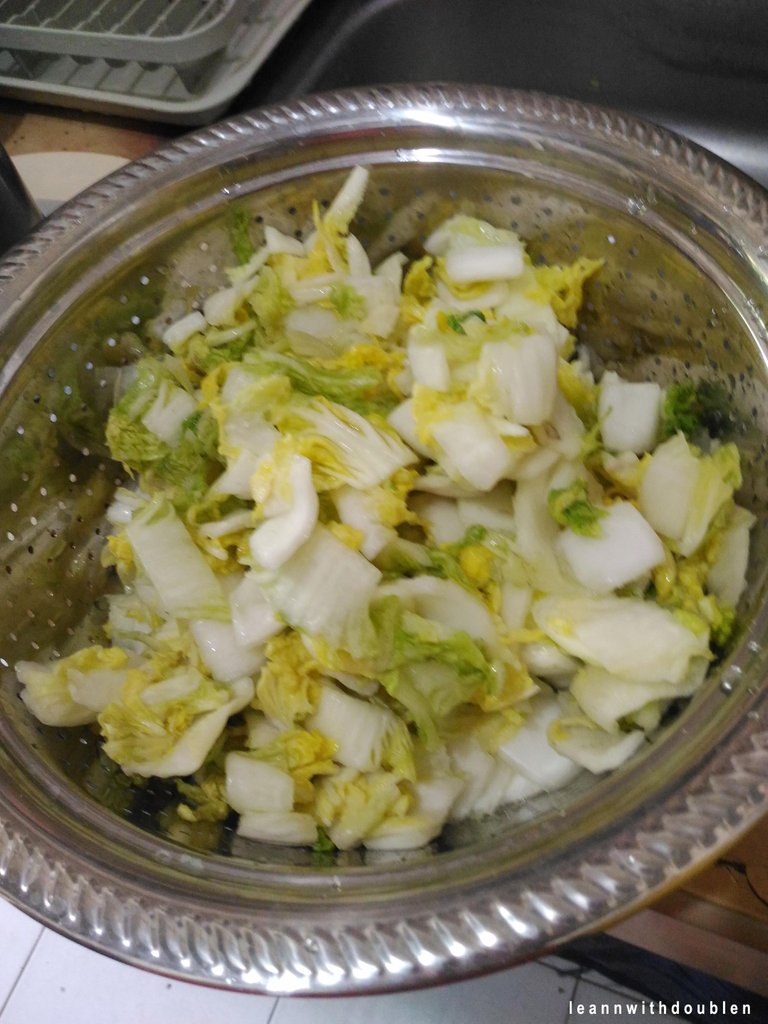 2.Your cabbage is ready!
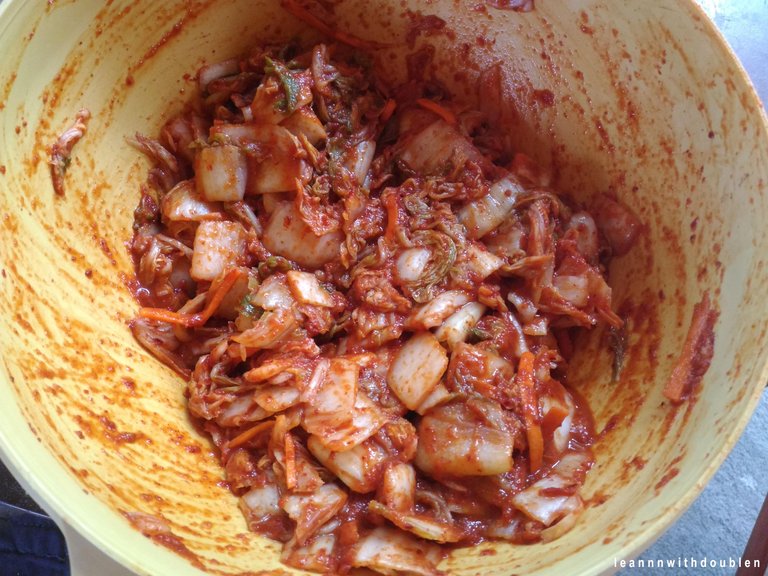
6. Mix the cabbage and Kimchi paste
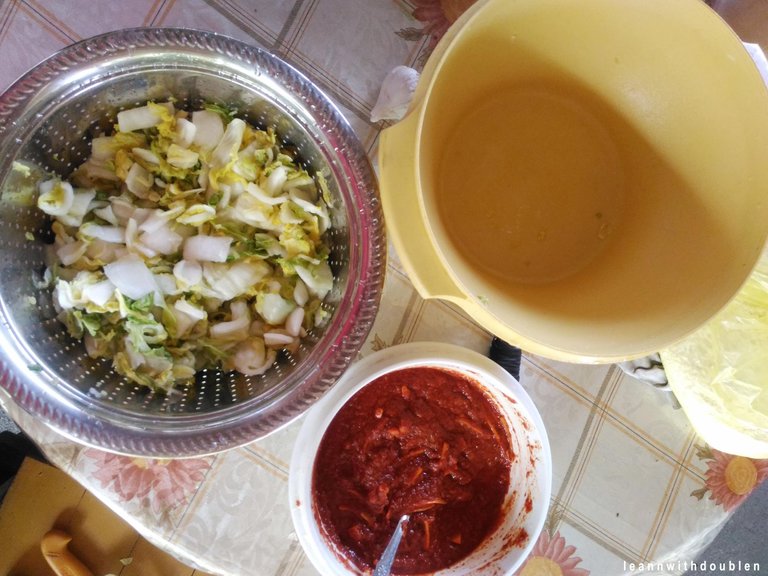
Prepare all the ingredients together. Wear a plastic gloves. Mixing them with hands are better. hehehe
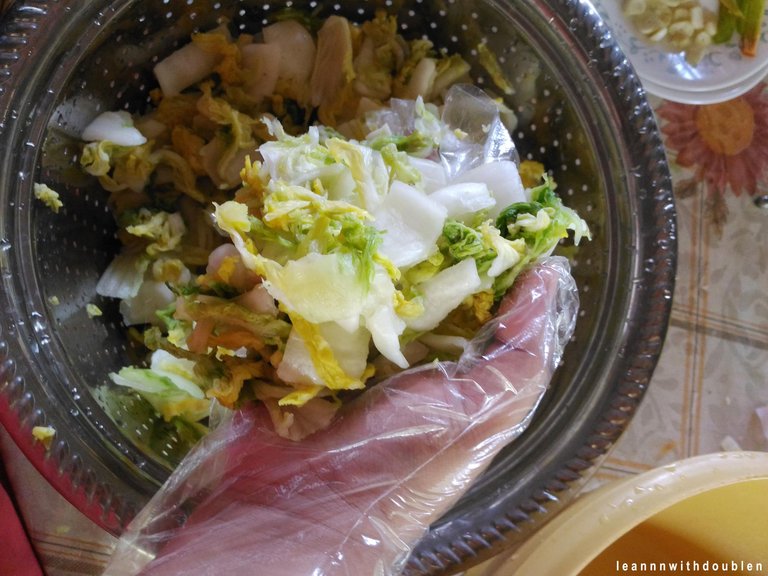 1. Grab a handful of cabbage.
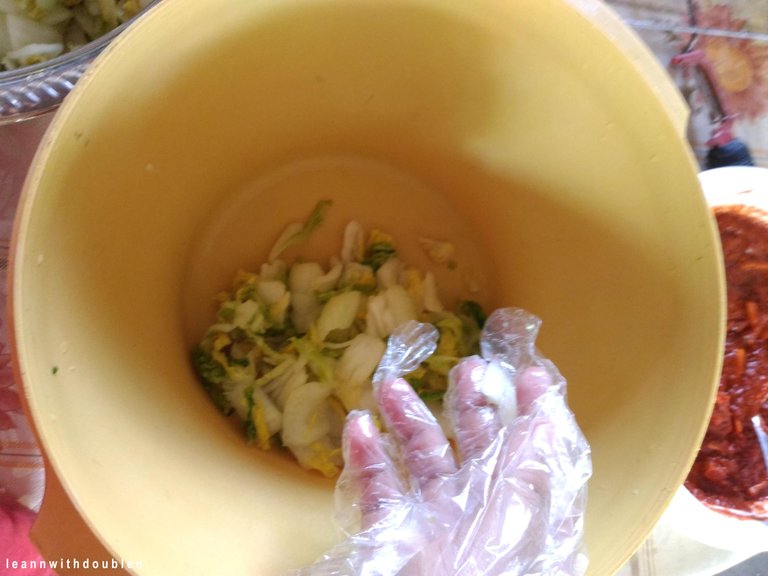 2. And place it in the bowl for mixing.
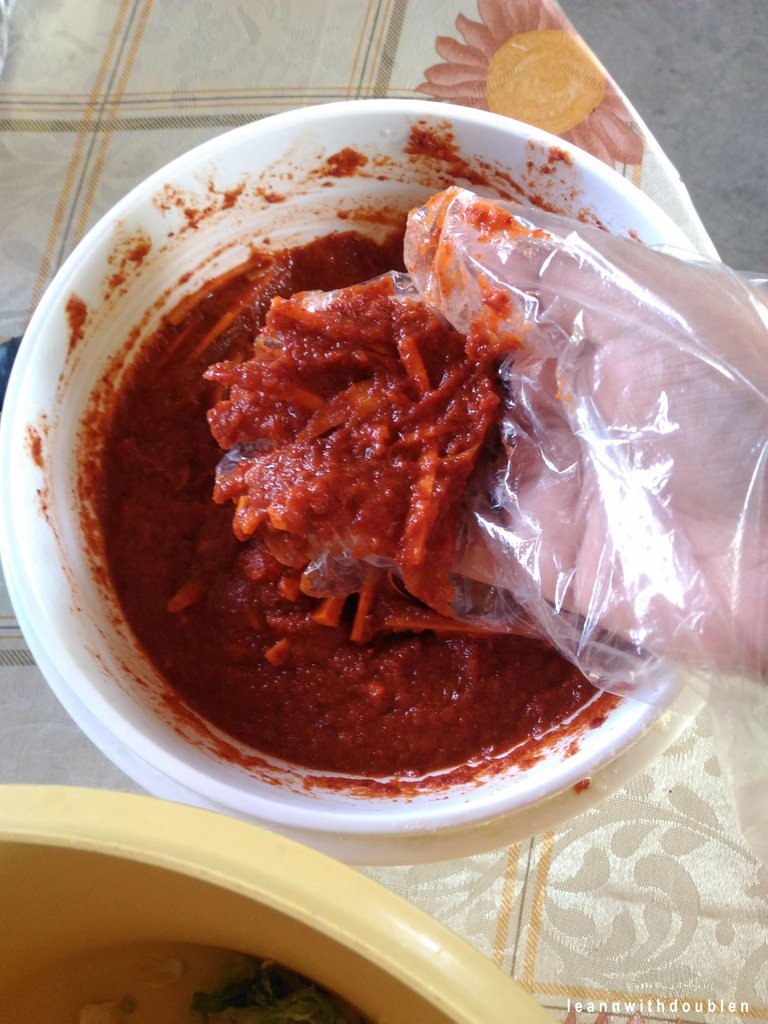 3. Add a handful of paste.
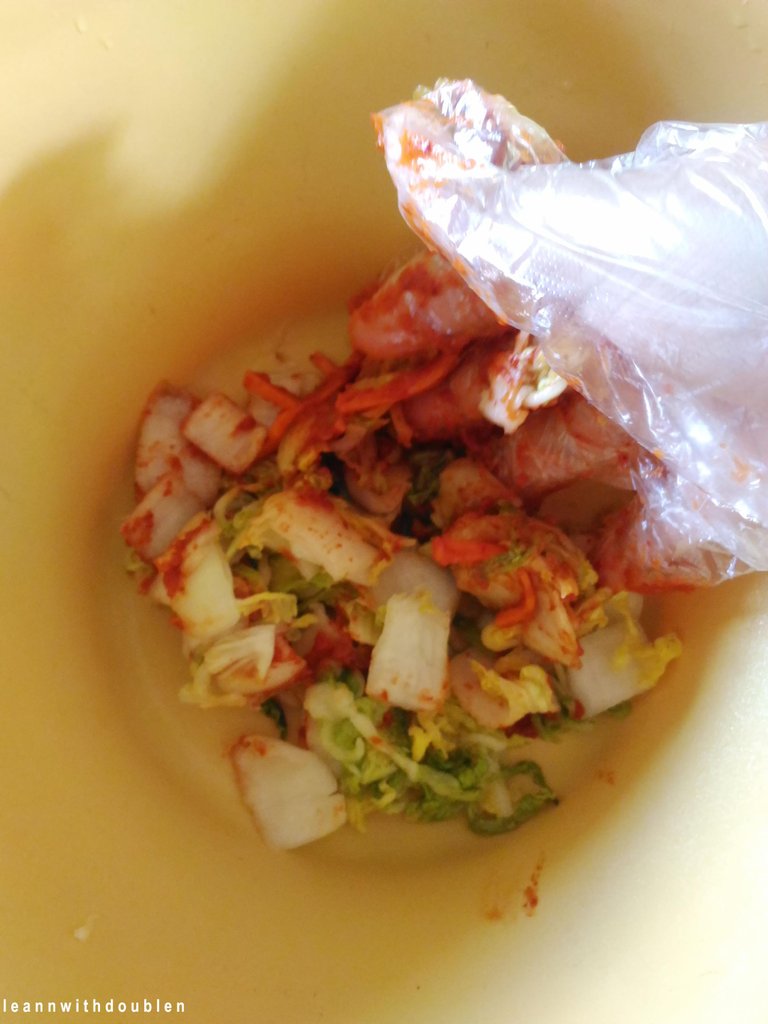 4. Mix it to cabbage.
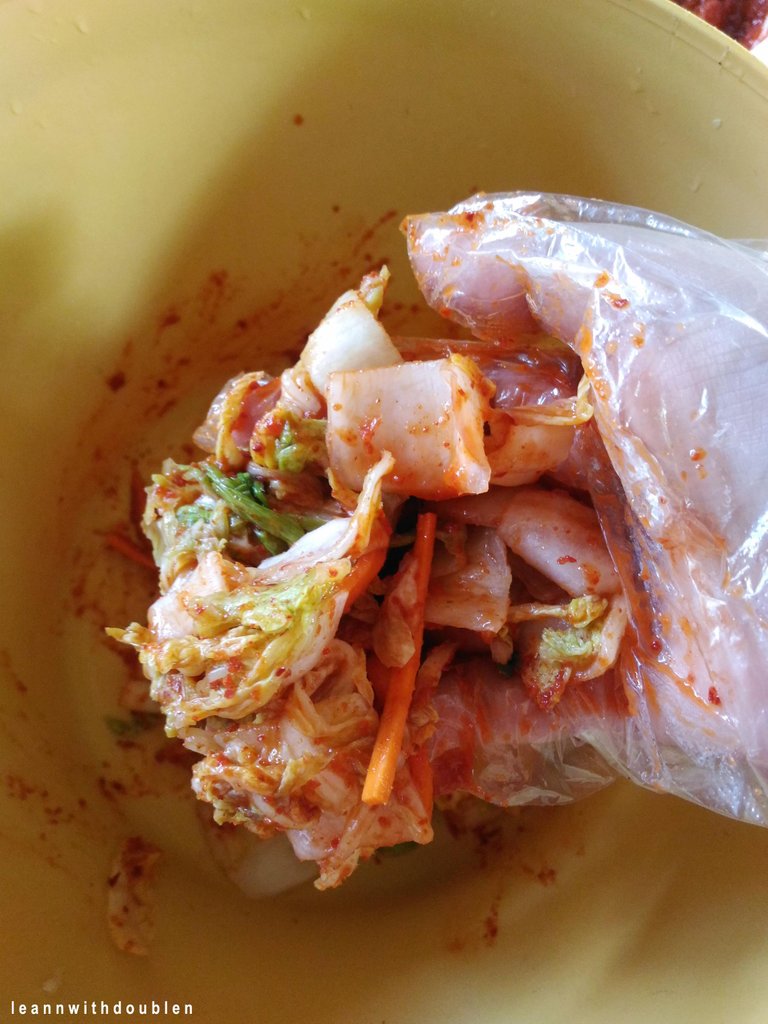 5. It should look like this.
 6. Repeat the process.
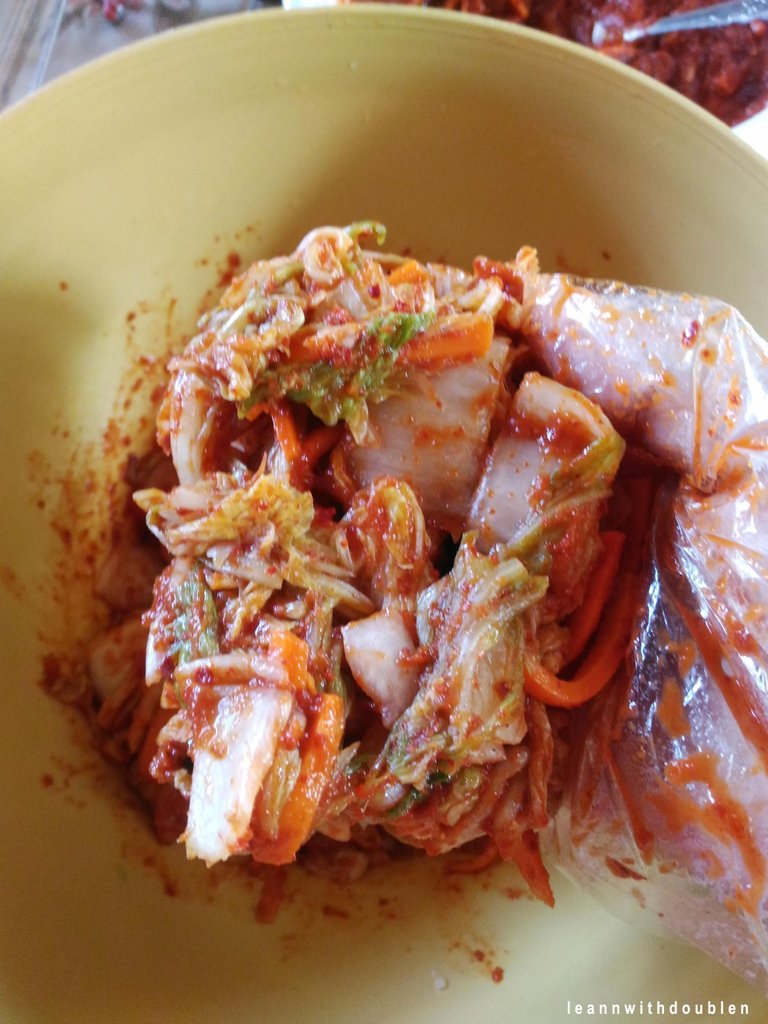
 7. Repeat the process until all the ingredients are mixed.
 8. We are done. We are ready for the final process.
7. Store the Kimchi
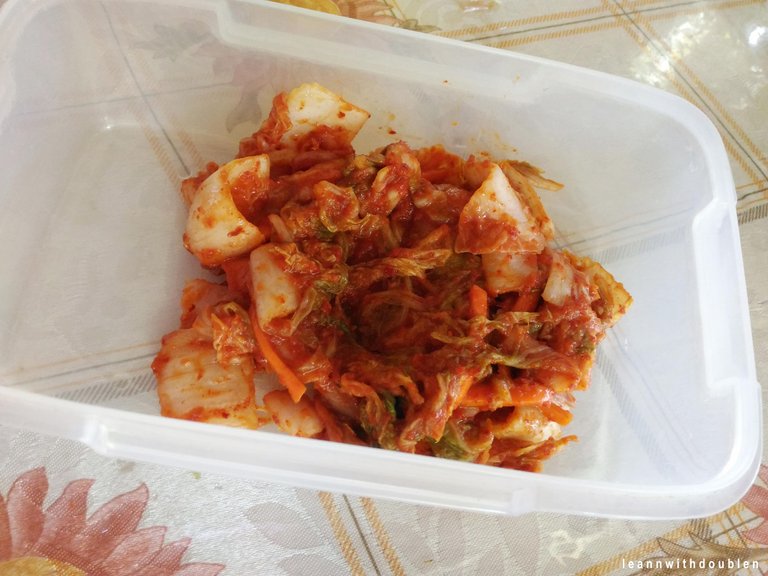 1. Put the kimchi in an Air tight container or jar.
 2. Make sure put the kimchi in evenly.
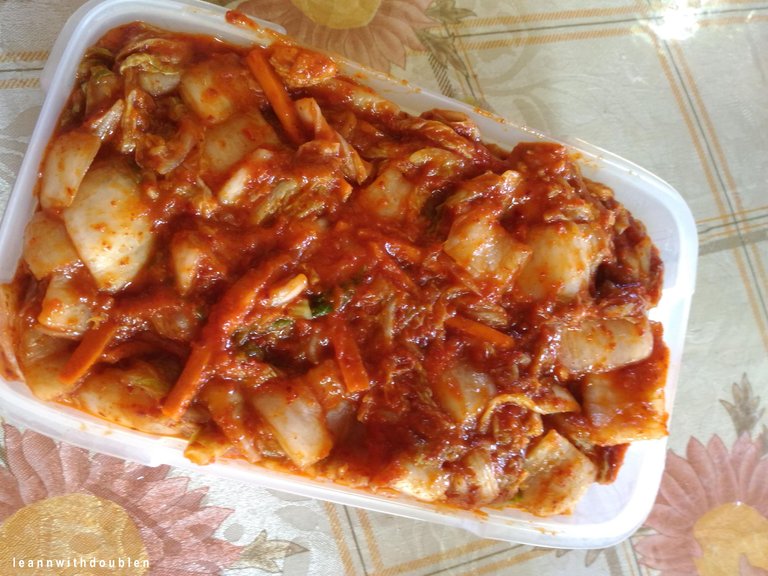
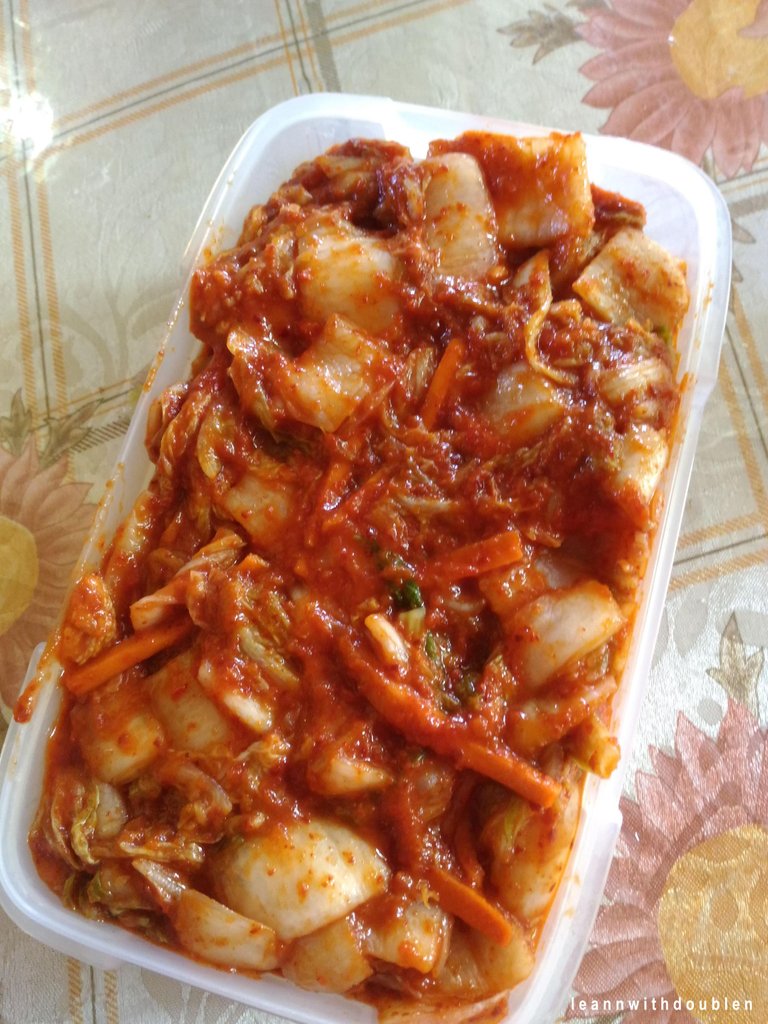 3. I usually store the kimchi in the refrigirator. I let it fermented for a day before eating it. It will taste better.
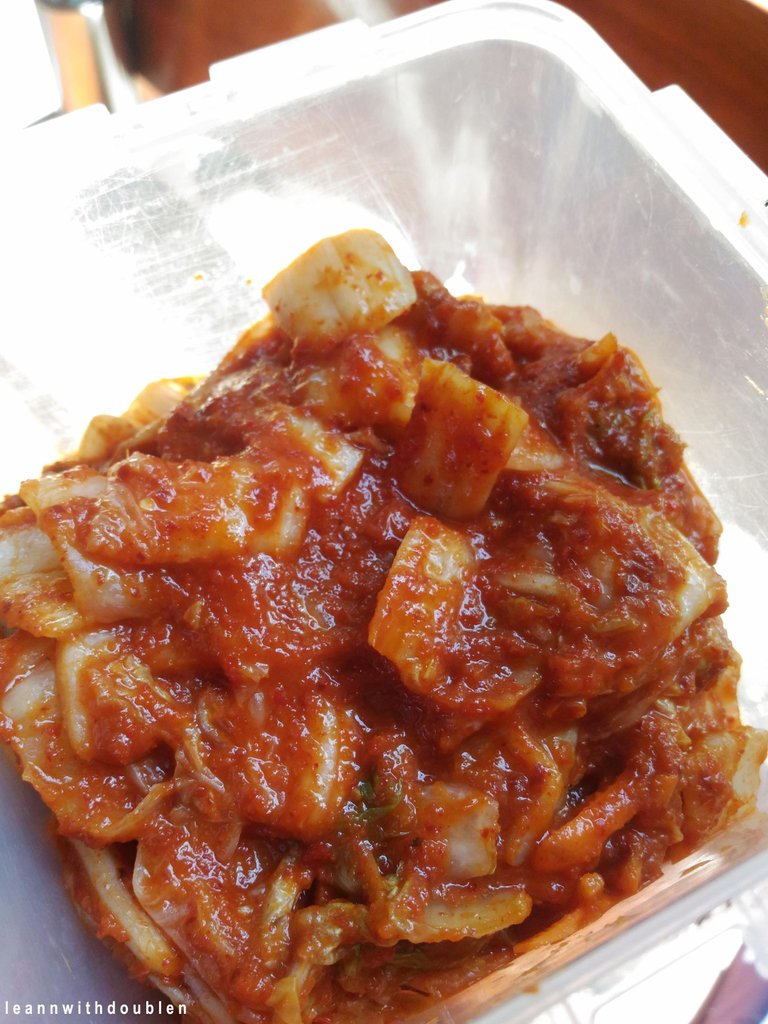 4. Our kimchi doesnt last for week. We love kimchi in this house.
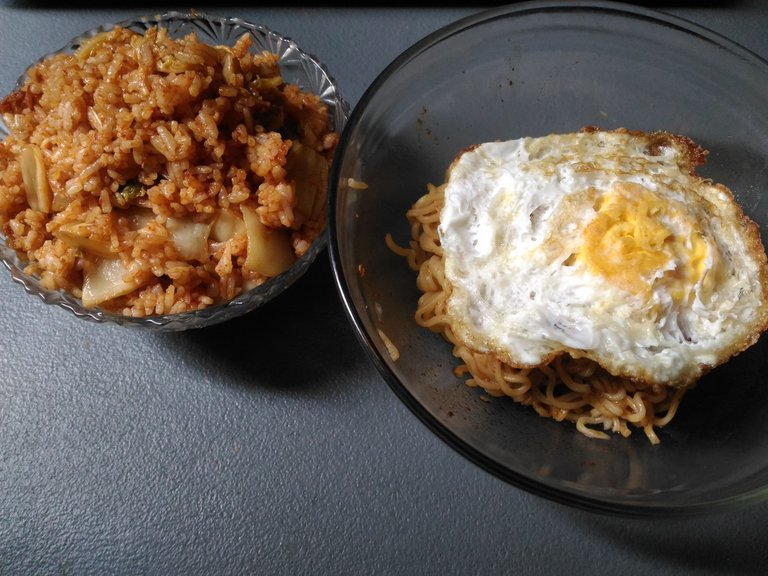
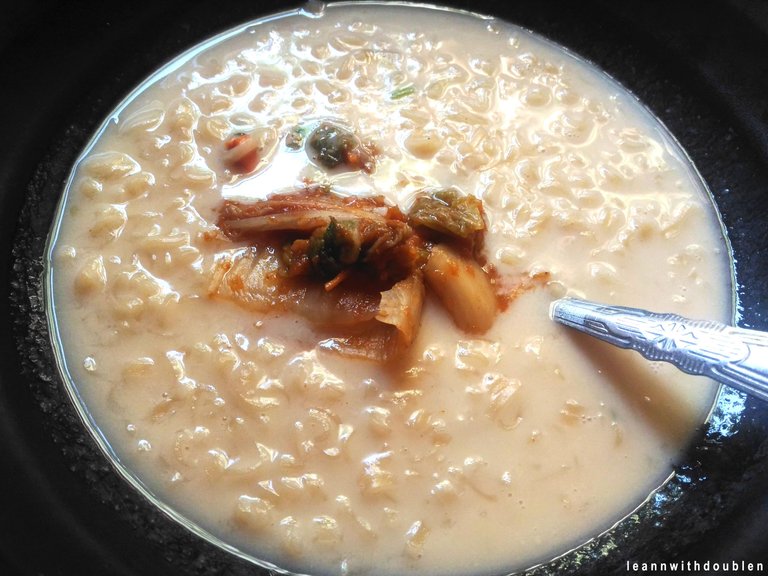
I made a lot of recipes using this kimchi. One of my favorites too is Kimchi Fried Rice with Egg and Instant Noodles.
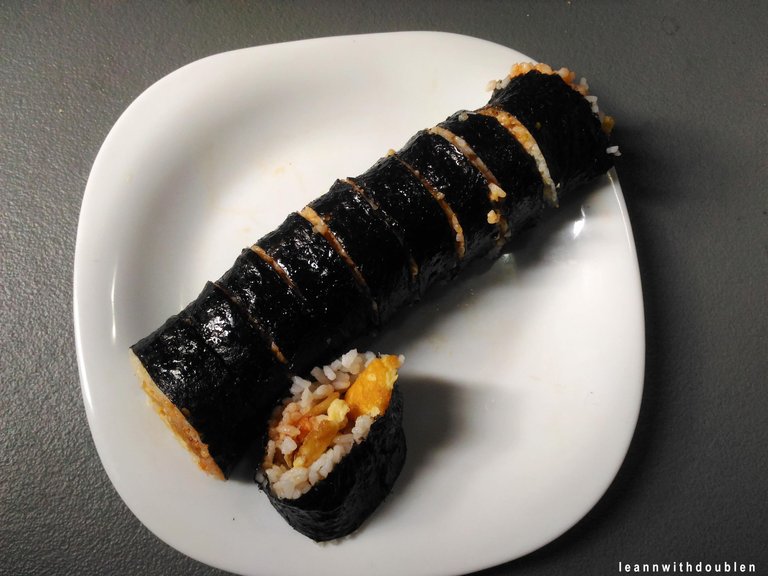
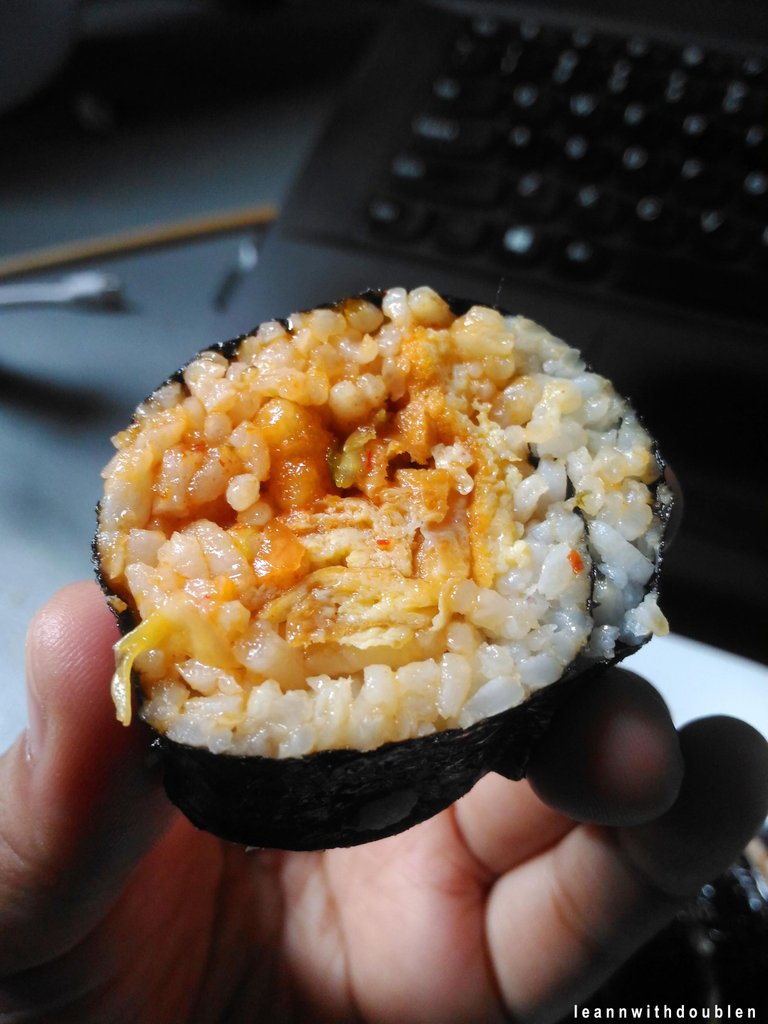
Kimbap is always a must.
And we have here a instant noodles.
So that's all for the blog! To learn more about me, click here 👇.
First Hive Introduction : About Me, What I love to do


The end product looks very good. I will try it out in the coming days. Good evening!
Thanks! Sure~ try it! 😄
You're welcome (^_^)
I'm into k drama too and I'm stills cuorius about kimchi , I want try too to make it by myself look so good , by the way you have a new follower!!
You should try it! And cook fried rice using it! Hehehe.
Congratulations @leannwithdoublen! You have completed the following achievement on the Hive blockchain and have been rewarded with new badge(s):
Your next target is to reach 600 upvotes.
You can view your badges on your board and compare yourself to others in the Ranking
If you no longer want to receive notifications, reply to this comment with the word
STOPCheck out the last post from @hivebuzz:
Support the HiveBuzz project. Vote for our proposal!