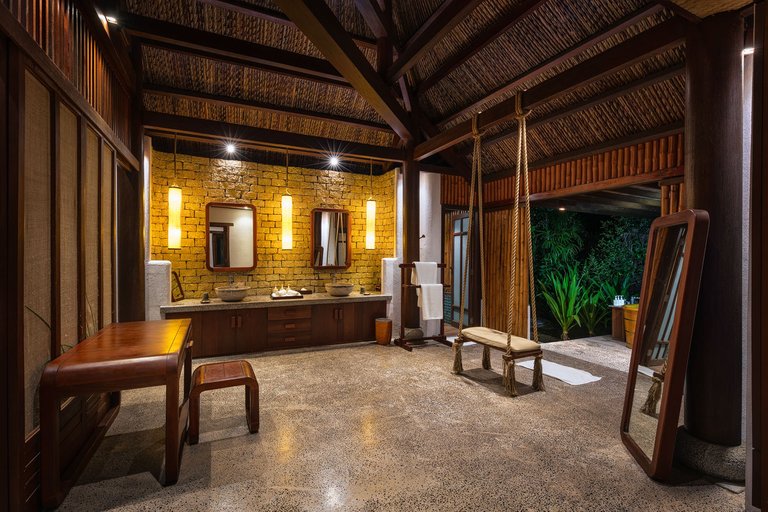
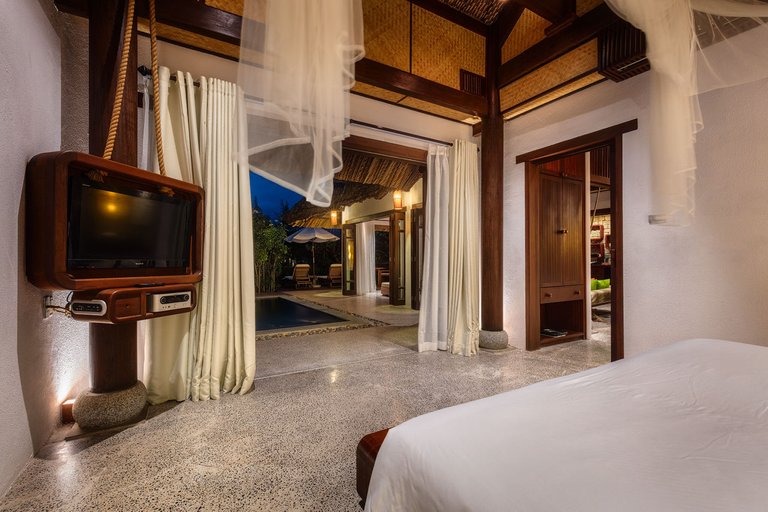
In this article I want to share with you my workflow for editing photos. When it comes to post processing I'm kind of a perfectionist and over the years I have developed a workflow that ensures that the quality of my photos is sufficient even for larger prints.
I want to now give you a short overview of the different steps I perform during photo editing - my editing workflow in a nutshell so to say. If you want more in-depth tutorials, you'll find those on my homepage where I have more than 10 hours of content, both free and for sale.
Unlike in most of my other articles, I feature some real estate photos here, which I took a few years ago for the L'Alya hotel in Vietnam. Their villas made for some nice subjects and to capture all the details, the workflow during the shoot and during post processing didn't differ from my typical landscape photography.

Preparation
This means that for each result you see here I started with a set of photos. I usually do bracketing to capture the complete dynamic range of a scene and I combine it with focus stacking to capture all the details in perfect sharpness.
So the first step is usually to make a selection for the processing, because during the shoot I normally take much more photos than I need in the end. It's always better to be on the safe side and create some redundancy.
Next comes the raw processing, which I do in Lightroom. Here the goal is to extract as much information out of the raw material as possible. I don't need to achieve the final look here, this will be done in Photoshop later. But not before I blended and stacked all the photos together and did some cleanup and transformations to them.

Creative Part
Up until now my workflow does not contain any creative processing. The fun part begins now with the work I do to colors and contrast to give the photo the desired look. I usually start the process with Viveza, a plugin inside of Nik Color Efex, and then continue with some selective work on contrast. The contrast work is followed by color adjustments, again selective with the help of different masks.
After those steps the image is slowly approaching it's final stage. Time to again apply some filters of Nik Color Efex and see in which direction I can go with the photo now. With such filters and all other tools I use it's important to go in little steps and not overdo the effect. I want the image to look just a little bit better than reality, but not be completely detached from it as you see a lot on Instagram these days.

Finalize
The final steps are about the fine details in the image. I start with a multi-pass sharpening technique, followed by special output sharpening for the desired medium - e.g. web or print.
And since this overview was a bit short und not very detailed, here are two videos, which go a little bit deeper and show the workflow for one of the photos I shot at L'Alya.
Great to see you at Photography Lovers community!
Congratulations, your post has been added to Pinmapple! 🎉🥳🍍
Did you know you have your own profile map?
And every post has their own map too!
Want to have your post on the map too?