In previous tutorial, I have managed to cover the asset store in the Gdevelop. The asset store can solve a lot of your problems if you know when to use it and when not to go for it. Most of the template solutions can work out for the kids developing games and also for the projects where repeat code is likely to be there.
In todays tutorial I wish to complete the object named - Text entry. Most of the gamers make use of the text entry or some form of the text objects in their game. And this type of object can solve a lot of their game design problems too.
Text entry object can be really useful if you plan on making those anime style visual novela. And also make use of the various text interface based games where you auto type or take the input from the user. That can definitely make things easier too.
Before we move onto the tutorial, let's take a look at what we have done so far.
So here is the table of content of the previous tutorials that you can follow for making the specific parts of the game development.
- GDevelop - How to Create Project
- GDevelop - How to Create Scene
- GDevelop - How to add background Image
- GDevelop - How to add Image Sprite
- GDevelop - How to Horizontal Scroll
- GDeveop - How to Vertical Scroll
- GDevelop - How to Switch Level or Scene in Game
- GDevelop - Switch Scene or Level
- GDevelop - Add Force to Sprite
- GDevelop - Key Press Change Background
- GDevelop - Particle Emmiter
- GDevelop - Tiled Sprite
- GDevelop - Asset Store
Before we can do the development, we can make sure to download the GDevelop and have the backup for the gdevelop project. If it's your first project make sure to save it as you go. And taking the backup in another drive would be a good option too.
Most of the time if you take regular backups then you don't end up with issues with the loss of the projects or the progress made in the gdevelop. So for that I would recommend making sure to download the installer and install the gdevelop.
In the table of content above you have around 13 tutorials to go through. All of these are fundamental concepts. Make sure to check them out and see if that would be helpful for you to build your own version of the game design. And that being said, let's talk about todays topic in hand.
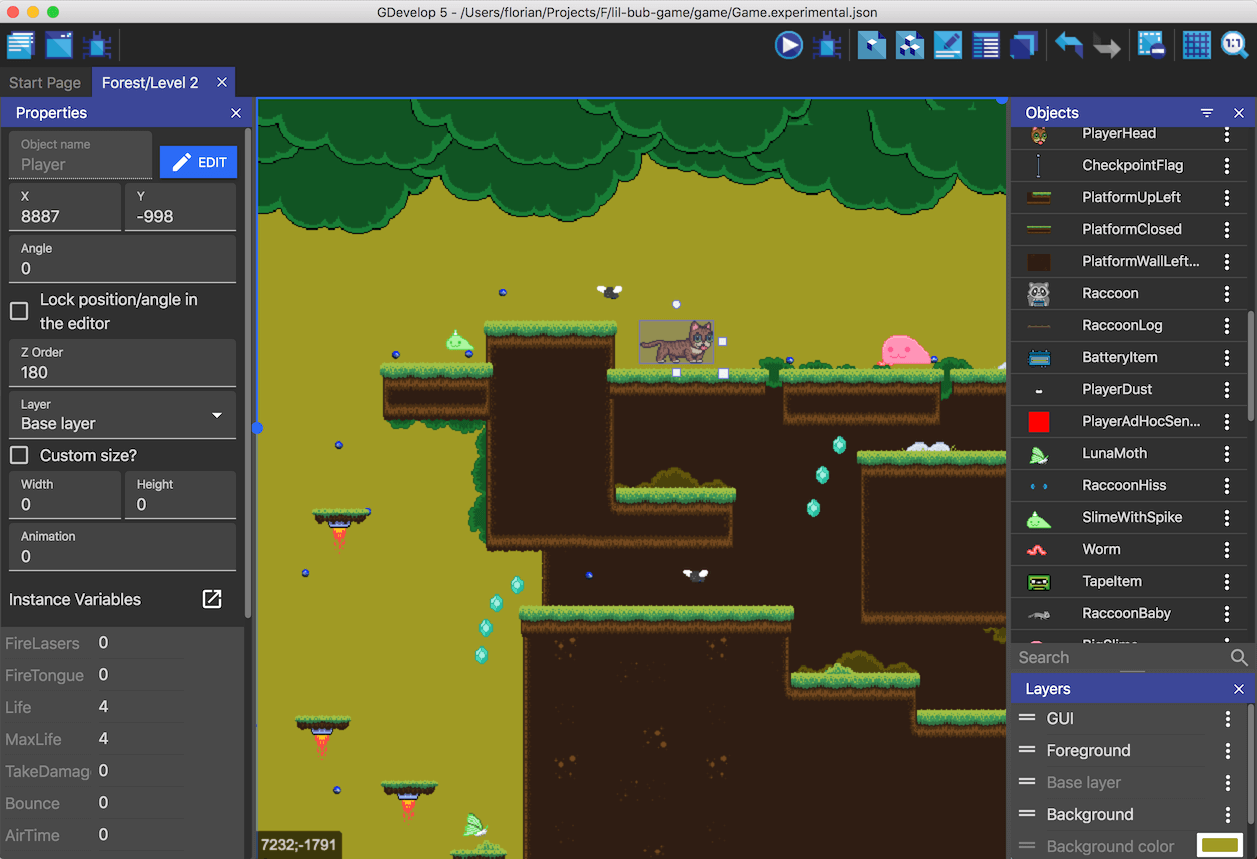
Image Credit: GDevelop
Follow the instructions below to work with the Text Entry Object.
- Install GDevelop from official site.
- Open up Gdevelop.
- Create new project.
- Click on project explorer on left top panel.
- Choose scene.
- After adding the scene, lets add the background for the game.
- You need to add new object.
- Here you have to choose the Text Entry object.
- Drop this object onto the scene after naming it.
- Now open the scene events.
- Add the scene event for the keyboard output to be displayed.
- Save the scene events.
- Save the project.
- Preview project.
That is all. In order to see the exact set of the steps I would recommend you to check out the video instruction tutorial below as that is more detailed and step by step instruction for the same as well.
Do note that you can use the text entry object in various ways. You can experiment with what you can do and then make the changes accordingly. It is not that easy some of the times but you have to experiment and see what works out.
You can follow the instructions through the video tutorial as well.
Text entry object is one of the pretty effective object that is part of the GDevelop. A lot of gamers make use of it in educational games. And a lot of them also make use of them in the visual novella. I'd recommend you to experiment and check out what works for you. And make the changes for the overall usage effectively.
In next few tutorials we will take some of the examples which are more useful on that term. I may consider making use of the similar objects to work out on some good game as well.
We will continue the further game development topic in next post.
@tipu curate
Upvoted 👌 (Mana: 28/112) Liquid rewards.