In my post about how I installed and configured my new Raspberry Pi,
I announced, that I am going to write another post, about how I configured the Apache Web Server and Wordpress. And how I set up the DynDNS to create access from the internet to my local Raspberry Pi.
Here it is:
Installing Apache, Maria DB And Wordpress
The Apache and Maria-DB installation in general is written here.
You can do it exactly one by one. So I don't repeat it here.
I only had some confusion with the password of wordpress/maria-db.
CREATE USER 'wordpress'@'localhost' IDENTIFIED BY 'password';
In this case "password" is the password. If you want to change it:
mysql> ALTER USER 'testuser'@'localhost' IDENTIFIED BY 'new-password';
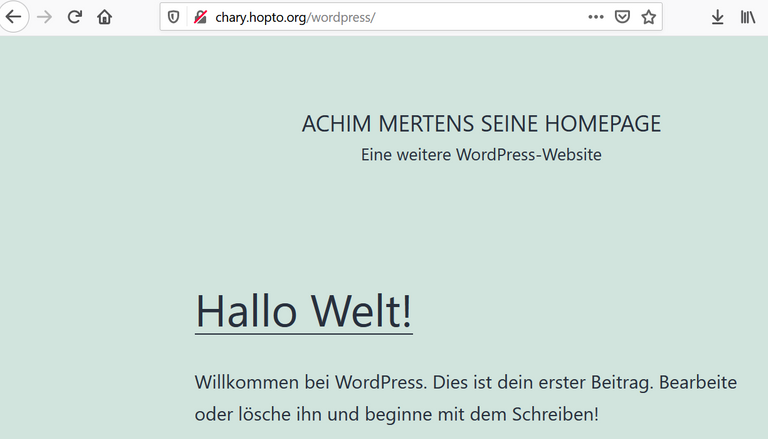
Here is my setting up of wordpress:

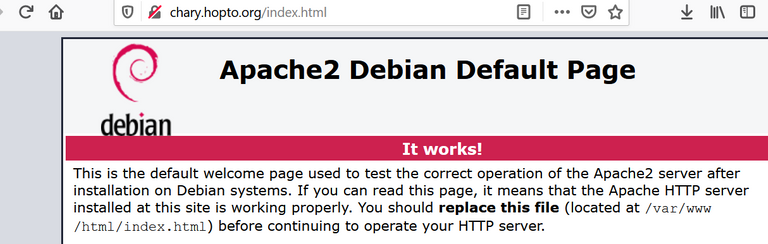
As you can see in the URL, now we are able to access the Raspberry Pi via a browser.
Now let us access it from the internet:
Setting Up DynDNS
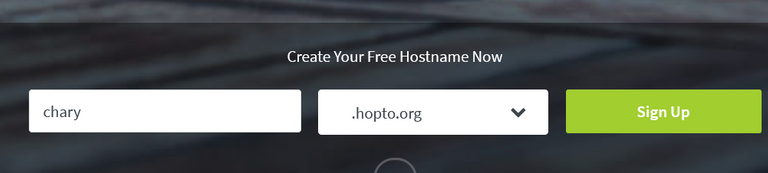
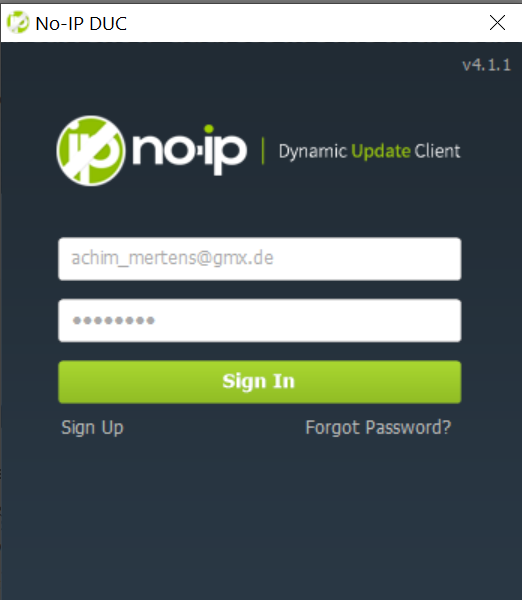
We need an URL, that is going to be connected with my internet-router. One can sign up for free here: https://www.noip.com/
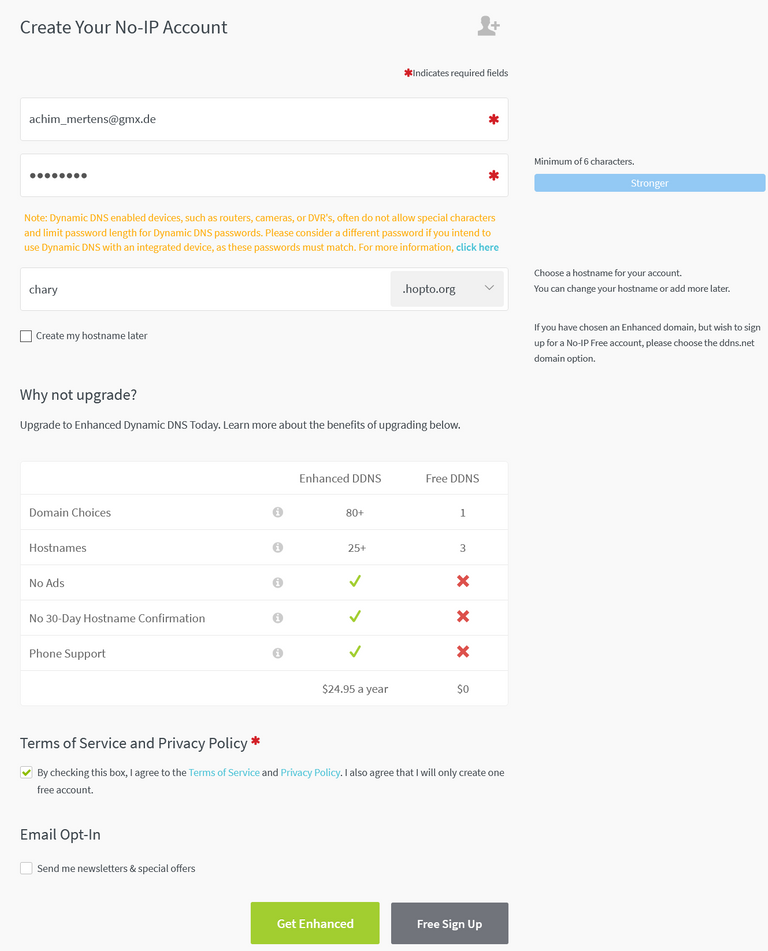
After Email verification:
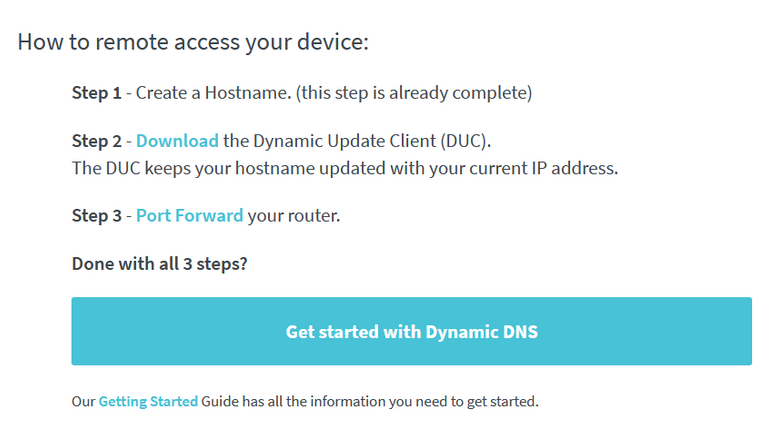
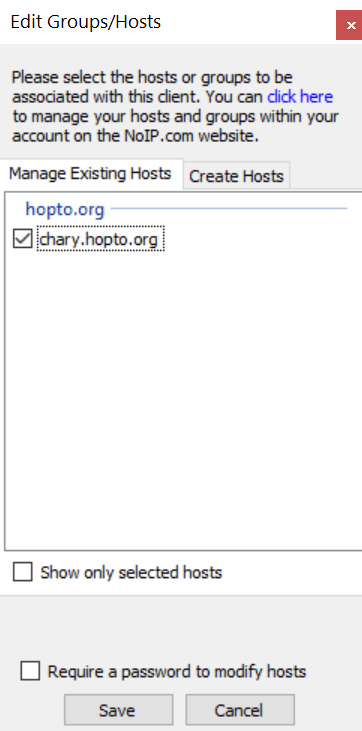
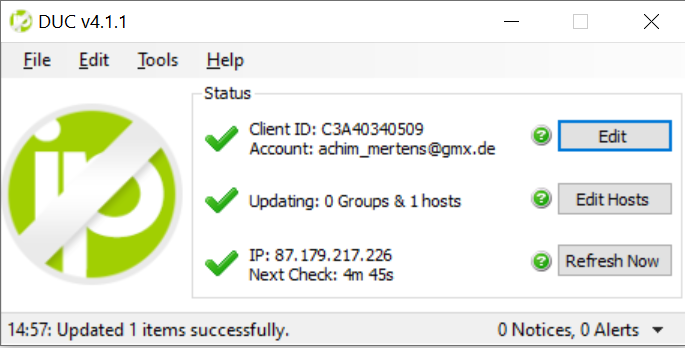
I have downloaded DUC on a local PC and installed it as a background service. It checks in at least once a month, that the URL is still beeing used.
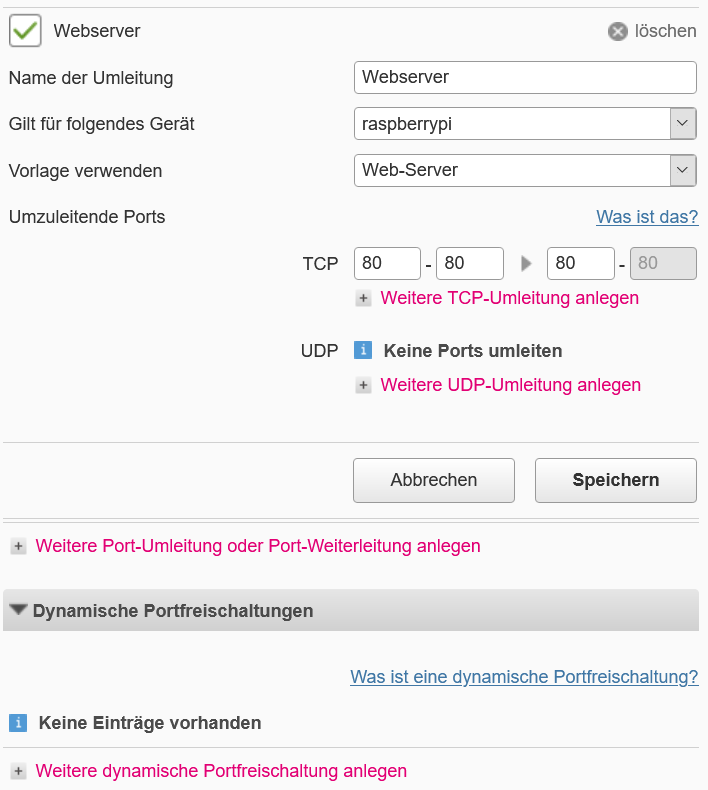
Setting Up The Router For DynDNS
I have set up "No-IP.com" as my URL-Provider in the dynamic DNS section of my router:
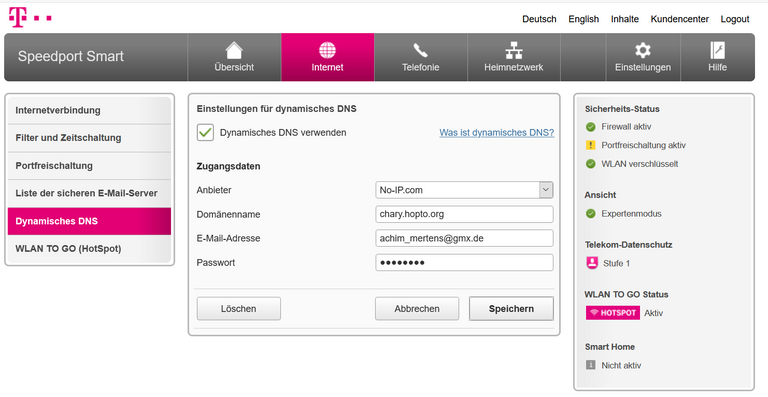
Every router is slighty different. So on your router it may look a bit different.
The next thing is to allow port forwarding. This means, your Apache Webserver is listening on port 80. Usually nothing comes in from the internet. With the port forwarding we allow everyone to go with port 80 to the Raspberry Pi. This digs a whole into your network. So be sure always to have the newest versions of Apache and Wordpress installed on your hardware.
Now you can check, if this port is reachable from the outside via: https://www.portchecktool.com/
It worked, but I didn't got a connection to my Raspberry via a browser, even with the outside IP-Adress of my router.
It took a while, but the error could only be inside of my router and so I restarted it (with some cries out of the children rooms :-))
After that it worked:

In the future I maybe want to set up a chary-Homepage.
But first I want to setup ELK (as I did on Amazon Web Services, see here) on the Raspberry Pi. Small teaser: It's not that easy, because the Raspberry has an ARM processor, and kibana is not written for that.
So, stay tuned for my next ELK advanture.
Regards, Achim
Dear @achimmertens
This is great to learn about. I hope it didn't actually took much time configuring this though
Yours, Piotr
Hi Piotr,
indeed it took a lot of time. And I'm still struggling with logstash.
But this is my hobby and it makes fun (when I finaly reach my goal :-))
Regards, Achim
ps.
I would like to take this opportunity and invite you to my recent post (celebrating my 3rd anniversary on hive chain with some special initiative). I would appreciate if you could consider reposting it - so I could reach out wider audience.
Stay safe and have a great weekend,
Yours, Piotr