In his DIY post, I will be showing you how to build a Greenhouse window box. Wanting to germinate all of our seeds, rather than purchasing vegetable plants, I figured I could make one.
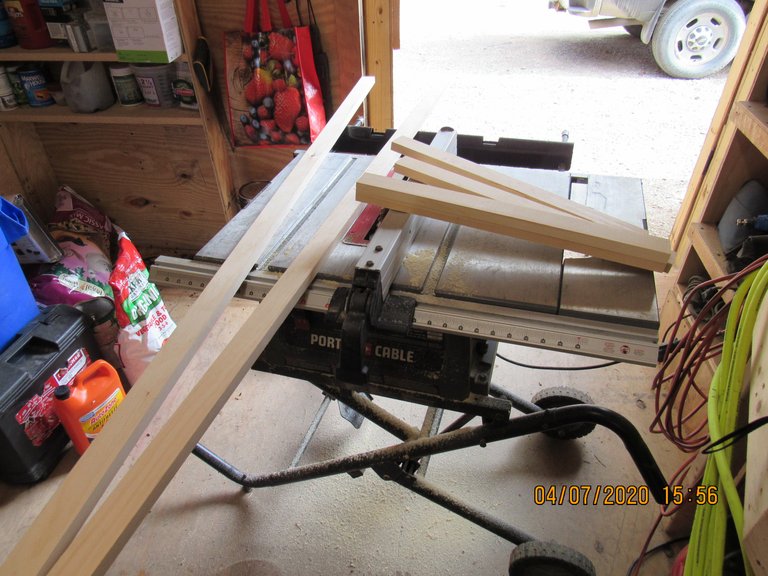
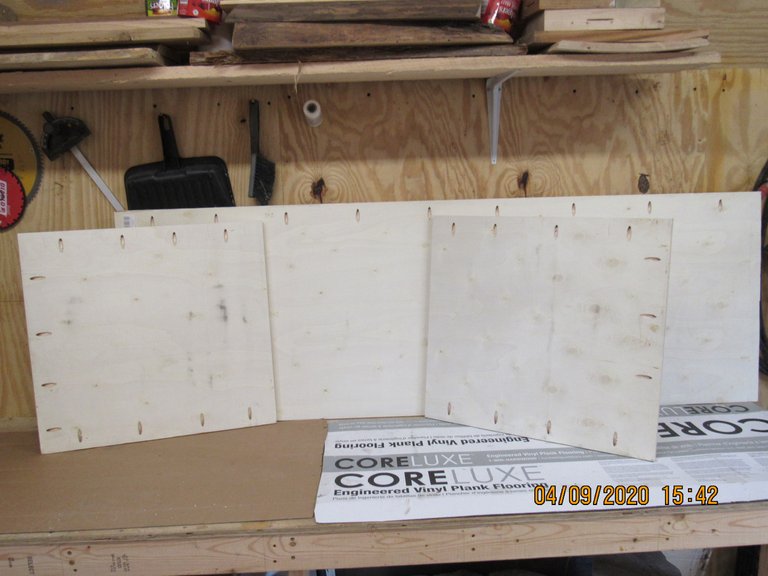
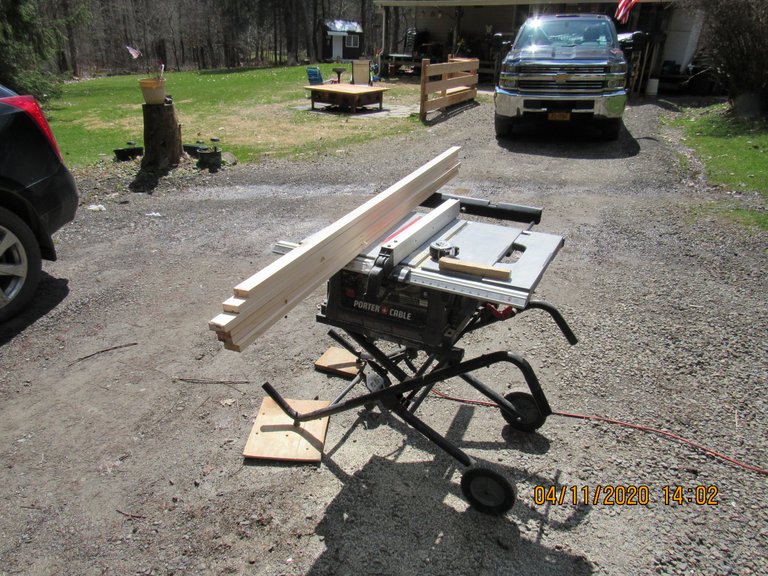
The first step in this project was to build a face frame for the cabinet. The face frame consists of two different parts, the rails which are the pieces that travel horizontally, and the styles that travel vertically.
After ripping these pieces for the face, I'll show you a great tool for fabricating any type of cabinet.
This tool is called a Craig Jig.
Using it saves so much time compared to traditional joinery used in cabinet construction. This type of cabinet joinery is also stronger, and it ensures that all finished pieces of your cabinet will be totally square, with perfect 90-degree angles between rails and styles.
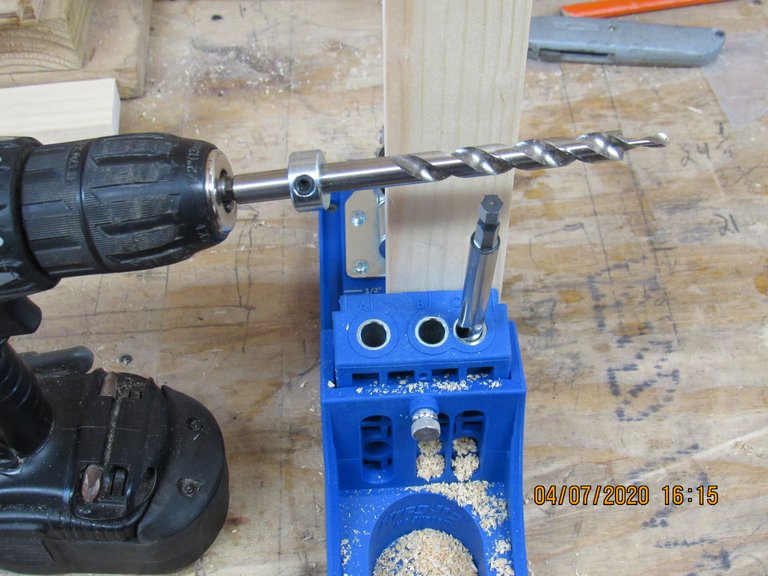
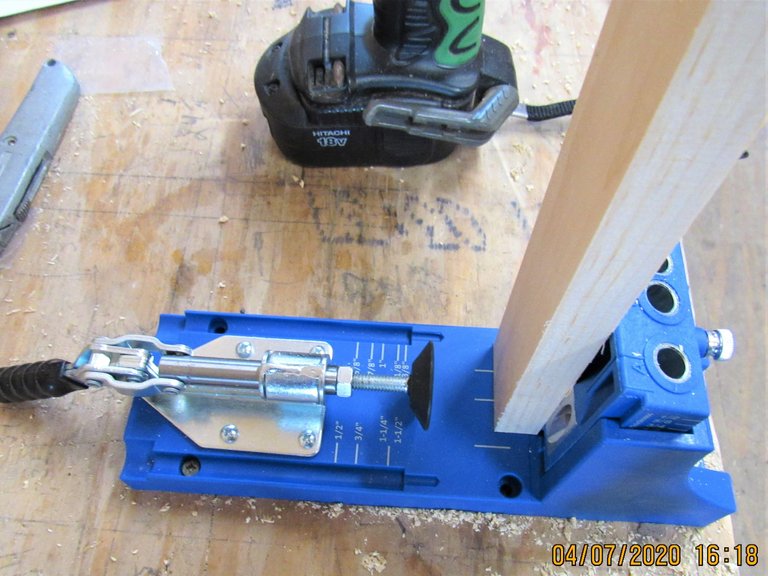
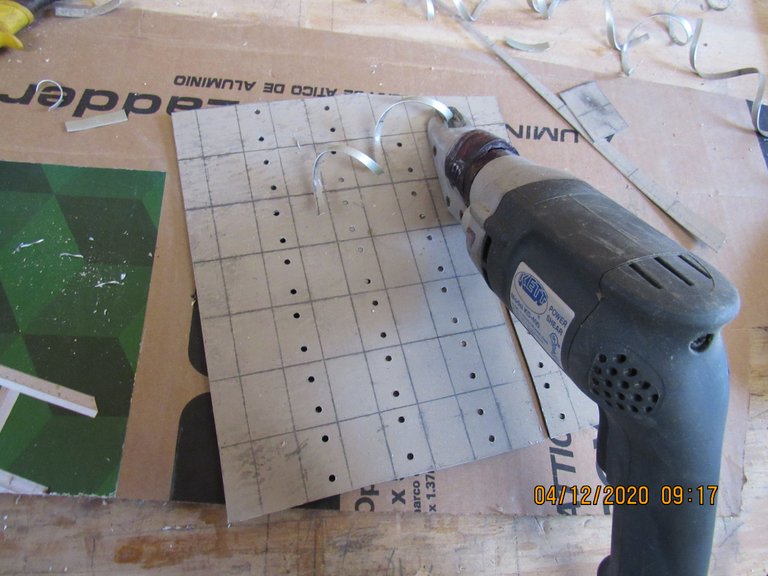
Here is the jig, and in this photo, you can see how to position the wood to be drilled. Once you have the wood in position, you just simply lift the black handle to keep the wood secure in the vice part of the Craig Jig.
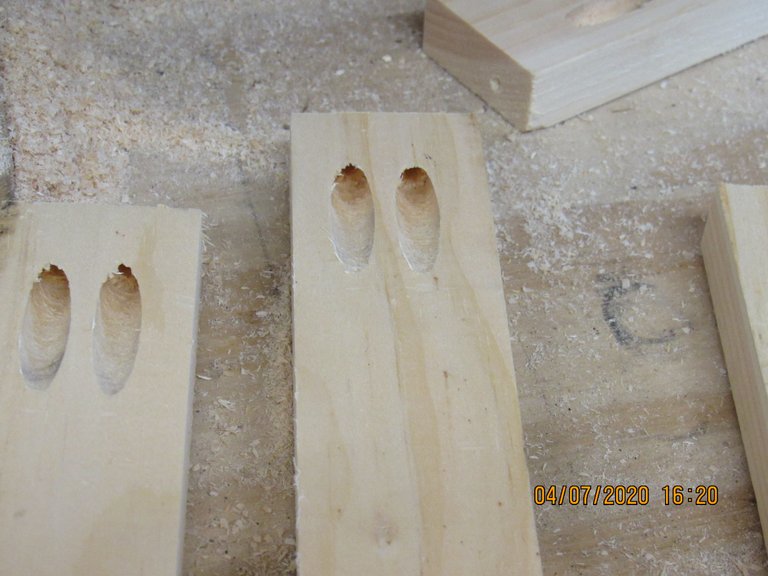
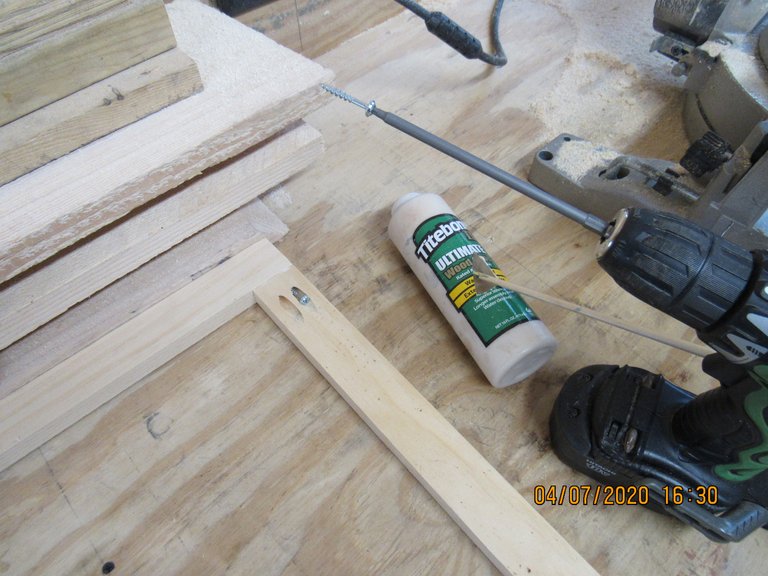
After drilling two holes at each end of all four styles, they will be fastened to the rails.
This tool allows you to join different thicknesses of wood from 1/2 inch up to 2 inches.
With a few adjustments made to the tool, it is very easy to change from one thickness to another.
The pamphlet that comes with the tool spells out the different size screws needed for all of the different thicknesses.
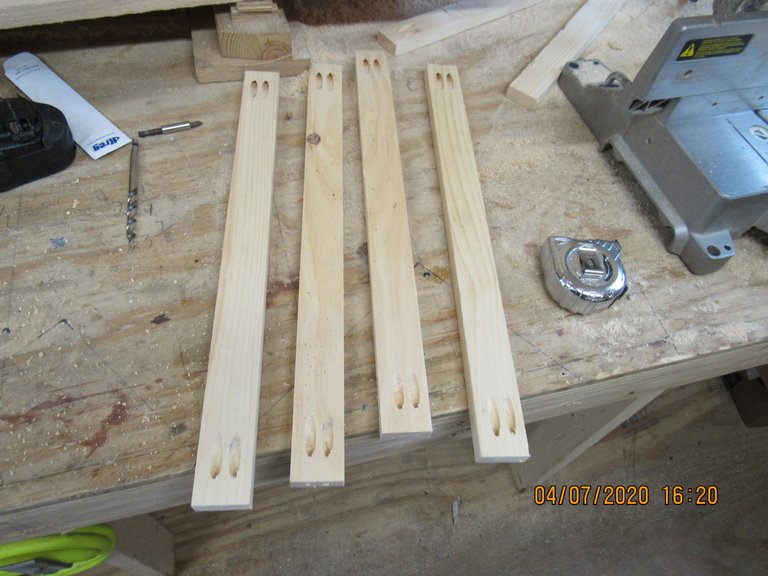
Closeup of the Craig holes.
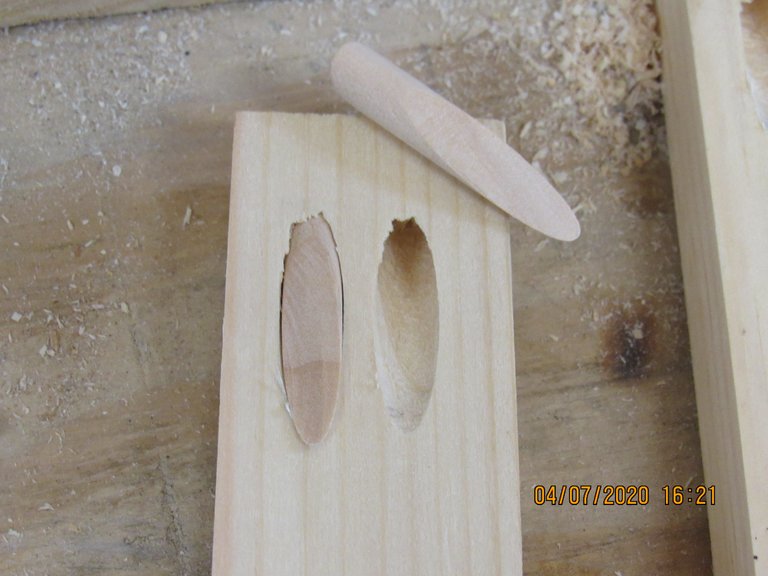
After securing all of the pieces to each other, the holes can be plugged with these special Craig plugs. I will not be using them on this project, because I'm not looking to build a finished cabinet. These plugs come in many species of wood, making it very easy to match the wood you are building your cabinet from.
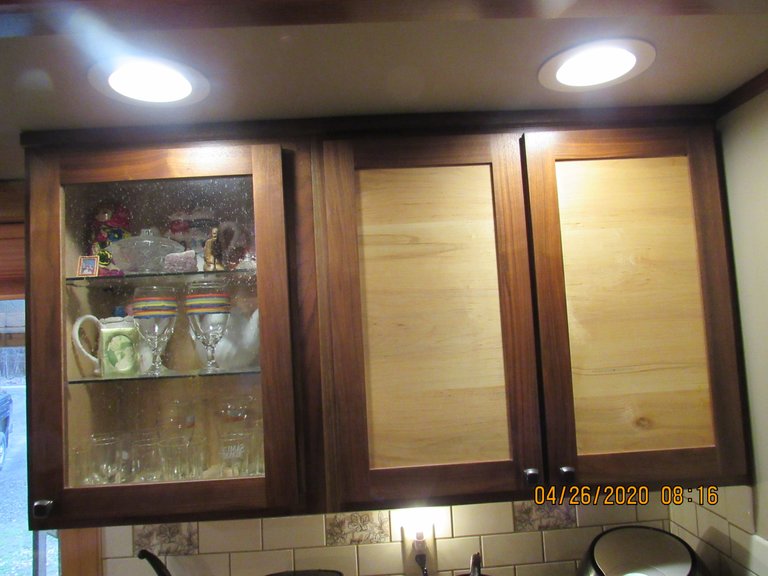
When building our kitchen cabinets, I used the Craig Jig for all of the joinery. These cabinets were built using a Spalted Maple, and Black Walnut.

You can see the two holes plugged with walnut plugs that match the cabinet.
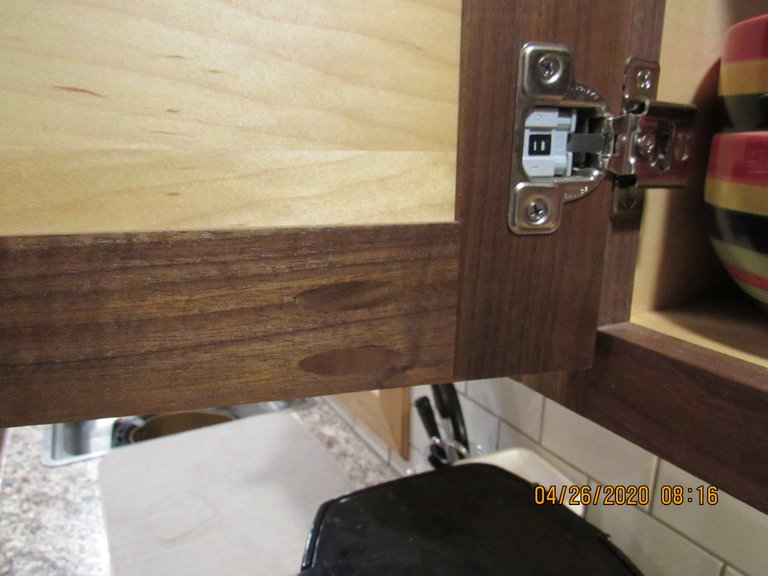
The plugs in this draw are maple plugs.
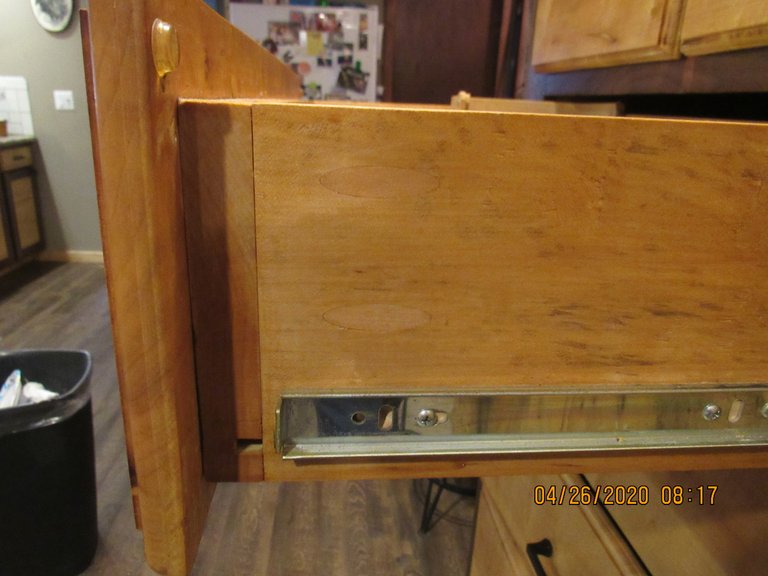
With the style butting the rail a dab of glue and two screws will secure the joint.
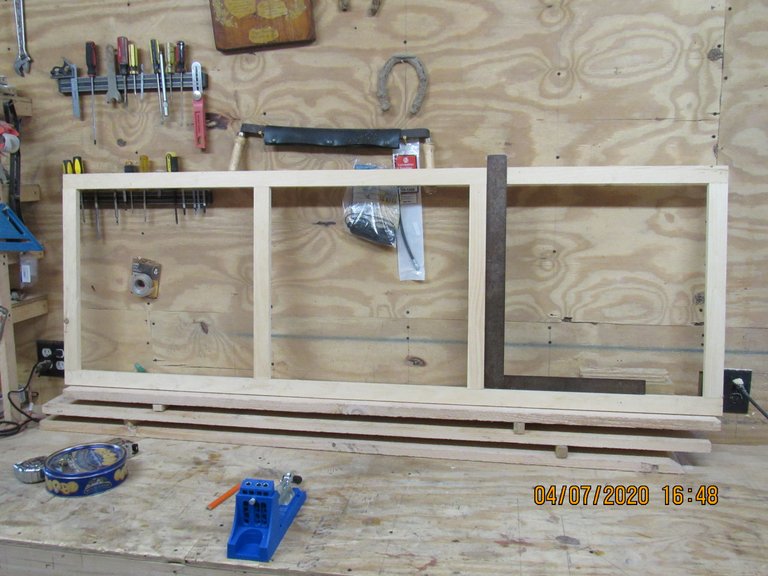
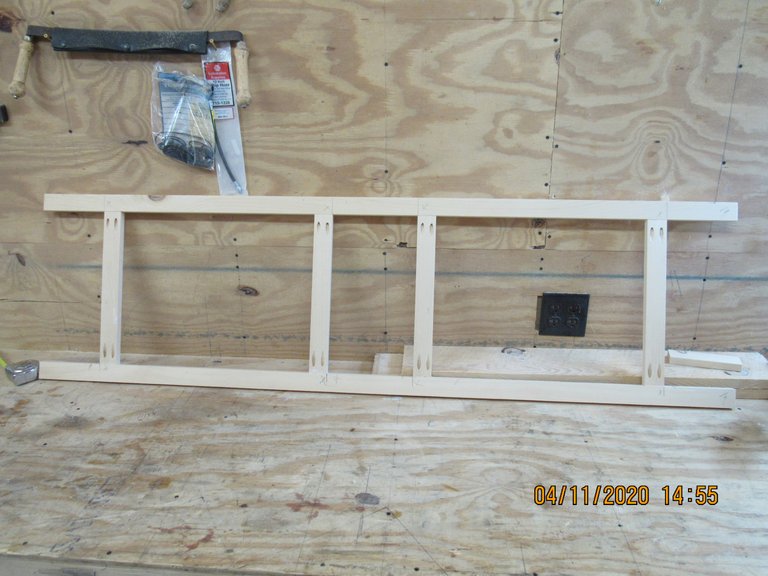
In a matter of eight minutes, the face frame has been fabricated, and all of the rails turn perfect 90-degree angles to the styles.
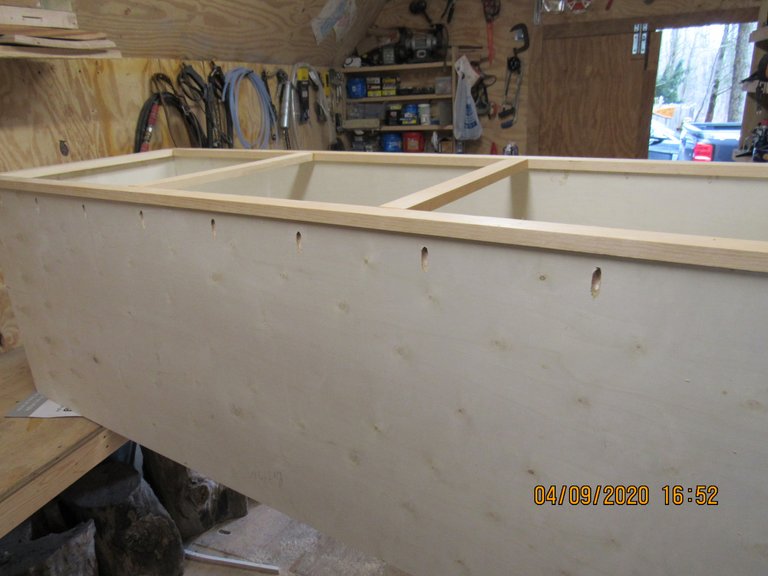
The Craig style joinery will be used to build the cabinet. These holes will be drilled app. 8 to 10 inches apart.
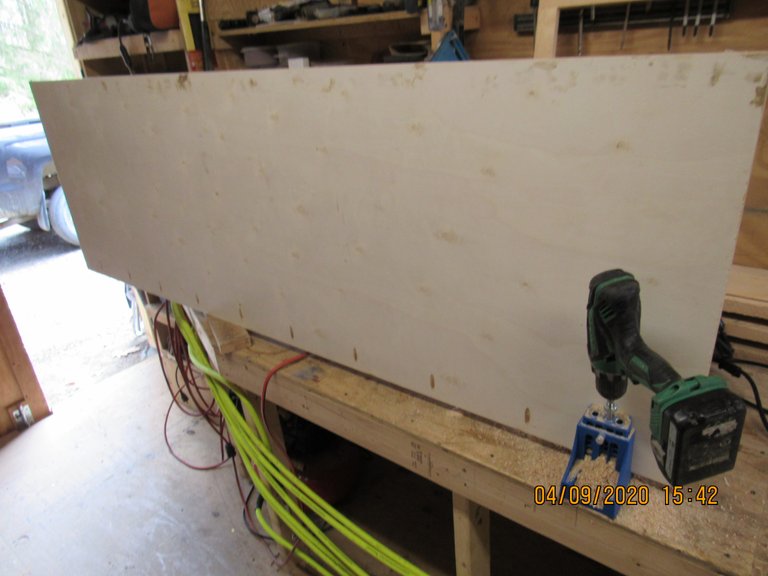
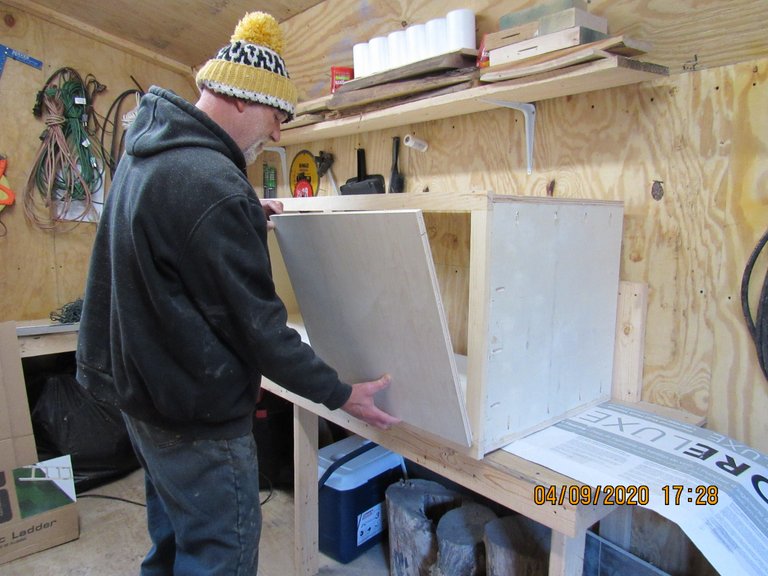
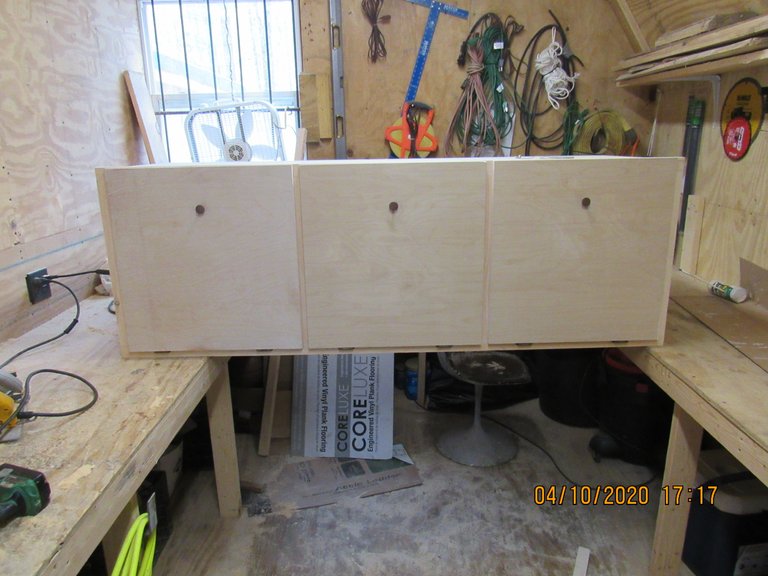
With all four sides of the cabinet being cut and the holes drilled, assembling the cabinet is a piece of cake!
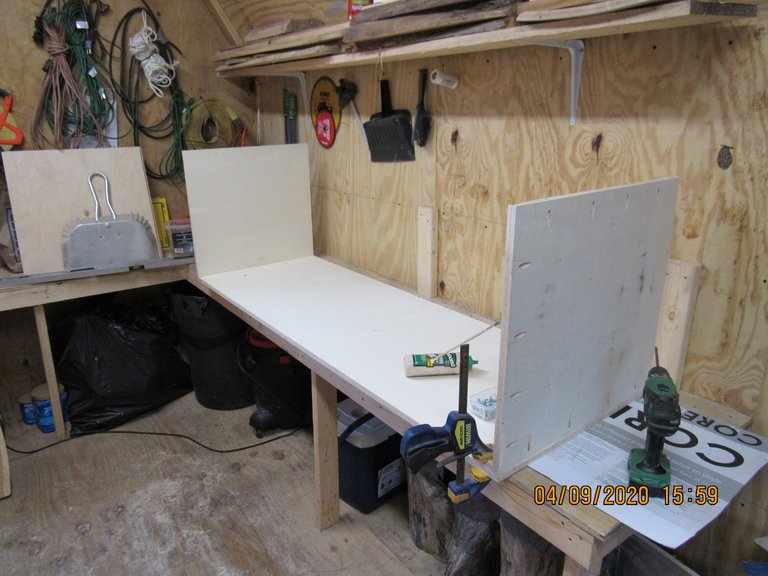
With the cabinet built and the face frame attached to the cabinet,
I'll turn the cabinet over and start hanging some doors.

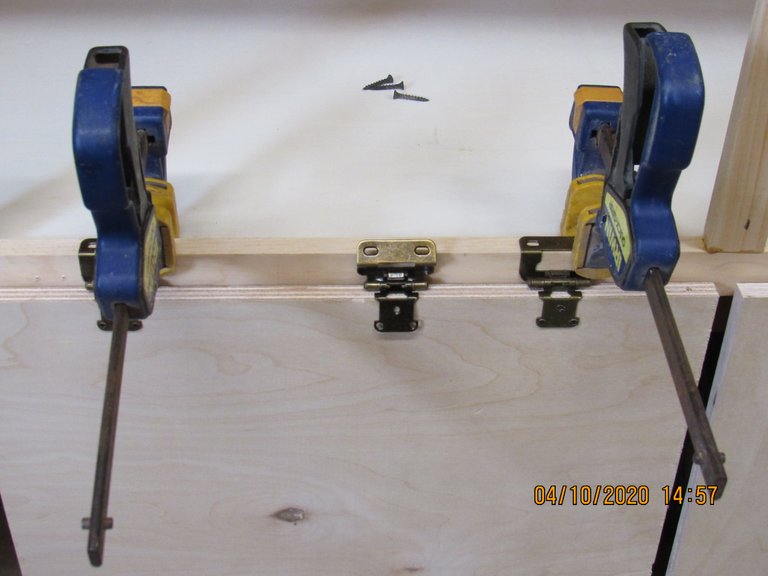
These clamps always come in handy. Using them is like having another set of hands.
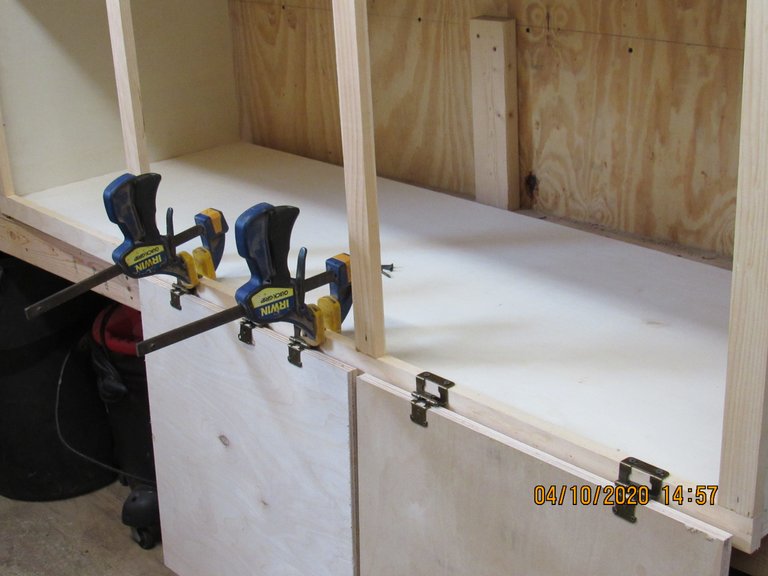
The type on hinge used here is a 1/2 inch overlay hinge. These are very common hinges and can be found at most lumberyards.
With the doors hung, I will spin it around again. Darn, this cabinet keeps getting heavier!
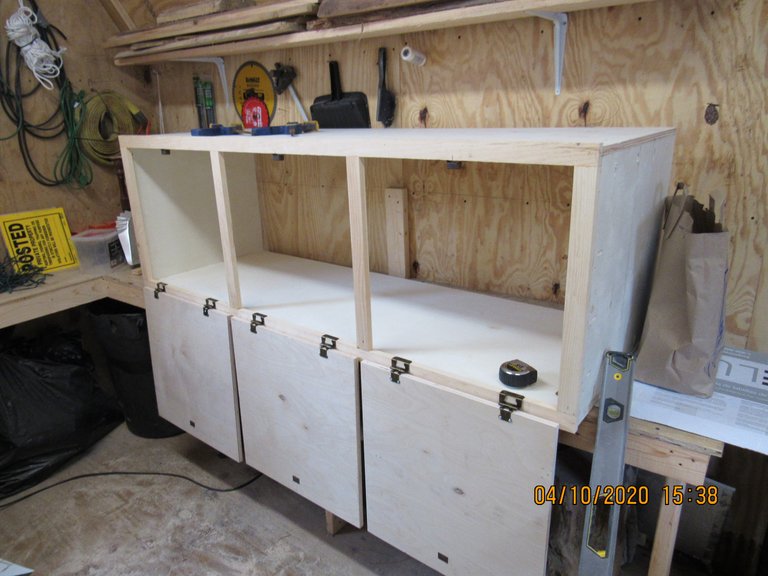
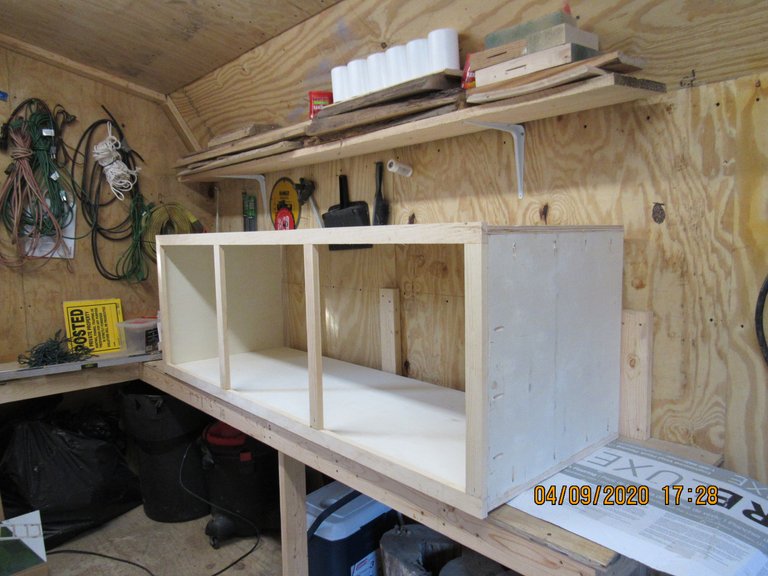
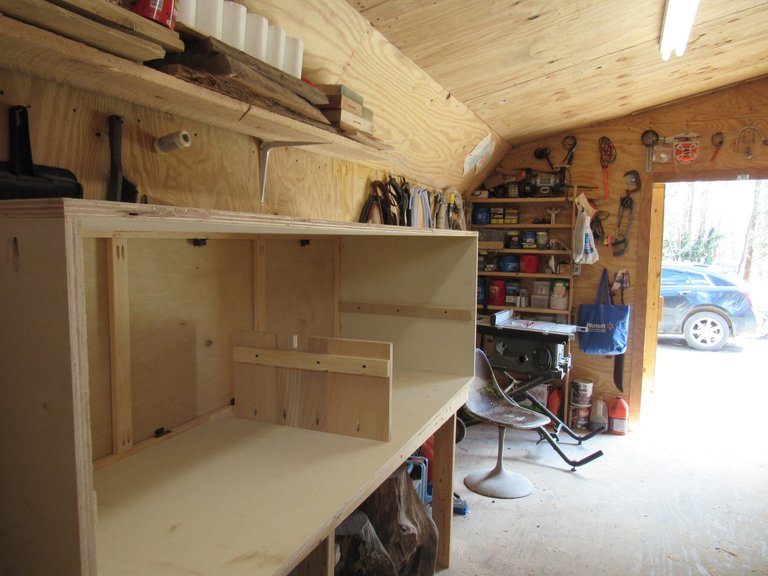
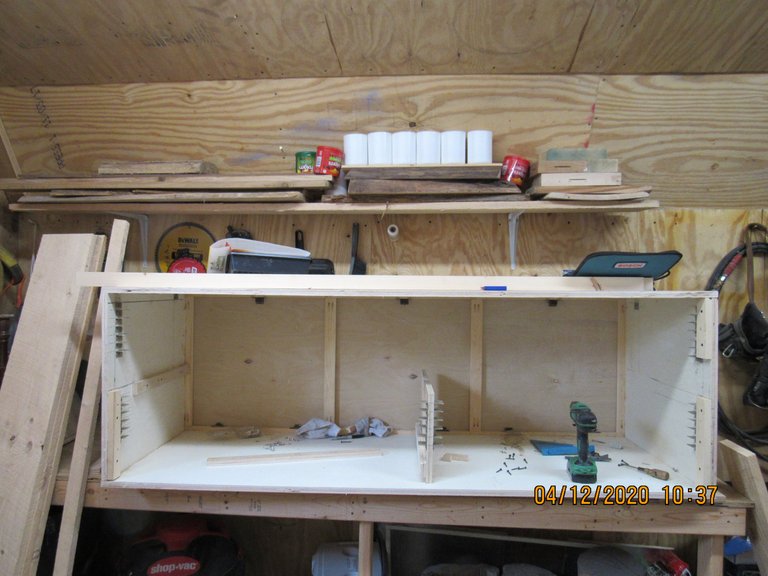
Shelves installed, let us take a look and see what we've got so far.


With the unit spun around again,
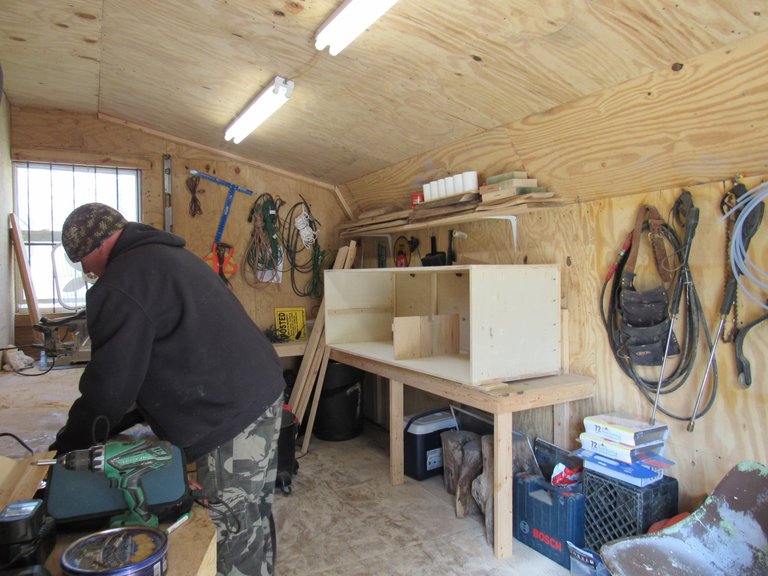
and the shelves removed,
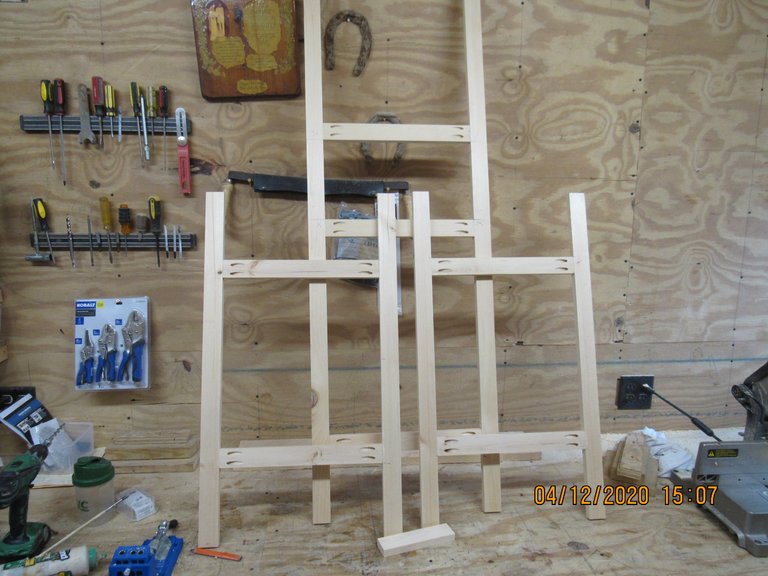
it's time to make some more frames to attach the lite fixtures too.
All of the pieces have been ripped,
and the 1st frame for the lights for the top of the box is assembled. Again the Craig Jig made light work of joining all of the pieces!
Now the fun part begins. Knowing that after the seeds have germinated and busted through the soil, you want to keep the light source as close to the plant as possible. By doing this you will keep the plant from stretching. If the light is too far away the plant will grow rapidly in an attempt to reach the light, producing a very flimsy stalk.
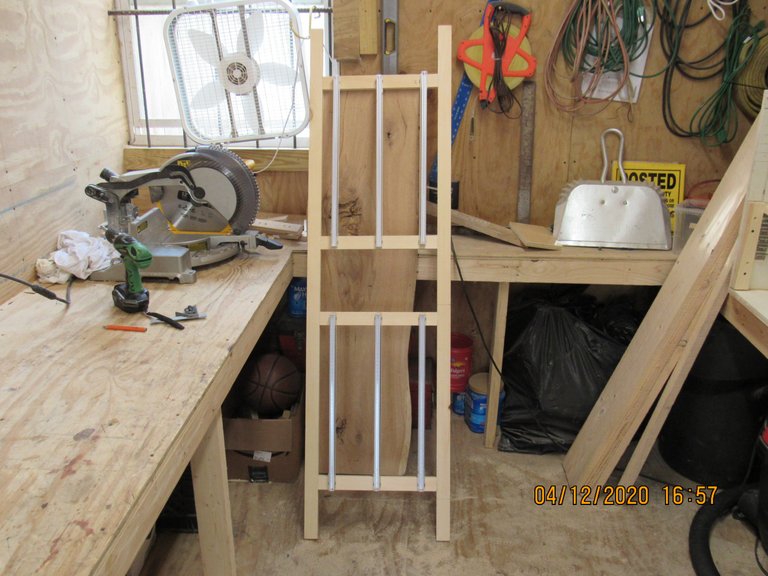
After trying a couple of different designs, I remembered that I had a heavy piece of aluminum leftover from another job. I was able to fashion brackets using the aluminum.
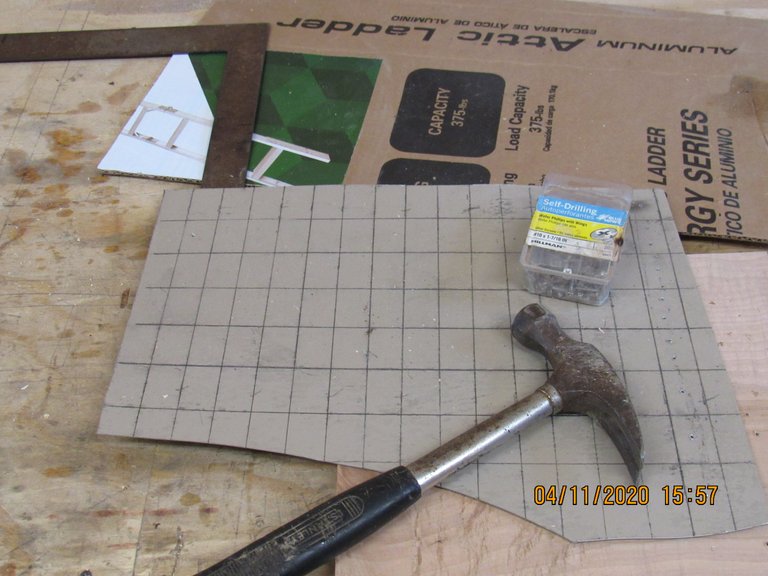
My design would allow me to move the lighting up and down in one-inch increments,
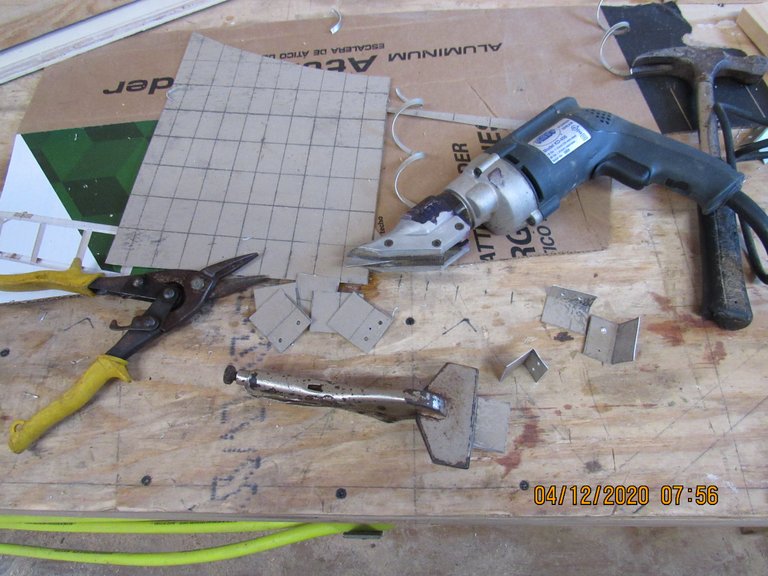
and this would require making a lot of clips.
After installing a few of them, I had a system and had marked the exact location for the remaining 68 clips.
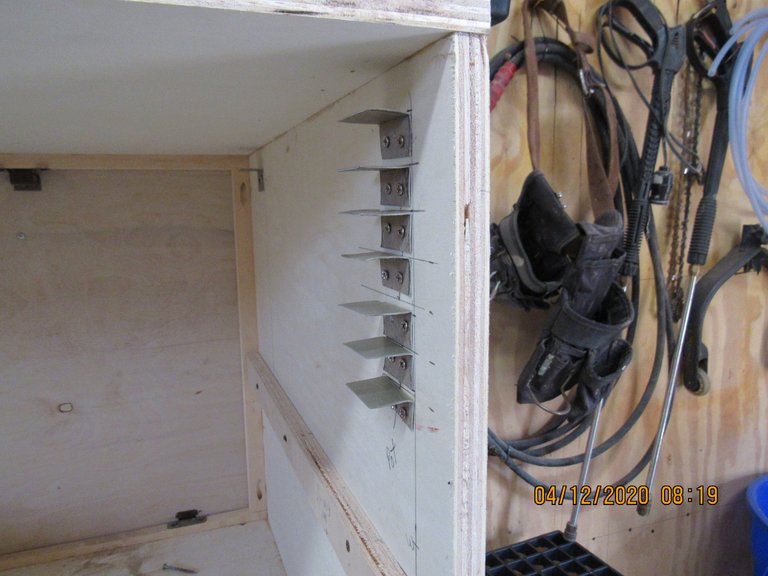
With all of the clips installed at the back of the cabinet, it was time to turn the cabinet around one more time.
Thank goodness that part is done.

All of the frames for securing the lights too are also ready to go.
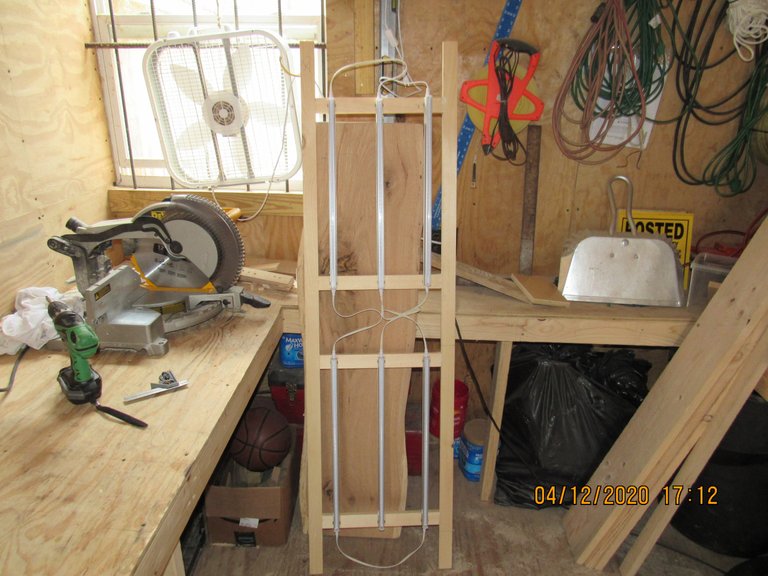
I purchased two six-packs of these LED fixtures. They would work great in the cabinet because of their low profile and they would give off very little heat, making it possible for me to keep the lights right on top of the vegetables.

I also loved the way the wiring could be set up. Each fixture was able to be wired to the next,
and a single switch would control all six lights. Each fixture also had its own switch.
First try and total victory, they all lit.
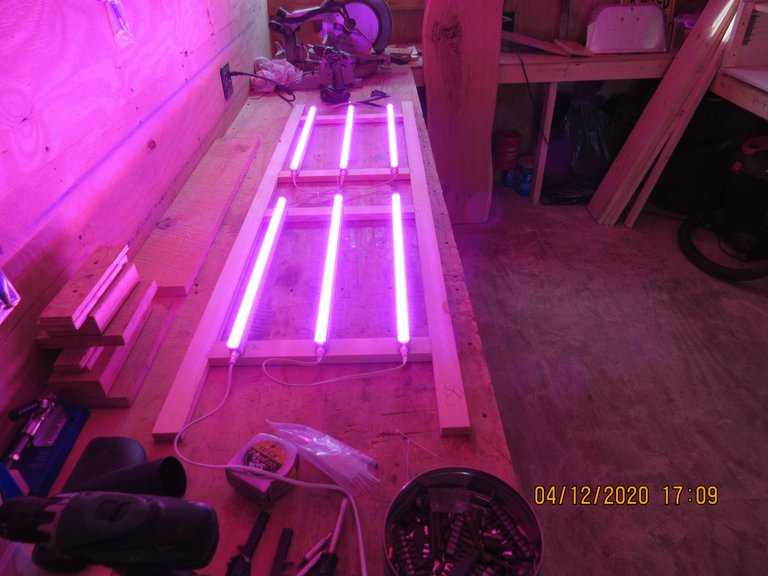
The bottom cabinet would have 2 banks of lights, with each side having three fixtures.
Now all I needed to do was install it in the window. With @farm-mom wimping out on me, I had to wait until my son made it to the farm to help me install the unit. 😃
When our son arrived several days later, I was excited to put it in place and see how it looked.
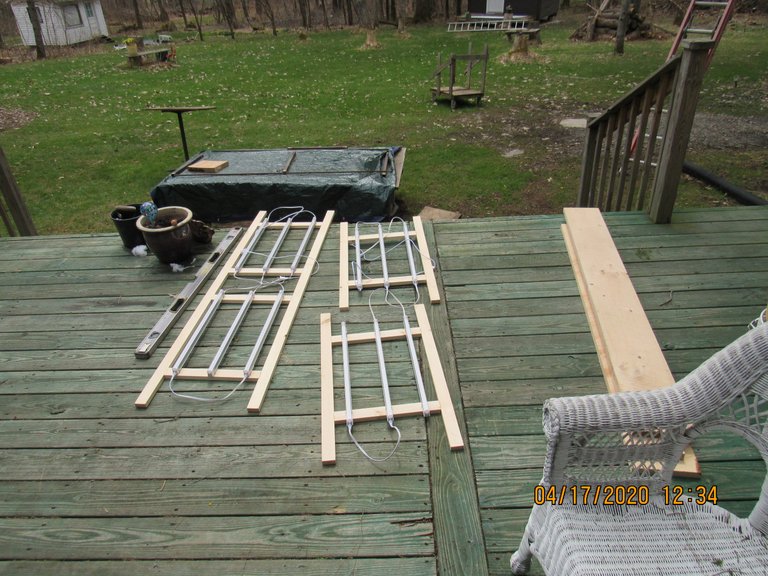
All prepped and ready to go.
The unit was made so that all of the pieces could be removed and then put back in once it was ready to slip into the opening.
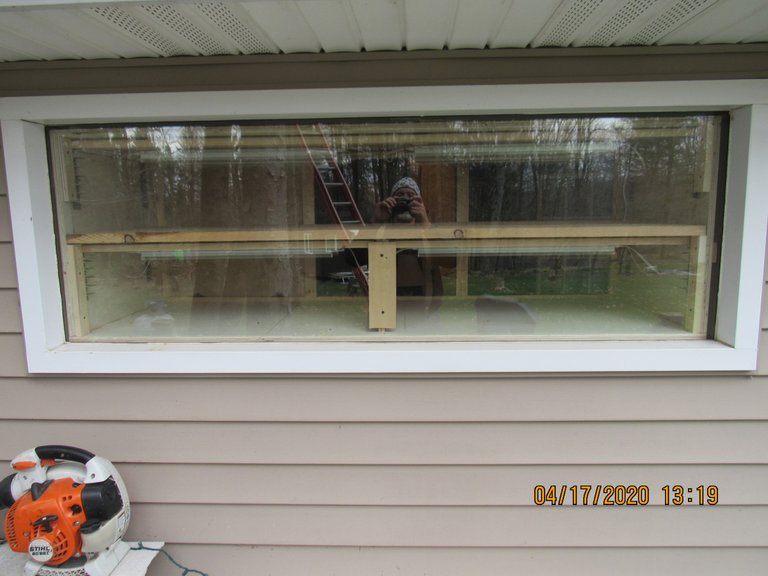
It didn't take much for the two of us to install the unit.
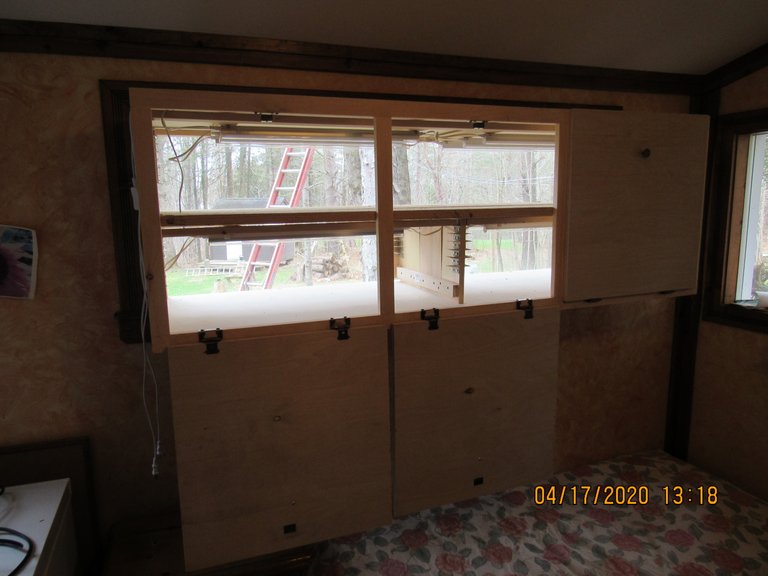
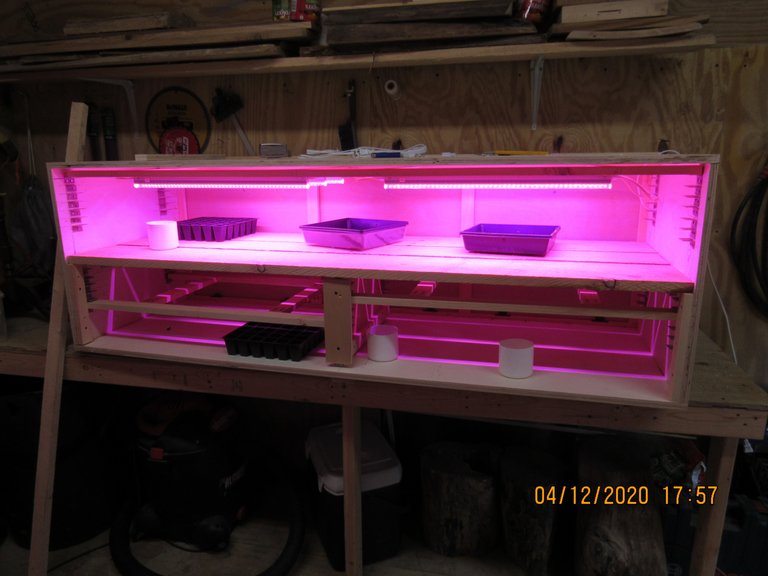
All done with the windowbox, with the ability to move every light bank one inch at a time as needed, all I wanted to do was start germinating the seeds.
This is the first time we have ever used heat mats during germination. We saw @goldenoakfarm using them in a post she had done and learned from her that using heat mats would help in shortening the germination time and the rate of germination. Several of the vegetable seeds we planted were pushing through the soil in three days, and everything else is starting to pop just five days after planting.
As germination continues, the plants will be transplanted into a bigger container and all three light banks will be turned on.
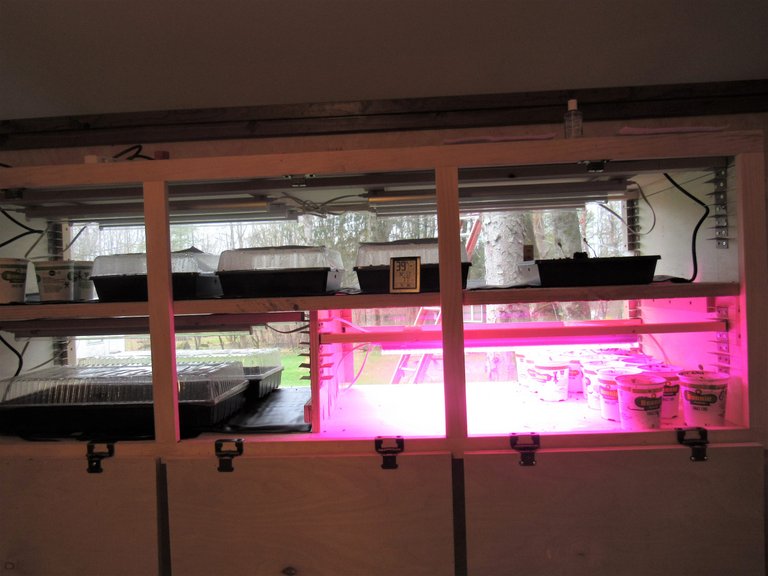
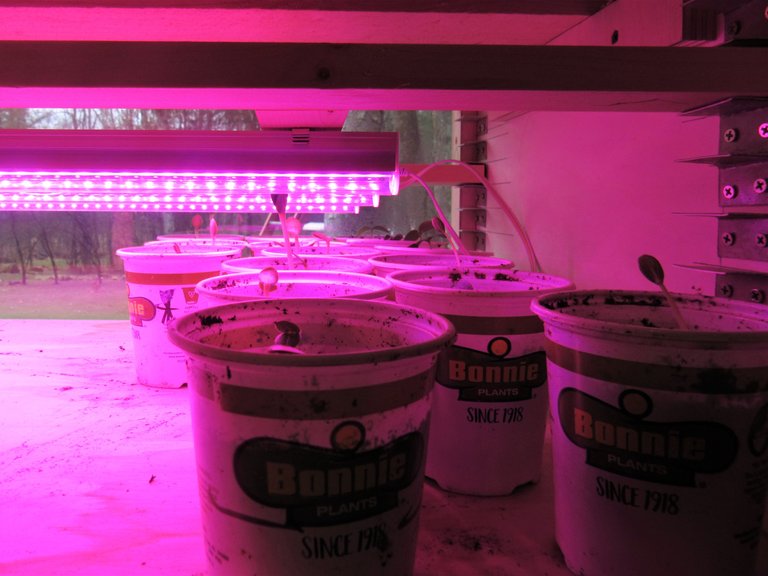
As you can see, the lights can be placed almost on top of the emerging plant. I would suspect that within several days all of the young plants will be repotted and the entire windowbox hothouse will be filled to capacity, with all three banks of lighting doing their thing.
You've been visited by @minismallholding from Natural Medicine.
Fantastic detailas always. I’ve featured your post in The Lotus Garden newsletter, which will be published early tomorrow.
The Lotus Garden is a newsletter supporting content relevant to Homesteaders & supported by Natural Medicine. Earn LOTUS & HIVE for your #homesteading content!
About II Discord II Community
Thank you very much @naturalmedicine for featuring this post in The Lotus Garden newsletter, I will be looking for its publication tomorrow,.
@minismallholiding a special thanks to you for taking the time to review this post, your comments are always greatly appreciated. Have a wonderful day everyone, and stay safe!
Mya
Hi pop
Hi buddy, it looks like you need to raise that basket up a little.
I don't know if you got a chance to look at the post about the walk we took. Some great action pictures of both you and Ava.
We miss you and can't wait for you to visit again.
I'll be upvoting your stuff in a little while as I ran my power down this morning. See you later.
Pssst I sent some upvotes his way. 😉
That's the @jlsplatts I know, the guy with the big 💖, always willing to lend a hand and give to others!
What a great project that was, good job my friend.
You never disappoint.
Alright!! I need to get in on some of this action!! Peakd.com is having some issues with the images at the moment but just being able to see a couple of the photos I know I gotta make one of these.
I have some work to do in my garden today. Plus car repairs and axle swaps and blah blah blah. I am marinating sole salmon today. Smoked salmon coming up. Lol
You are a busy dude. My Dad always said that if you want to get something done and need a hand, just ask a busy man for some help. So far the greenhouse window box is working great. Seeds are germinating in as little as 2 days, simply amazing.
@goldenoak said she had the same problem when trying to view the post. She got back to me a short while later to let me know everything was up and running with #peakd.
Robin told me about your #fff post, what a score, I'll catch up with the #fff articles later today.
I've got a question that you may be able to answer. I know you are aware of the trouble we ran into when voting for witnesses, which eliminated us from the airdrop. For the past week, we have been trying to void hive witness votes that we are not sure where they even came from. Both of us have voided all 30 votes, and within minutes they are right back on our witness list.
Do you have any idea what the heck is going on?
Maybe you have someone set as a proxy for your witness votes. https://beeme.icu/?account=thebigsweed
No proxy... hmmm have you tried doing it on peakd.com?
Thanks @jlsplatts, we went to peakd and with a little maneuvering, we were able to adjust what we wanted to in the way of witnesses.
I don't know what was going on with hive when we tried, but no problem going in the back door.
I really like Peakd!! It has all kinds of cool stuff. I highly suggest using it and logging in with peaklock.
I was sad! It seems your photos only loaded 1/3 - 1/2 of each one! I'd refreshed the page, but still, only a piece of each. :((
Another bit that would help the seedlings. It's best to not transplant but once: into the garden. Every time they are transplanted it's a stressor. Stress reduces the plants productivity.
Not all plants like heat. Some prefer cool temps to germinate. I did post the chart and it shows which ones I've found like cool better.
Often times they like heat to germinate, then cool, or sometime alternating warm days/cool nights to grow on.
Sure wish I could see the new box, it looked fascinating how you built it, the tiny bits I could see. :))
I'm glad you were finally able to view the post in its entirety. Thanks for some more great advice. We may still have to transplant some of the vegetables that we started in very small containers. With the weather being what it is where we live, many of our vegetables will not be able to be planted outdoors for another month. In that time I feel these extra small cubicles we used to start germination will not be sufficient for the plant's continued growth.
They really aren't big enough. That's why I plant directly into 3" or 4" pots, depending on plant. It's also a major stressor for a seedling to sit in a pot longer than 3 weeks once it's got its 1st or second leaves. That's why I have a much later starting time for many plants than most people, so when they are ready to be planted, I will be past the last frost date, or at the optimal time.
We have saved every 3 - 4 in. pot we have come across. I just ordered 120 4 in pots this morning, pretty good price $17.99. We will not be making that mistake and will follow your lead by starting to germinate directly in the 4in. containers from now on.
Thanks for all of your advice, it is greatly appreciated!
Yay! All the pictures loaded completely! What a stupendous job! I sure hope it works as well as planned!
thanks for the compliment.
This post was shared in the Curation Collective Discord community for curators, and upvoted and reblogged by the @c-squared community account after manual review.
@c-squared runs a community witness. Please consider using one of your witness votes on us here
Thank you so much @c-squared for the support, it is always greatly appreciated. I would also like to thank @ecotrain for all they do for the community. Have a great day you'll and stay safe.
nice job! thats a great documentation too for anyone to copy what you have done.. im sure those seeds will be very happy in there!
Thanks @eco-alex, we already have seeds popping like crazy. Thanks for your support it is always appreciated!
Thanks for posting to the ecoTrain community! Your post has been featured in our weekly Whats-up curation post.. Great work!
https://peakd.com/hive-123046/@ecotrain/what-s-up-from-the-ecotrain-and-spiritweb-community
My pleasure, the ecoTrain community is fun to be involved with.
Dude this is so impressive! All in all, how long did it take you to finish it?
Thanks, it took about 20 hours or so and it was ready to be installed in the window.
We should start filling it up very soon.
The first plants that will go into the box will produce the smokable flowers.
Yep yep yep 😄