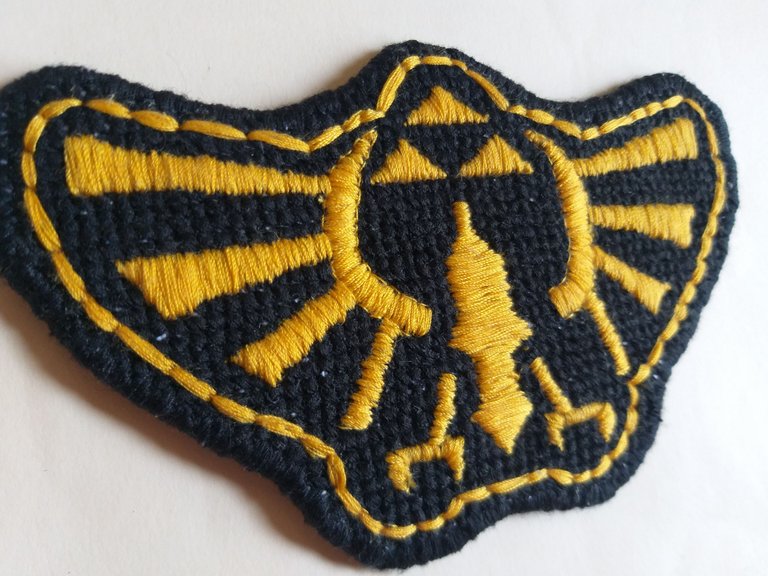
Hola amigos de Hive, espero estén muy bien, yo muy feliz ya que por fin he terminado el parche que anteriormente he estado mostrandoles.

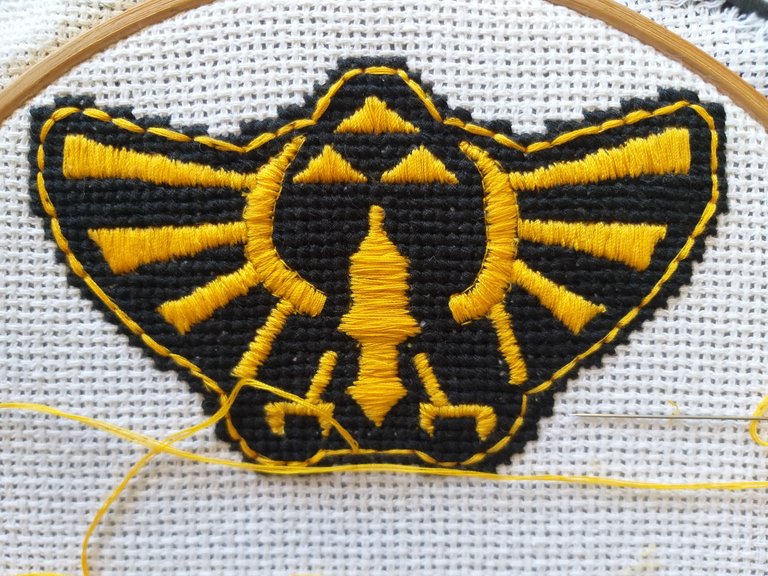
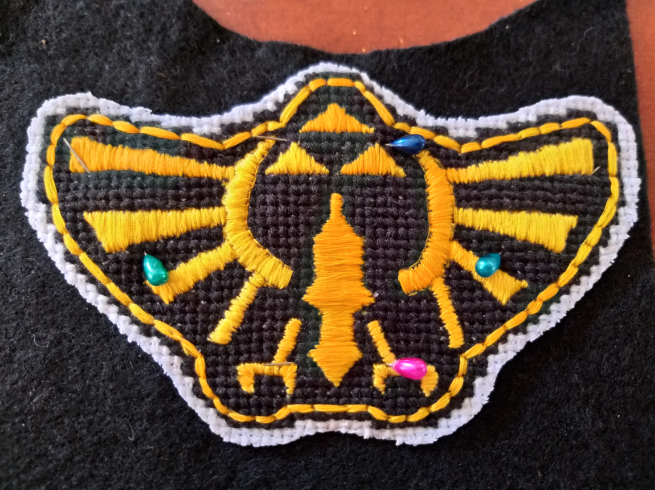
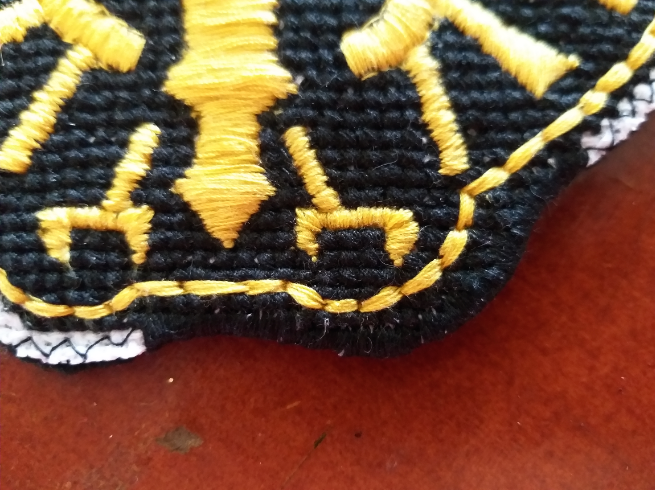
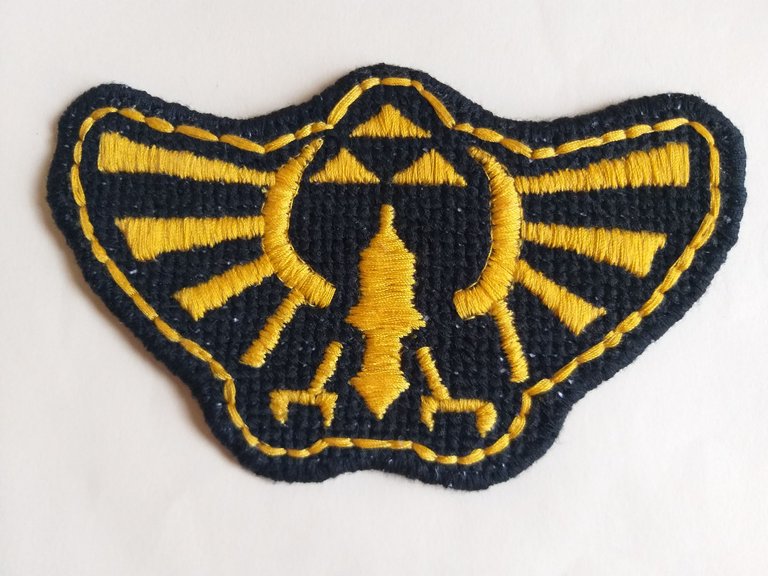
Hoy les muestro como ya se termino su relleno amarillo, donde termine de llenar las patas de ave y los triángulos piramidales, pase con una hebra de hilo a realizar el boceto al lado de los rectángulos una especie de ángulos y rellenar.
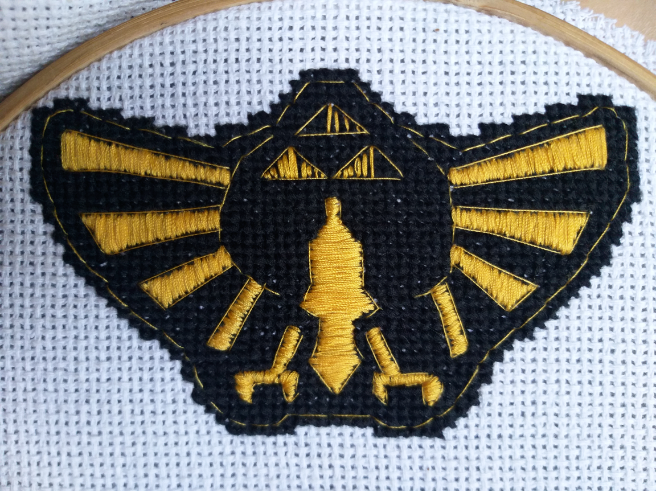
Antes de continuar con en el contorno, procedí a cortar los hilos guía de de relleno, y en los bordes de los ángulos cosí con una hebra de hilo esto para definir mejor la forma.
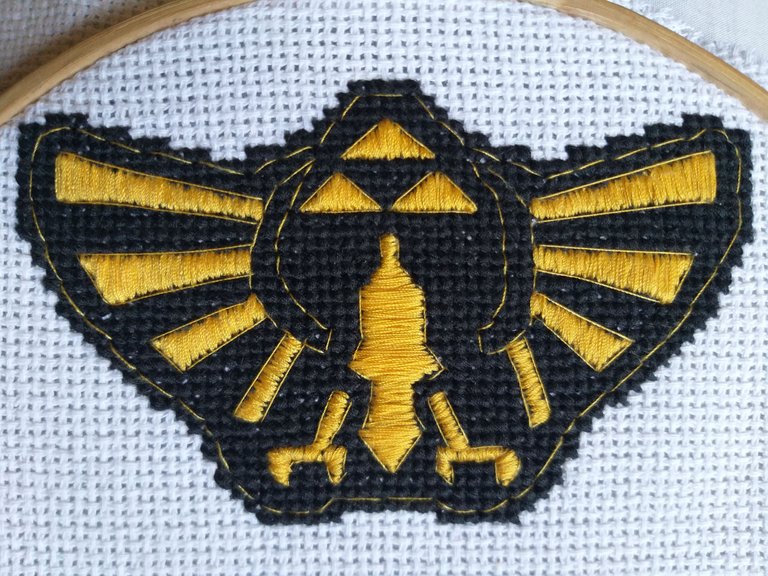
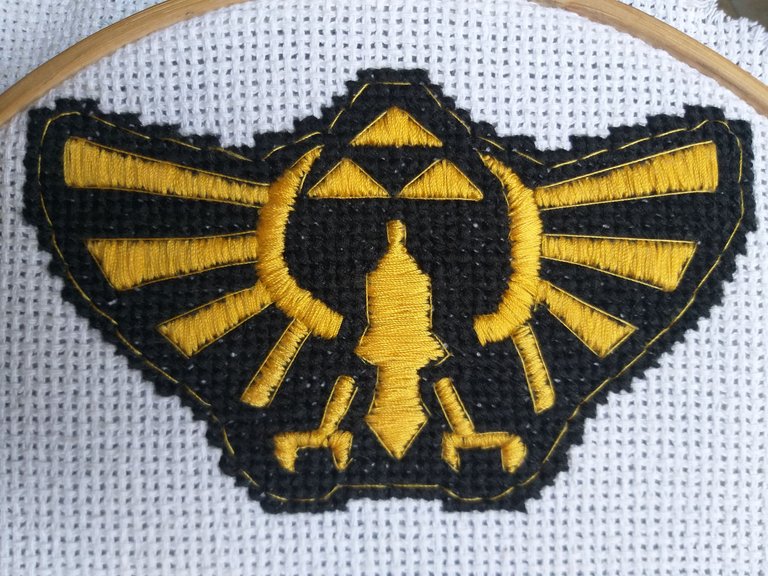
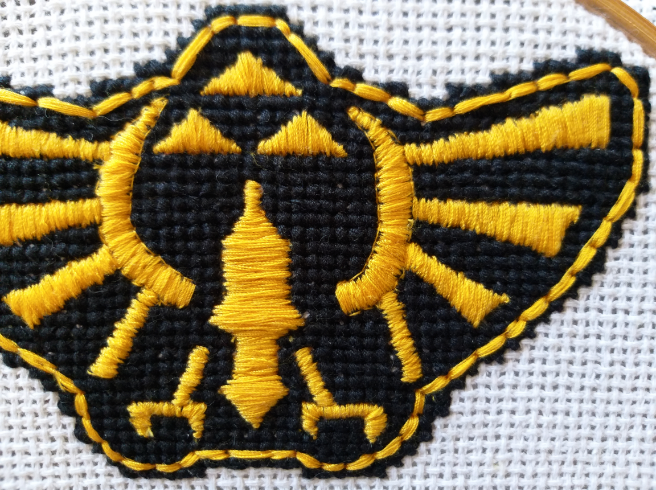
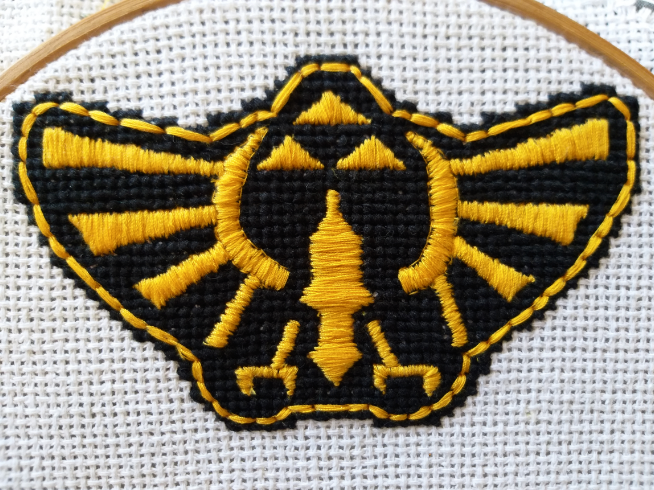
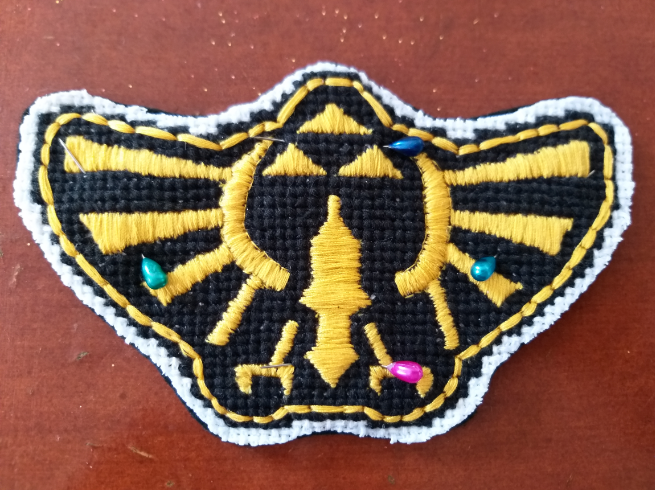
Las alas llevan al borde una linea gruesa que las rodea completamente, esta intente realizarlo de la misma manera que el relleno, pero no me gusto como se veía, ya que no era limpia, era irregular, decidí hacerlo con la puntada de atrás, con 4 hebras de hilo, para poder visualizar el grosor, como se puede apreciar, se realizo una vuelta completa, y se realizaron 2 mas pasando la aguja e hilo por las mismas puntadas para realizar mas grosor.
Puntada de atrás: a la vista parece puntada de maquina de coser, pero no lo es, ya que esta por la parte superior se ve como una puntada seguida pero por la parte interior son mas largos los punto.
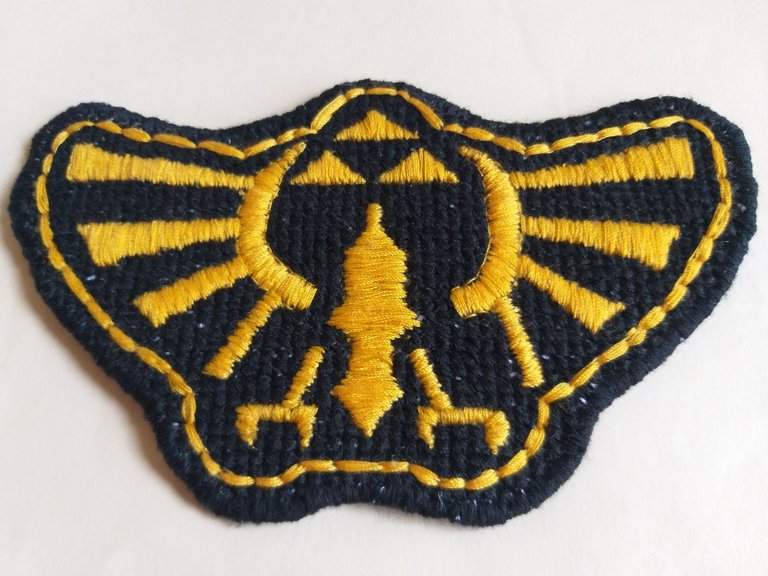
EL PARCHE
Necesitaremos, pega blanca, tijera, fieltro, alfileres, hilo negro y aguja.
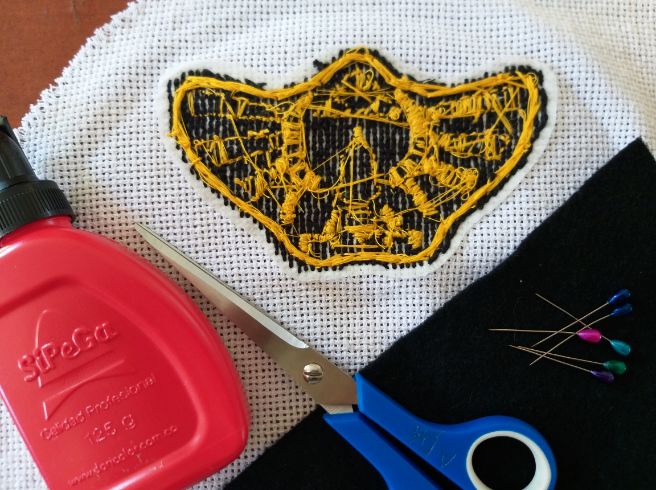
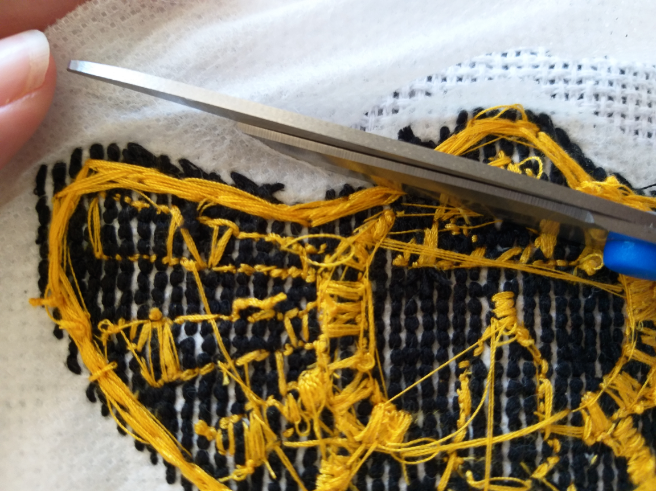
Comenzamos en la parte de atrás del bordado, recuerden debajo tenia tela POP, esta con la tijera lo retiramos pero dejando unos milímetros a todo el rededor.
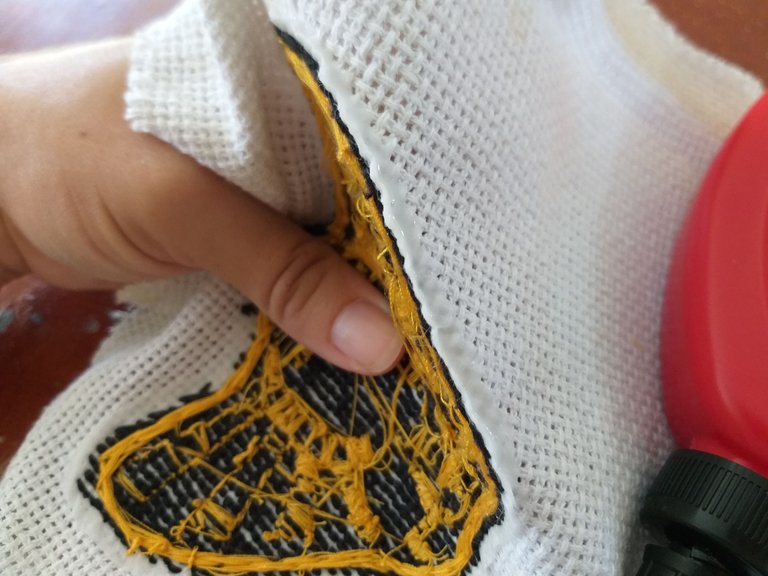
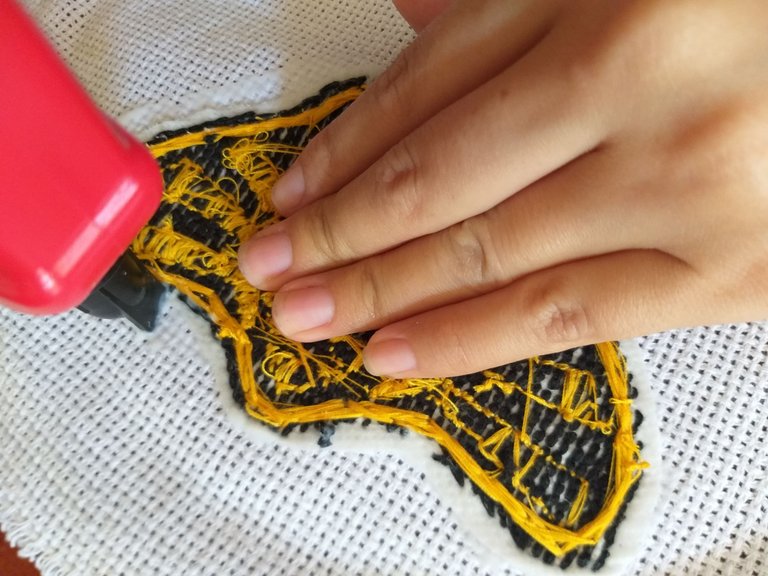
Luego de haber retirado la POP, se aplica pega entre la tela del bordado y la POP, luego se le aplica por fuera a todo alrededor y los nudos de los hilos, dejar secar.
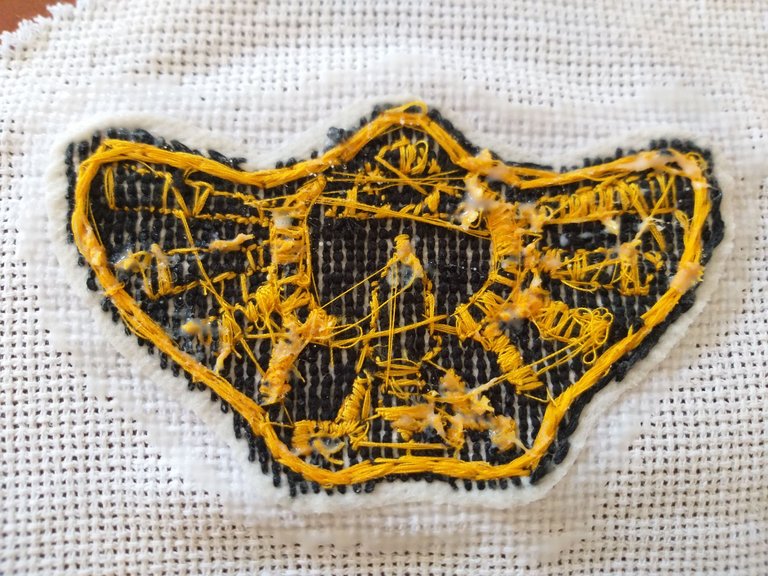
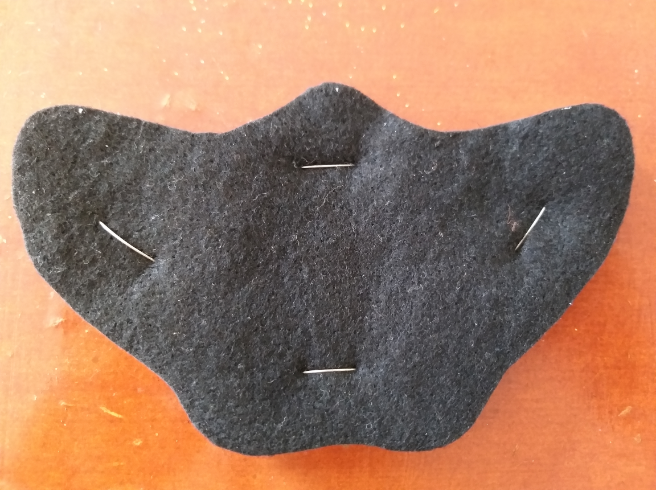
Ya seca la pega se procede a cortar el bordado de la tela dejando unos milímetros de tela, con alfileres se asegura en el fieltro y se cortan juntos.
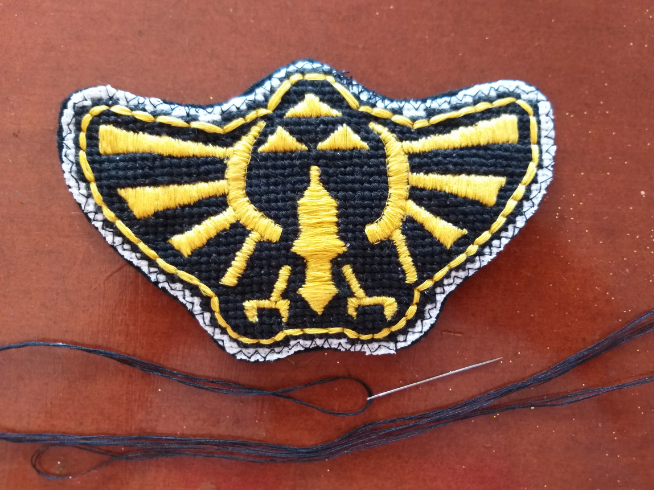
Para asegurar pasamos el parche por la maquina de coser en zic zac a las orillas, también se puede hacer a mano un basteado.
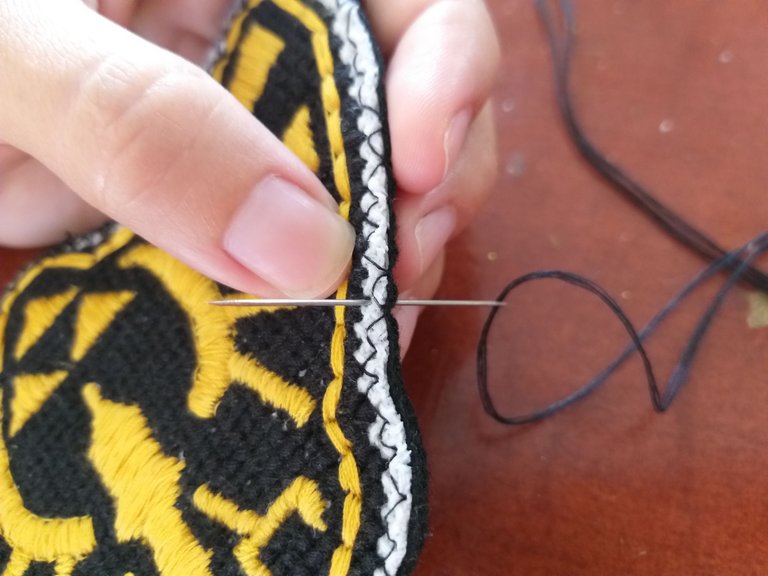
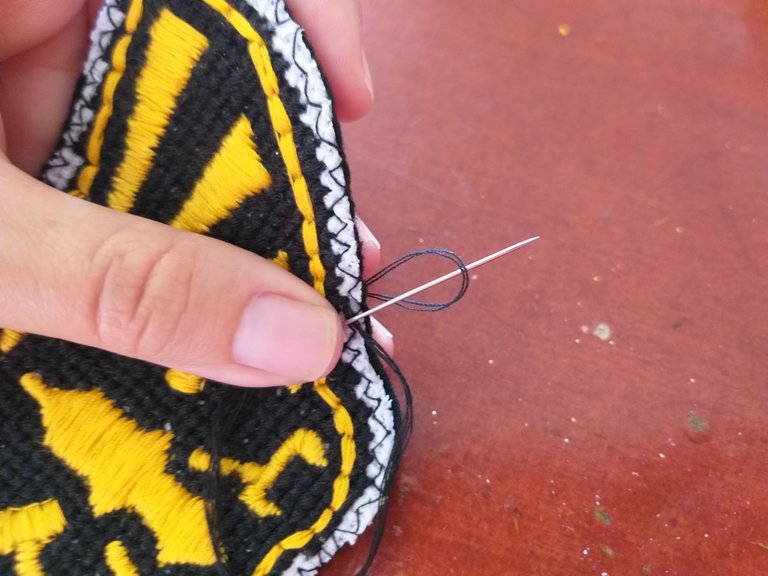
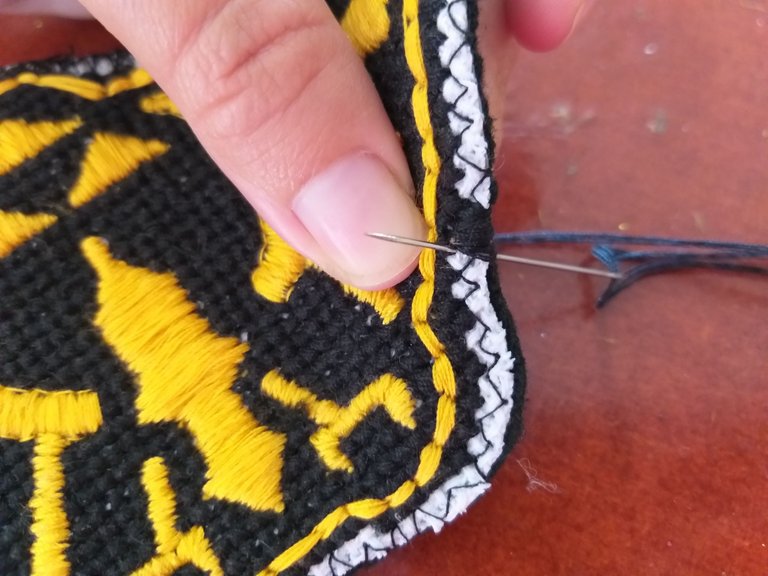
Ahora empezaremos a coser el parche; aguja e hilo negro de 4 hebras, largo, se hacen 2 hebras y se dobla a la mitad sin cortar, solo las puntas por donde pasara la aguja esto para dejar cerrado el hilo en la otra punta, así se realizan las 4 hebras de hilo.
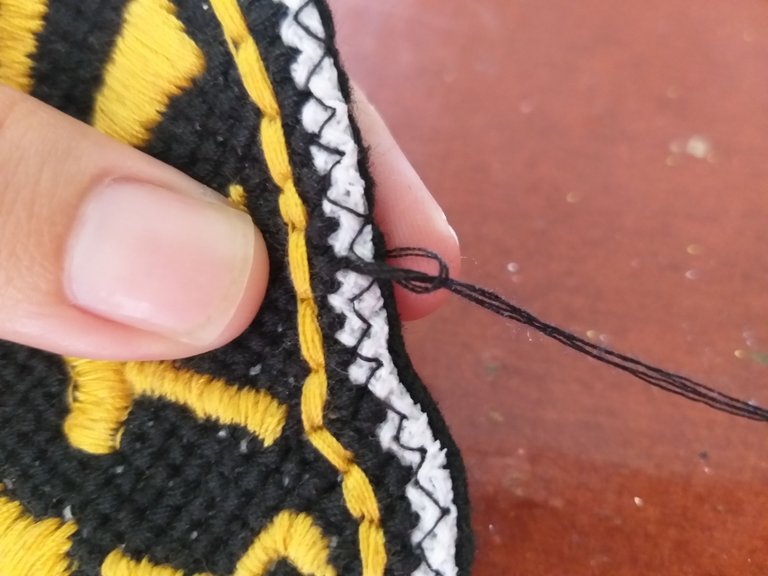
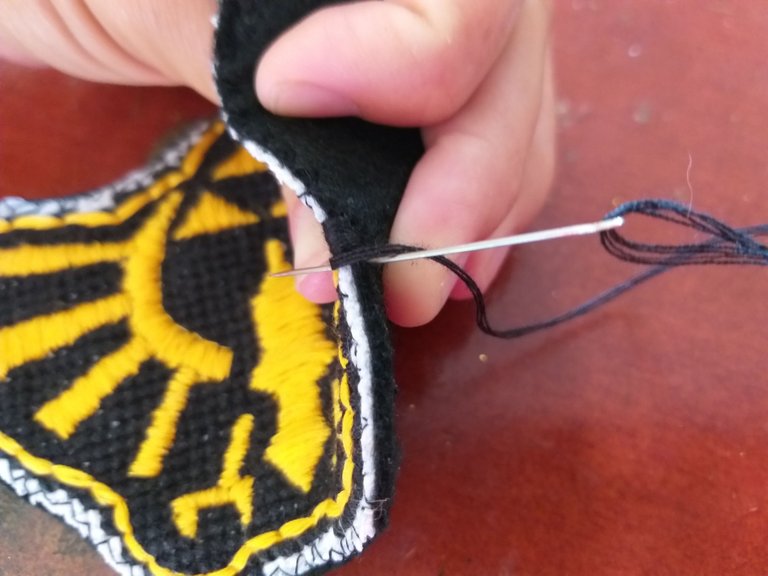
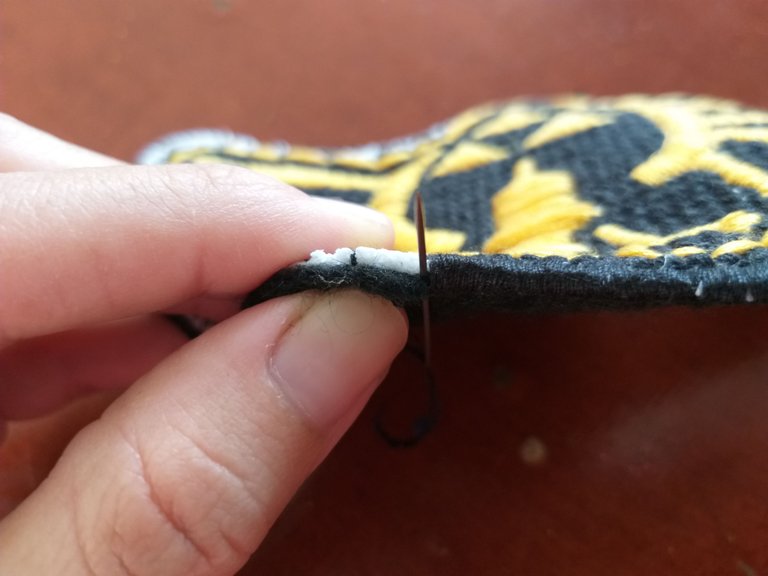
Por un lado del bordado la aguja sale desde atrás, se pasa el hilo y se jala hasta donde tendría que quedar el hilo cerrado, por allí pasara la aguja para asegurar el hilo, se tiempla bien y listo comenzamos, desde atrás siempre saliendo la aguja y desde la orilla del bordado, cubriendo los milímetros de tela, los puntos que se vayan realizando muy juntos para que sea limpio, siempre estar atentos al pasar varias veces, ya que el hilo suele ir dando vueltas y la idea no es que quede una cuerda, esto genera que el hilo se enrede, así que siempre hay que colocarlo liso.
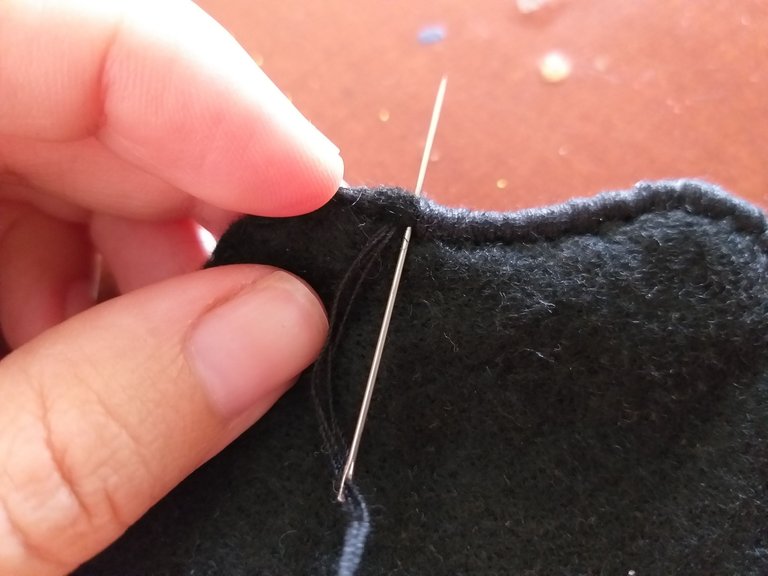
Cuando acaban las hebras de hilo, se dejan unos centímetros 8cm es suficiente, para realizar el nudo o cerrar, el hilo debe quedar como si se fuera a pasar de nuevo hacia adelante, la aguja de pasa de un lado en el fieltro como para hacer un punto, pero no se pasa completo hasta la tela, se saca la aguja entre la tela y el fieltro, se anuda y corta, puede que quede el nudo afuera, se trata de que entre entre la tela y el fieltro y listo así queda cerrado.
Para comenzar de nuevo, se realiza el mismo procedimiento y para cerra de igual manera, al terminar todo el contorno, se cierra igual que anteriormente y listo tenemos un parche.
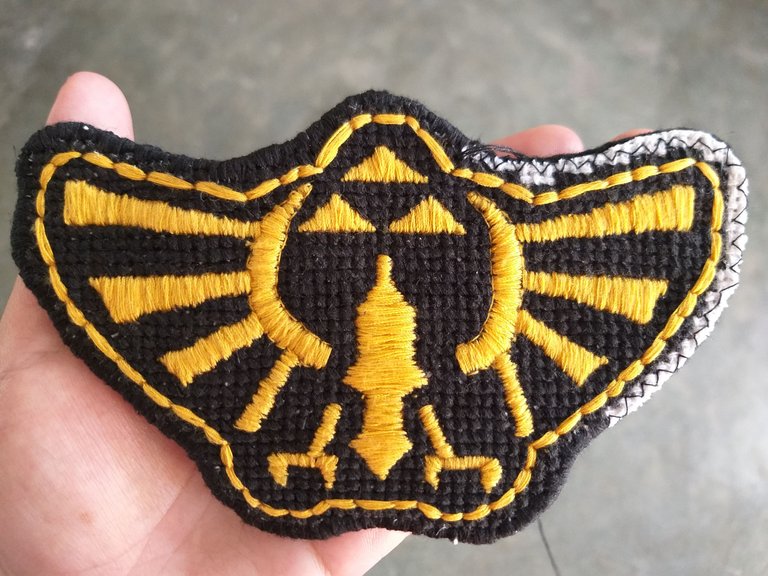
Este fue todo un proceso, agradezco su apoyo, espero les guste como al fin quedo el parche de el vídeo juego The Legend of Zelda, hasta un nuevo post!
(ENG)
Hello Hive friends, I hope you are very well, I am very happy because I have finally finished the patch that I have been showing you previously.
Today I show you how your yellow filling is finished, where you finish filling the bird's legs and the pyramidal triangles, pass with a thread to make the sketch next to the rectangles, a kind of angles and filling.
Before continuing with the outline, I proceeded to cut the fill guide threads, and on the edges of the angles I sewed this with a strand of thread to better define the shape.
The wings have a thick line on the edge that completely surrounds them, I tried to do this in the same way as the filling, but I did not like how it looked, since it was not clean, it was irregular, I decided to do it with the back stitch, with 4 strands of thread, to be able to visualize the thickness, as can be seen, a complete turn was made, and 2 more were made by passing the needle and thread through the same stitches to make more thickness.
Back stitch: at first glance it looks like a sewing machine stitch, but it is not, since it looks like a continuous stitch on the upper part but on the inside the stitches are longer.
THE PATCH
We will need white glue, scissors, felt, pins, black thread and a needle.
We started at the back of the embroidery, remember underneath it had POP fabric, we removed this with the scissors but leaving a few millimeters all around.
After having removed the POP, paste is applied between the embroidery fabric and the POP, then it is applied to the outside all around and the knots of the threads, let dry.
Once the glue is dry, we proceed to cut the embroidery from the fabric, leaving a few millimeters of fabric, with pins it is secured in the felt and they are cut together.
To ensure we pass the patch through the sewing machine in zic zac to the edges, you can also do a basteado by hand.
Now we will start sewing the patch; needle and 4-strand black thread, long, make 2 strands and fold in half without cutting, only the ends through which the needle will pass this to leave the thread closed at the other end, this is how the 4 strands of thread are made.
On one side of the embroidery the needle comes out from behind, the thread is passed and pulled to where the thread should be closed, the needle passes through there to secure the thread, it is tempered well and ready we begin, always coming out of the needle from behind and along the edge of the embroidery, covering the millimeters of the fabric, the stitches that are made very close together so that it is clean, always with care when passing several times, since the thread usually turns and the Idea does not it is that it is rope, this causes the thread to get tangled, that is why it must always be placed well.
When the strands of thread are finished, leave a few centimeters 8cm is enough, to make the knot or close, the thread should be as if it were going to pass forward again, the needle passes from one side in the felt as to make a stitch, but it is not passed completely to the fabric, the needle is removed between the fabric and the felt, it is knotted and cut, the knot may be left out, it is about entering between the fabric and the felt and that's it closed.
To start again, the same procedure is carried out and to close in the same way, when finishing the entire contour, it is closed as before and ready we have a patch.
This was quite a process, I appreciate your support, I hope you like how the patch of The Legend of Zelda video game finally turned out, until a new post!
Wow am really impressed by your work, it's so beautiful and neat, the colour combinations is also perfect.
@vickoly oh thank you very much friend, I'm glad you like it!
Thank you for sharing this amazing post on HIVE!
Your content got selected by our fellow curator @hafizullah & you just received a little thank you via an upvote from our non-profit curation initiative!
You will be featured in one of our recurring curation compilations and on our pinterest boards! Both are aiming to offer you a stage to widen your audience within and outside of the DIY scene of hive.
Join the official DIYHub community on HIVE and show us more of your amazing work and feel free to connect with us and other DIYers via our discord server: https://discord.gg/mY5uCfQ !
If you want to support our goal to motivate other DIY/art/music/homesteading/... creators just delegate to us and earn 100% of your curation rewards!
Stay creative & hive on!
You have done a great job
@apunawu Thank you so much
@mayvileros muchas gracias por el apoyo!!