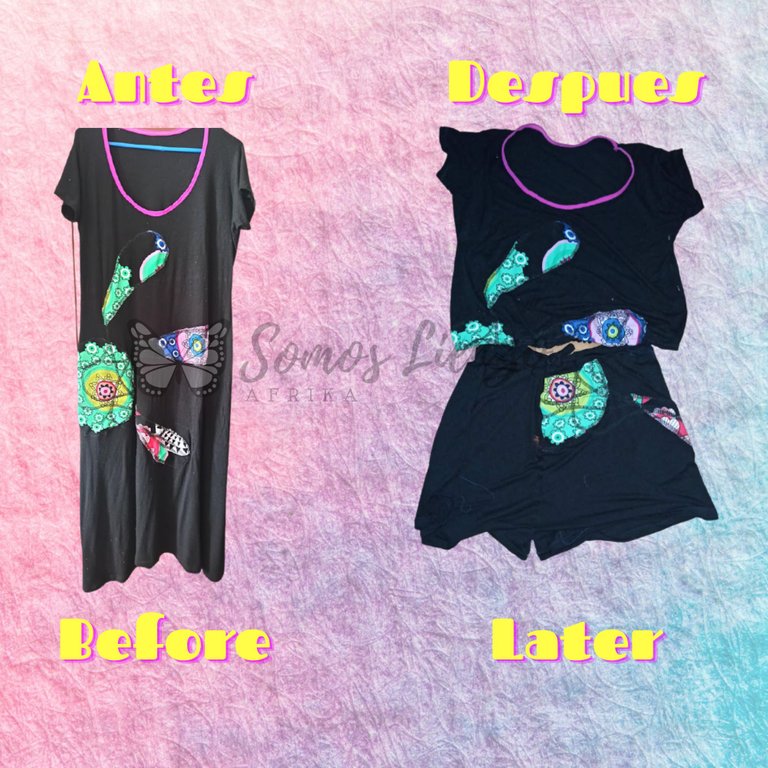
Feliz lunes, hivers y amantes de las costuras, un nuevo inicio de semana para mostrar otro ejemplo de cómo practicar tus puntadas básicas y transformar tu ropa. Hoy pasamos de una bata a un conjunto pijama de pantalón y camisa. Vamos por los materiales: una bata, vestido que ya no uses o quieres darle una segunda vida, consigue un pantalón que te guste para que sea el molde, tijera, hilo, alfileres, aguja y paciencia, recuerda que toda obra lleva su tiempo y que el proceso hay que disfrutarlo tanto como el final.
Happy Monday, hivers and sewing lovers, a new week to show another example of how to practice your basic stitches and transform your clothes. Today we go from a robe to a pajama set of pants and shirt. Let's go for the materials: a robe, a dress that you no longer wear or want to give it a second life, get a pair of pants that you like to be the mold, scissors, thread, pins, needle and patience, remember that every work takes time and that the process must be enjoyed as much as the end.
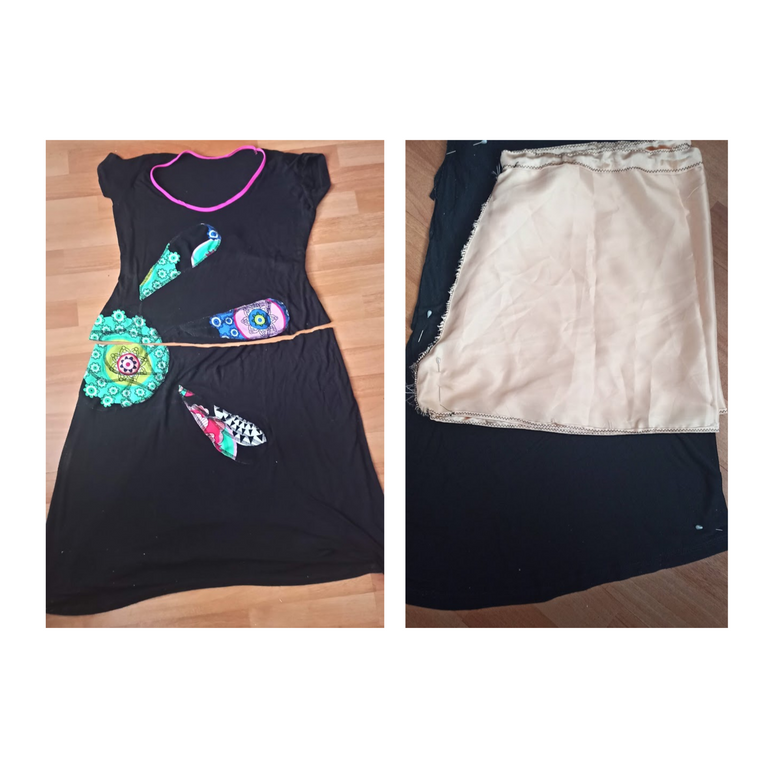
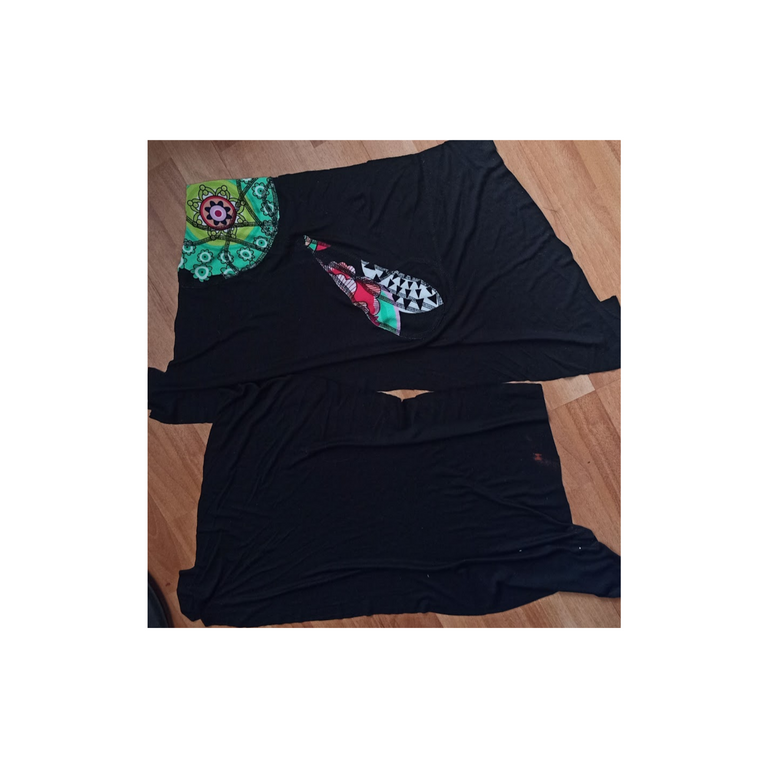
Ahora sí, manos a la tela, primero, separa tu vestido cortando por la mitad puede ser a la altura de la o cintura, la medida depende de tu estilo y lo que decidas hacer. De lo que te sobra corta una cinta que será parte de la pretina de tu pantalón, también puedes cortar otra para que sea la trenza de ajuste en el pantalón, nuevamente, tú decides. Continuamos con el patrón elegido y lo posamos en la tela para cortar nuestras dos piezas, delantera y trasera del pantalón.
Now, hands to the fabric, first, separate your dress by cutting it in half, it can be at the waist, the size depends on your style and what you decide to do. From what you have left over, cut a ribbon that will be part of the waistband of your pants, you can also cut another one to be the braid of the pants, again, you decide. We continue with the chosen pattern and place it on the fabric to cut our two pieces, front and back of the pants.
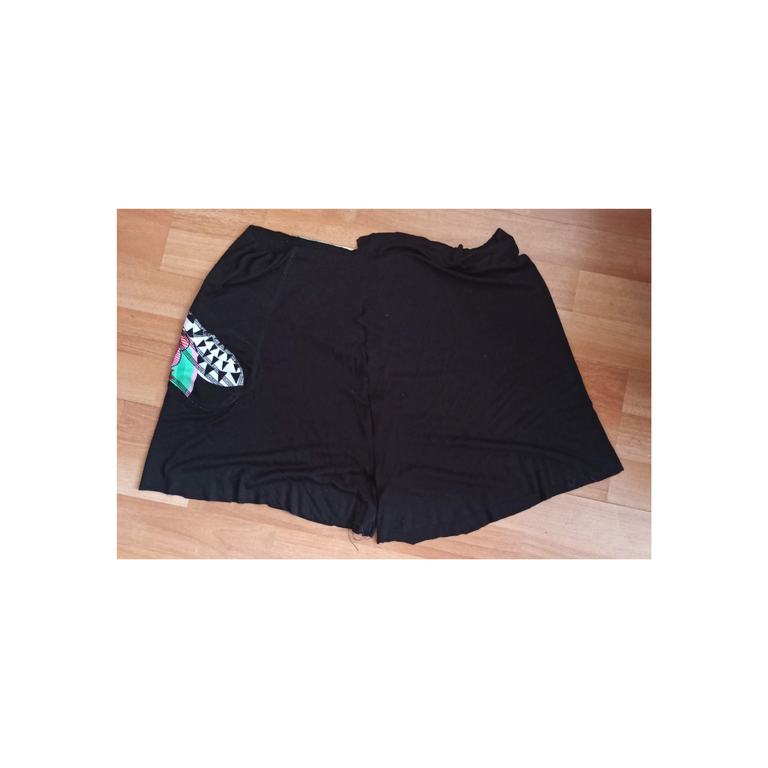
Aseguramos esas dos piezas con alfileres y nos vamos a la máquina, también lo puedes hacer a mano, no hay limitación ¿Recuerdas la cinta que habíamos cortado? Es momento de pegarla alrededor de la cintura del pantalón como sugiere la foto, siempre asegura todo con alfileres o un basteo rápido, creeme que facilita la vida de las costuras (risas), después cose los bordes o ruedo de las piernas. Ya tu pantalón pijama está listo.
We secure those two pieces with pins and we go to the machine, you can also do it by hand, there is no limitation. Remember the ribbon we had cut? It's time to sew it around the waistband of the pants as the picture suggests, always secure everything with pins or a quick baste, believe me it makes life easier for the seams (laughs), then sew the edges or hem of the legs. Now your pajama pants are ready.
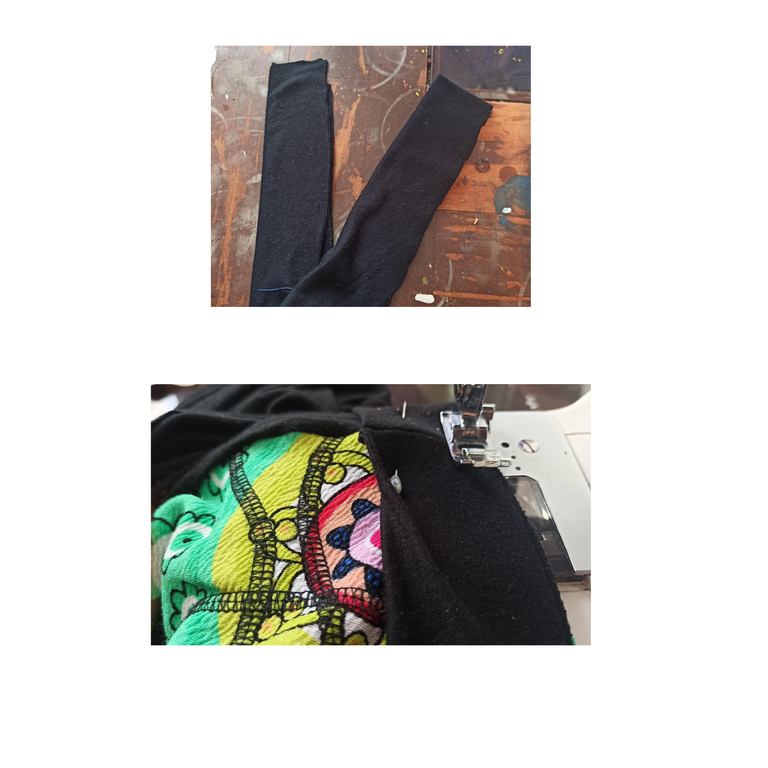
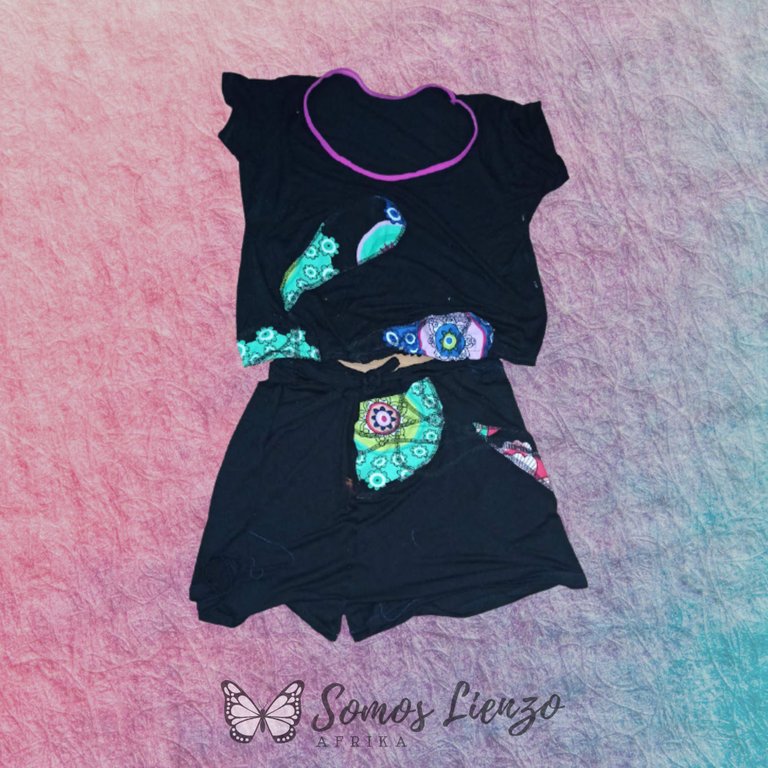
Vamos ahora con la camisa, este paso es más simple porque sólo pegue una elástica en la parte del ruedo, empezando con una costura zigzag y luego volteando con una puntada recta que deja un acabado perfecto y así tienes una camisa pijama que se ajusta con comodidad a tu cuerpo, recuerda estirar la elástica según lo apretado que te guste usar la ropa. Listo hivers, ya tienes un conjunto pijama, dándole segunda vida a esa pieza que tenías sin usar.
Let's go now with the shirt, this step is simpler because I only stiched an elastic on the hem part, starting with a zigzag seam and then flipping with a straight stitch that leaves a perfect finish and so you have a pajama shirt that fits comfortably to your body, remember to stretch the elastic according to how tight you like to wear the clothes. Ready hivers, you now have a pajama set, giving a second life to that piece you had unused.

Hasta aquí hivers y amantes de la costura el tutorial de cómo transformar tu ropa, atrévete a darle una segunda vida. Para más inspiración visita mi blog y recuerda unirte a la super comunidad @needleworkmonday donde cada lunes compartimos proyectos como estos y todo lo que tenga que ver con agujas e hilos. Muchas gracias siempre por acompañarme; todas las preguntas, sugerencias o comentarios son bien recibidas. Las fotos fueron hechas con el tlf Xiaomi Redmi Note 8 Pro y editadas con Canvas. Otra vez gracias HIVE seguimos creativos y productivos.
That’s it hivers and sewing lovers for DIY on how to transform your clothes, dare to give them a second life. For more inspiration visit my blog and remember to join the super community @needleworkmonday where every Monday we share projects like these and everything related to needles and threads. Thanks a lot always for joining me; any questions, suggestions or comments are welcome. The photos were taken with the Xiaomi Redmi Note 8 Pro and edited with Canvas. Thanks again HIVE we are still creative and productive.

Muchísimas gracias <3
Nada se destruye, todo se transforma ~~~~ ❤️
Es el mantra para estas cosas🦋🙏💎