Hola amigos de HIVE
En otro Post les comenté que me gusta diseñar, así que el día de hoy les traje como hacer paso a paso un lindo vestido en Jeans, para las personas que tengas hijas, nietas o sobrinas les va a ser muy útil regalar tan hermoso vestido. Incluso les servirá de practica para mas adelante realizar el de la niña.
Hello friends of HIVE

In another post I told you that I like to design, so today I brought you step by step how to make a nice dress in jeans, for people who have daughters or granddaughters or nieces will be very useful to give them such a beautiful dress. It will even serve as practice for them to make the girl's dress later on.
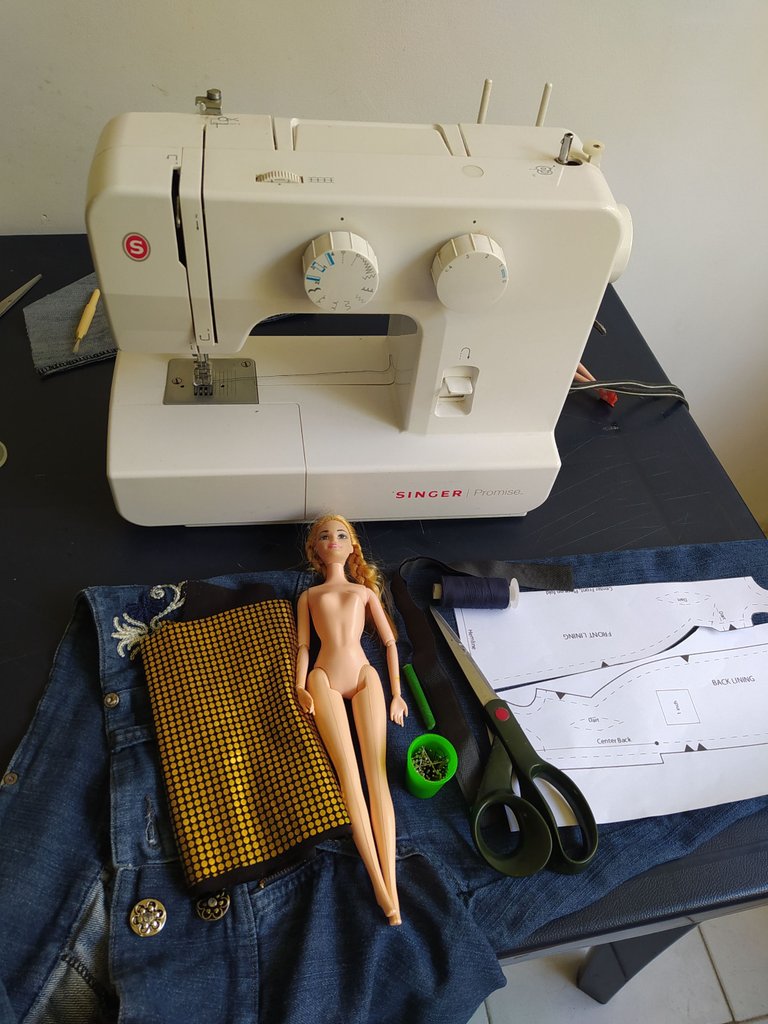
Materiales:
- Maquina de Coser casera
- Tela de Jeans
- Tela de brillantes o cualquiera que haga contraste
- Tijera para cortar telas
- Una Barbie
- Patrón del Vestido
- Hilo Azul Marino
- Aguja Normal
- Alfileres
- Tira o Cinta Métrica para Medir
Materials:

- Homemade sewing machine
- Jeans fabric
- Shiny fabric or any contrasting fabric
- Fabric cutting scissors
- A Barbie
- Dress Pattern
- Navy Blue Thread
- Normal Needle
- Pins
- Measuring Tape or Tape Measure
Procedimiento:
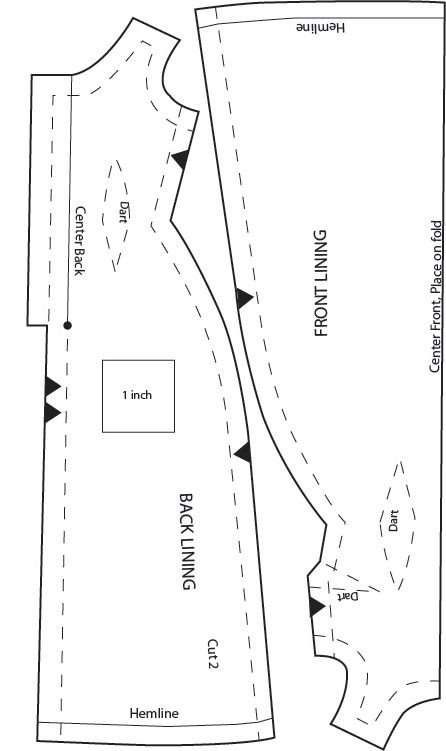
Paso 1 Impresión de los Patrones
Imprimimos la Imagen de los patrones para el Vestido de la Barbie.
Procedure:

Step 1 Printing the Patterns.

We print the image of the patterns for the Barbie dress.
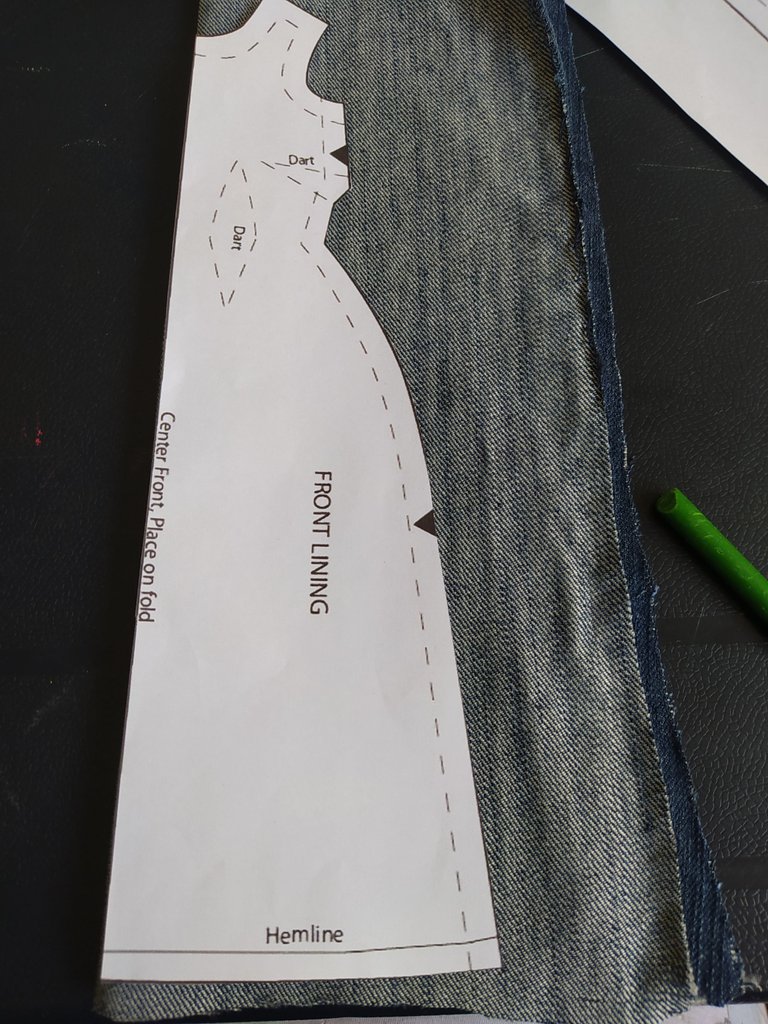
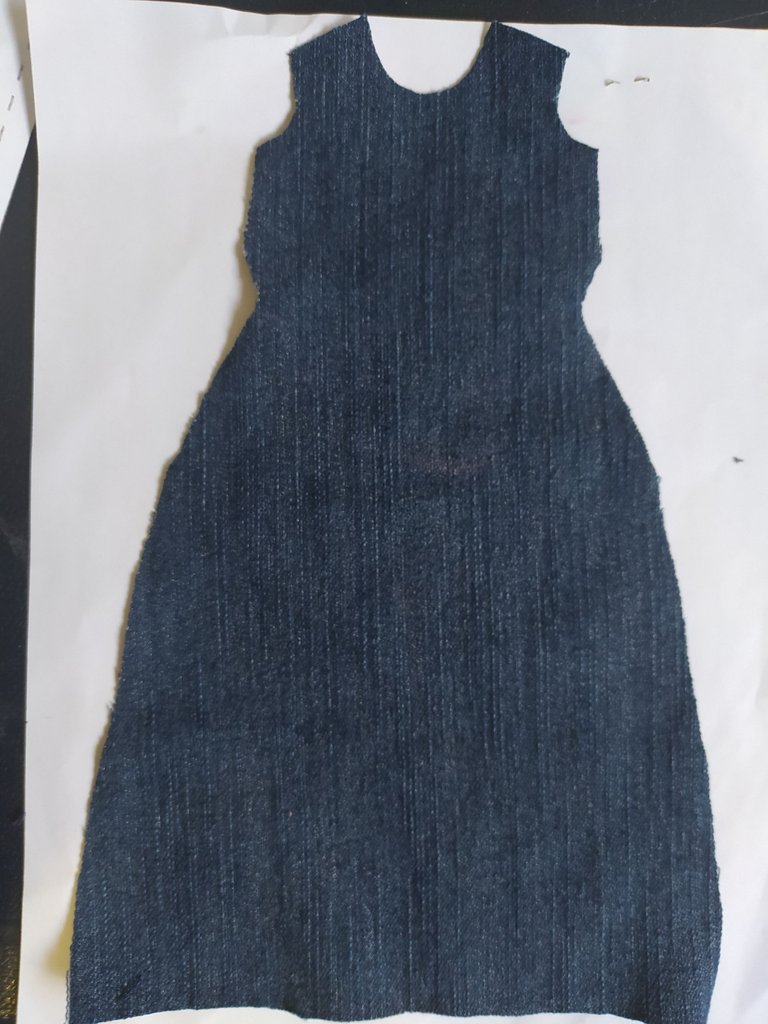
Paso 2 Cortamos los patrones y transferimos a la tela de Jeans
Cortamos nuestro patrón, doblamos la tela por el lado reverso y trasladamos con la ayuda de una tiza la imagen frontal del vestido, de esta manera al abrir la tela quedará la parte frontal completa.
Step 2 We cut the patterns and transfer them to the jeans fabric.

We cut our pattern, fold the fabric on the back side and transfer with the help of a chalk the front image of the dress, this way when we open the fabric we will have the complete front part.
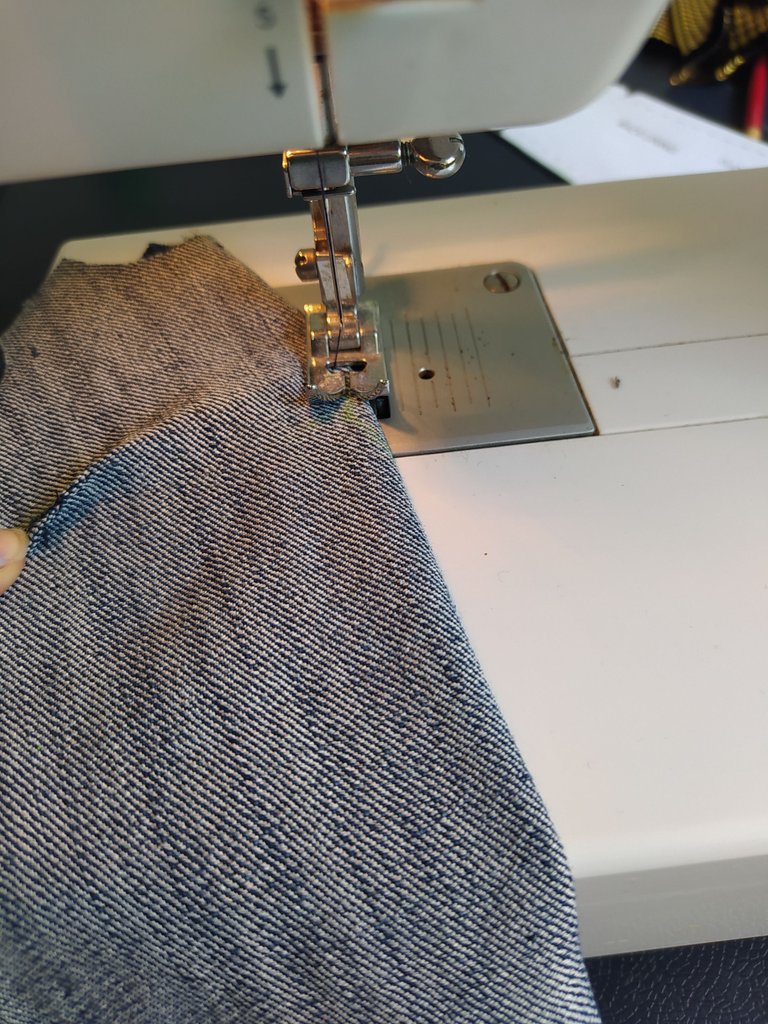
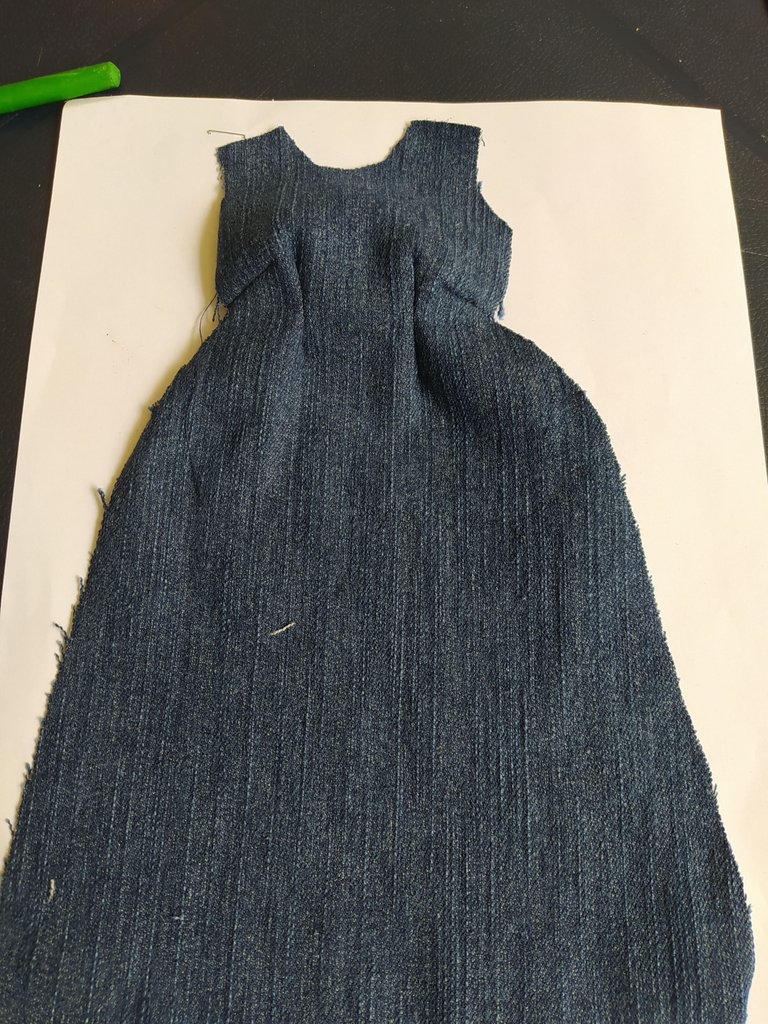
Paso 3 Realización de las Pinzas
Utilizamos las mismas medidas de las pinzas del patrón para la parte frontal y procedemos a coser en nuestra maquina de coser.
Step 3 Making the darts

We use the same measurements of the pattern clamps for the front part and proceed to sew on our sewing machine.
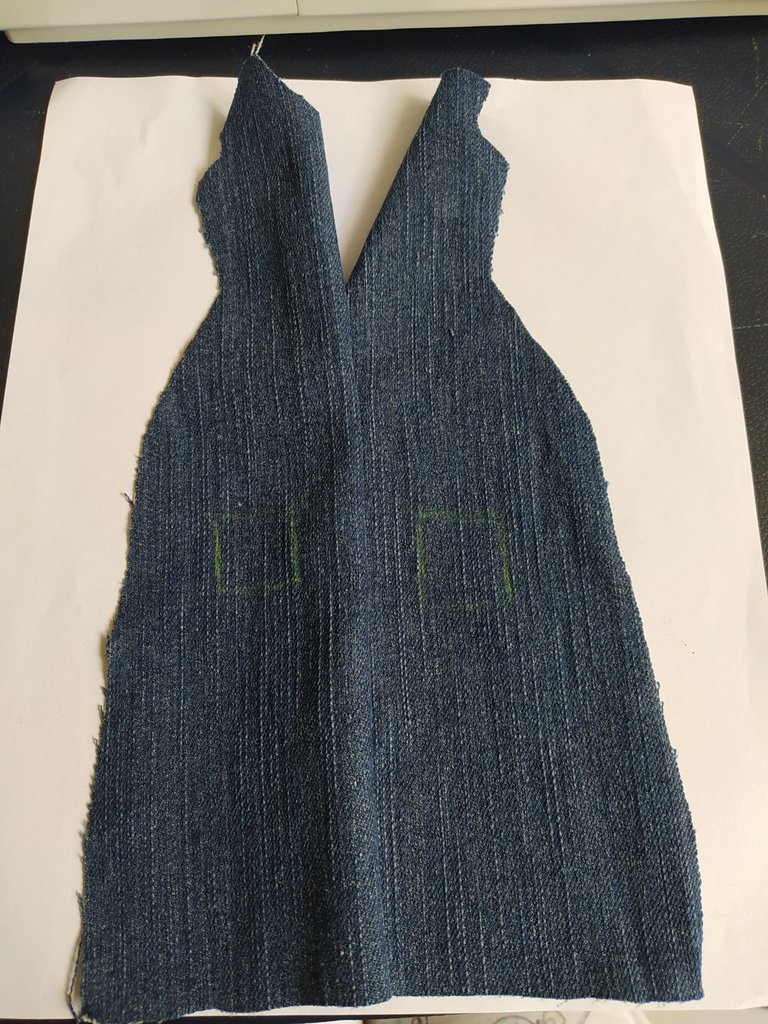
Paso 4 Transferimos el patrón trasero a la tela de Jeans.
Cortamos nuestro patrón, doblamos la tela por el lado reverso y trasladamos con la ayuda de una tiza la imagen trasera del vestido, haciendo 2 mitades.
Step 4 Transfer the back pattern to the jeans fabric.

We cut our pattern, fold the fabric on the back side and transfer with the help of a chalk the back image of the dress, making 2 halves.
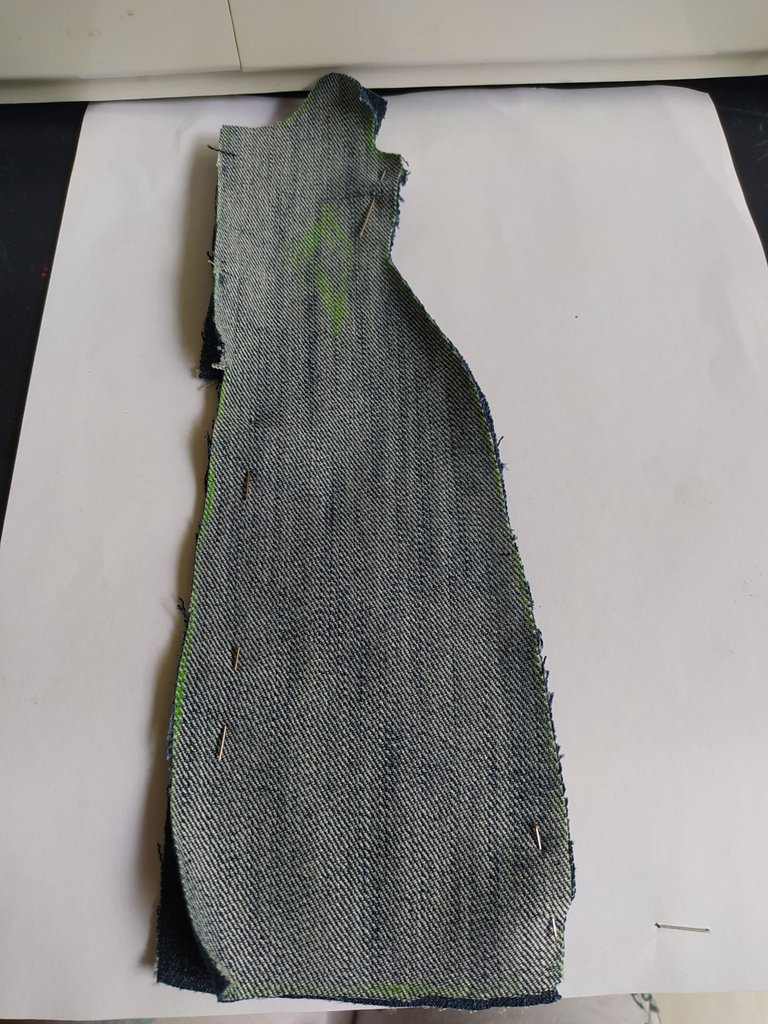
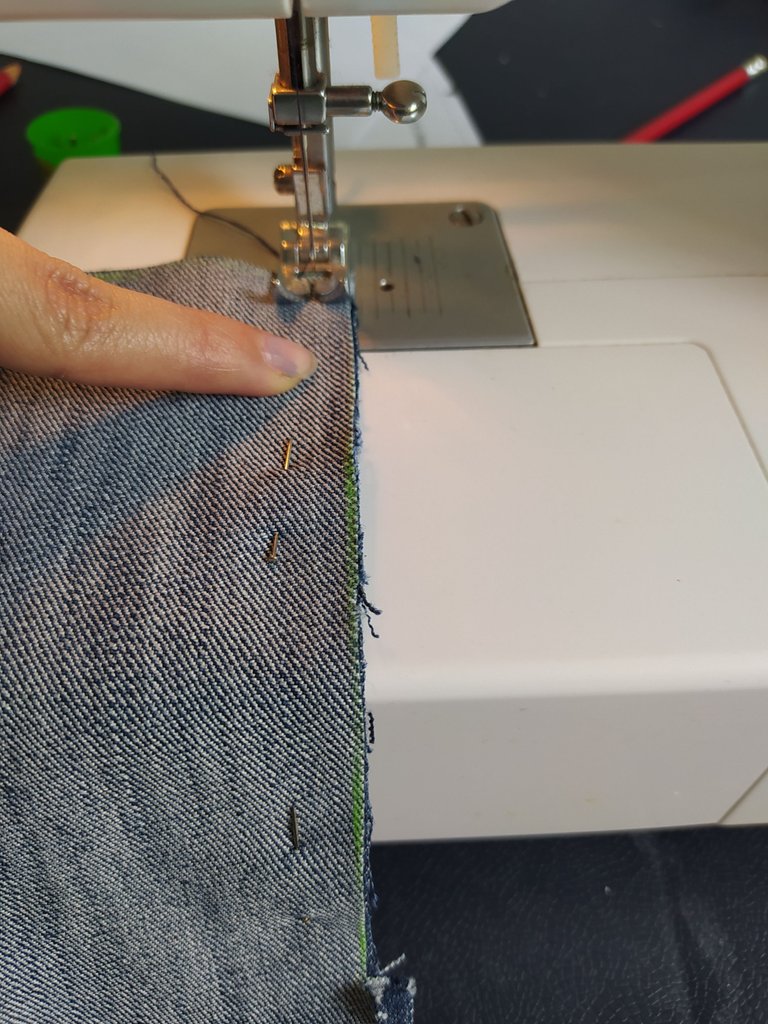
Paso 5 Procedemos a coser las 2 mitades.
Procedemos a coser ambas mitades para hacer la parte trasera completa, este paso le podemos colocar los alfileres para evitar que al momento de coser, No se muevan las telas, dejamos sin coser la parte de arriba donde va a ir el cierre mágico.
Step 5 We proceed to sew the 2 halves.

We proceed to sew both halves to make the complete back part, this step we can place the pins to avoid that at the moment of sewing, the fabrics do not move, we leave without sewing the top part where the magic clasp will go.
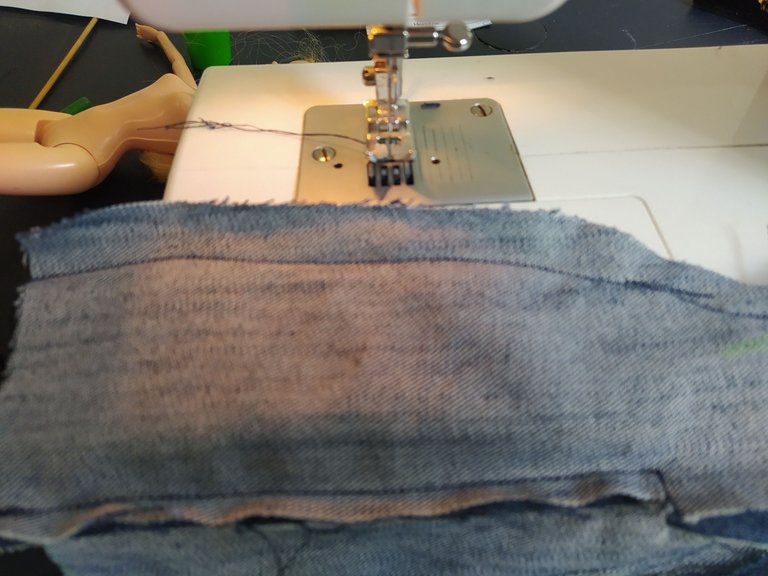
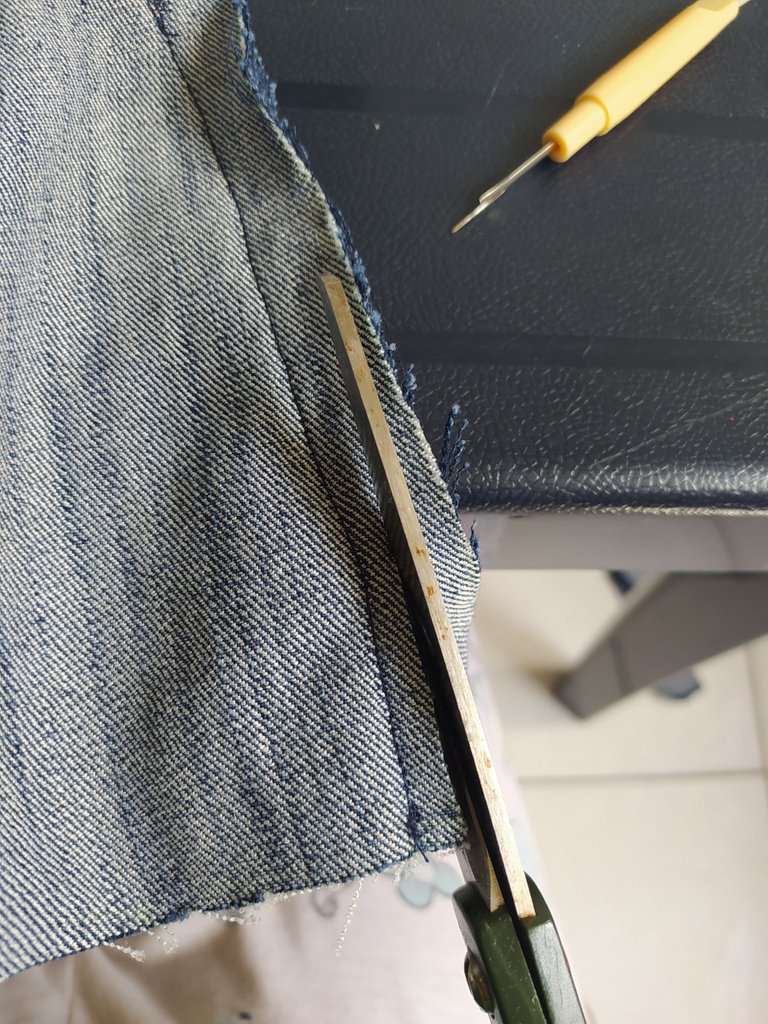
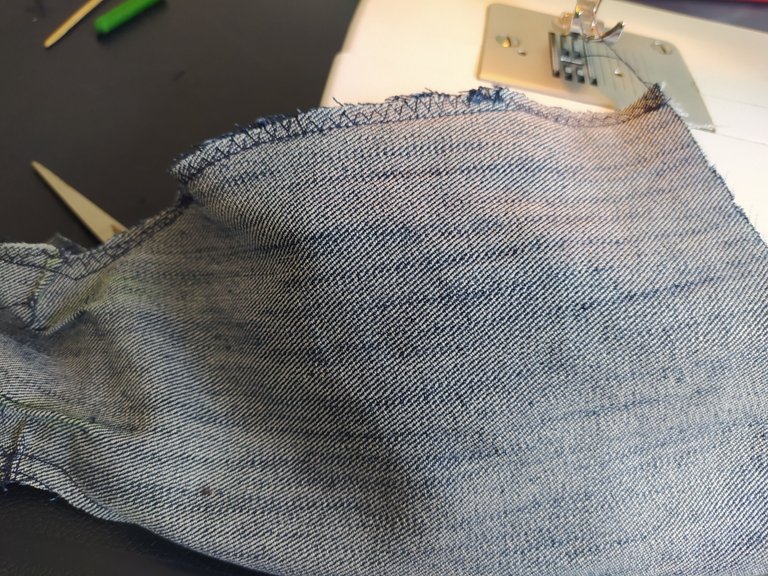
Paso 6 Cosemos los laterales uniendo la parte frontal con la trasera.
Cosemos los laterales uniendo parte frontal con la trasera, luego recortamos lo sobrante para luego pasamos en los laterales el modelo de la zic zac, de esta manera aseguramos que no se deshilache nuestro vestido.
Step 6 We sew the sides joining the front and the back.

We sew the sides joining the front with the back, then we cut the excess and then we pass the zic zac pattern on the sides, in this way we ensure that our dress does not fray.
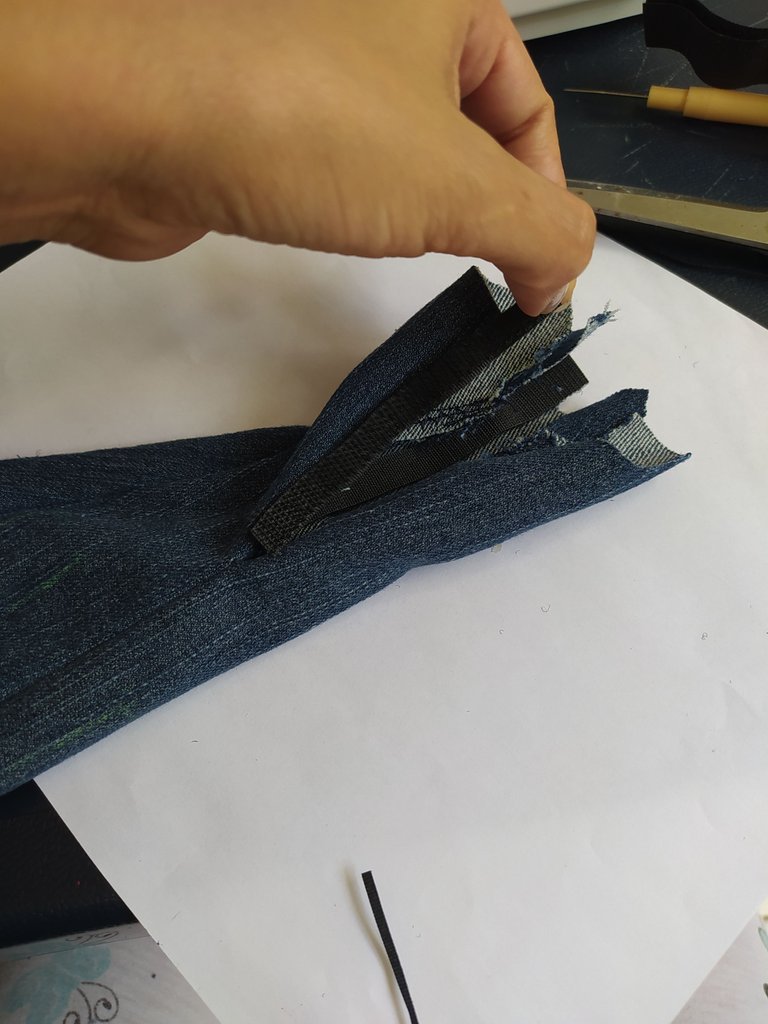
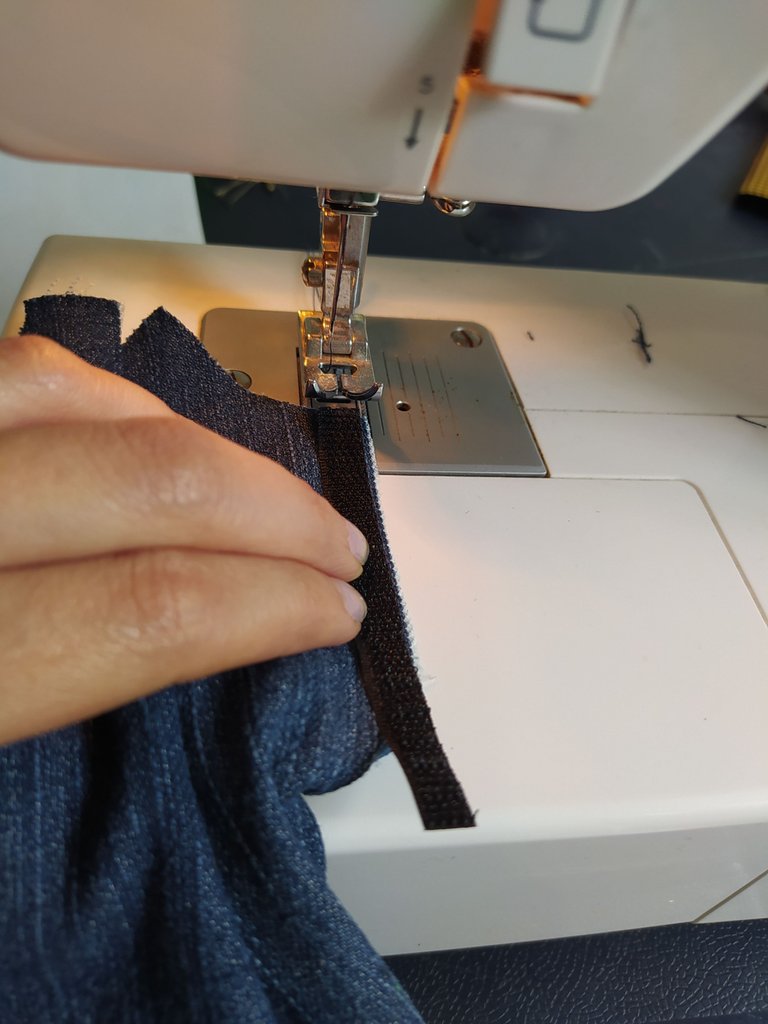
Paso 7 Colocamos el cierre mágico
Colocamos el cierre mágico en la parte trasera de la siguiente manera.
Step 7 Place the magic clasp

We place the magic clasp on the back as follows.
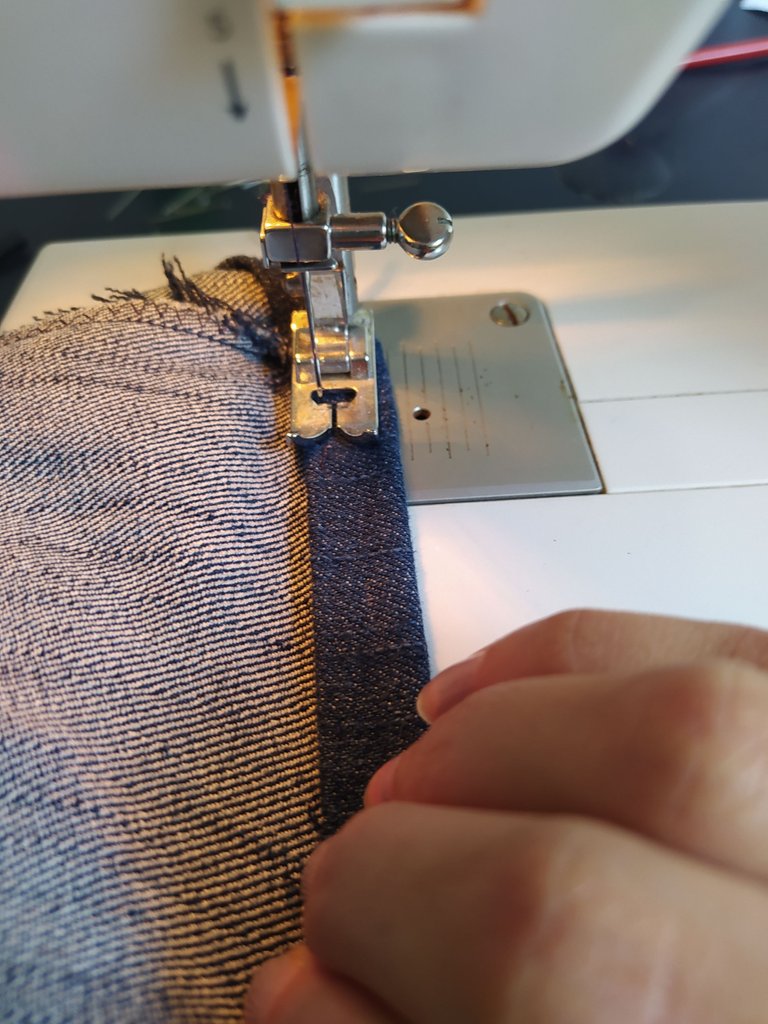
Paso 8 Realizamos el ruedo del vestido
Doblamos 2 veces el ruedo del vestido, colocamos los alfileres y procedemos a coser en nuestra maquina. Siempre midiendo el largo en la Barbie para que quede a la medida.
Step 8 We make the hem of the dress

Fold the hem of the dress twice, place the pins and proceed to sew on our machine. Always measuring the length on the Barbie so that it fits.
Paso 9 Cortamos la tela de brillantes
Cortamos la tela de brillantes en tira para realizar mangas y cuello del vestido.
Step 9 Cut the glitter fabric

Cut the glitter fabric into strips to make the sleeves and neckline of the dress.
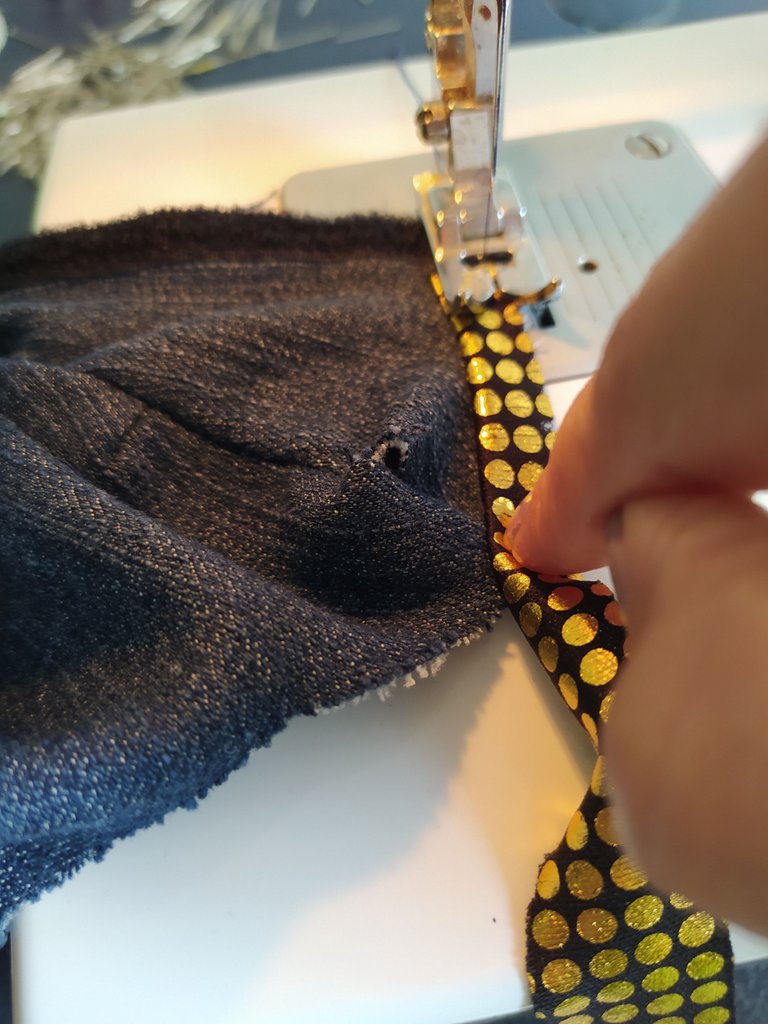
Paso 10 Procedemos a Coser el cuello
Procedemos a coser el cuello del vestido con nuestra tela brillante en nuestra maquina de la siguiente manera.
Step 10 We proceed to sew the collar

We proceed to sew the collar of the dress with our shiny fabric on our machine as follows.
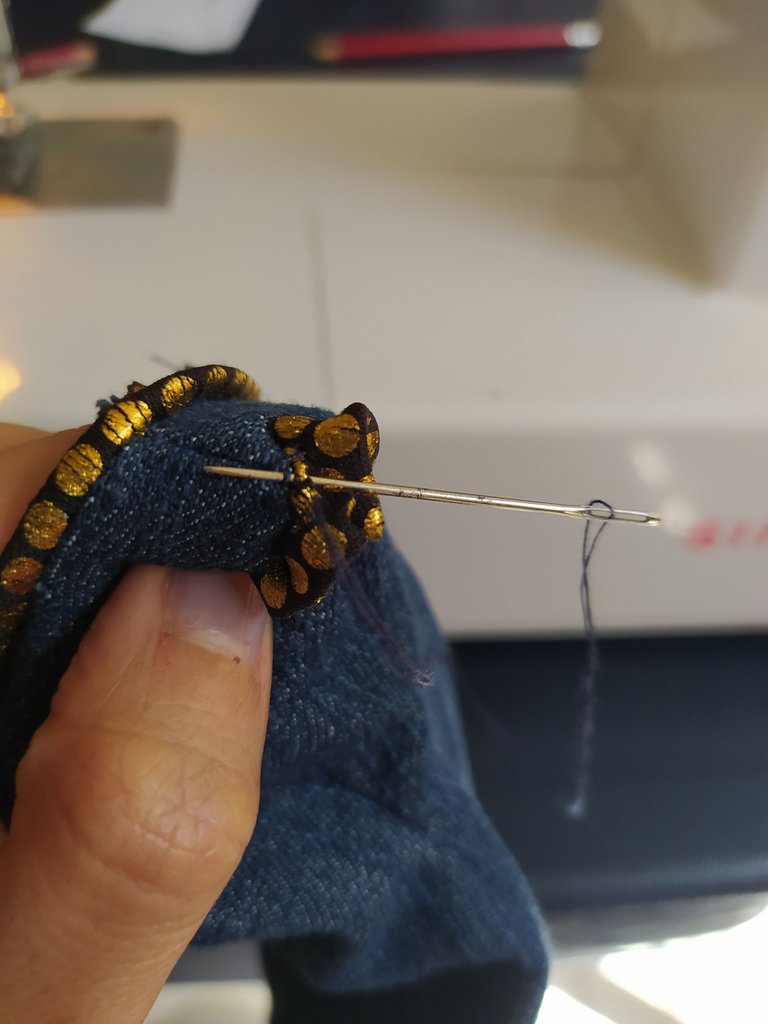
Paso 11 Procedemos a Coser las mangas
Procedemos a coser las mangas con nuestra tira de tela brillante utilizando una aguja normal para coser a mano, este paso se realiza de esta manera, ya que es muy difícil coserlo en la maquina.
Step 11 We proceed to sew the sleeves.


We proceed to sew the sleeves with our shiny fabric strip using a normal needle for hand sewing, this step is done this way, as it is very difficult to sew it on the machine.
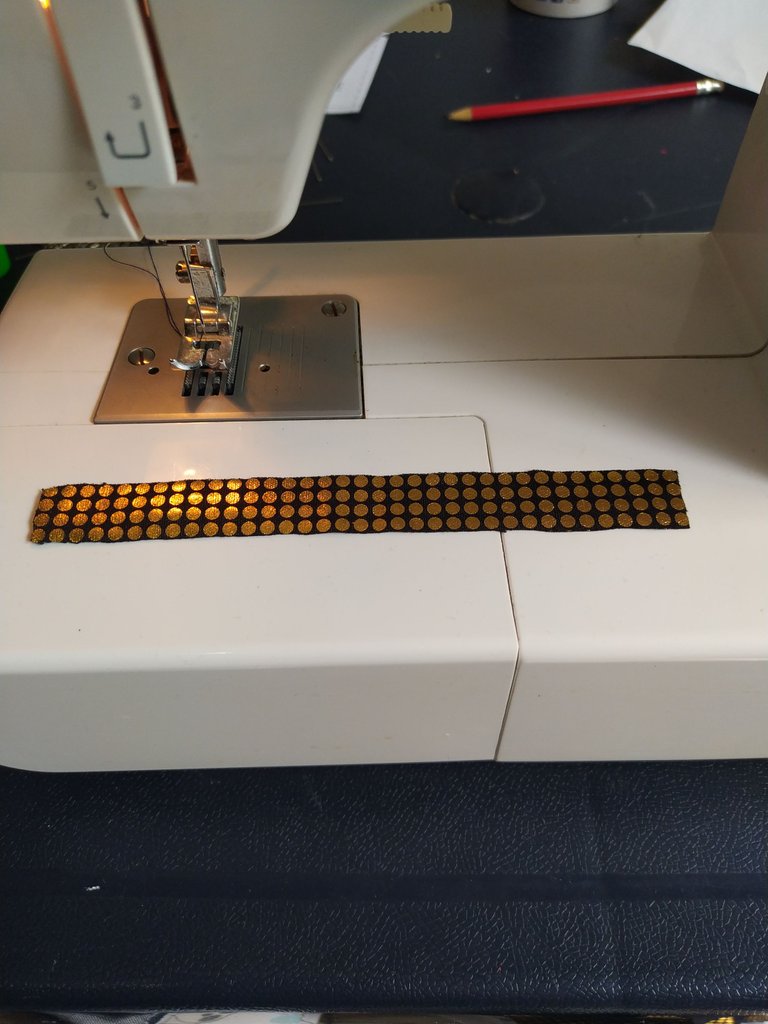
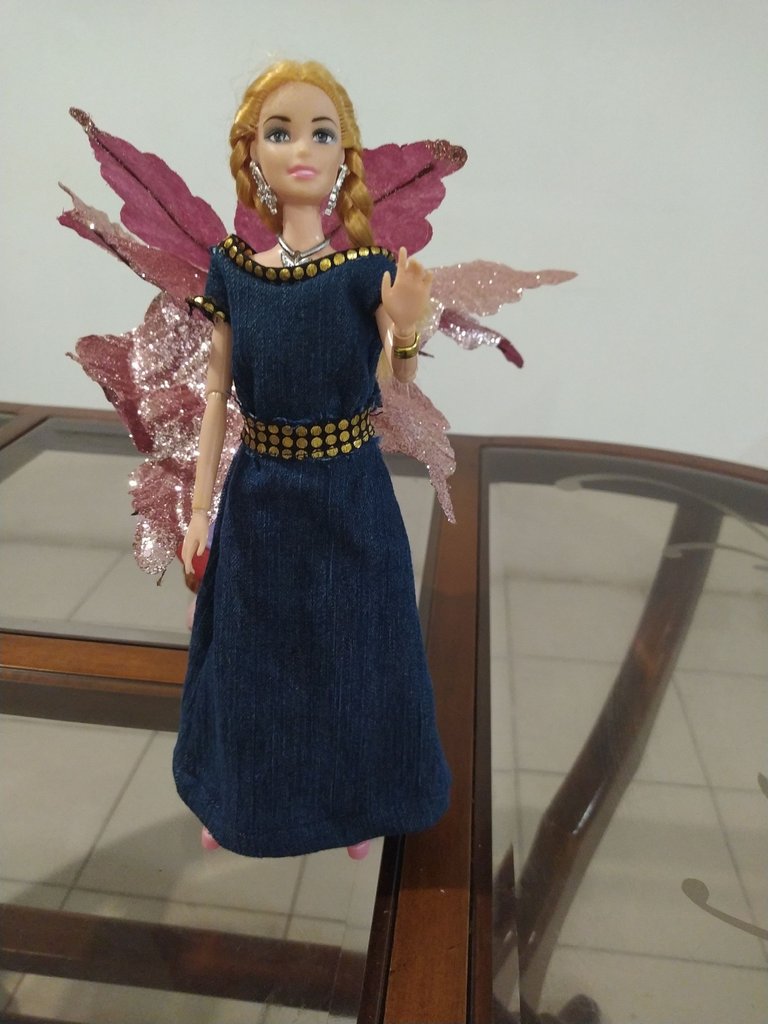
Paso 12 Realizamos un cinturón con nuestra tela brillante
Cortamos una tira larga de tela brillante al igual que de la tela de Jeans y la unimos, colocamos al final un cierre mágico. Cortamos los hilos sobrantes.
Step 12 We make a belt with our shiny fabric.

We cut a long strip of shiny fabric like the Jeans fabric and join it together, we place a magic clasp at the end. We cut the excess threads.
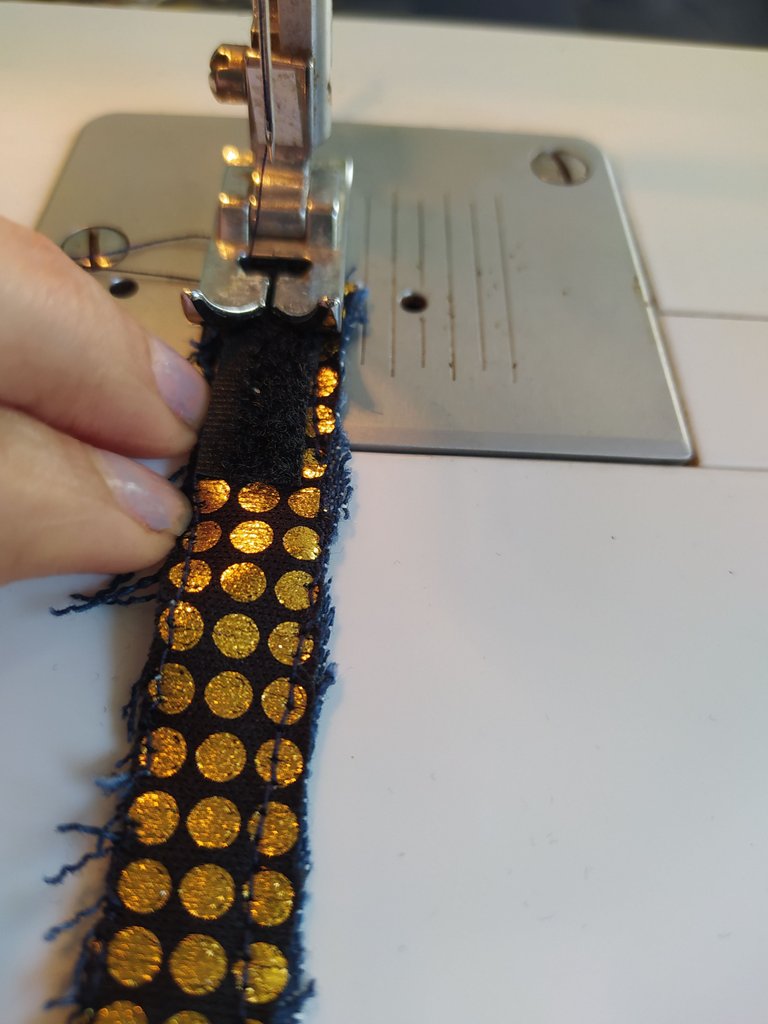

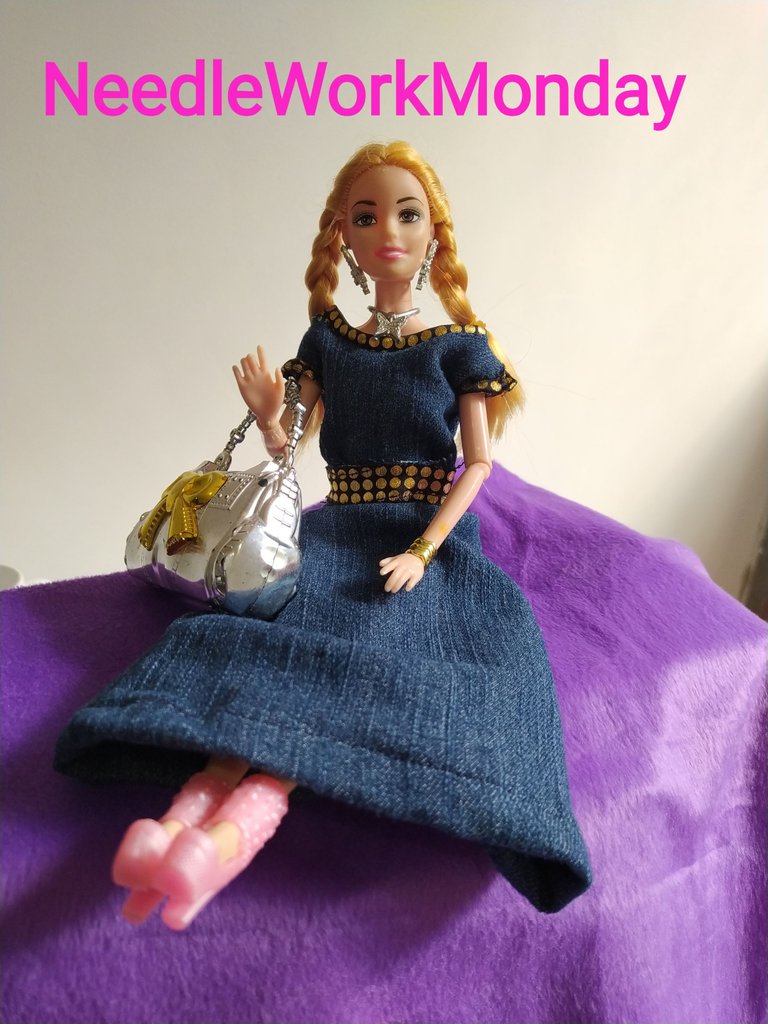
Foto de mi Princesa con su Barbie y su nuevo vestido / Photo of my Princess with her Barbie and her new dress.
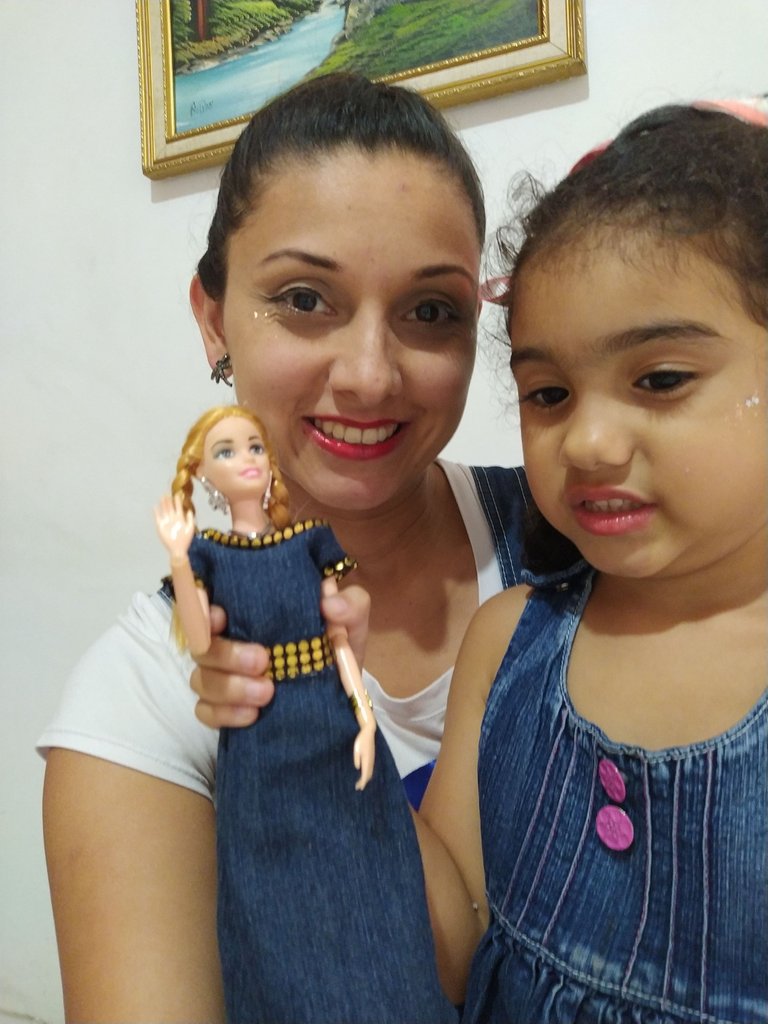
Foto Propia con mi Princesa y su Barbie / Own photo with my Princess and her Barbie
Espero les guste, nos vemos pronto.
Fotos propias tomadas desde mi celular y utilice traductor https:www.deelp.com/translator.
I hope you like it, see you soon.

Own photos taken from my cell phone and use translator https:www.deelp.com/translator.
Me encantó.
Hola. Te felicito. Realizaste un lindo proyecto. Vestir a la Barbie es una de mis pasiones. Guardaré este patrón para próximos estrenos 😉
Saludos.
Que bueno que le encantó. Muchas gracias, la verdad AMO coser, si en las Barbie se ven bellas cualquier prenda de vestir que se les realice. GRACIAS ❤️
Feliz día de la mujer! Este, es un trabajo hermoso en cada uno de sus pasos, el detalle de la tela le a ese toque de elegancia, y la nena feliz con el traje de la muñeca. Saludos.
Excelente trabajo
Precioso vestido ❤. De dónde descargaste los patrones?
Muchas Gracias ❤️. Si quieres me escribes al correo solicitando el patrón [email protected] y con gusto se lo envío.
Gracias, después te escribo ❤❤
Hola que lindo vestido, me encantó la foto de la niña con la muñeca, se ven iguales y muy felices. Gracias por compartir el patrón, yo adoró vestir a mi barbie, aunque me inclino por el crochet, seguro el patrón me servirá. Gracias feliz día.
Holaaa, gracias si traté de que salieron vestidas iguales jajaja, si vestir a las Barbie es fabuloso, me gustaría en algún momento aprender Crochet al igual que usted, es un arte único. Gracias por comentar. Nos vemos en un próximo Post. Un abrazo.
Congratulations @ayleenr! You have completed the following achievement on the Hive blockchain and have been rewarded with new badge(s) :
Your next target is to reach 600 upvotes.
You can view your badges on your board and compare yourself to others in the Ranking
If you no longer want to receive notifications, reply to this comment with the word
STOPHello @ayleenr!
I really love all of your photos and appreciate you sharing the process of your work. This is something we encourage members to do here.
The jean Barbie dress is adorable. The shiny fabric you added gives it that extra flare. It looks like your daughter was happy to twin with her Barbie :)
Every week needleworkers from around the globe get together to share our work, patterns, tips, ideas and shortcuts as we support one another. Our goal is to inspire the Hive blockchain to give crafting a try.
On Monday’s we use the #needleworkmonday tag and on all other days we use the #needlework tag without the word Monday attached. We share and post our work directly from the Community page.
For more information about what we do and for our posting guidelines please visit our FAQs.
I’m looking forward to seeing more of your needlework! Thank you 😊 ~
Thank you very much for seeing my work, the truth is I love the design especially the fashion, the outfits that are placed on the Barbie makes them look more beautiful, it's like a dream come true, my daughter loves Barbie and enjoys every dress.
Yes I have many ideas to share with you...Thank you again for taking the time to write to me. I feel lucky to be here.
Greetings and a big hug....
Absolutely! I enjoyed reading and seeing your work :)
Thank you, hugs back to you ~ 💗