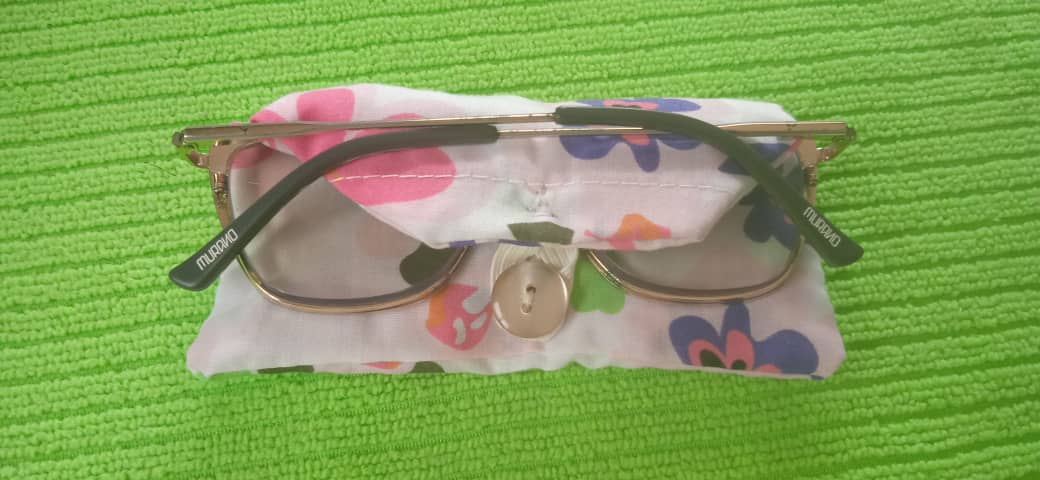
I felt the need to make some protectors for my glasses, easy, comfortable and the best thing is that they fit in my mini purse, I can even carry the glasses in their protector in my hand, without fear of scratching them. With few materials, without more to tell, here are the steps.


Photos taken with my Xiaomi Redmi 9C. Fotos tomadas con mi Xiaomi Redmi 9C.
Photo collage with the pic collage app. Collage de fotos con la app pic collage.
Translated with / Traducido con: DeepL Translator.

Me vi en la necesidad de hacer unos protectores para mis lentes, fáciles, cómodos y lo mejor del caso es que caben en mi mini cartera, incluso puedo cargar los lentes en su protector en mi mano, sin temor a que se rayen. Con pocos materiales, sin más que contar, aquí les dejo los pasos.
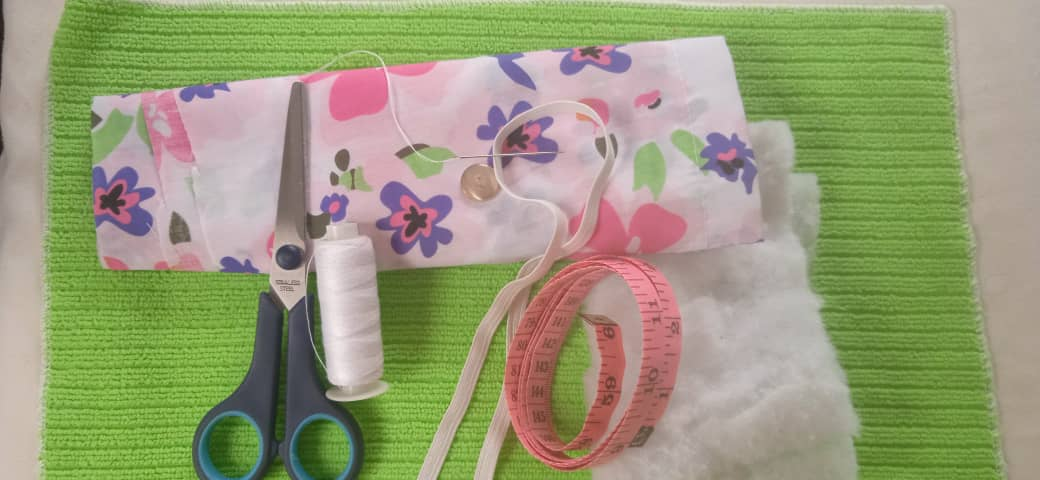
MATERIALS//MATERIALES
- A piece of fabric.
- Sewing thread.
- Sewing needle.
- Scissors.
- Button.
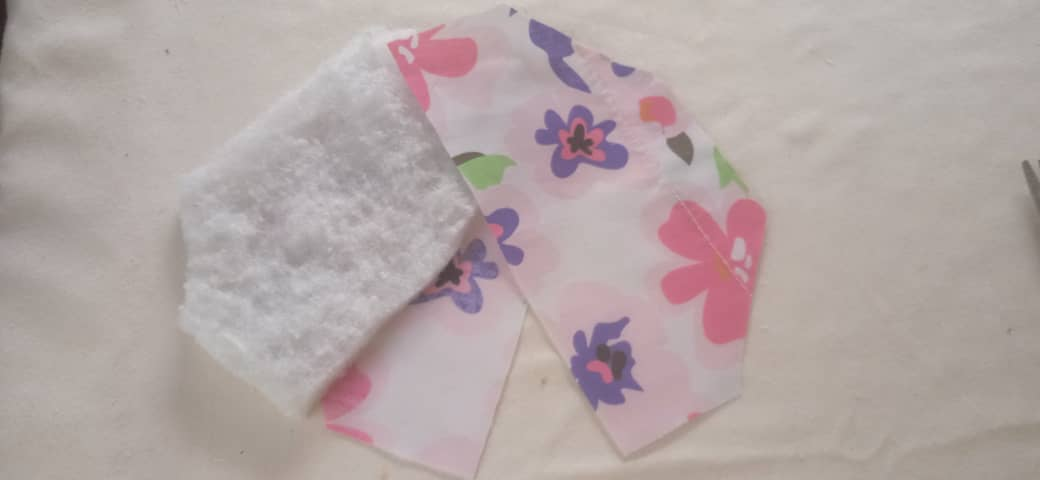
- A piece of wadding.
- 10 centimeters of elastic tape.
- Measuring tape.
- Un retazo de tela.
- Hilo de coser.
- Aguja de coser.
- Tijera.
- Botón.
- Un retazo de Guata.
- 10 centímetros de cinta elástica.
- Cinta métrica.
STEPS//PASOS
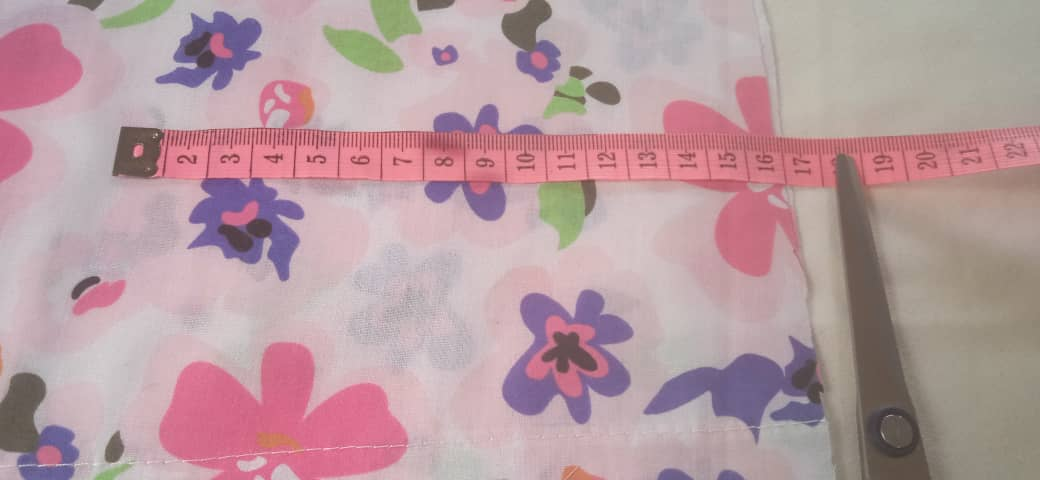
- Measure 16 centimeters on the piece of fabric.
- Medir 16 centímetros en el retazo de tela.
- Cut out two pieces measuring 16 centimeters in length by width.
- Recortar dos piezas que miden 16 centímetros de largo por ancho.
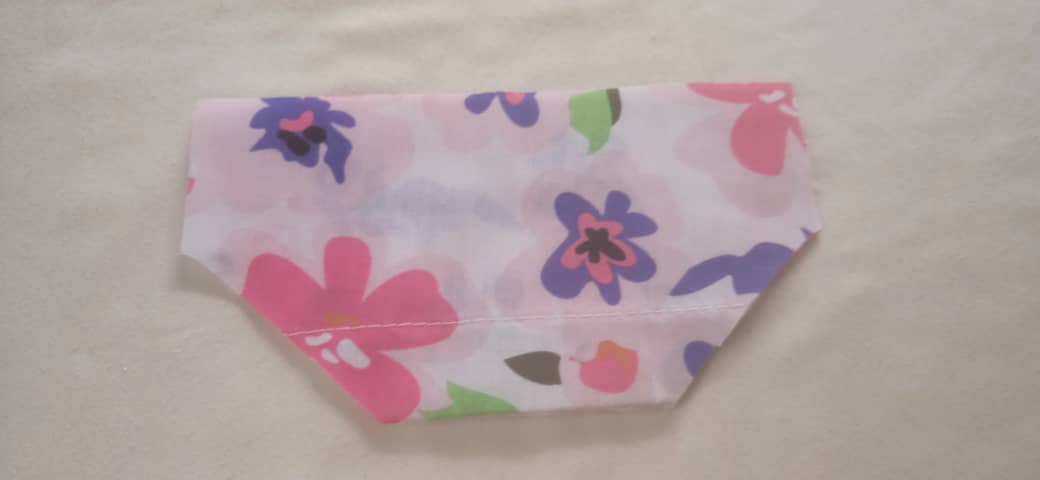
- Then cut a piece of 8 centimeters for the lid. Give it the shape of your preference.
- Luego cortar una pieza de 8 centímetros para la tapa. Darle la forma de tu preferencia.
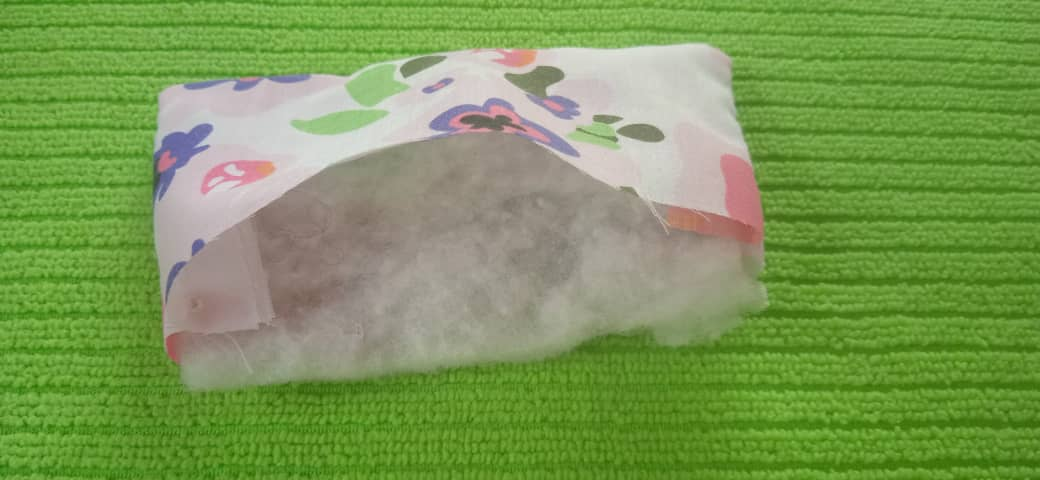
- In the same way cut one centimeter less the wadding.
- De igual manera cortar un centímetro menos la guata.
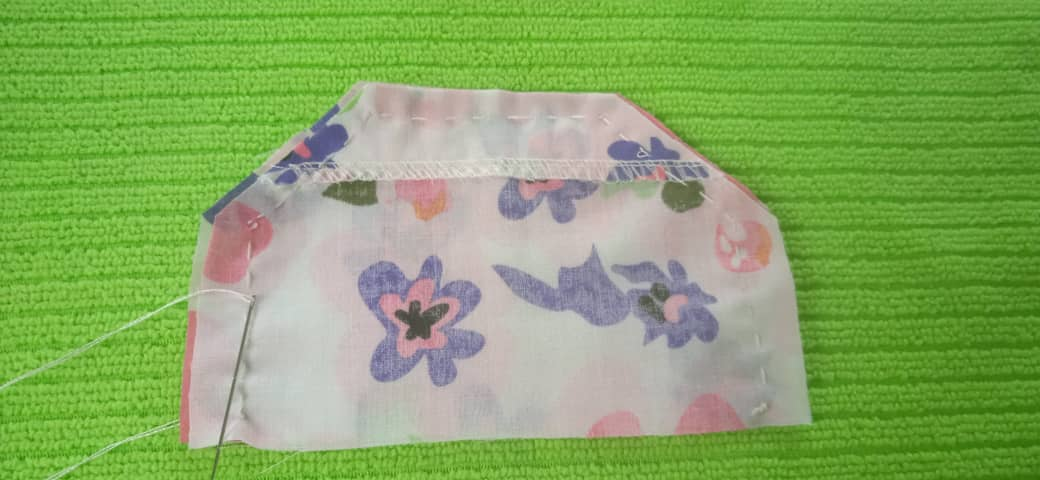
- Proceed to sew around the lid.
- Proceder a coser alrededor de la tapa.
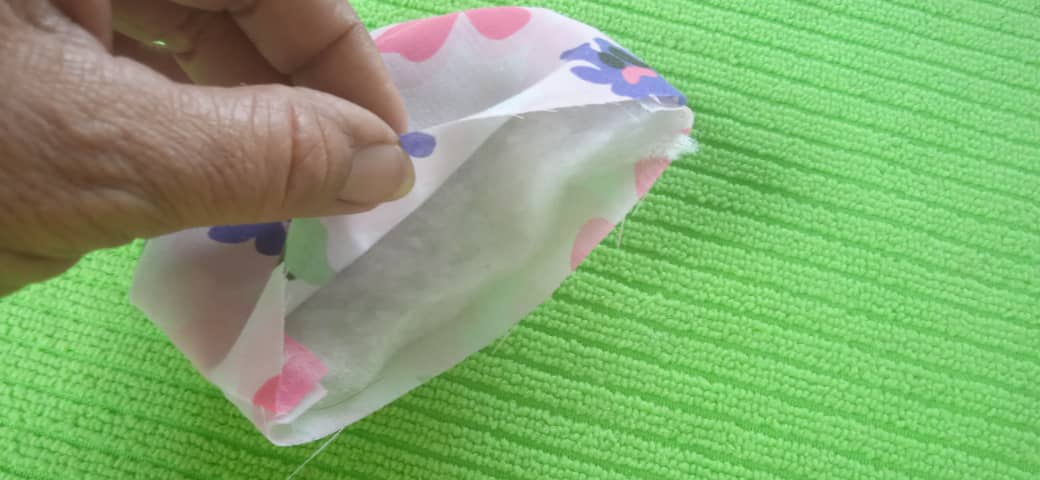
- Turn the lid upside down and insert the wadding.
- Voltear la tapa, e introducir la guata.
- Continue with the other piece, sew.
- Seguir con la otra pieza, coser.
- Turn the piece over.
- Voltear la pieza.
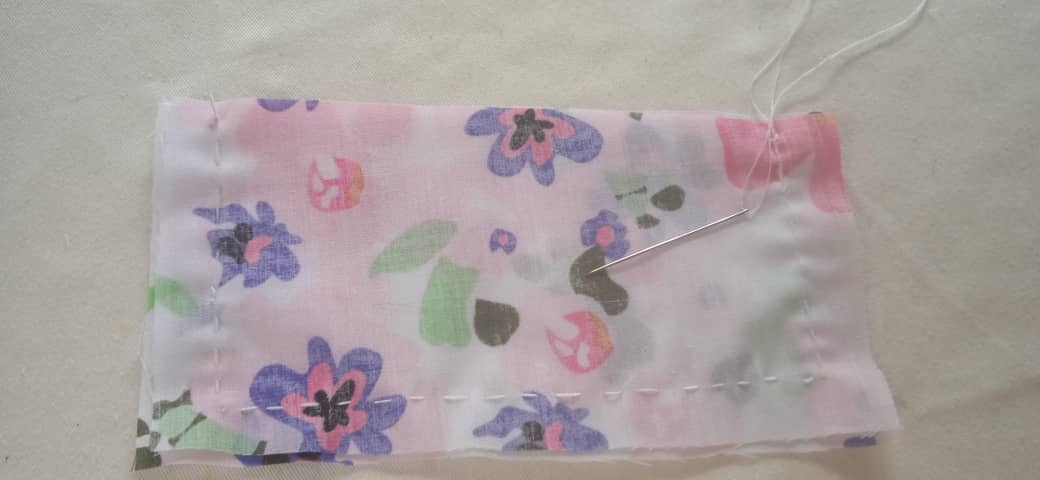
- Cut the wadding, insert the wadding into the piece.
- Cortar la guata, introducir la guata a la pieza.
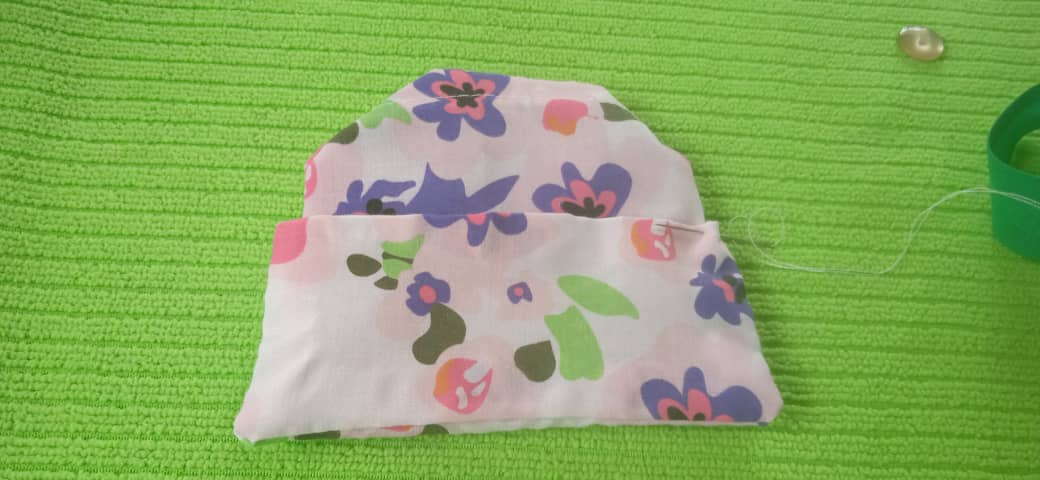
- Now, hem the pieces, then sew the two pieces together.
- Ahora, hacer un dobladillo a las piezas, luego coser las dos piezas.
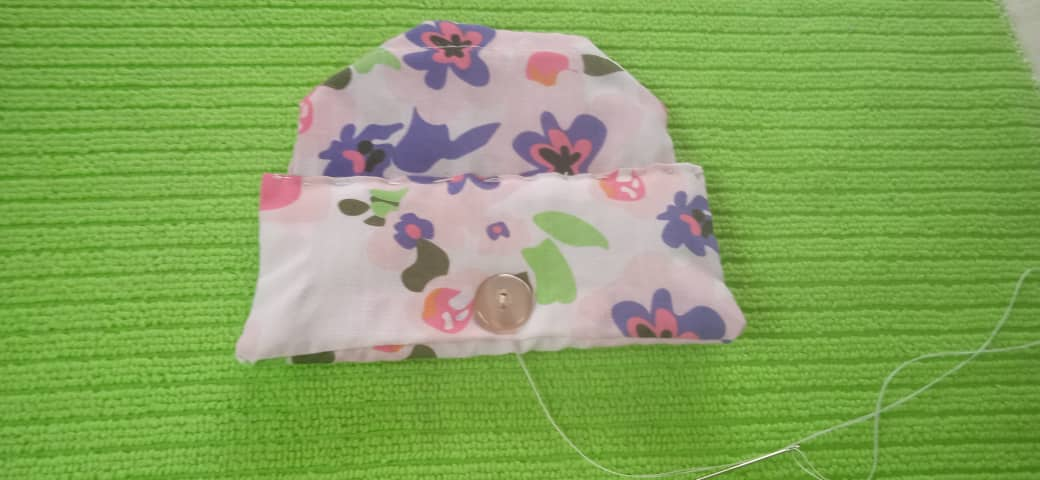
- Find the middle of the piece, to place the button.
- Buscar la mitad de la pieza, para colocar el botón.
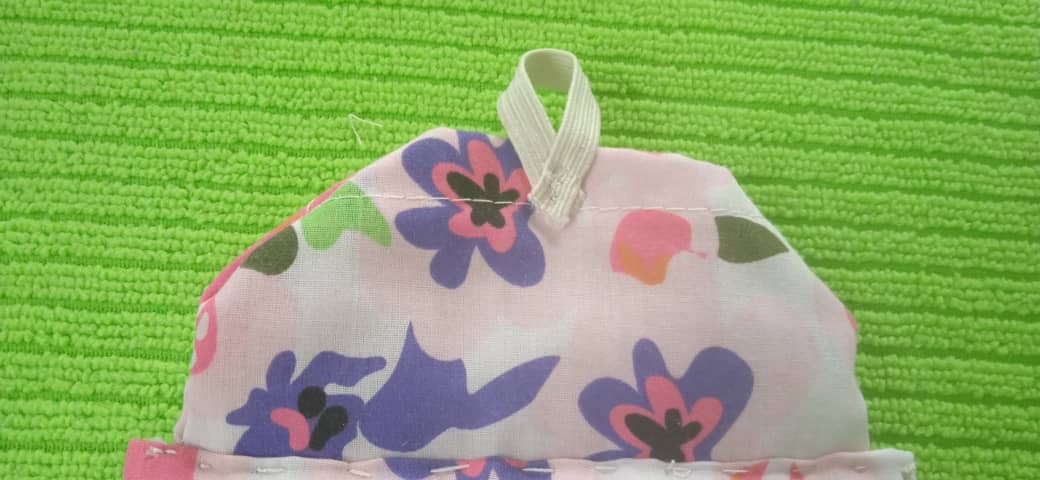
- Cut a 5-centimeter strip of elastic band.
- Sew the elastic strip in the center of the lid.
- Cortar una tira de 5 centímetros de cinta elástica.
- Coser la tira elástica en el centro de la tapa.
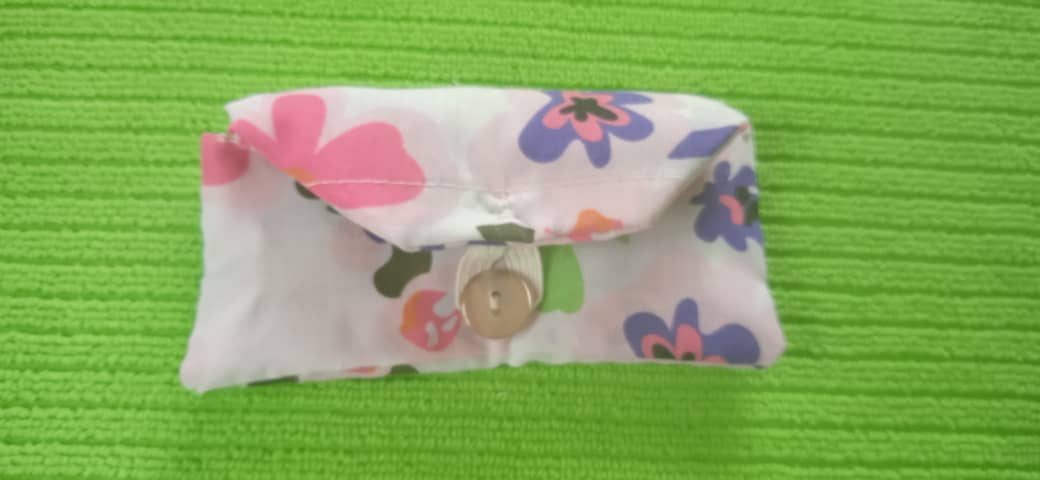
- This is how the super practical lens protector looks.
- Así queda el super práctico protector de los lentes.
- Now to use the lens protector, place the glasses, button and finally close the rods or legs of the glasses.
- Ahora a darle uso al protector de los lentes, colocar las gafas, abotonar por último cerrar las varillas o patas de las gafas.
Wow nice one
Thank you for sharing this amazing post on HIVE!
Your content got selected by our fellow curator @rezoanulvibes & you just received a little thank you via an upvote from our non-profit curation initiative!
You will be featured in one of our recurring curation compilations and on our pinterest boards! Both are aiming to offer you a stage to widen your audience within and outside of the DIY scene of hive.
Join the official DIYHub community on HIVE and show us more of your amazing work and feel free to connect with us and other DIYers via our discord server: https://discord.gg/mY5uCfQ !
If you want to support our goal to motivate other DIY/art/music/homesteading/... creators just delegate to us and earn 100% of your curation rewards!
Stay creative & hive on!