Español:
¡Feliz jueves a todos! Espero que se encuentren bien.
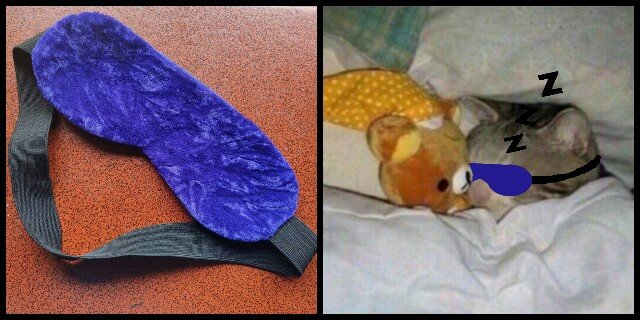
El día de hoy les traigo un tutorial sencillo para solucionar una problemática que muchos podemos llegar a tener: esa luz que entra por la ventana, el brilloso teléfono de tu pajera/ compañero de cuarto que se queda despierto hasta tarde, la luz del sol que entra muy temprano a tu cuarto y no te deja completar tu ciclo de sueño en paz.
Yo en lo personal decidí hacerme un antifaz ya que entra un poco de luz a mi cuarto y las cosas de la habitación empiezan a verse un poco terroríficas :( demasiado para esta alma nerviosa. Así que usando tela reciclada y un elástico que tenía decidí ponerme manos a la obra.
English:
Happy Thursday to everyone! I hope you are feeling well.
Today I bring you a simple tutorial to solve a problem that many of us may have: that light that comes through the window, the shiny phone of your partner/roommate who stays up late, the sunlight that enters your room too early and does not let you complete your sleep cycle in peace.
I personally decided to make myself an eye mask since a little light comes into my room and things in the room start to look a little scary :( so much for this nervous soul. So using recycled fabric and an elastic I had I decided to get to work.
~Los Materiales~
Para hacer el antifaz necesitas:
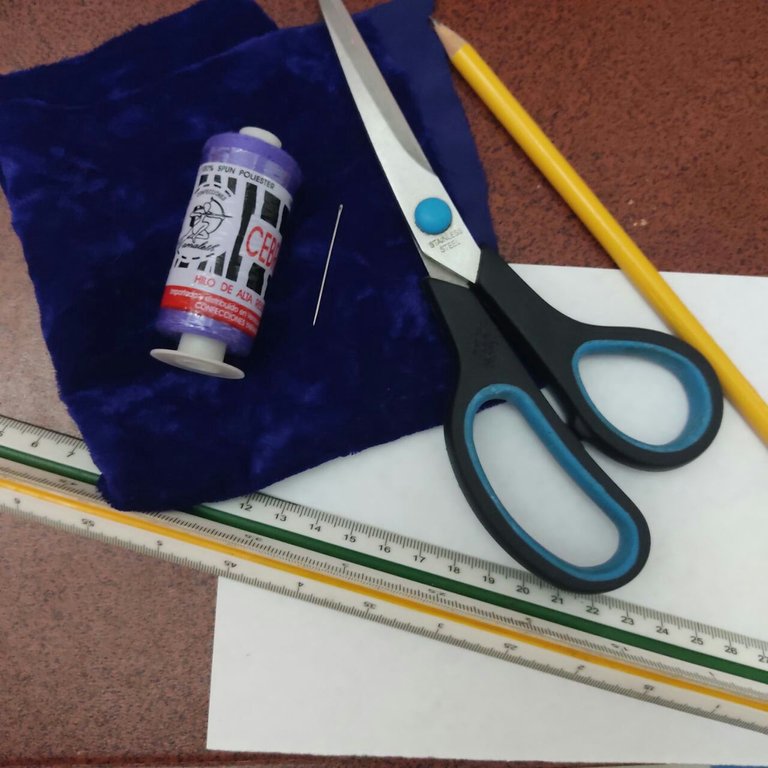
Tela: (Debe ser una tela suave pero a la vez algo gruesa), yo he usado una tela de terciopelo de un antiguo vestido. No necesitas mucho, con un trozo de 25 cm x 25 cm debería ser suficiente.
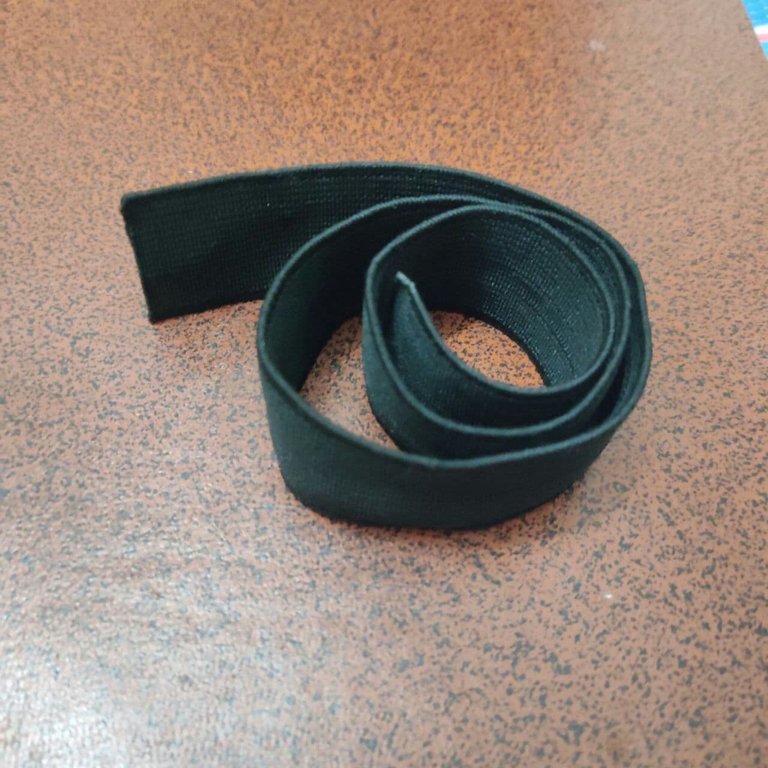
Cinta elástica (La cantidad dependerá del contorno de tu cabeza). Te recomiendo que sea una cinta gruesa.
Hoja para dibujar el patrón, lápiz.
Hilo y aguja.
Tijeras.
Cinta Métrica (En mi caso usé un excalimetro para medir ya que no tengo cinta métrica).
Alfilereles o agujas extra.
~The Materials~
To make the eye mask you need:
Fabric: (It should be a soft but at the same time somewhat thick fabric), I used a velvet fabric from an old dress. You don't need much, a piece of 25 cm x 25 cm should be enough.
Elastic tape (The amount will depend on the contour of your head). I recommend a thick tape.
Sheet to draw the pattern, pencil.
Thread and needle
Scissors.
Tape measure (In my case I used an excalimeter to measure since I don't have a tape measure).
Pins or extra needles.
~El patrón~
Para hacer el patrón, necesitarás sacar dos medidas:
Medida 1: Desde la mitad de tu frente hasta la punta de tu nariz. (en mi caso fueron 8 centímetros)
Medida 2: Desde la sien hasta la otra sien pasando por tus ojos. ( en mi caso fueron 22 centímetros)
Una vez que tengas estas medidas, sigue los siguientes pasos:
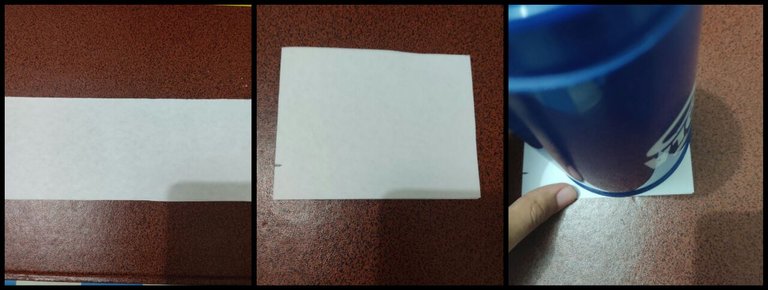
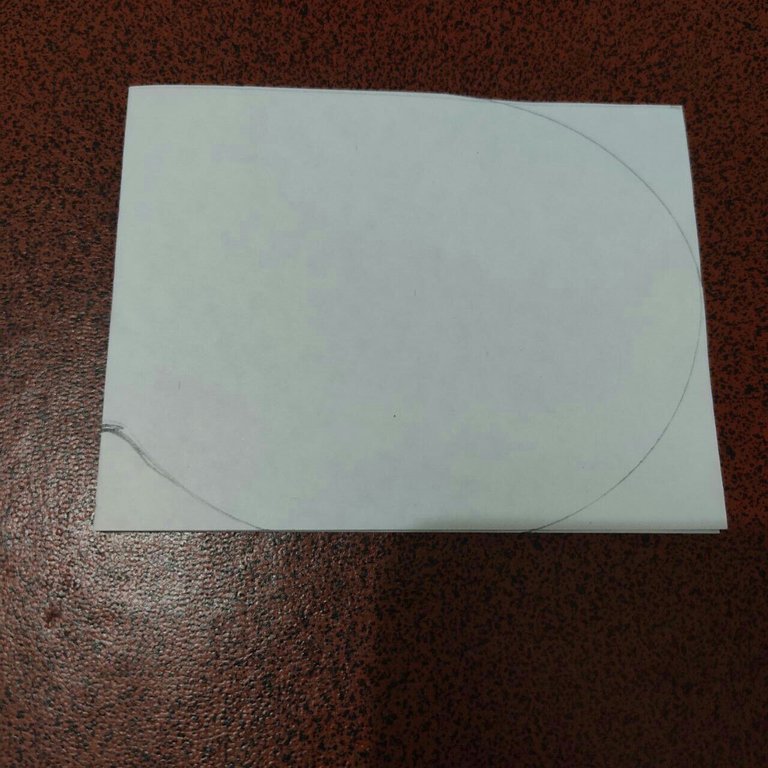
Corta la hoja con la medida 1 de largo y la medida 2 de ancho.
Dobla la hoja a la mitad y haz una marca de 1.5 centímetros hacía arriba (Como se ve en la foto).
Ayudate con un vaso o un compás para dibujar en las orillas de el donde no está el doblez la forma redonda característica de un antifaz.
~The pattern~
To make the pattern, you will need to draw two measurements:
Measurement 1: From the middle of your forehead to the tip of your nose. (in my case it was 8 centimeters).
Measurement 2: From the temple to the other temple passing through your eyes. (in my case it was 22 centimeters).
Once you have these measurements, follow the next steps:
Cut the sheet with measurement 1 in length and measurement 2 in width.
Fold the sheet in half and make a mark of 1.5 centimeters upwards (as shown in the picture).
Help yourself with a glass or a compass to draw on the edges of the sheet where the fold is not the characteristic round shape of a mask.
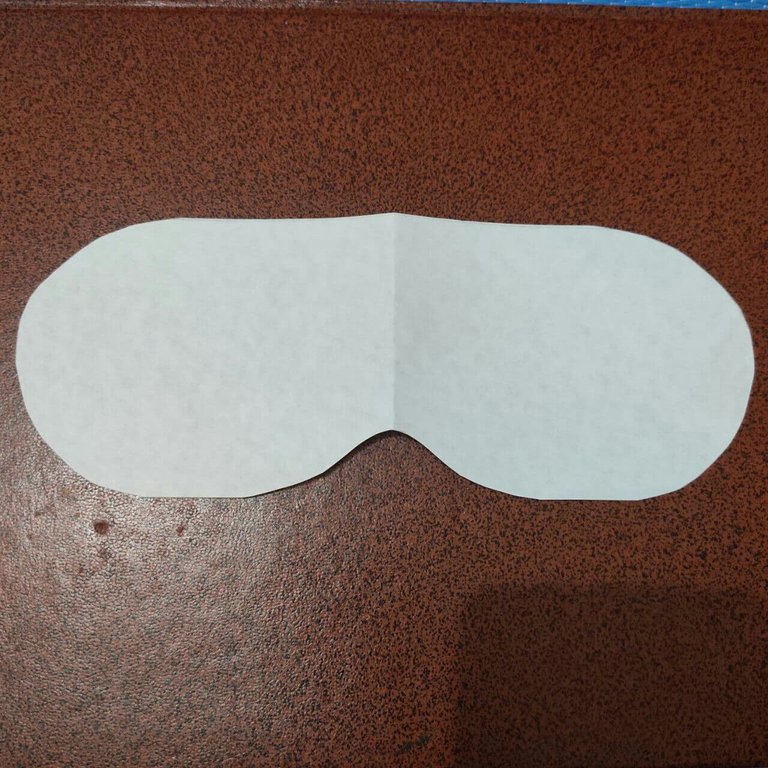
- En el lado de doblez de la hoja debes también dibujar una línea diagonal que vaya desde la marca hecha hasta abajo, trata de hacerla un poco curveada.
Así es como debería quedar:
- On the fold side of the sheet you should also draw a diagonal line going from the mark made to the bottom, try to make it a little curved.
This is how it should look like:
¡Ta-da! ya está listo el patrón
Ta-da! the pattern is ready
~El Proceso~
- Dobla la tela a la mitad y marca el patrón) usé un color claro ya que mi tela es oscura), corta las dos telas juntas dejando un centímetro para la costura.
~The Process~
- Fold the fabric in half and mark the pattern) I used a light color since my fabric is dark), cut the two fabrics together leaving one centimeter for stitching.
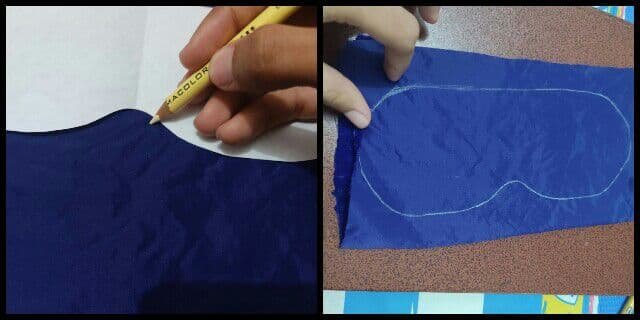
I stop the procedure to clarify that my fabric has a velvet part and a smooth part, so I will use the smooth part for the part that will touch my face. Thanks to this I place the fabric on top of the other facing the same side and not facing each other as it is usually done.
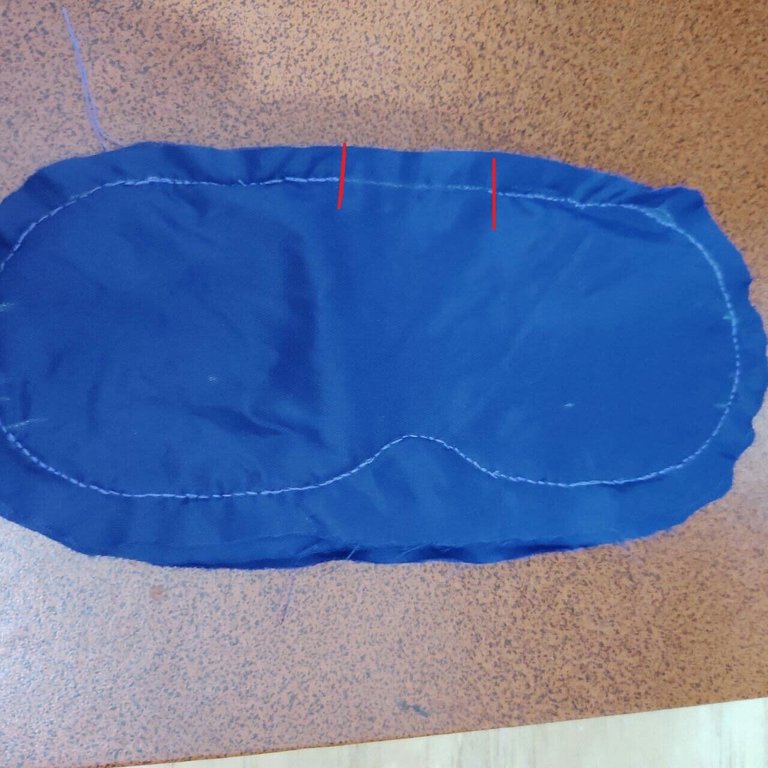
- En la mitad de la tela, dibuja dos líneas para marcar donde quieres que vaya la cinta elástica, asegúrate de que estén marcadas en la misma altura.
- In the middle of the fabric, draw two lines to mark where you want the elastic band to go, make sure they are marked at the same height.

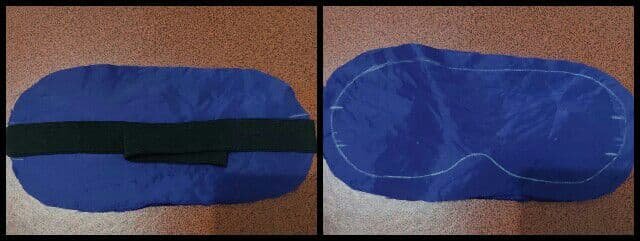
Coloca la primera pieza de tela y encima coloca el elástico como se ve en la foto, cada extremo del elástico en cada extremo de la tela, encima de las marcas hechas anteriormente.
Encima, coloca la segunda pieza de tela.
Place the first piece of fabric and on top place the elastic as shown in the photo, each end of the elastic on each end of the fabric, on top of the marks made earlier.
On top, place the second piece of fabric.
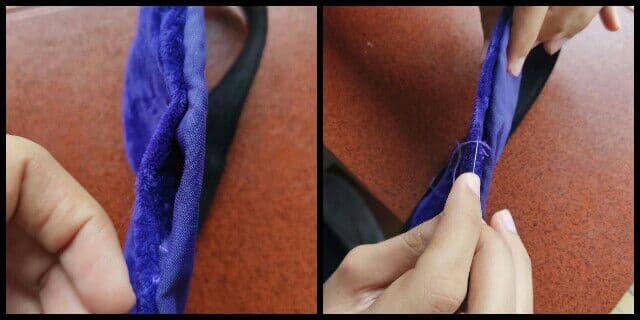
- Asegura todo con los alfileres o agujas y cose por toda la línea marcada, dejando un espacio de unos 5 cm sin coser para luego poder voltear el antifaz. En mi caso, cosí a mano con la puntada hacía atrás.
- Secure everything with the pins or needles and sew all along the marked line, leaving a space of about 5 cm without sewing so that you can later turn the mask over. In my case, I sewed by hand with the stitch facing backwards.

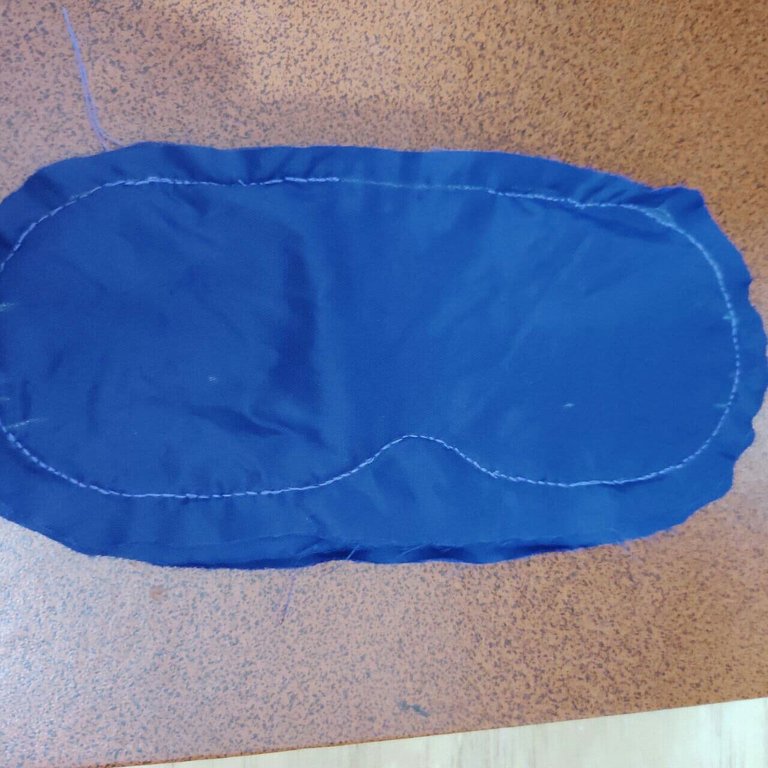
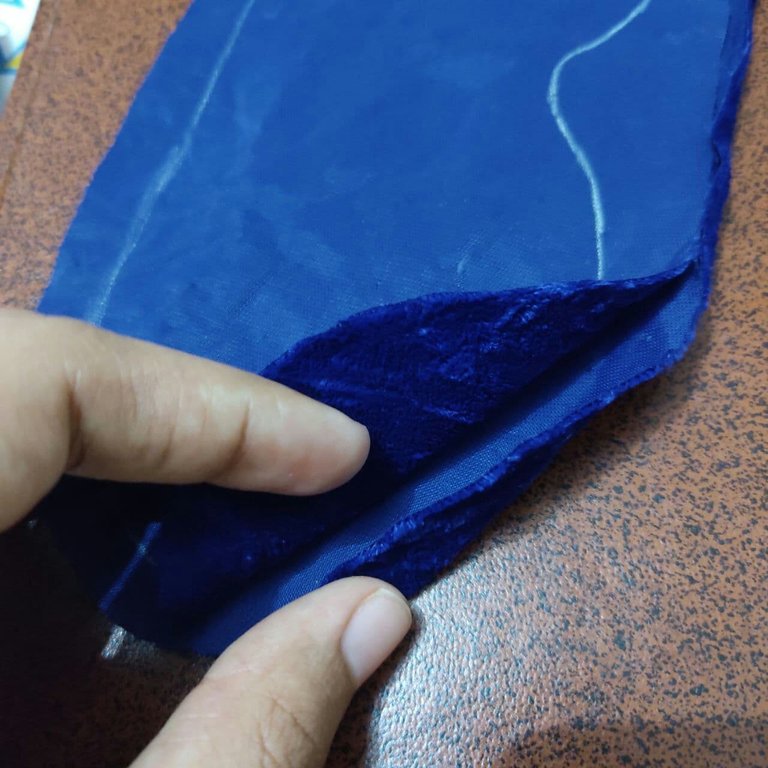
¡Ta-da! al voltearlo te debe quedar así:
Ta-da! when you flip it over it should look like this:
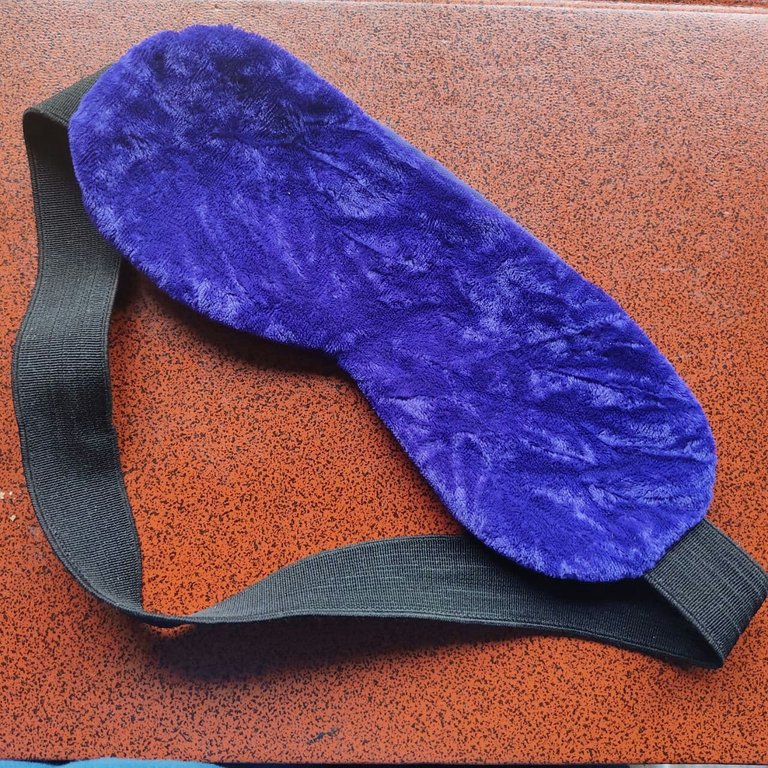
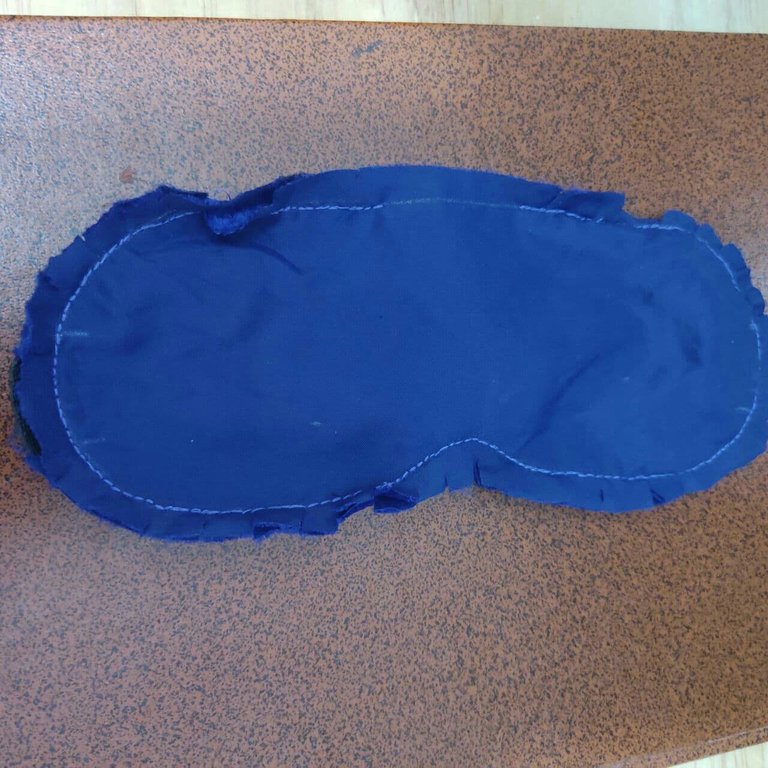
- Sólo queda coser con una puntada invisible la parte que quedó abierta y ya está.
- The only thing left to do is to sew with a blind stitch the part that was left open and that's it.
Traté de tomarme varias fotos con el antifaz puesto pero en todas salía muy extraña. No me gusta pero no podía dejarlos sin una foto mostrando el producto final puesto.
I tried to take several pictures of myself with the mask on but in all of them I looked very strange. I don't like it but I couldn't leave them without a picture showing the final product on.
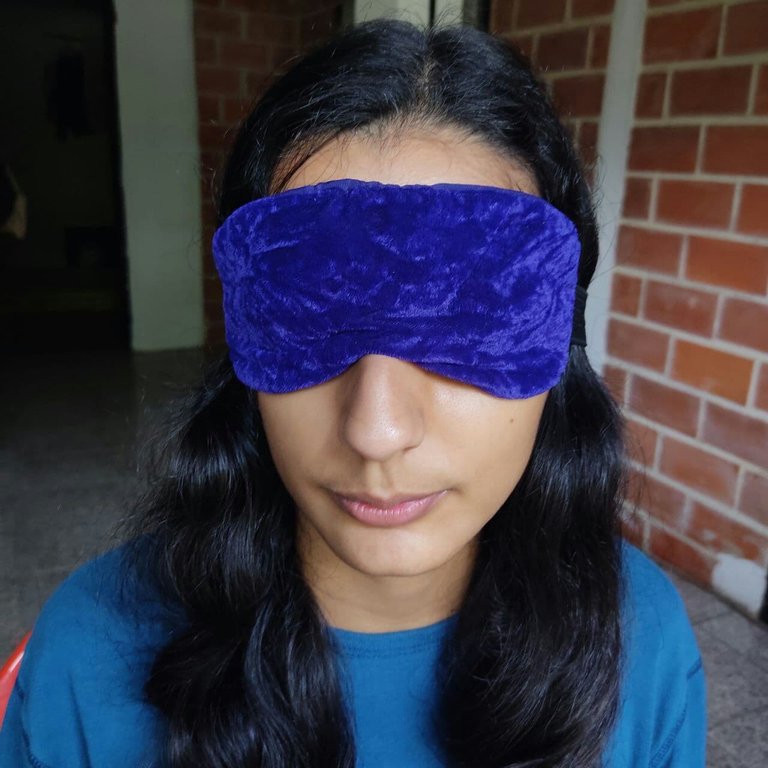
Me despido con esta foto graciosa mía.
Muchas gracias por leer.
❤️
I take my leave with this funny picture of me
Thank you very much for reading.

El texto fue traducido del español al inglés usando el traductor de Deepl.
Hola cómo estás me gusto tu tutorial gracias saludos sigue así
Hola! Muchas gracias ❤️
NAWARA TE ENTIENDO. TE ENTIENDO BUNNY. A mi la luz mas pequeña no me deja dormir, necesito obscuridad total para conciliar el sueño. Este antifaz se ve tan suavecito que creo me lo dejaría en la frente solo por gusto. Por cierto tu portada esta de ututúi, hace muchísimo tiempo que no veía a alguien aquí usar memes para un DIY en la portada xD que win 🍷 ✨
¡Sí señor! Es suavecita y muy cómoda. Menos mal alguien notó lo del meme 😂 pensaba que iba a morir ignorado. Originalmente iban a ser unas fotos mías usando el antifaz, pero daban mucho cringe 🚫
Dude nooooo, por favor has más portadas así, o incluyelos en alguna parte de tus post. Pocos lo hacen y le dan más vida a la cosa 💅 NO MEMES NO LIFE